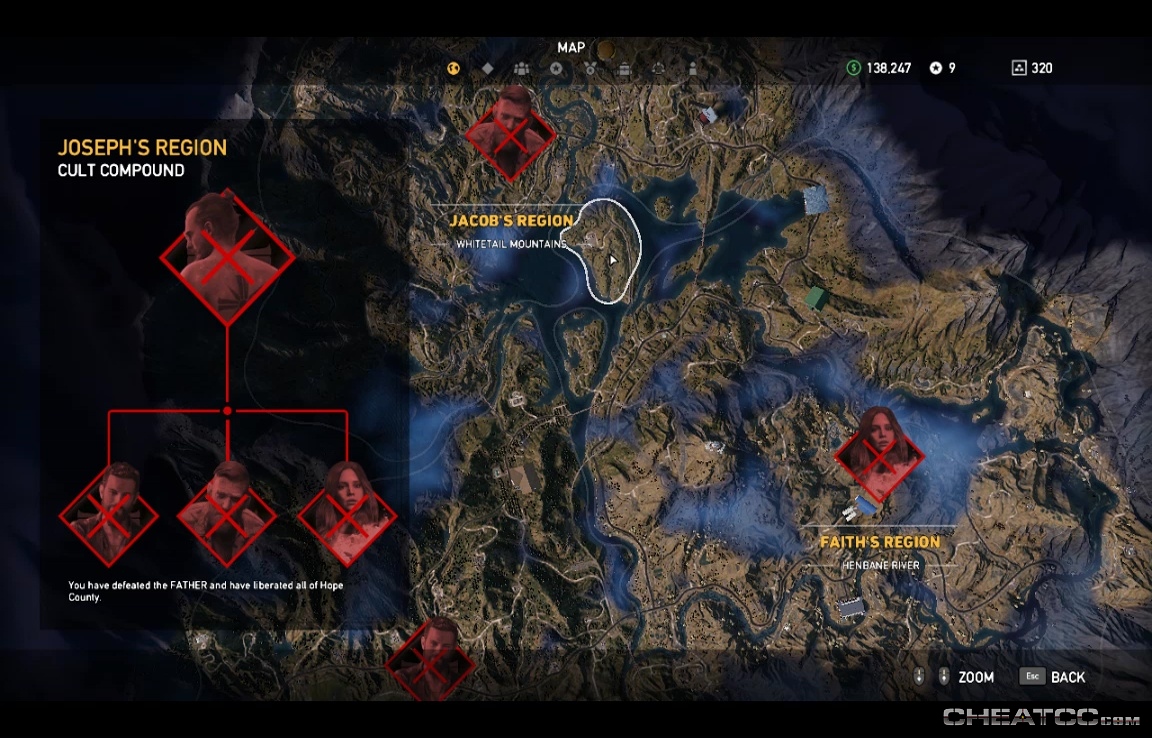
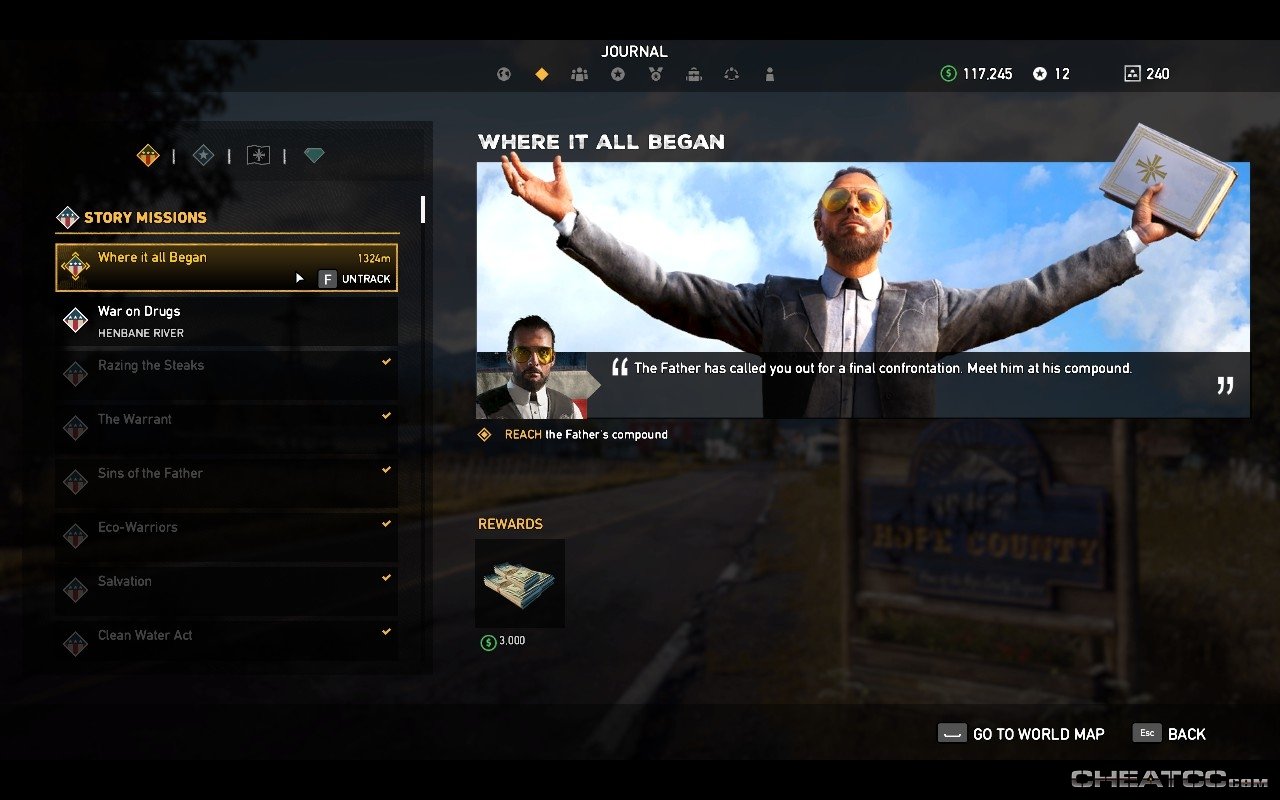
Where It All Began
Kill all three of Joseph's Heralds (John, Jacob, & Faith) to start this endgame mission. The fight here will generally be fast-paced, close-quarters type stuff with lots of allied combatants. So an assault rifle, LMG, or SMG are all good, but shotguns and explosives may end up scragging friendlies. If there's a weapon type you're particularly fond of, consider bringing two of them- the fight format makes it easy to accidentally lose weapons.
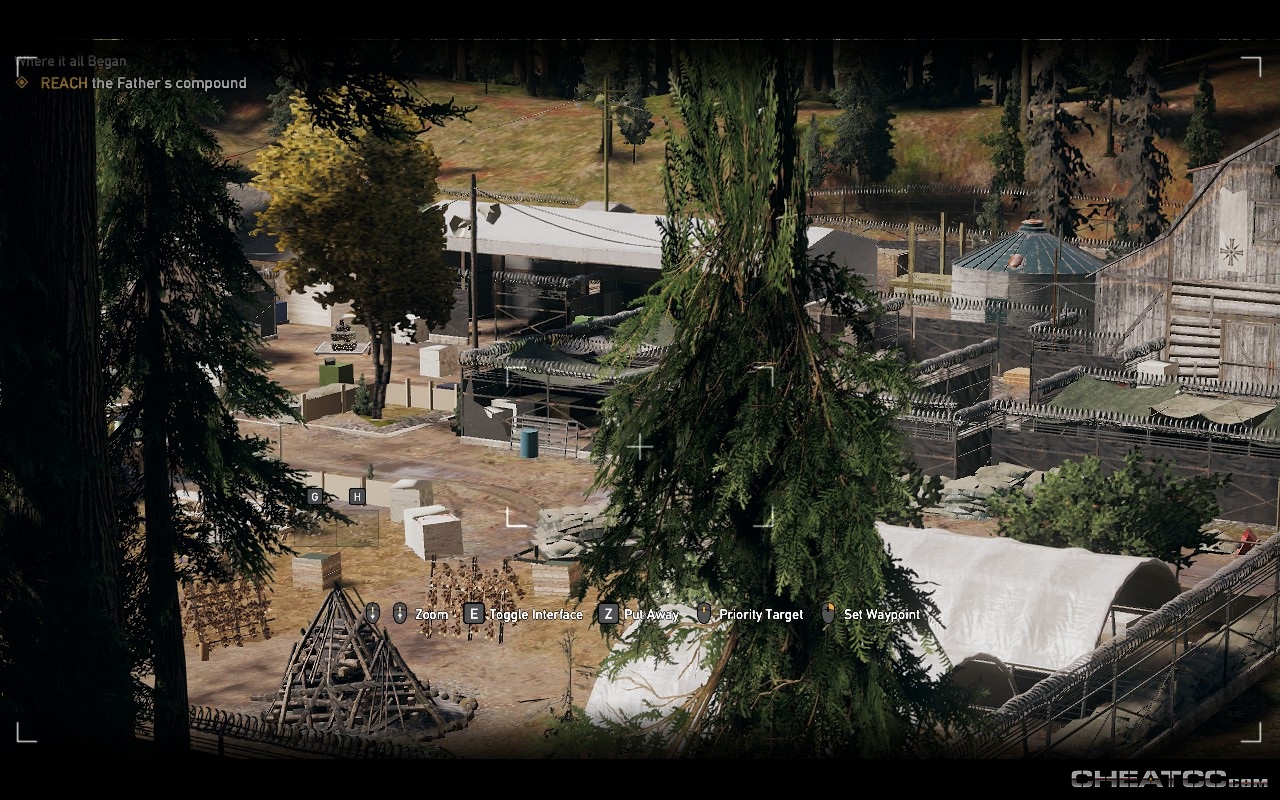
With the start of this mission, you can now enter Joseph's Compound in the center of the map.
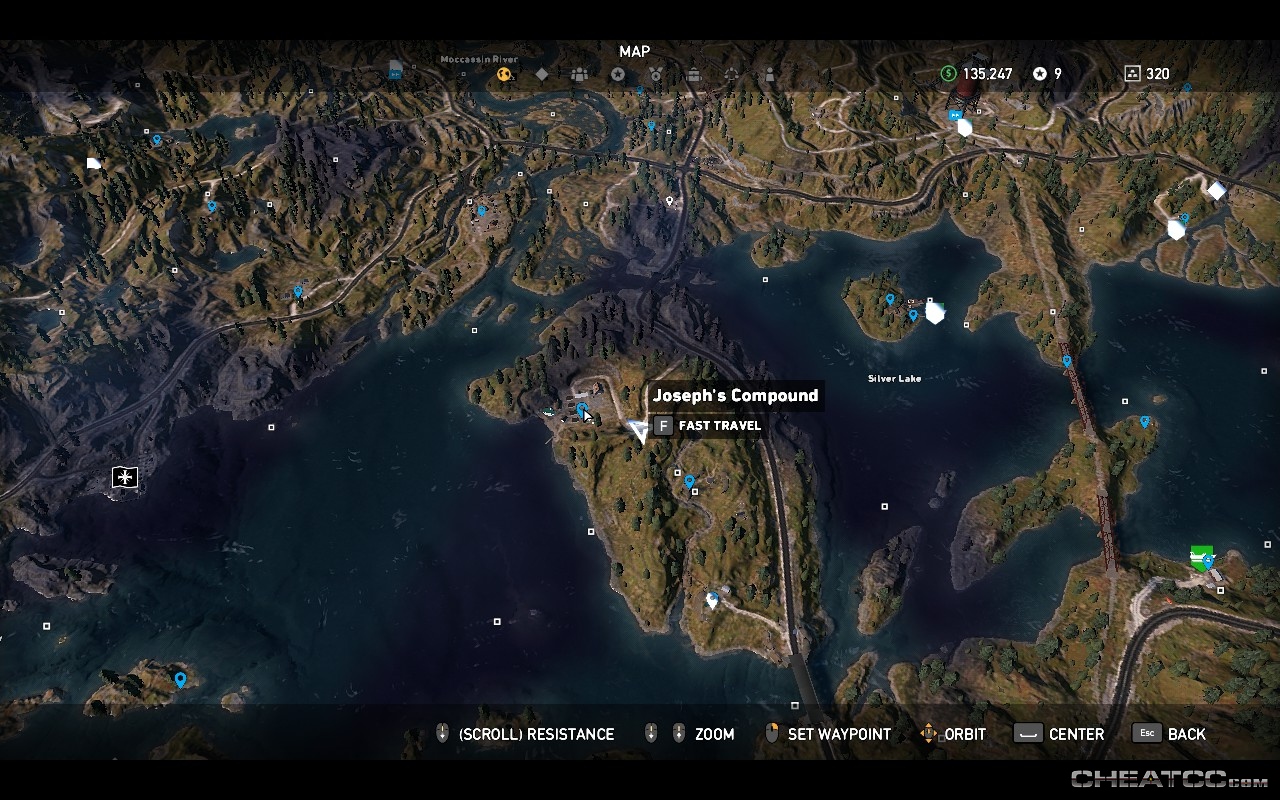
There's no resistance on the ground, yet.
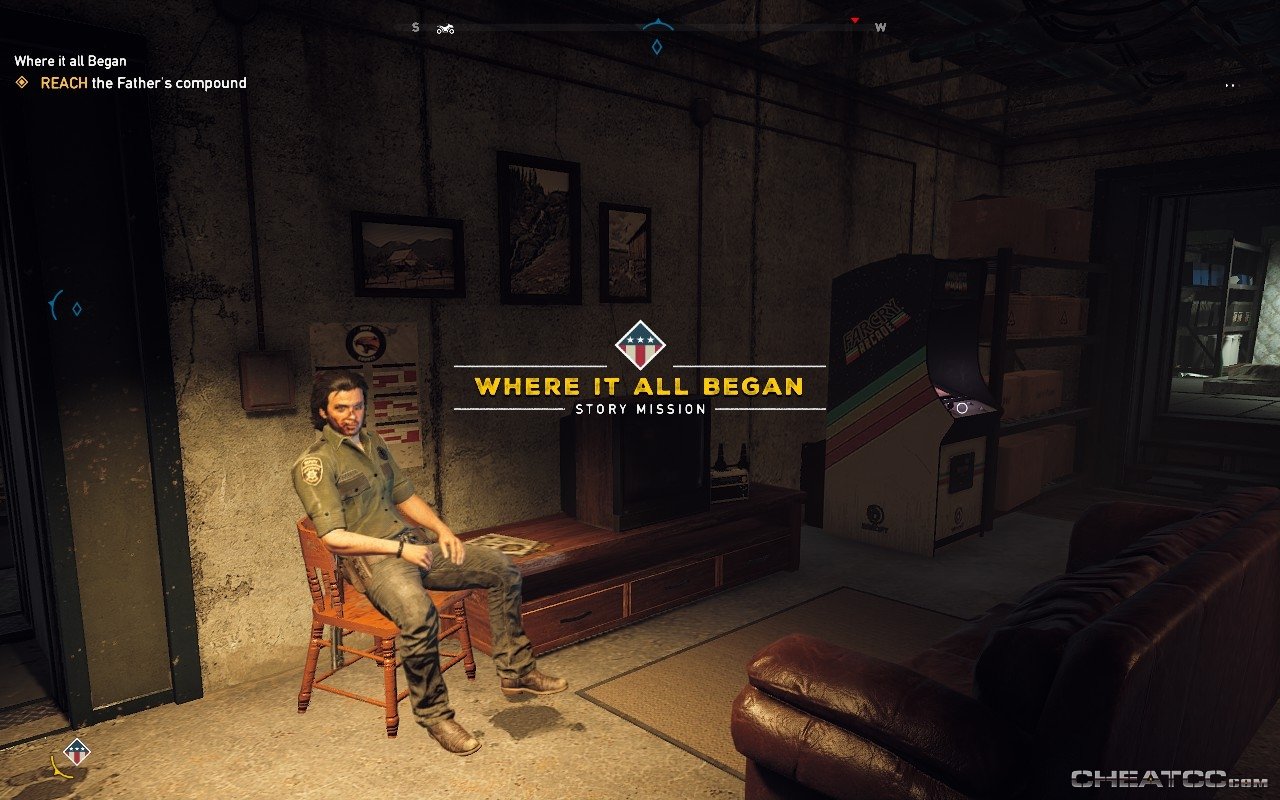
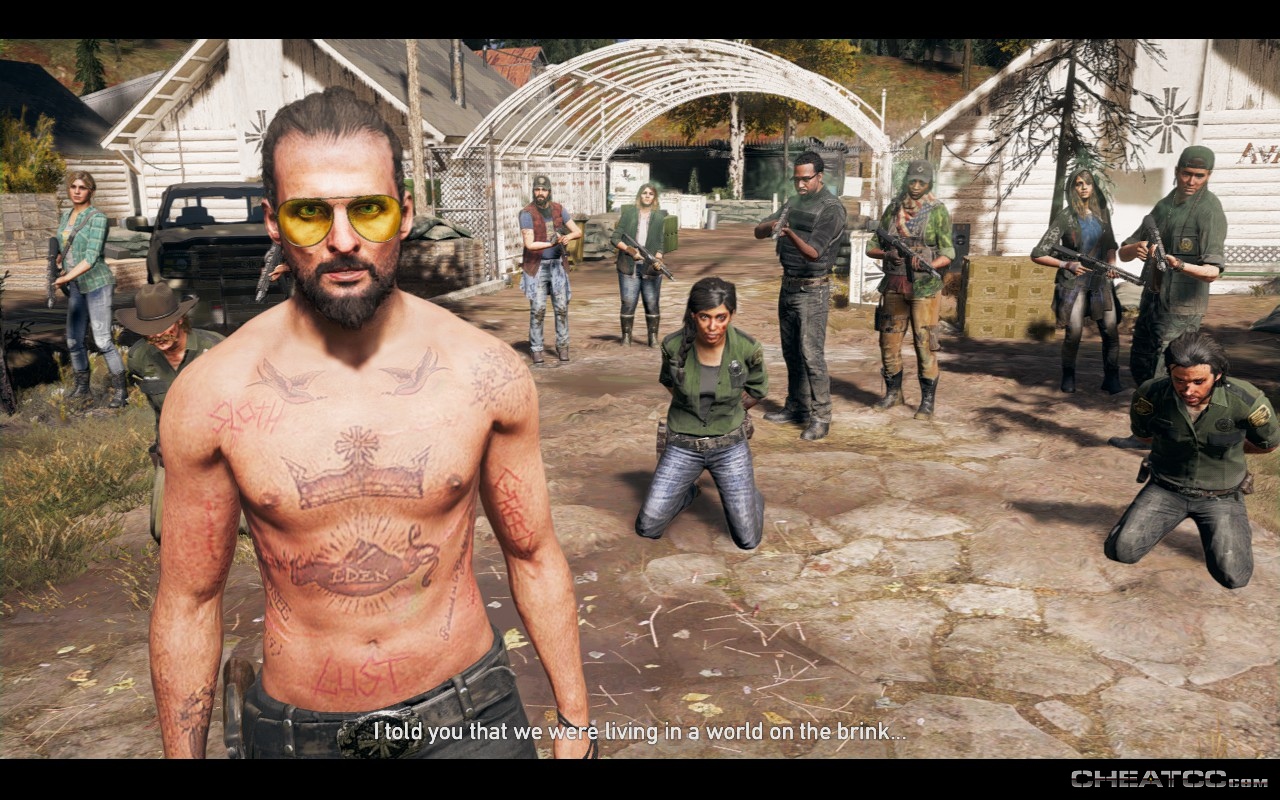
Approach the church. There are several ammo crates spread around, if you're not already topped off. As you reach the church doors a cutscene will begin, revealing that all your allies are under Joseph's sway.
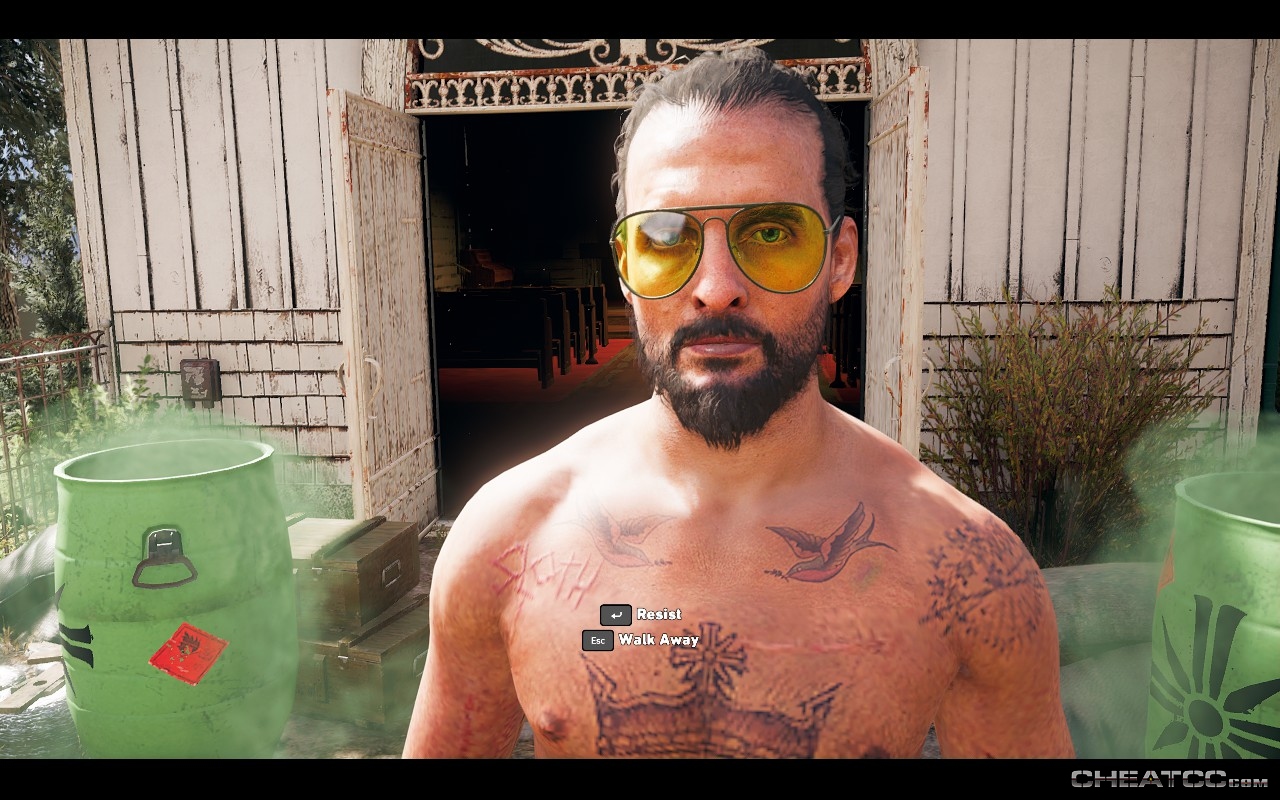
Joseph gives you a chance to walk away with the party you originally flew in with (minus the Marshall, of course). This is a non-starter, if you choose that option you'll end up falling back under Jacob's conditioning and killing your friends. However, the game then takes you right back to before the church, so you don't lose anything by checking it out. When you're ready to see the "real" ending, choose to Resist.
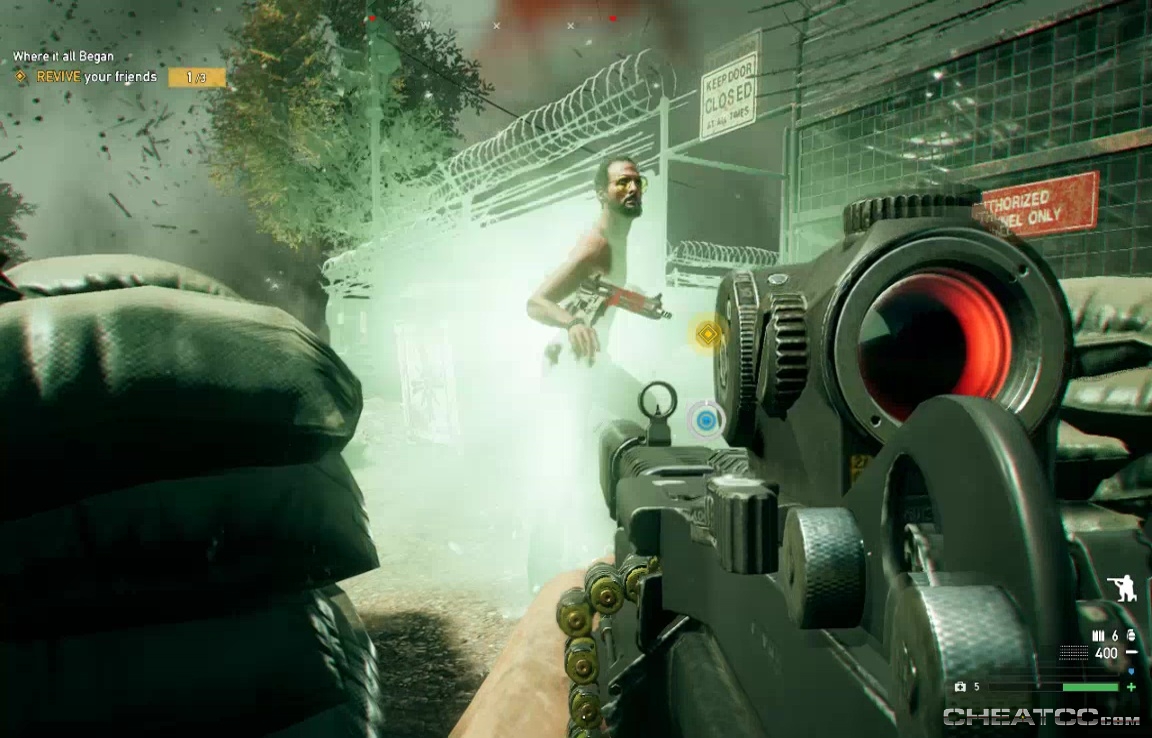
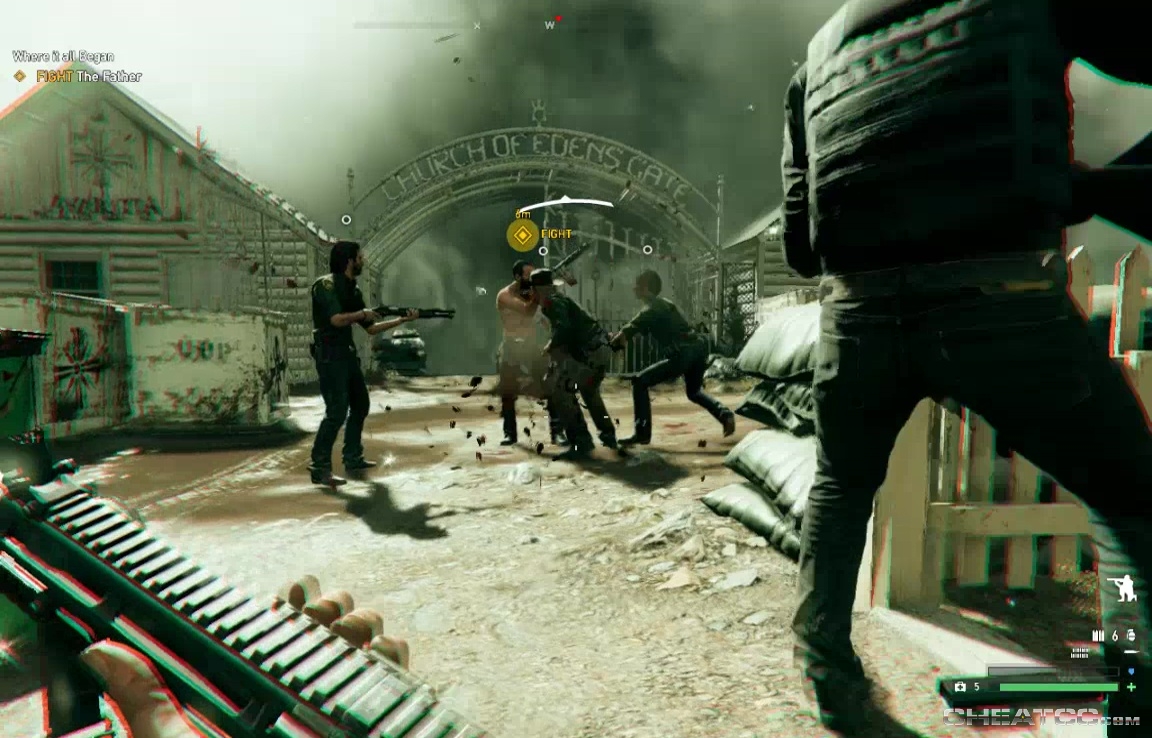
John floods the area with Bliss and mindcontrols the other police, who will attack you. The goal here is to shoot them to death and then revive them to bring them to their senses (like a slap on the face, but more so). If John revives them, however, they revert to Team Evil.
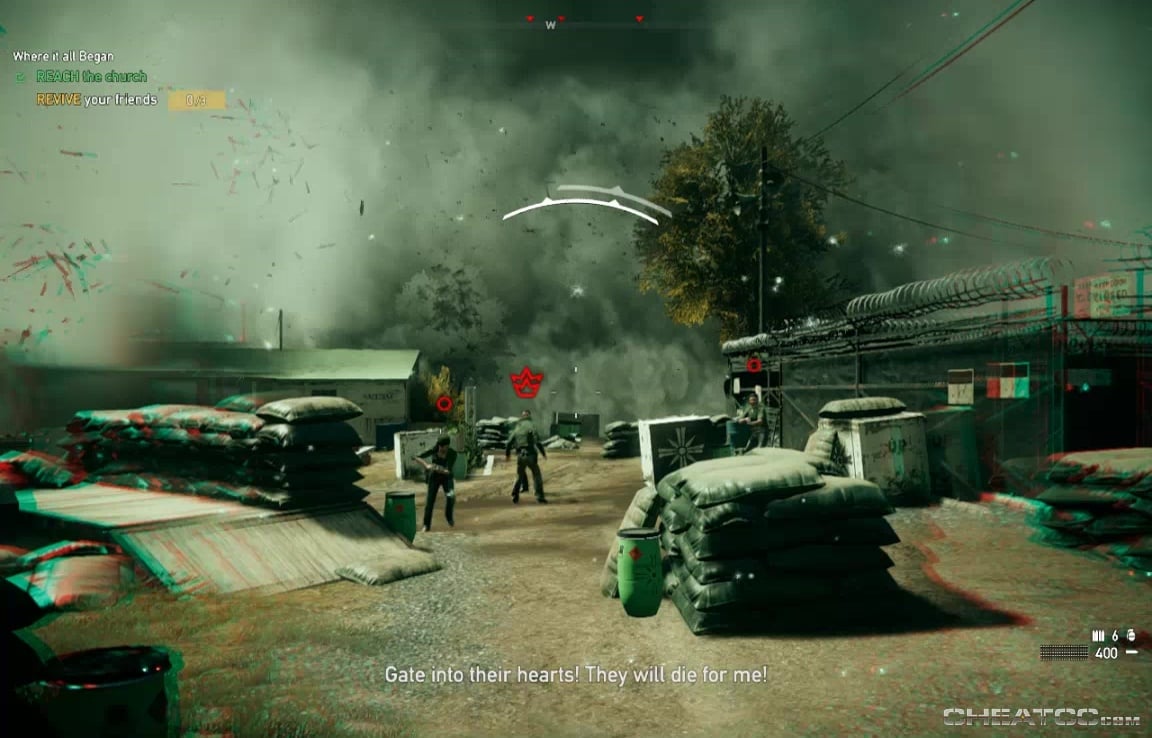
You can't kill John at this point, but a fusillade of bullets will dispel him for a bit (unlike the single bullet for most Bliss illusion).
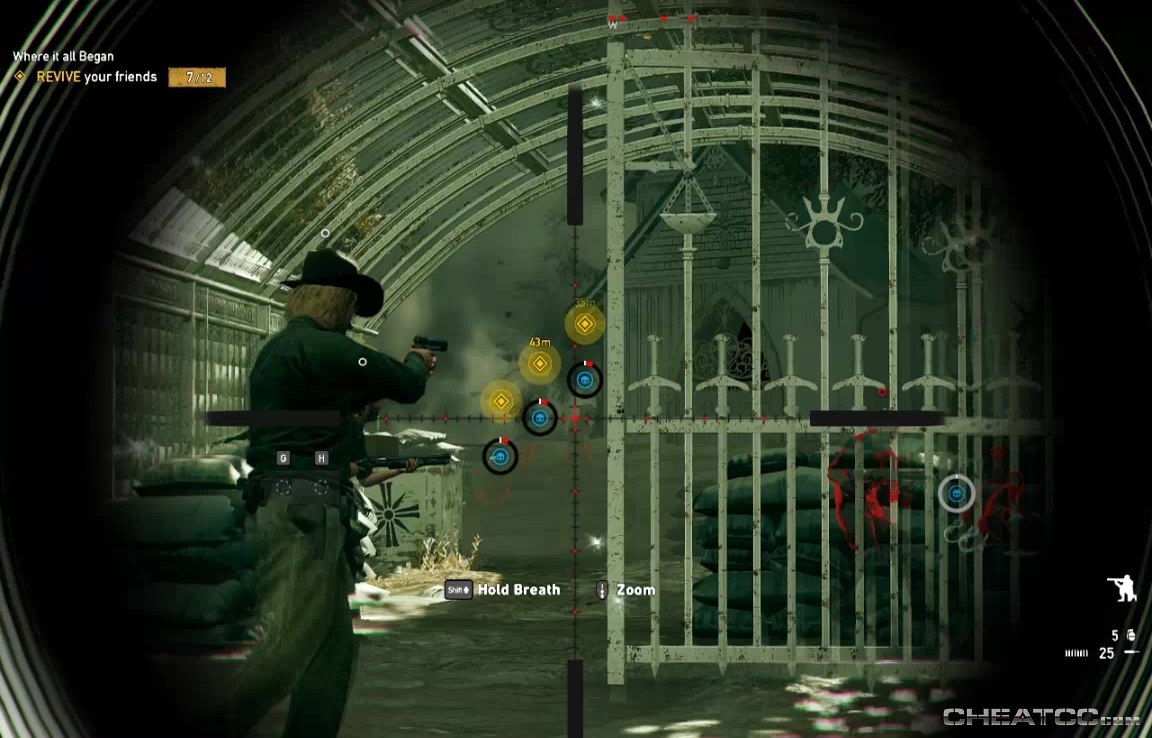
Get all three up and sane, and then pour some lead into Joseph to finish this phase.
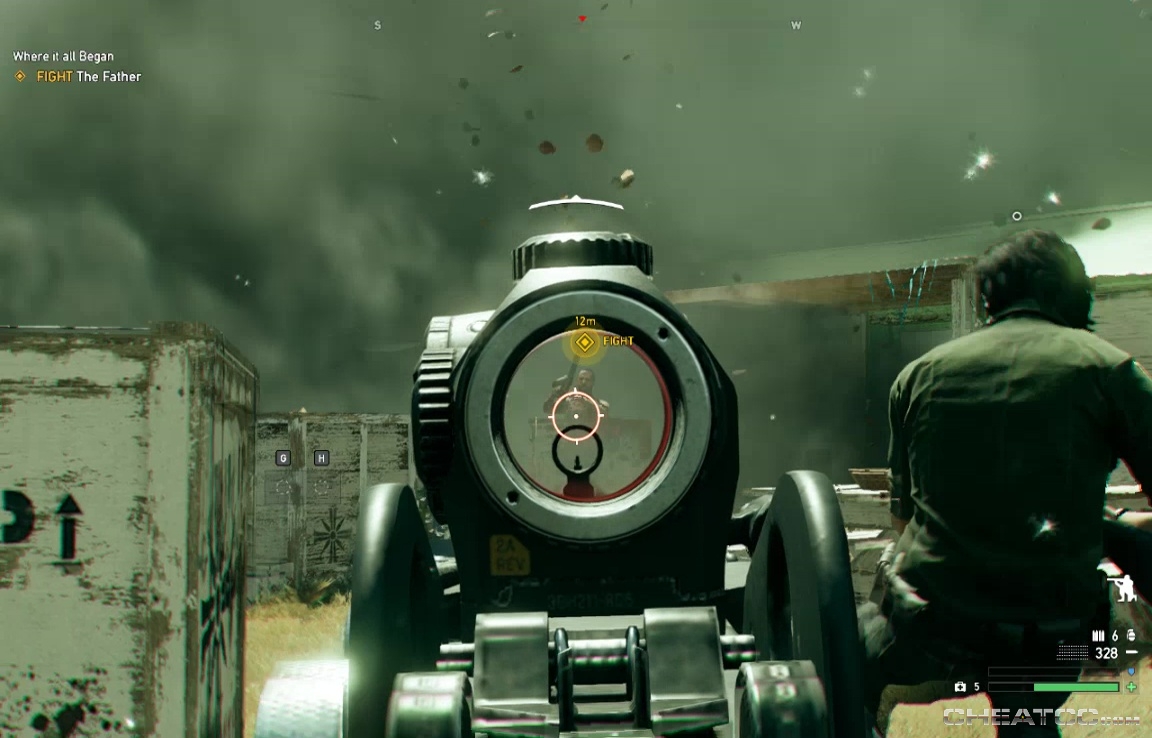
The mists will swirl again, and now you and your squad will face off against Joseph, your NPC allies, and a couple of wolves.
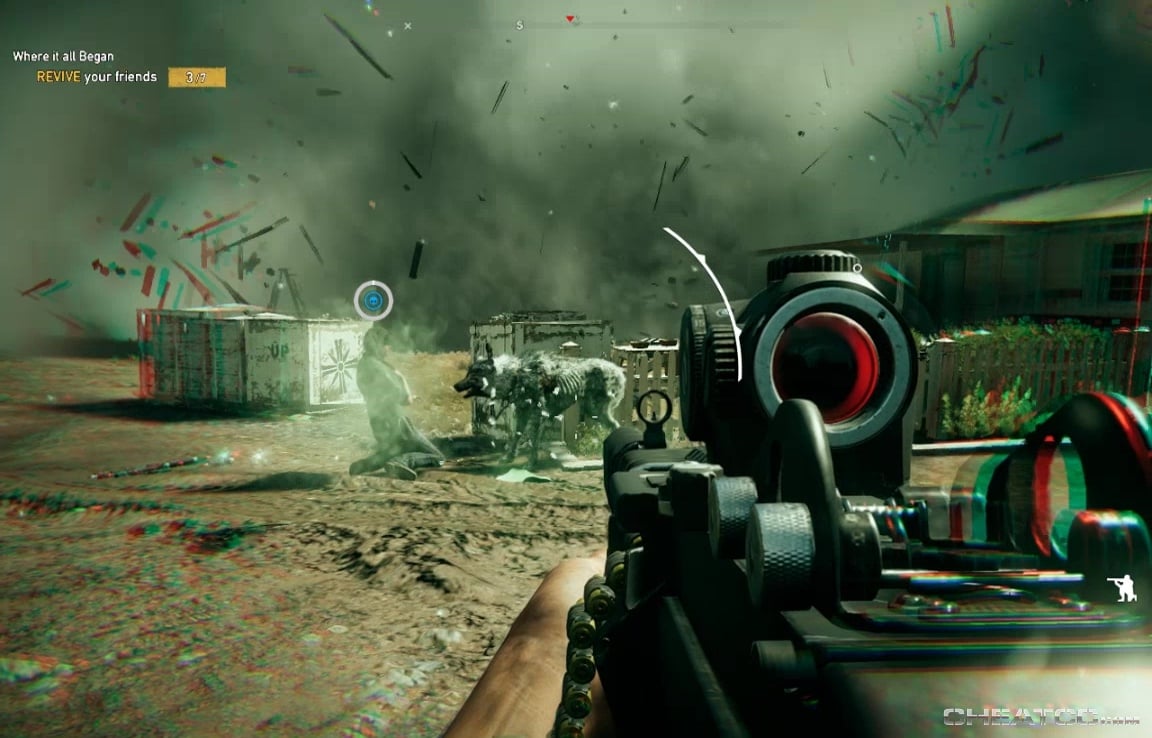
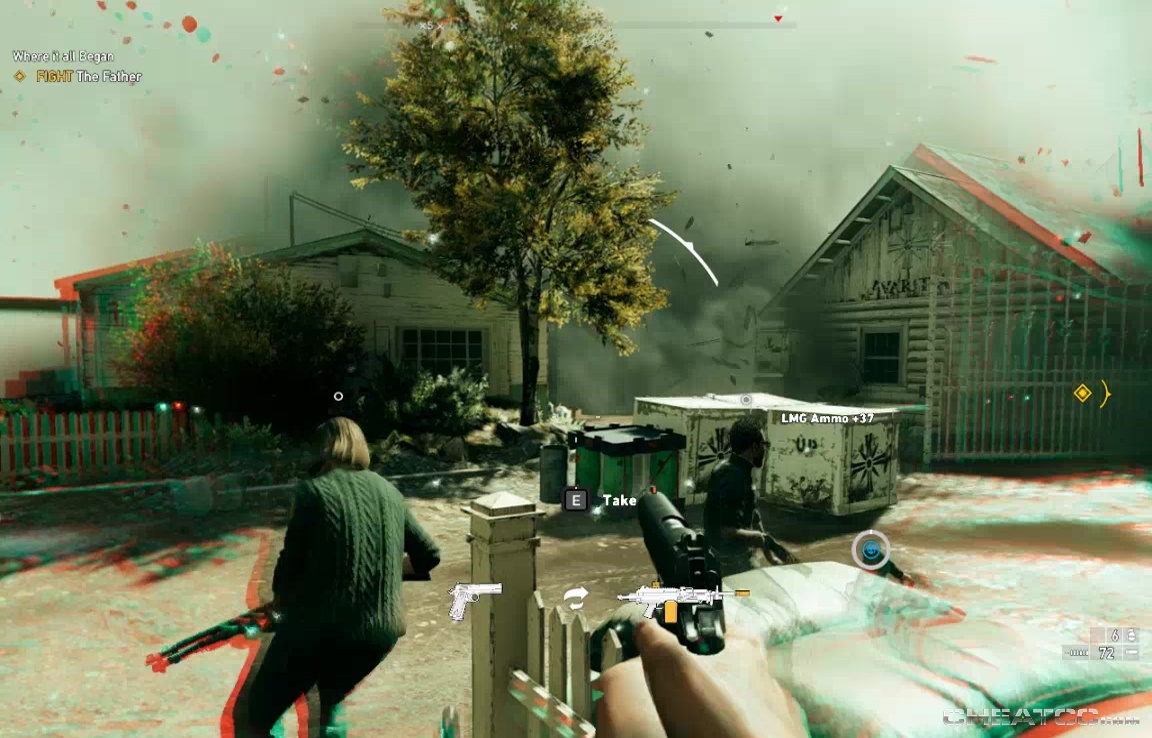
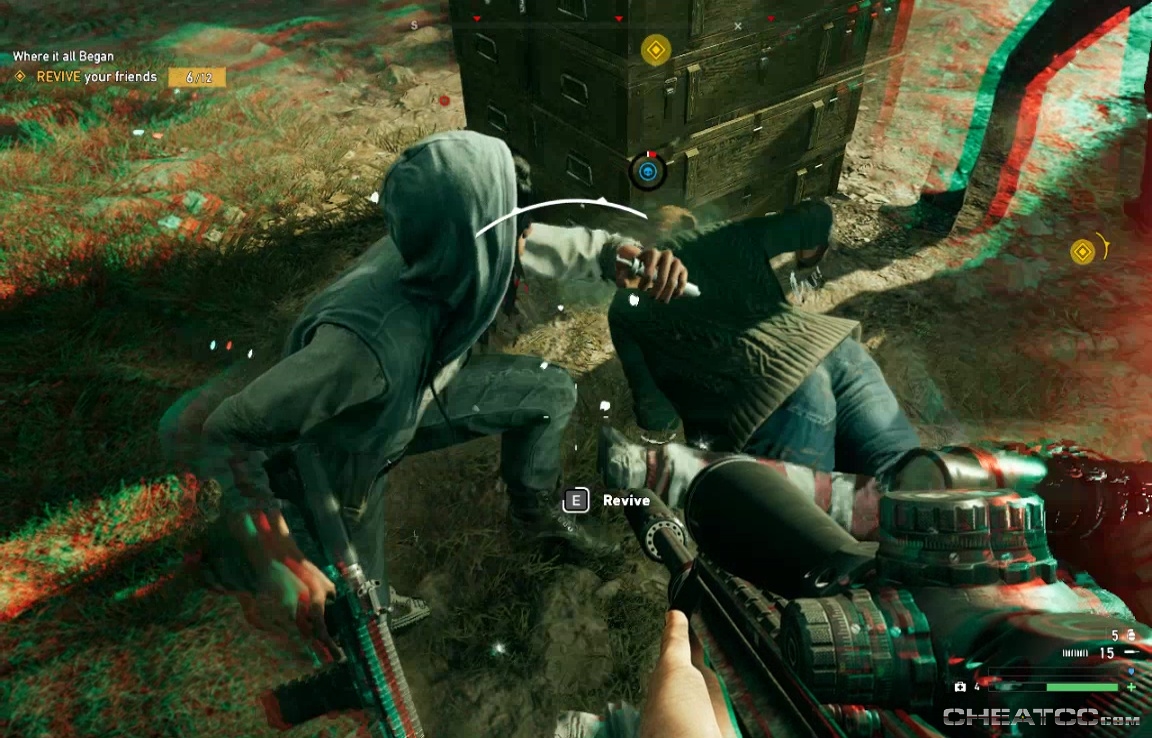
The strategy is the same, but note that reviving someone doesn't make you bulletproof, so do give some consideration to cover. Also, your allies can revive each other, if you provide covering fire. Don't trust them to revive you, however- with no one to provide cover, they tend to get torn apart before they can resurrect you. Another thing to watch for is accidentally switching weapons- both the 'Take Weapon' and 'Revive' commands involve holding down the action button, and with so many bodies and dropped weapons around, it can be easy to find you've accidentally swapped your LMG for a pistol.
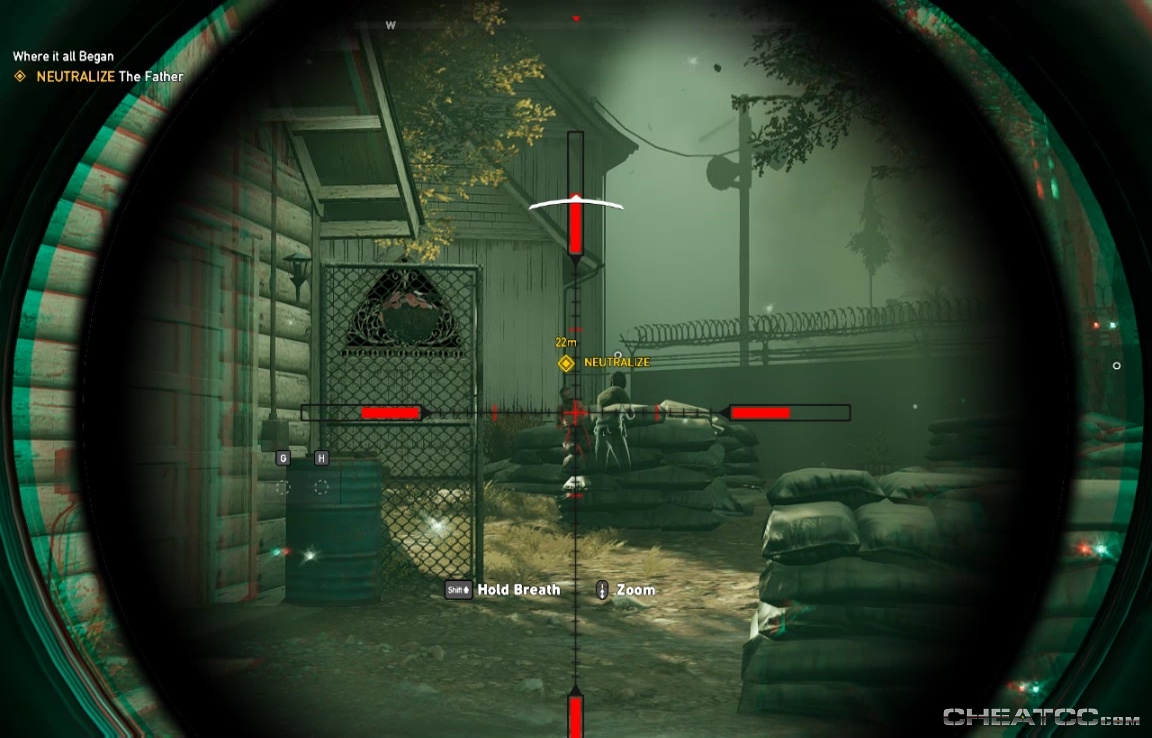
As before, damage Joseph to end this phase, though your mob of friendlies can pretty much handle this part on their own.
The final fight is against Joseph and all the remaining specialists (minus the Fangs). You'll start out at opposite ends of the small pergola, so this is the best time to break out any distance weapons you've been saving.
As before, a good strategy to to gun down everyone, and give covering fire to allies so they can revive the downed.
Close by taking out Joseph one last time.
There's a cutscene, then a driving sequence. It's pretty straight forward (ie don't drive into anything that's on fire). Do watch out for the fuel truck- this is the first time that the objective marker will take you off the main road.
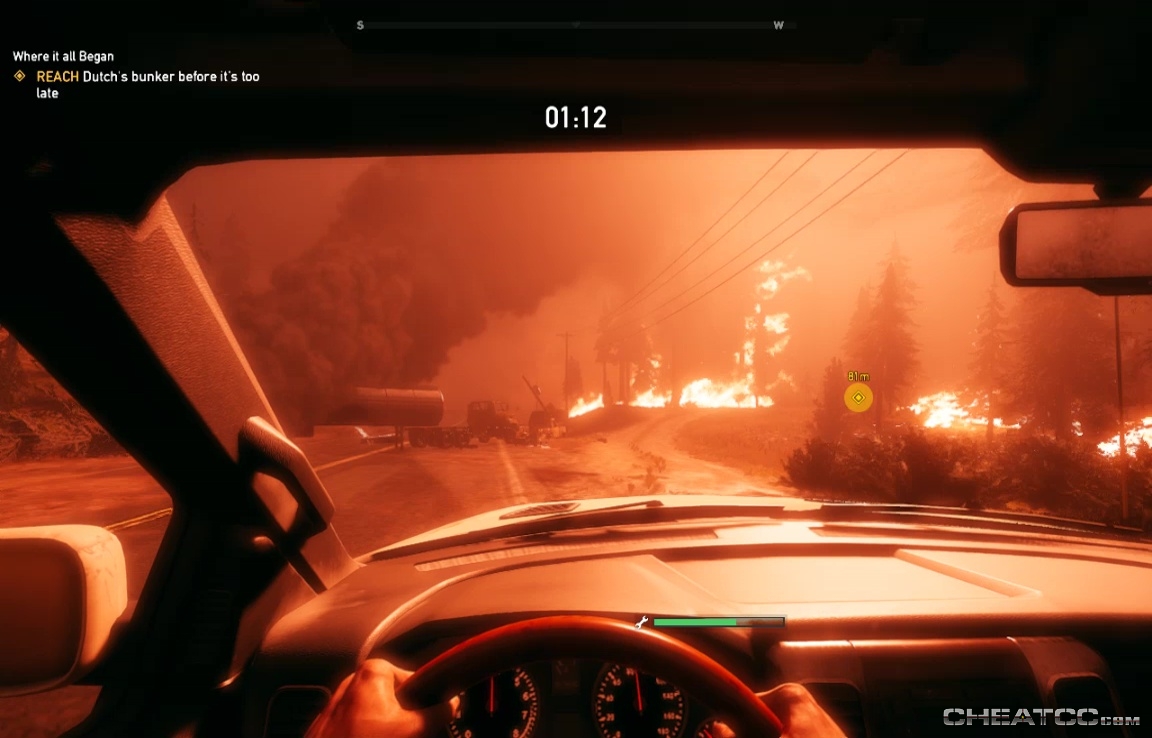
And with that you'll drive right into a final cutscene, and the game credits.
You can continue your game however.
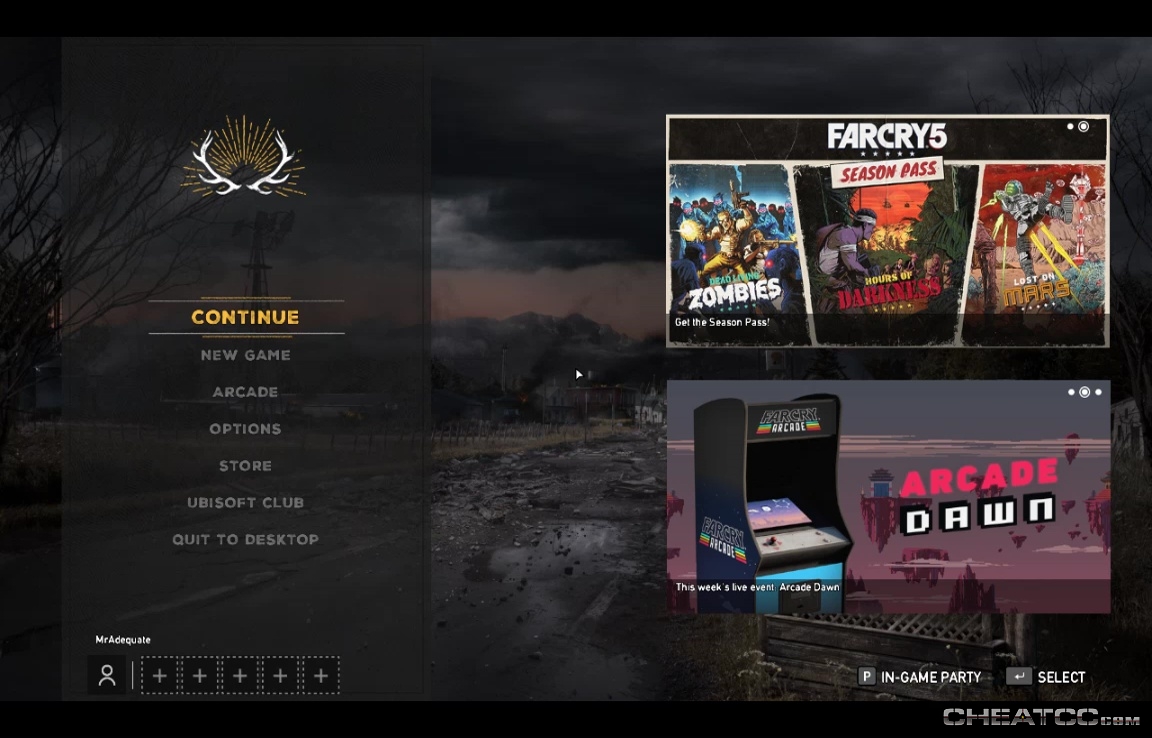
This postgame takes place in an alternate reality where all the Seeds have been defeated, but Hope County is unincinerated. All uncompleted missions will still be there waiting for you.