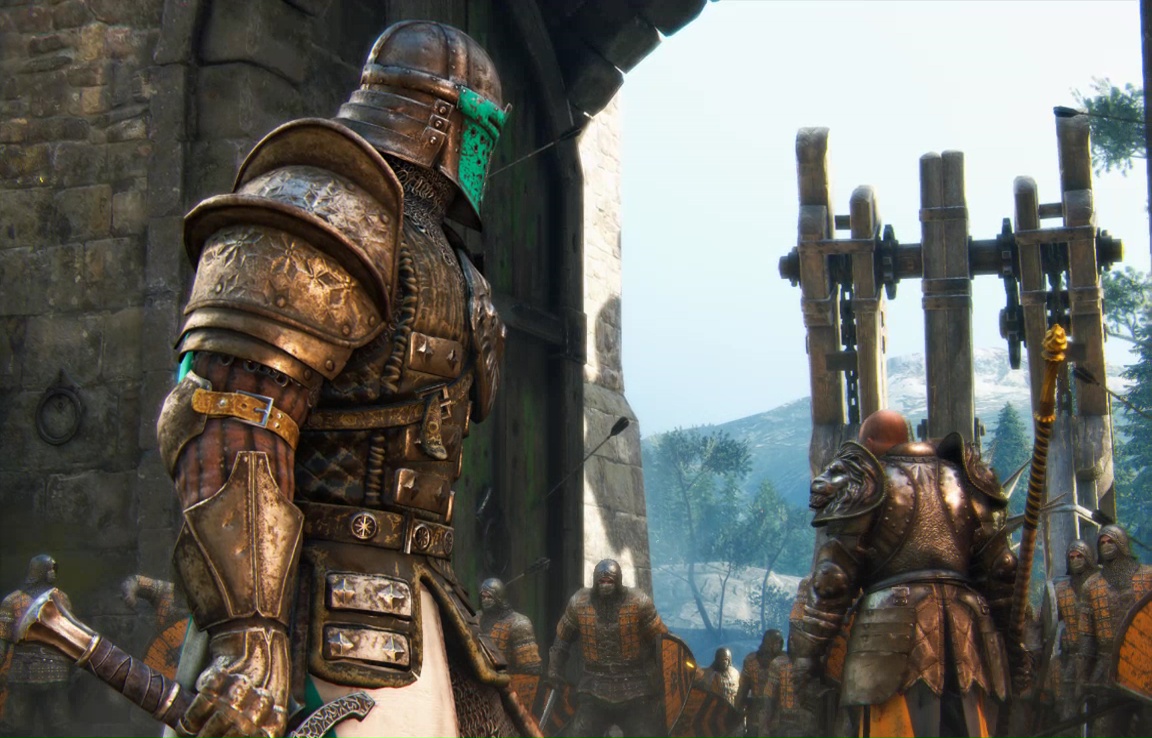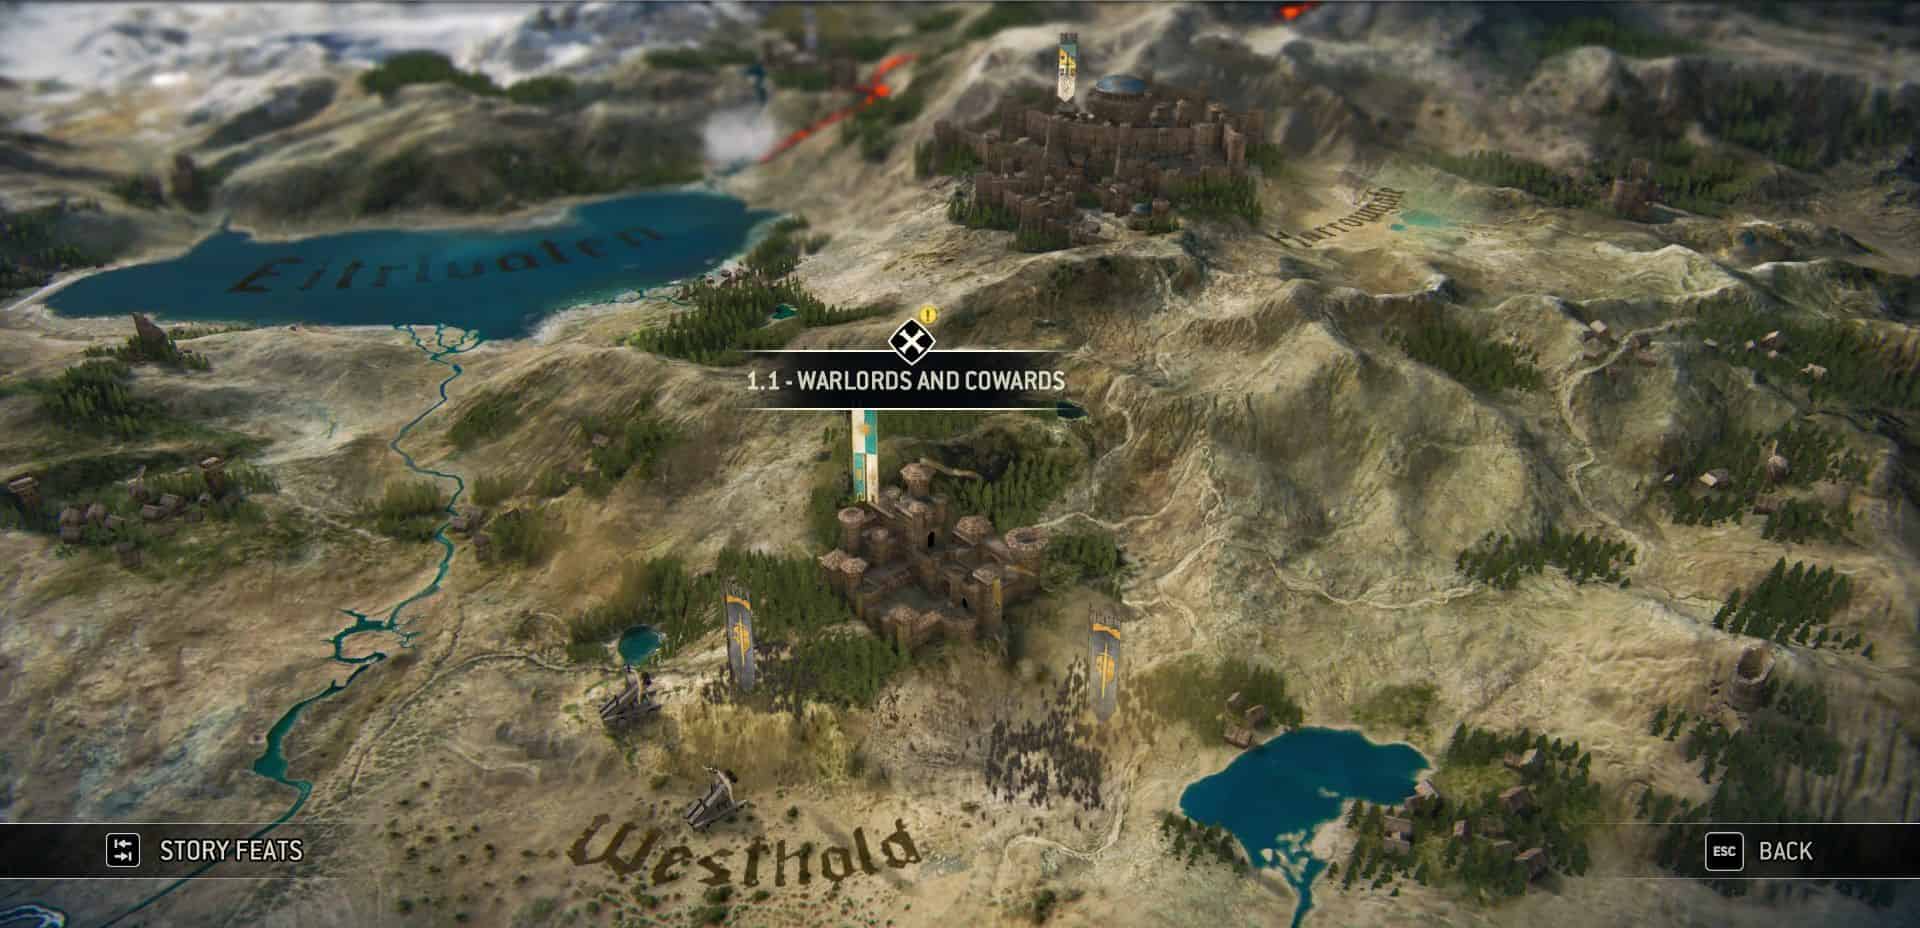
Warlords and Cowards

Gameplay is extremely linear, and recaps a few of the tutorial lessons. There are no branches and no choices, so just power through to the end. On the way, however, you'll come across two kinds of collectibles- Observables and Breakables (nicely goal-oriented name scheme there).
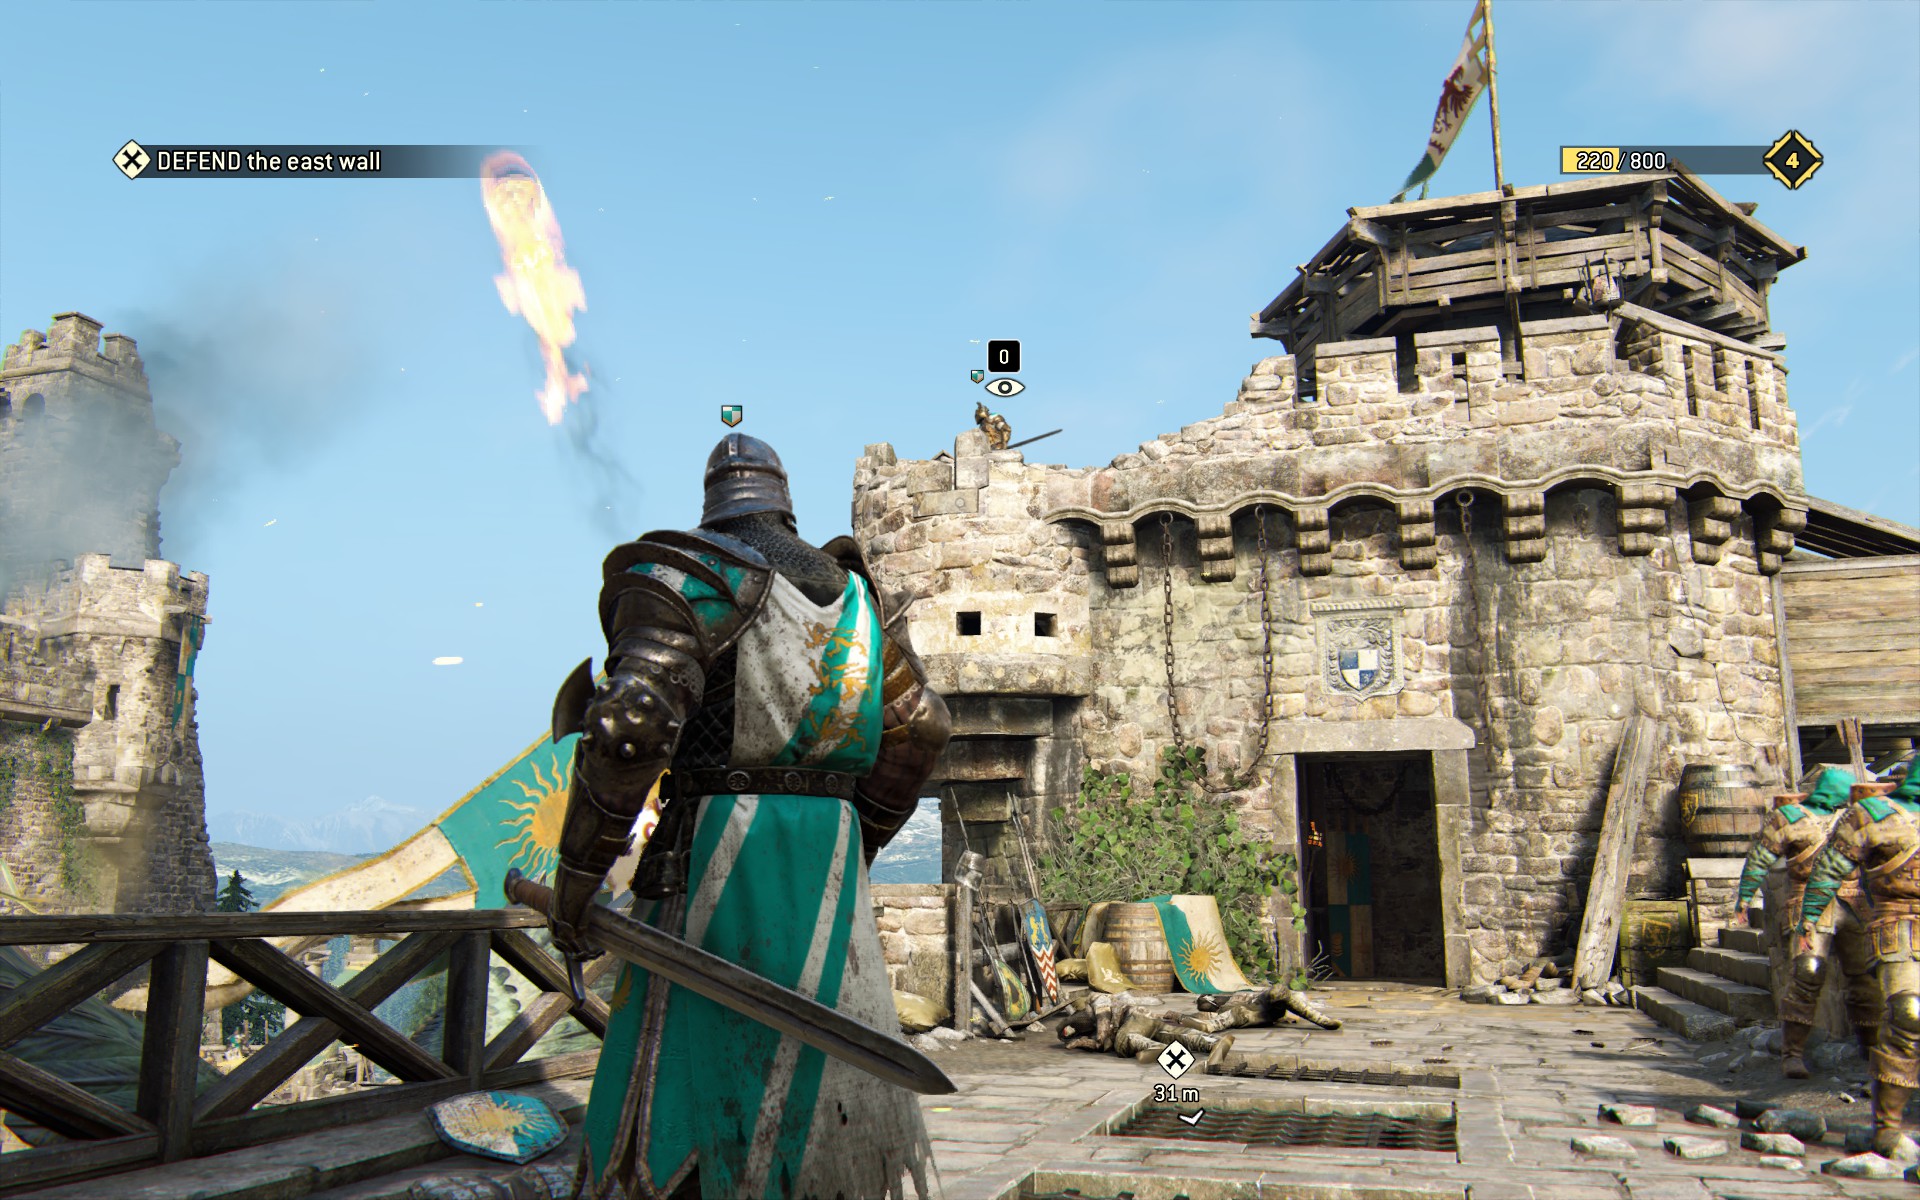
The Breakables are the easy ones- smash barrels and crates to get loot. You've been doing it your whole virtual life. Trickier are the Observables. These are noteworthy objects in the scene indicated by a small eye icon. Much like a museum headset, when you see this symbol you can press 'O' to trigger a brief monologue about whatever you're looking at. The important thing to remember is that you don't have to be close to get them- an Observable might be across the room, atop a far tower, or even a speck on the horizon. Be sure to scan your environs carefully if you want to snap up every last one. Keep checking the 'Mission Details' of your menu screen to see what you've got, and what you still need.
Or, you could follow this Guide.
You can spot many of these Observables from the very parapet where the game opens. Look up and and left to see a knight with a shield icon over his head, leading the battle. This Observation is recorded as Hervis Daubney.
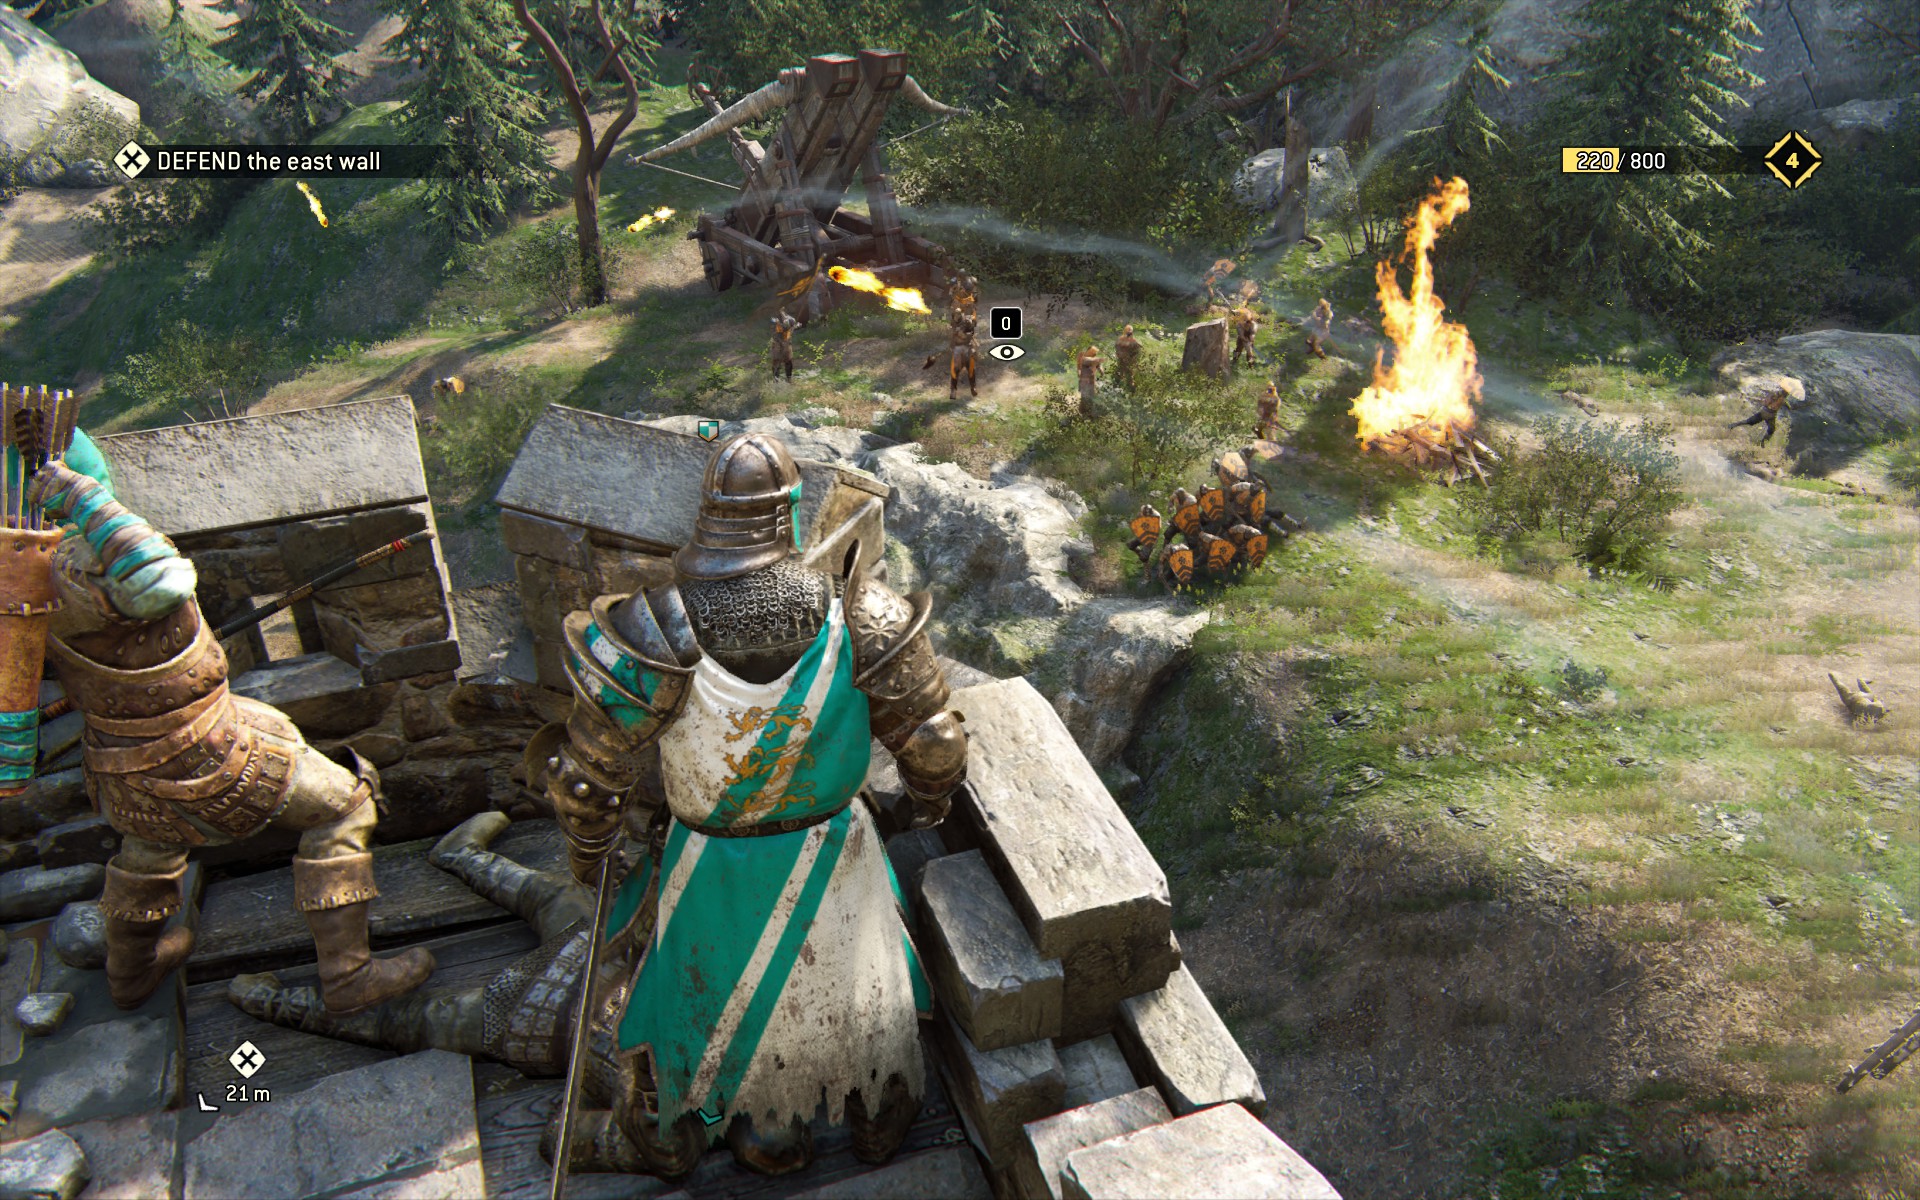
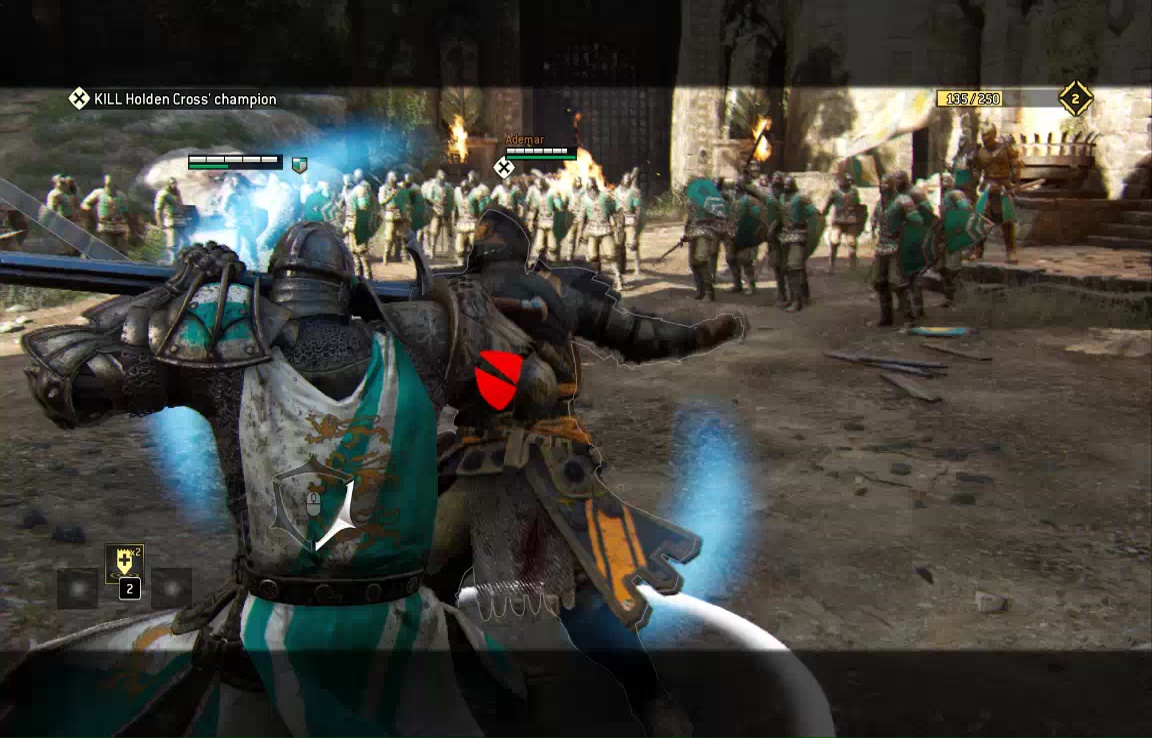
Move right to look down at the opposing forces. Leading from just in front of the catapult is Observable Holden Cross.
Turn left to see some crows circling nearish a distant ruin. This one's logged as Distant Ruins.
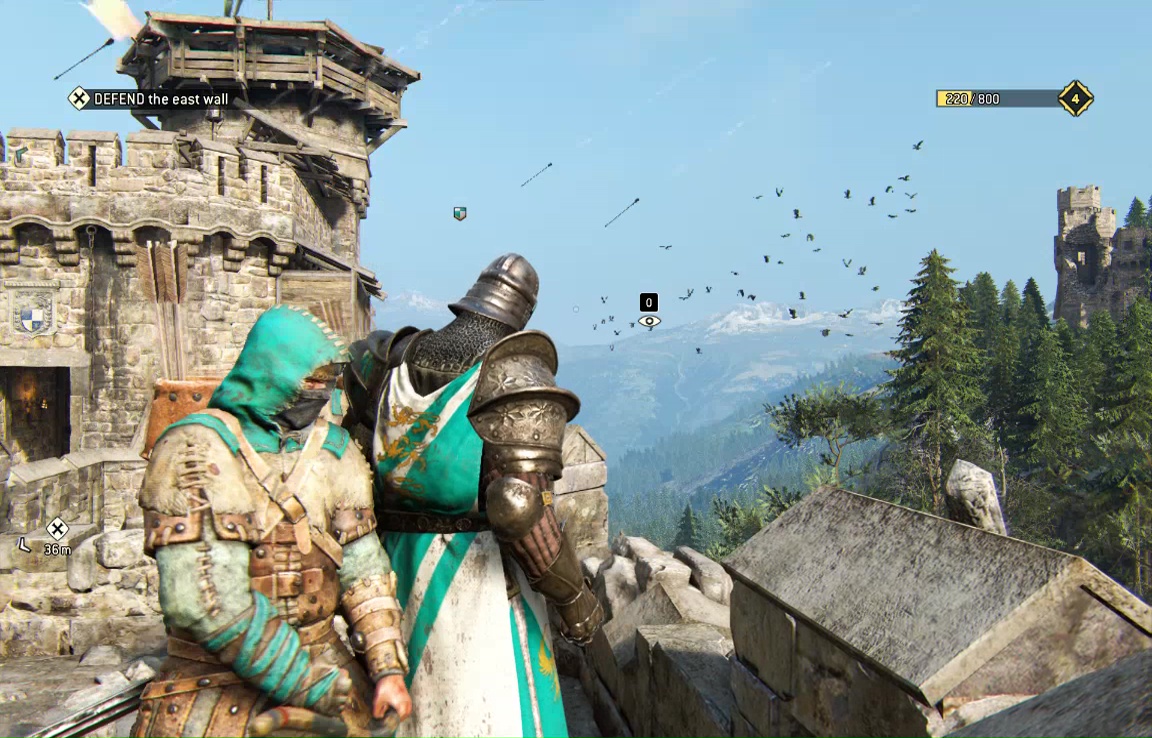
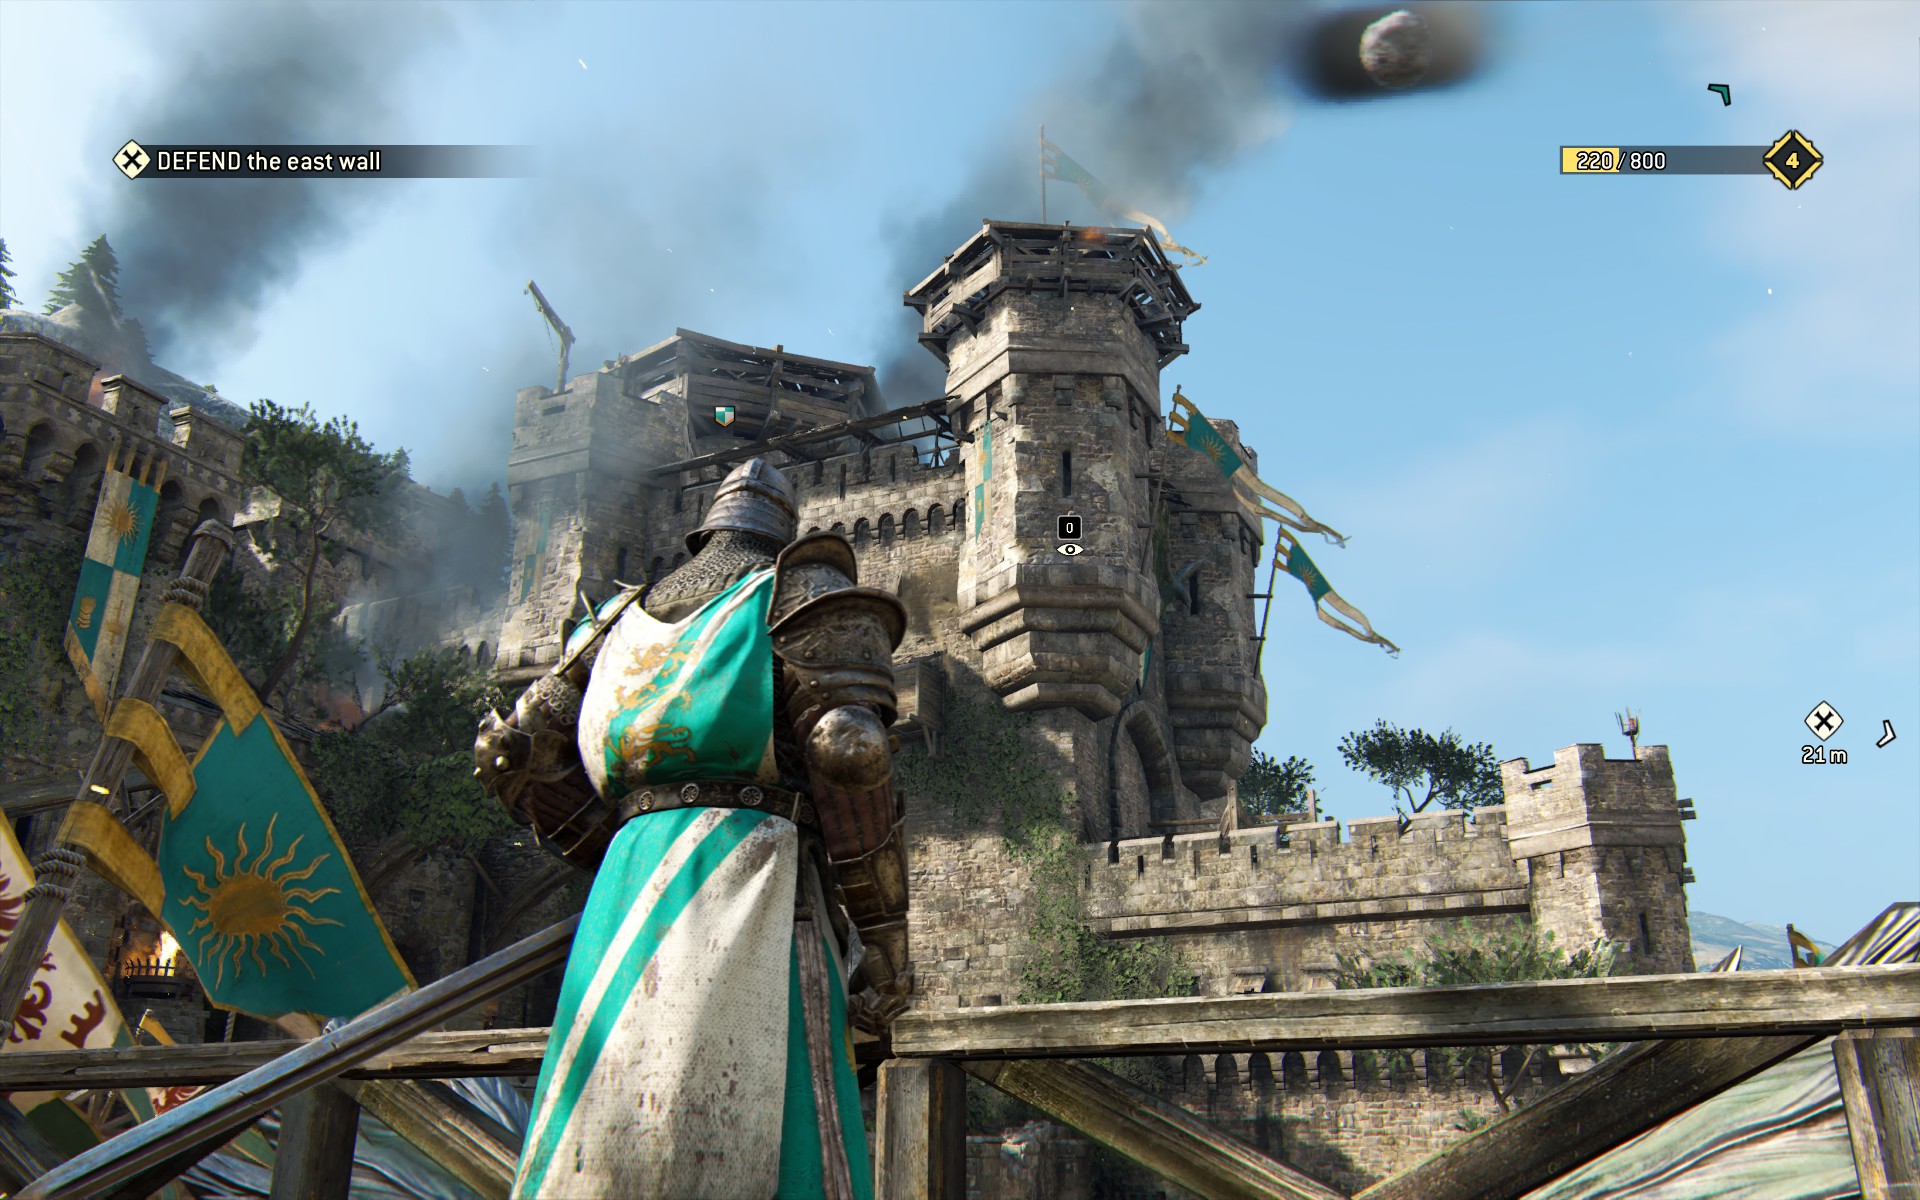
Now look over and across the castle Courtyard to spot the tall tower, recorded as Tower.
There, almost halfway done and we've barely started the level!
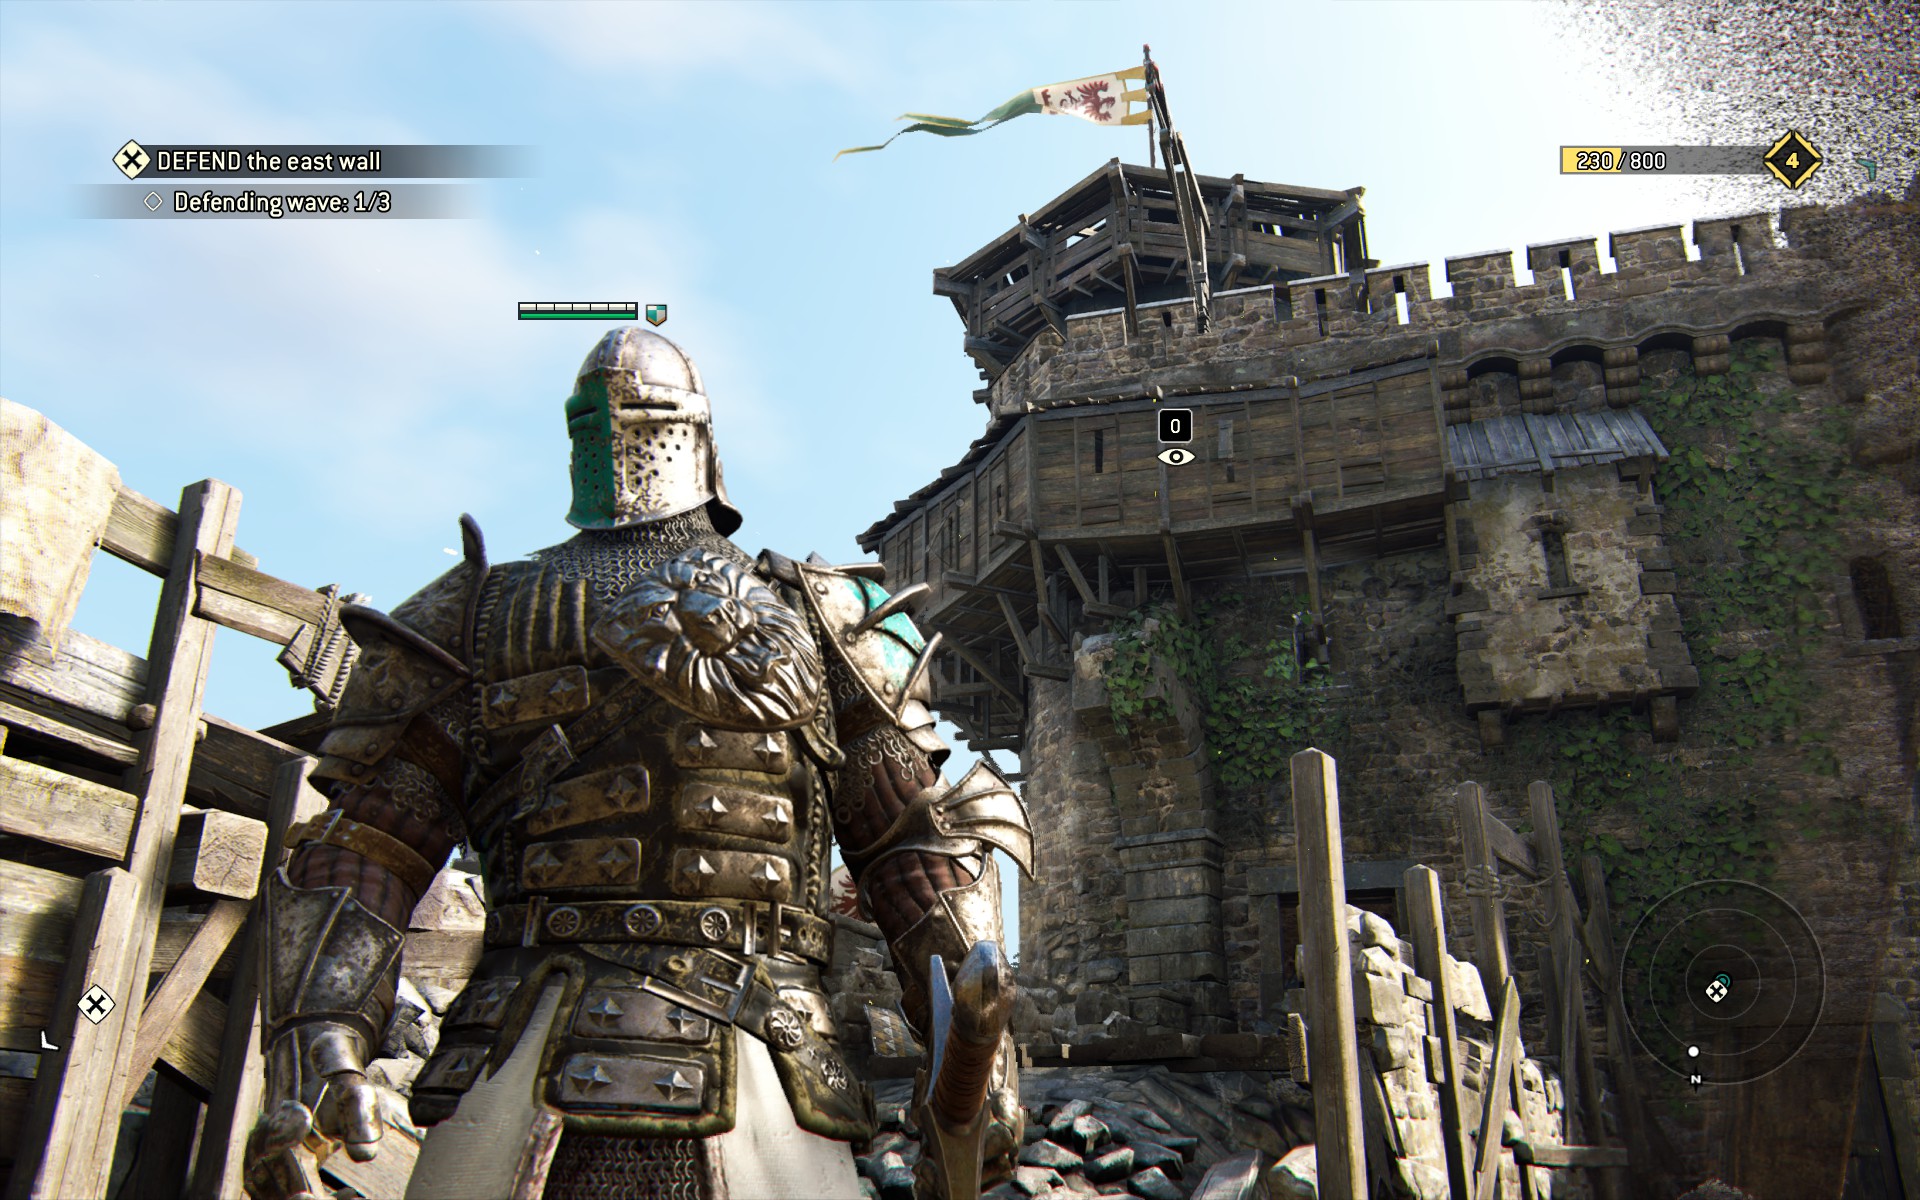
Jog through the tower, and endure a cutscene and tutorial recap. Once you're done with that, jog ahead into the rubble, and look back at the tower you just came through, for the entry Wooden Structures.
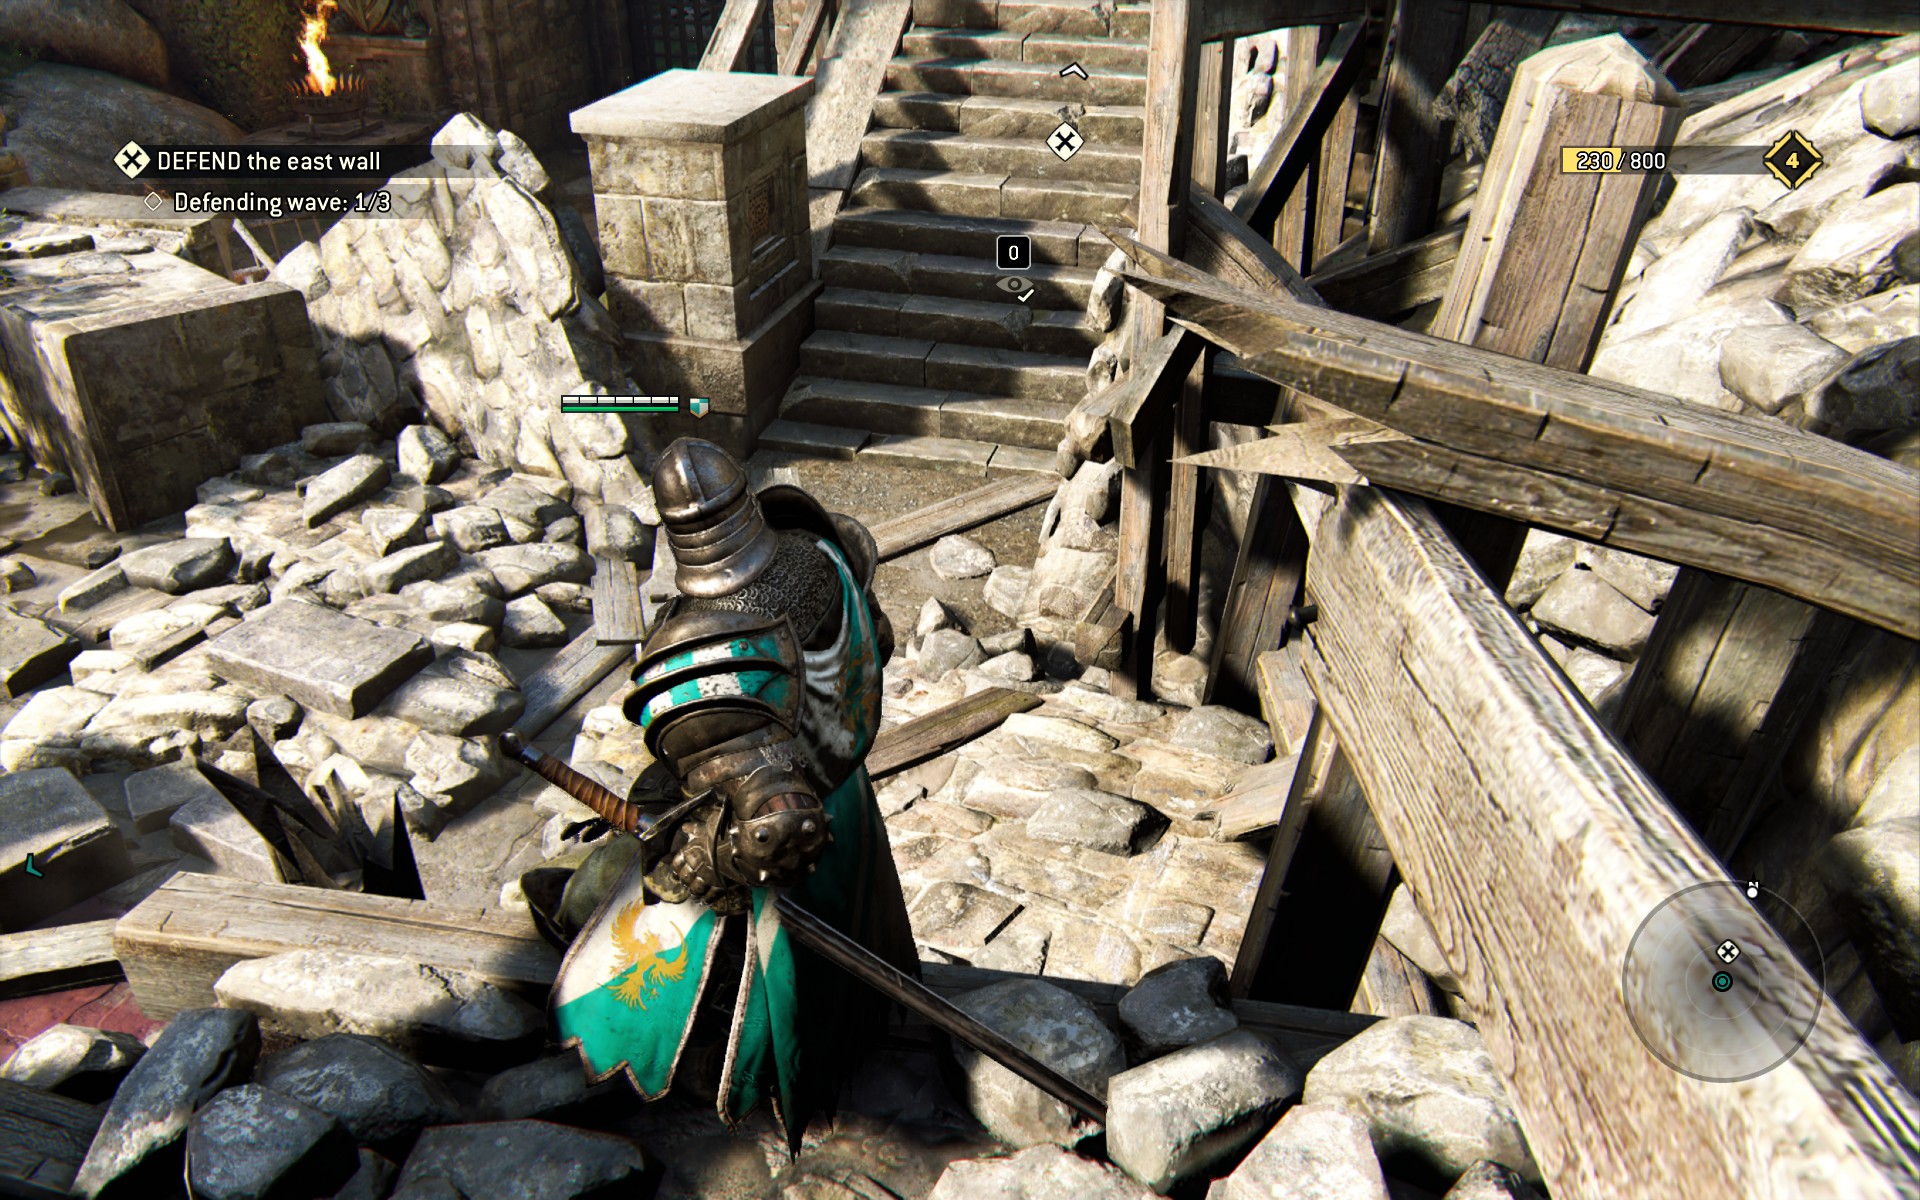
You'll also want to study the rubble itself, for the entry Repairs.
Up the stairs, fight some invaders, through the building, snag a pick-up bonus, then into the courtyard for some classic melee. Slaughter 'em all, then up the ladder and follow the path until you're back inside. Here you'll see the first two clumps of breakables in the game.
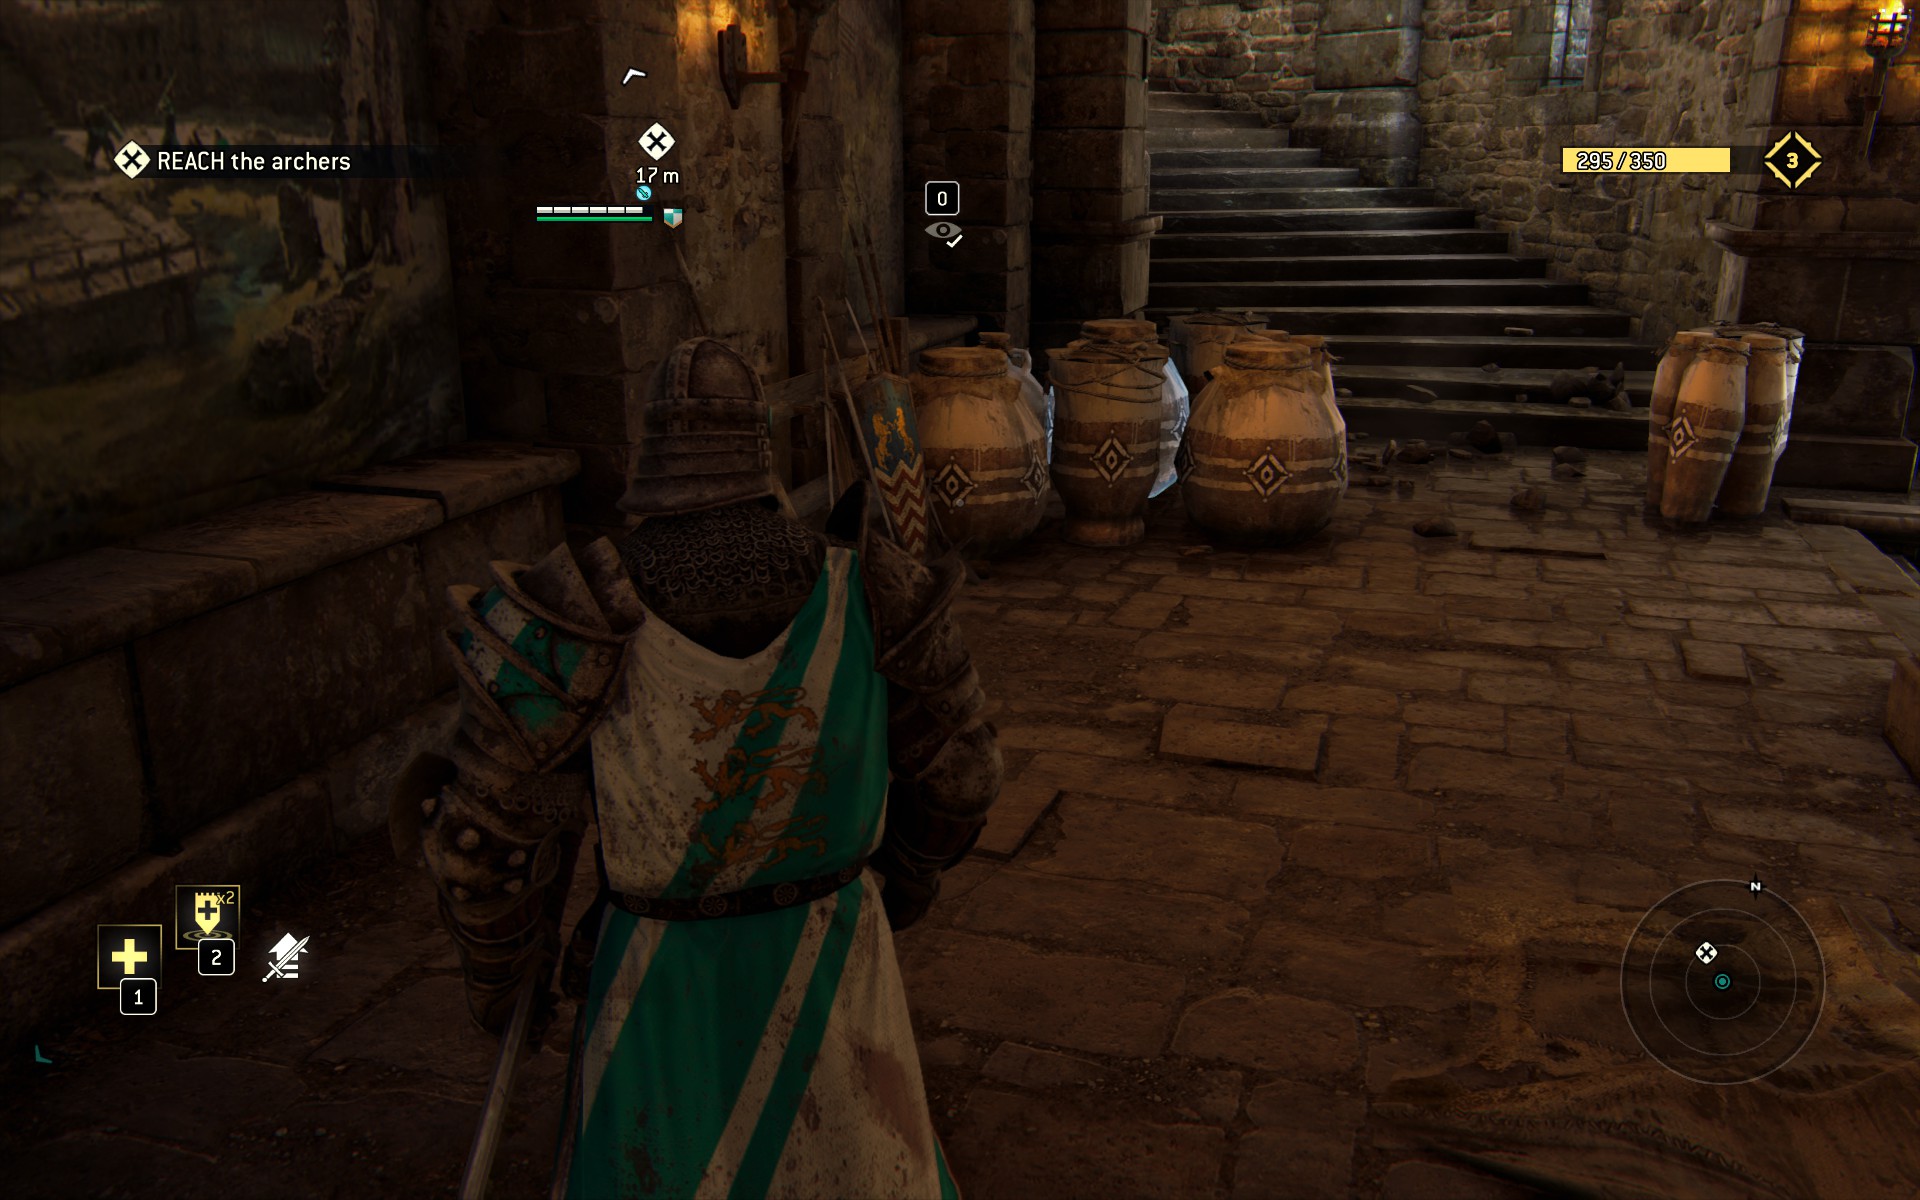
Smash 'em to bits, and be sure to pick up the loot that's left behind (it won't be recorded it you don't). Behind the leftmost clump are some frescoes on the wall, recorded as Frescos (hey, you're warriors, not scribes).
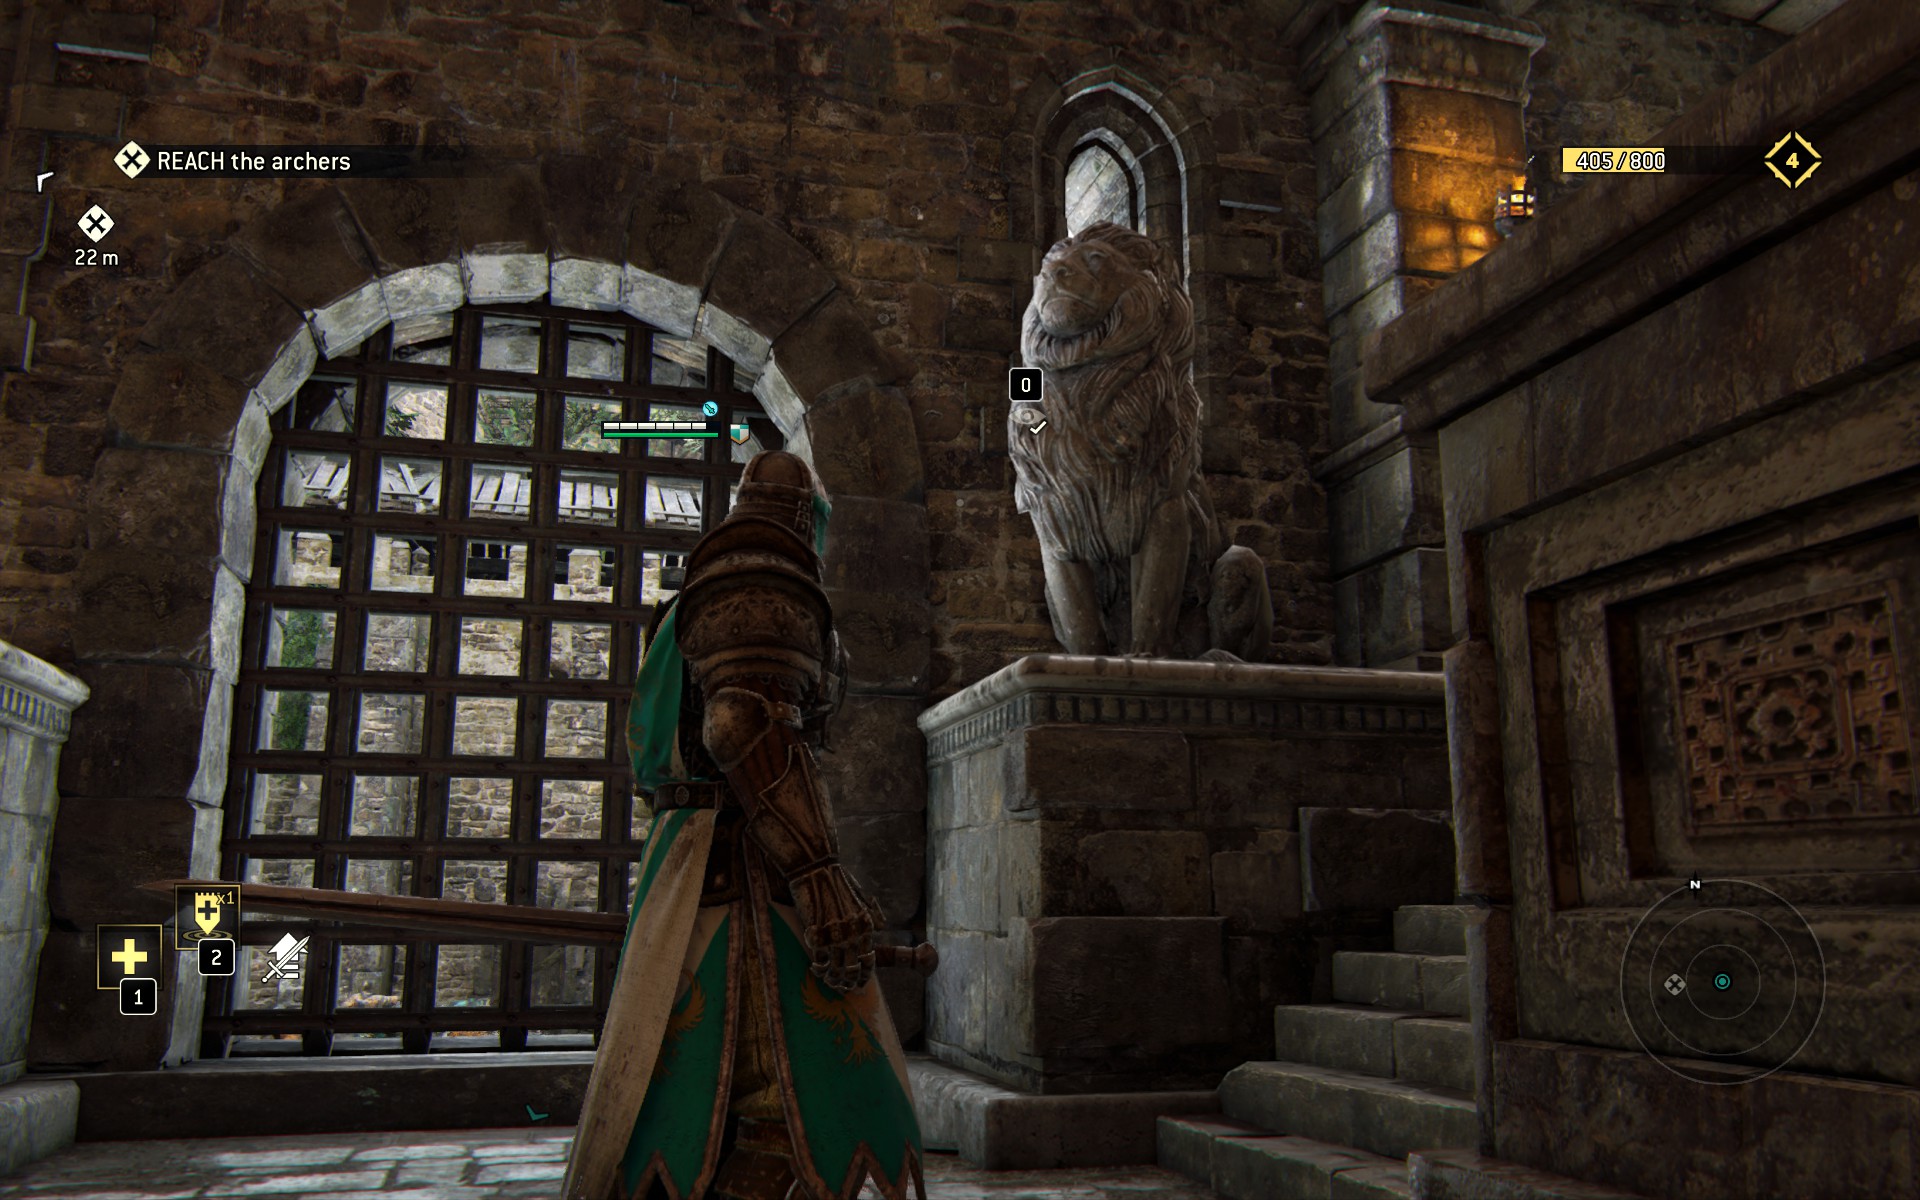
Across the room you'll see a third clump of Breakables, and some lion statues that are recorded as Lion Statues.
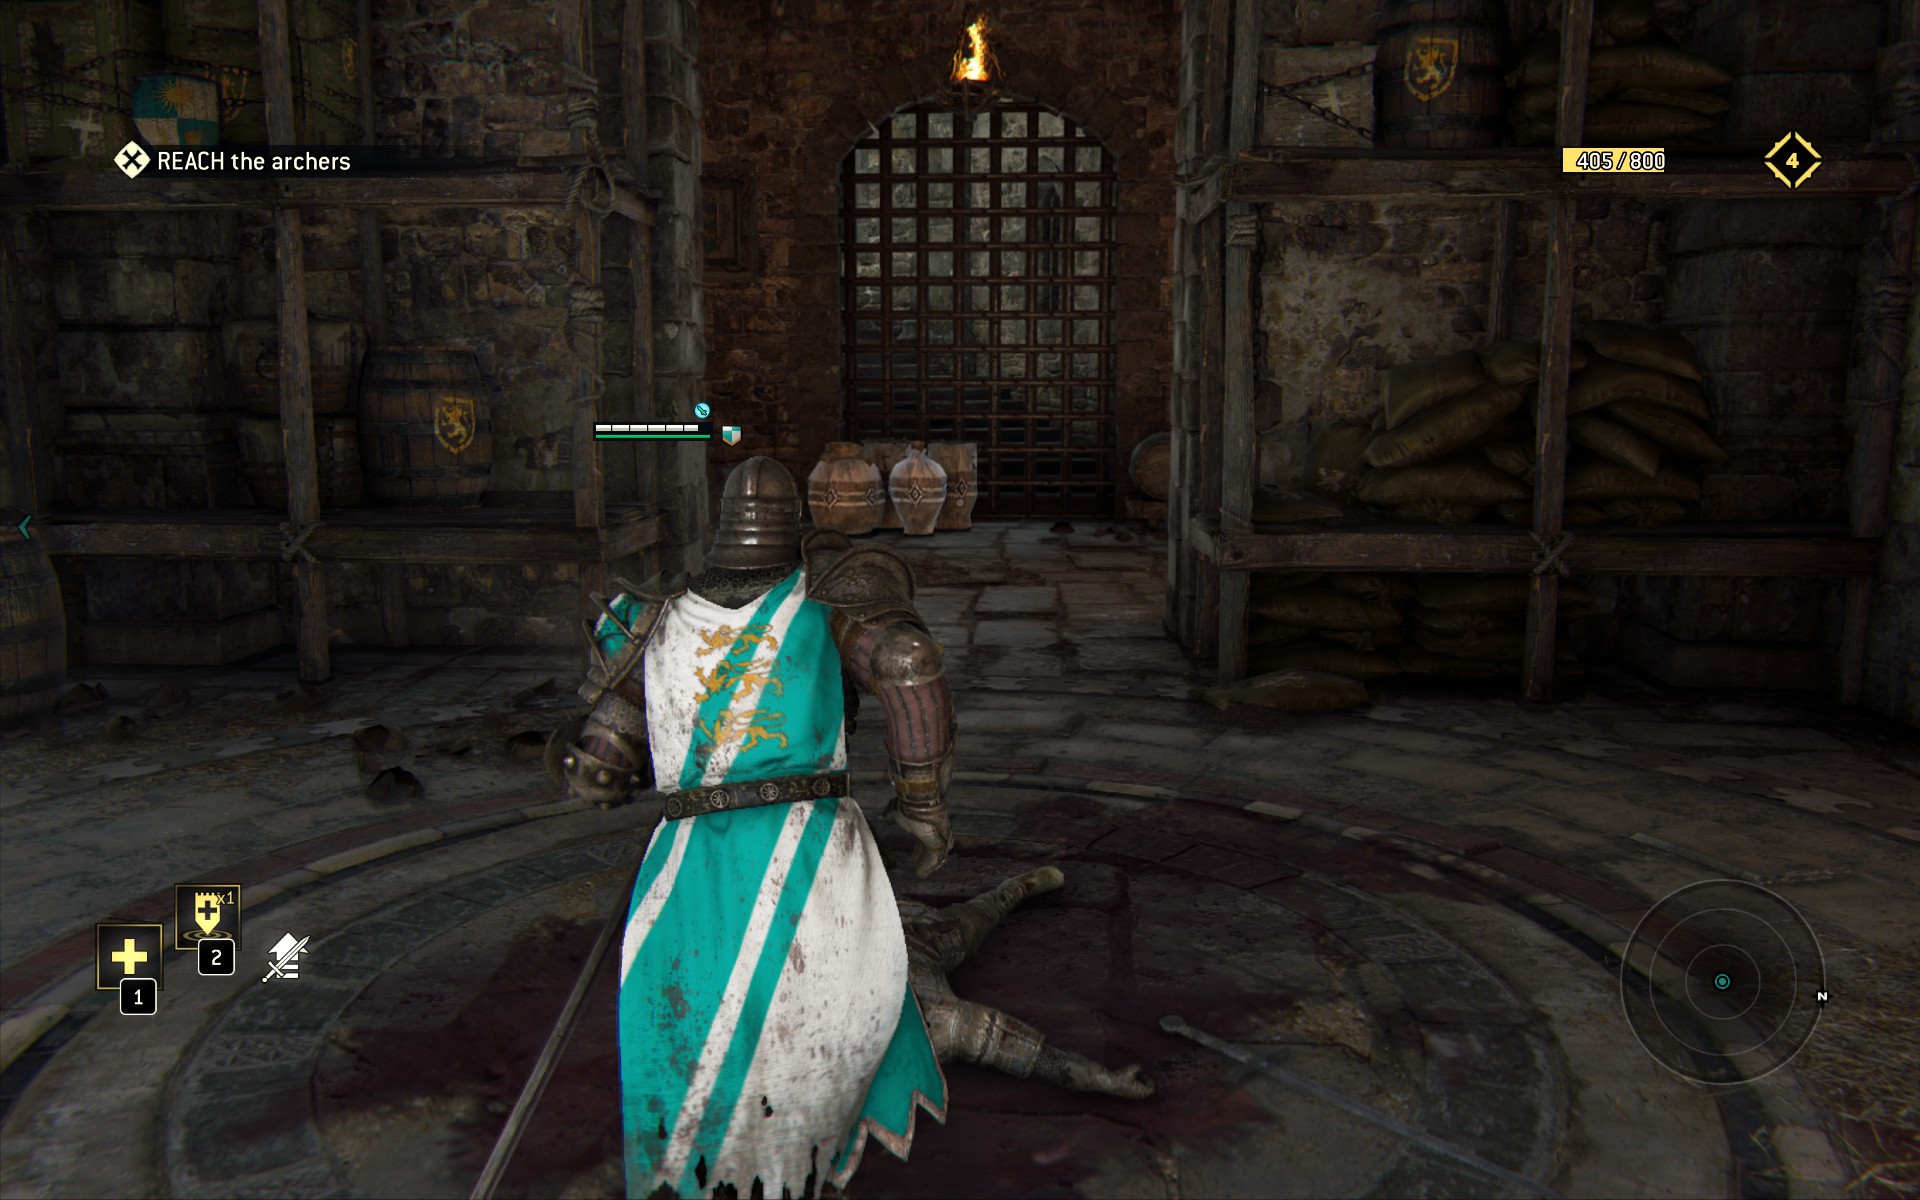
Up the stairs into what looks like it should be a throne room but isn't, look right for the last batch of Breakables.
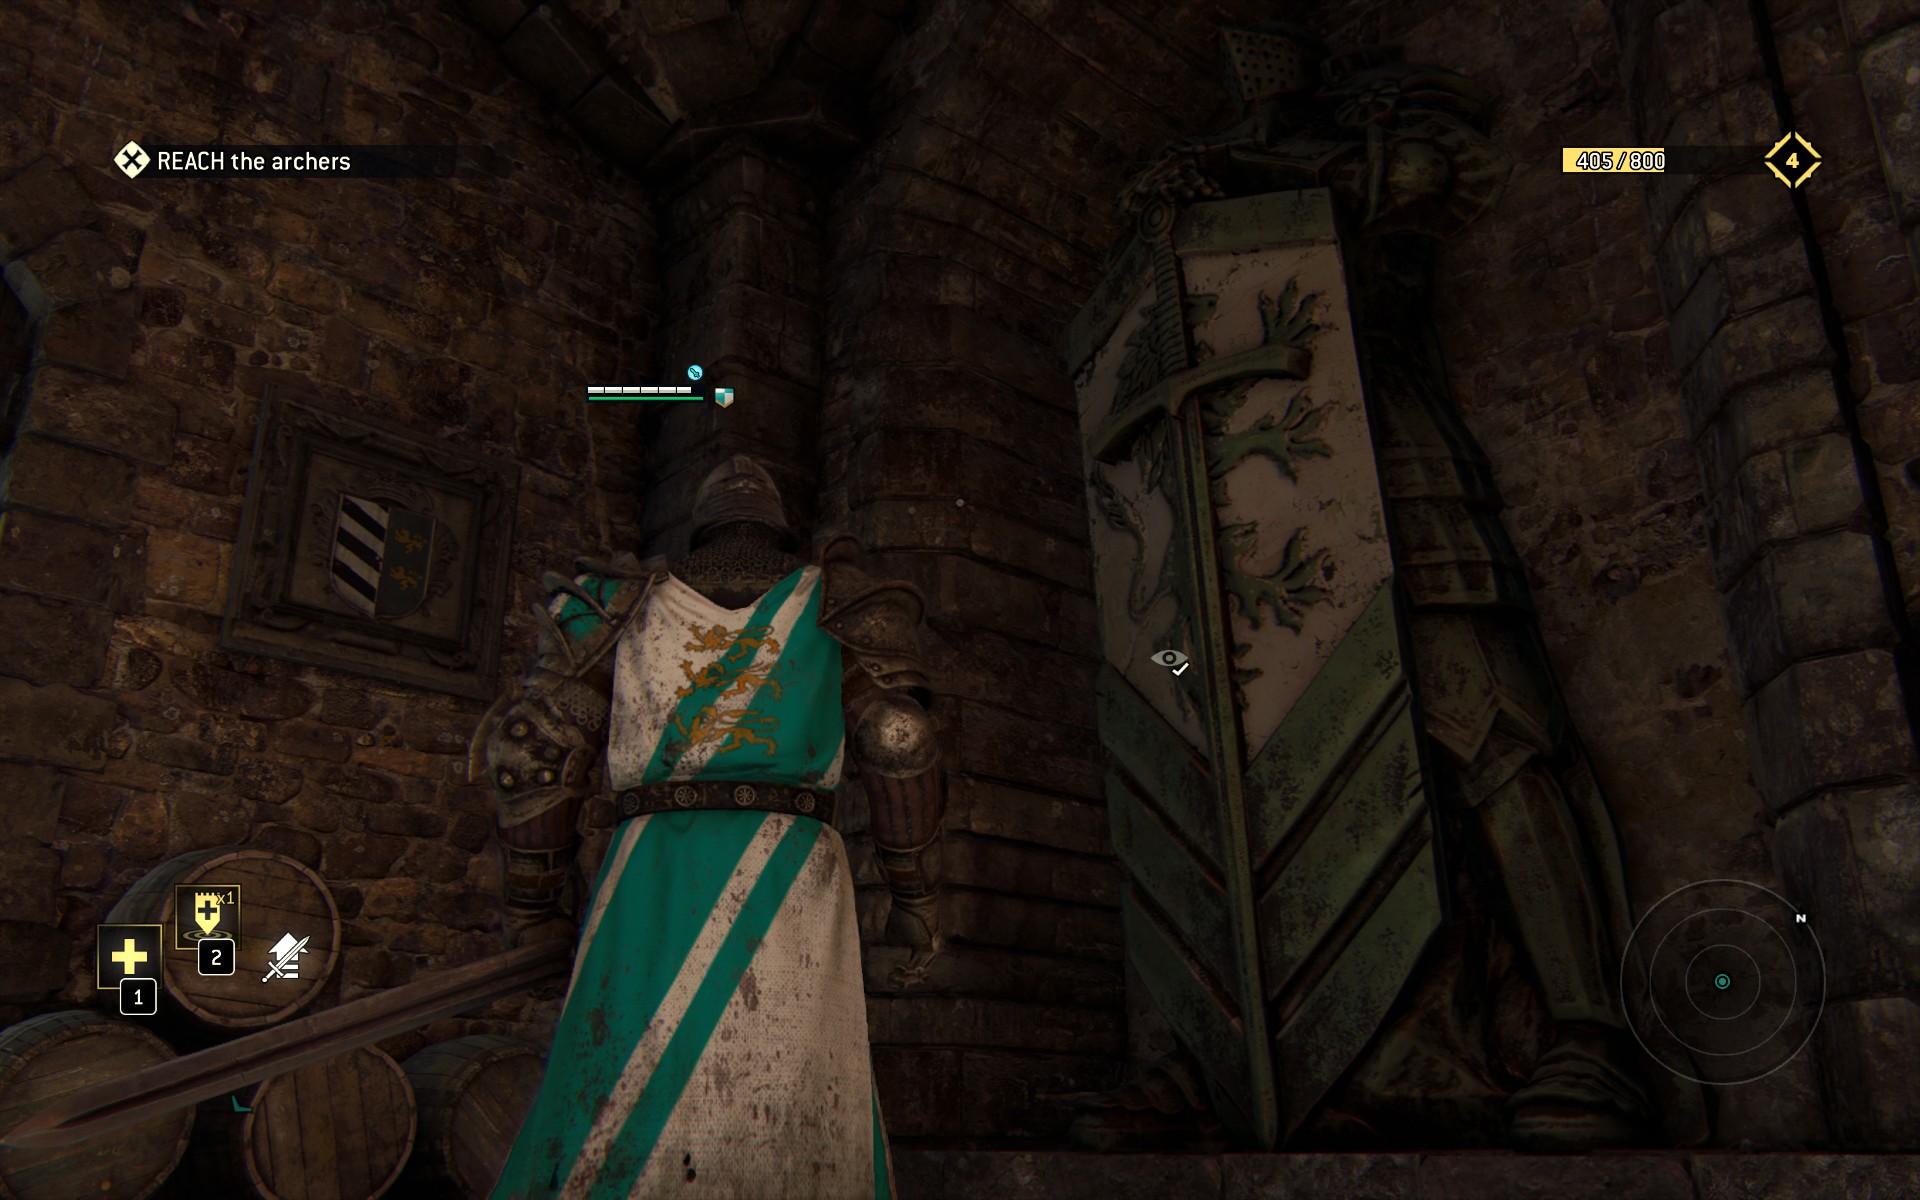
Smash them thoroughly, and look right for the Knight Statue Observable.
Back through the not-throne-room and outside, look along he right hand wall for the last Observable- the plants poking through the winows, recorded as Overgrown Roots. And that's it, collectible wise. The last event of note is the mini-boss battle which ends the chapter. First- if you skip the cutscene leading up to the duel, there's a bug where additional enemy knights join in (extremely unchivalrous). They're not so bad, but for the moment it's best to watch the movie play out. As for Ademar himself- he's got tons of hitpoints and does pretty decent damage, but he's a very stolid sort of fighter. Use standard tactics to take him out, and guard break whenever he turtles up, which is pretty often.
After that, it's on to Chapter 2!