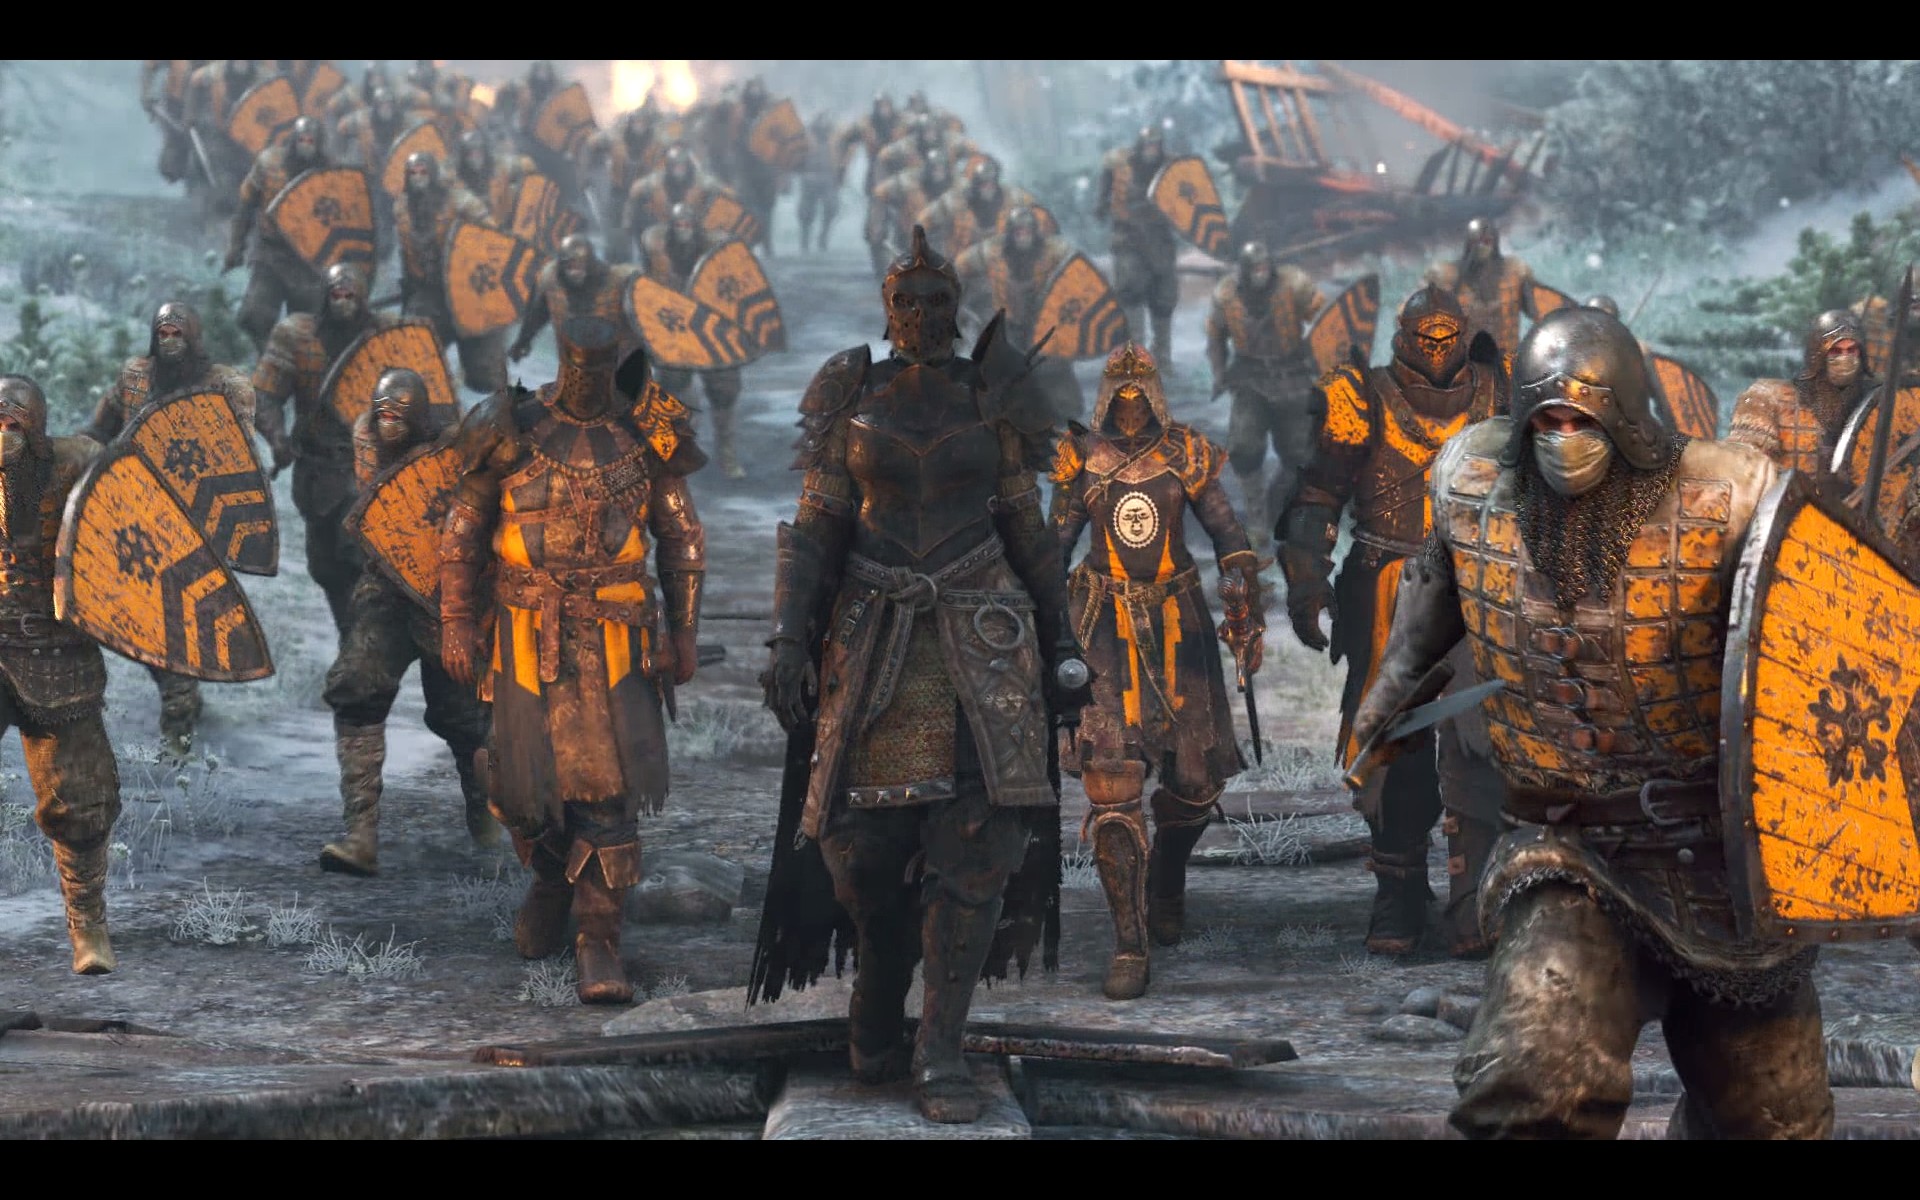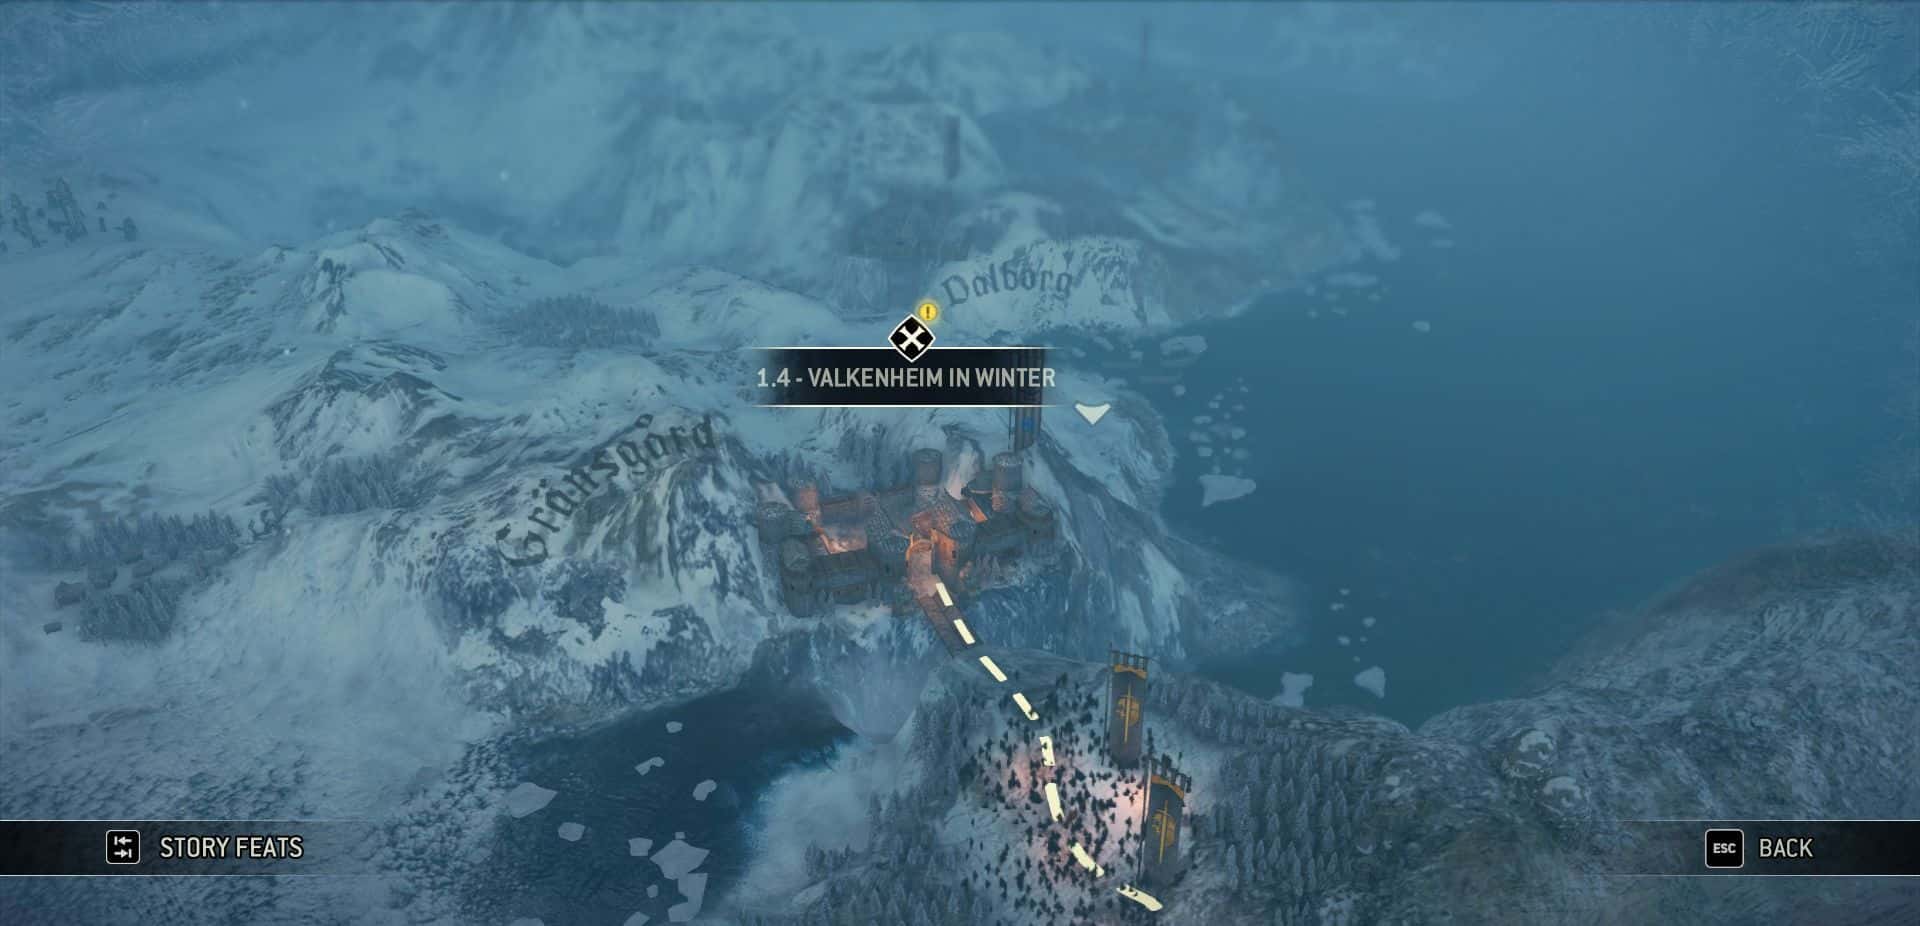
Chapter 1.4 Valkenheim in Winter

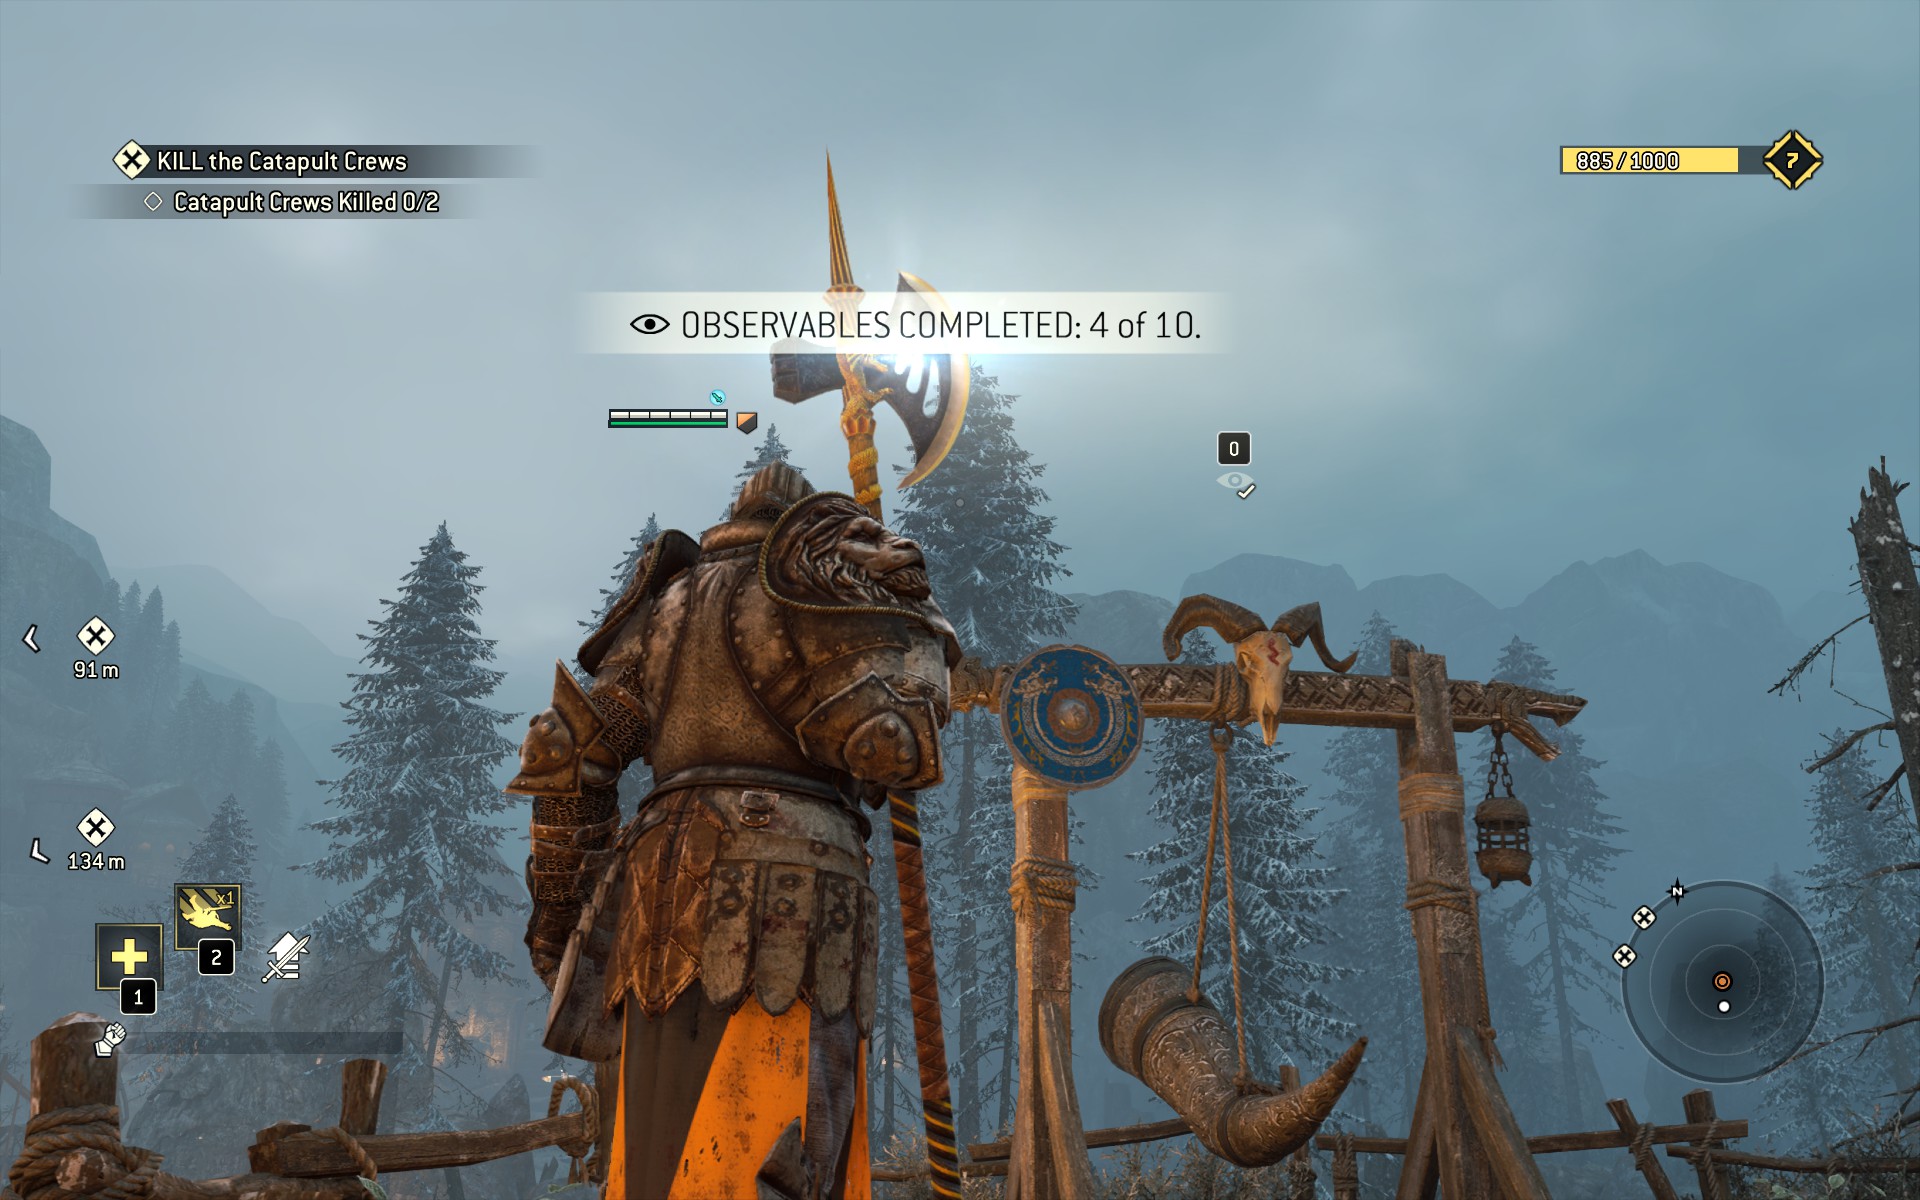
Observables: 10
Breakables: 3
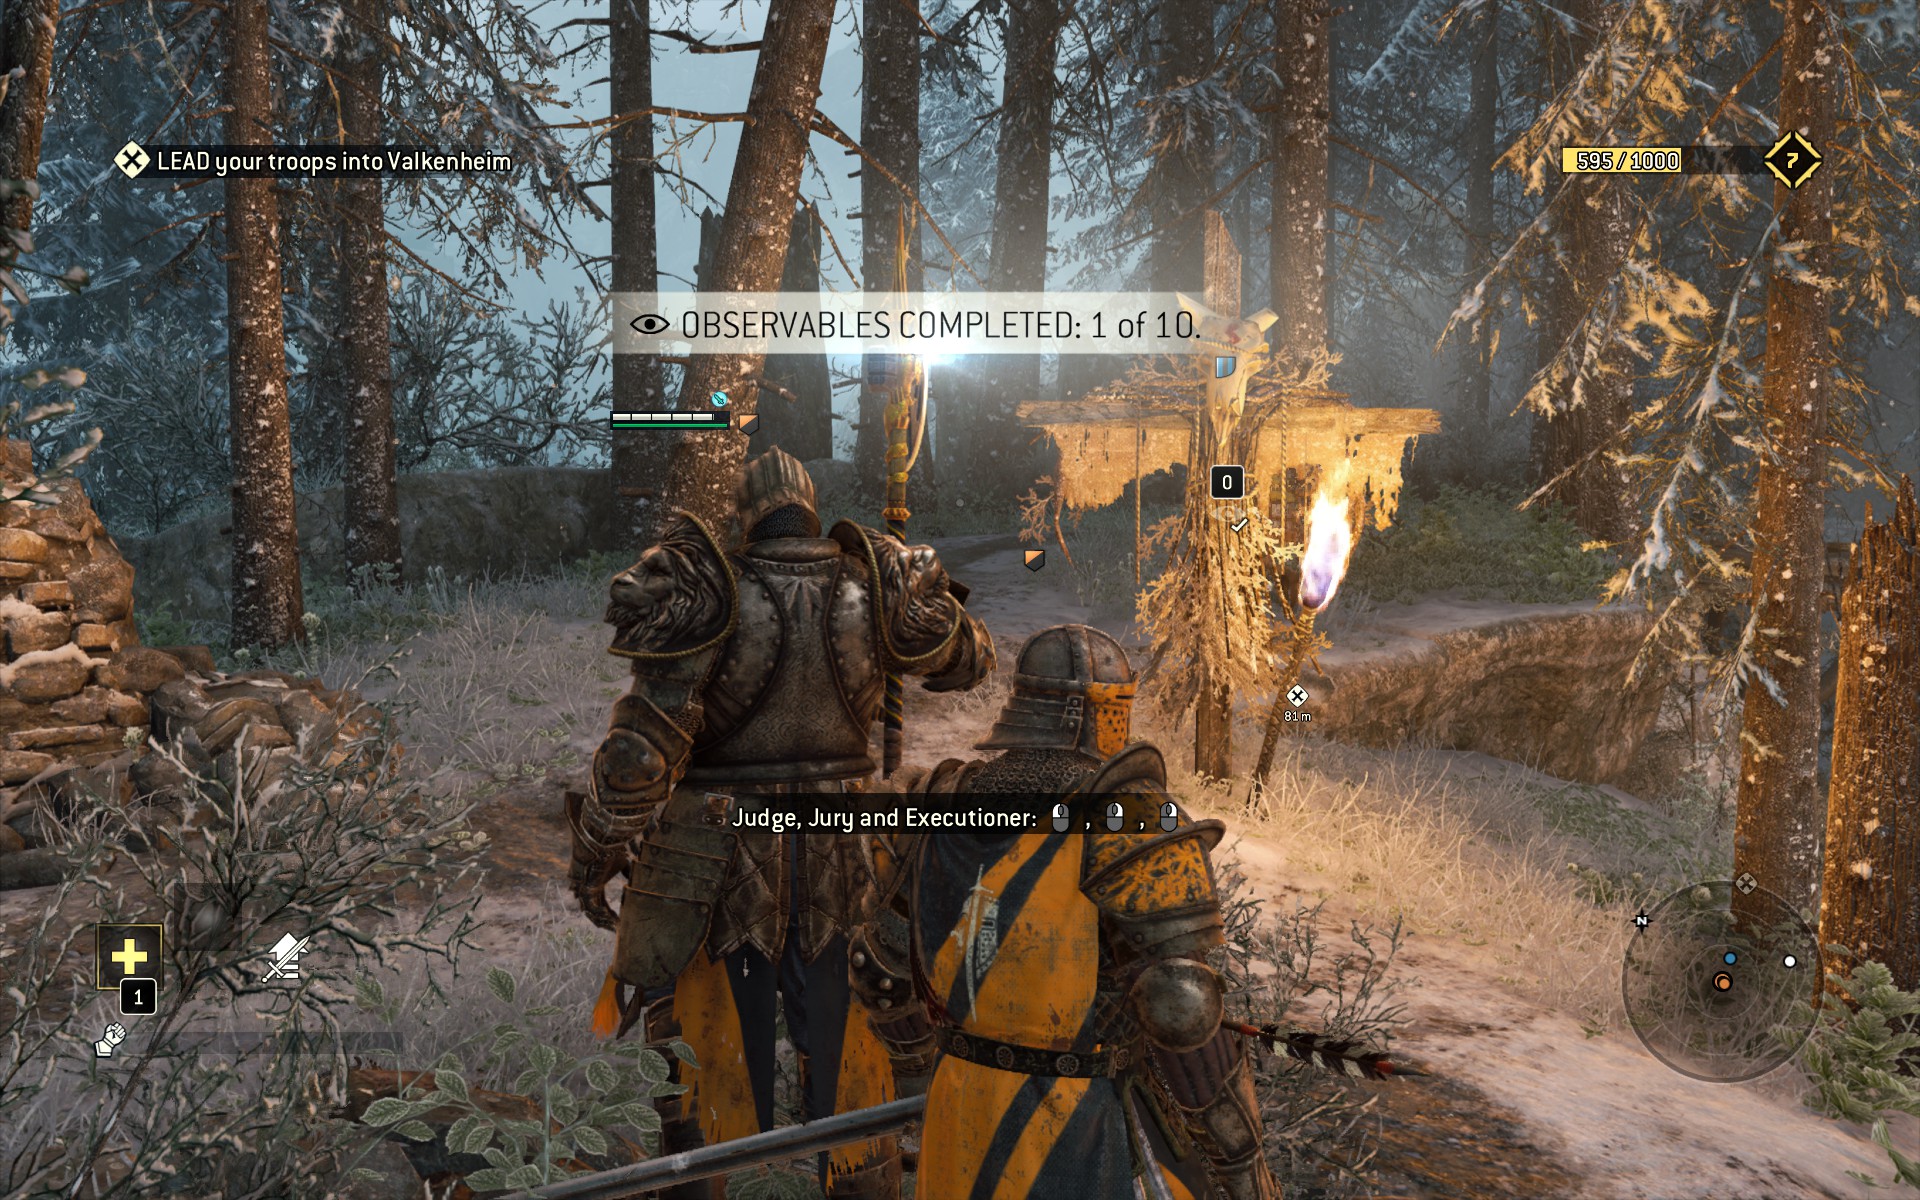
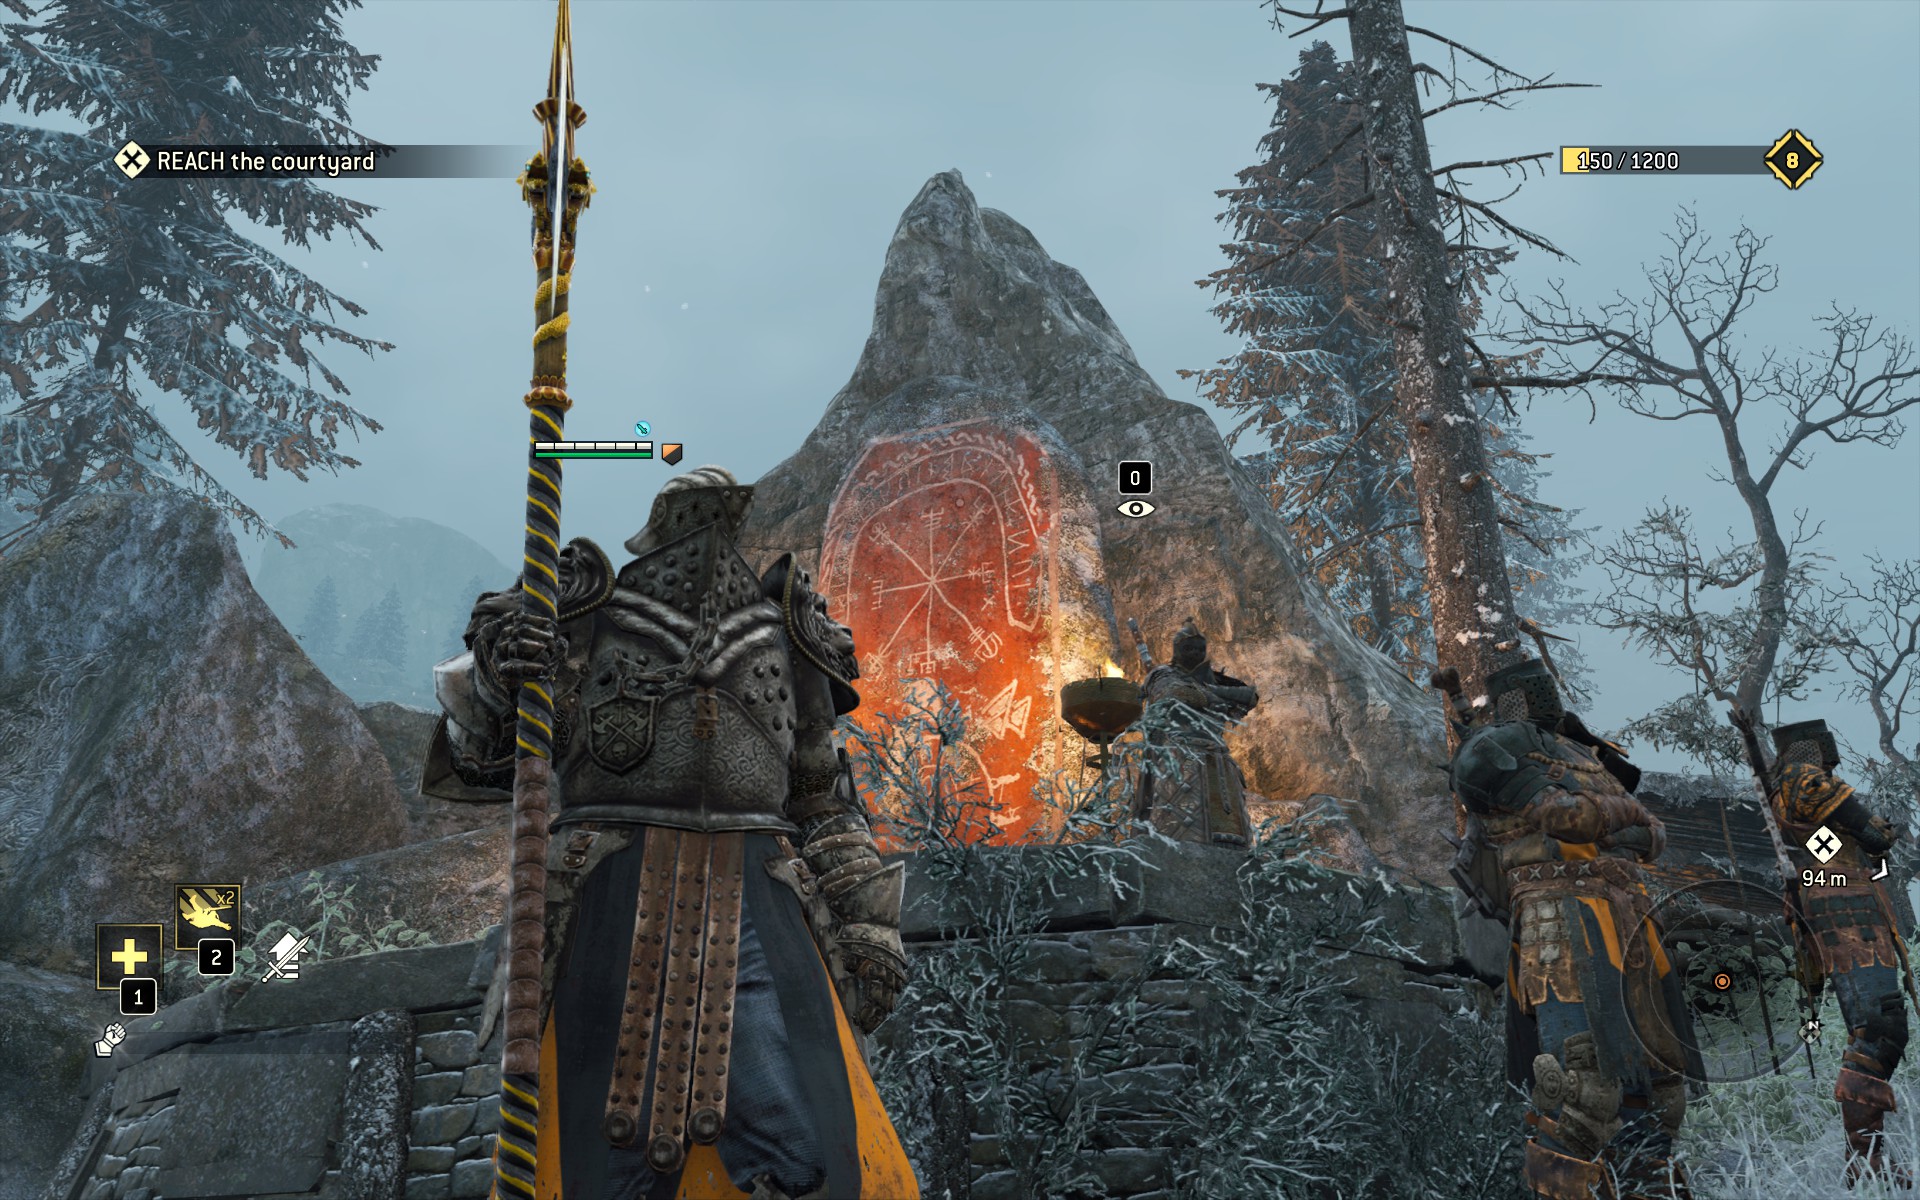
Another day, another bloody fortress assault- but at least this one has a curveball or two en route. In the opening snowy valley, look left (or vaguely northeast) for a sort of skull-scarecrow, that you Observe as Totem.
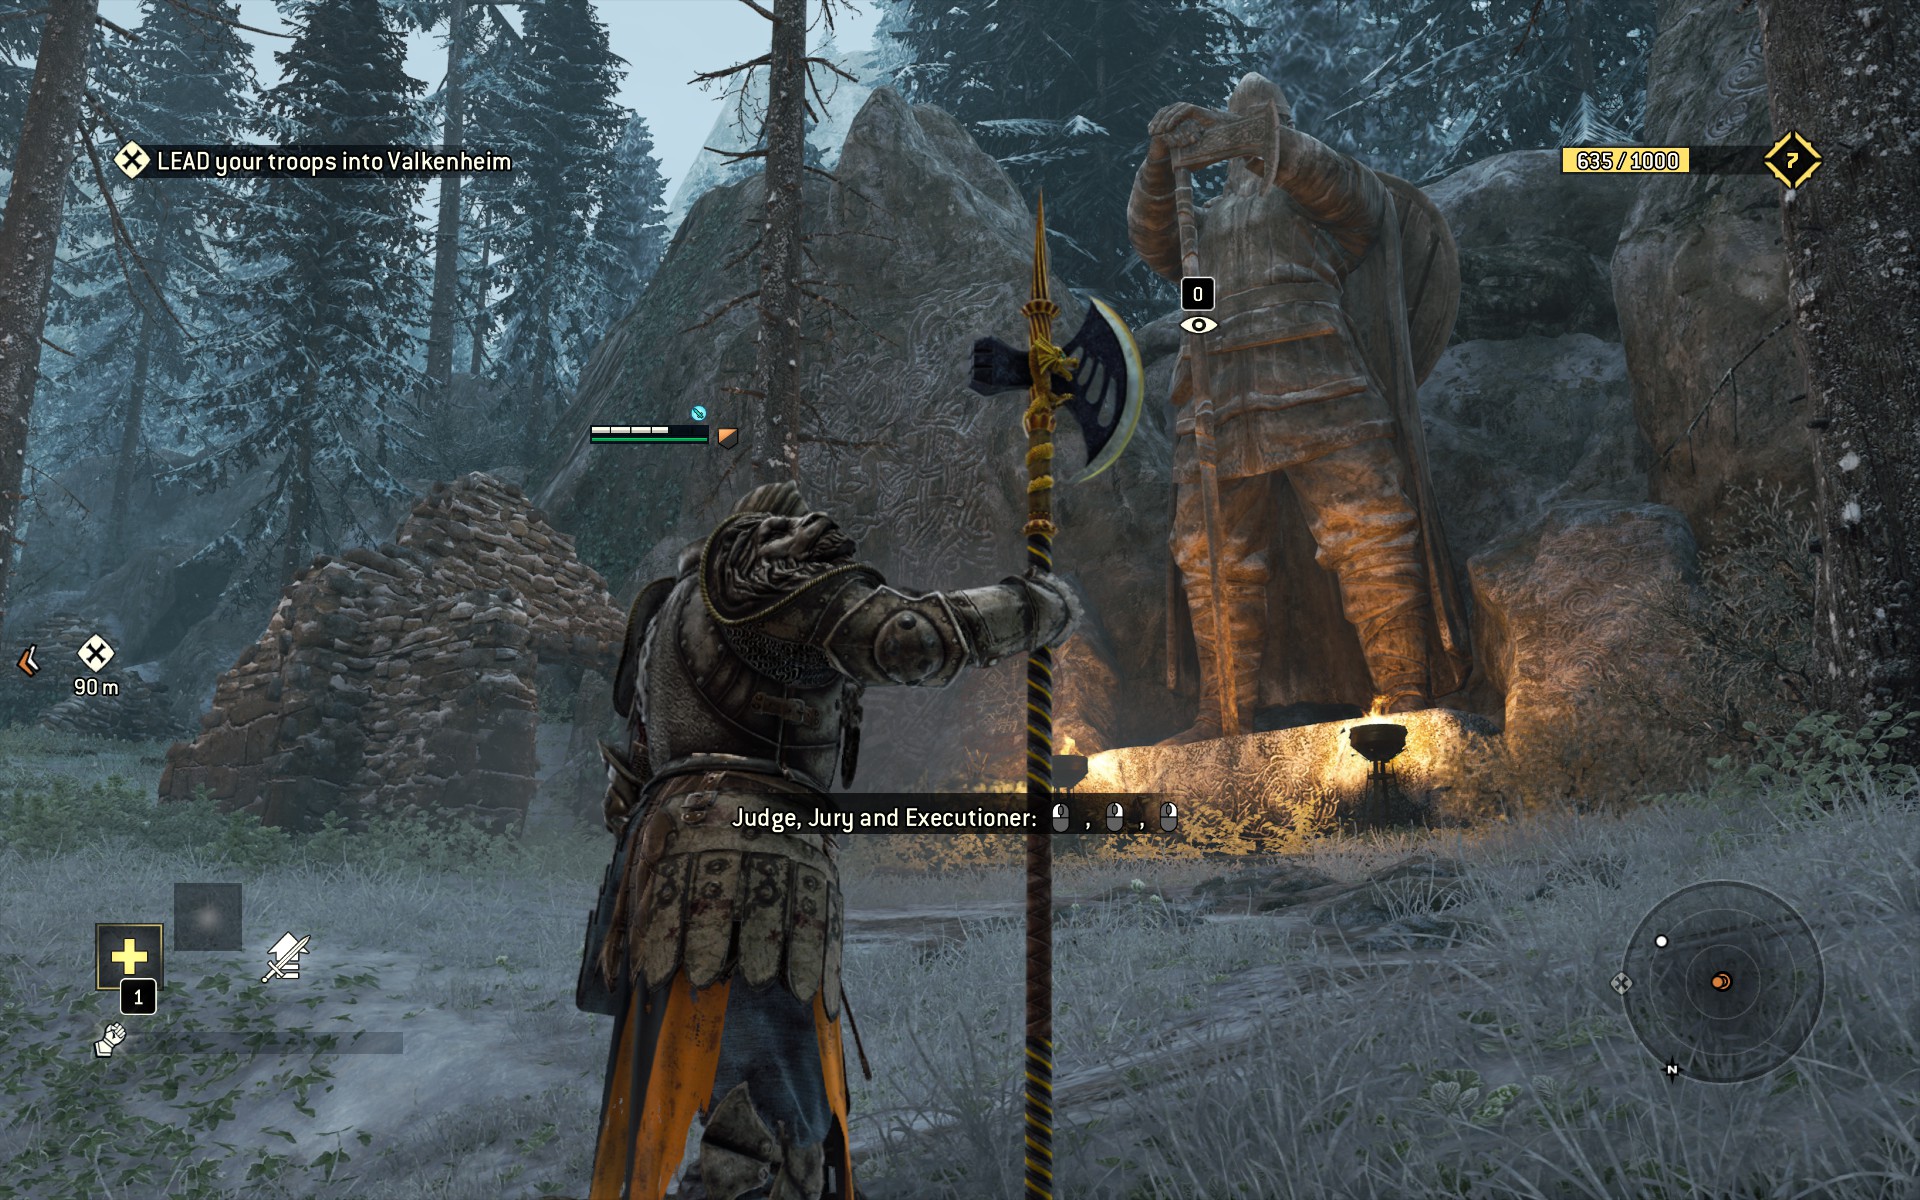
On the opposite side of the valley (left, or vaguely southeast) from your starting postion, is a giant Viking statue, easy to spot and record as Ancestral Statue.
Clear out the mini-overpass here, then kept your eyes open for a small ruin to the right, as the path weaves left. Take a closer look to Observe this Abandoned House.
The stone markers here are guarded by a relatively doughty Viking, but you can pick him apart with your Long Arm manuever- an unblockable leg-hook & throw that lays your opponent out flat (use guardbreak while backing away from your opponent in guard mode).
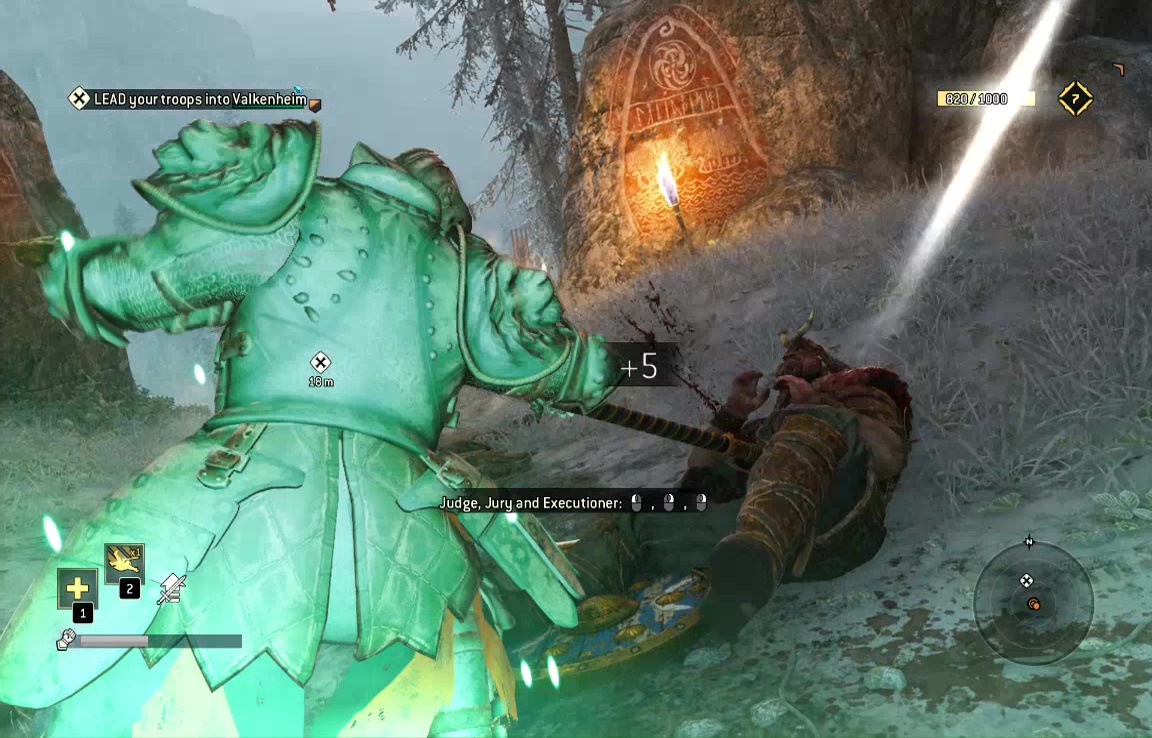
Take him out, then move into the next area. A catapult barrage begins. Break left and take out the Viking on the bridge here (shoves and leghook work equally well).
Clear the bridge only to watch it fall in a mini-cutscene. Kill the Viking on the little islandlet here, and then Observe the giant Viking Horn.
Continue down the hill. At its base is the first Breakable cache of the mission
Set off across the ice and cut down another hornhead. Note that the ice floes will eventually crack and sink if they take enough punishment. This is unlikely to be a factor now, but keep it in mind. On the far side of the ice, Observe the Big Head.

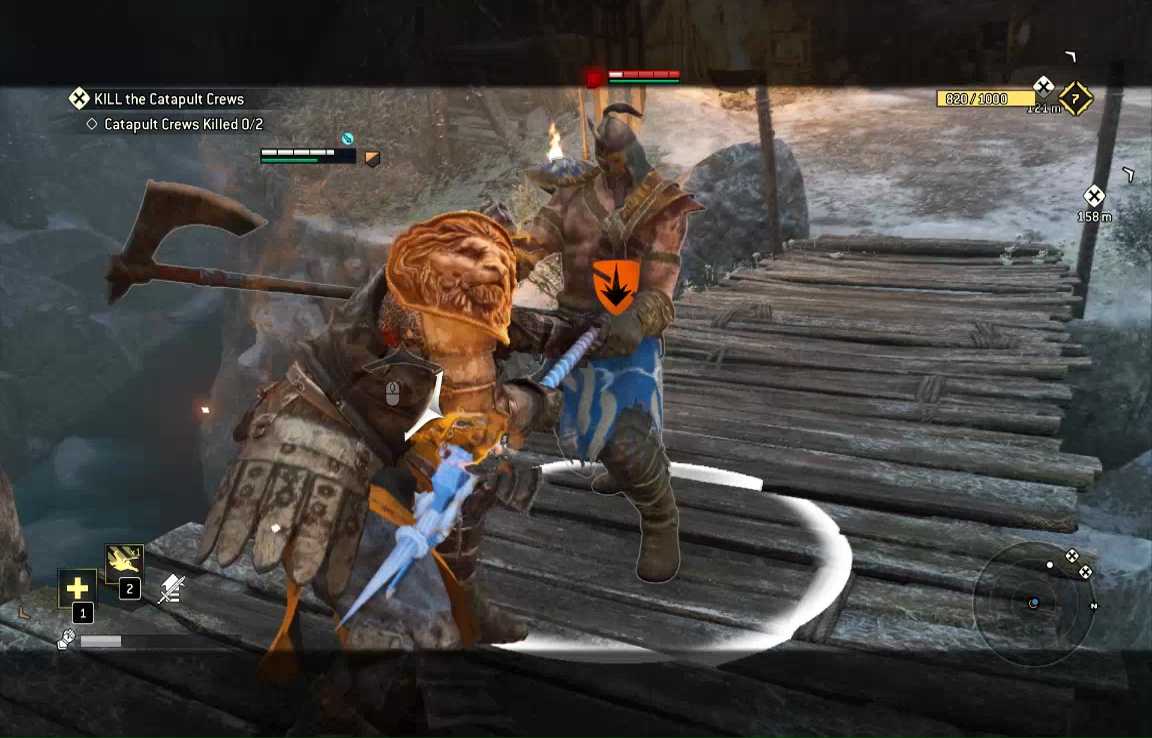
Veer left, taking a semicircular path up the hill. Exterminate the guard crew up top, and note the second batch of Breakables.

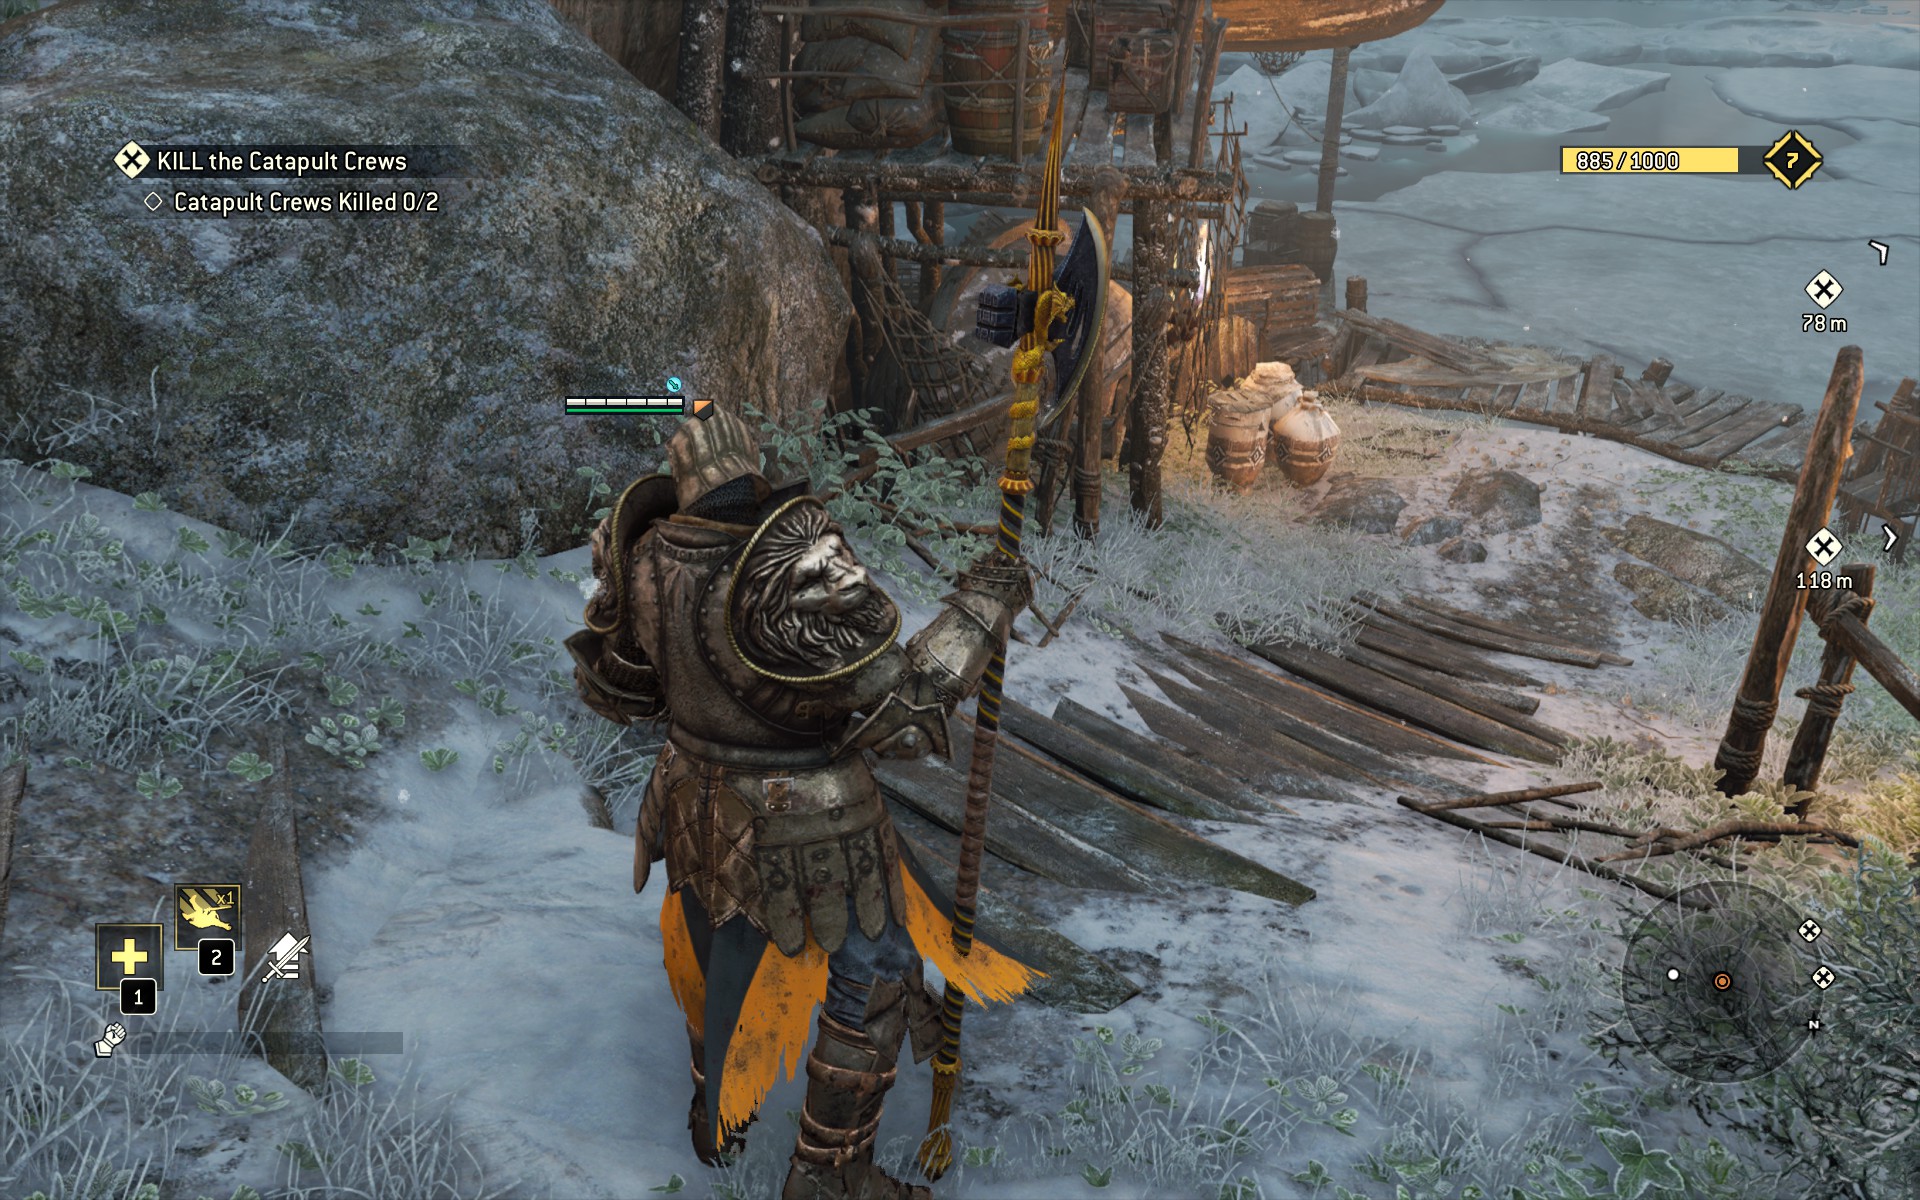
Disable the catapult by hitting the 'Use' key when next to it, then make for catapult number two. There's a Viking on shore to dispatch, but the real challenge is a brute named Thornfinn, guarding the catapult itself.
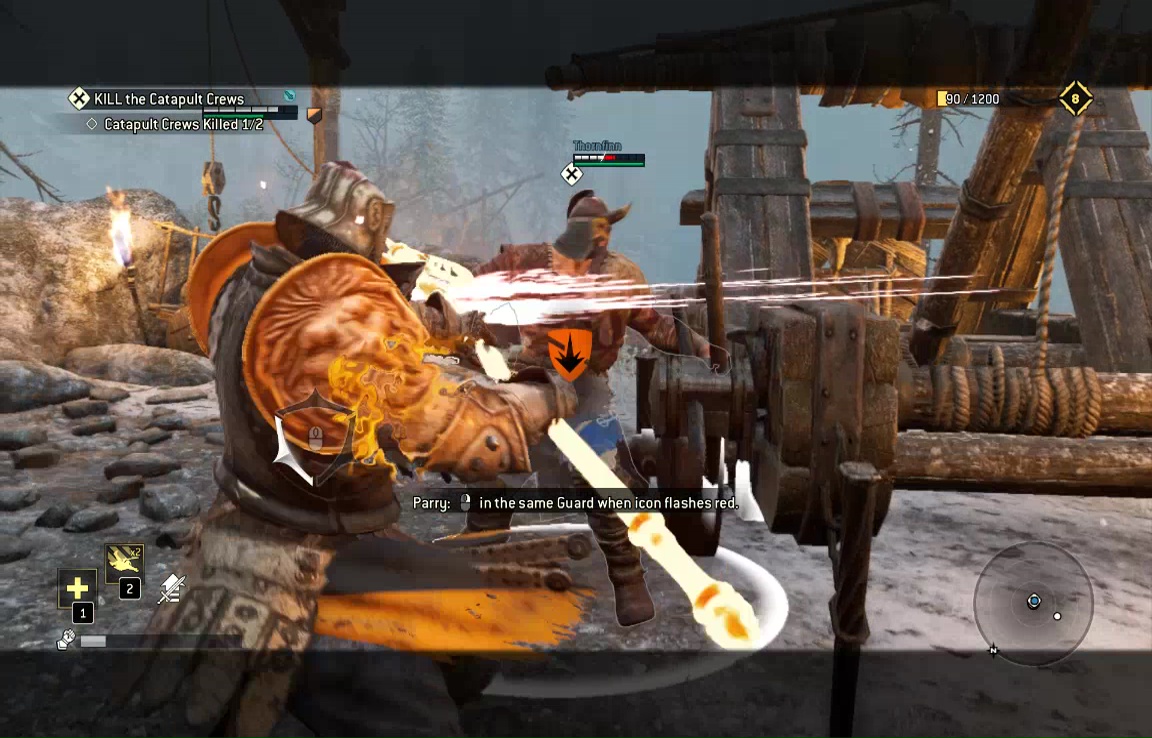
Go ahead and knock him around some, but when he reaches half-health, it triggers a little cutscene where he throws you down to the ice floes, and you finish the duel there. He gets a little power-up, and becomes very good at countering guardbreaks and dishing them out. Your best bet is to stick with the spirit of the lesson, and use parries to open him up to attack.
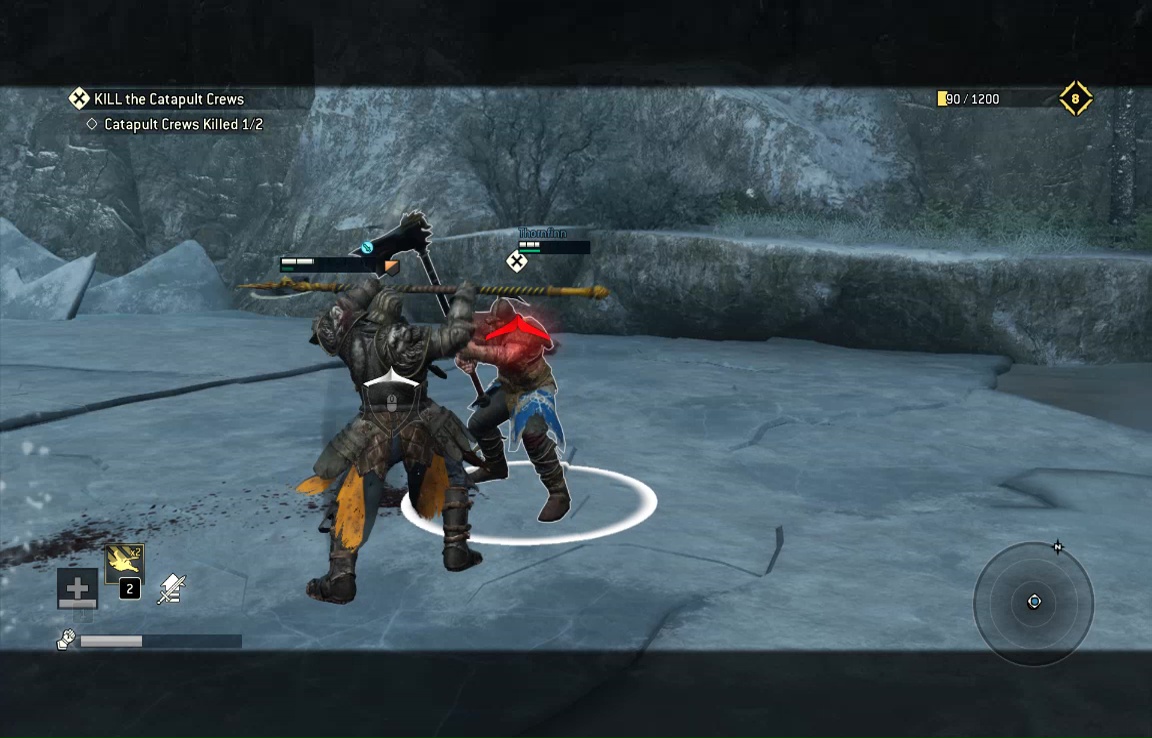
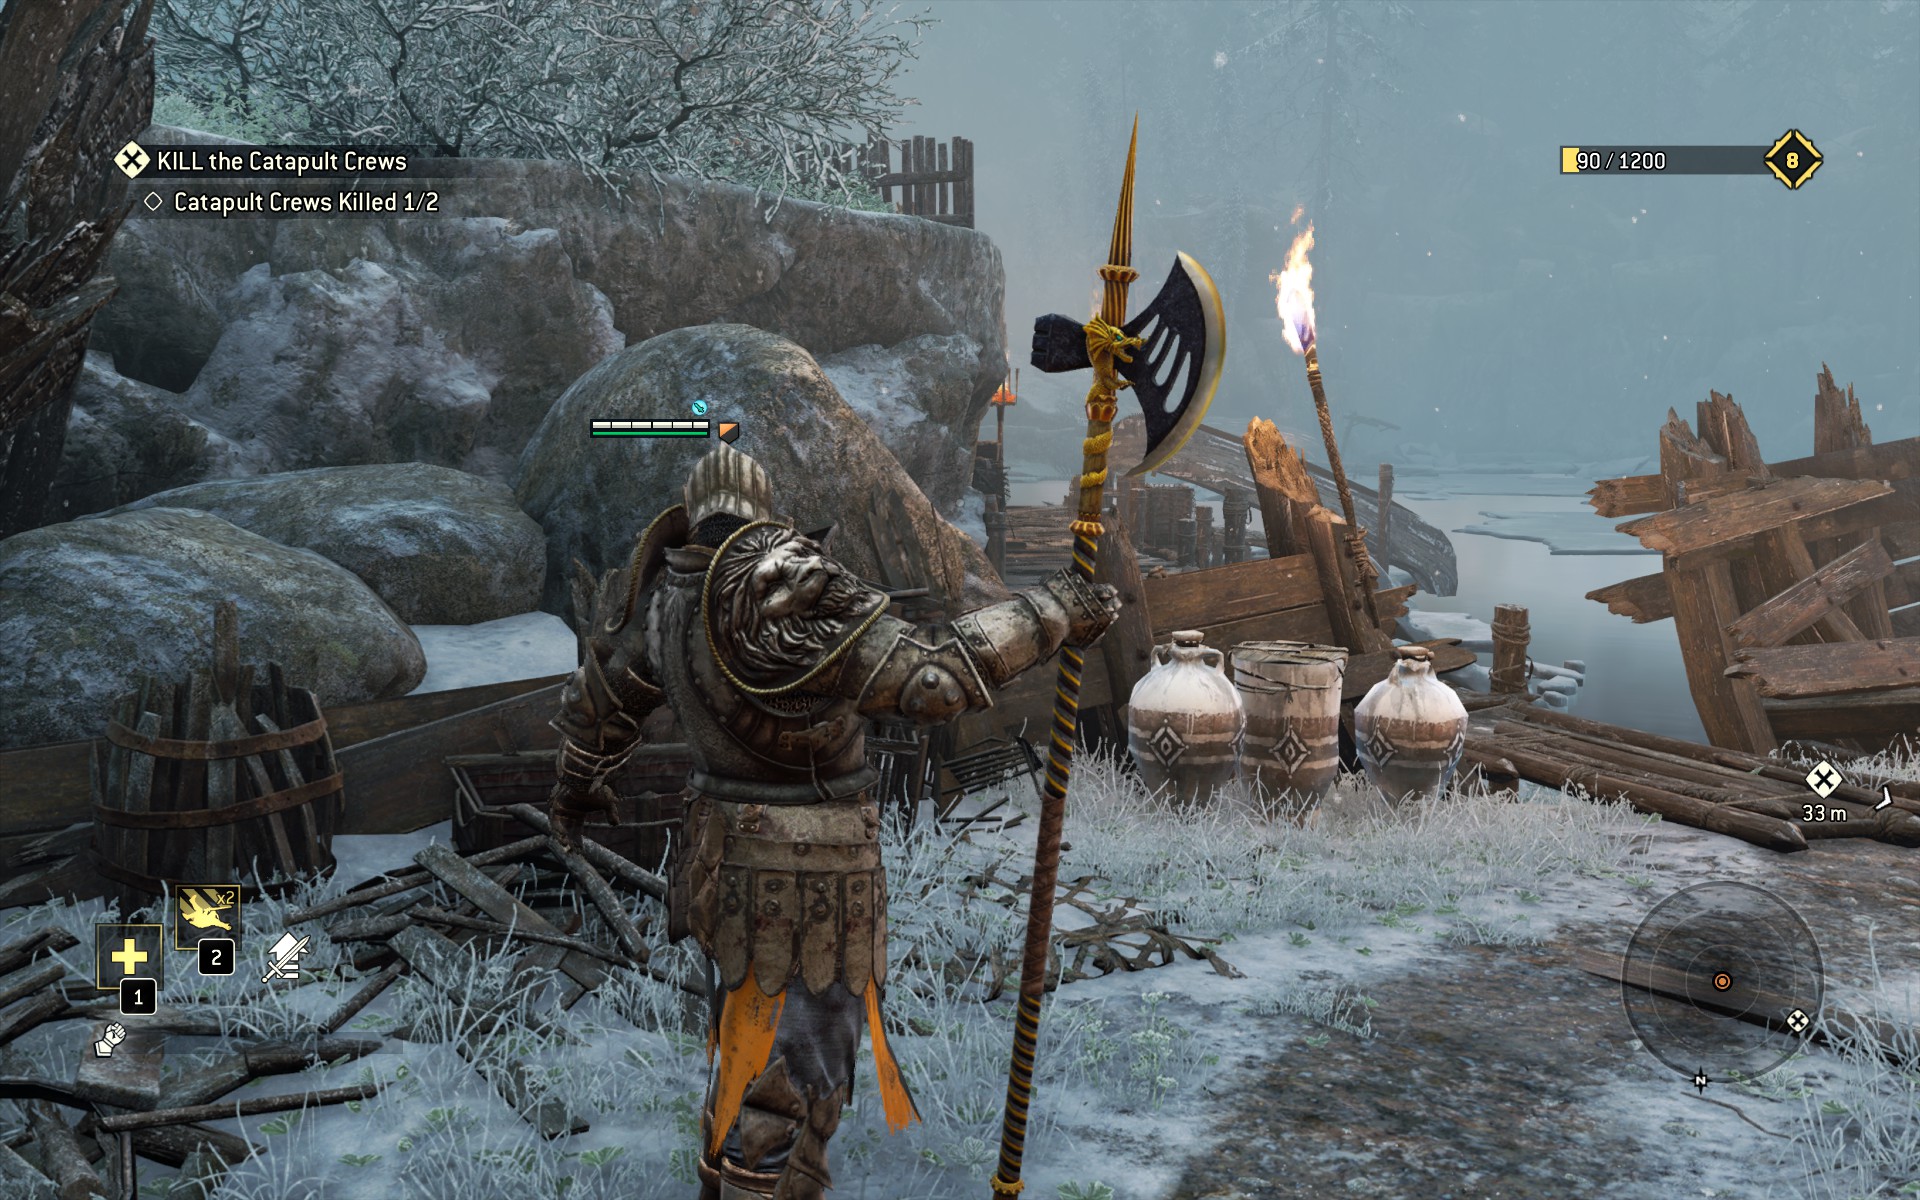
The other threat is the crumbling ice beneath your feet. Be ready to unlock guard mode and sprint away when the ice starts cracking, or you'll drown instantly when it sinks, even if you've already killed Thornfinn. Once he's dealt with, make for the main shore- east of the newly useless catapult. On the first big chunk of land here that you'll find the last set of Breakables.
Follow the path to siege grounds. Directly ahead of you is another disabled catapult (albeit a friendly one), observable as Broken Ballista.
To your left as you enter is your boss, Apollyon, worth glancing at again for Apollyon 1.
As you near the giant fortress ahead you'll see the massive entryway is worth an Observable as well, recorded as Gates.
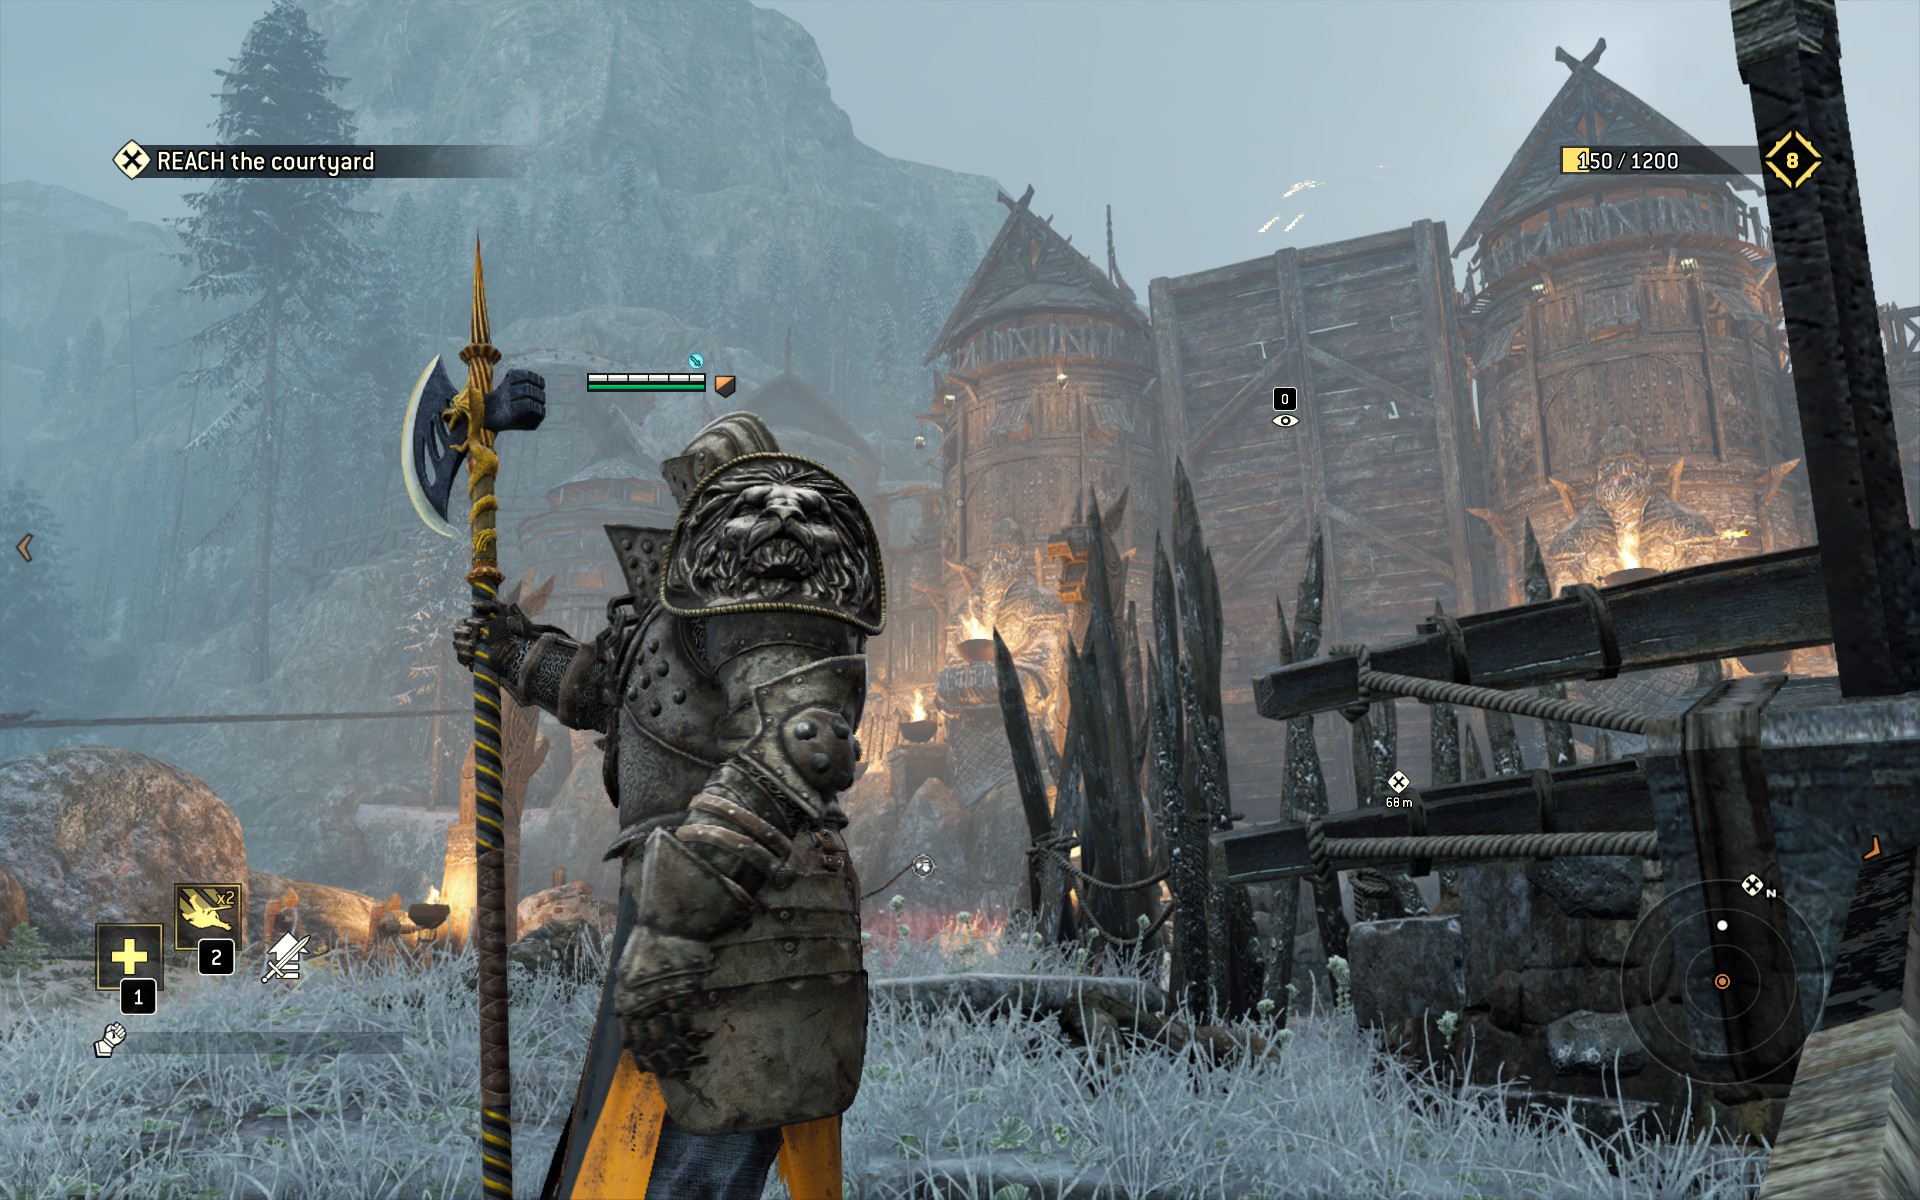
Lastly (for the moment), look at the spring-loaded bridge toward the left-hand side of the siege to record the Bridge Launcher entry.
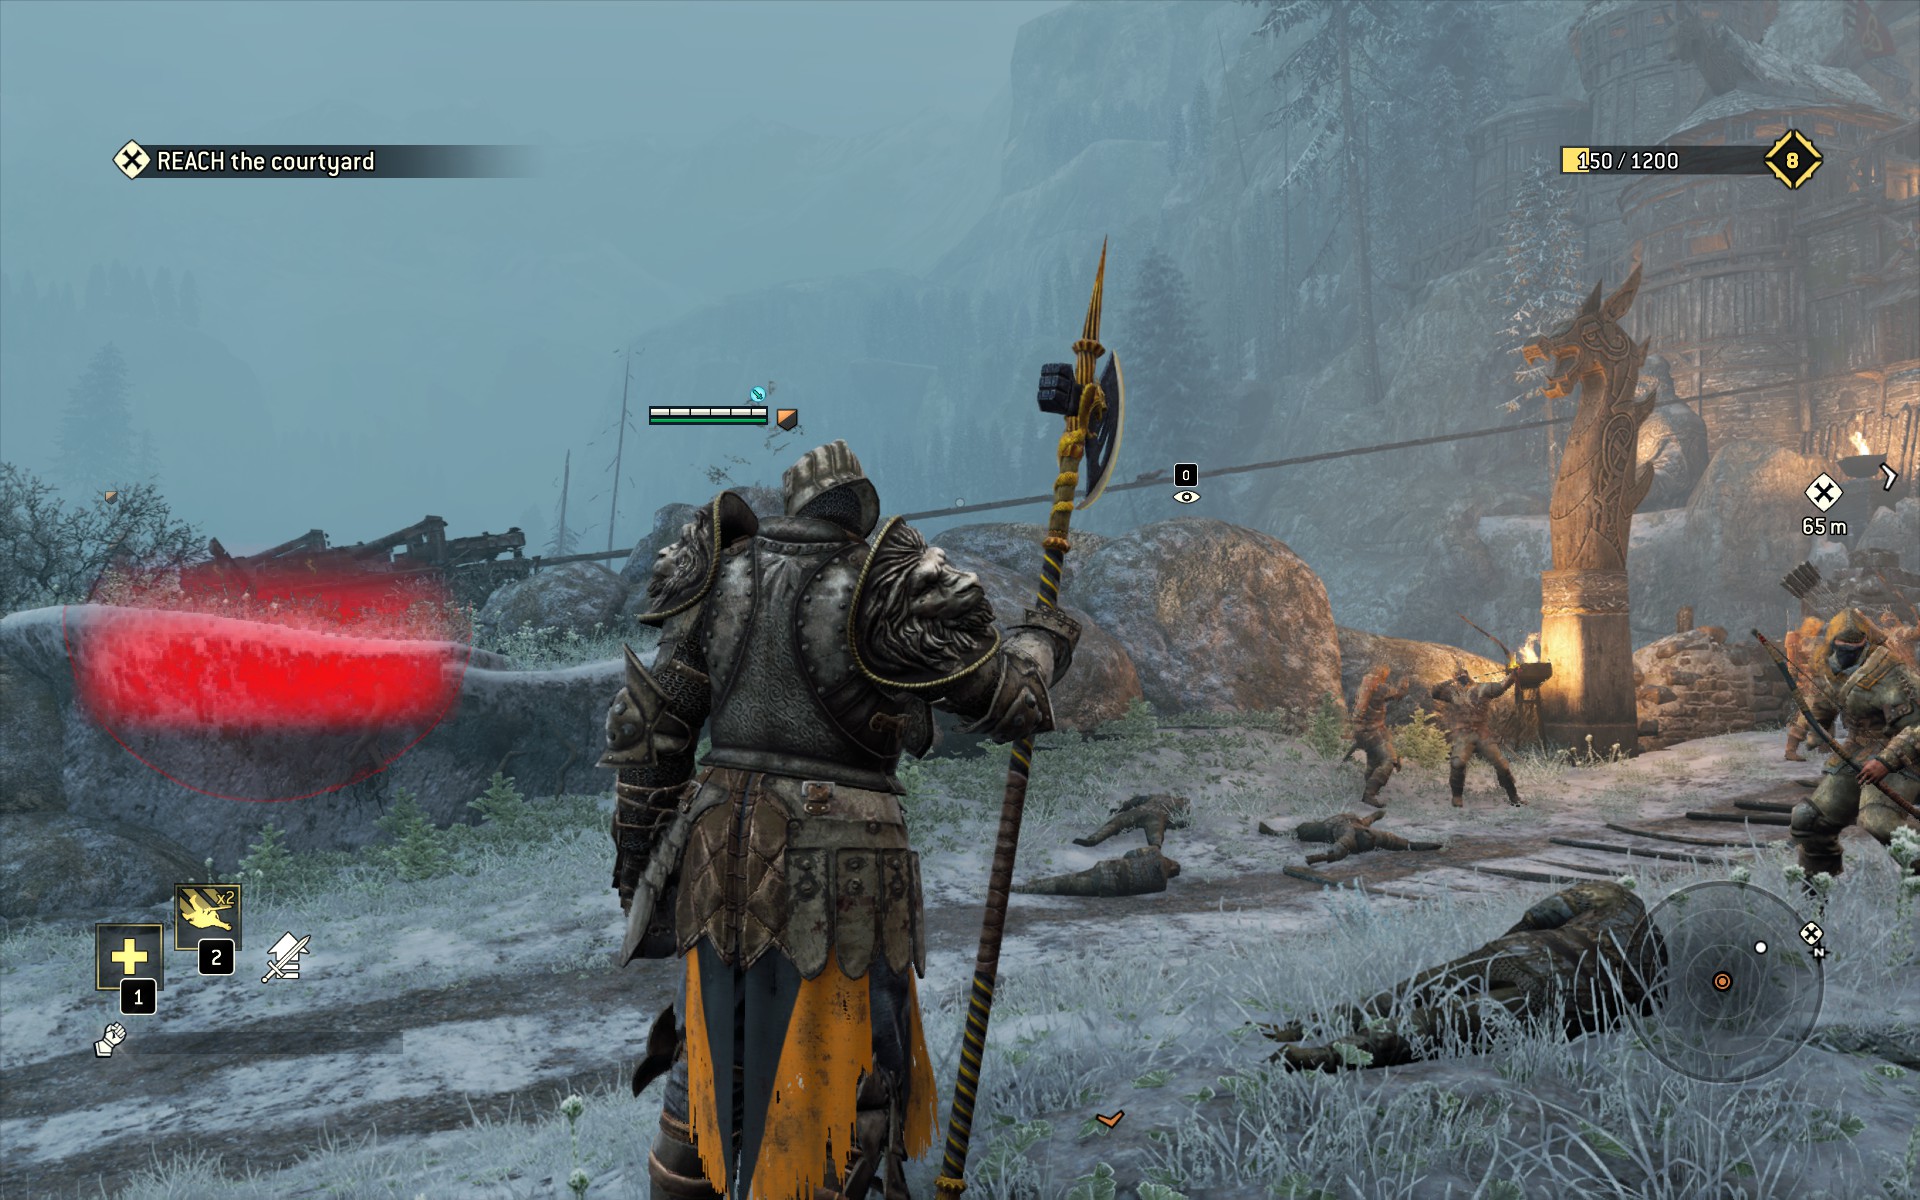
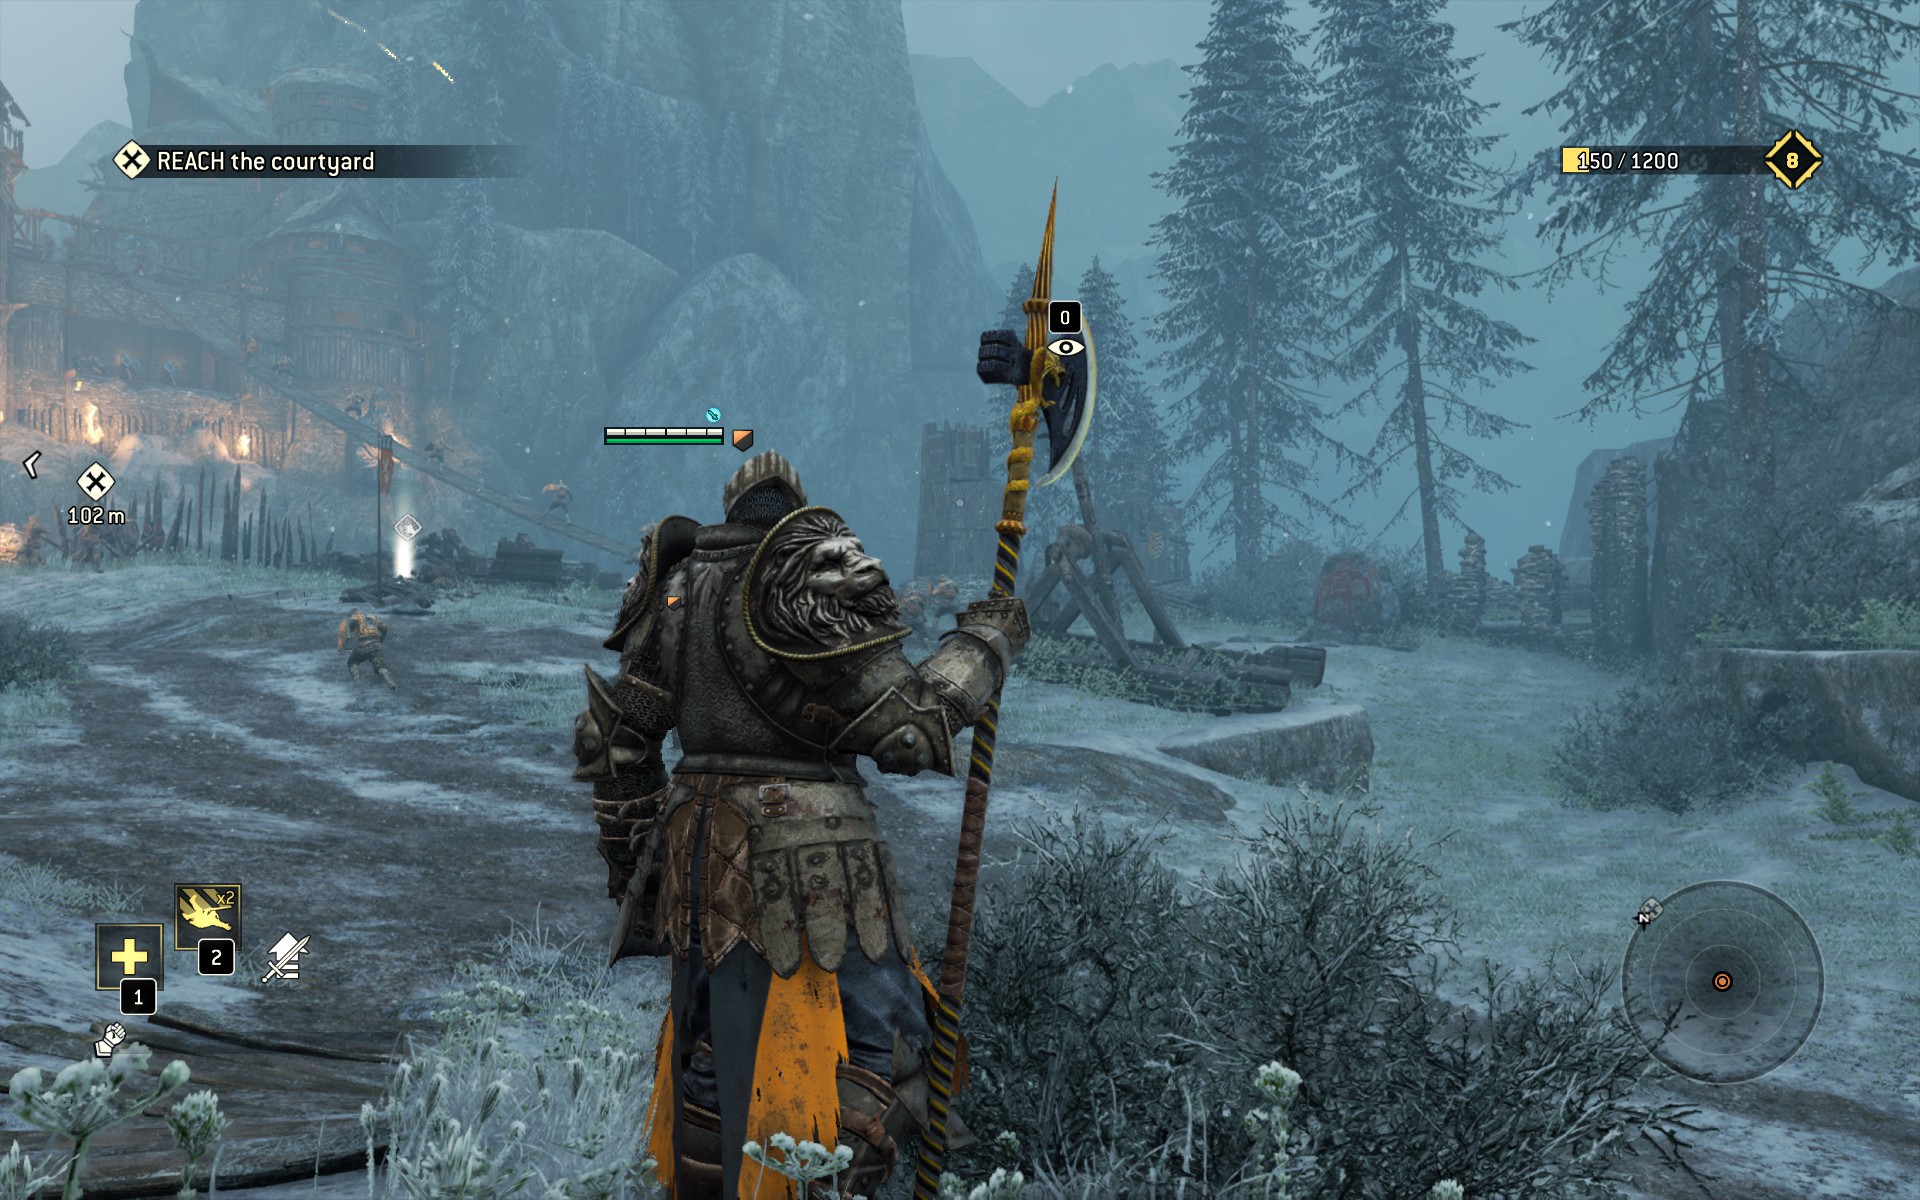
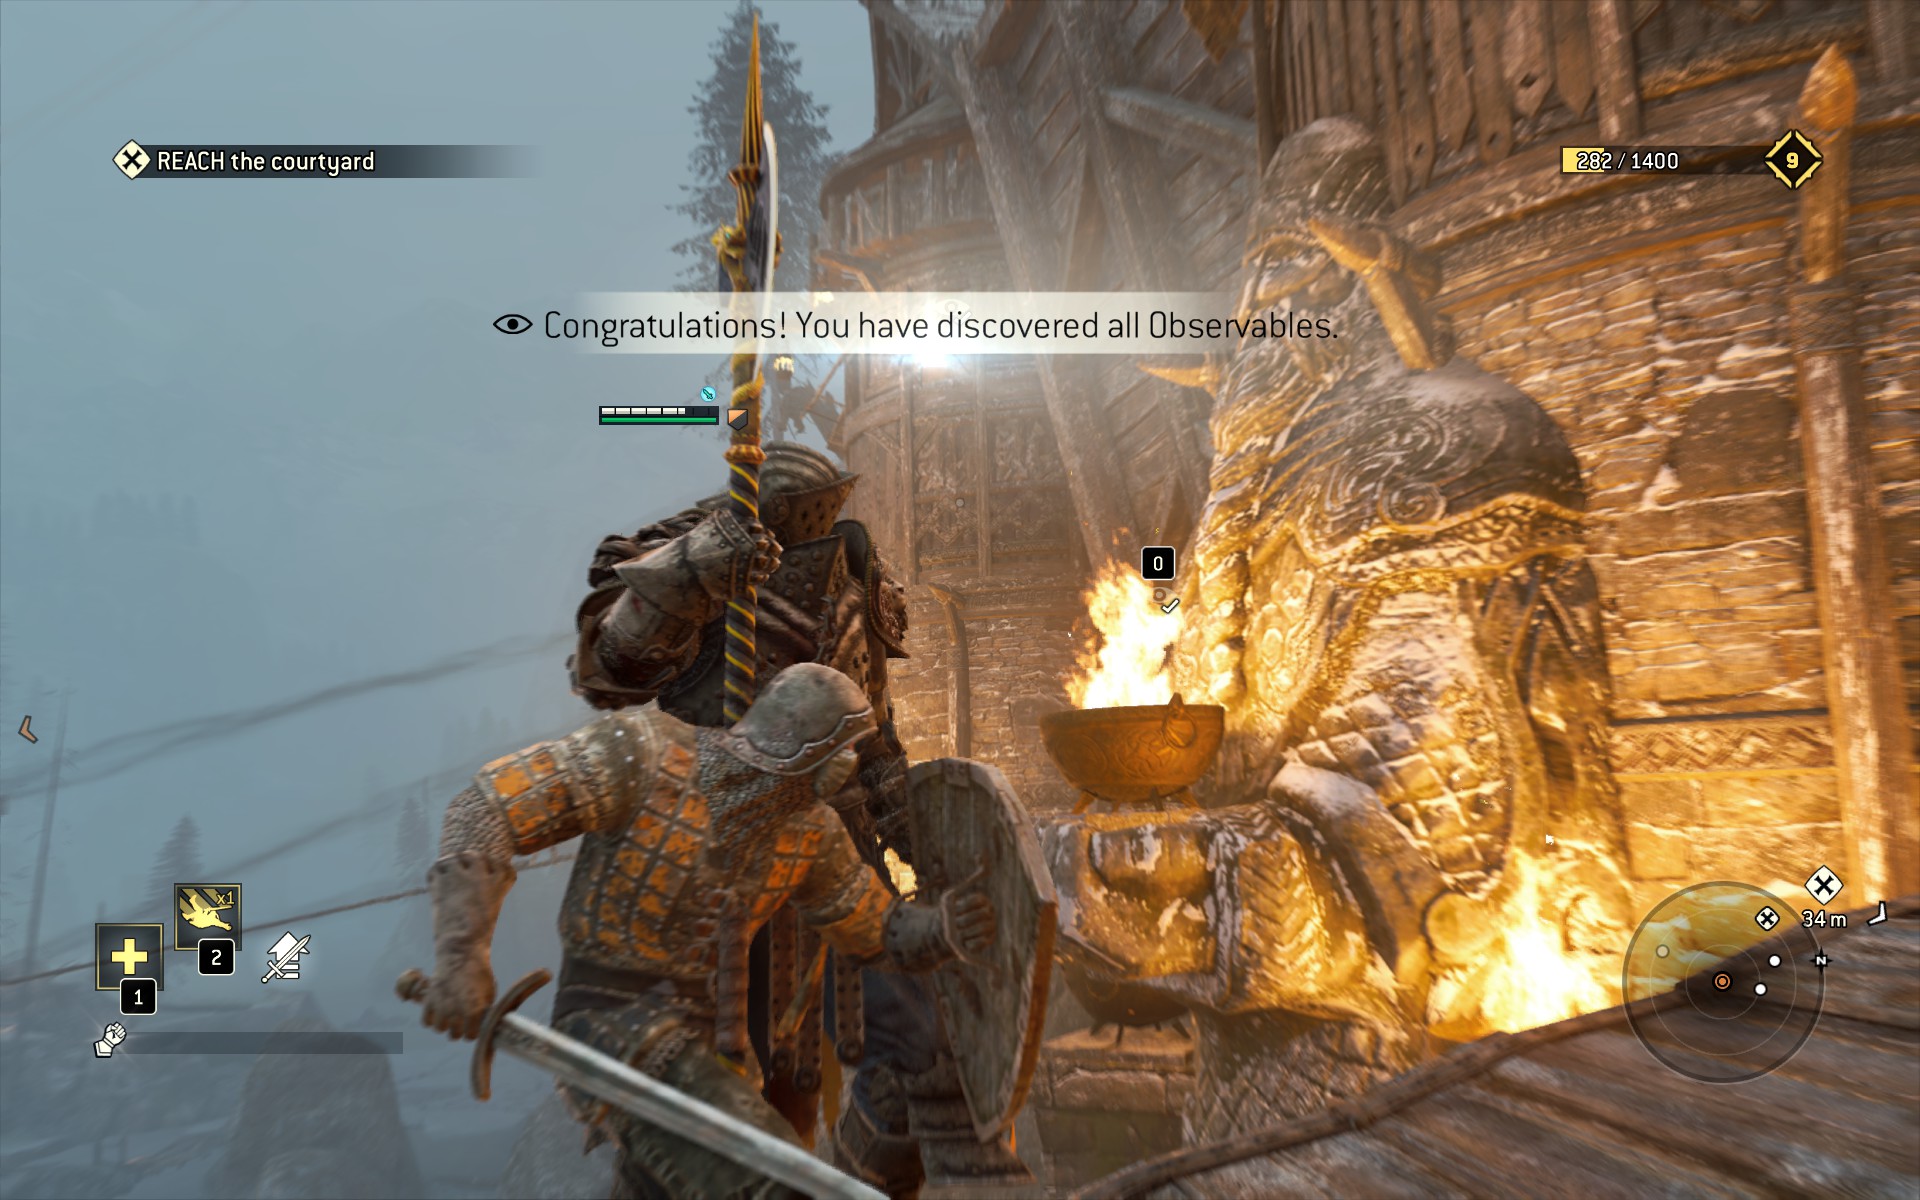
Unfortunately, you can't just hop on one of the already extended bridges, so trigger the unused one on the right-hand side of the cliff, and charge forward. You'll have to clear away a lot of zero-level soldiers, but as you do, don't forget to look right toward the giant flame-holding statue, which is recorded as Viking Statue 1, the last Observable of the game.
The rest of the siege is straightfoward- clear enough of the courtyard that you can lower the drawbridge without being axed in the back too many times, then let the final scene play out.