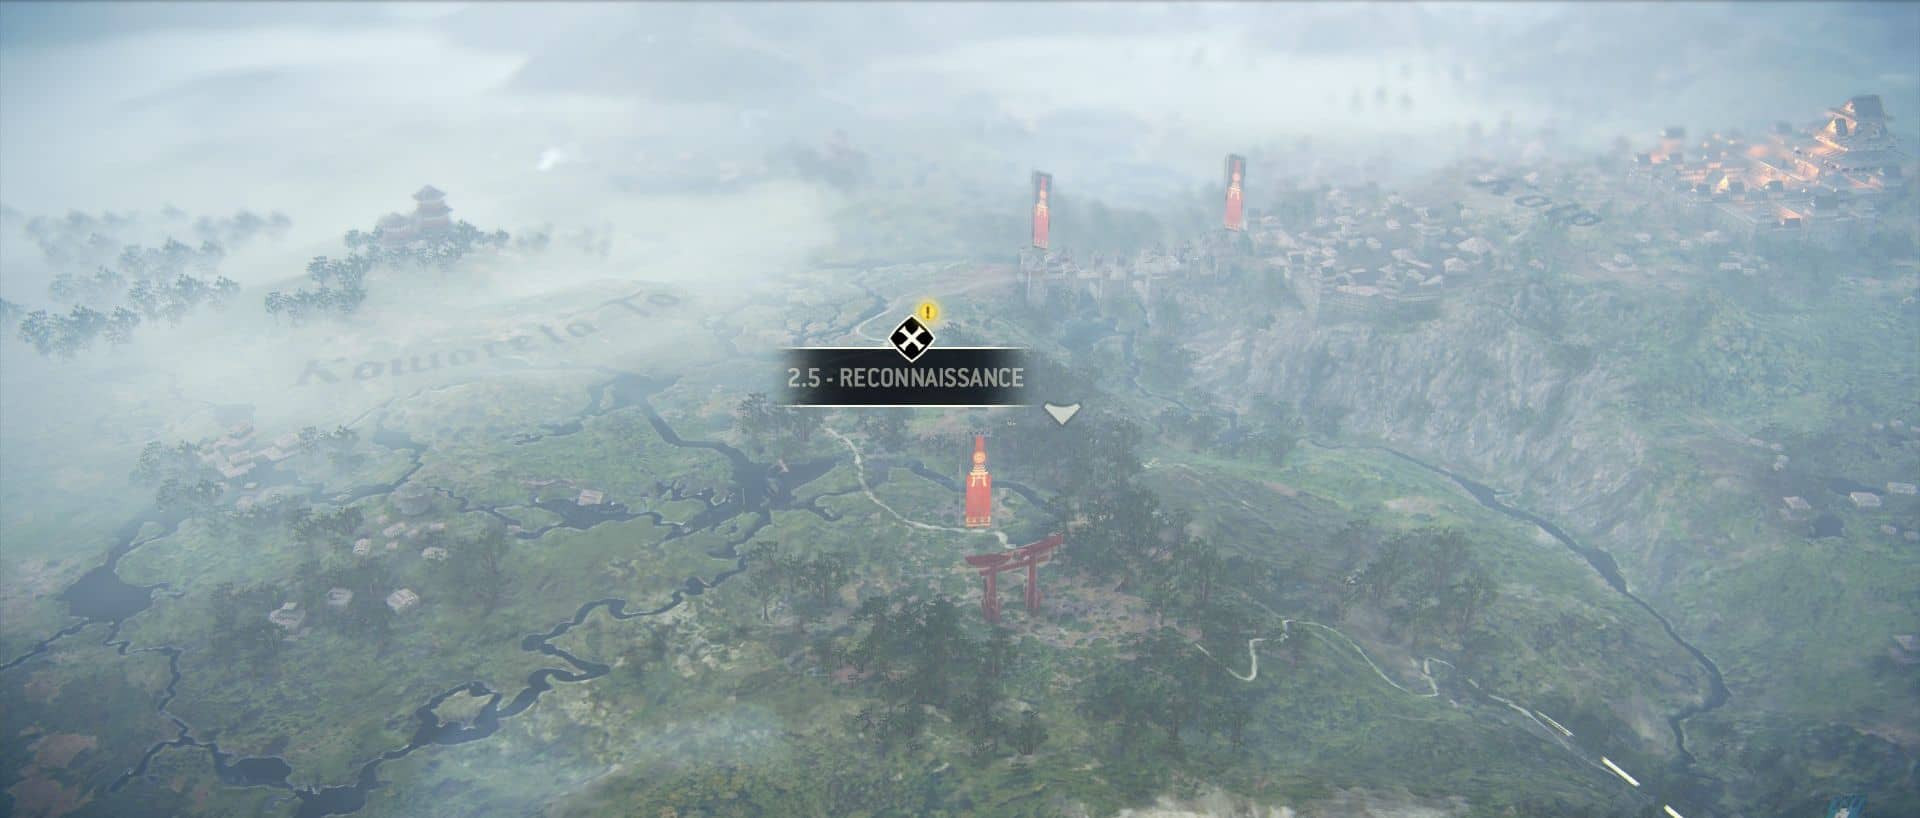
Chapter 2.5 – Reconnaissance
Observable:12
Breakables:10
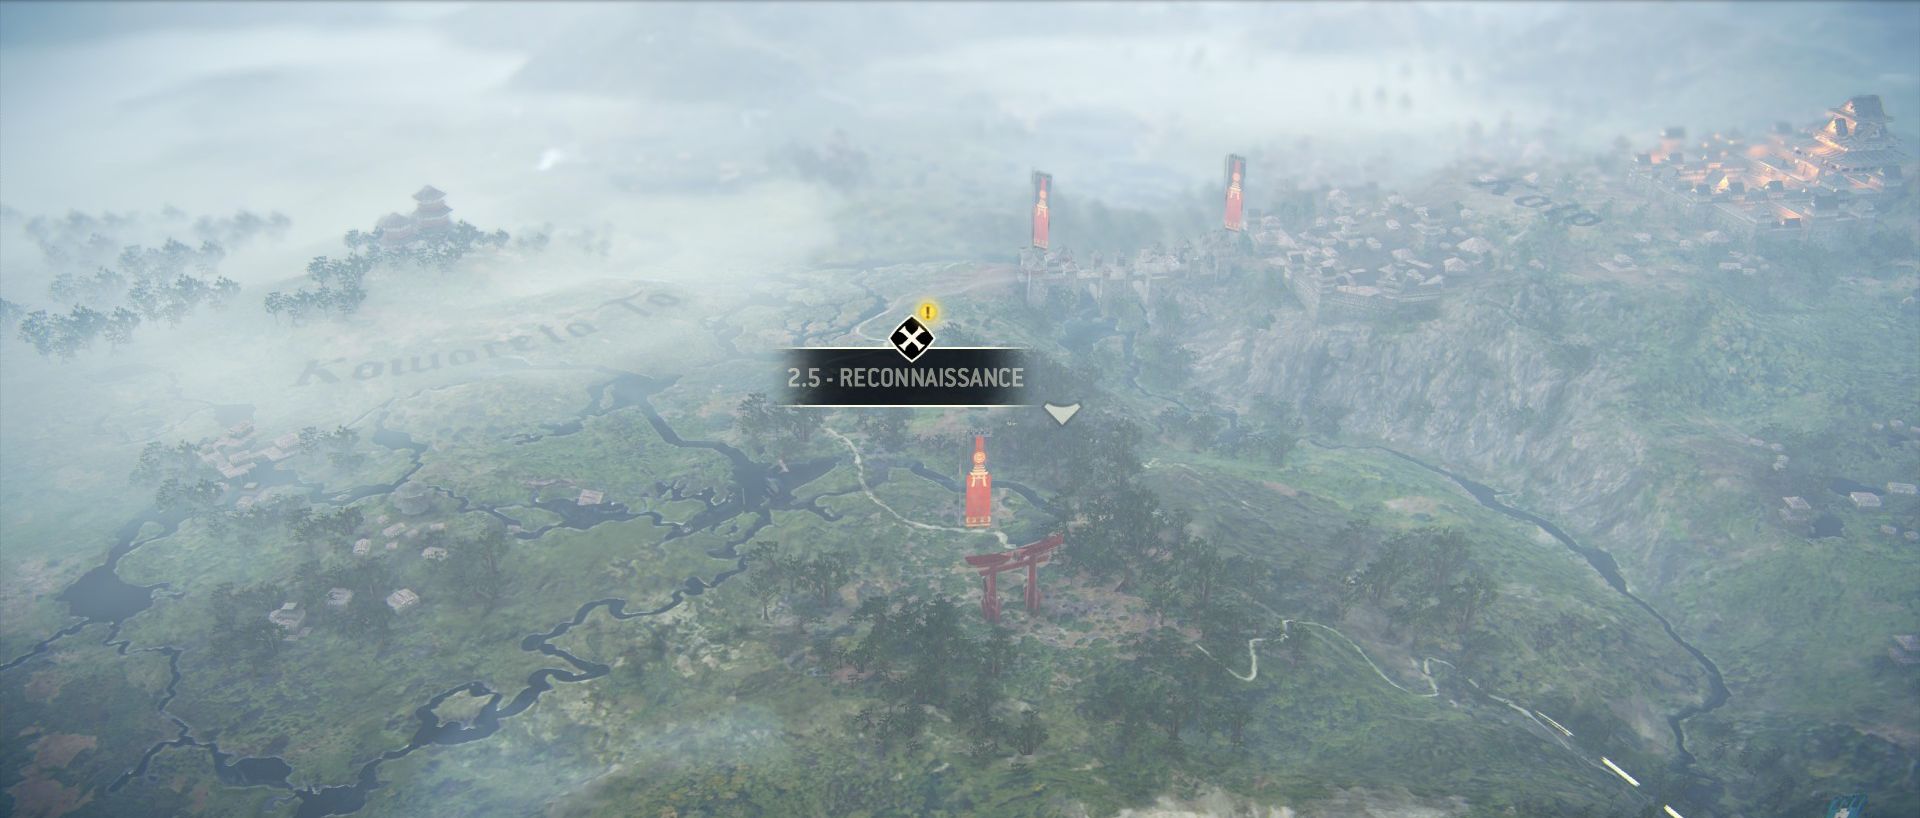
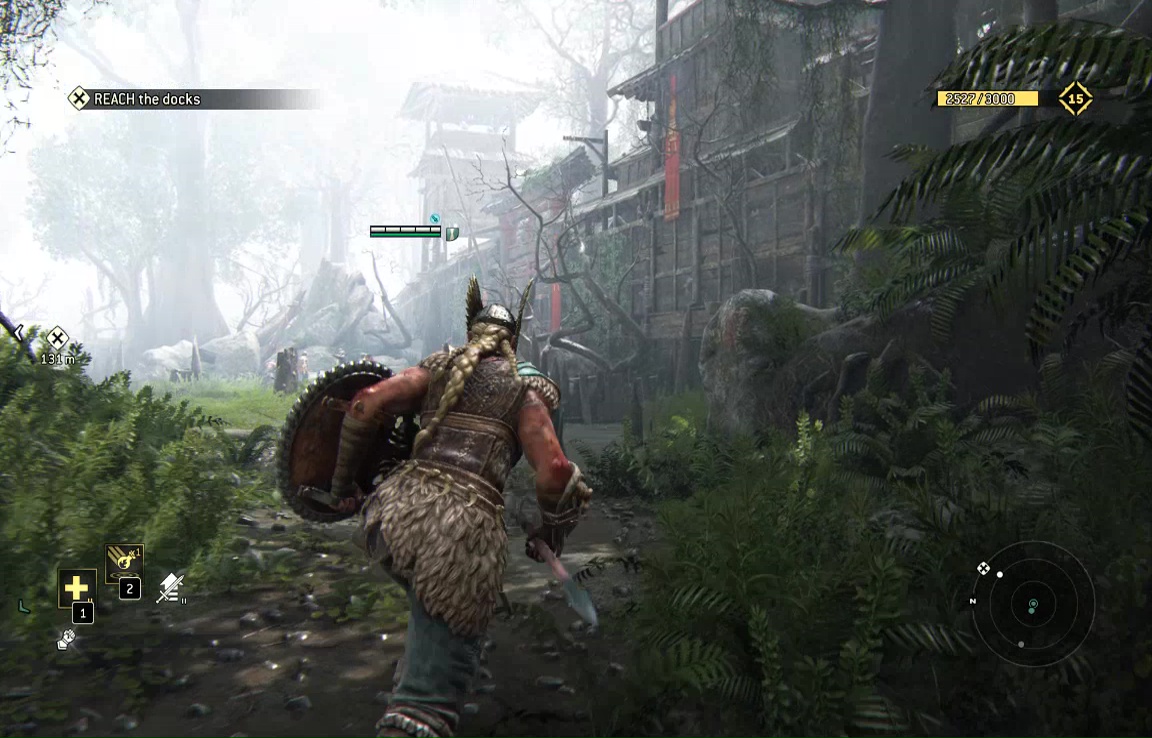
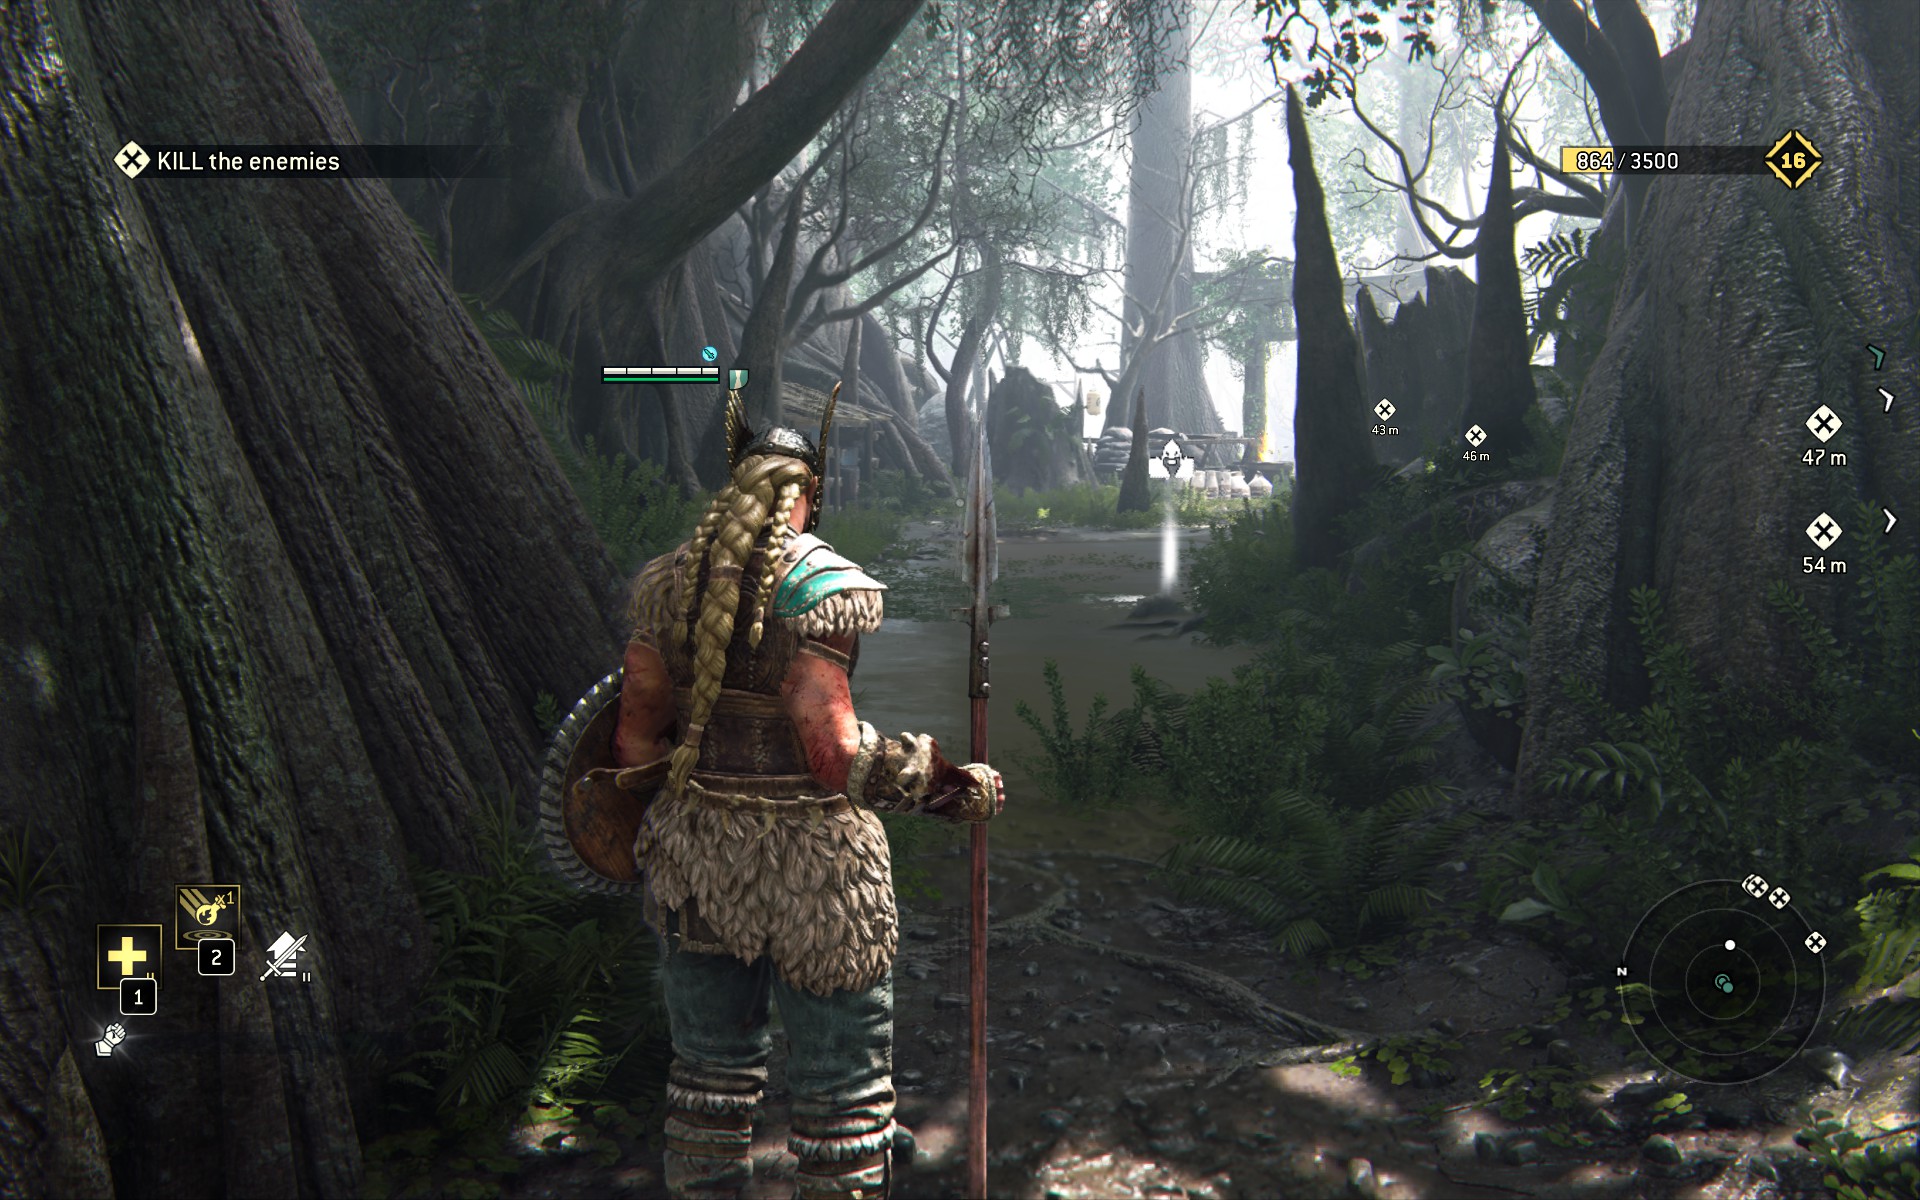
This next mission takes place in the sprawling swamplands of the Myre. Expect large spaces, and a very high number of hostiles (it's almost like you're invading their homeland, or something). This is also a chance to experiment with the Valkyrie class, a relatively quick & long range fighter not worlds removed from the Nobushi.
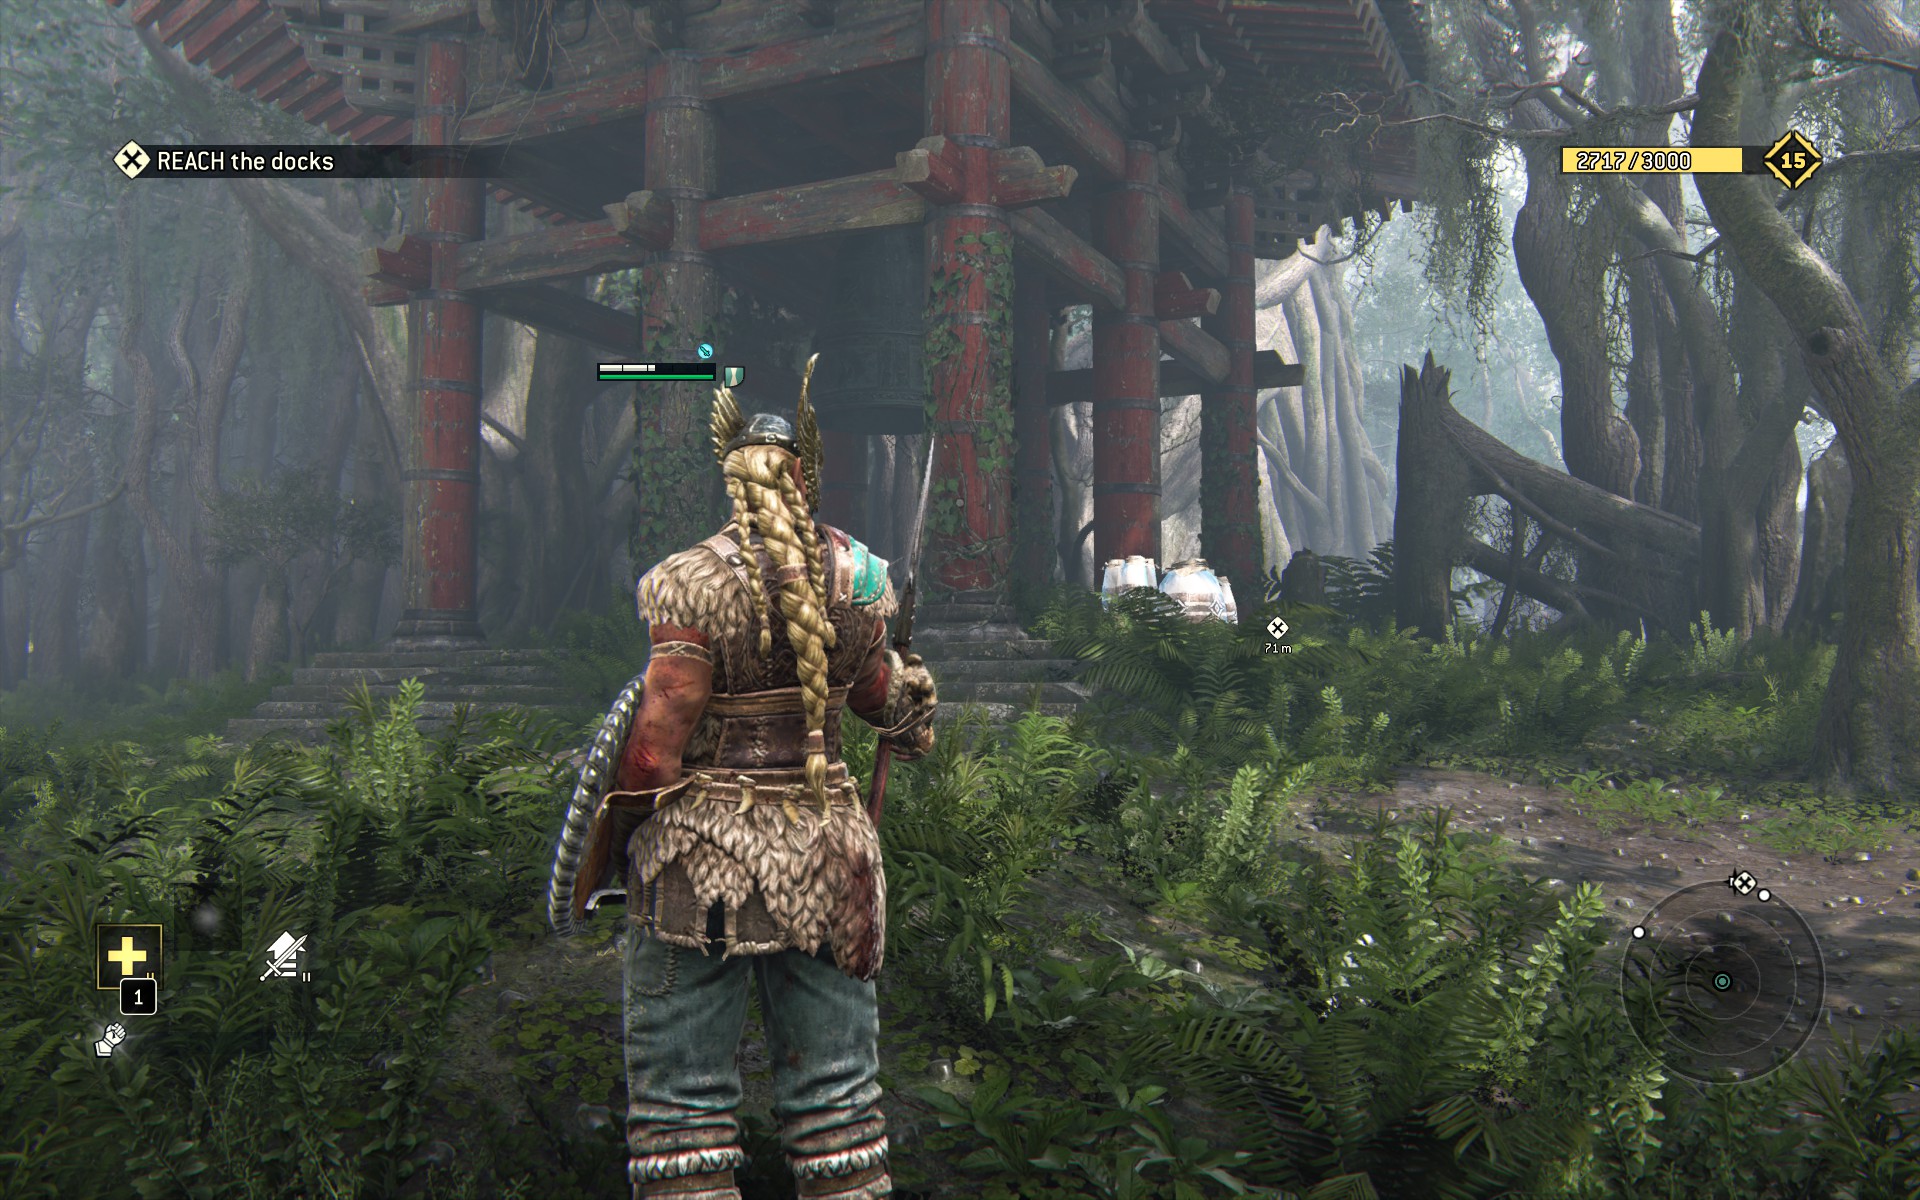
Your first Observable is right in front of you as the mission begins, recorded as Hanged Bodies.
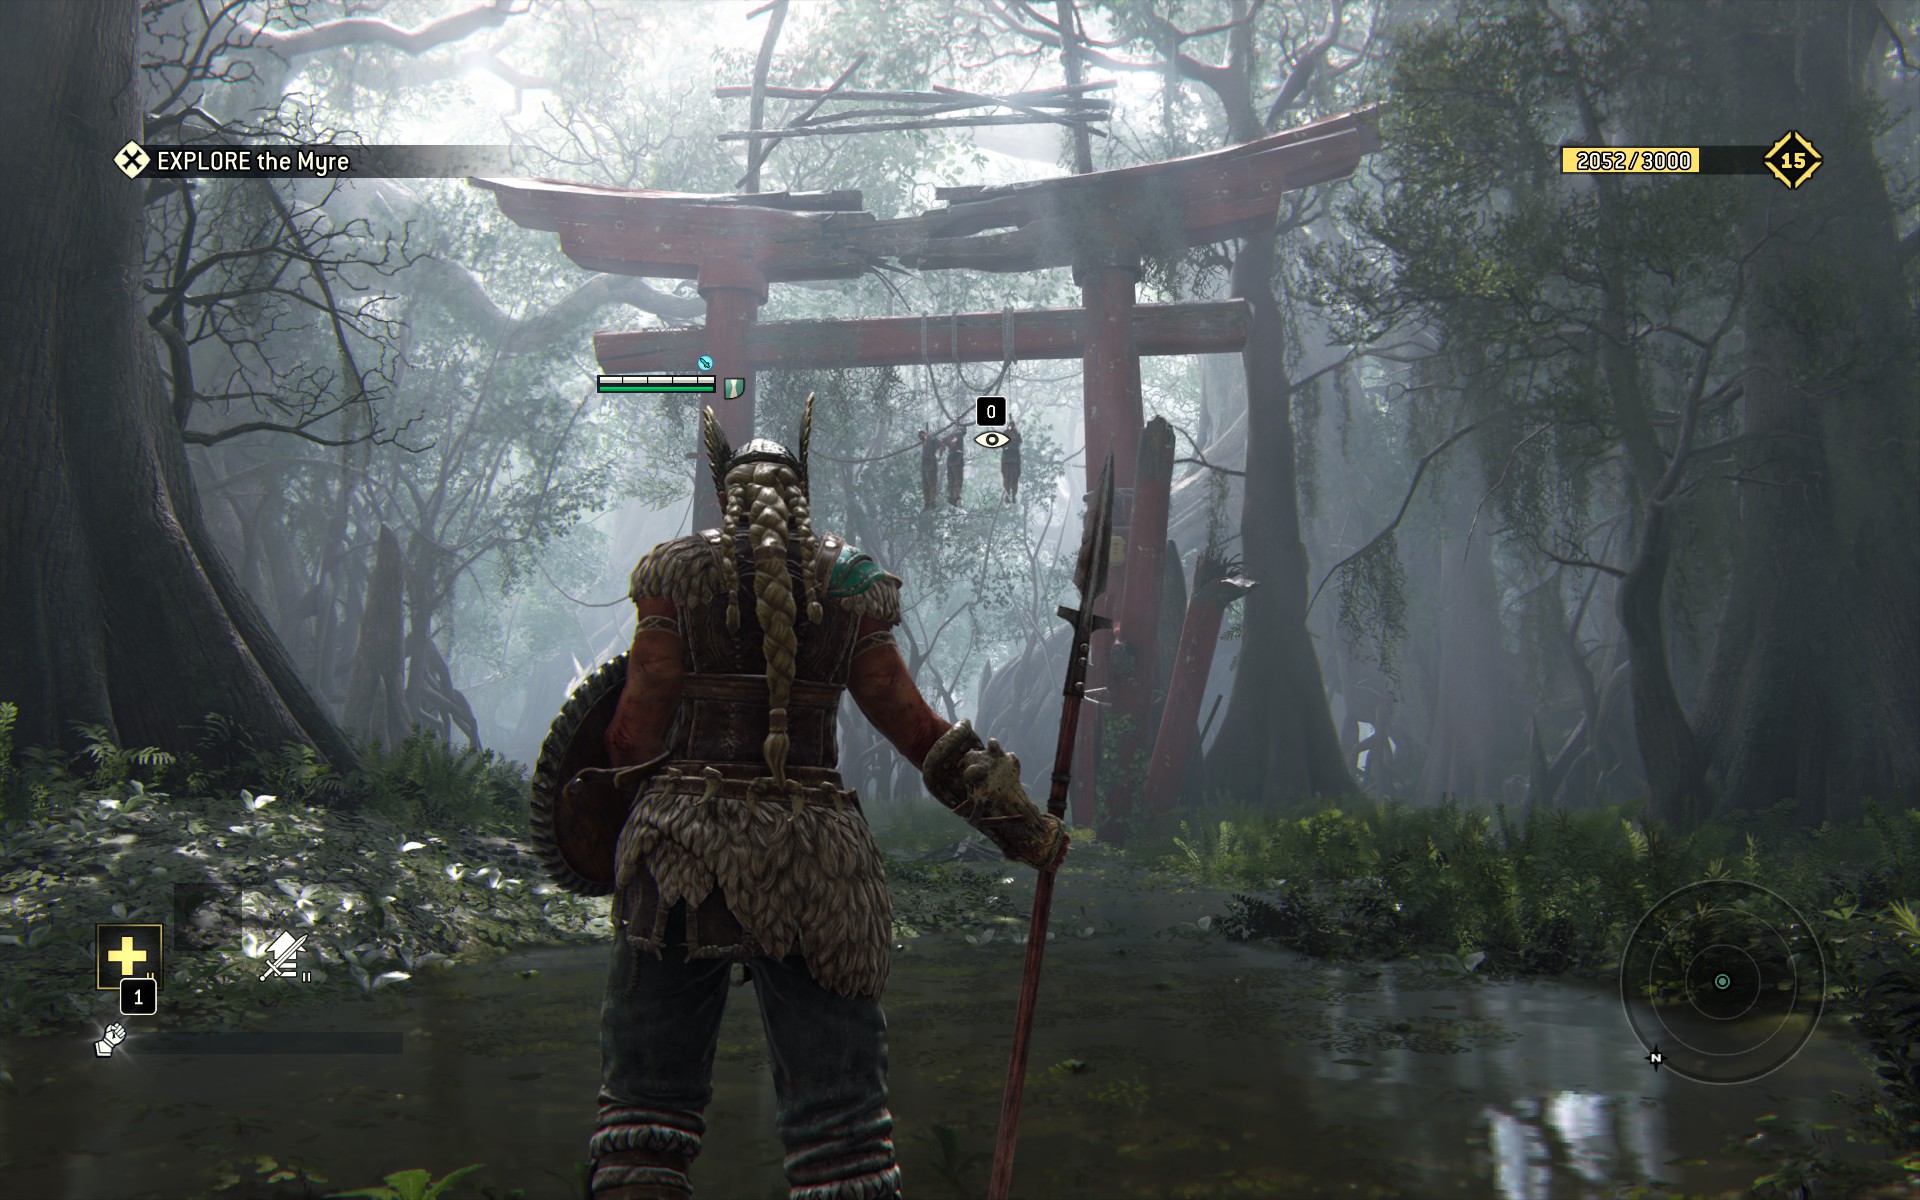
Curse the samurai for stealing your whole corpse-on-a-string motif, then break left (north), taking some steps through an archway in the trees.
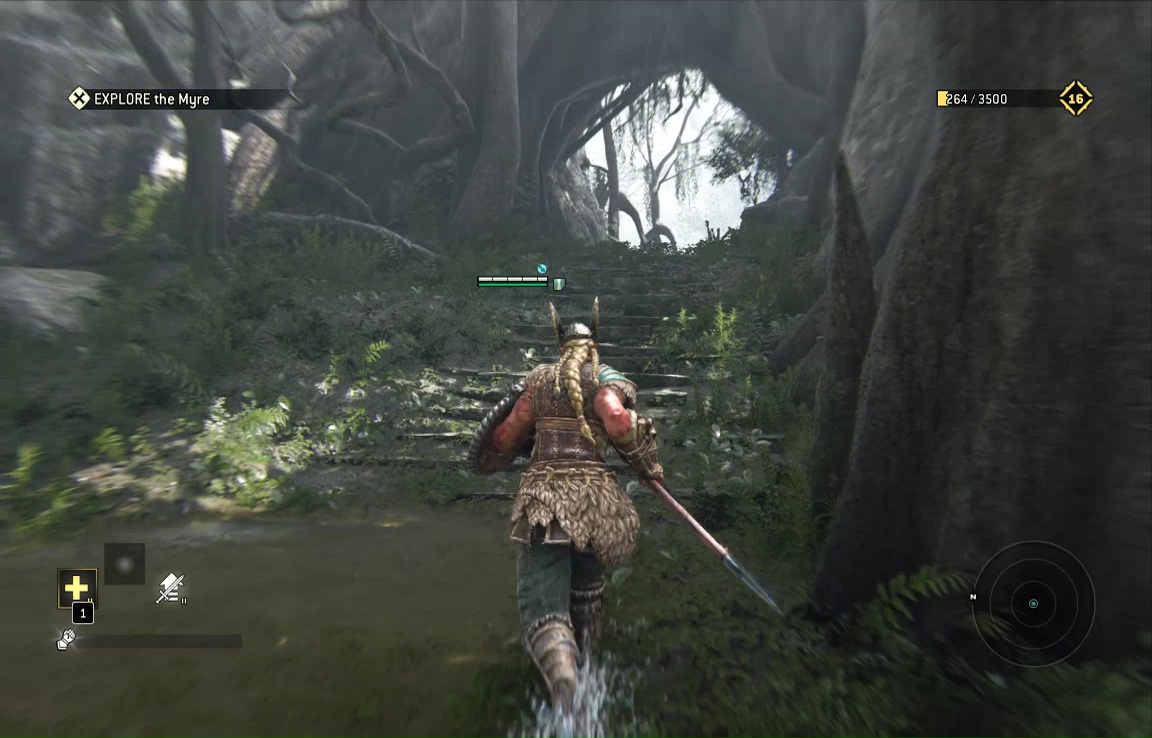
Past the archway you'll come across a samurai meditating on some dead bodies beneath a ruined boat. Add him to their number, and observe them for the Corpses Under Boat entry.
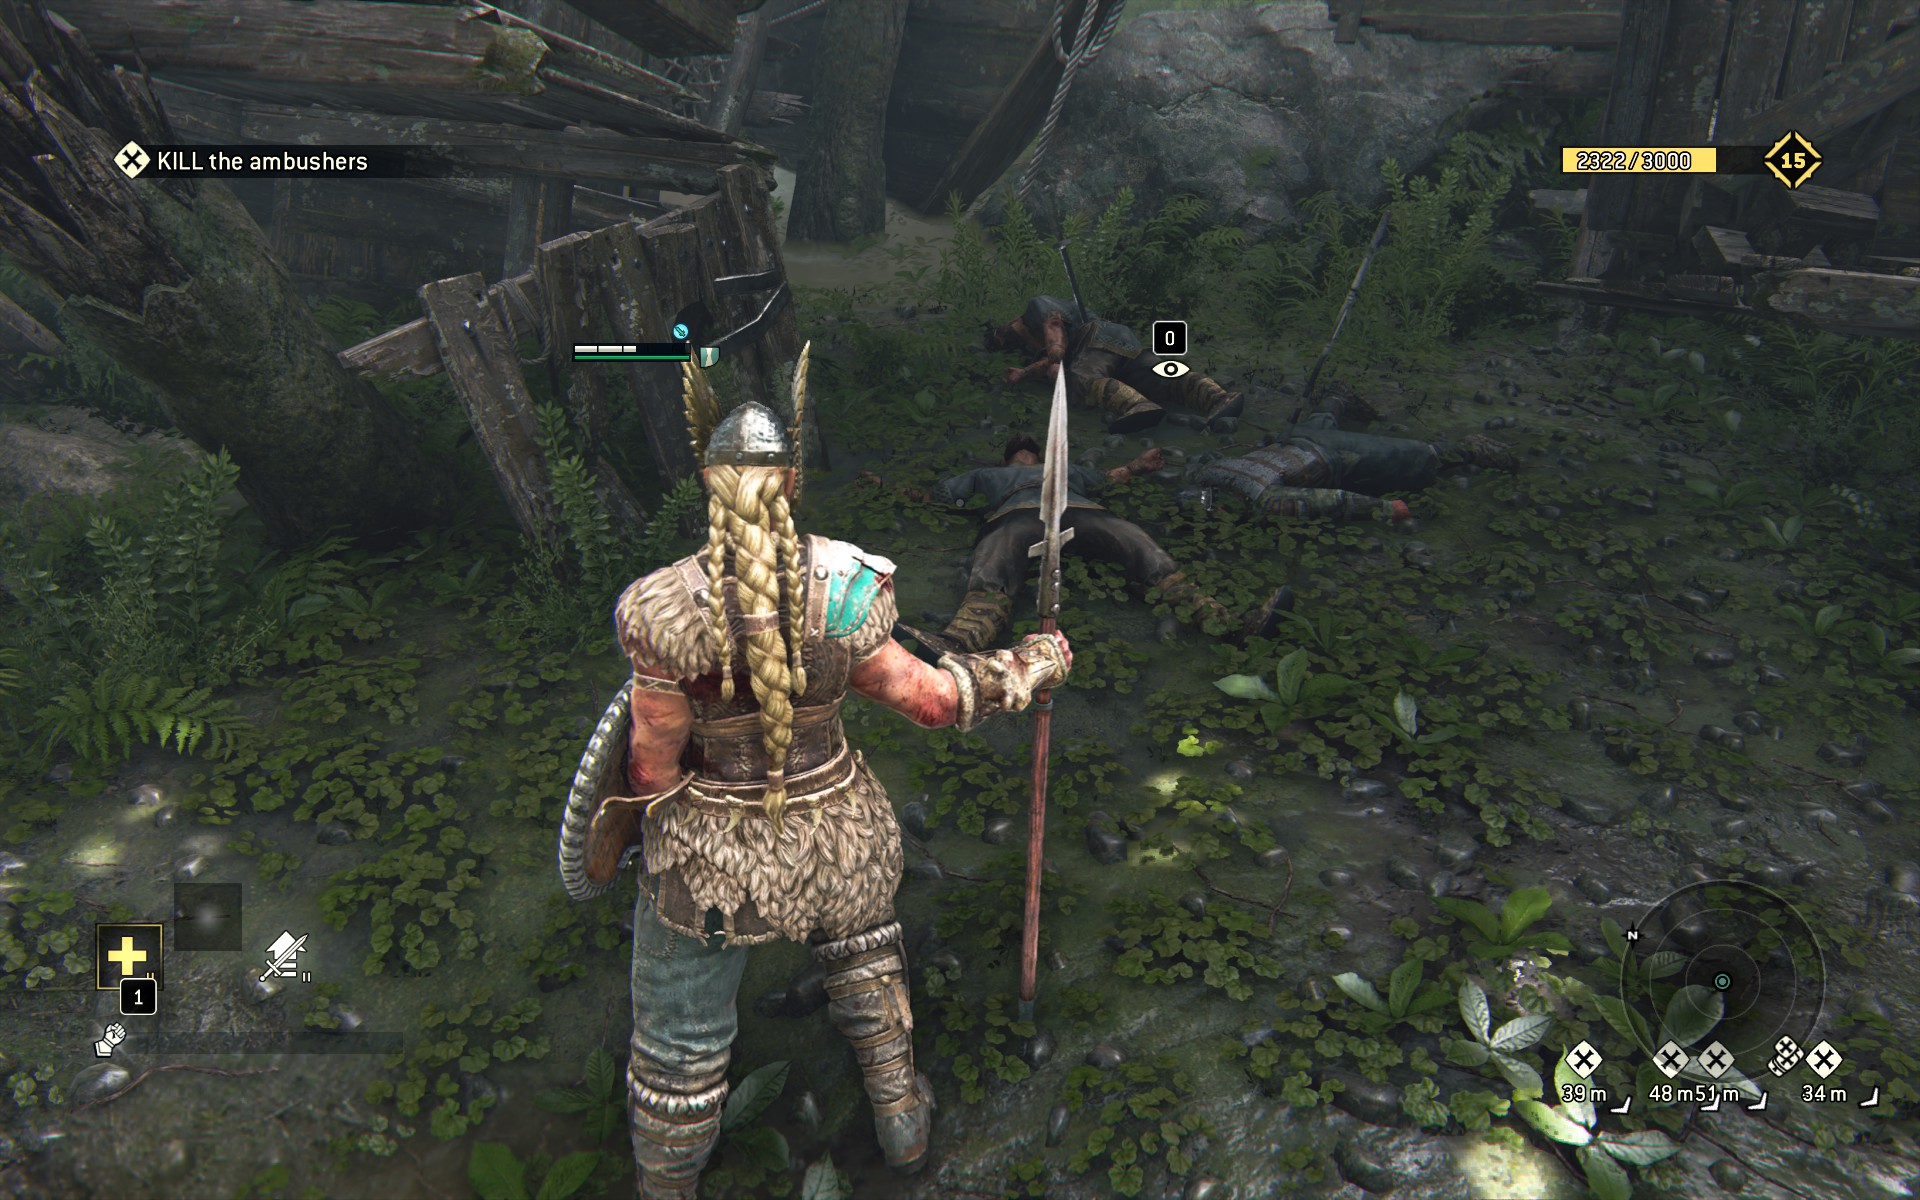
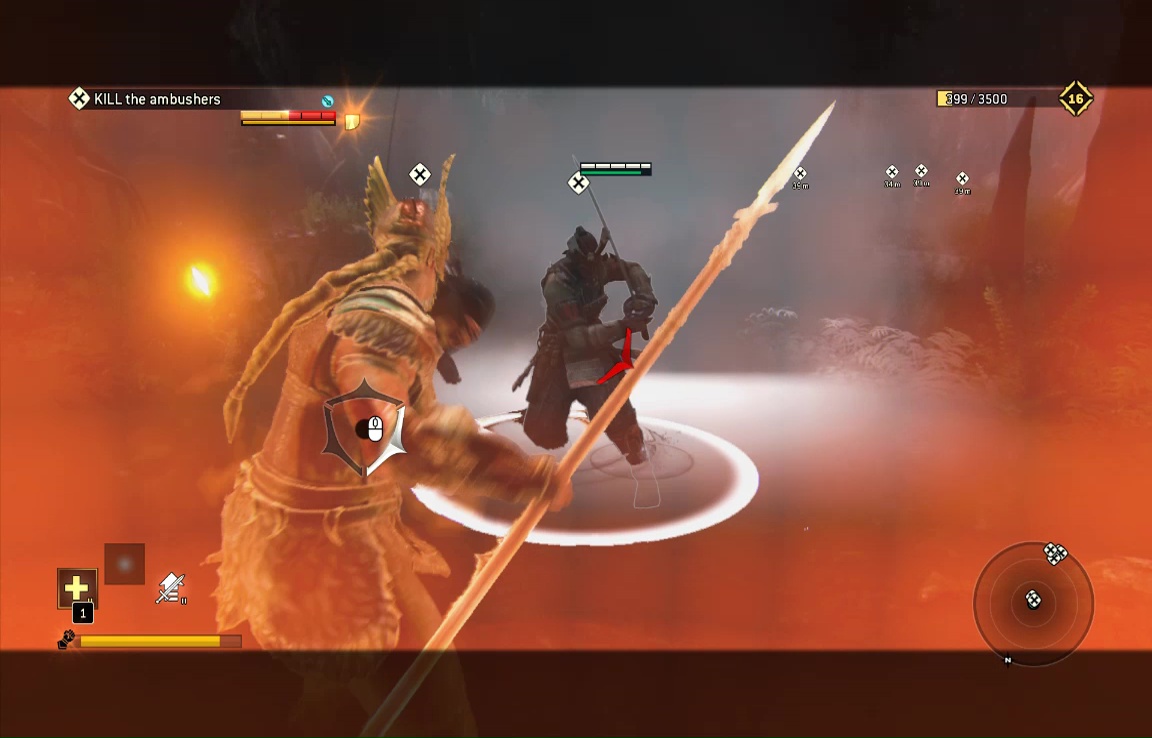
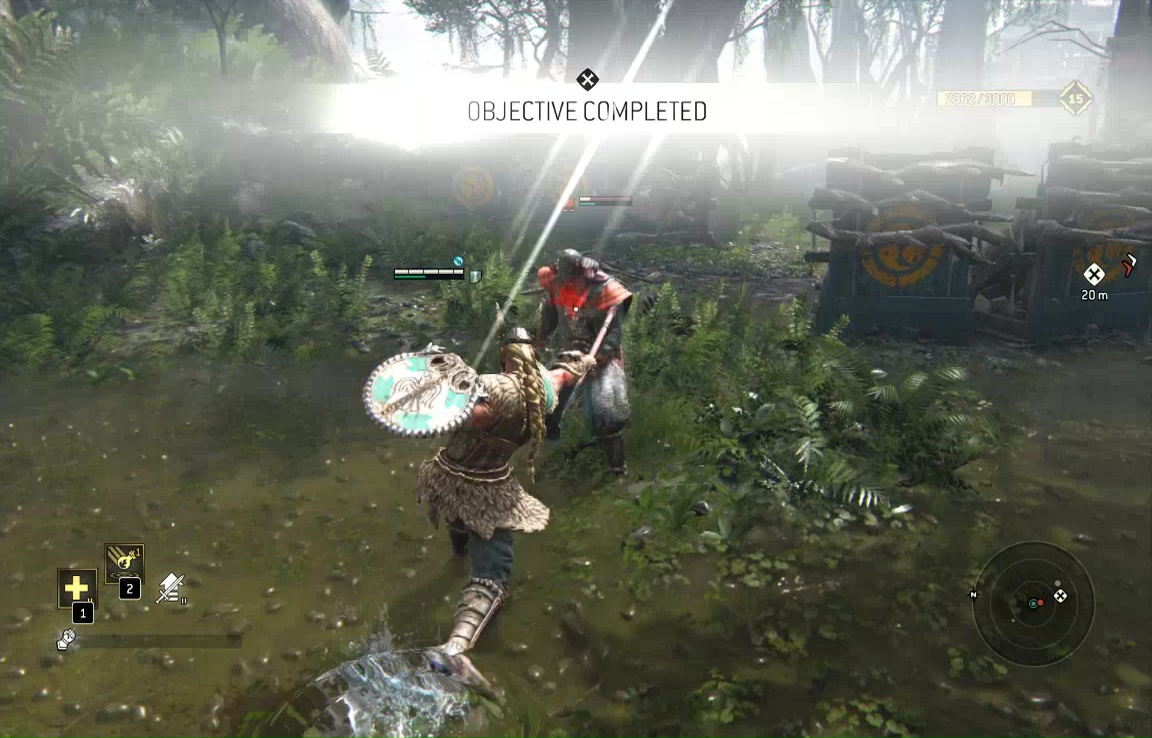
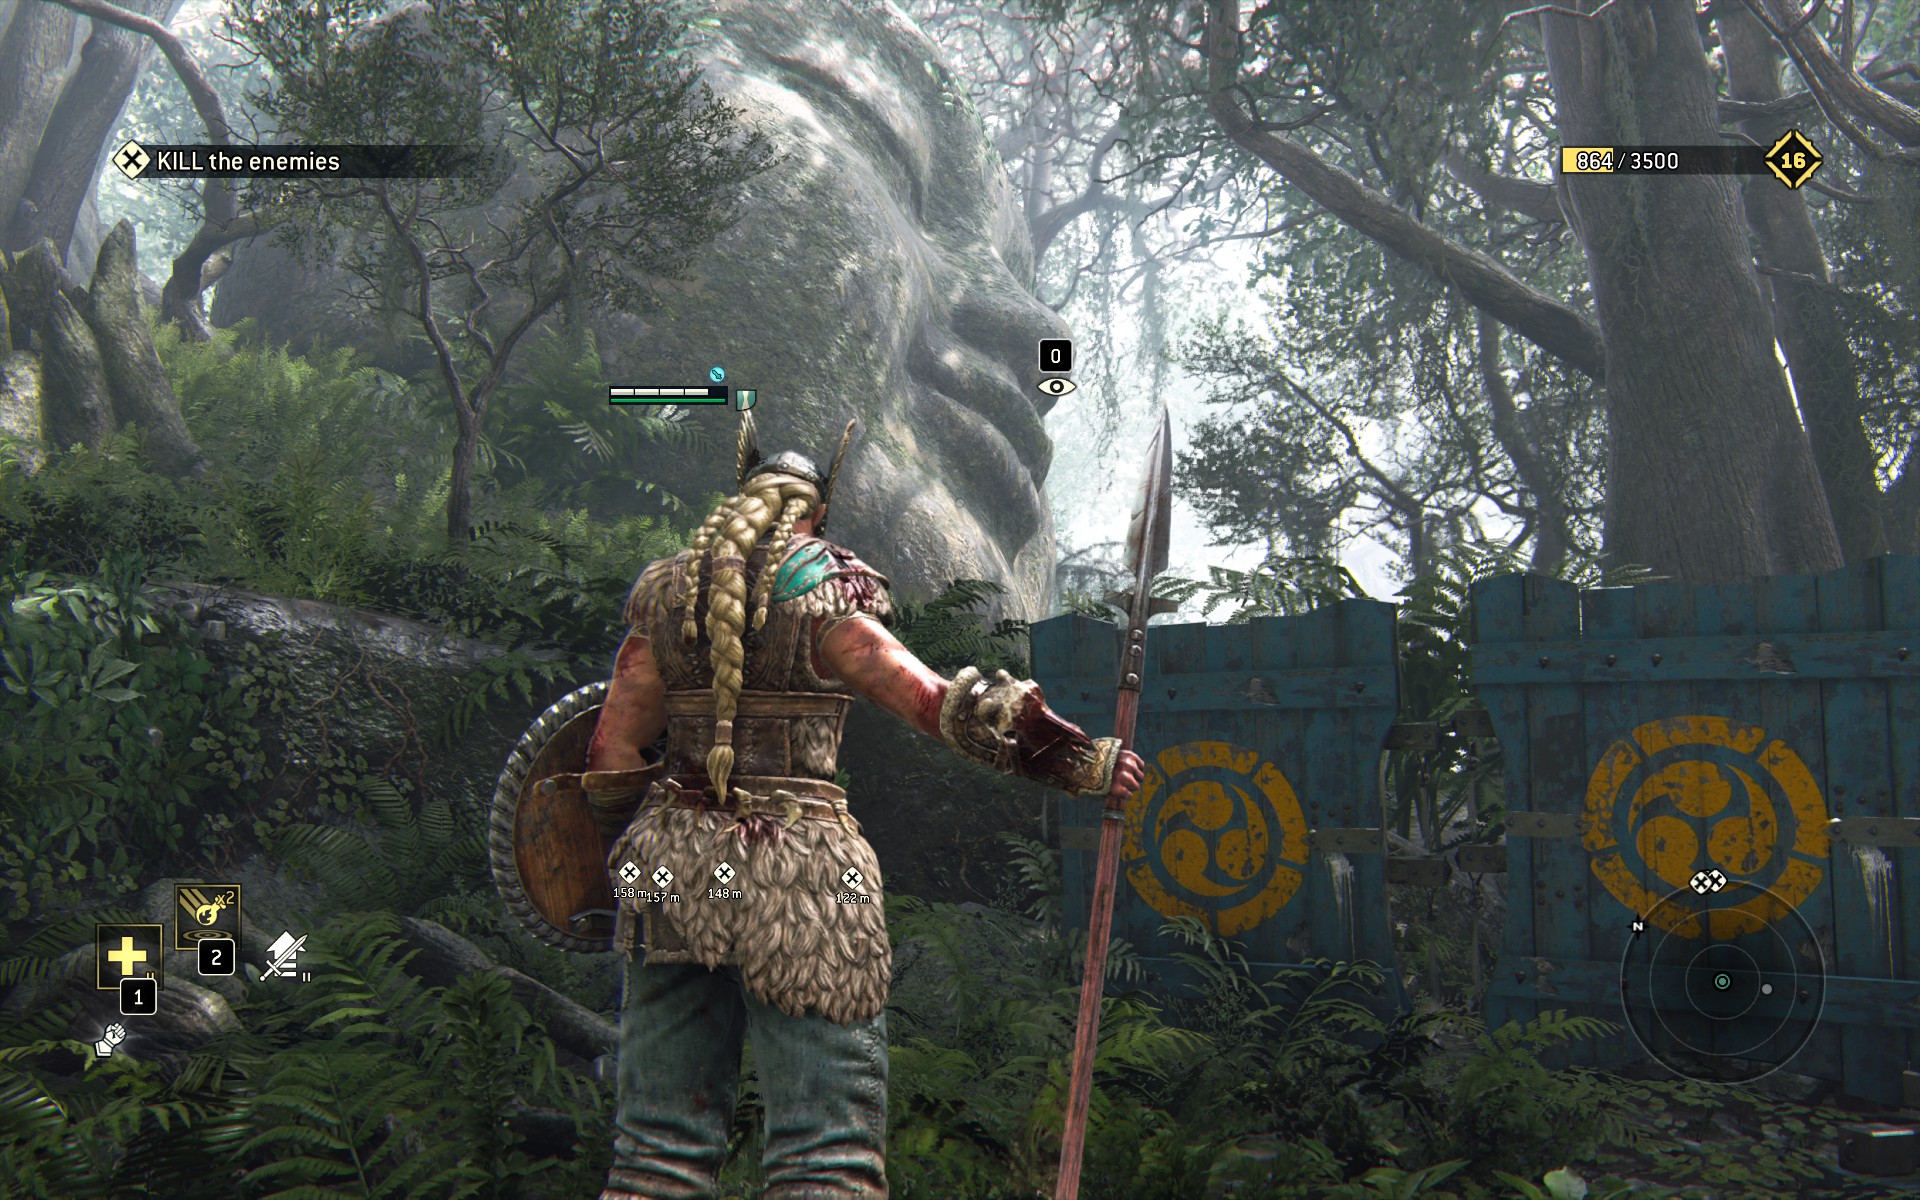
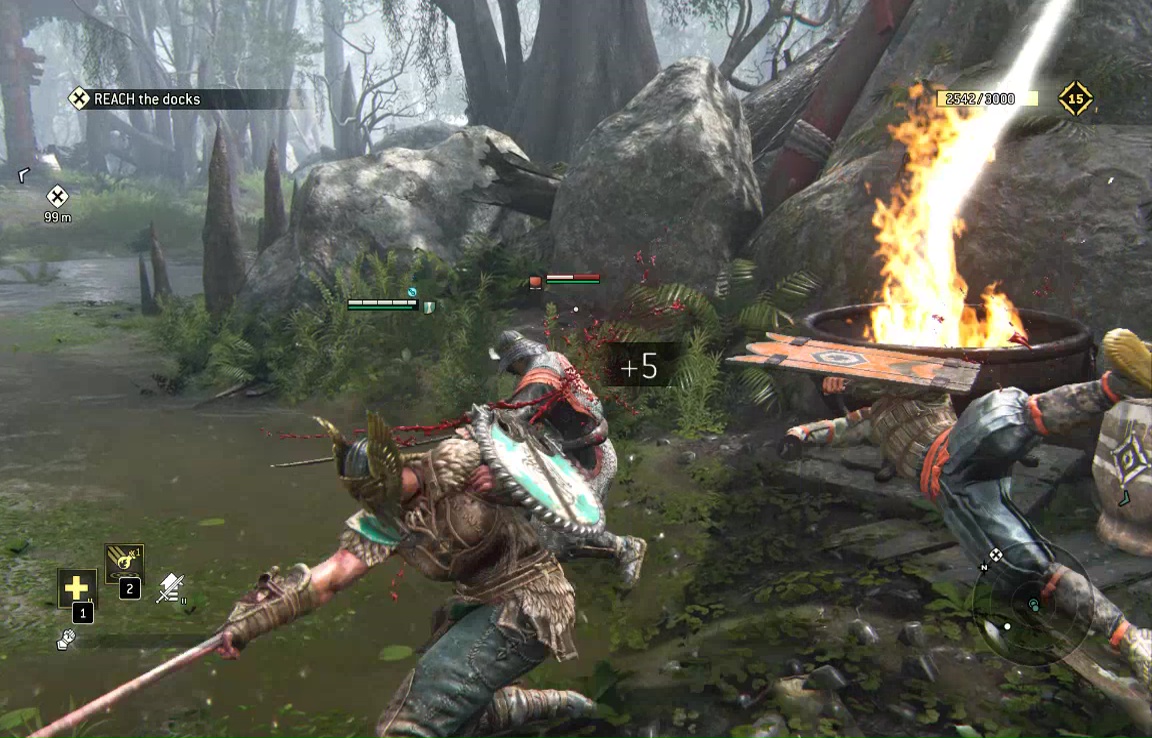
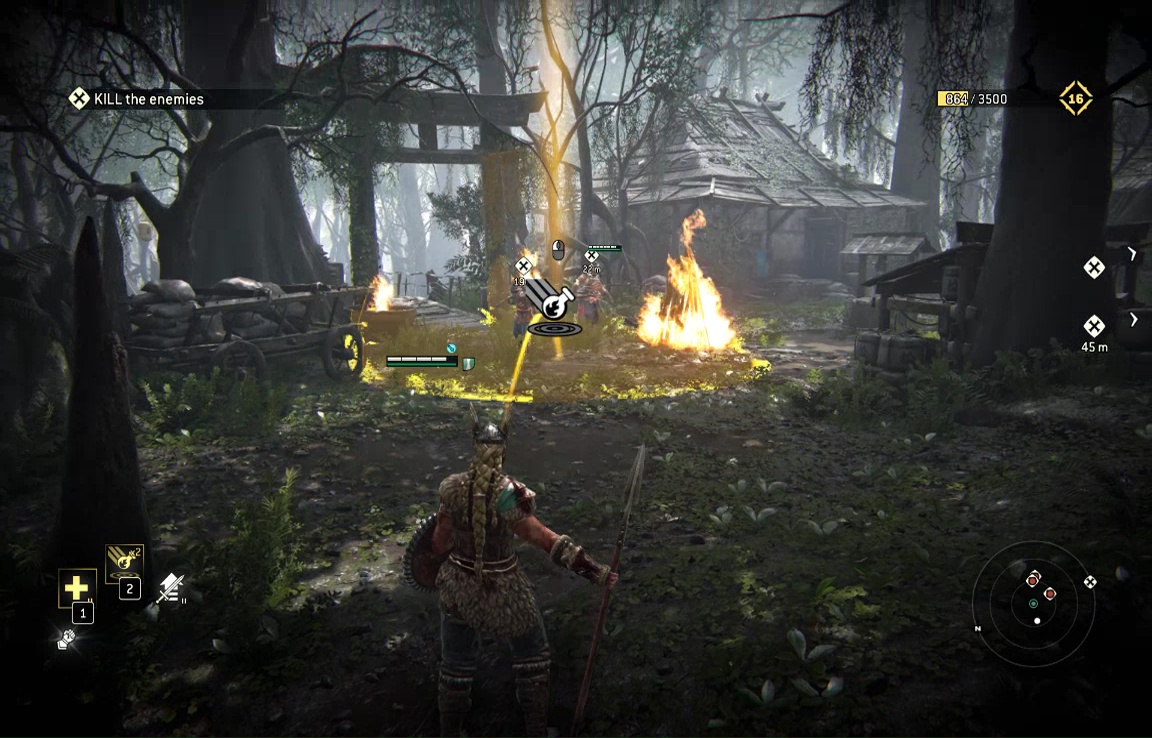
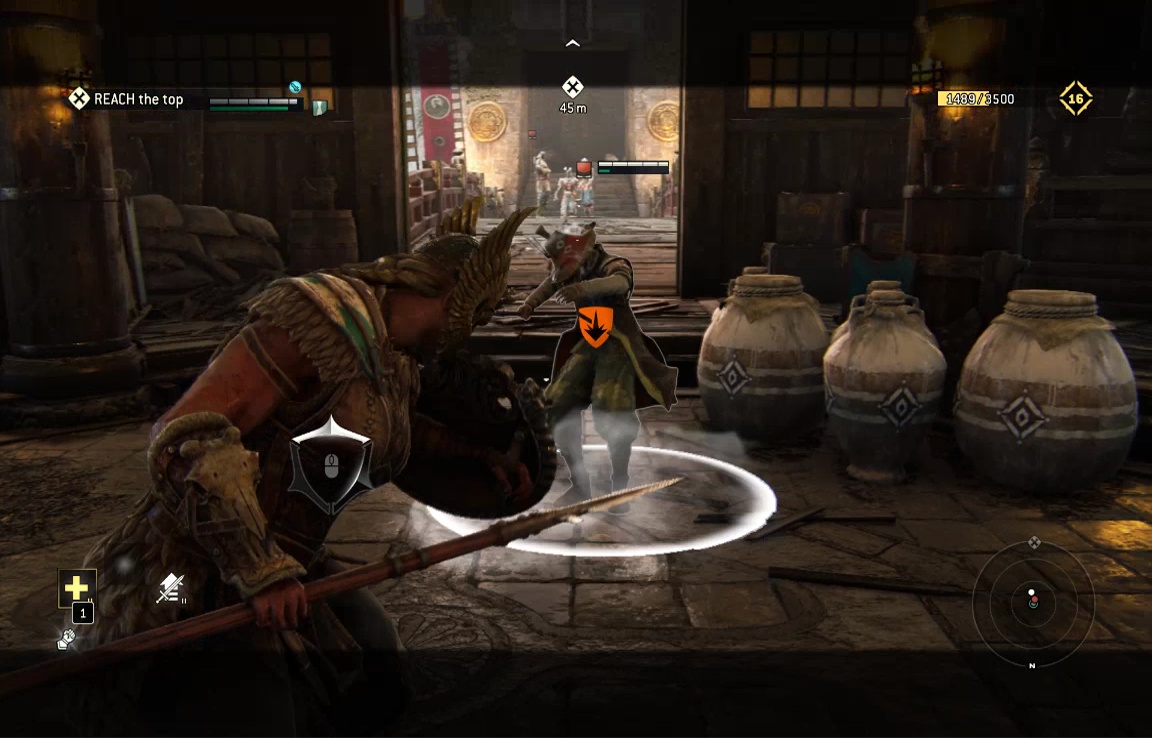
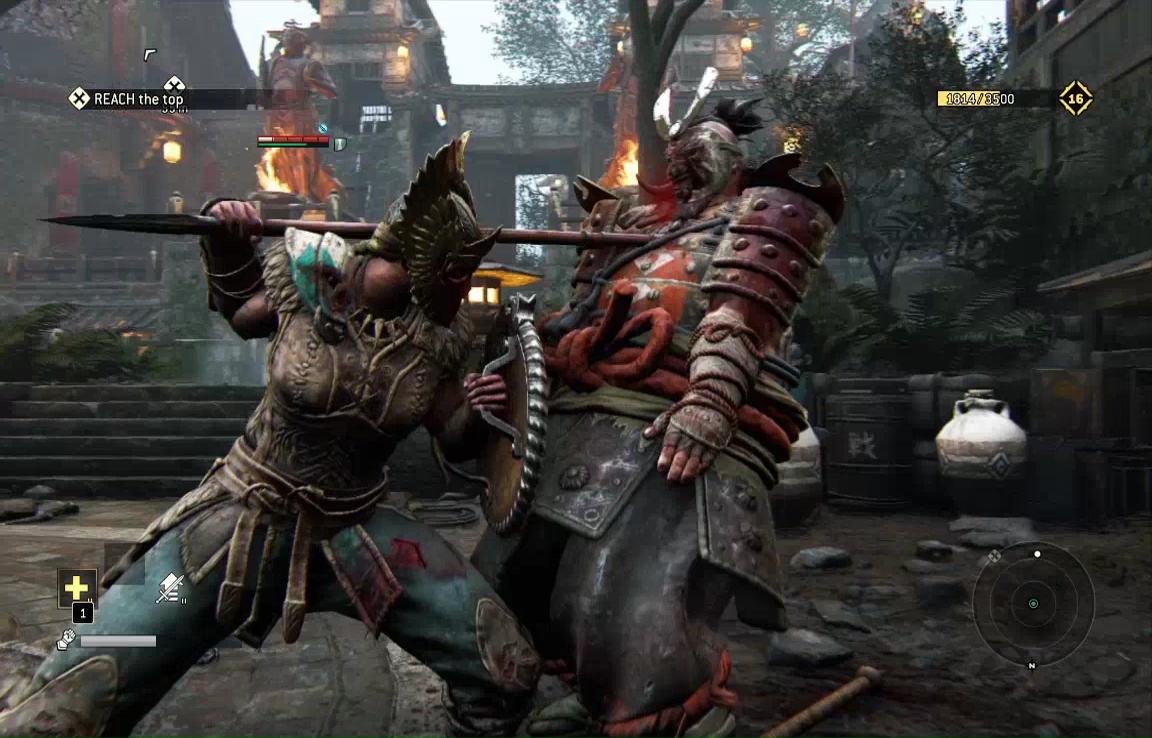
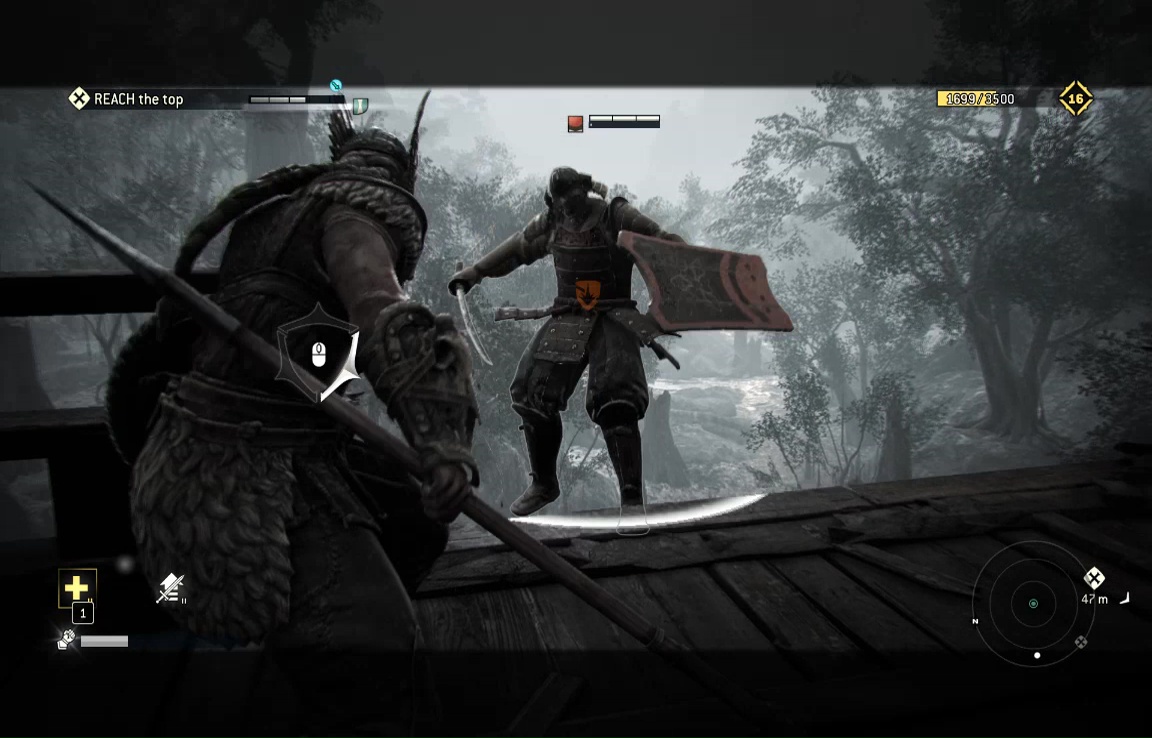
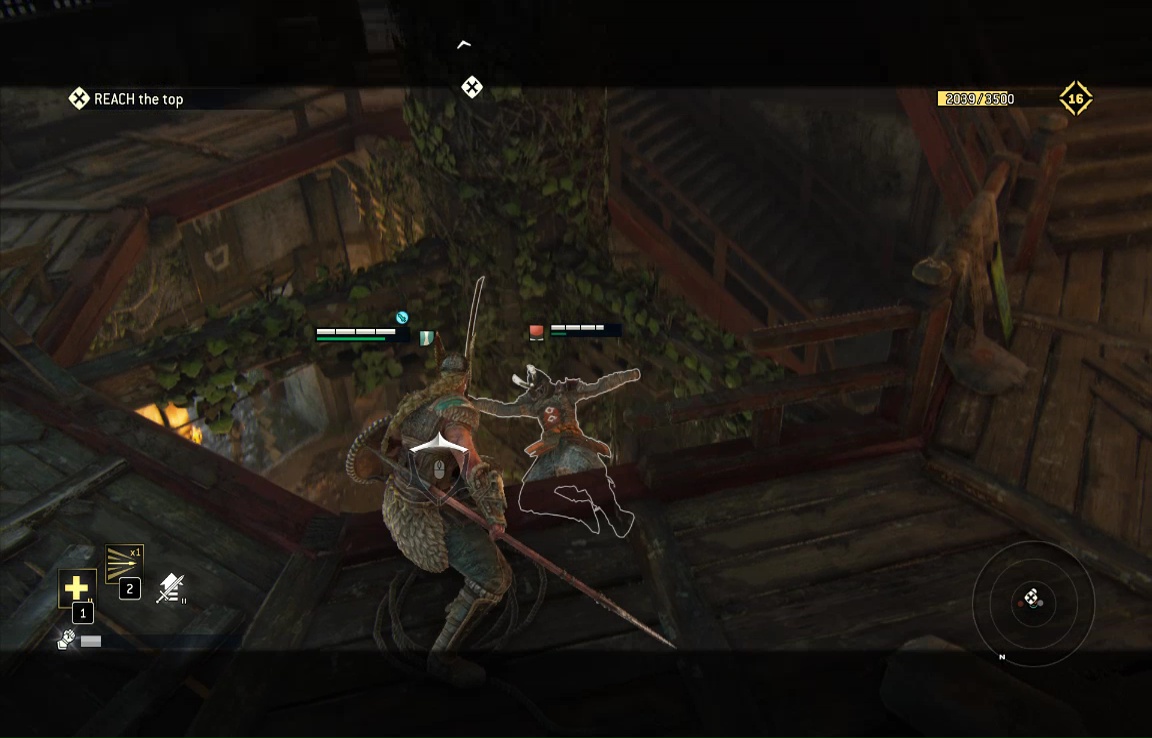
You'll now face a ton of enemies. Use your superior reach and speed to keep them at bay,and remember that you can be attacked while performing execution manuevers. If you do find yourself in a bind, just play along and block until you can unleash Revenge.
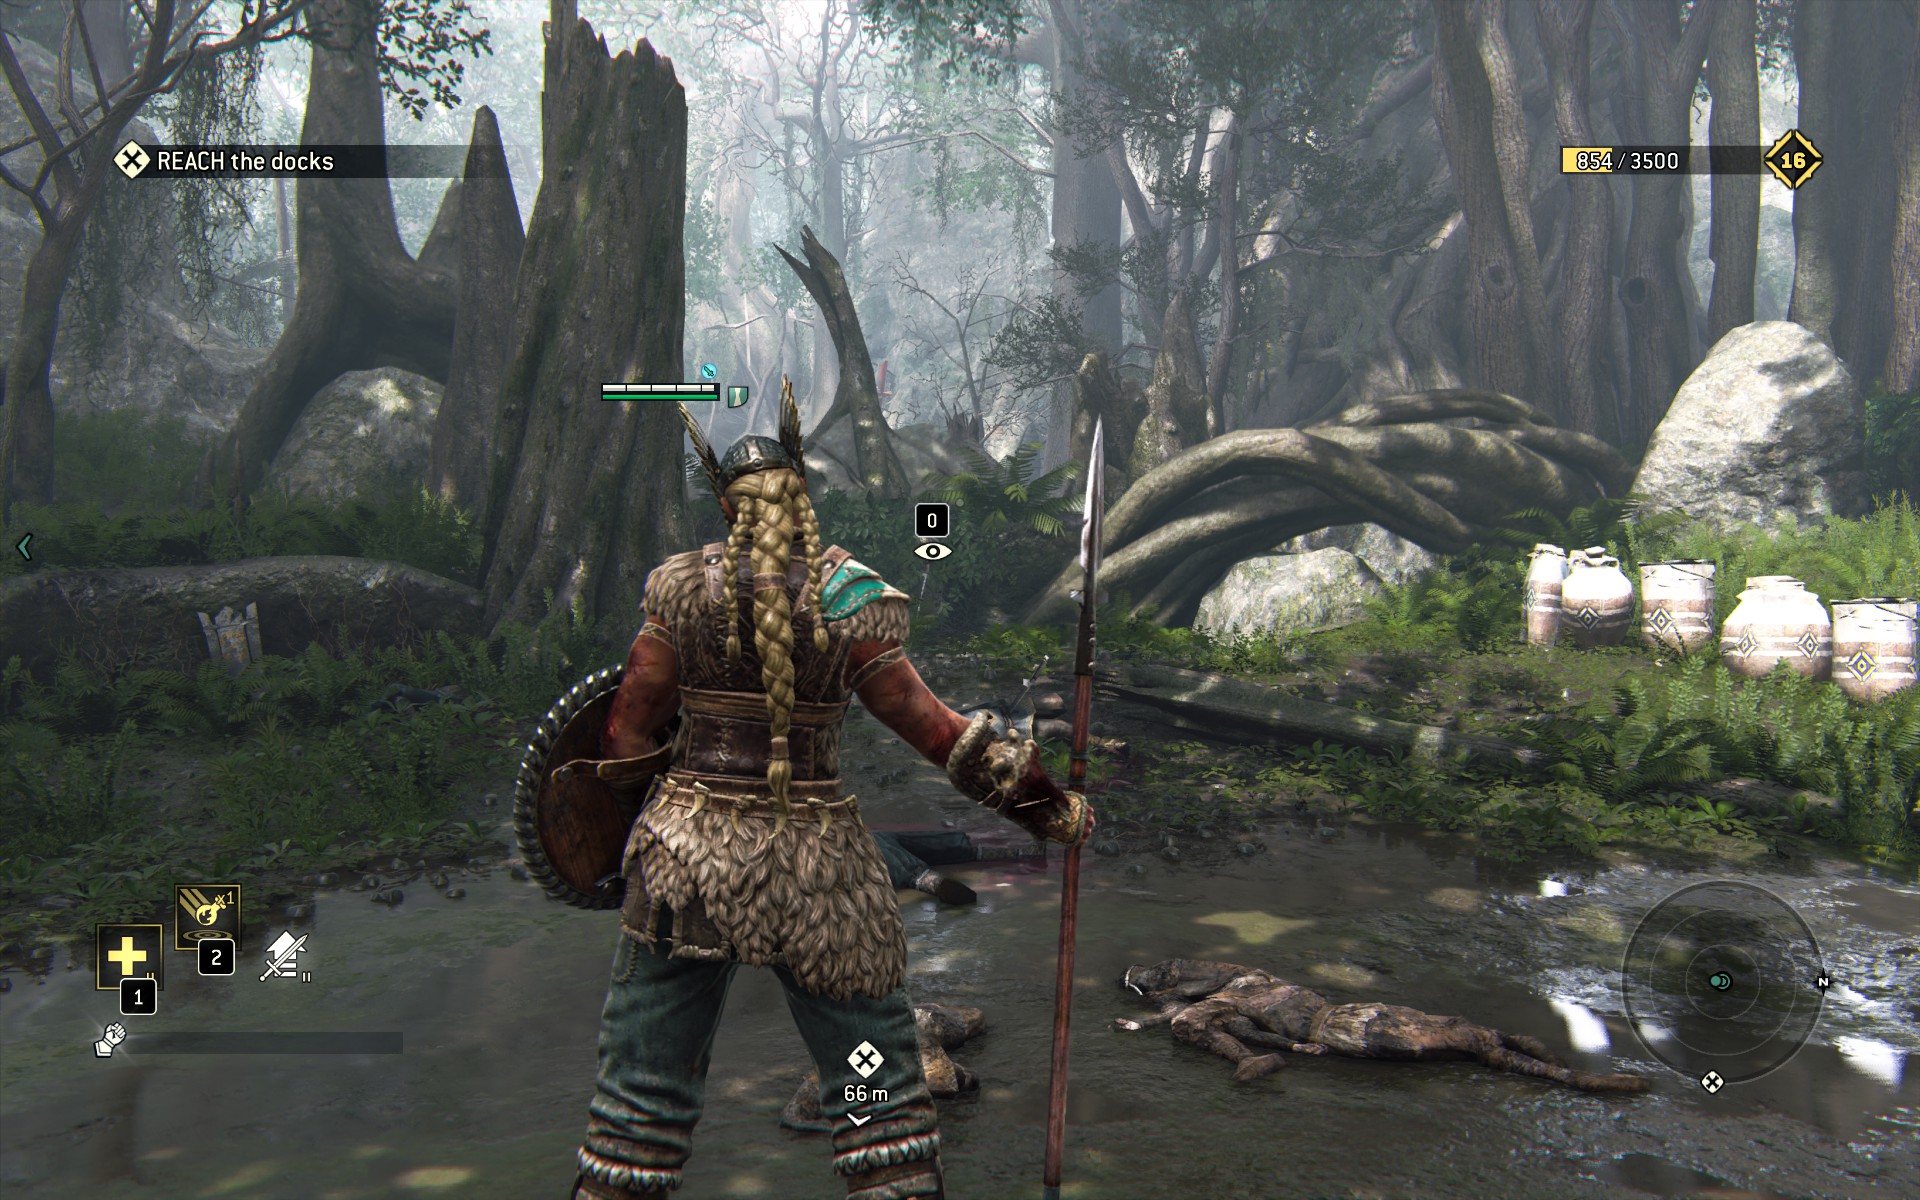
Killing the last of them will populate a new objective, but leave that be for a moment. Instead check south of the boat corpses for a Breakable cache nestled against some trees, across from a broken cart.
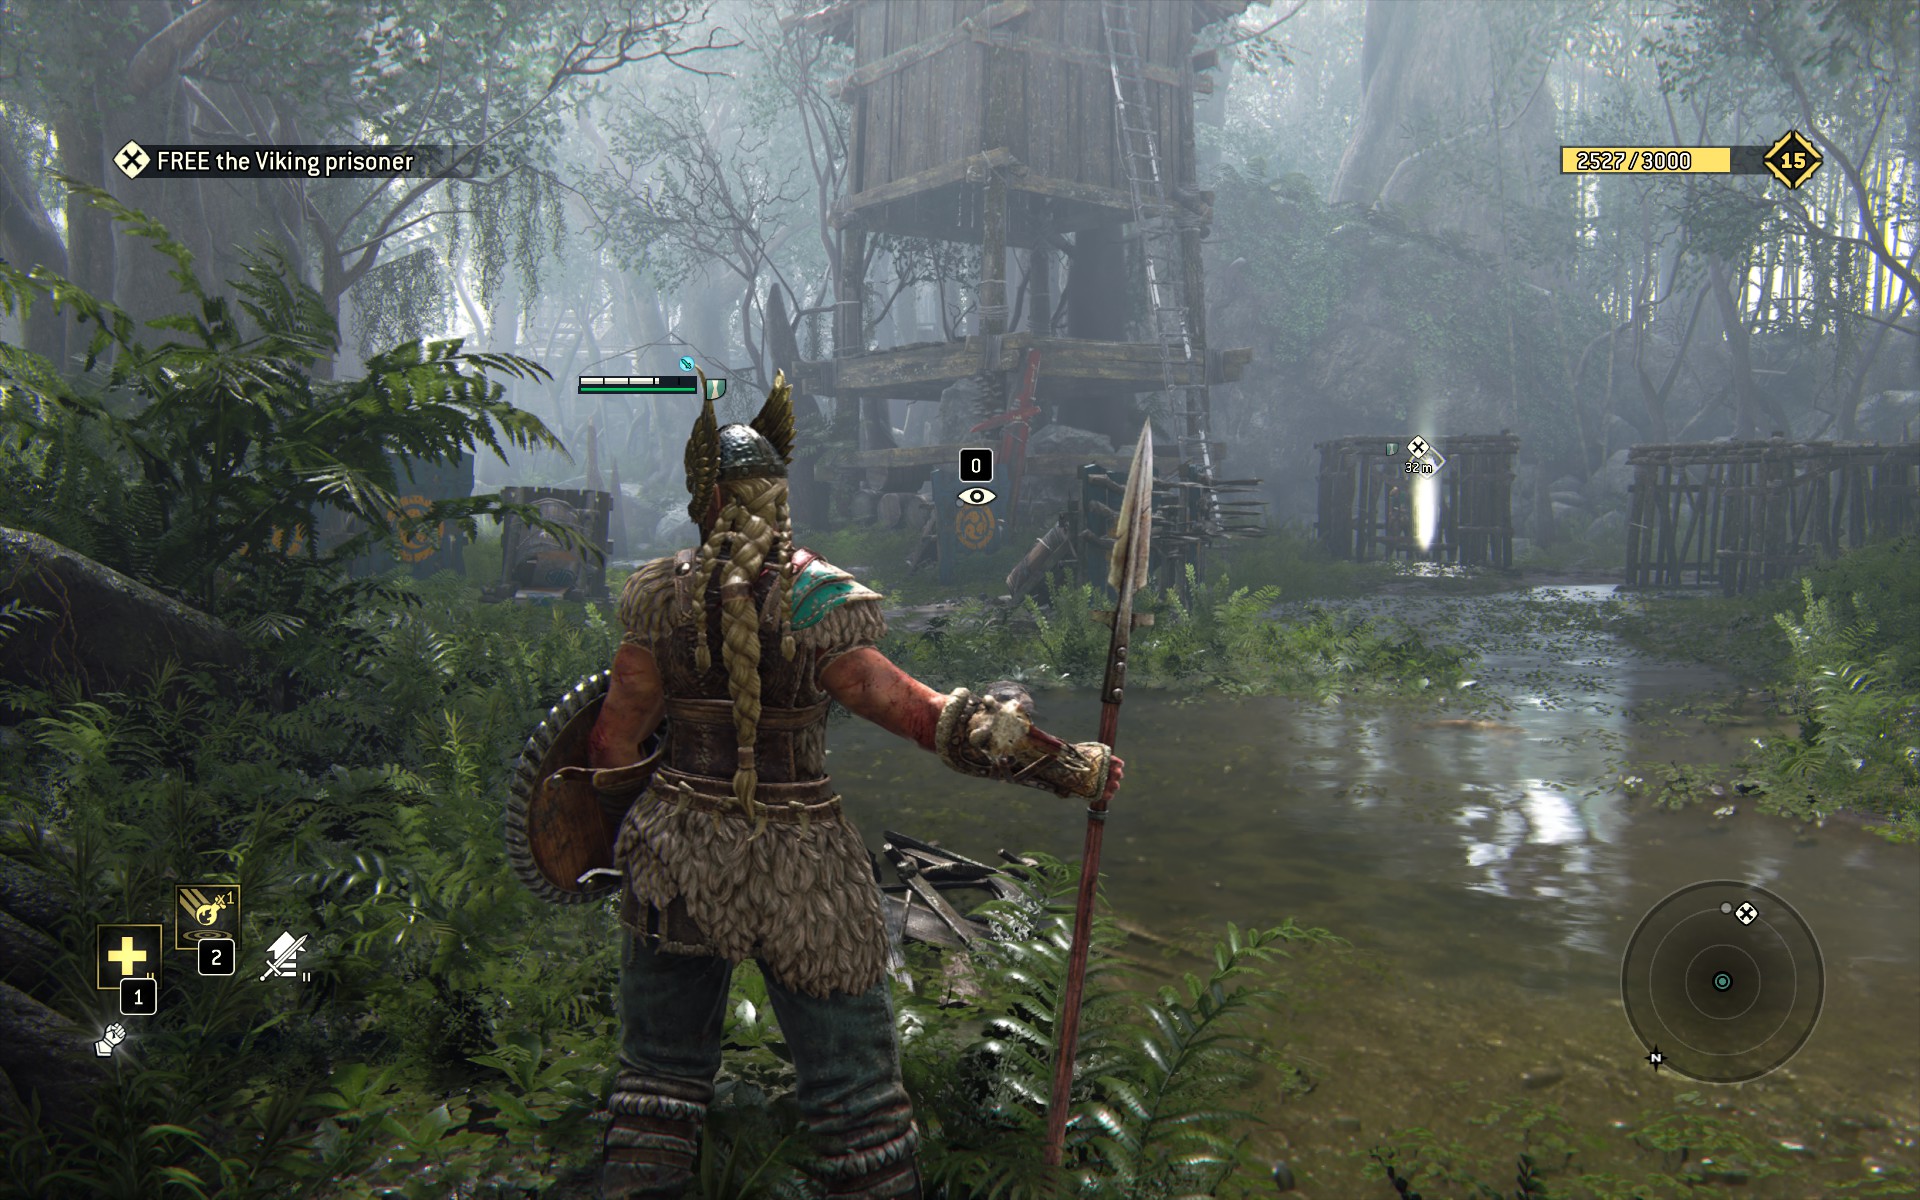
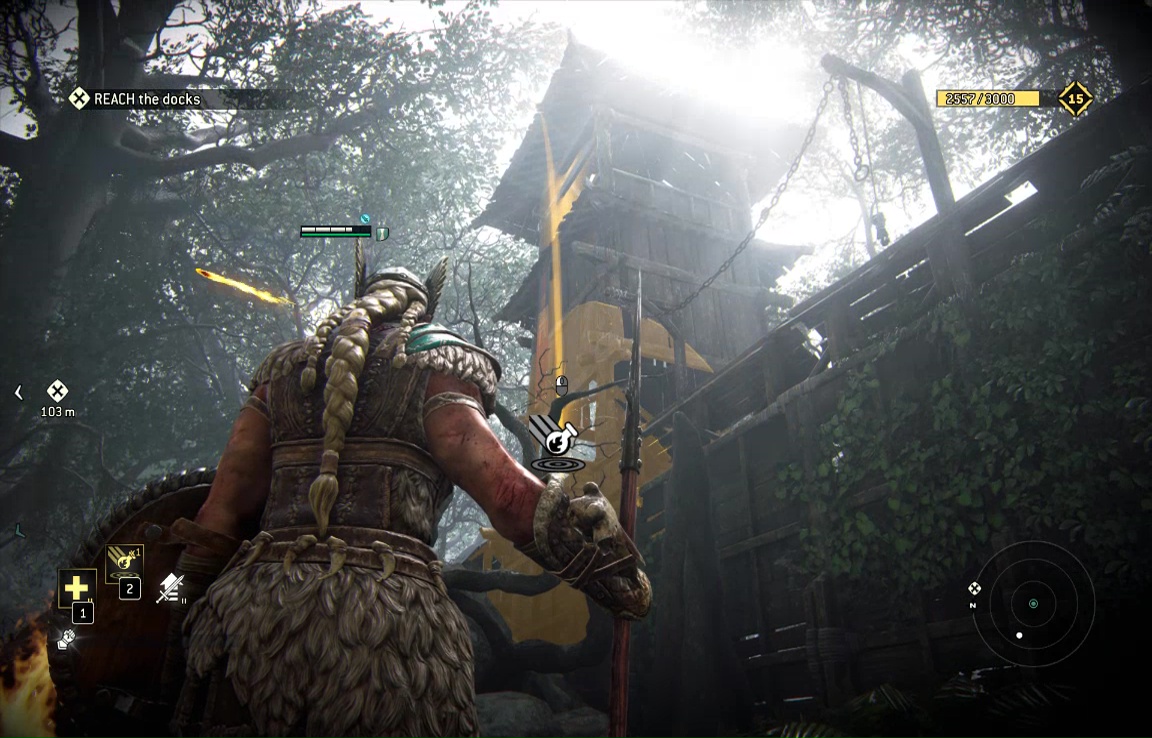
Follow your objective marker to the Watchtower area. Unlike Ragnar's watchtowers, these ones don't instantly explode after a well-aimed Fire Flask. And more's the pity. Still, by Myre standards, it's lightly defended. Take out the guards using the same tactics as earlier.
When it's quiet, observe the watchtower itself for the Wooden Tower entry.
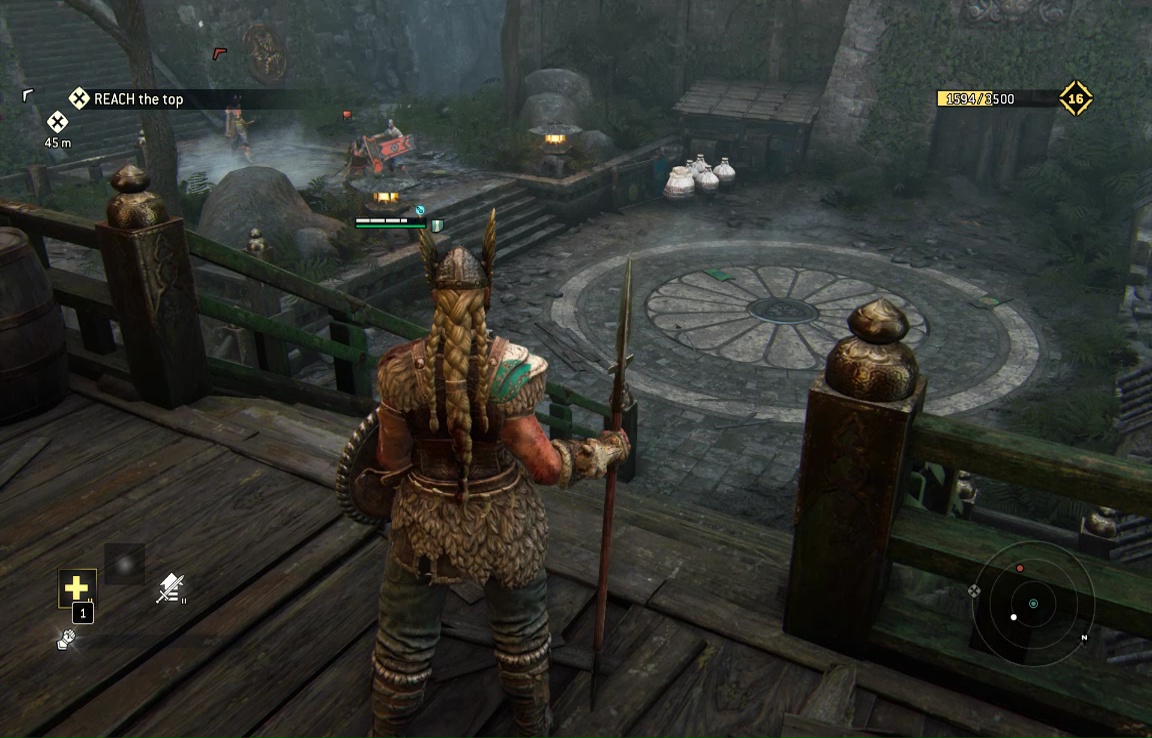
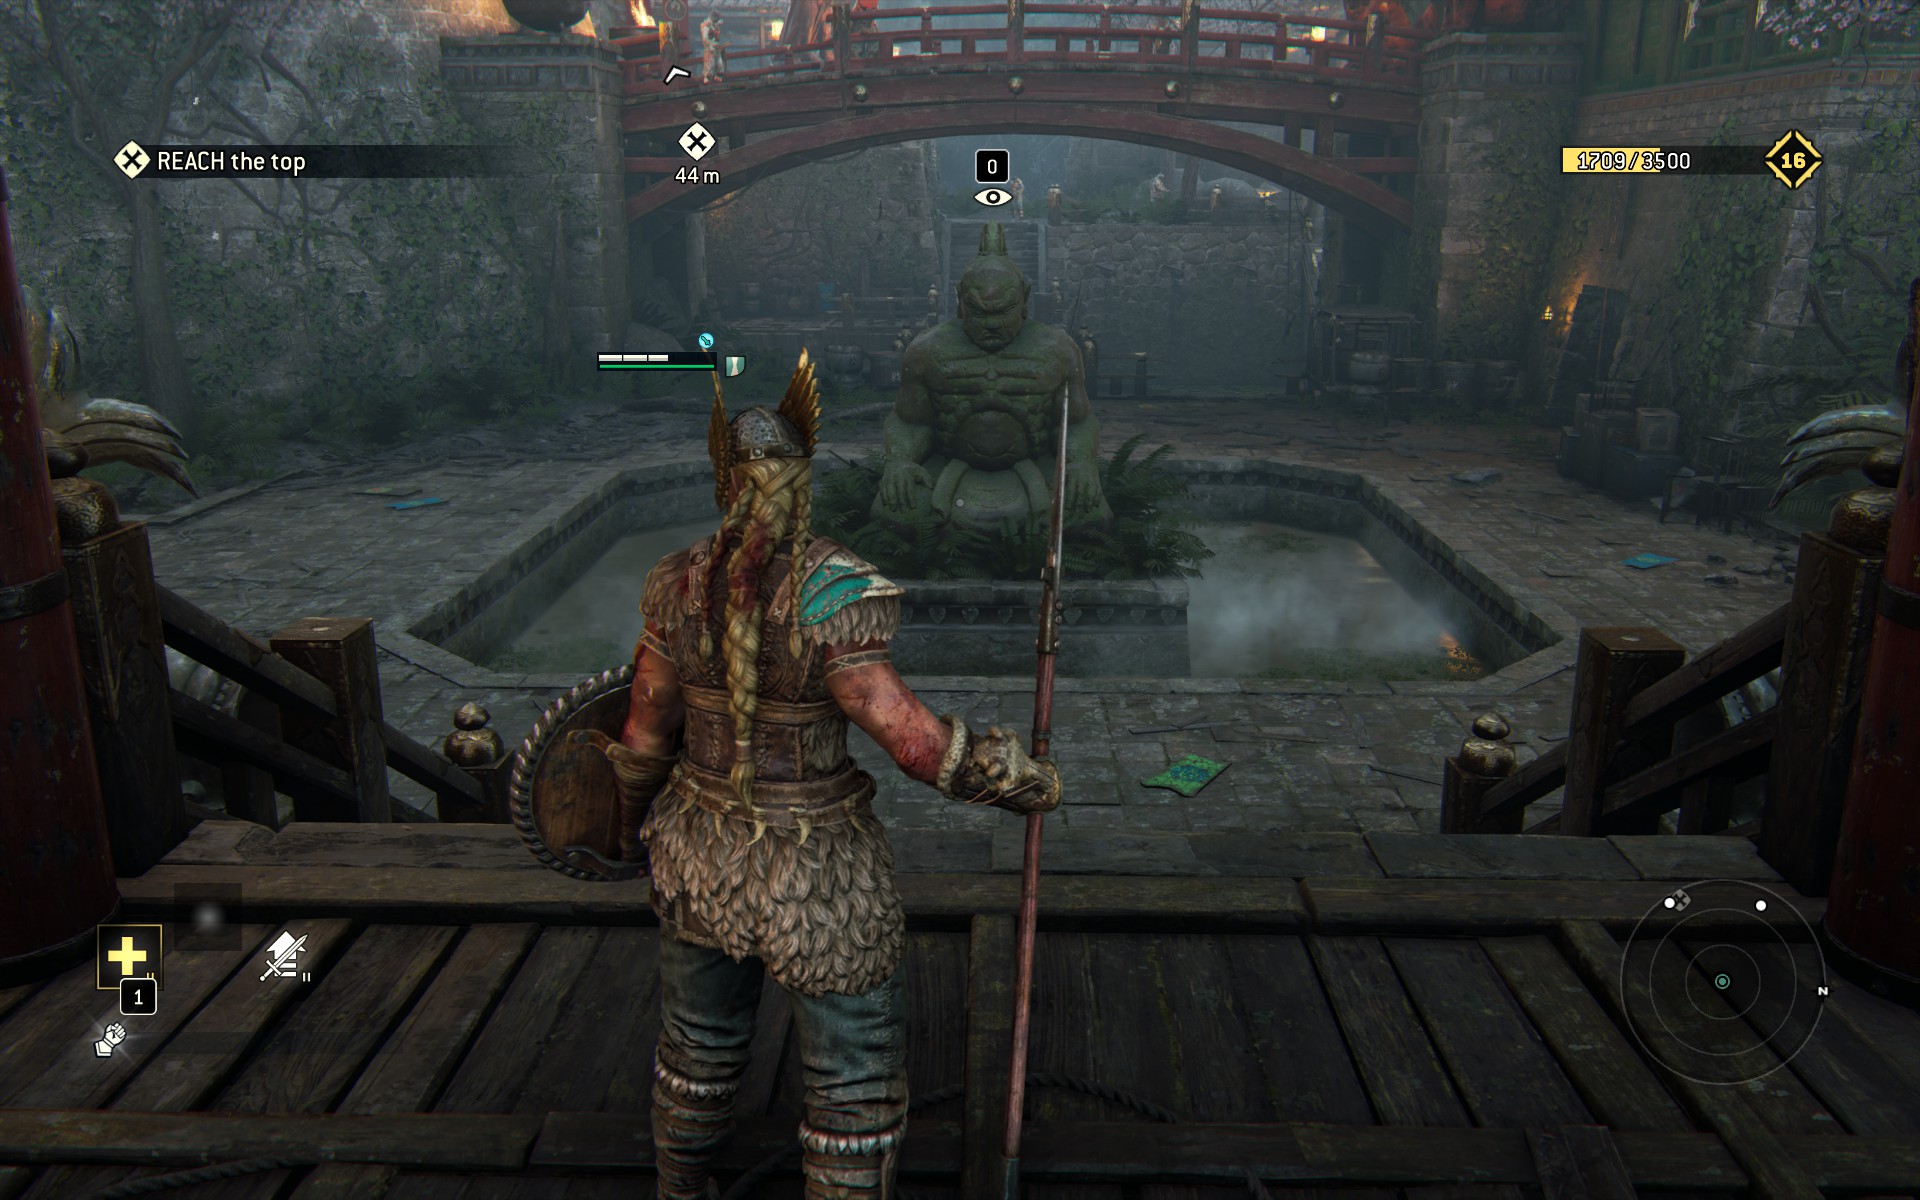
Look to the left (north) for giant sculpture, observed as Calm Statue.
Hanged bodies, giant stone heads- it's practically like home.
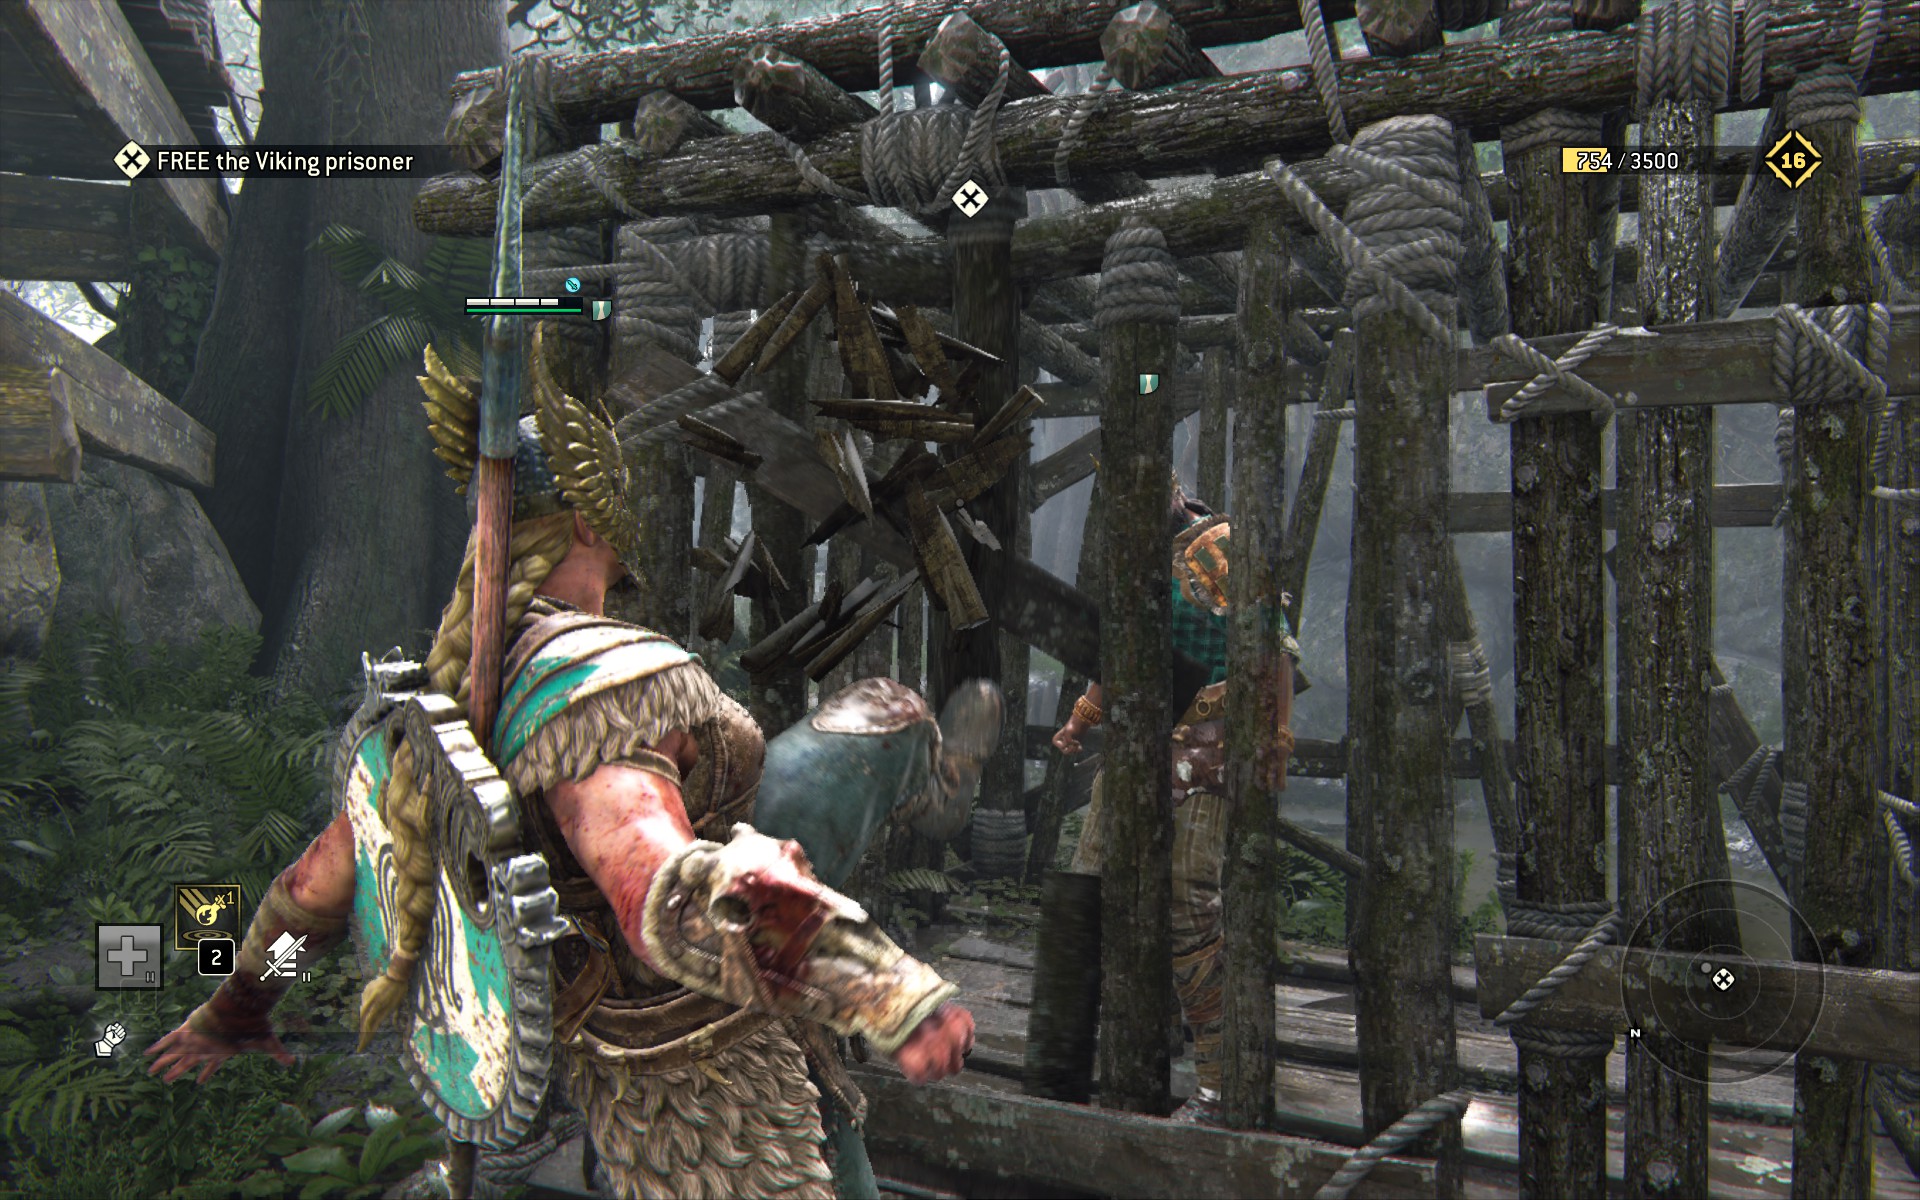
Free your comrade from the cage here. Though given that you just smash the door to pieces with a single kick, maybe he should have been able to to do this himself (he's still carrying his axes, fer cryin' out loud). In any case, he'll tag along through the mission. He can be killed, but there's no lasting consequence either way.
There's also a javelin powerup at the top of the watchtower, if you want one.
As you move forward, keep the edge of the level to your right (bearing easterly) until you come to an actual wall.
Slice apart the defenders, but be aware of the archers at the guardpost above.
You can deal with them using the Fire Flask. It won't take out the whole tower, but it will kill the marksmen.
It's near that tower you'll also find the second Breakable cache.
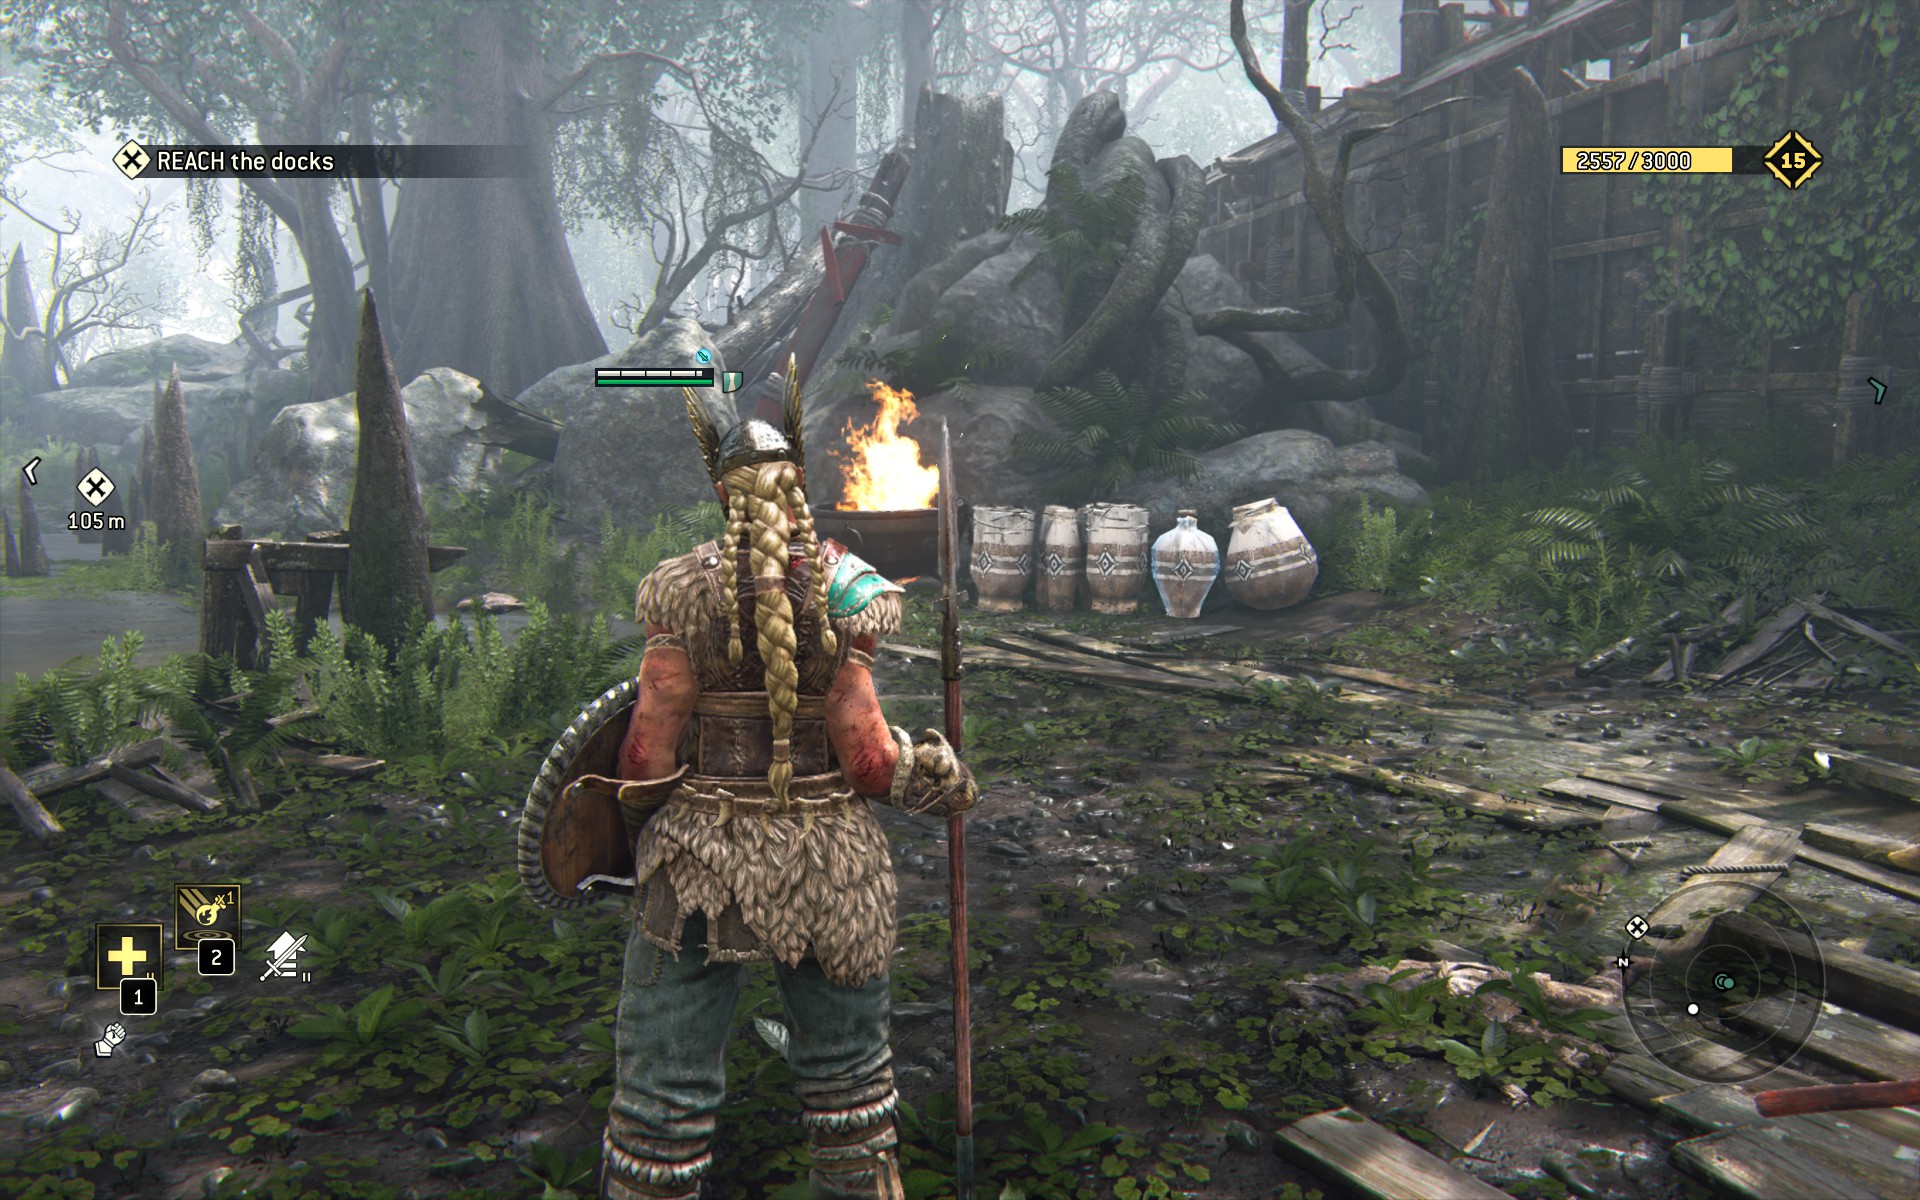
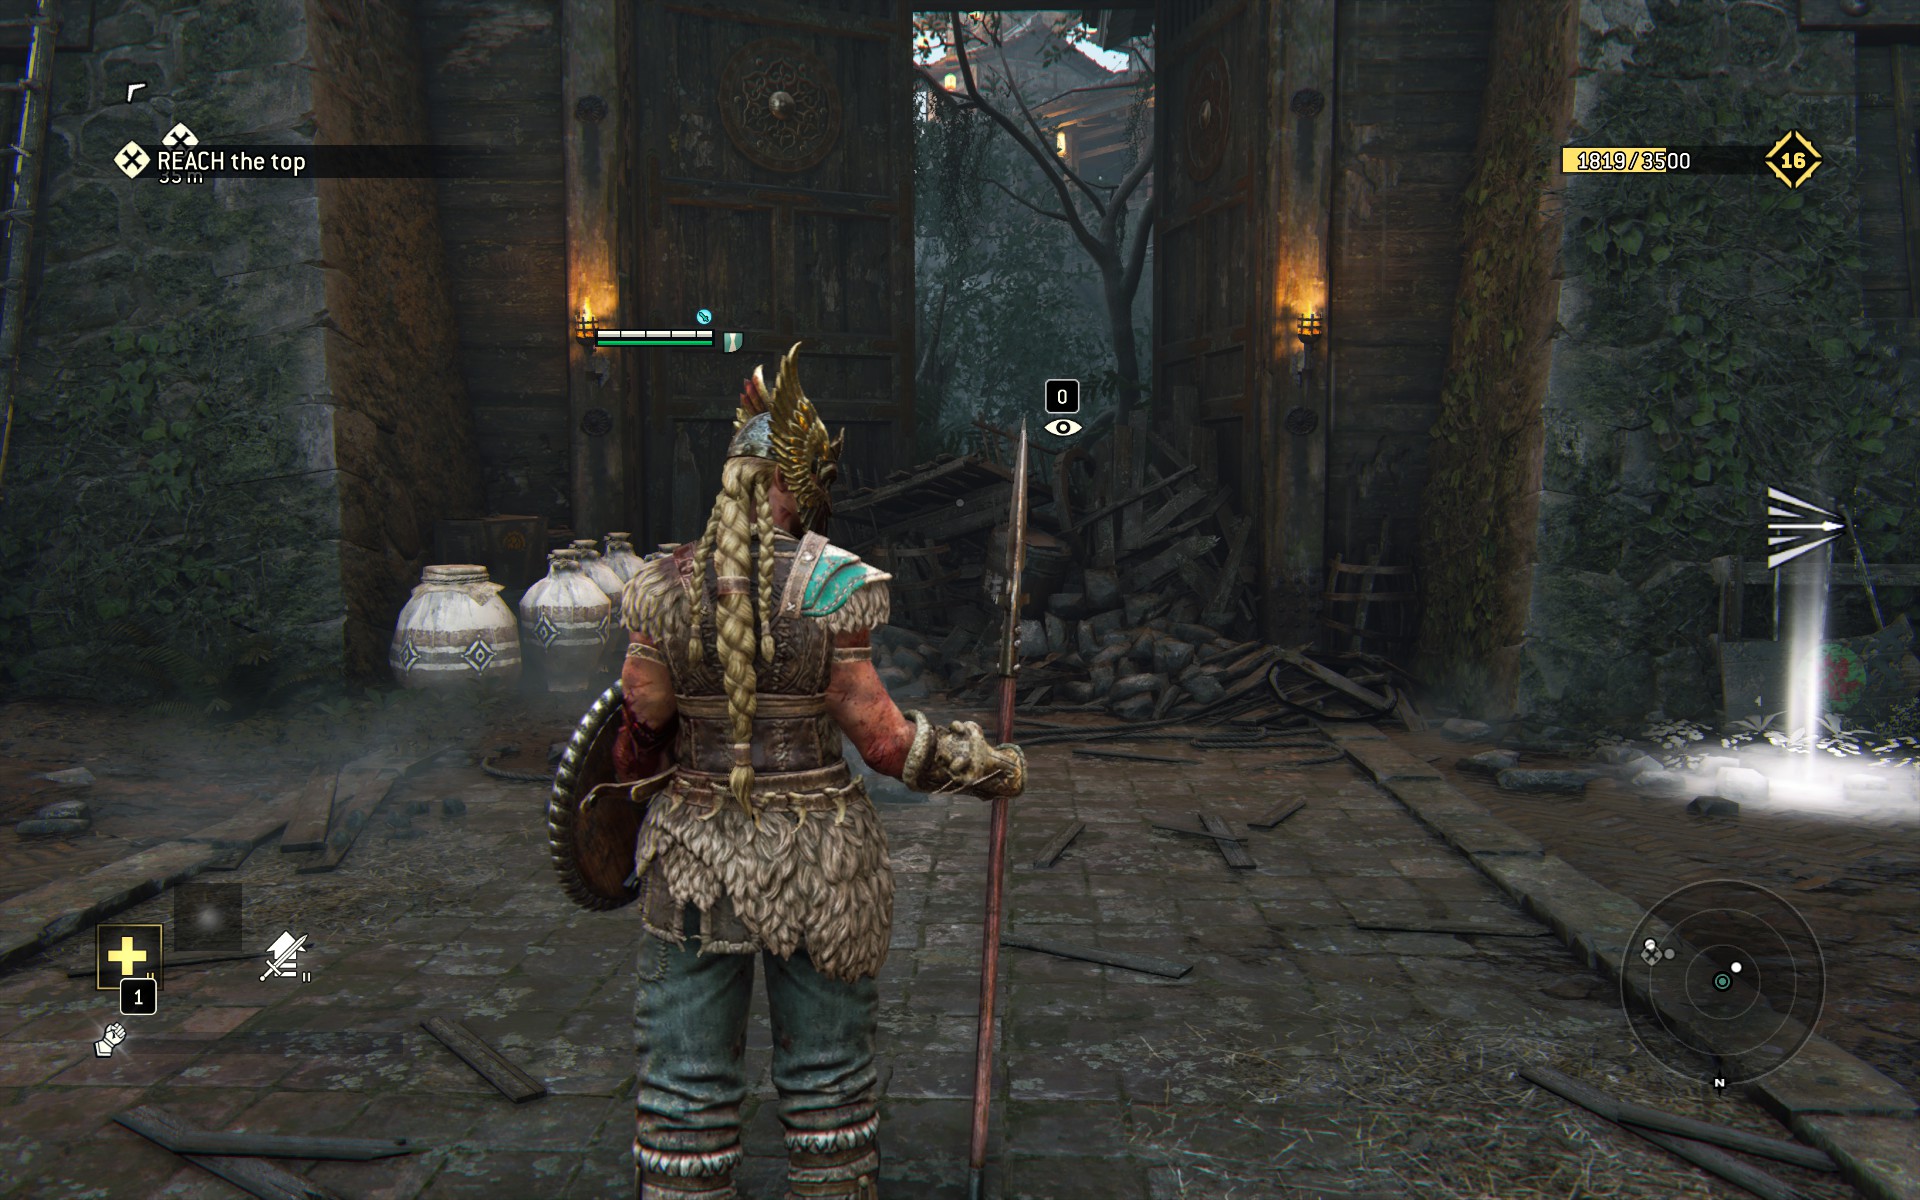
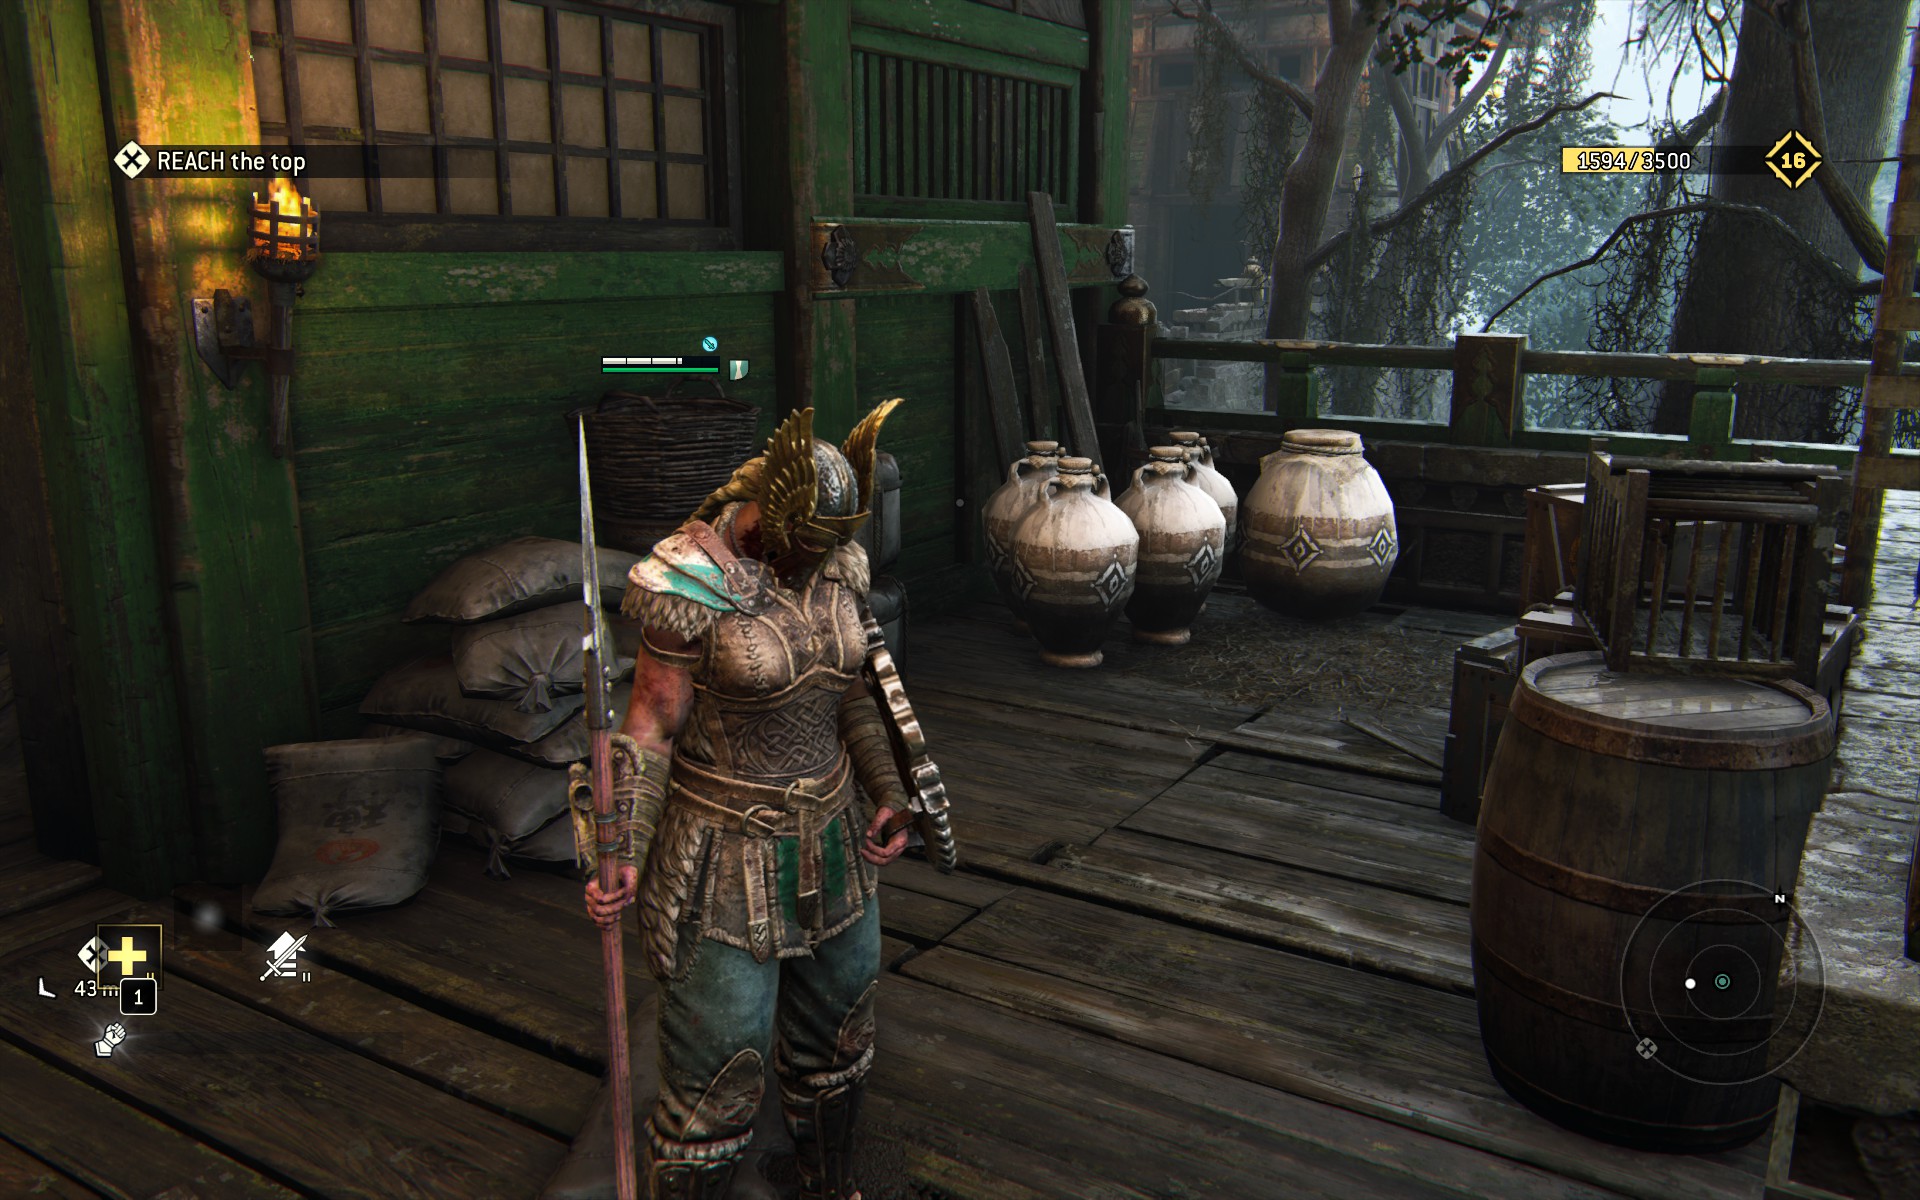
Continue to follow the right-hand edge of the map, but be careful- completing the next objective will trigger a change of venue, taking the collectibles in this area out of reach. So advance cautiously, coming to a dilapidated red building with a large bell. Here you can see the third Breakables cache.
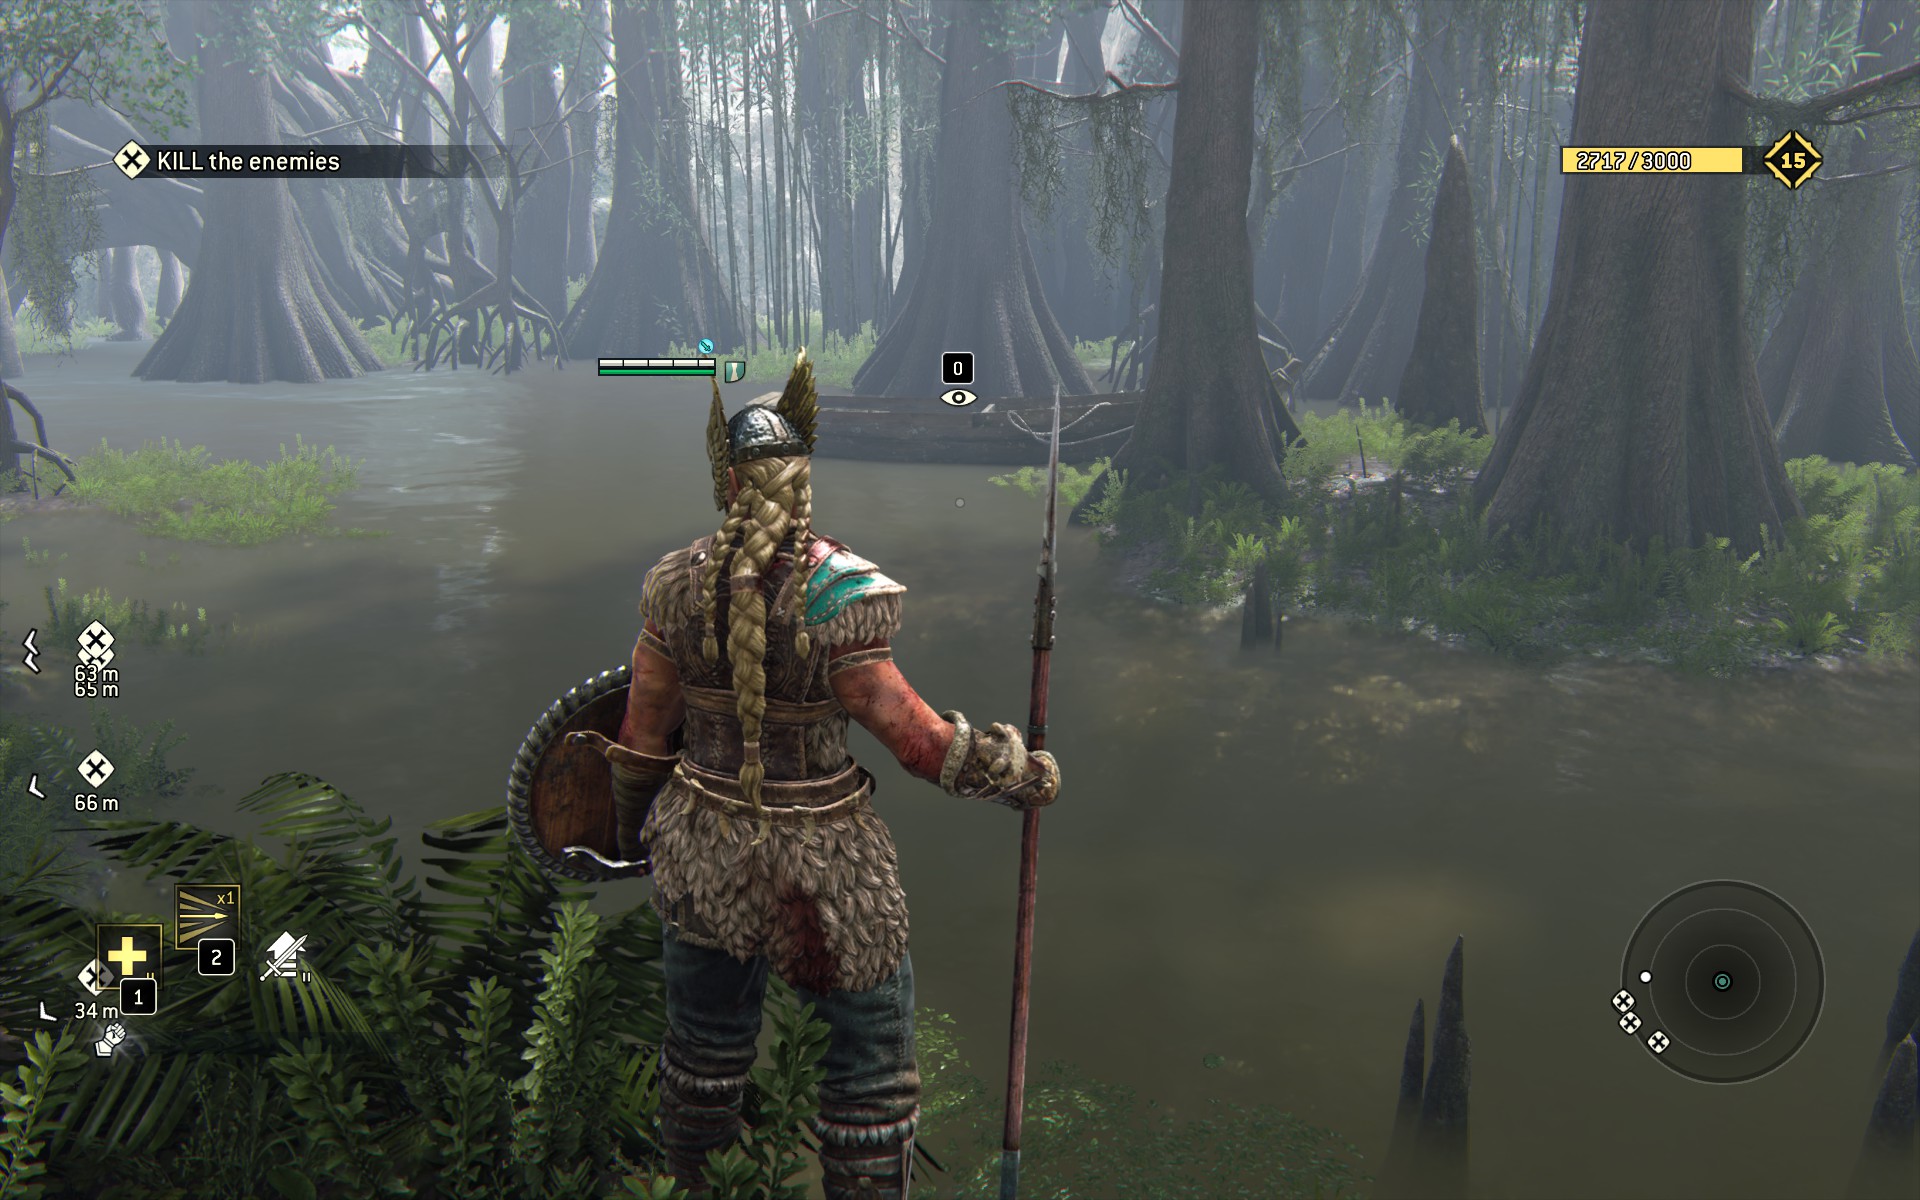
Smash them and pass through the building. You'll see a another Javelin power up ahead, but before you snag it, turn right (easterly) and jog to the water's edge. Observe what looks like an abandoned rowboat for the entry Ancient Boat.
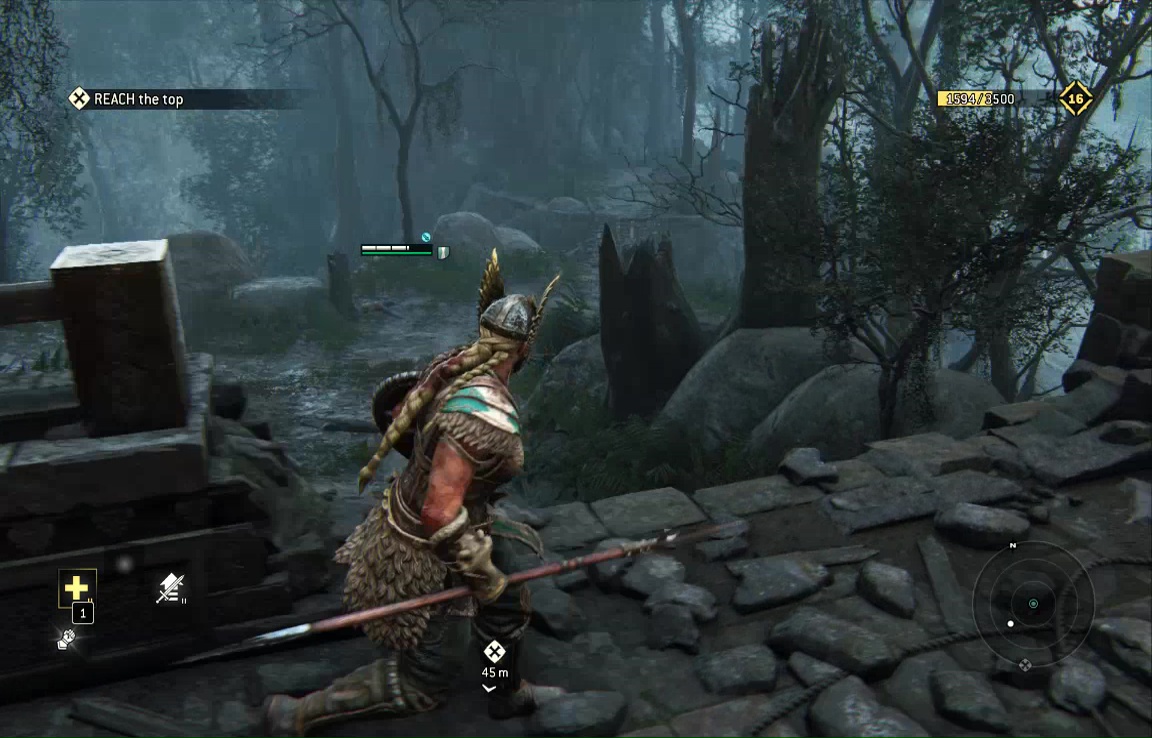
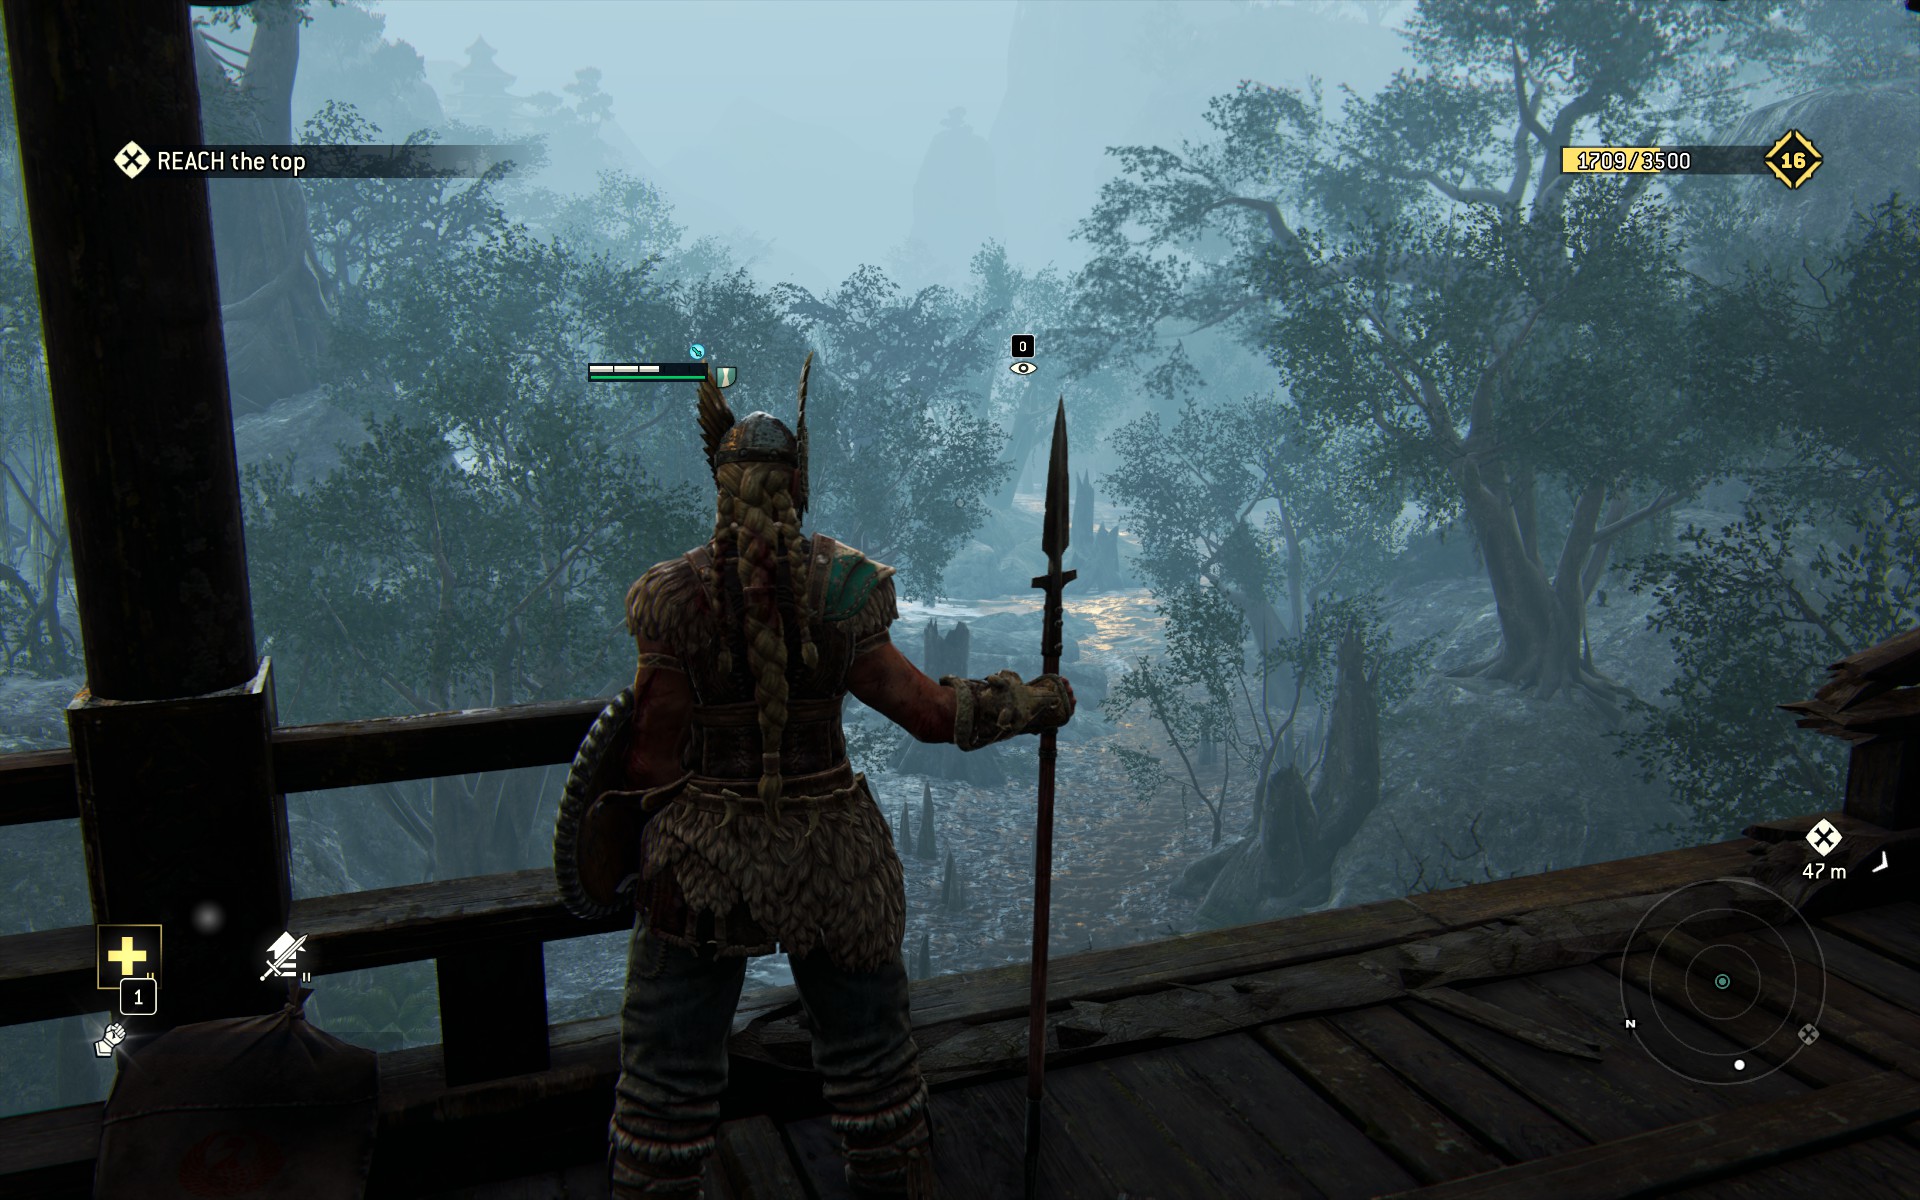
You're now getting pretty close to the final object, so ease off a bit, backtracking to the Calm Statue. This time, you'll want to hug the left-hand wall as you proceed, bearing northish.
Keep following that shallow riverbed, and you'll reach a clearing with a bunch of loitering samurai, and a cache of Breakables.
![]()
Destroy them both. From the center of this clearing, look due west to see a helmet on a stick, which you Record as Viking Helmet.
Now head east, through a lone samurai guard, and a past a Fury powerup for the last cache of breakables.
There are many enemies here, but be sure to address the breakables first- otherwise you'll be automatically swept away into the next part of the chapter. As for the enemies themselves, you're not going see a bunch of hostiles all clumped together like this for a while, so feel free to liven things up with a Fire Flask.
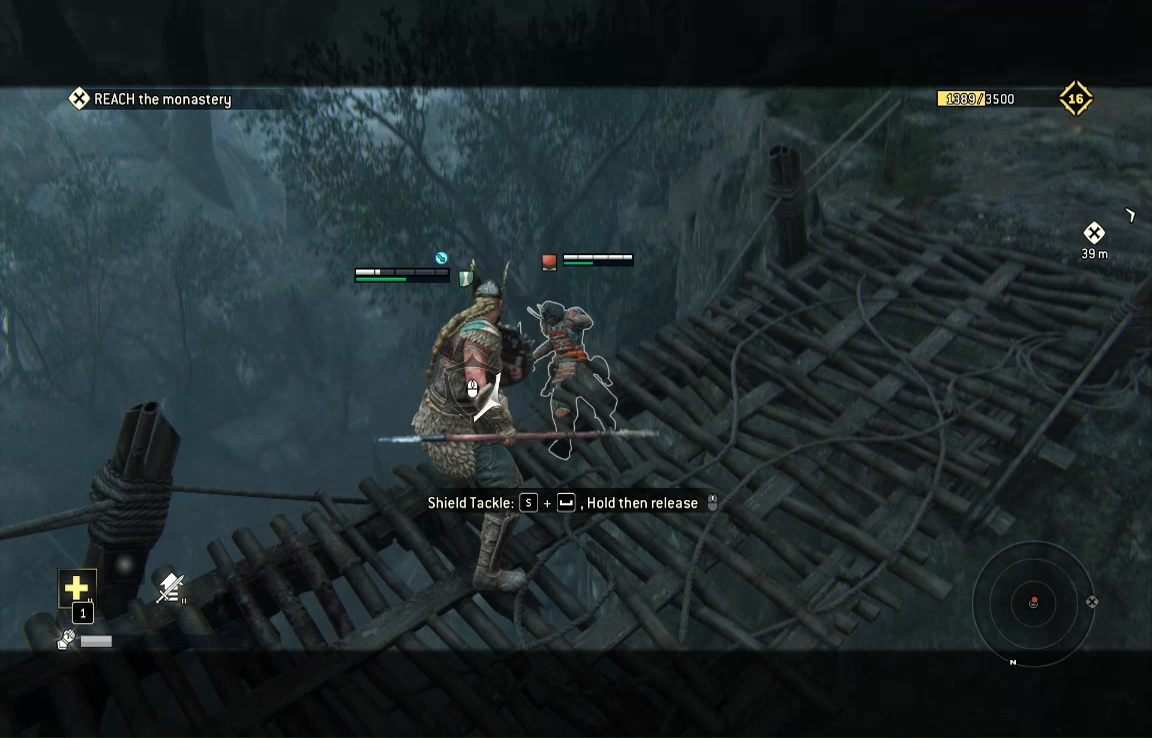
Once they're all dead, a cutscene rolls, and you start a new section of the mission. Proceed along the only path, and follow the tutorial's suggestion to Shield Tackle the bridge watcher over the edge.
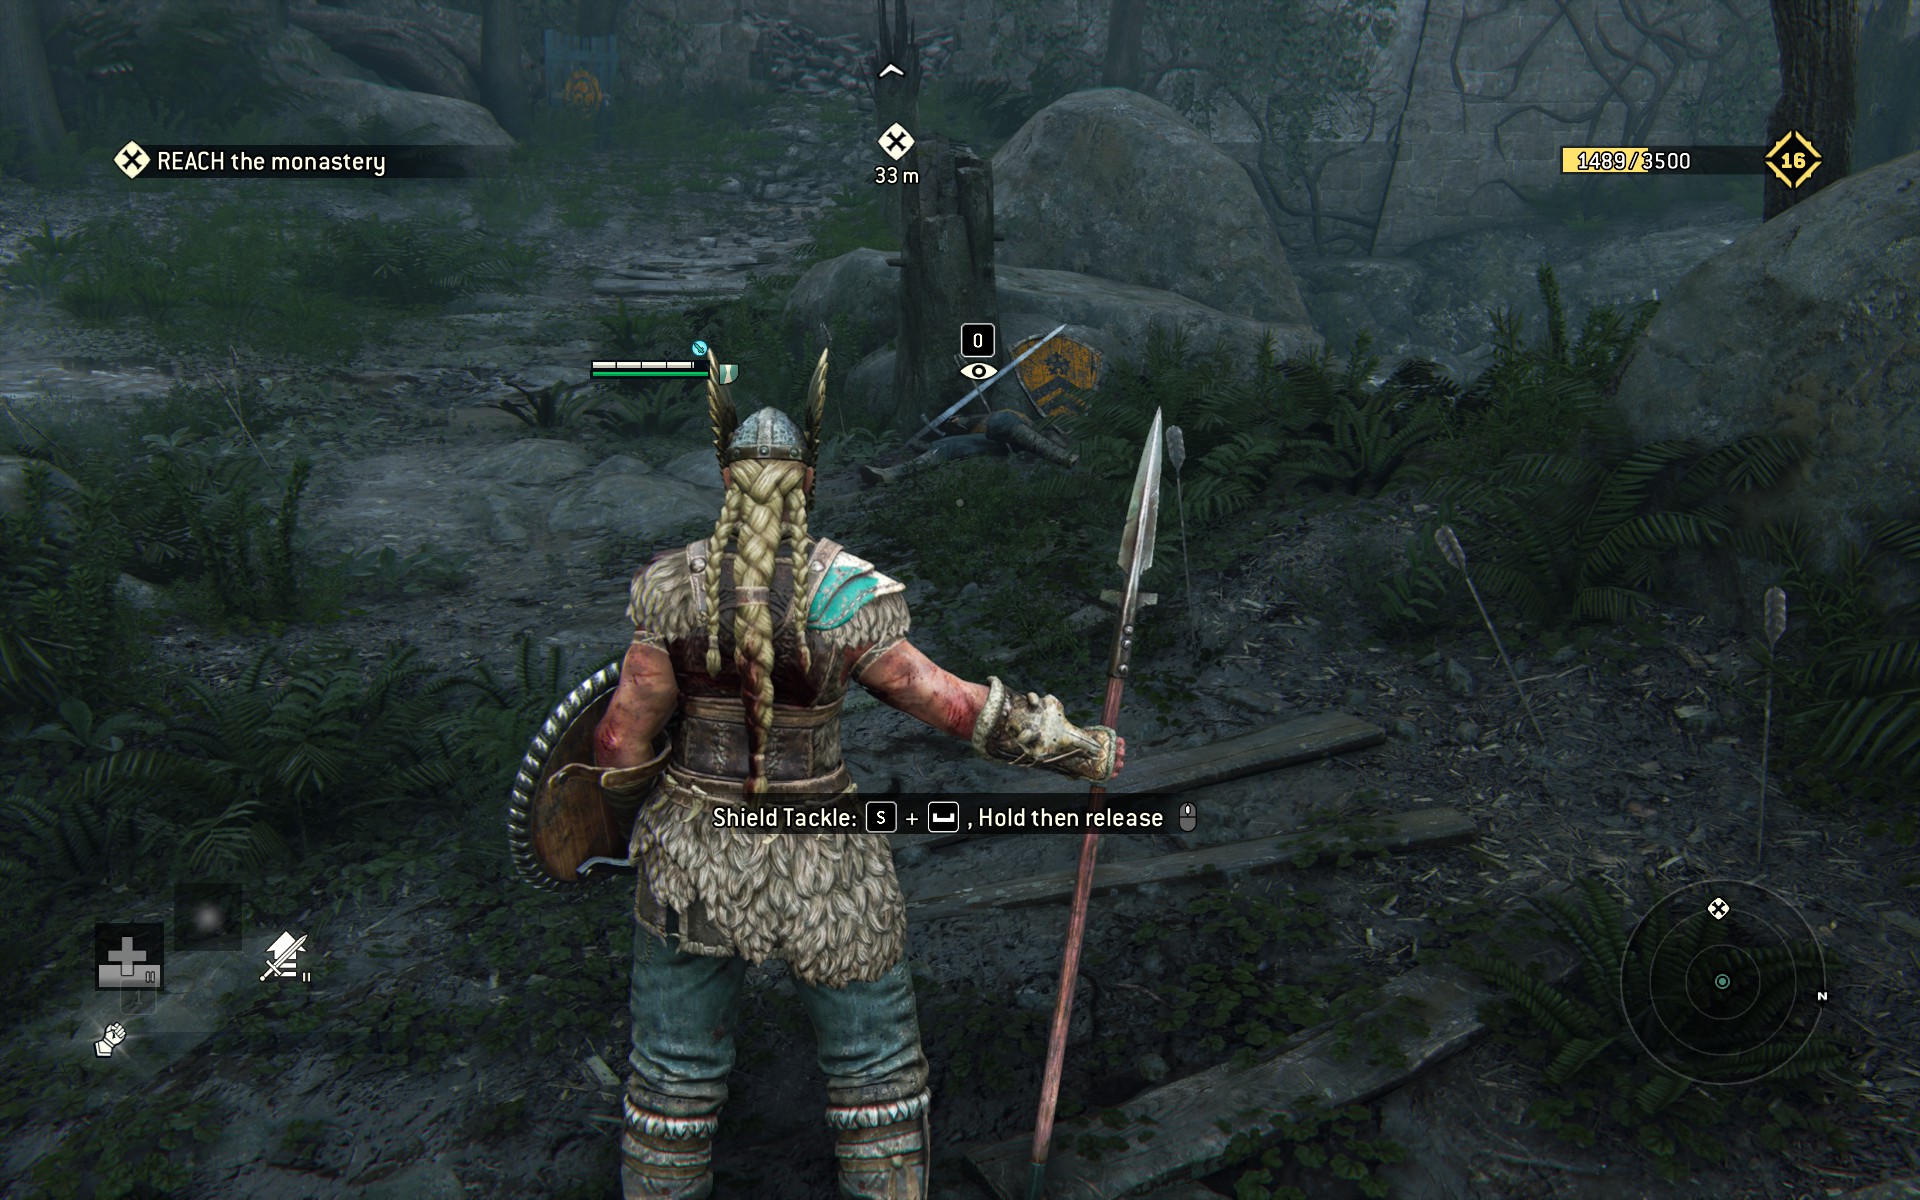
Just slightly past the bridge is an Observable Lone Dead Knight, far from home.
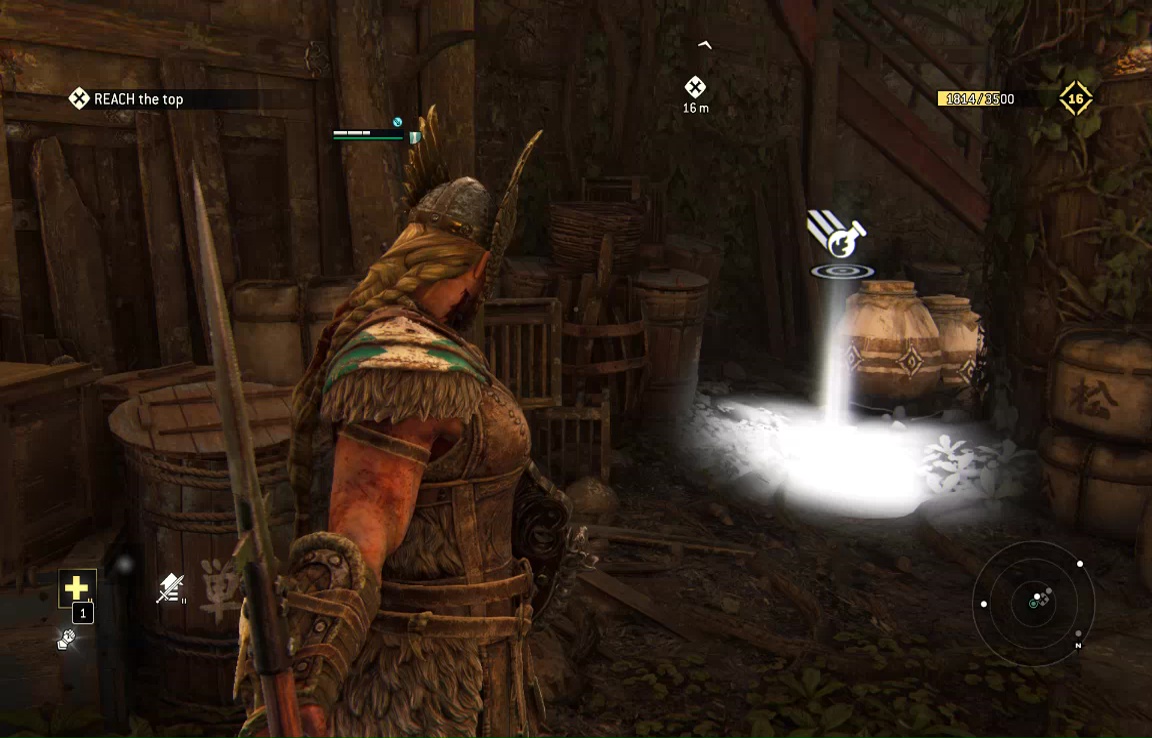
Follow your objective marker to the crumbling wall, then into a room with a Nobushi and a cache of Breakables. Use your Shield Tackle to get past his defenses.
The fortress has a lot of areas, and you're going to have to visit most of them, so try to keep track of where you've been. Start by heading west out of the Nobushi room, to a plaza with another set of Breakables, and some samurai.
Fight defensively, don't let yourself get boxed in, and you'll take these guys without problem. Once the plaza is clear, turn back east, but take the stairs down, to the passage with the Fire Flask powerup.
Note the door on your left, which is Observable as Dungeon Door.
It's just about now a Shugoki will emerge from the far door in ambush. This guy is tougher than the Shugoki from out in the Myre, so lure him back out to the plaza where you can use your superior agility to get the better of him.
Head back west and up the stairs, then turn south and up the stairs again, to reach a little area with a broken gate, a Javelin powerup, and more Breakables.
Record the gate as Shattered Doorway, break the Breakables. Then return to that first Nobushi room, and this time exit east. Immediately after passing through the doorway, look left for a cache of Breakables.
As you continue east along the walkway, take a moment to look left- you'll have to escape the fortress soon, and this is the exit point you'll be making for.
Reach the corner room and turn right. Kill the guards on the overlook- they are ripe for ledge-pushing, if you like.
When they're gone, look out over that same deadly ledge to Observe the Fog.
After, spin around and look west to Observe the statue here as Fountain Statue.
Head south, take out a guard, and Observe the giant bell structure for Gong 1, the last entry in your journal. Now a quick trip west into the central part of the structure will reveal the very last Breakable cache, behind a Fire Flask pickup.
Exit the tower and take a ladder up, then put that Shield Tackle to use once more.
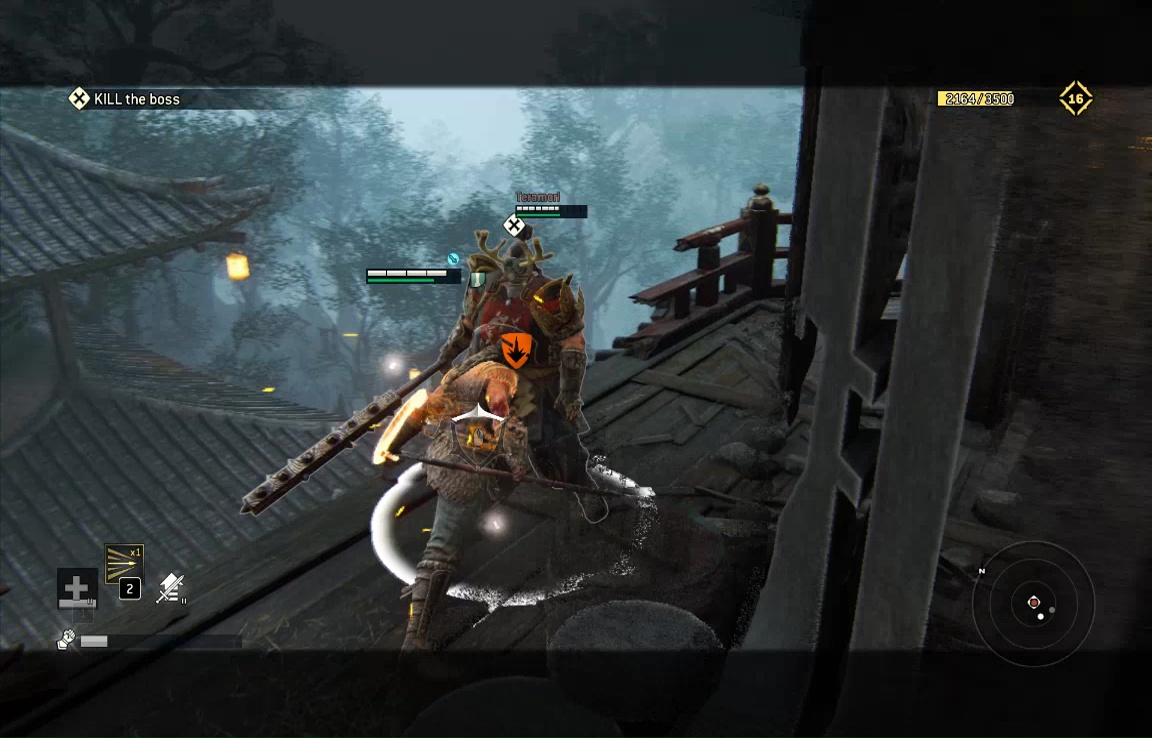
Ascend the stairs for another Shugoki fight- the level boss Teramori. Another hardcase, but it is possible to use the ol' ledge tackle to get him out of your hair.
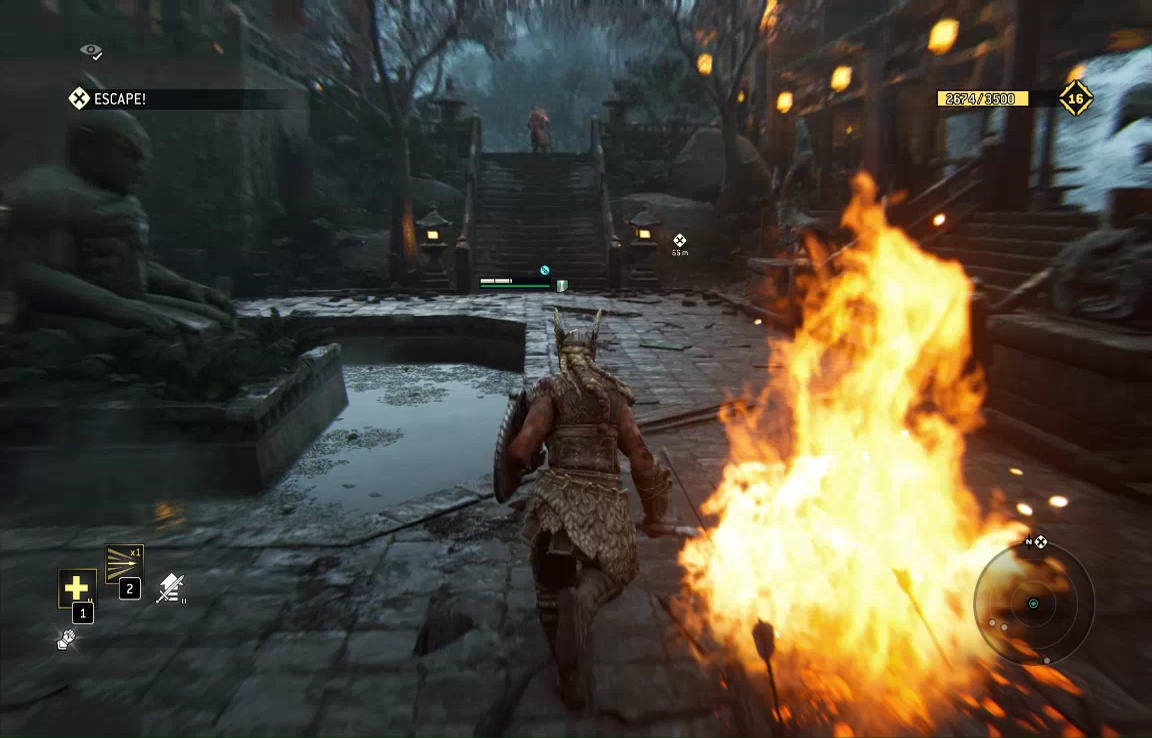
Once you do, grab the objective maps to watch all hell break loose.
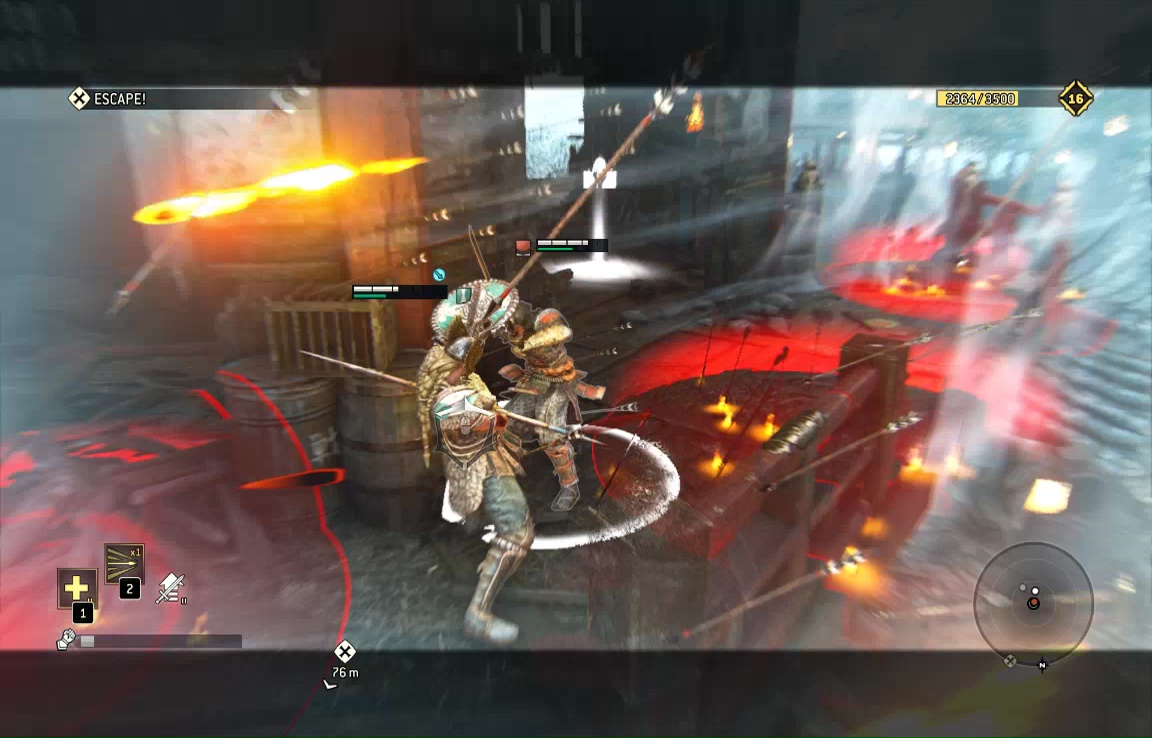
Don't try to kill everyone who gets in your way, just run for the exit. Drop down to the next level of the tower and exit east.
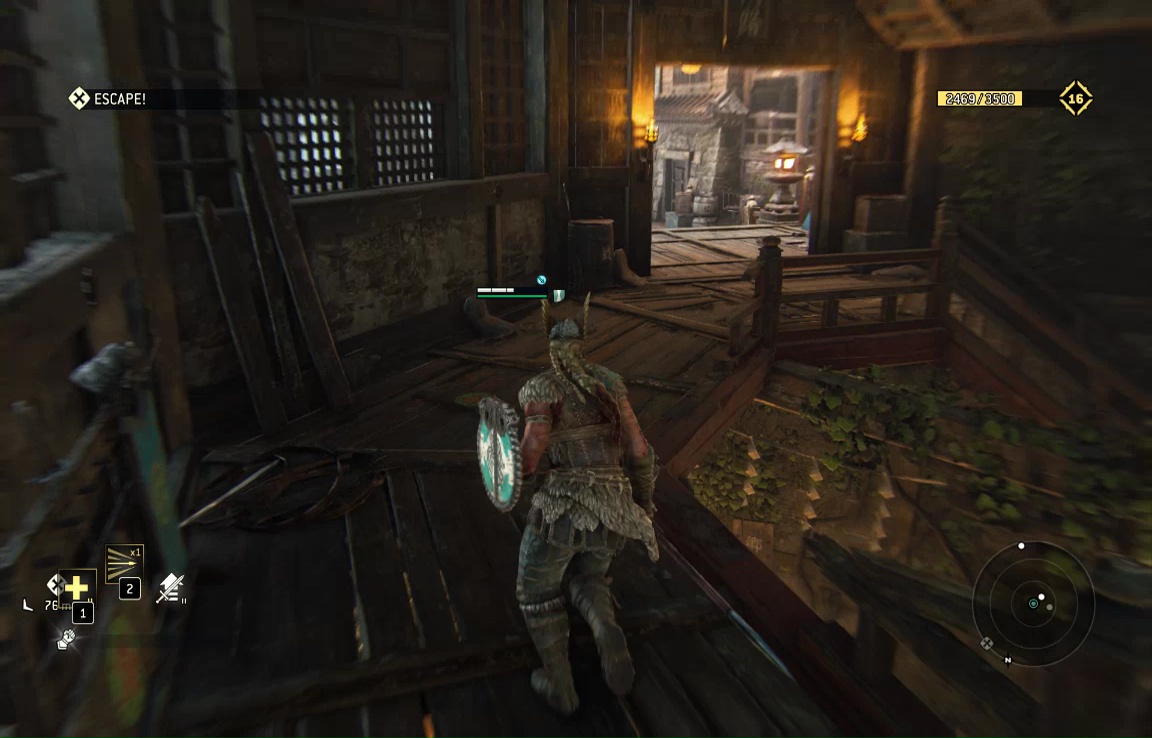
Drop down the ladder here to land in the area near the Gong and Fountain Statue Observables. Run due north, brushing past a Shugoki to drop down over that wall we looked at earlier.
You'll probably be followed over the wall, but ignore those chumps and sprint for the bridge. Crossing it will trigger the final cutscene, sending us into the last chapter of the Viking Campaign.
