
MISSION 07 – Reunion
Objective: Investigate the facility
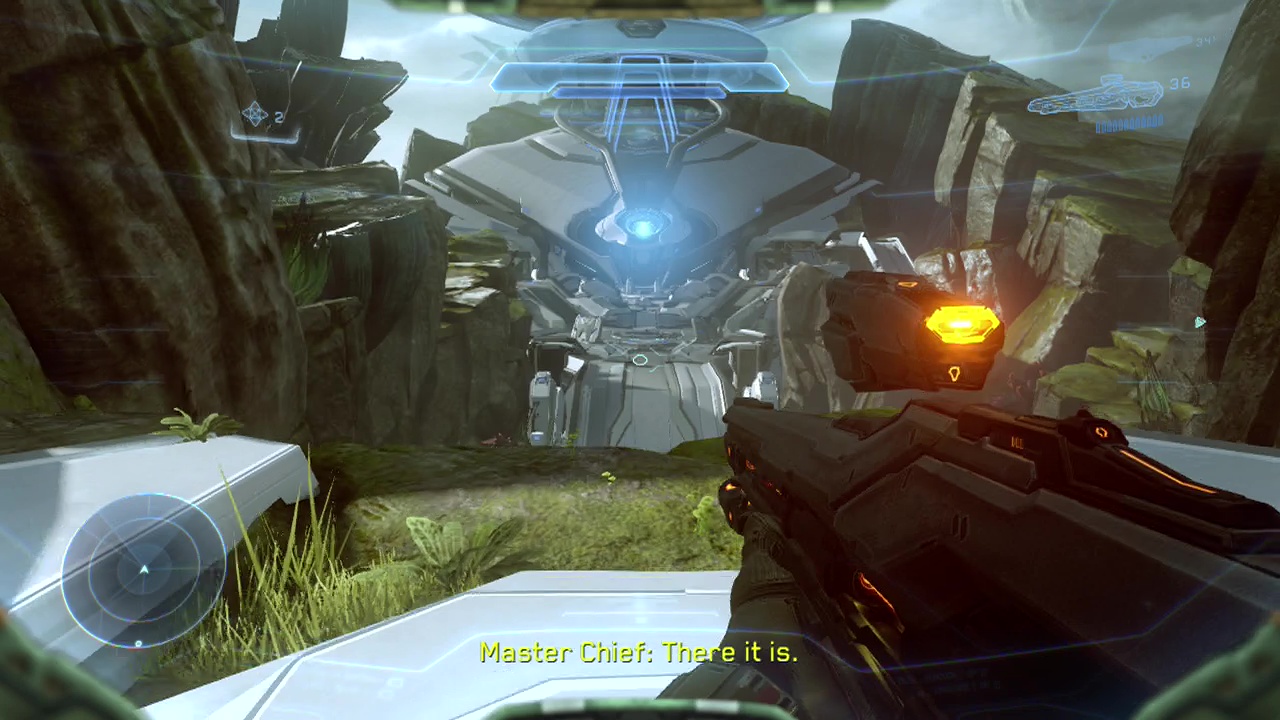
You'll one again be in the grunt encrusted boots of Master Chief. Walk over to the console directly ahead when you gain control and interact with it to descend in a lift. As the windows open, look out over the lust green vistas of the planet you'll be rambling through shortly. You'll start off with your normal combination of assault rifle and magnum, but strangely enough no enemies to use them on. Walk along the lush and verdant paths ahead of you toward the large structure in the distance when the elevator stops moving.
Objective: Locate Cortana
Traverse the paths of the planet as your squad keeps up a running commentary and bickers about Cortana like usual. When you reach a small stream, hug the left wall to find a tunnel leading up, turning right and ending at a cliff with a dead grunt and some intel beside him. After a bit of traveling, your squad will hear the sounds of an elite nearby and a new marker will show up. Before you reach them, hug the right wall to find a cave leading up to a data disc with some intel on it (you should be overlooking the enemies below from here). Enter the tunnel to the right of this and you should find a singing grunt you can walk up behind and press X to punt him into the open air. The first skull of the level should appear on the ground where he was sitting for you to take. Grab a carbine from the rack next to you as well.
CHECKPOINT

Return to the ledge above the elite as well as his jackal and grunt forces then lob down a grenade or open fire using your magnum for head-shots. You should be able to tear through this unaware group of enemies in only a few seconds. A pair of grunts will be a little further up the slope away from the crash site, so bring them down as well to clear the area. From just past the downed covenant vessel the first group were at, you can jump up a series of rocks along the right hand wall, turning to the right at the top to jump into a small cave with some intel, a rocket launcher and a rail gun.
CHECKPOINT
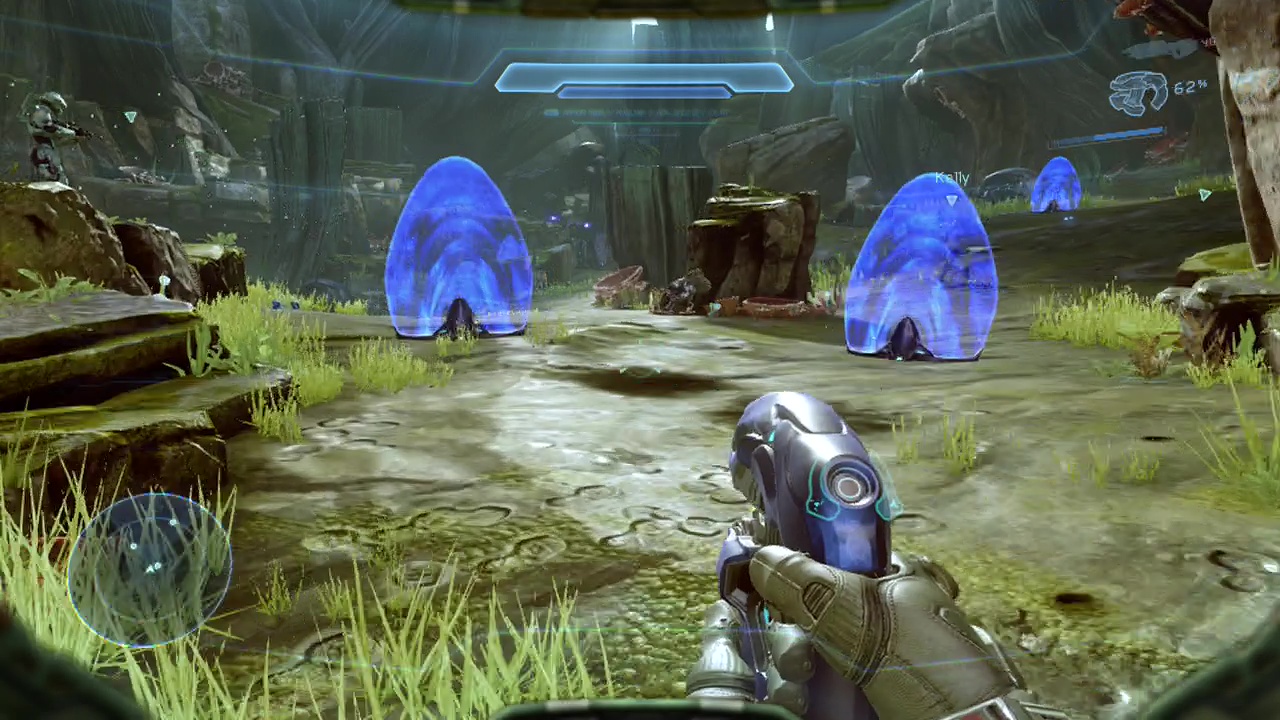
Head up the hill when you're done, past the last pair of grunts you just dispatched to see a set of energy shields set up in the area ahead. A phantom will be dropping in covenant forces in the large open area ahead, so take cover and start picking them off with your magnum, being careful to avoid shots fired from the phantom before it departs. When it is gone, you can move up to the rocks on the outskirts of the area ahead, using your assault rifle to chew through the slow grunts scattered around. A jackal with a carbine will be dancing around on a ledge at the back of this area as well, so make sure you use a couple of your last magnum bullets to permeate his skull.
You can pick up a plasma pistol from one of the downed grunts when your magnum runs dry to deal with the oncoming elites. Move up the right side of the area when you've got some breathing room. This makes it difficult for the grunt at the back of the area with the fuel rod cannon to fire at you. You can fire down at the enemies in the gully below from this raised position, moving down when your longer range weaponry runs out. Finish off the fuel rod grunt as quickly as you can when you descend the slope, dealing with the remaining jackals and an elite or two in the area. Make sure to grab the carbine from the fallen sniper on the ledge on the left side of the area as well as the fuel rod cannon from the fallen grunt, as you ain't gonna get any refills for your magnum or assault rifle for a while.
Carefully approach the cave-like passage at the back of the area when things are quiet and be prepared to backpedal as an elite opens fire from a turret ahead. If you have the carbine or a couple of grenades you should be able to easily dispose of him, but you can also retreat through the cave and take another one on the left to come out behind his position, firing down on him with your newly acquired fuel rod cannon. Make sure to mop up the grunts and jackals around his position as well. The elite should drop a carbine to help your dwindling ammo supply as well. Rip the turret off the stand and take it with you when you move onward as well to add to your offensive capabilities.
CHECKPOINT
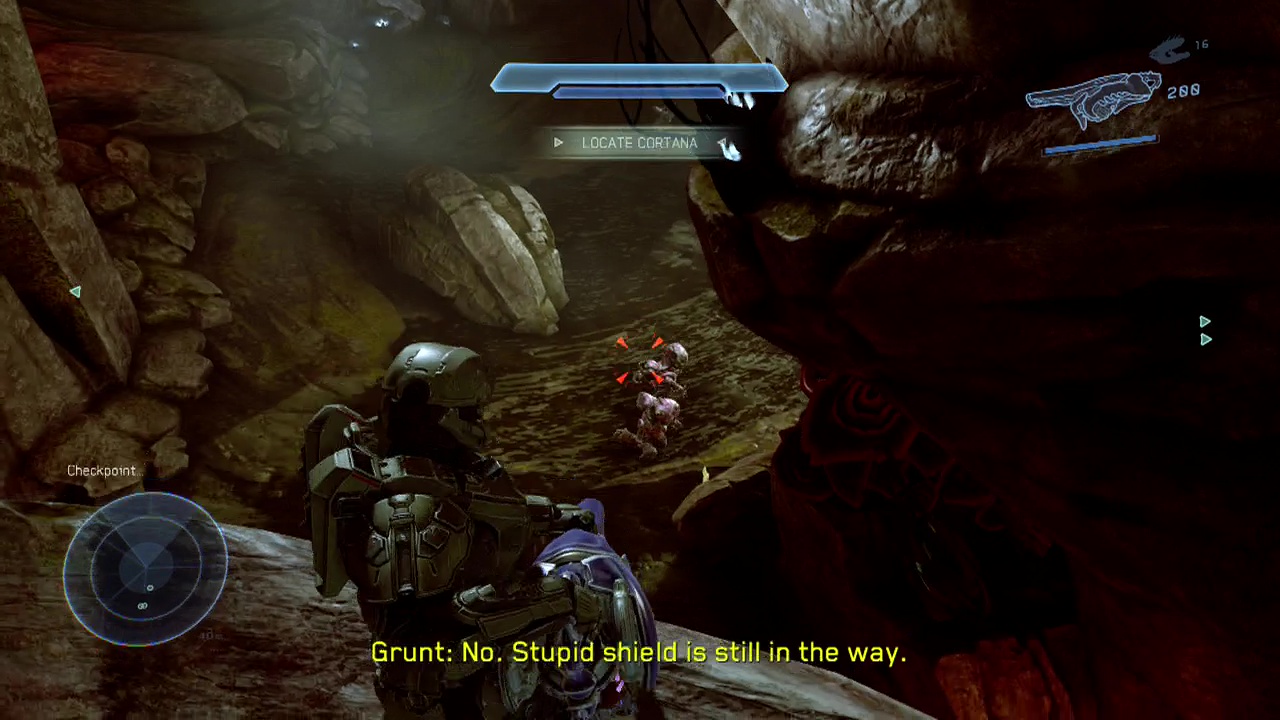
You'll come to a ledge overlooking two arguing grunts. Start unloading your pilfered turret on them, turning your attention to the jackals when they start firing on you from below. Drop down and immediately take cover behind one of the rocks nearby to protect yourself from the shots fired by a departing phantom ahead. The other thing to watch out for is a jackal firing a carbine from a ledge to the right side of the area, he should be your first target when the phantom leaves. After that, the cluster of grunts in the center of the area is just begging to be introduced to your turret or a well placed grenade, so do so.
There's also a carbine leaning against the first rock in this area as well if you need some ammo to start picking off the jackal and elite reinforcements that start appearing. Use your carbine to head-shot enemies as you move up the hill towards the large structure ahead. If you look back near the cliff on the left side of this area, you'll likely find a fuel rod cannon one of the grunts had. When you see the metallic walkway ahead at the base of the building, jump up the cliff on the right overlooking it, taking cover behind the rocks as you blast the carbine wielding jackals on the opposite ledge.
With the fuel rod cannon, you can fire down on the enemies in turrets below. Or you could ping them in the head with your carbine as well. Either way works, just the fuel rod creates a bigger boom. When the turrets are down, focus on finishing off the remaining grunts and jackals scattered around. When the final enemy goes down, you should be able to stock up on carbine ammo from the elites and also find a plasma caster weapon that one of the elites was using that you will want to pick up. There is an alcove partway up the slope that hides a forerunner console you can interact with for some intel. Continue up the ramps and interact with the console at the top to descend in the elevator again. Walk out of the cave in front of you when you get off the elevator.
CHECKPOINT
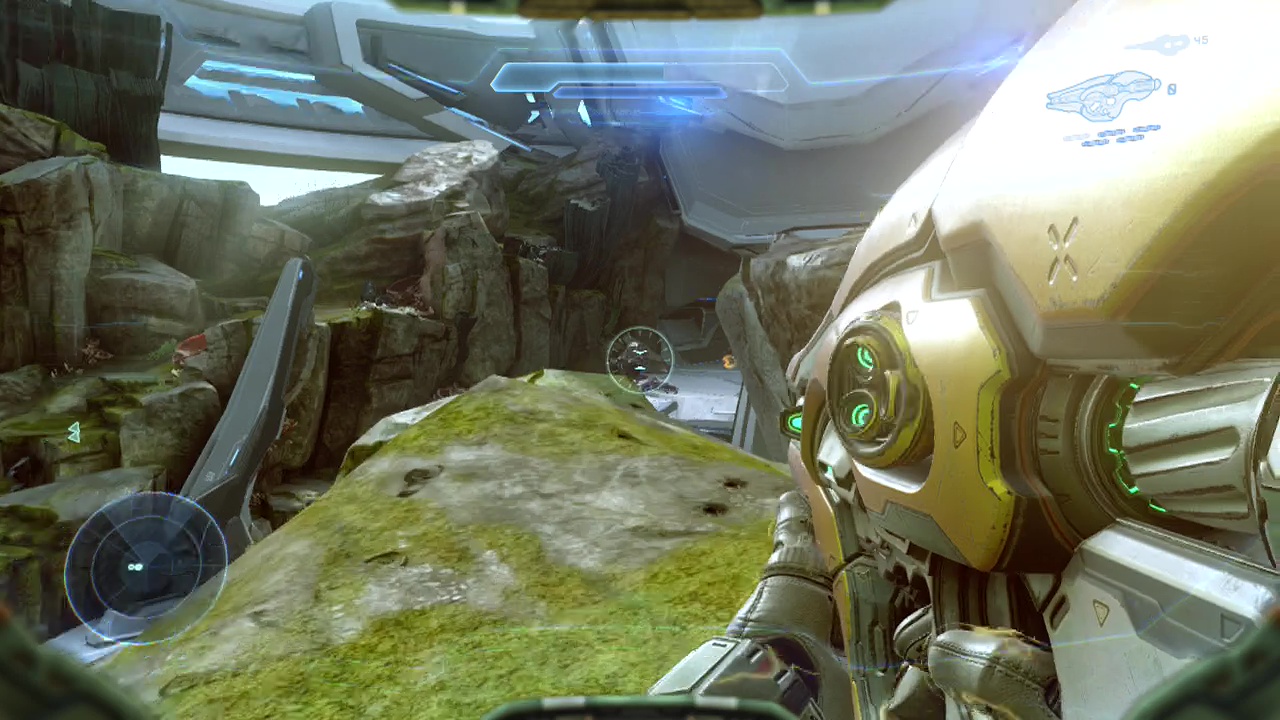
Once again you will be walking through greenery without a care in the world (except for the arriving guardians of course). Cross the energy bridge when it decides to activate and a scene will trigger. Ah, it's our old friend buggernuts… eh, I mean the Warden. When the scene ends, you'll be passing through a cave. Keep moseying on ahead looking at the left wall until you see a lit disc you can smash through with spartan charge. On the other side you can turn right and drop down the hole to find a console you can examine for intel. You can also keep traveling upwards to find a binary rifle on a stand and get the drop on the praetoreans ahead if you like, or return to the main path.
CHECKPOINT
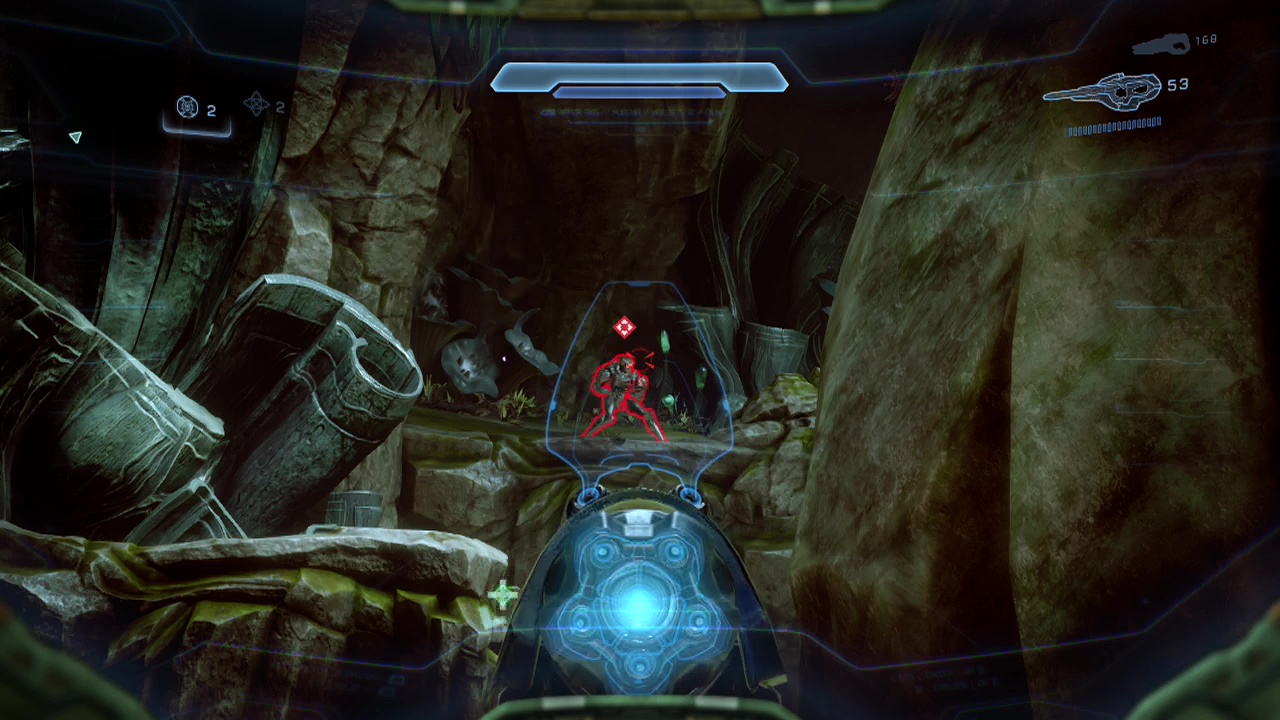
As you drop down from a ledge, promethean forces will teleport in on the other side of a ravine ahead of you. Grab cover straight away as a soldier with a binary rifle will be firing down from a ledge above and to your right. Watchers will be hovering over the enemy soldiers as well, so start picking away at them with your carbine. You'll want to change to promethean weapons (especially a light rifle) as soon as possible here as covenant weapons do little damage against promethean enemies. Use your plasma grenades and what's left of your weaponry to bring down the soldiers and then cross over the ravine to grab their weapons. You can immediately backtrack after this or grab cover and keep pushing forward, depending on the number of remaining enemies. Keep in mind that if you run dry on ammo, you can command your squad to target lone enemies while you rush them and grab their stuff.
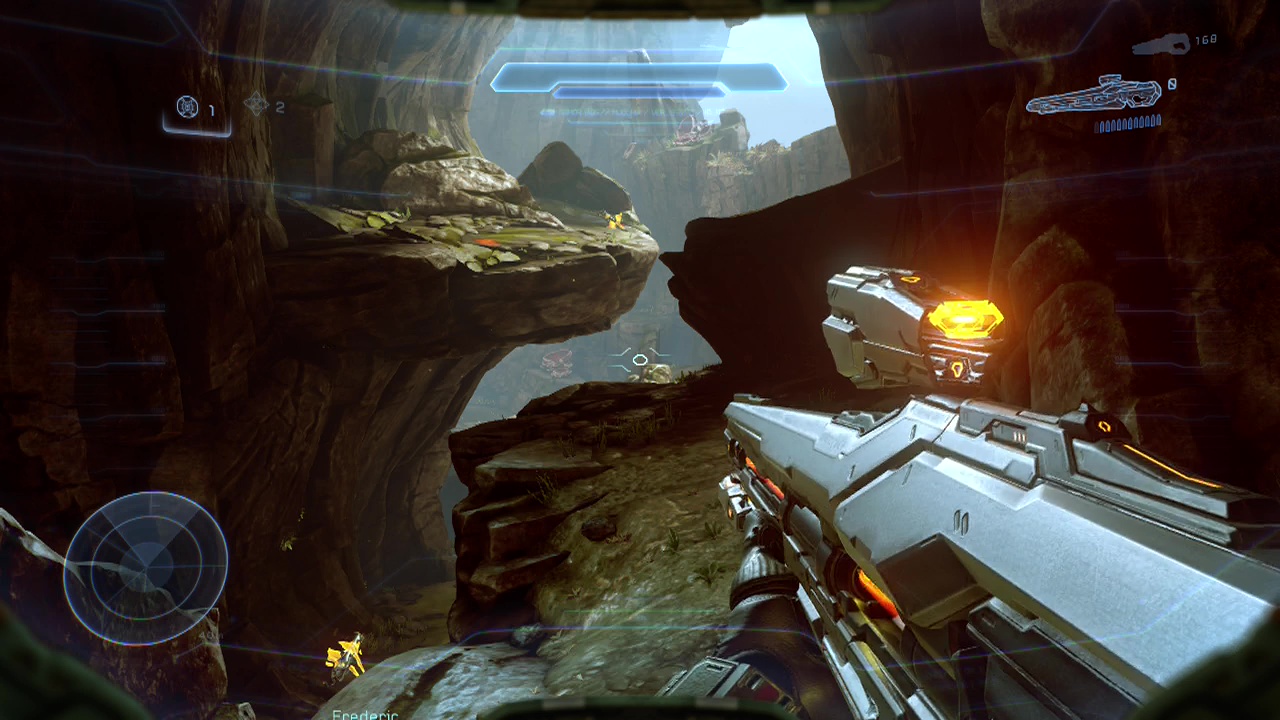
When the chamber is clear, head to the far side, grabbing the light rifle from the stand on the other side of the ravine. You can also jump up to where the enemy was with the binary rifle if you want to scavenge that too, as you'll want some long range weaponry for the battle just ahead. At the top of the nearby ledges, you'll be able to see a valley with ledges on either side. There is also a partially concealed cave path moving through the wall to the right (which is usefully for flanking). There is also a forerunner console you can interact with for some intel on the valley floor, but I'd wait until the enemies are dealt with. Soldiers (several holding splinter turrets) will start firing at you from the valley and the ledges along it. Stay behind the cover of the rocks while firing out with your light rifle. You can also move up the cave on the right to try and flank some of these enemies, just be careful of the AoE blasts from their splinter turrets.
If you manage to kill one of the turret users close enough, you can dash forward and take the turret, jumping onto one of the ledges above and fire down at the rest of the enemies below. If you do try this, make sure to stay alert for soldiers teleporting up to your ledge, as they like to do that. When you've cleared the whole area with turrets and light rifle fire, pick up one of the unused turrets if there is one and head up into the cavern at the back of the open area. There is a cave on the left that allows you to bypass the wall jump (so you can take your turret up with you to continue to advance, otherwise you can't get it over the wall). Ready for your next Warden battle folks? I know he is.
CHECKPOINT
======================================================
BOSS BATTLE: WARDEN (second encounter)
Yes, he still has exactly the same cheap shots and bullshit instant kill attacks as last time. The upside of this one is that you've got a much larger area to move around in. The downside? A massive amount of enemy reinforcements will be scattered around the battlefield, including soldiers, knights and crawlers (not including the ones the Warden summons, which will ALSO be present). The difficulty of this encounter (besides the Warden himself being a pain) will be down to where he moves in the initial few seconds of the fight. He can either remain in the front area, which makes him much easier to bring down or he can retreat into the middle of the large open back half of the area where he is surrounded by knights and other enemy forces making him nearly unapproachable.
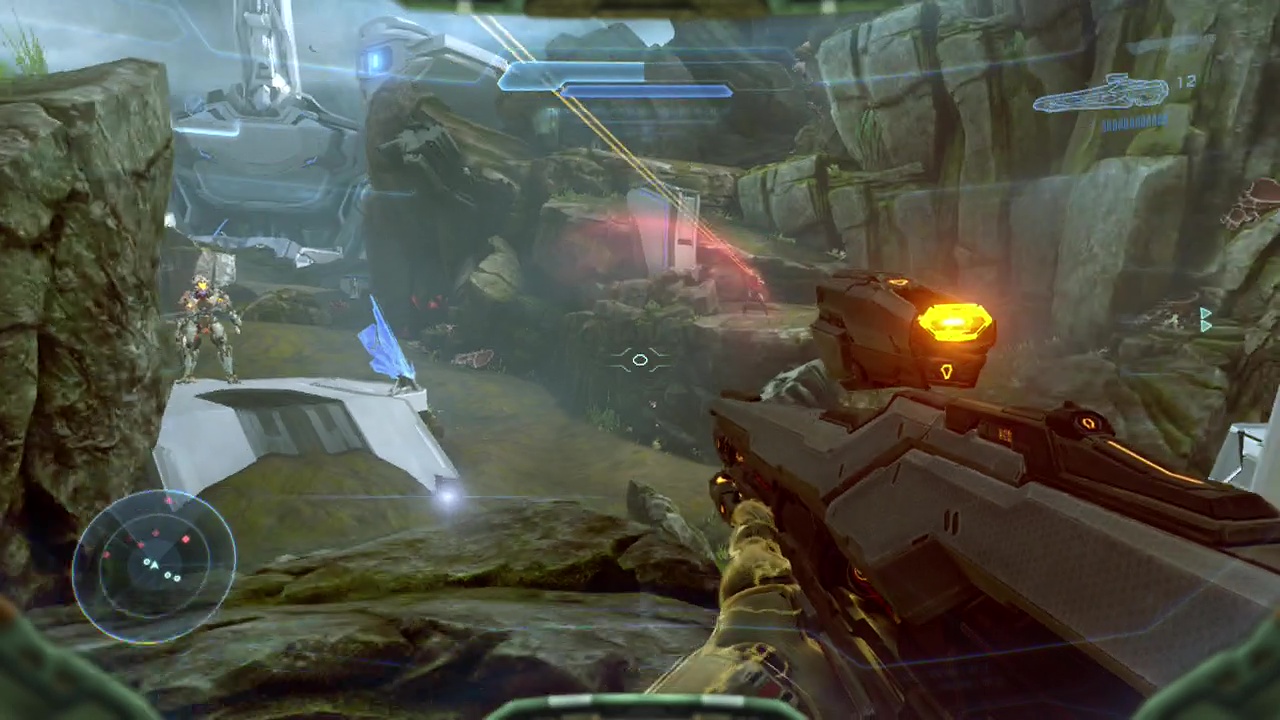
Anyway, before we get into positioning lets go over our weaponry options. You should still have a light rifle (and there are several reload stands scattered around the starting area for you to stock up with. You should be using this weapon on anything that isn't Warden or knight shaped (although you can use it on knights if nothing better is available). Down under the overhang to the left of your starting platform is a stand that holds a scattergun. As before, this should be your weapon of choice when facing the Warden. The main difficulty here is getting him close enough to use it. There is an incineration cannon on the platform in the center of the starting area, but due to the amount of enemies, you don't want to try and get it until the starting area is fairly clear. The final piece of your arsenal should be the turret you brought in with you. This isn't for use on the Warden, rather it's for taking out the knights as quickly as possible. You'll want to take out the soldiers and knights in the front section of this area, clearing out the enemies on ledges to the left and right of your starting position. Ignore the Warden for now as you'll be caught in a hail of gunfire if you try to hit him from behind while the starting area is so densely populated by enemy forces.
When the ledges are clear and there are no longer any knights in the starting area, restock your light rifle and grab the scattershot, it's time to go to work. Now, the Warden will either be still in the starting area (making your job fairly easy), or he will have retreated back into the open area at the back. If he does this, you will need to carefully lure him forward back to the starting area (by shooting at him and dodging into cover when he approaches). If the knights are bombarding you too much while you attempt to lure the Warden, take the time to bring them down with your light rifle first. It's a nuisance, but it will make your attempt to back-stab the Warden safer. When you've successfully lured him in, sic your team on him and try to get around behind him with the scattergun. You can also use the incendiary cannon from the platform in the center of the starting area as well to stun-lock him for a second before following up with the scattergun if you have problems using the scattershot alone. As before, a well aimed/ timed set of shots can bring down the Warden in one go (takes about six or seven scattershot shells to the core on his back). Keep firing once you empty the first five as you'll automatically fire after loading each shell when the initial clip is empty. With that, the second Warden will be down, but his allies won't so run to cover to avoid the incoming attacks.
Now it's just a matter of carefully clearing out the remaining enemies in the area (being especially careful with any remaining knights). If you didn't use the incineration cannon earlier, grab it and use it on the remaining enemies to speed things up. When the final enemy falls, breathe a sigh of relief and approach the energy bridge at the back of the area, crossing when it activates. You can find a final forerunner console behind a small wall here on the other side of the light bridge to get some intel.
======================================================
CHECKPOINT
Activate the third console at the top of the structure and descend in the lift once more. You'll walk across another energy bridge into a cavern with phaetons on a ledge ahead of you. You can cover the caverns on foot, but it is much easier and safer riding in a phaeton. Ignore the rapid fire and only use the missiles as they deal significantly more damage for the upcoming enemies. You'll have to wind your way through a series of caverns, remaining alert for preatorean towers (that light up and then fire after a second or two), as well as ground forces on the ledges that attack the rest of your squad. Work your way through, supporting your squad until you can go no further. Land your ship on the metal landing bay and jump into the human cannon to reach the exit of the caverns. Descend the slope in front of you and turn right, moving up the hill and keep moving up until you find a metal forerunner structure with the skull sitting on the ground at the back for you to collect. Return to the base of the slope and move on to trigger some scenes and the end of the mission.