
MISSION 08 – Swords Of Sanghelios
Advised weapon combo: Battle rifle + Plasma pistol –> Carbine + Fuel rod cannon
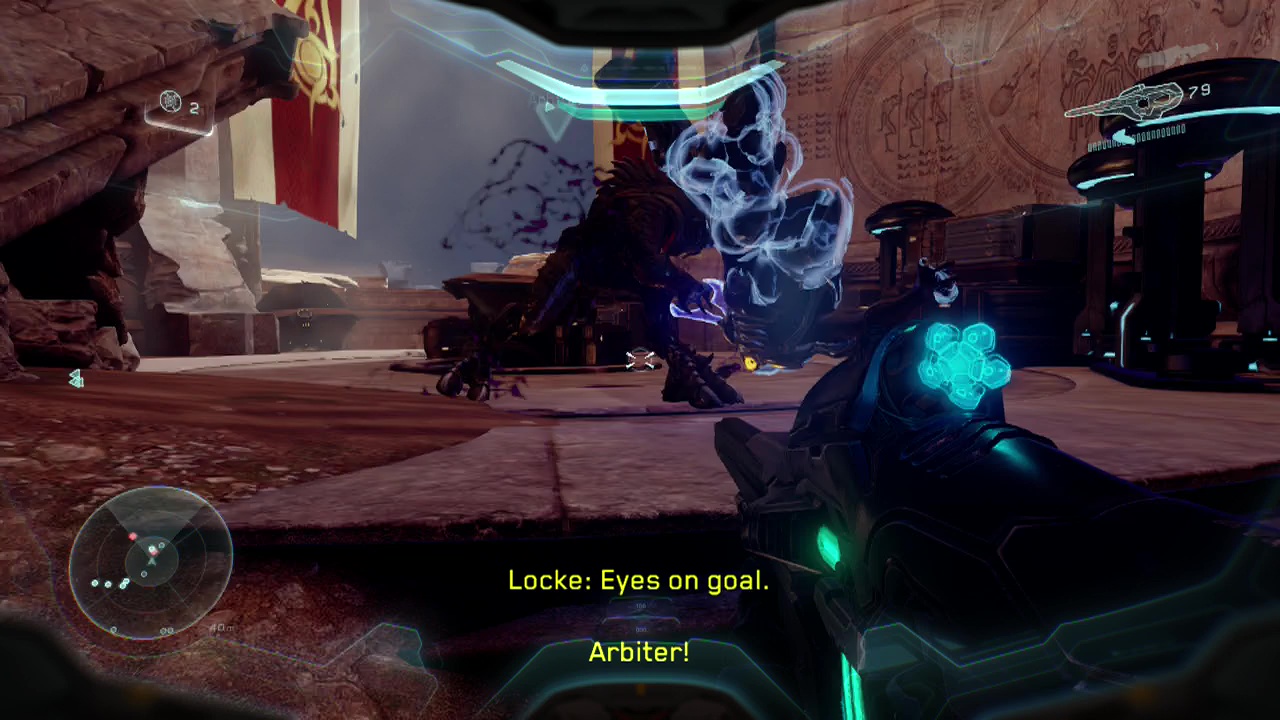
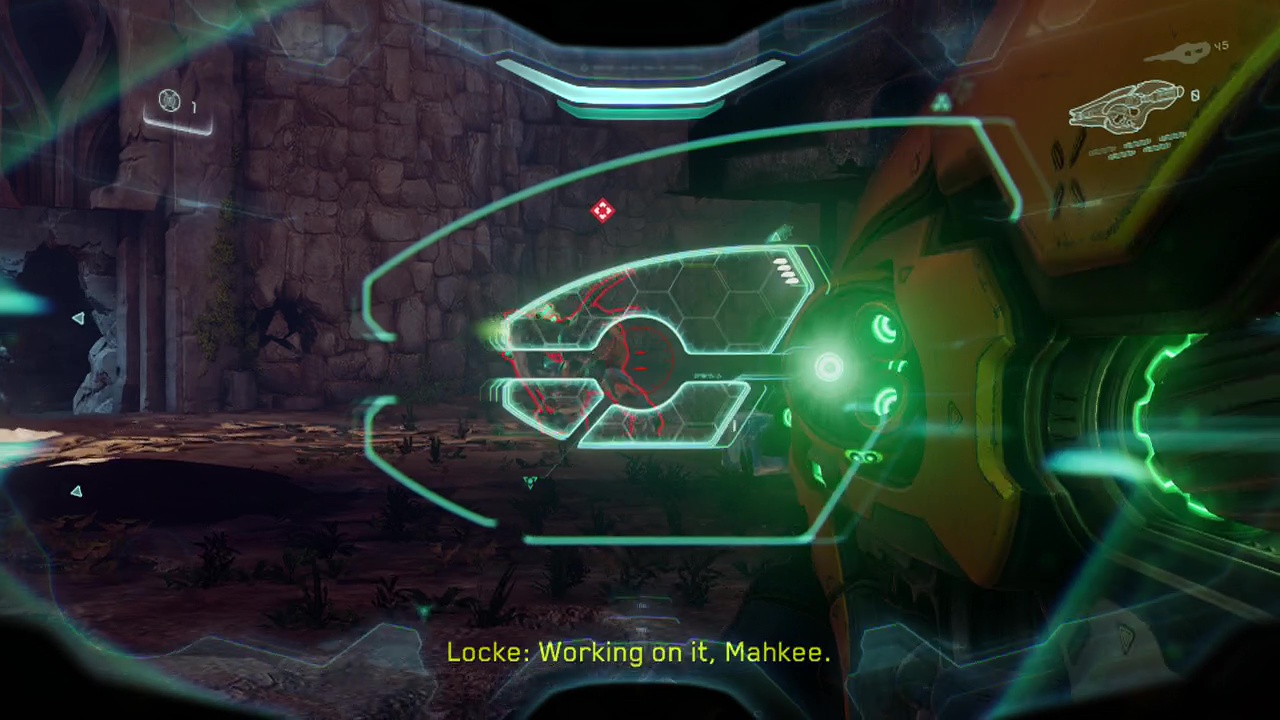
Objective: Find the Arbiter
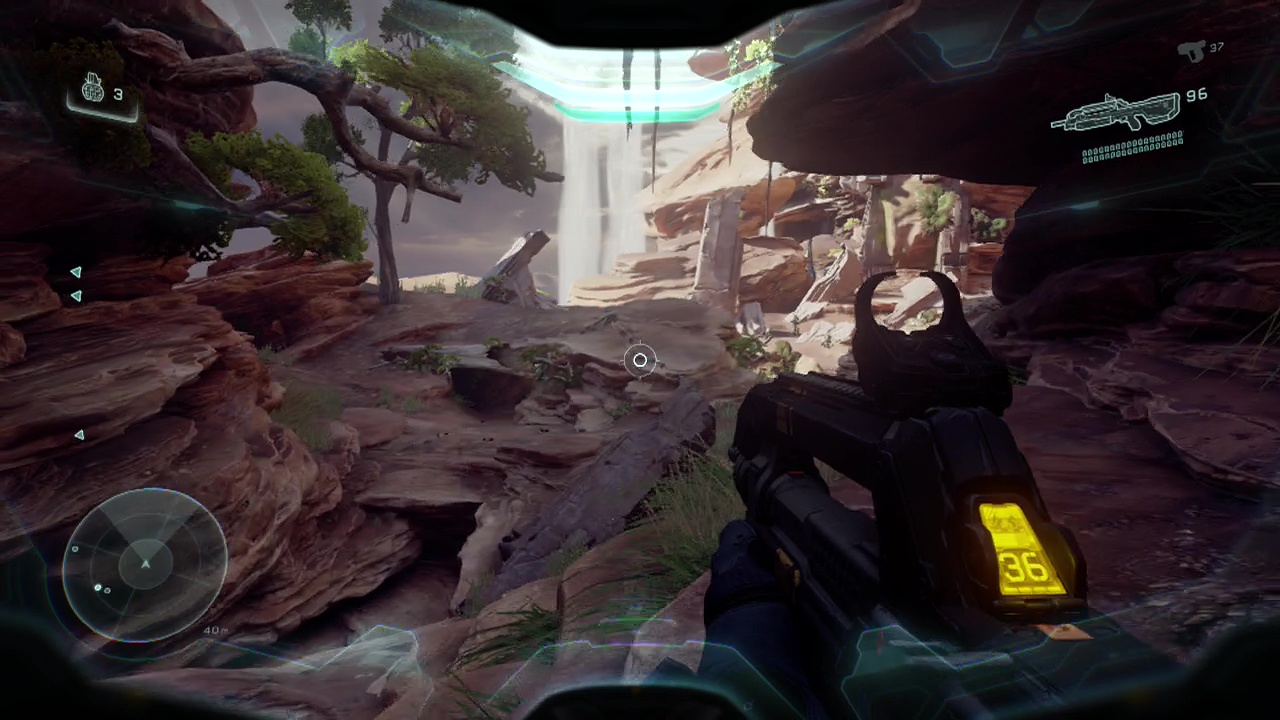
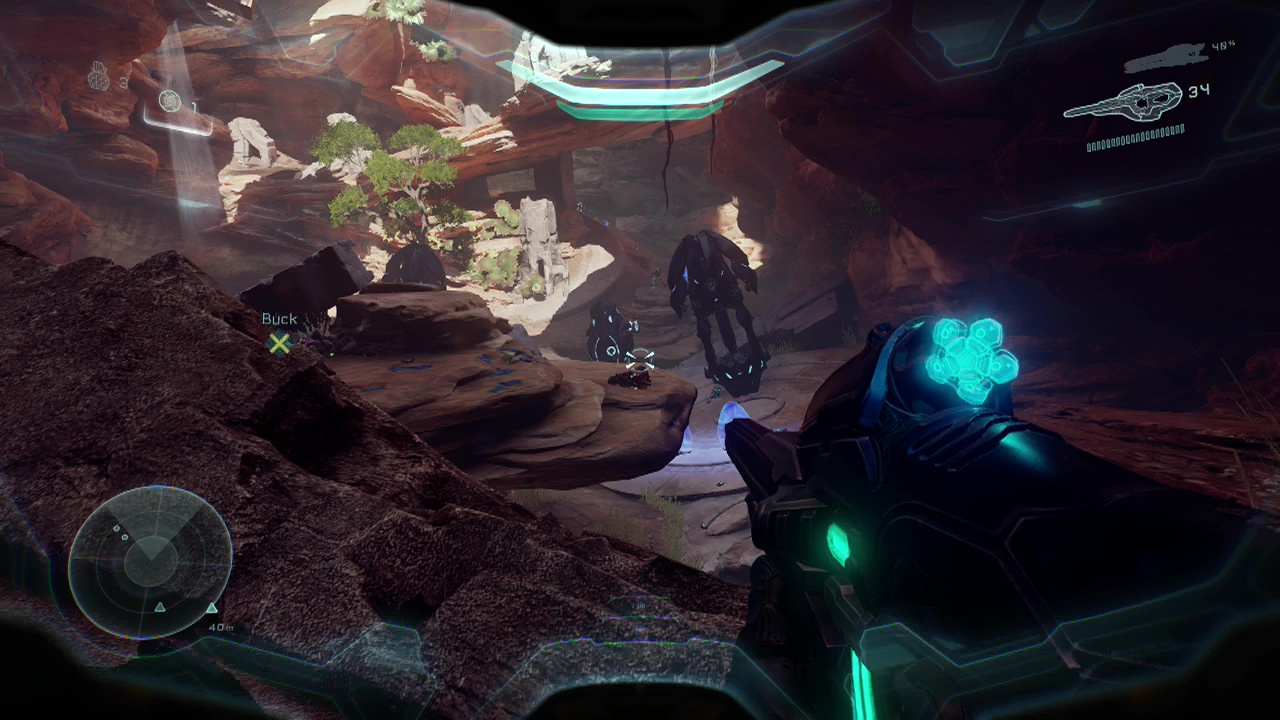
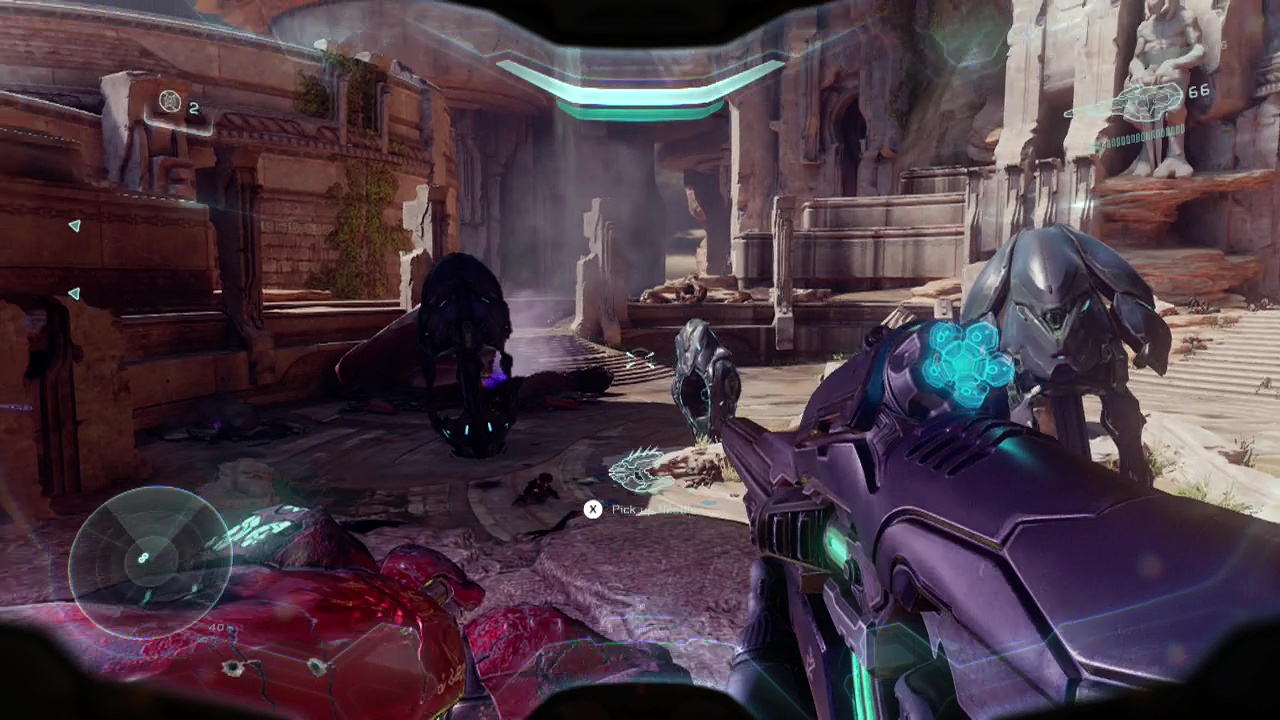
After being dropped off on the planet's surface, you'll splash down into the water at the base of a canyon lined with red rocks. Turn right and jump up the ledges along the left wall of the canyon to see an elite structure. In the back of the structure, you'll find an ancient elite sword you can scan for intel. Return to the waterway and slosh through the waters ahead of you, jumping down the waterfall at the end. You'll see the ruins of an elite structure ahead as you walk forward, continuing your exploration of the elite home-world. Take a left here out onto the cliff-side as you pass both large carved elite statues. In a little alcove on the right past the second statue is a data pad you can get some intel from. Return to the main waterway, passing by the elite structure and keep following the waterway until you reach a series of ledges and a squad member warns you of covenant forces ahead. Pull out your magnum and perch on one of the ledges overlooking the area to see the enemy grunts and a pair of jackals in the open below. Use your high vantage point to quickly polish them off, then drop down and take some cover in the area below as an elite and additional enemy forces appear further ahead.
When your magnum runs dry, make sure to swap it for a plasma pistol as you are going to be dealing with a fair few elites during this level (so this should be your backup unless something better comes along). You'll want to move up to the rock on the overlook just ahead that gives you a good field of view of the area below to fire at the enemies, while allowing you to retreat if things get too dangerous. Be wary of elites trying to flank your position in this area as they like to move around a lot. Keep picking off the lesser enemies, only attacking the elites if they get close enough to use the plasma pistol + head-shot combination, as you don't want to exhaust your battle rifle ammo until you can replace it with a carbine. Don't forget to take advantage of your spartan charge to one shot grunts if they wander too close.
CHECKPOINT
As you finish off this second wave of enemy forces and move up, more will appear from inside the ruins just ahead. Be ready to use your battle rifle against shield wielding jackals. Make sure to take advantage of the good old hand + head-shot combination (shoot their hand through the gap in the shield to make them recoil, moving the shield out of the way then finish them off with a head-shot). When all six jackals are toast, move along the watery path once more climbing up over ledges, picking up a dropped carbine from one of the elites before you leave this area to replace your (likely nearly empty) battle rifle. Also check the base of the waterfall (that splashes down in the waterway) in the middle of the area before you reach the turret in the area ahead. Here you'll find another ancient sword you can scan for intel.
CHECKPOINT
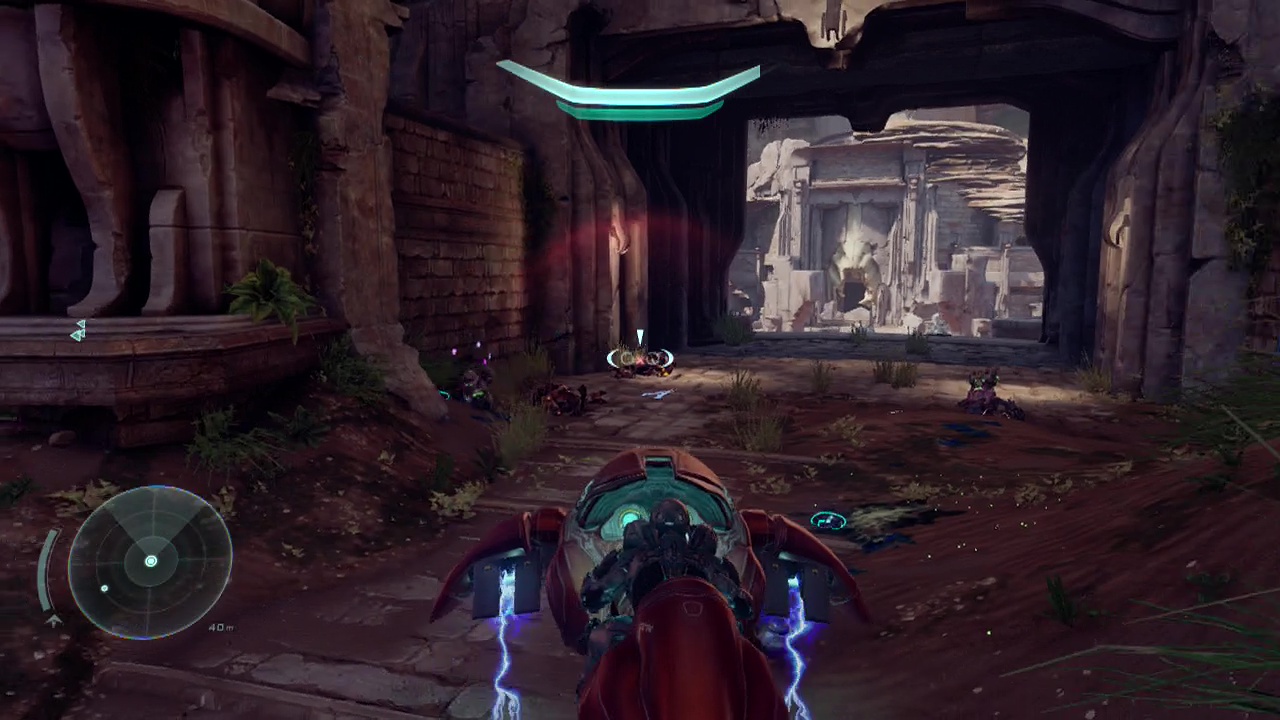
You'll find more covenant troops waiting for you just ahead, including a shade turret so back up as soon as you see them so you aren't just gunned down instantly. You can circle around the large rock face to the left for a better vantage point here as well as more cover. You can also find some intel up a small path in the rock to the right of the turret on a data pad. Use the slight rise of the ground here as cover, as you poke your head up and fire at the elite in the open and the one controlling the turret. Another elite will be moving forward from the left side of the area in front of you, so keep an eye out that he doesn't pop out at you suddenly. After taking out the small group, move past the turret and splash down into the waterway ahead.
CHECKPOINT
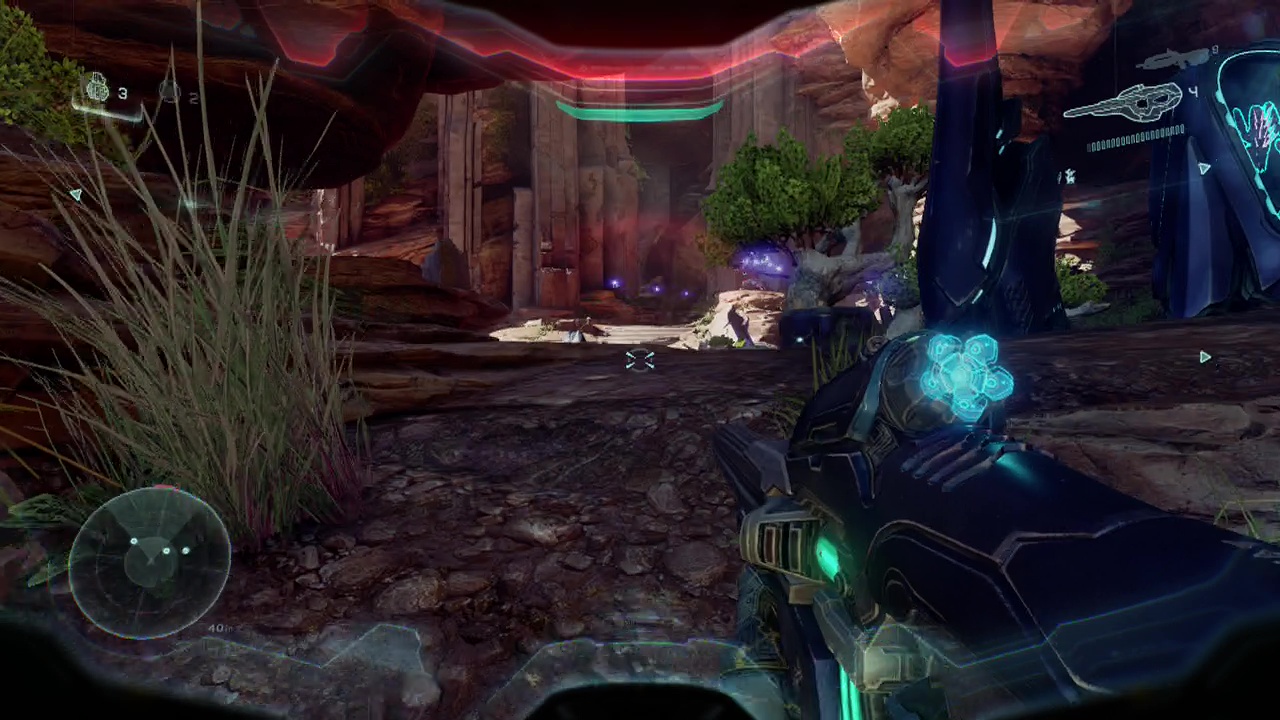
Grab a fresh plasma pistol from the stands or bodies and restock your grenades before continuing on. The path will split just ahead with a blue lit cave leading to the left and a rocky ramp leading up to the right. Take the right ramp and climb up onto the rock on the left when you reach the top. You'll find an elite impaled with an energy sword up here with a data pad beside him you can scan for intel. The cavern will open up a few seconds later, make sure you don't walk straight out. Instead climb up the ramp of rock against the right wall to find a fresh carbine at the top to replenish your ammo. From here, you'll also be able to spot a jackal with a carbine directly opposite your position on a raised ledge, so introduce him to a face full of green death. You'll need to be careful moving ahead from here as falling down is a one way trip (you won't be able to reach the area you arrived from again). Also keep an eye open for another jackal on a ledge on the right side of the open area. Once the jackals are down, you can start focusing on the grunts running around in the middle of the area below.
On the platform just below where you arrived from is a beam rifle you can pick up in exchange for your plasma pistol. Now, you're going to need to trigger the next wave of enemies and then retreat quickly to avoid being caught in a cross-fire. Jump across to the precarious platform the grunts were running around on and drop pods will start slamming into the area ahead of your position. When they do, jump back across to the area where you picked up the beam rifle and take cover behind the rocks. An elite on a turret as well as several other elites will be spread out through the area. If you take the elite out on the turret with the beam rifle, more elites will try to take over the turret, making them easy prey for your beam rifle. Once the elites are gone, you shouldn't have any trouble mopping up the remaining grunts and jackals on the lower level.
More enemies (mostly jackals) will keep moving forward from the cave at the back of the area, so you'll need to keep the pressure on as you blast their skulls. There's another turret (with an elite on it or nearby) you'll need to deal with here as you get close to the cave, so be alert. Don't forget you can rip out the turret to supplement your weaponry as you advance. When the final jackal hits the dirt the cave will be clear for you to get through.
CHECKPOINT
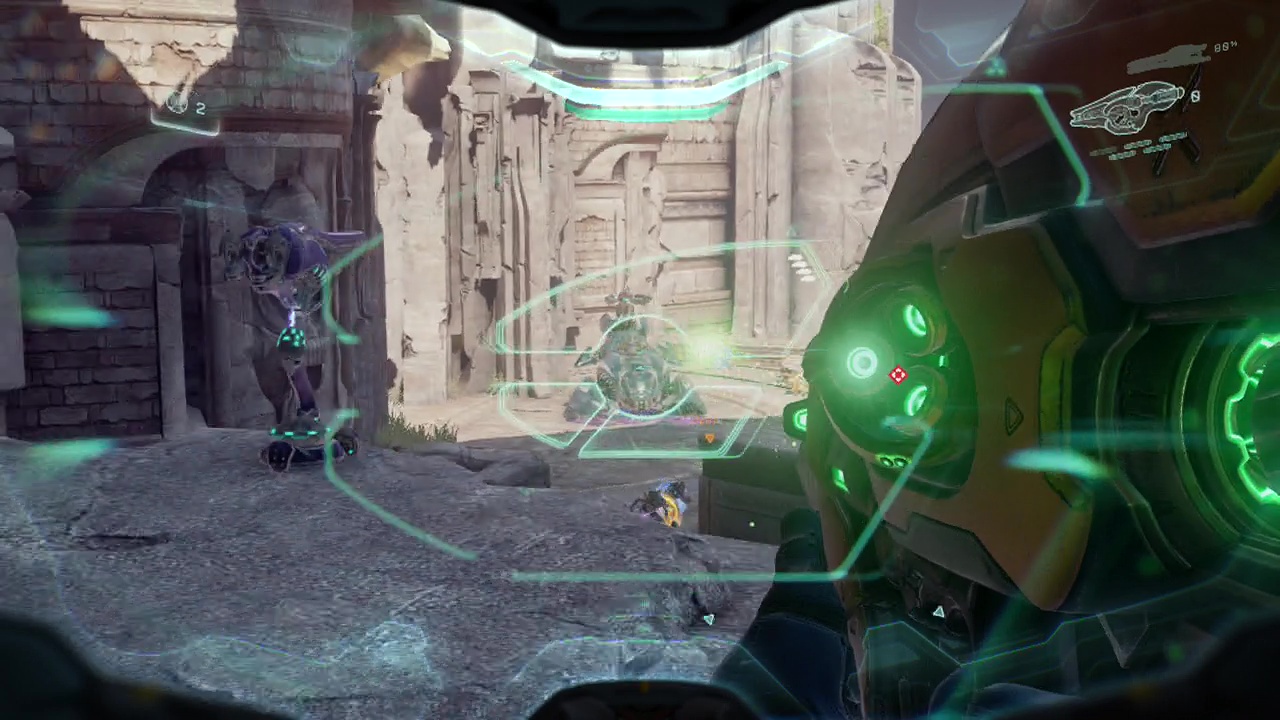
On the other side of this short cave, you'll be looking up a slope towards a set of ledges surrounding a large hole in the center of this circular area. You'll want to be extremely careful here as there are several jackals up on raised ledges in this area, just waiting to perforate your cranium. You'll see a cracked circular panel in the wall to the right, which should be the way you travel, avoiding the long and exposed ledge around the circular pit. The downside of this route is that you'll need to take on a cloaked elite energy sword with two shield wielding jackals in front of him. Be extremely cautious, ordering your squad ahead of your location to act as cannon fodder, revealing the elite if he attacks one of them. As soon as you see him, fire your plasma pistol and unload your carbine as quickly as possible at him before he can skewer you.
In this little grotto/ cave you have a decent view of the area as well as stands containing carbines and a beam rifle or two scattered on the floor. Take advantage of this position to pick off all the enemies on the ledges around you. Just keep an eye out for the elites on a turrets to your right at the back of the circular area as they are able to deal damage extremely quickly. There is also a tilted pillar you can see just outside the cave that you can climb up later when the area is clear, jumping up to the top of the overhang above the cave to find an ancient sword on a ledge you can scan for intel. From up here, you can also look down over the side to see a circle of stone blocks that has been snapped off. Opposite this on a ledge is a data pad you can jump to to retrieve some intel.
CHECKPOINT
A set of additional drop pods will rain down when you drop down and try to approach the back of the area where the turrets are. Immediately backpedal to your previous location and resume your attacks on the additional elites that come out of the pods. When you've finally dealt with the reinforcements, pass through the hallway at the top of the slope, picking up the fuel rod cannon one of the elites drops and replenishing your carbine supplies. Pass under or over the fallen pillars crossing the hallway ahead and you'll exit into the sunlight with the ocean on your left and some rocky terrain ahead of you.
CHECKPOINT
A tilted pillar here can be used as a ramp to let you scramble to the top of an upright pillar above. From here, turn around and jump onto the side of the pillar behind you, jumping to the far side of it. You'll see a ledge a long distance away from your position. You'll need to pull off a special long jump to make it across. Sprint, jump, thrusters, zoom and jump again to grab the edge and scramble up. It's tricky to pull off but at least you just had a checkpoint. Grab the skull from the back of the ledge and drop back down to the main path, turning around and looking around the base of the pillar underneath the ledge you just dropped off to find a data pad you can pull some intel off. From here, walk down the slope looking for a hole in the rocky wall with a tilting pillar leading up to it on the right cliff wall with bodies hanging from the ledges at the back of it. Look down to the left when you get to the top to see a cracked floor lit up by blue lights below. Perform an aerial charge to break down which will take you to a hidden lower area with a data pad holding intel on a grenade stand at the end.
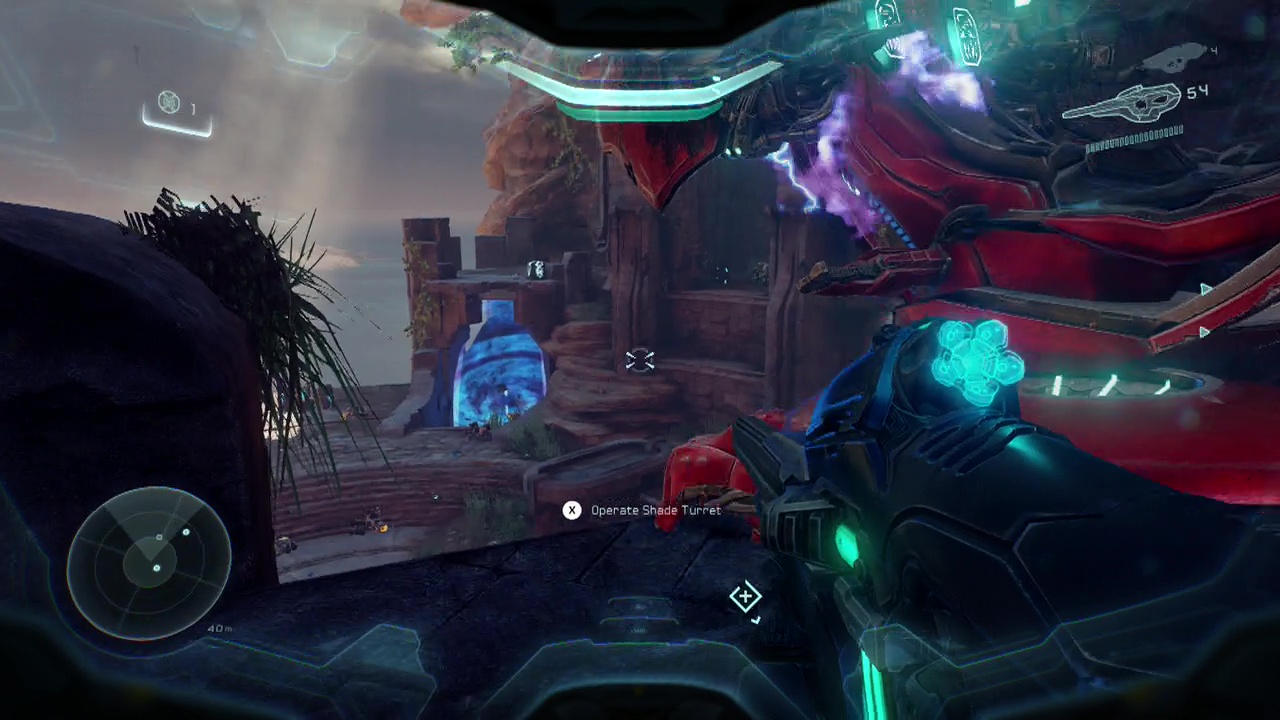
Return to the main path and walk across the eerily open area as you move towards the ruin opposite with huge statues looking over the area. Jump across the gap and climb up the stairs toward the council chamber. You're going to be glad you brought that fuel rod cannon, as you'll be facing hunters at the end of this upcoming section, so keep it handy (or at least leave it in a spot you'll remember to pick it up if you need to temporarily swap it out). You'll see a cracked wall to your right when you reach the top of the stairs, there is an unmanned turret (which is a deathtrap on higher difficulties) behind it so feel free to explore.
Objective: Secure landing zone
Grunts will be wandering around the upper landings of the oval shaped council area, so get rid of the ones on the upper levels first before moving through the cracked wall and shooting down around the unmanned turret (using it as cover, as getting on it will get you killed). Elites will try and jump up onto the ledges opposite, but you should have a pretty good field of view from this position to take them down with your carbine.
Note: On the opposite side of this area from where you are, there is a pathway that leads down to a small pagoda/ structure housing a spare fuel rod cannon. Take the time to investigate this location before the upcoming hunter fight to make your life easier.
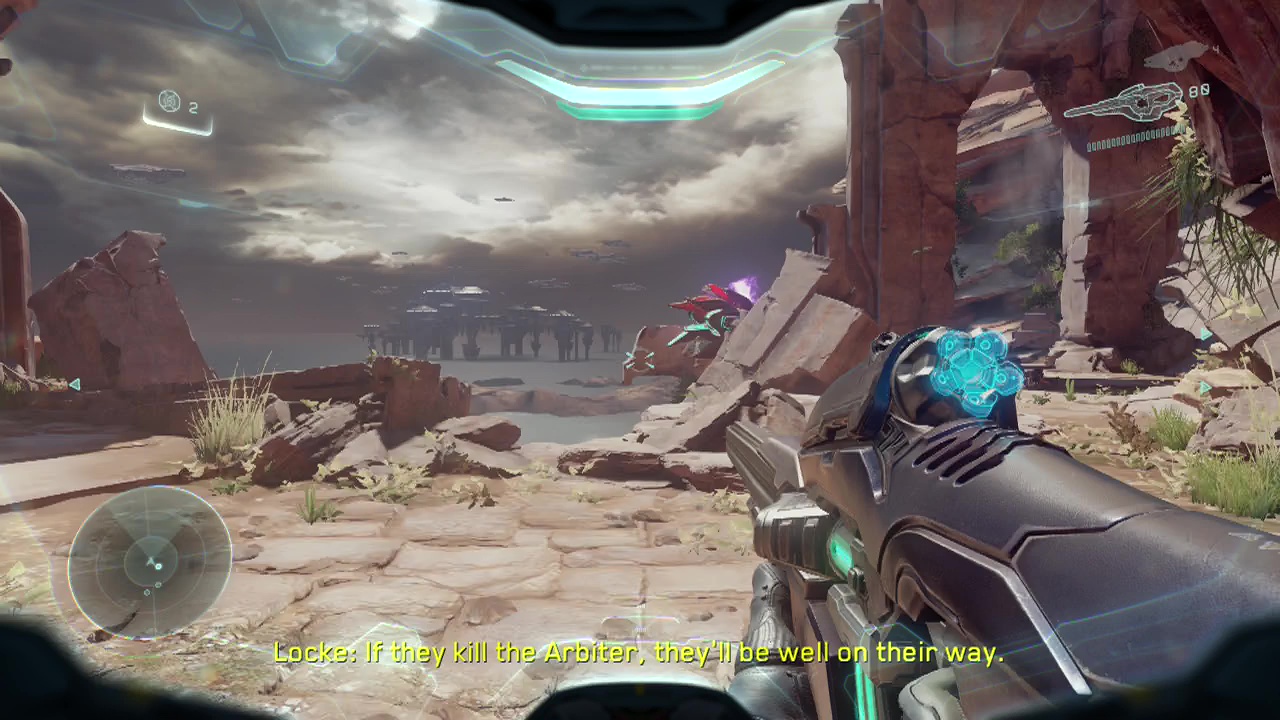
As the rush of enemies starts to run dry, a large covenant ship will fly in and drop down a pair of hunters. Yeah, get used to dealing with them because there are a lot more of them between you and the end of the game. You'll want to use the ledges to shoot down from and your fuel rod cannon to damage the hunters effectively. As usual aim for their back if it's exposed or the ground slightly behind them if they are facing towards you with their shield raised. The AoE blast from the fuel rod cannon will still do significant damage. Try an use your AI companions as distractions, pulling back when only one is left alive (for reviving purposes). Oh, and don't forget about the other fuel rod cannon mentioned in the note above. Other than that, it's all down to you to take these hunters out. Good luck. When the second hunter finally falls, your elite allies will arrive via drop ship and open a large stone gateway nearby.
CHECKPOINT
Note: Two mantises get transported in as well after the hunters go down and the elite allied forces arrive. You can get into one of these to make the following area a fair bit easier.
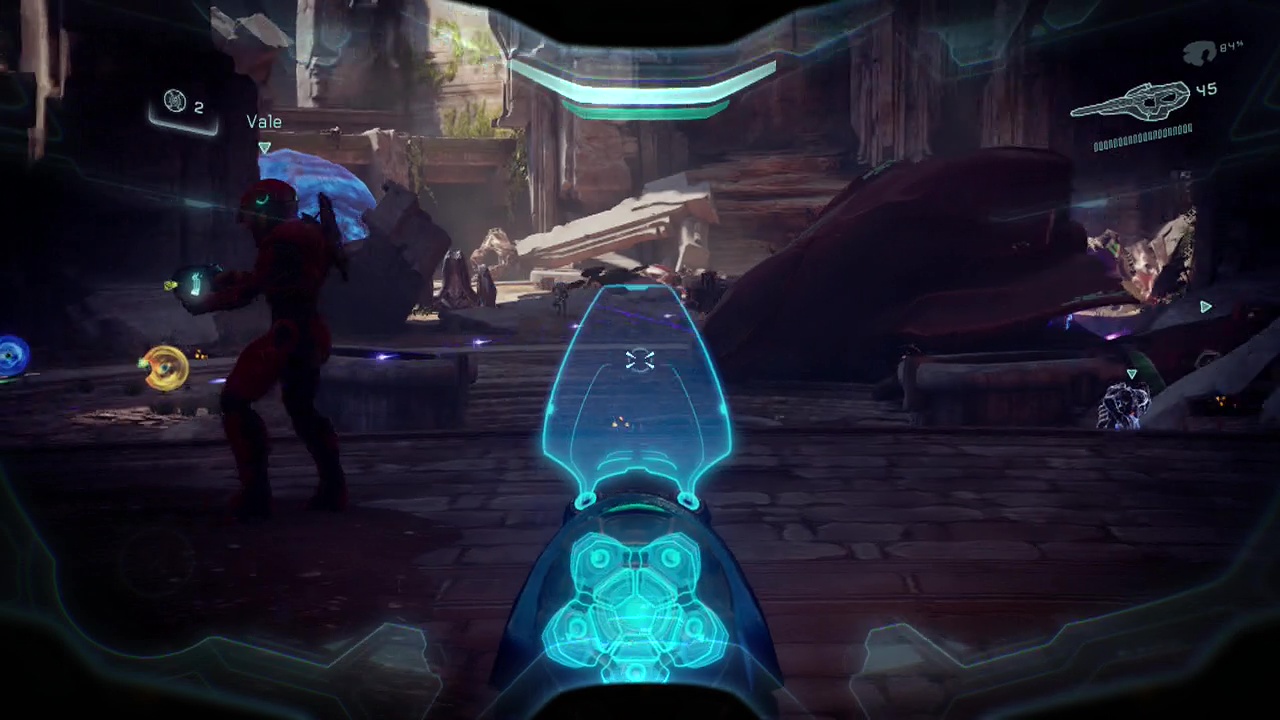
Another large circular area will greet you as you run through the gate, with jackals moving across the left side of the plaza and a squad of grunts in the center, you'll want to take cover at the right side of the plaza. Your accompanying meat-shields… er, I mean elite allies will run in and start fighting, leaving you free to pick off the distracted enemies. An enemy drop ship will swing in at the back of the area dropping off more jackals and a couple of elites to add to the fun. Move up along the right wall, staying out of the field of view of the drop ship cannons until it departs. Mop up the remaining enemies while your allies charge on ahead in pursuit of prizes. Before moving too far forward, jump up the fallen chest of the statue on the right, leaping up to the level above. Looking behind the foot of the statue on the left up here will net you intel from a data pad.
Objective: Reach the elder council chamber
CHECKPOINT
You'll see a set of shielded alcoves along the left wall as you move up. Note the cracked wall beside the first one that you can break through. Inside is a set of plasma caster weapons that are extremely effective against hunters (they bounce low and explode under their shields for maximum damage), these should be your go to weapons for dealing with hunters. You may as well grab one now to replace your plasma pistol, even if you aren't going to use it straight away. Smashing through the next wall in front of you will net you a pair of ghosts waiting to be used. Hop on one and command an AI ally to use one to as you burst out through the one way shield. Blowing away any of the stragglers stupid enough to get in your way.
As you emerge into the huge open area ahead, draw your attention immediately to the wraith strafing from side to side directly ahead of you. Follow it's example as you open fire, swerving from side to side to avoid it's deadly green balls of death. While it may not seem to do much damage, your constant stream of fire will bring down the wraith after a little while. Make sure to eliminate the random grunts as you move around as well so they don't get off a lucky plasma grenade stick. This huge area is a mess of different strength enemies and various methods. The one major issue? The checkpoints stop after a certain point. This makes completing this massive area and sequence of enemies a ridiculous endeavour. To start with, in a circular area directly underneath where the wraith was is a pair of hunters (your plasma cannon will help you deal with them). They are guarding a stand with a pair of fuel rod cannons and another ghost if you need it.
You can break through a cracked wall to the left of where you start this area, entering a long hallway with jackals and a hunter halfway along. Use your plasma caster (if you haven't emptied it already) and then restock from the stand on the left wall which has some replacements. You can follow this ledge all the way to the back of the area where you will be overlooking the main thing stopping you from advancing, a second wraith on a raised platform making it very difficult to assault. The distance from this position to the wraith is unfortunately too far for plasma casters or fuel rod cannons to be effective (due to the constant swaying of the wraith), believe me I tried. You can jump across to a hole in the wall at the end to come out in a room above and behind the wraith, allowing you to fire down at it in a much better manner. You will also spot a data pad lying on a ledge here for you to get some intel from.You can alternatively approach from the lower area. This can prove to be a problem due to the massive amounts of enemies and ghosts roaming around the lower section. Being down there without a vehicle is a recipe for being run over and being kicked back to the last checkpoint.
In the end I took my time, killed everything (and I mean EVERYTHING) including all the hunters, giving me access to the pair of fuel rod cannons. I then used those against the wraith to finish it off and finally clear the way to the elder council chambers. You are going to need epic skills and/ or a ton of patience to pull this off. Pass through the archway (hopefully in ghost) beyond the destroyed second wraith to continue onwards.
CHECKPOINT (FINALLY!!!)
You'll find a long corridor with grunts, jackals and elites waiting for you (how original!), as you blast your way through swaying from side to side in your ghost. Believe me, if you managed to get through that previous area, this is a piece of cake. At the end of the corridor you'll emerge into another circular plaza (wow, these elites only seem to design corridors and circular plazas don't they?). Be extremely careful using the ghost here as there are at least two elites that appear via dropship during the battle that have fuel rod cannons. Fuel rod cannon + ghost = boom. Keep whittling down the enemy forces, making sure to target those on the raised outer walkways as well until you can cross the plaza into the council building. When the plaza is clear, you can investigate the upper right corner area (to the right of the door into the council chambers) in a pool of water to find a data pad with the final piece of intel for this level.
CHECKPOINT
Objective: Extract with the Arbiter
The Arbiter is on the upper level of the council building so you'll need to shoot your way through the enemies on the lower level first, jumping over and climbing up the stairs to finally meet him. As you approach the Arbiter, the screen will fade to black and this mission will finally end. This one competes with the final mission for title of 'longest mission in the game' so congratulations on making it through (hopefully with your sanity intact).