
MISSION 04 – Into Madness
Location: Chum's Hideout
Note: From this point on start saving up every bit of scrap you can, as you are going to need a lot of it to complete Mission 05 – A Wasteland Classic.
Max still wants that V8 engine, but it looks like there's still a few things to worry about first. Namely those shadows passing overhead. After the scene ends and you regain control with a rolling start, Follow the floor of the canyon until it opens up and you see some of Stankgum's forces heading towards Chum's Hideout.
Objective: Follow Stankgum's legion
While you may be able to catch them, don't bother as shortly after you begin following them a scene will begin.
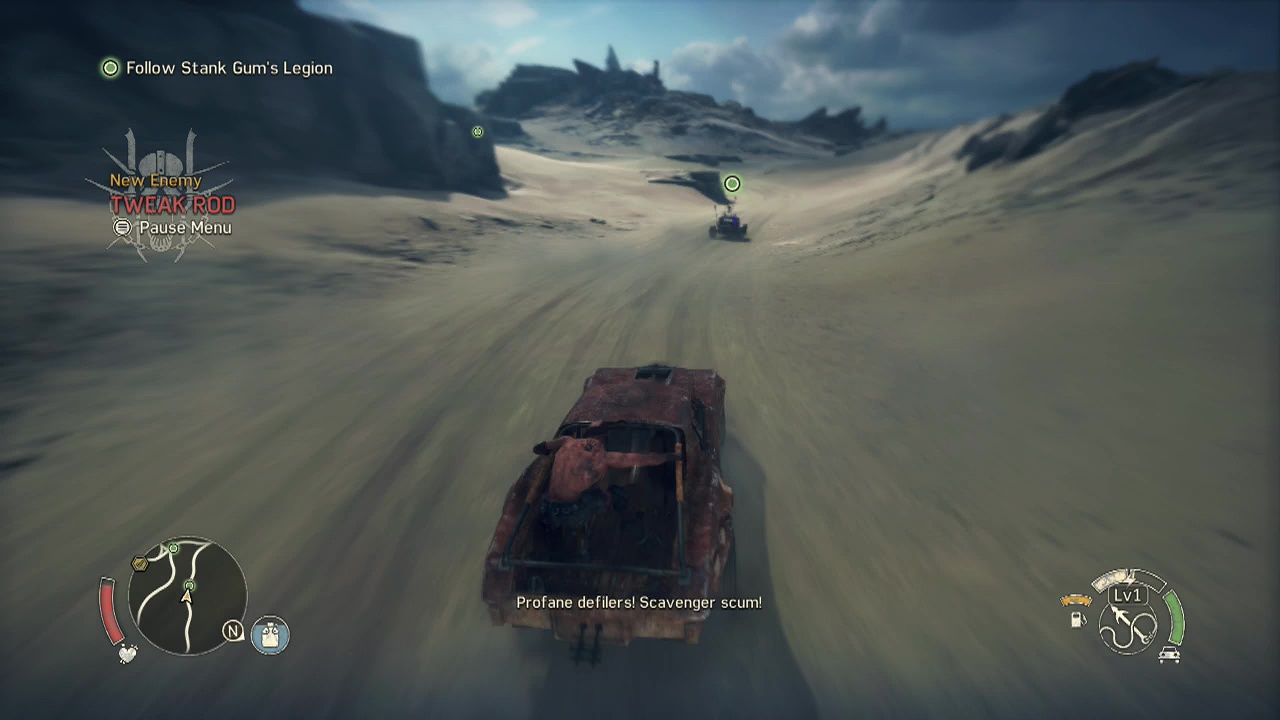
Objective: Drive to Jeet's stronghold
After it ends, hightail it away from the group of five enemy vehicles. Huh, gotta love Chumbucket's optimism about Jeet. Follow the trails North towards Jeet's seat of power. You'll likely pass several scarecrows and other objects of Scrotus power. Pull them down and/ or destroy in drive by 'pooning fashion if you can as you will need to lower the threat level in the region for the next mission. So you may as well start early.
Point of interest: Oh, by the way. I hate the fact that the eject button in this game is the same as the nitro button in Batman Arkham Asylum (which was the last guide I wrote). So when you see me constantly ejecting from the vehicle and getting run over in the video, this is why. It's not because I have a sudden urge to have Max eat fender and become roadkill.
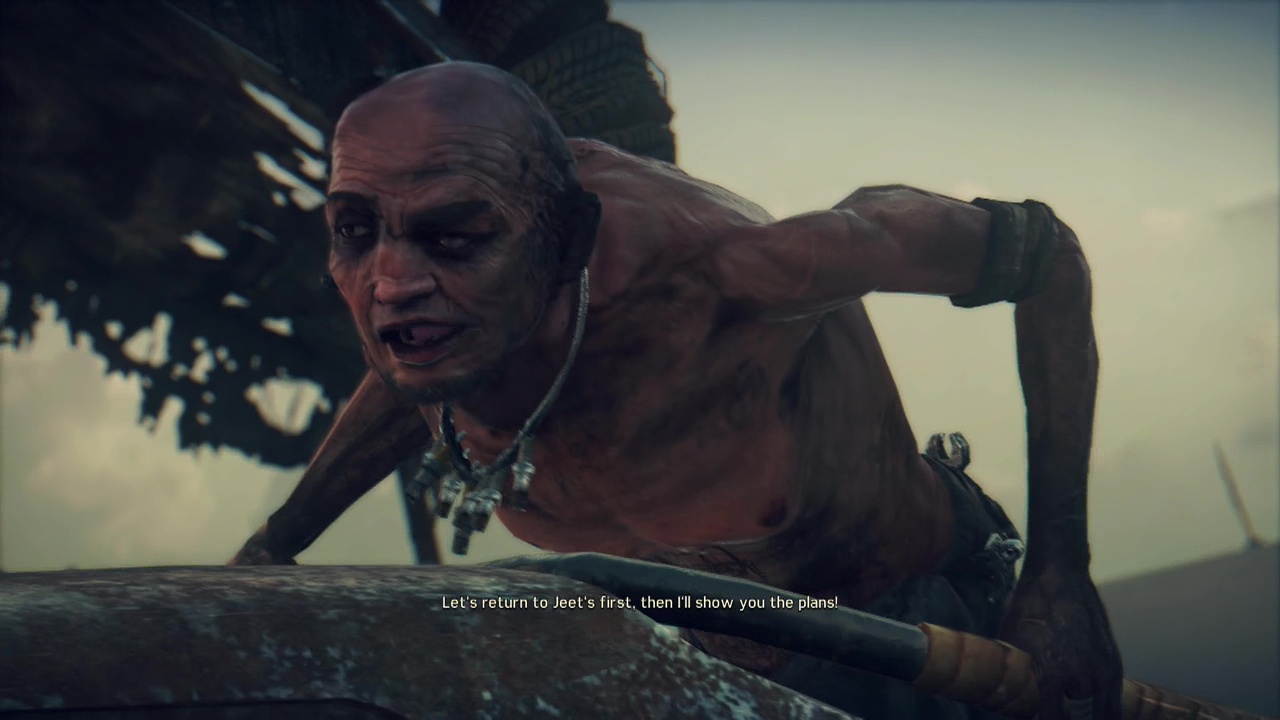
At the end of the marker trail you'll reach what looks like the remnants of a lighthouse sliced in half at the top of a cliff. Rumble towards the base of it to meet Jeet for the first time. After your little power meeting ends, you'll be inside the stronghold with Jeet calling for you upstairs.

Objective: Make a deal with Jeet
Clatter up the stairs to where Two-Face er, I mean Jeet is waiting for you. Speak with him to trigger a scene between the two. During the scene you are advised to check out 'the Jaw,' a gate blocking access to Gastown where your V8 engine is waiting.
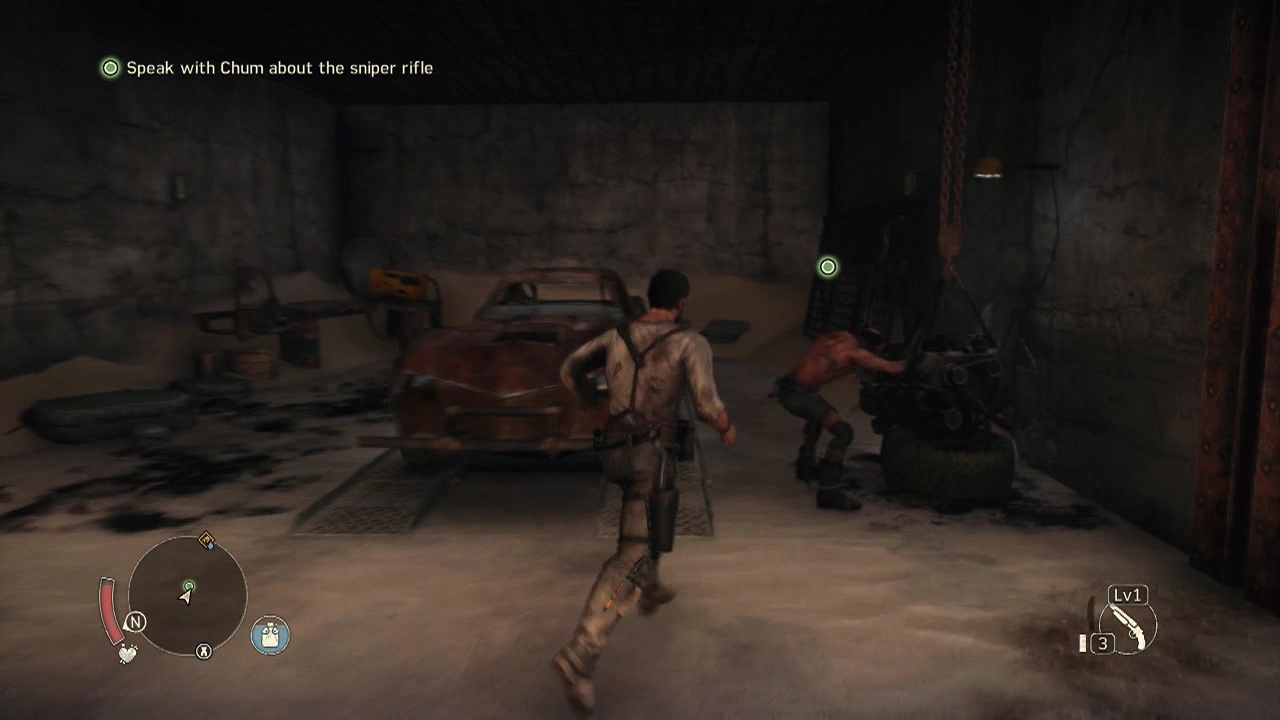
Objective: Speak with Chum about the sniper rifle
Back down in the grease pits, talk to Chumbucket.

Objective: Collect the trigger mechanism
The trigger can be found in the circular area located behind where Jeet is sitting. Retrace your earlier steps and grab the trigger mechanism off the desk inside.
Objective: Install the sniper rifle
Hand it over to Chumbucket and you'll enter the garage menu. Select the sniper rifle tab and install the now-available base sniper rifle for forty scrap.
Objective: Exit Jeet's stronghold
To exit the stronghold, stand beside one of the Magnum Opus' doors and hold Y/ Triangle.
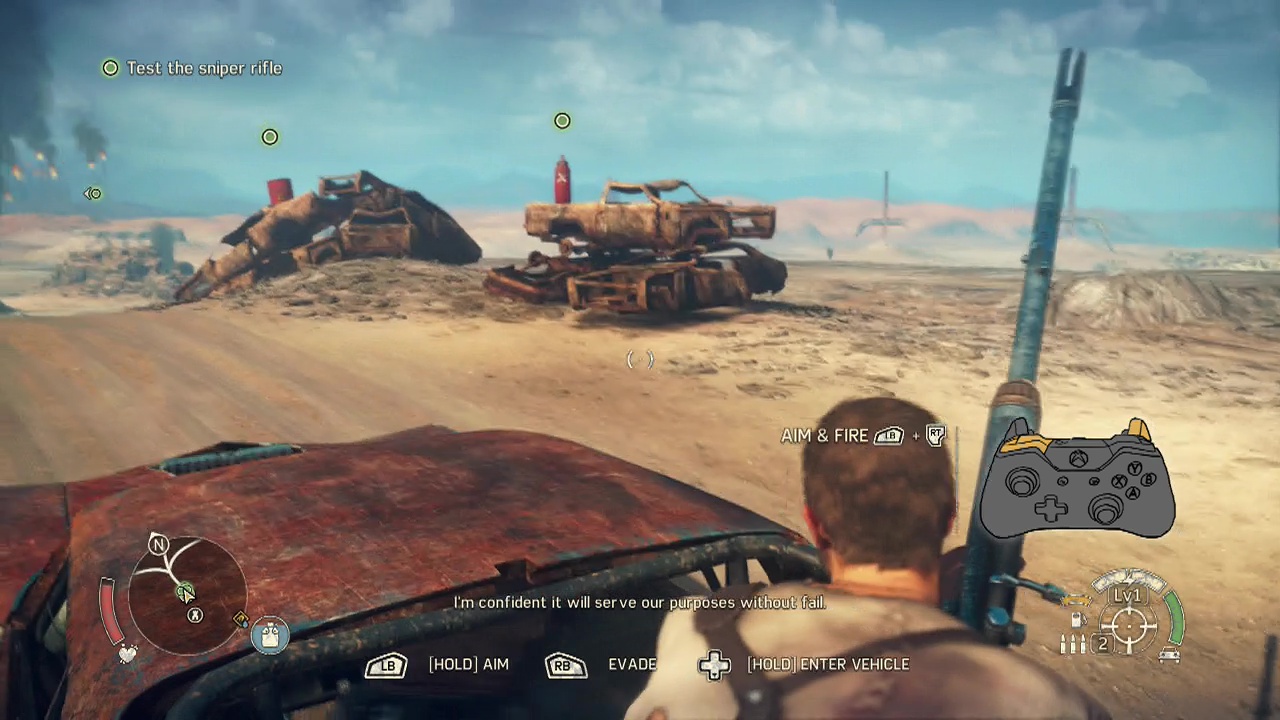
Objective: Test the sniper rifle
Objective: After emerging blinking into the light, you'll see that three red accelerant containers have been placed on nearby rocks. Time to put the sniper rifle through it's paces.
Sniper rifle controls
D-pad down (hold) – Equip sniper rifle
LB – Aim mode
RS – Camera
RT – Fire
D-pad down (hold) when in sniper mode – Enter vehicle
Simply aim at each of the red canisters in turn (note the tug of the aim assist when you are close to their center of mass) and fire to blow them to smithereens. Once all three are destroyed, fold up the sniper rifle and get back behind the wheel.
Objective: Drive to Dead Barrens Pass
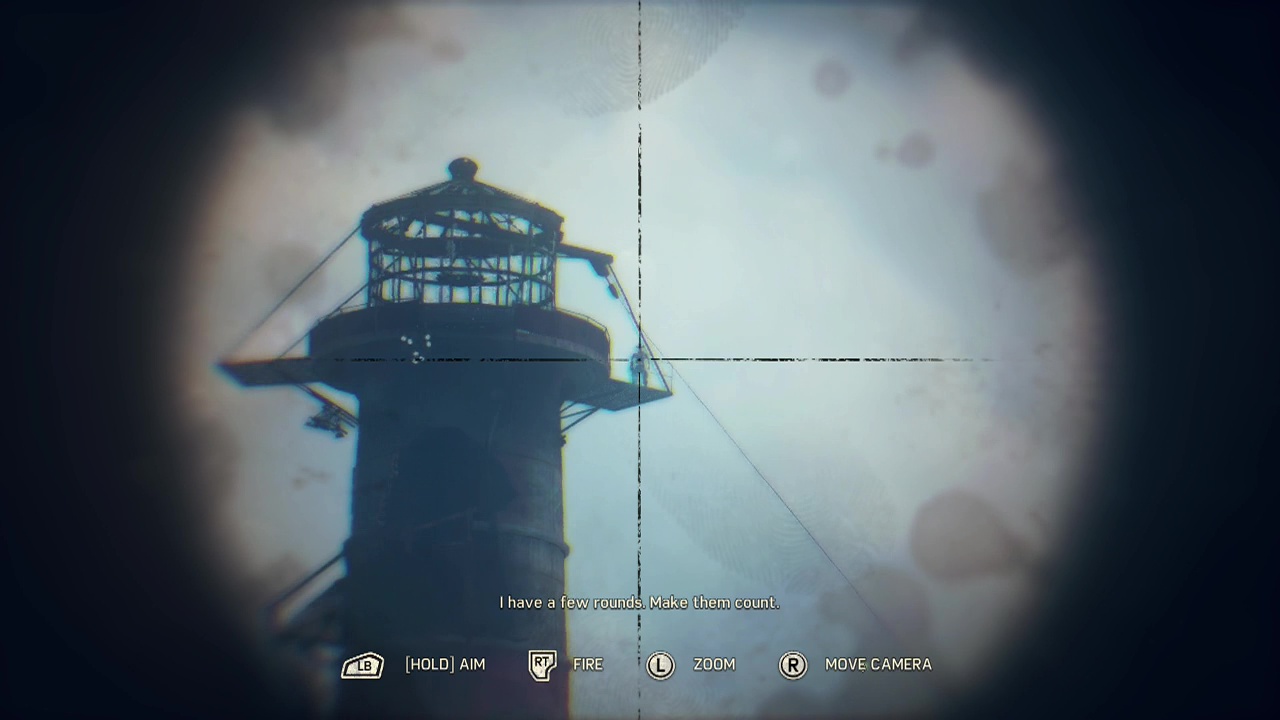
Time to check out 'the Jaw' that Jeet mentioned. Trundle along the dusty trails, following the marked path and destroying scarecrows and sniper towers as you go (remember to lower that threat level for the next mission). A fair distance away, you'll see that the marker is pointing to another lighthouse (like Jeet's stronghold).
As you approach, Chumbucket will spot snipers on the balconies of the lighthouse. When he does, pull out your new sniping toy. There should be two visible on the tower, one at the top of the lighthouse, another on a balcony on the left side of it halfway down. Pick them off with insulting ease (seriously, the aim assist makes it a bit of a joke). Remember to collect the ammo from the fallen snipers shortly to replenish your supply.
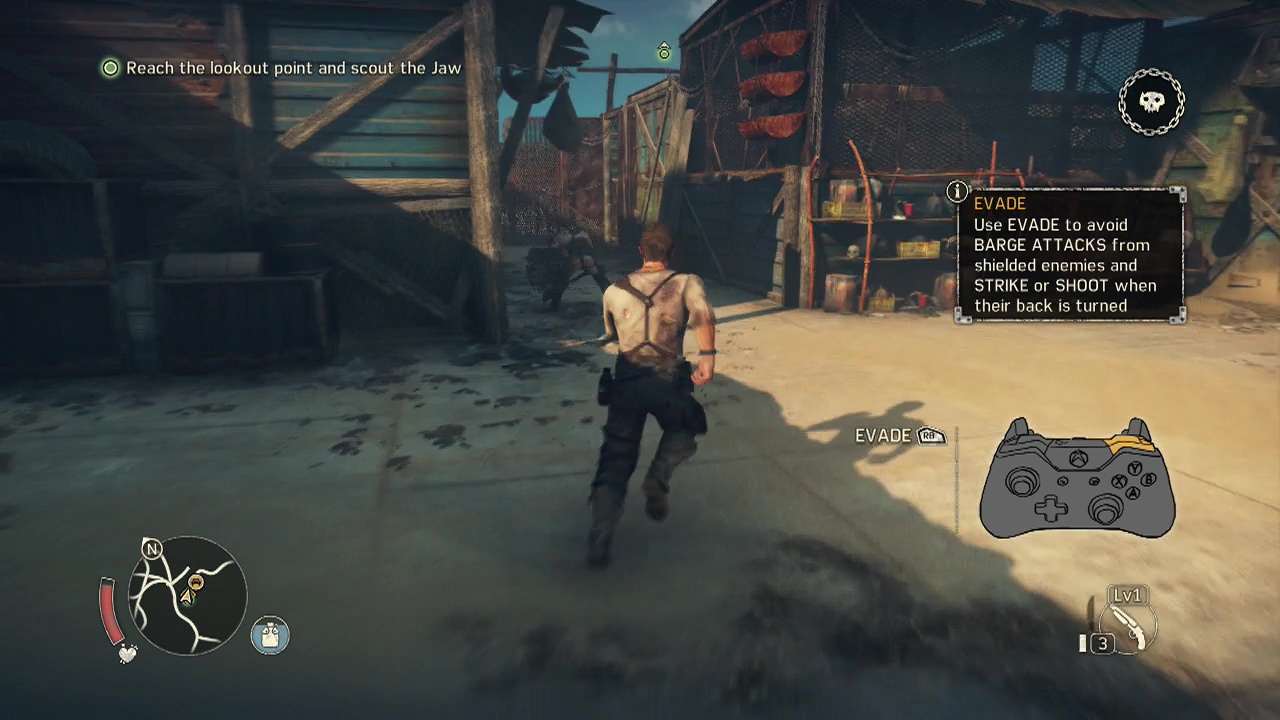
Objective: Reach the lookout point and scout the Jaw
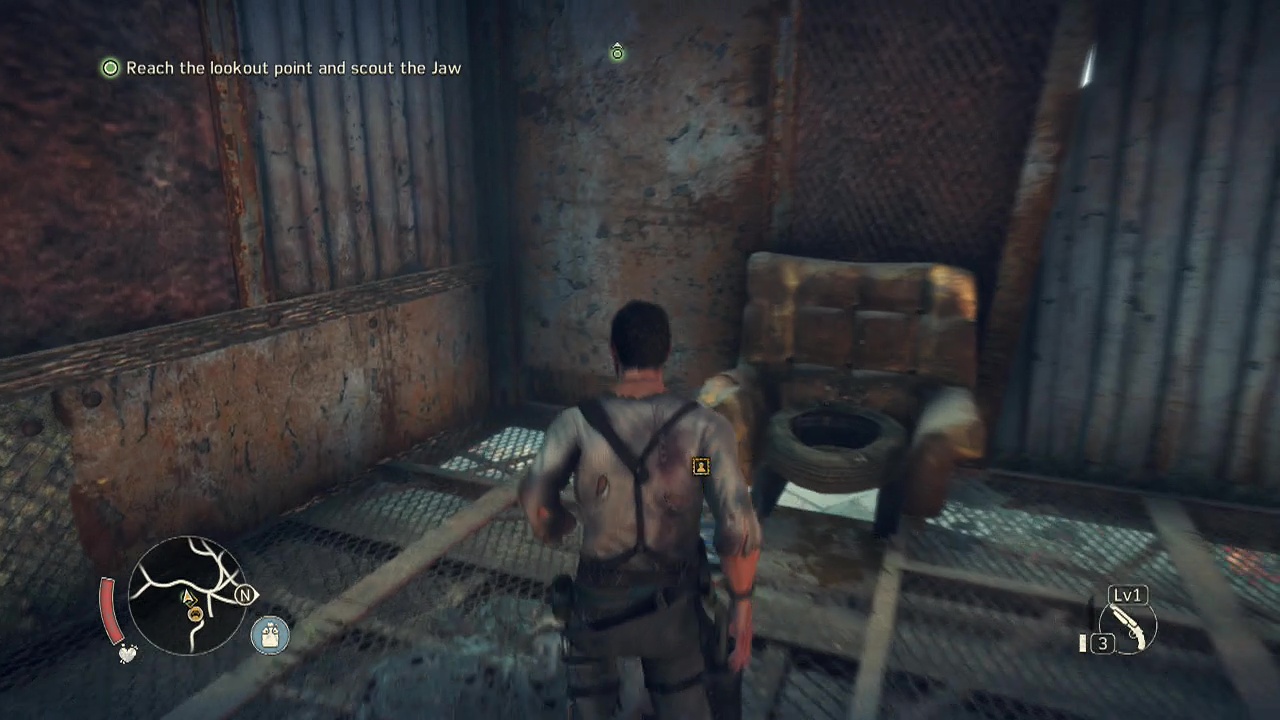
Now that the ranged defenses are taken care of, head to the base of the lighthouse area where the marker trail is pointing. When you reach the area underneath the lighthouse, start working your way upwards via the ladders and ramps. At the top of a set of stairs, before rounding the corner to the right, look straight ahead to spot a ladder leading down to a lower platform and some scrap. Climb back up afterwards and round the corner to the right, weaving among the small buildings. Make sure to grab some ammo on the floor of the second one if you need it.
As you emerge from this structure and find a more open area, you'll be faced with your first shielded enemy of the game. Shielded enemies resist frontal attacks (however, you can destroy their shields by repeated melee attacks or by shotgun fire). But it is much more efficient if you evade one of their attacks and then punch/ shoot them in the back as they try to skid to a halt. It's kinda like a drive by backstab service. Except with fists. And the assless chaps (as you can see in the video at 19:09) don't suit him by the way. Ew.
The good thing is that the other war boys in the area will stand around gawking (possibly because of aforementioned assless chaps) while you lesuirely beat seven shades of sunshine out of their friend. As soon as the shielded enemy falls, grab his weapon as you are about to be rushed by three war boys. Despite this, they should be fairly easy to take down. Although if you are on low health after the shielded enemy, you will want to be very careful about your counters to avoid damage (there is a water point immediately after this to recover at though).
When the third warboy bites the dust, look through a doorway to the right (when facing the same way as you arrived in the area) to see a glowing piece of scrap to pick up. Leave through the door at the far end and enter the door next to it to find what looks like an armchair toilet and a relic on the floor. Circle around behind the large cylindrical area where the lighthouse is to find a water collection device to restock and salve your wounds.
Follow the walkway to the left of the water collection device, staying on the edge closest to the open air to find more scrap hanging on a wall. After you've got everything on this level, climb up the stairs in the middle of the area and then up the climbable ledges in the room above. This will place you at the bottom of the walkway that leads up to the lighthouse. Clamber up the path to find a ladder at the top, and next to it is one of the fallen snipers (that you shot earlier) you can now loot for ammo.
Climb up the ladder and take the path leading downwards first when you reach the lighthouse stairs. At the bottom of a ladder, you'll find some more scrap waiting for you. Now that you have it, backtrack to the path split and take the stairs leading upwards this time. At the top, Max will pull out his binoculars and examine the defenses of the Jaw. Look towards the gate underneath the glowing blue lights to trigger Max's one sided conversation.

Objective: Return to Chum
If you still have unhealed damage, look in the center of this top area to find a can of food to help heal you. When you're ready, look for a zip-line leading down from the side of one of the wire mesh platforms. This will take you back down to the lower area, where some scrap is sitting to your left. Kick down the ladder and climb down to find yourself back at the start of the area. Traipse back down to where Chumbucket and the Magnum Opus are waiting to trigger a scene and end the mission.