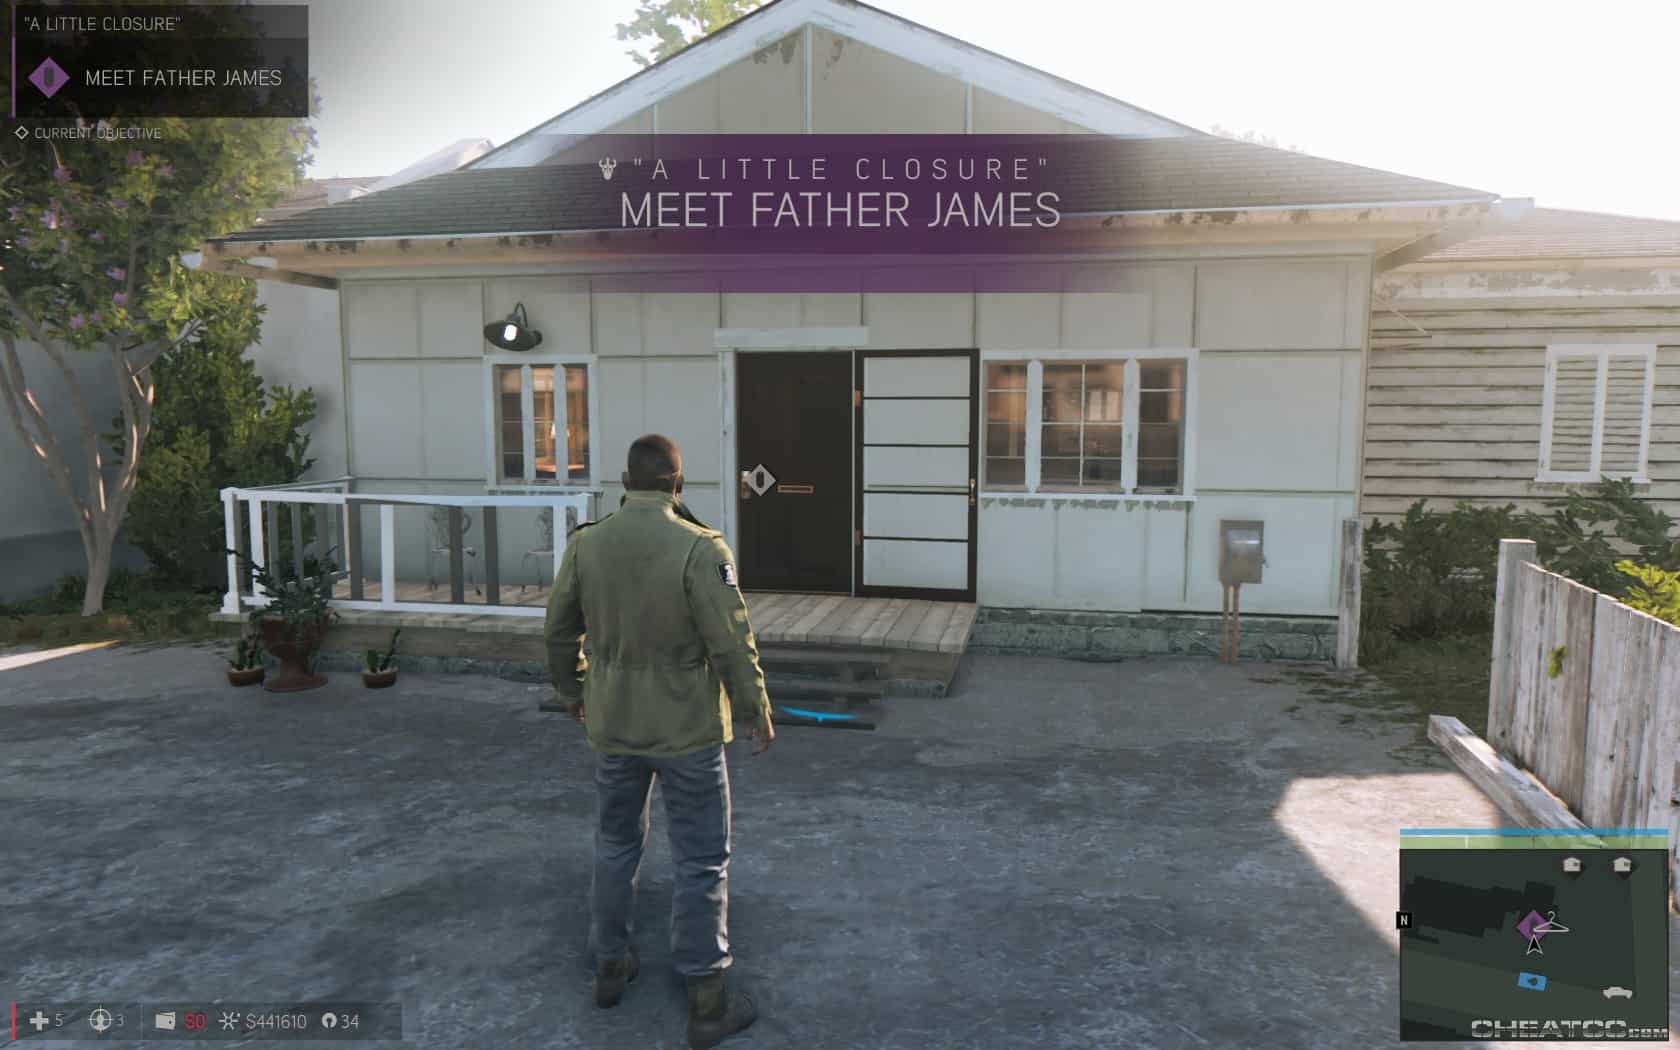
Kickoff the story with a visit to Father James. In documentary mode, he'll reveal that his intent here is to take Lincoln's mind off his trouble, reconnect with a normal life. This gamble is not going to pay off for the padre.

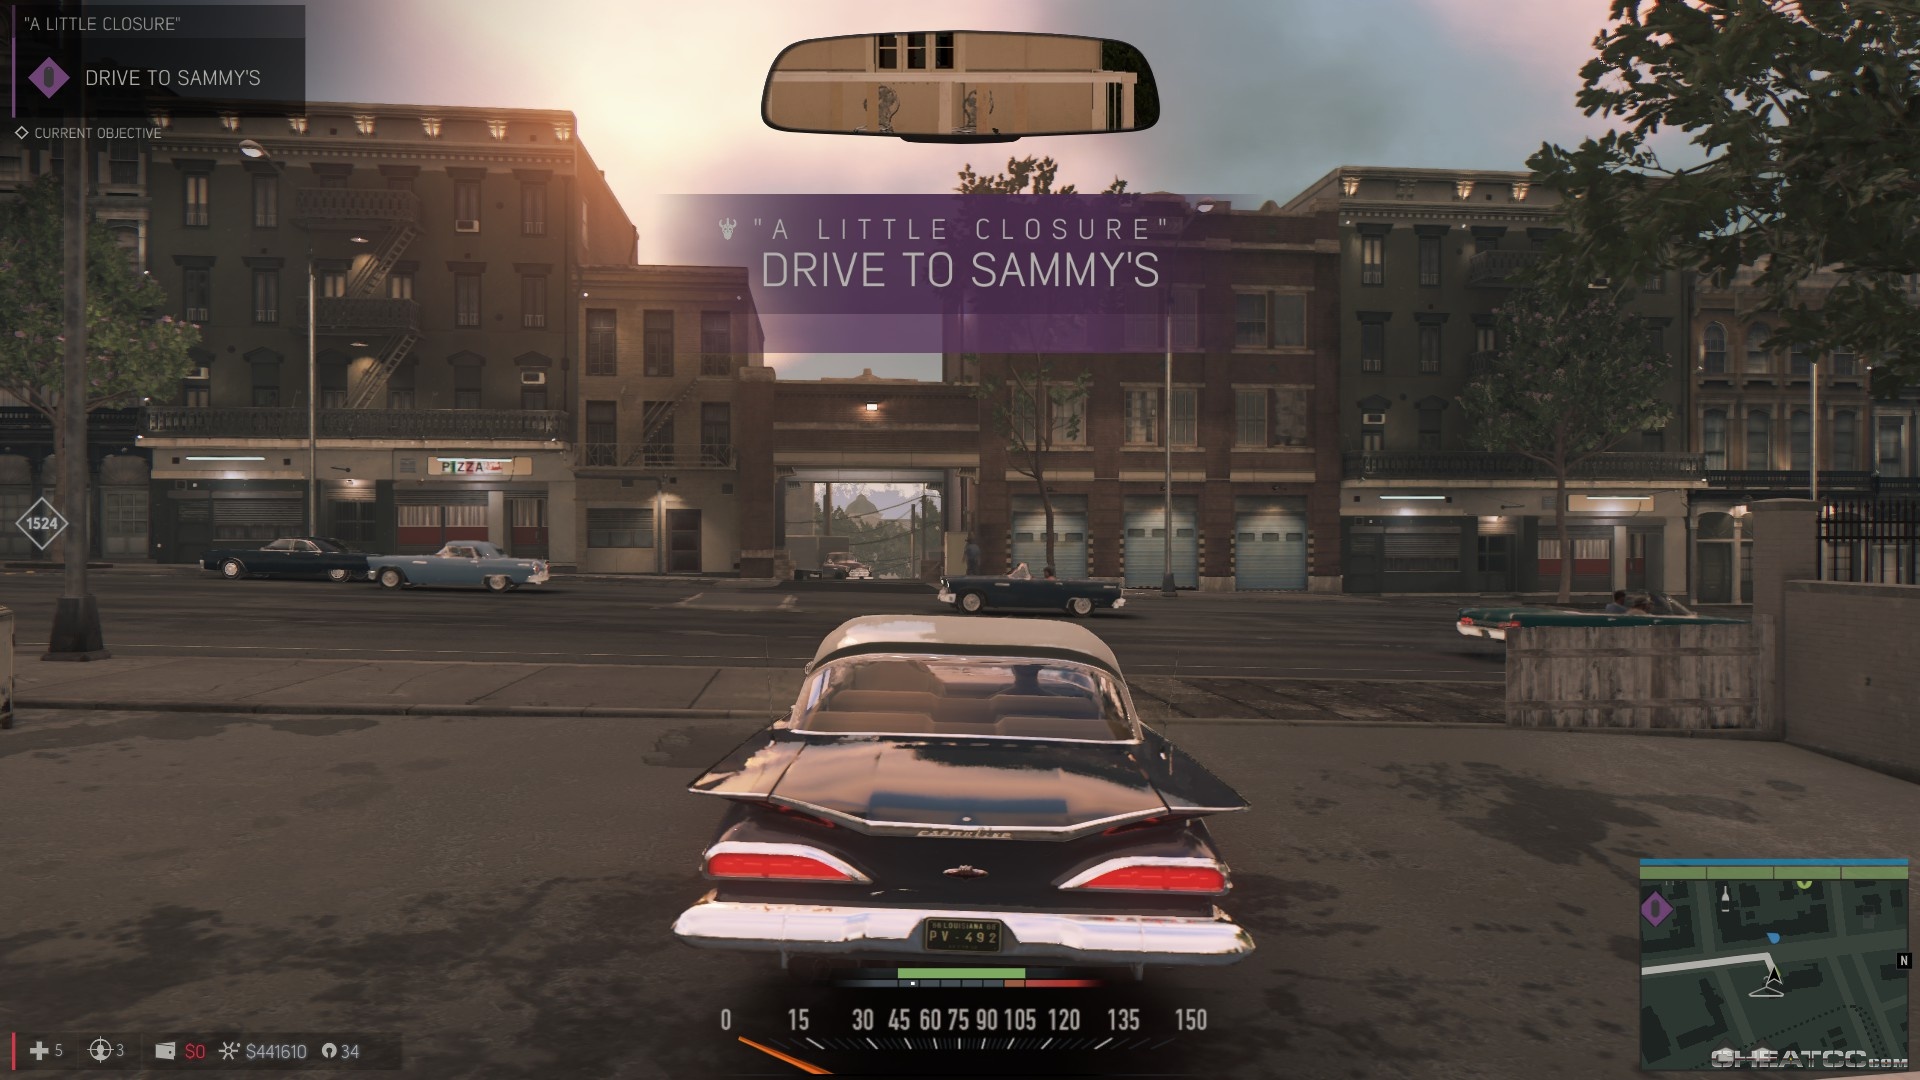
When the cutscene ends you'll be in Father James' car. Drive over to Sammy's- there's a four minute time limit, but that's plenty generous, even in a Berkeley.
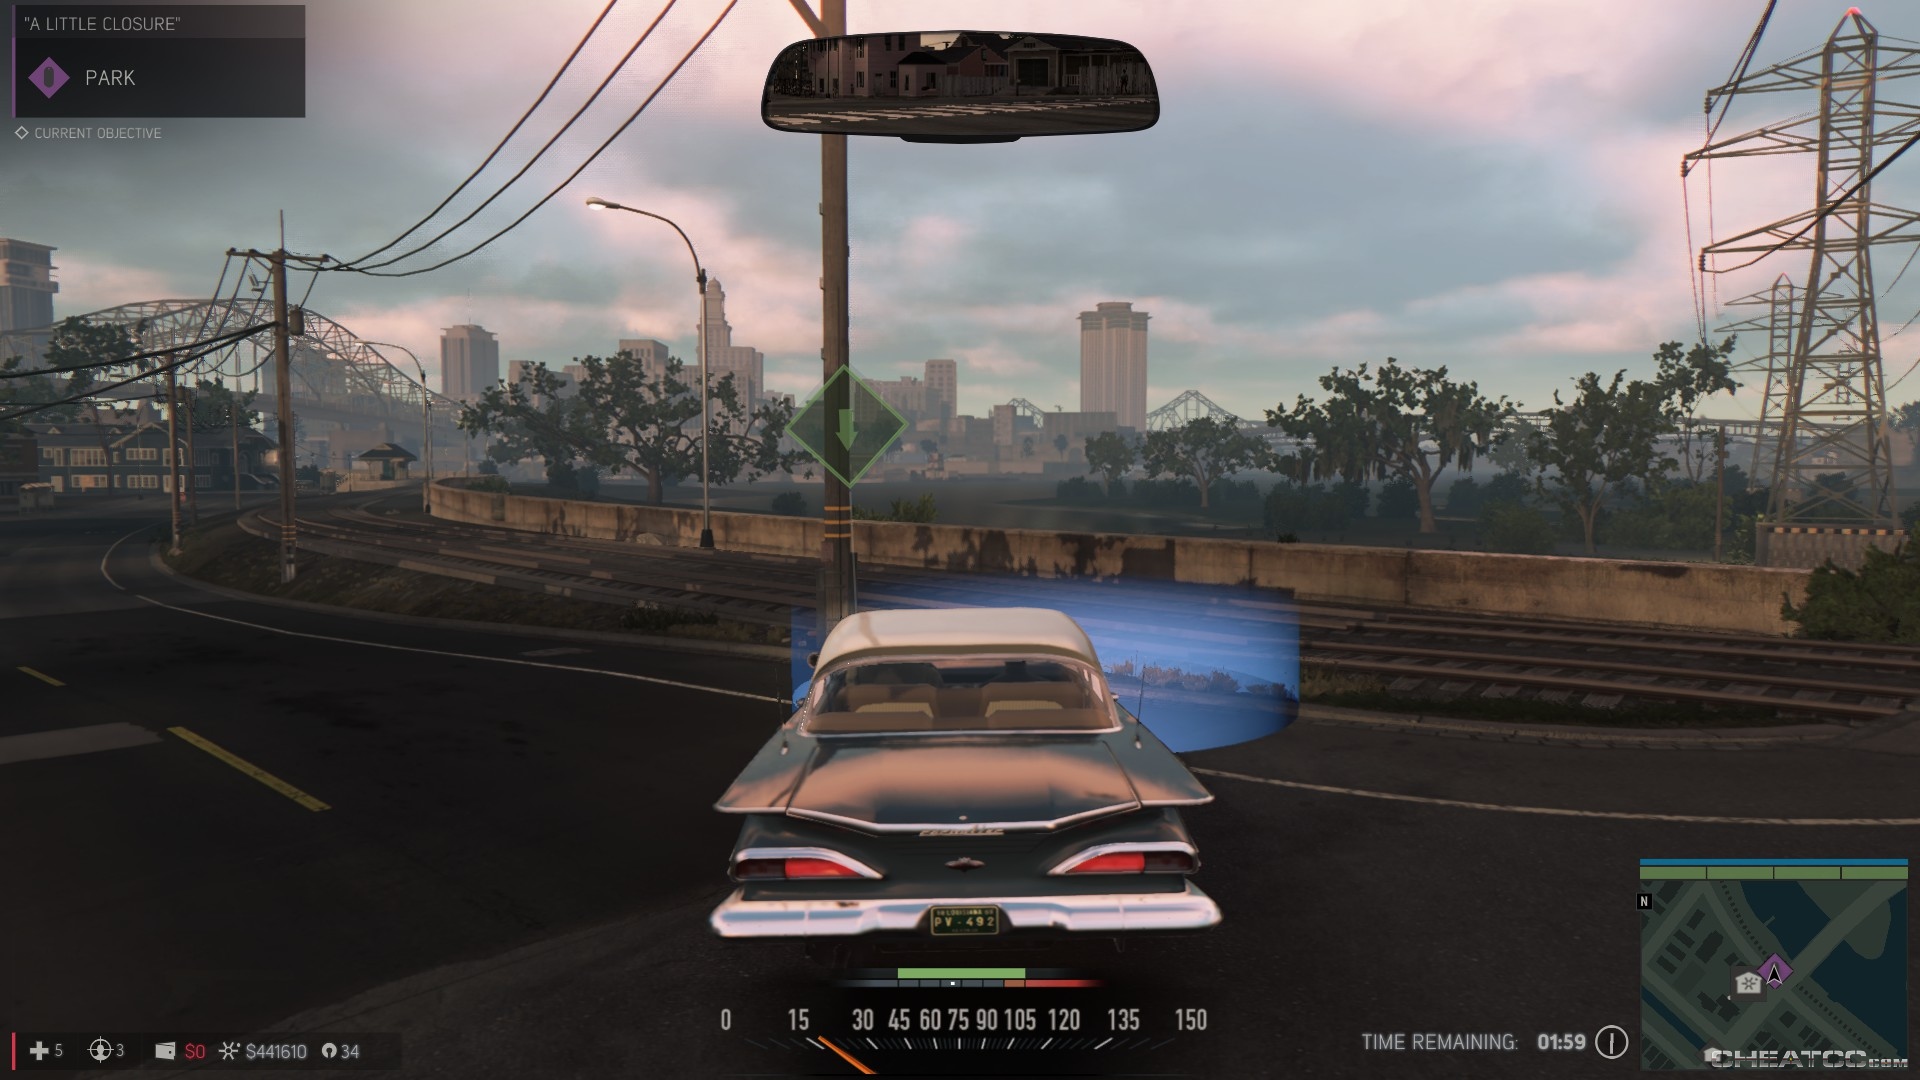
Pull up to Sammy's and park in the indicated spot.
As you step out of the car, you'll find a young lady fleeing from a bunch of bloodied maniacs. When this cutscene ends you'll need to take those baddies out.
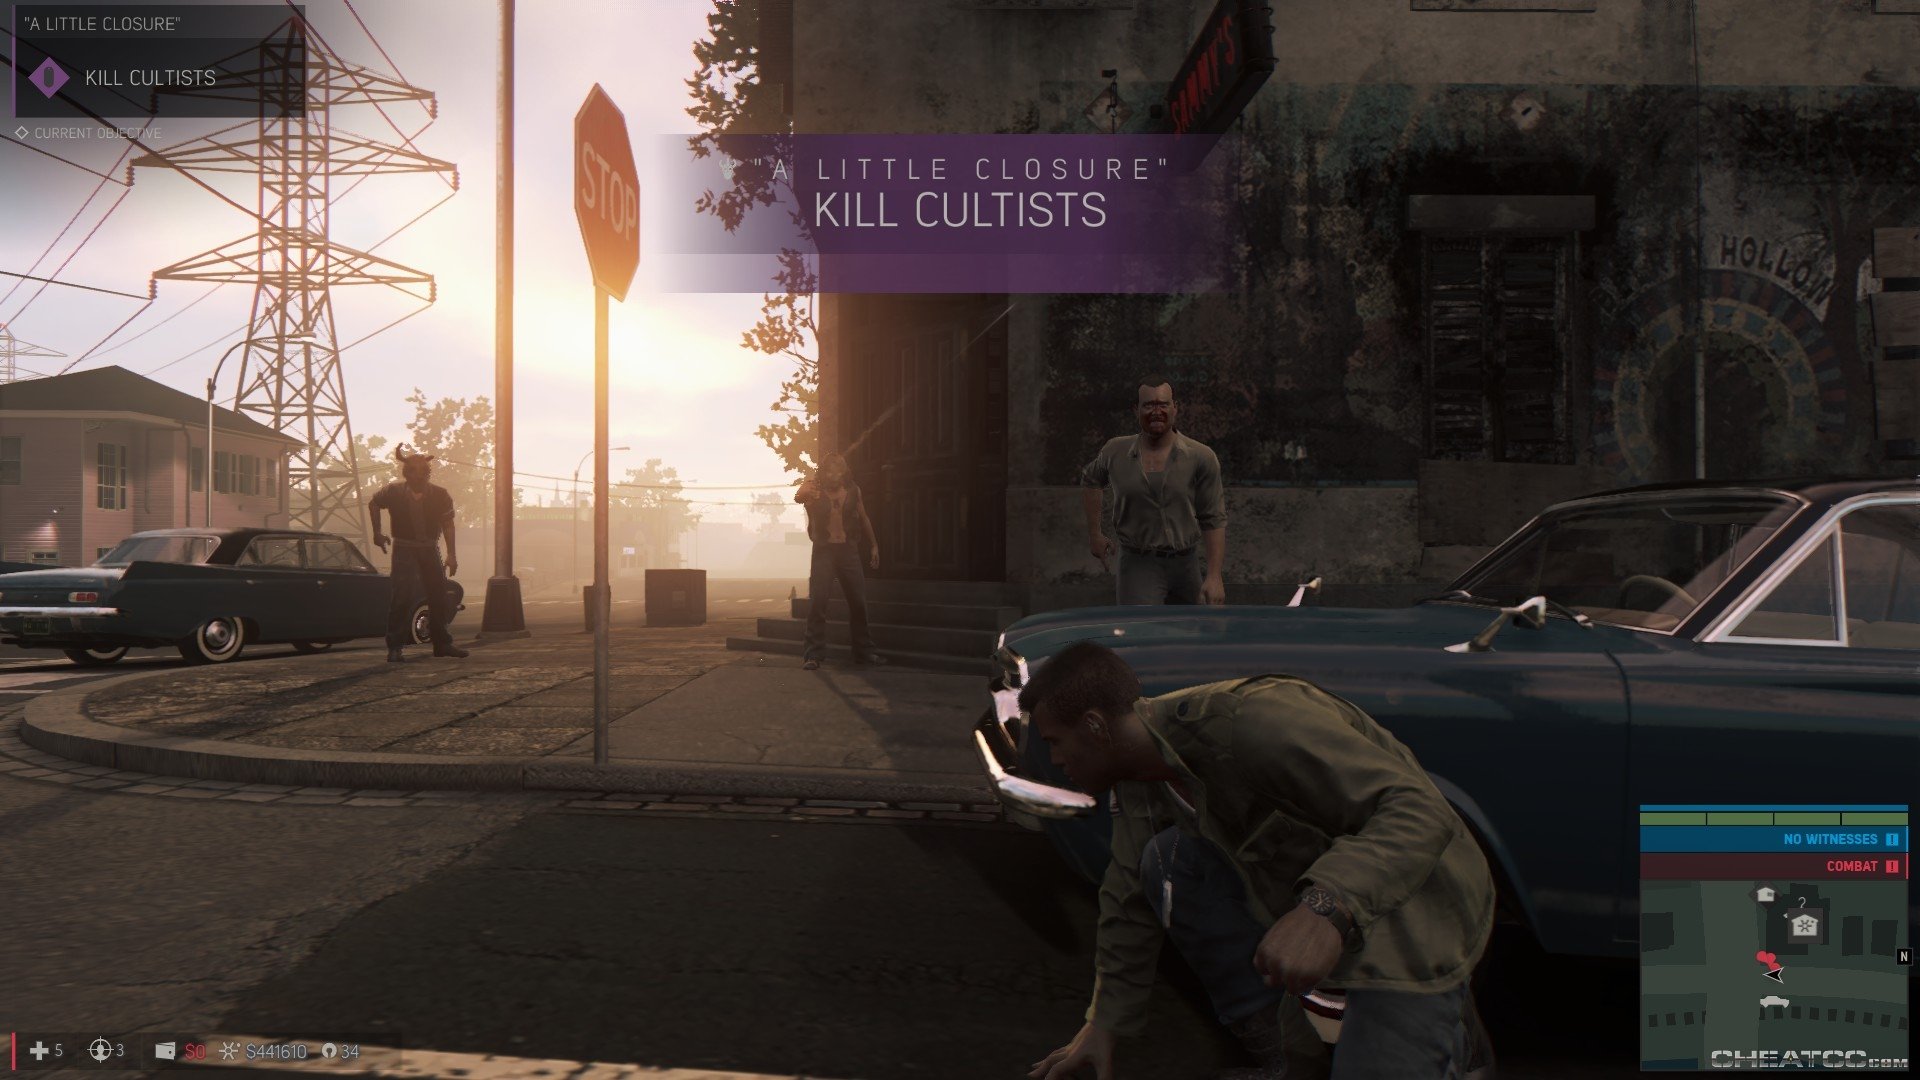
This is the only fight in this chapter, so don't feel like you need to hold back. Luckily, killing a bunch of masked manics in the middle of the street doesn't attract a whit of police attention (that's the Hollow for you). When they're all down, take a half-second to loot their bodies, then join Father James and the fleeing girl in the garage.
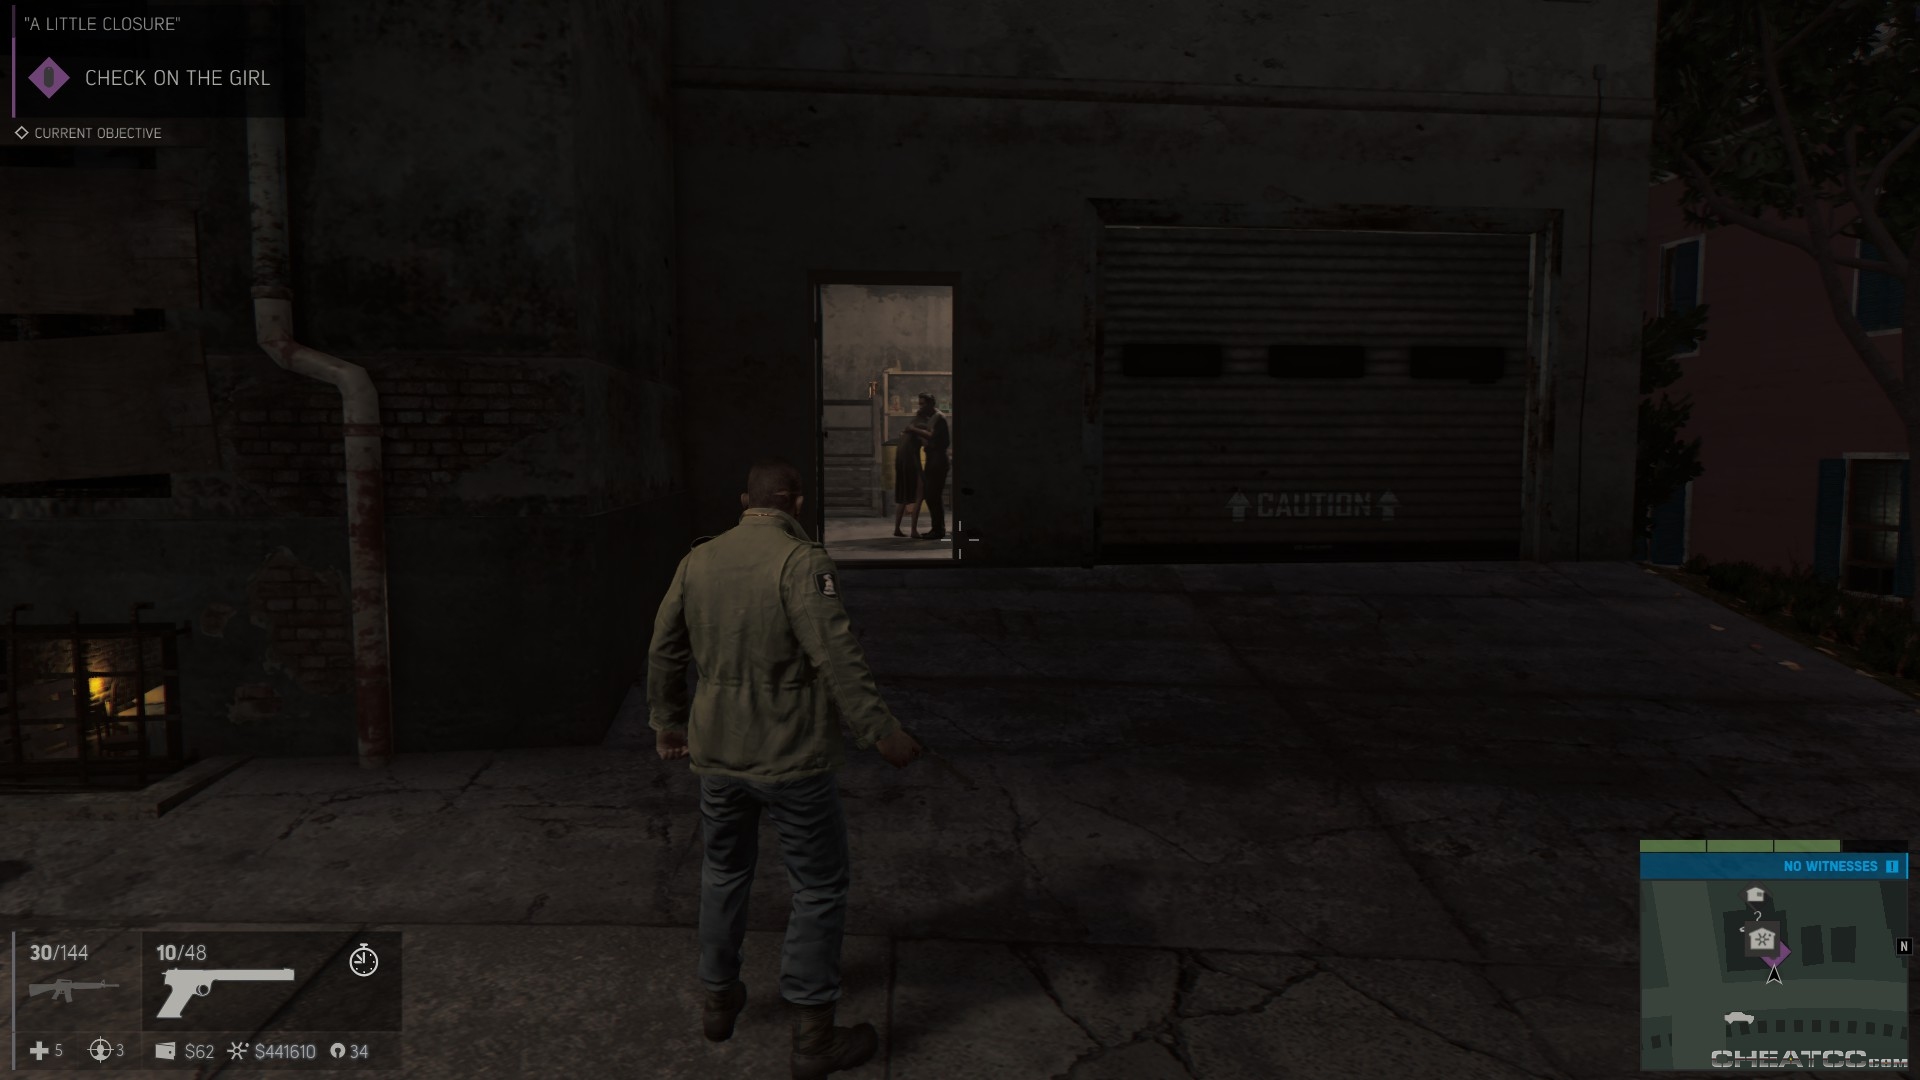
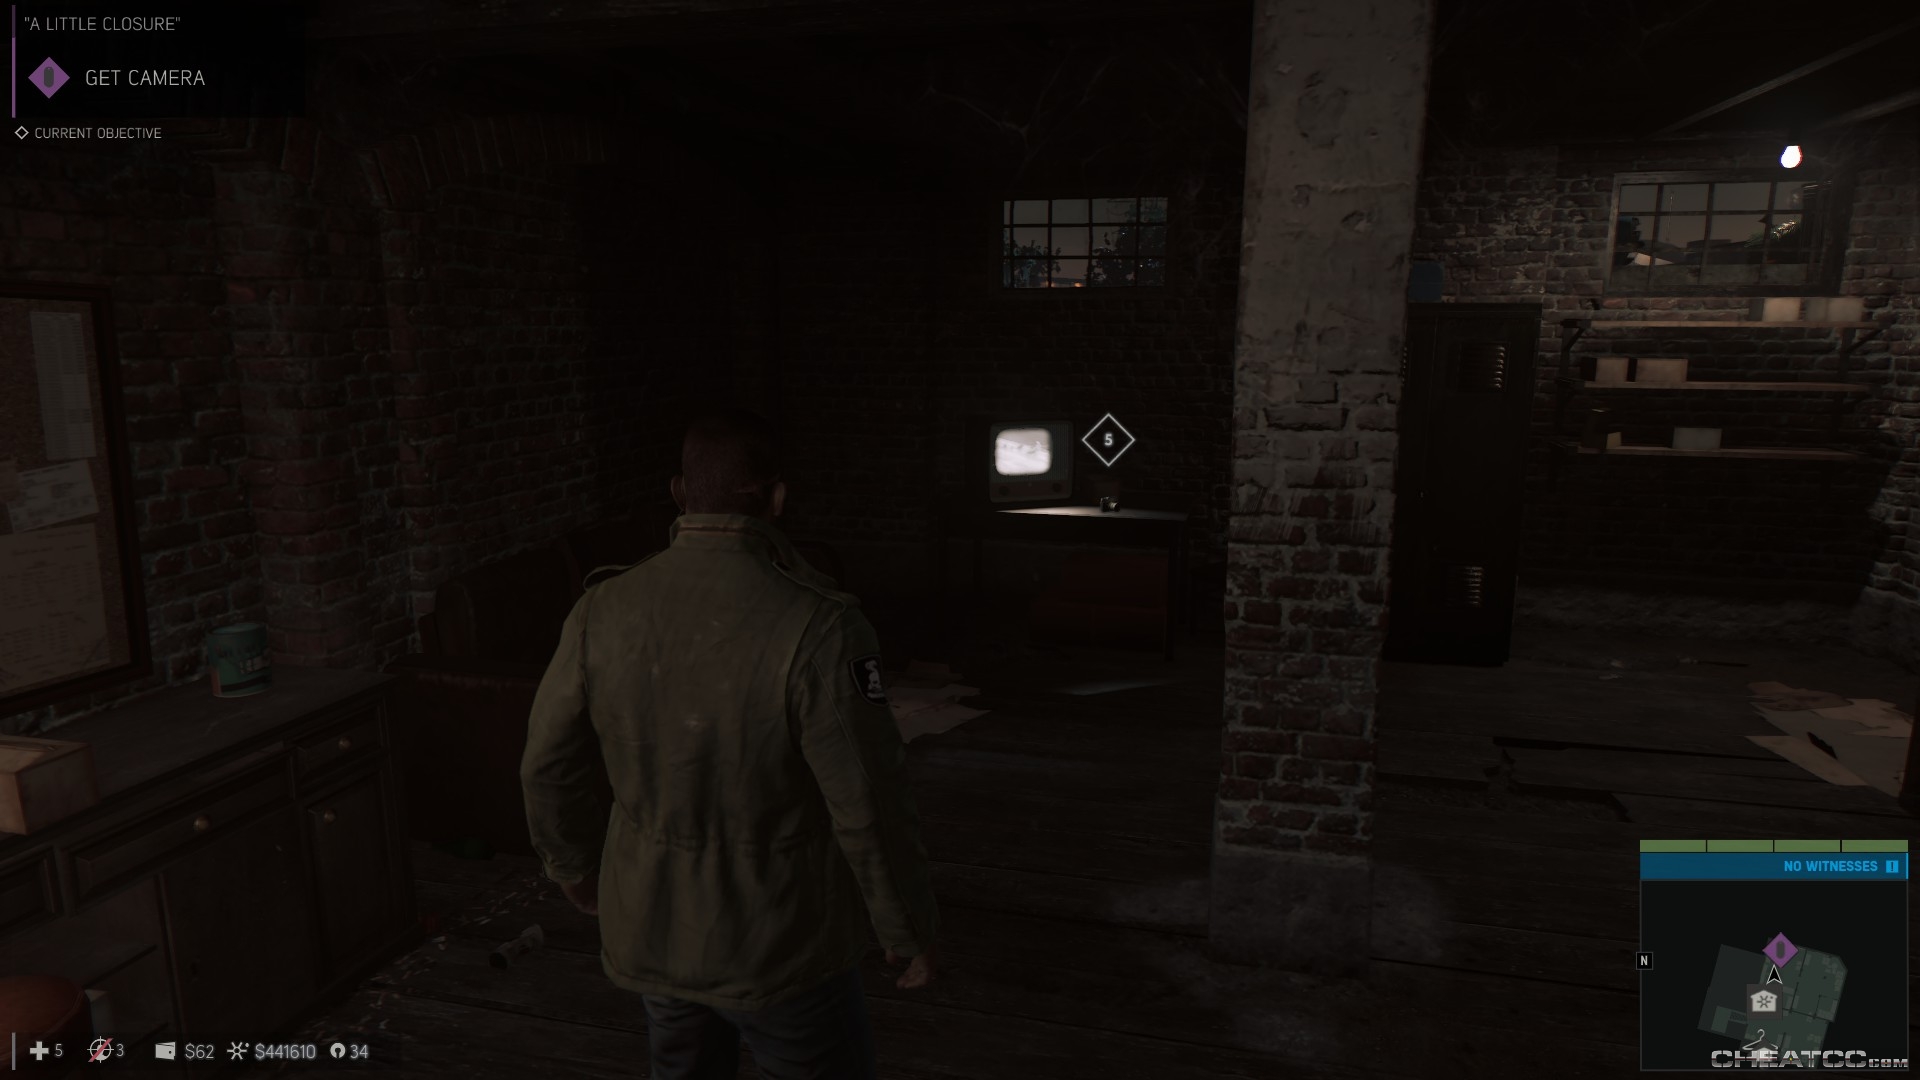
He'll take her to safety, leaving you to investigate the interior. Some dark doings inside, but you'll have time for a closer look shortly. Follow your marker down to Lincoln's bedroom in the basement (where the safe is), and grab the recon camera from the table with the flickering television.
Head back upstairs to enter the Investigation Zone- a new mechanic where you search the area for clues, taking photos when necessary.
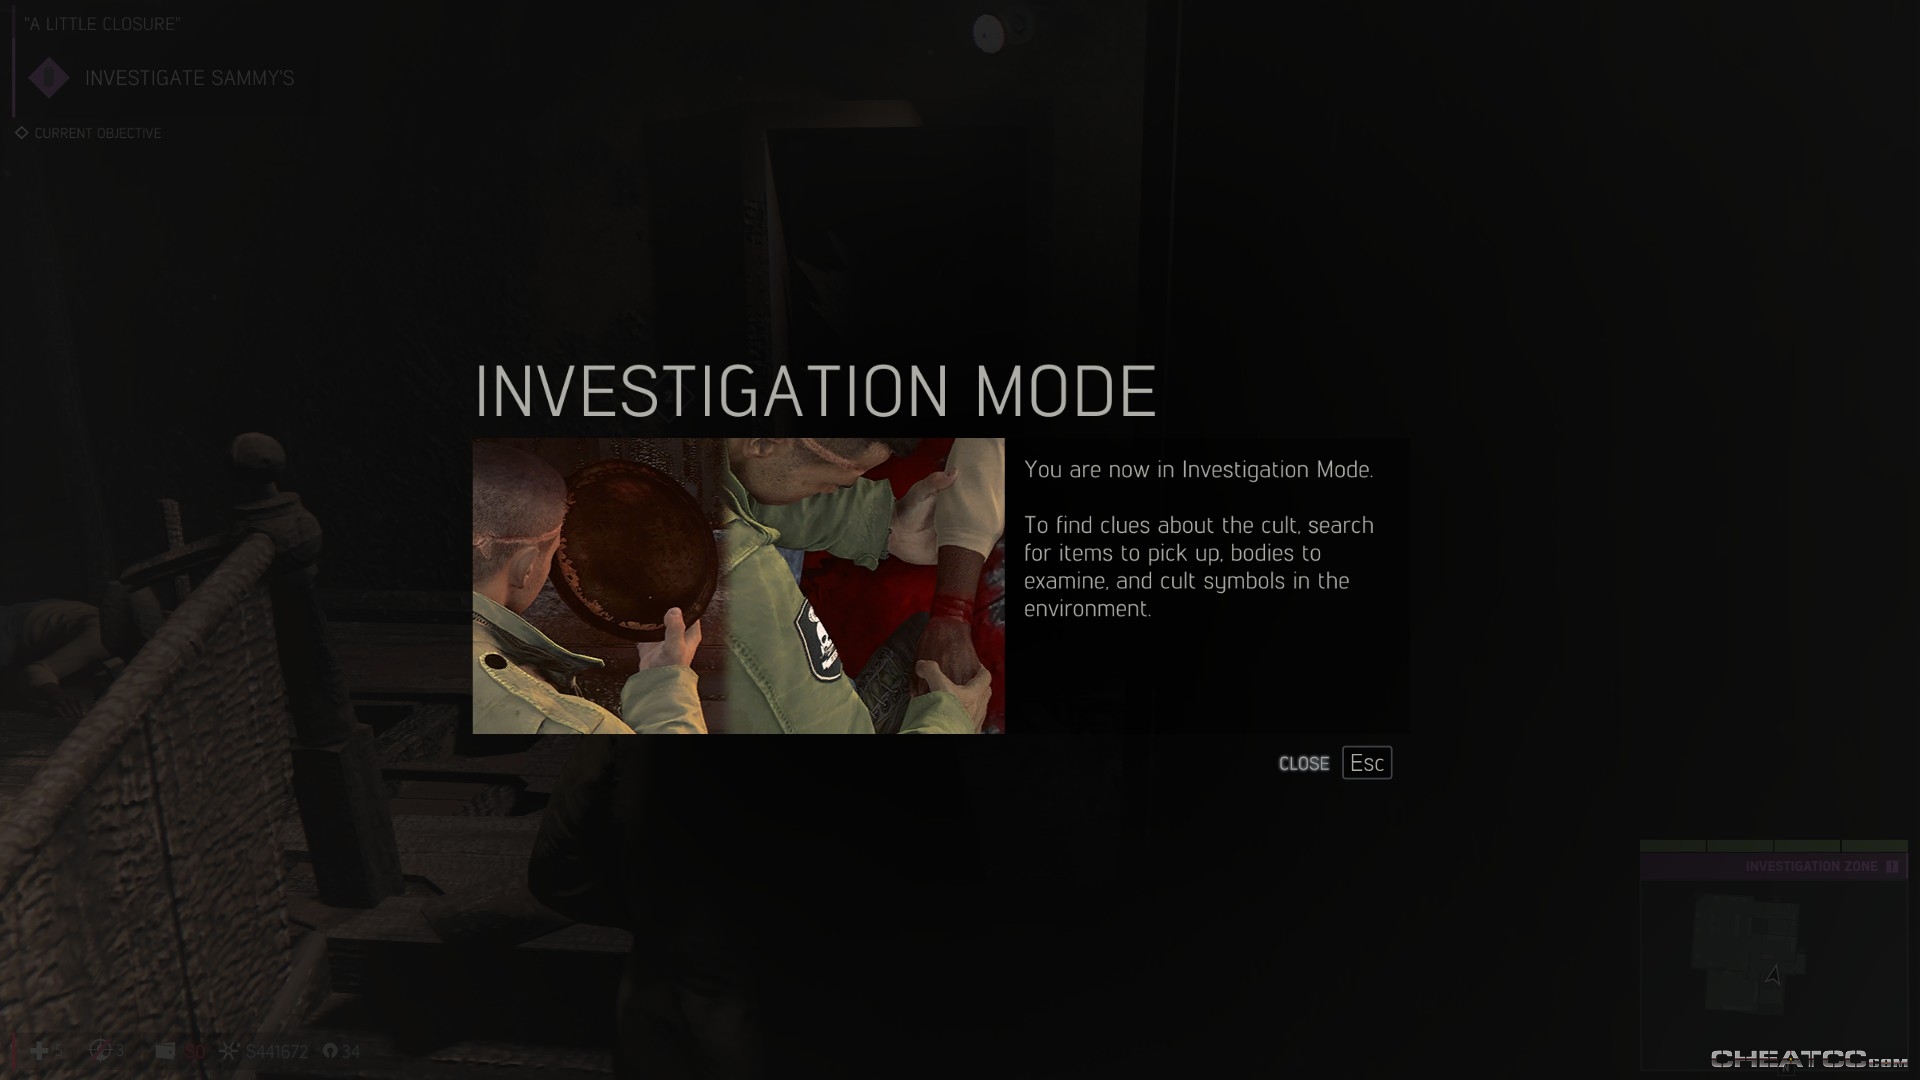
Start with the guy at the top of the stairs, using E to kneel next to the body. Use the mouse to 'search' him- the white circle will glow green when you find a clue.
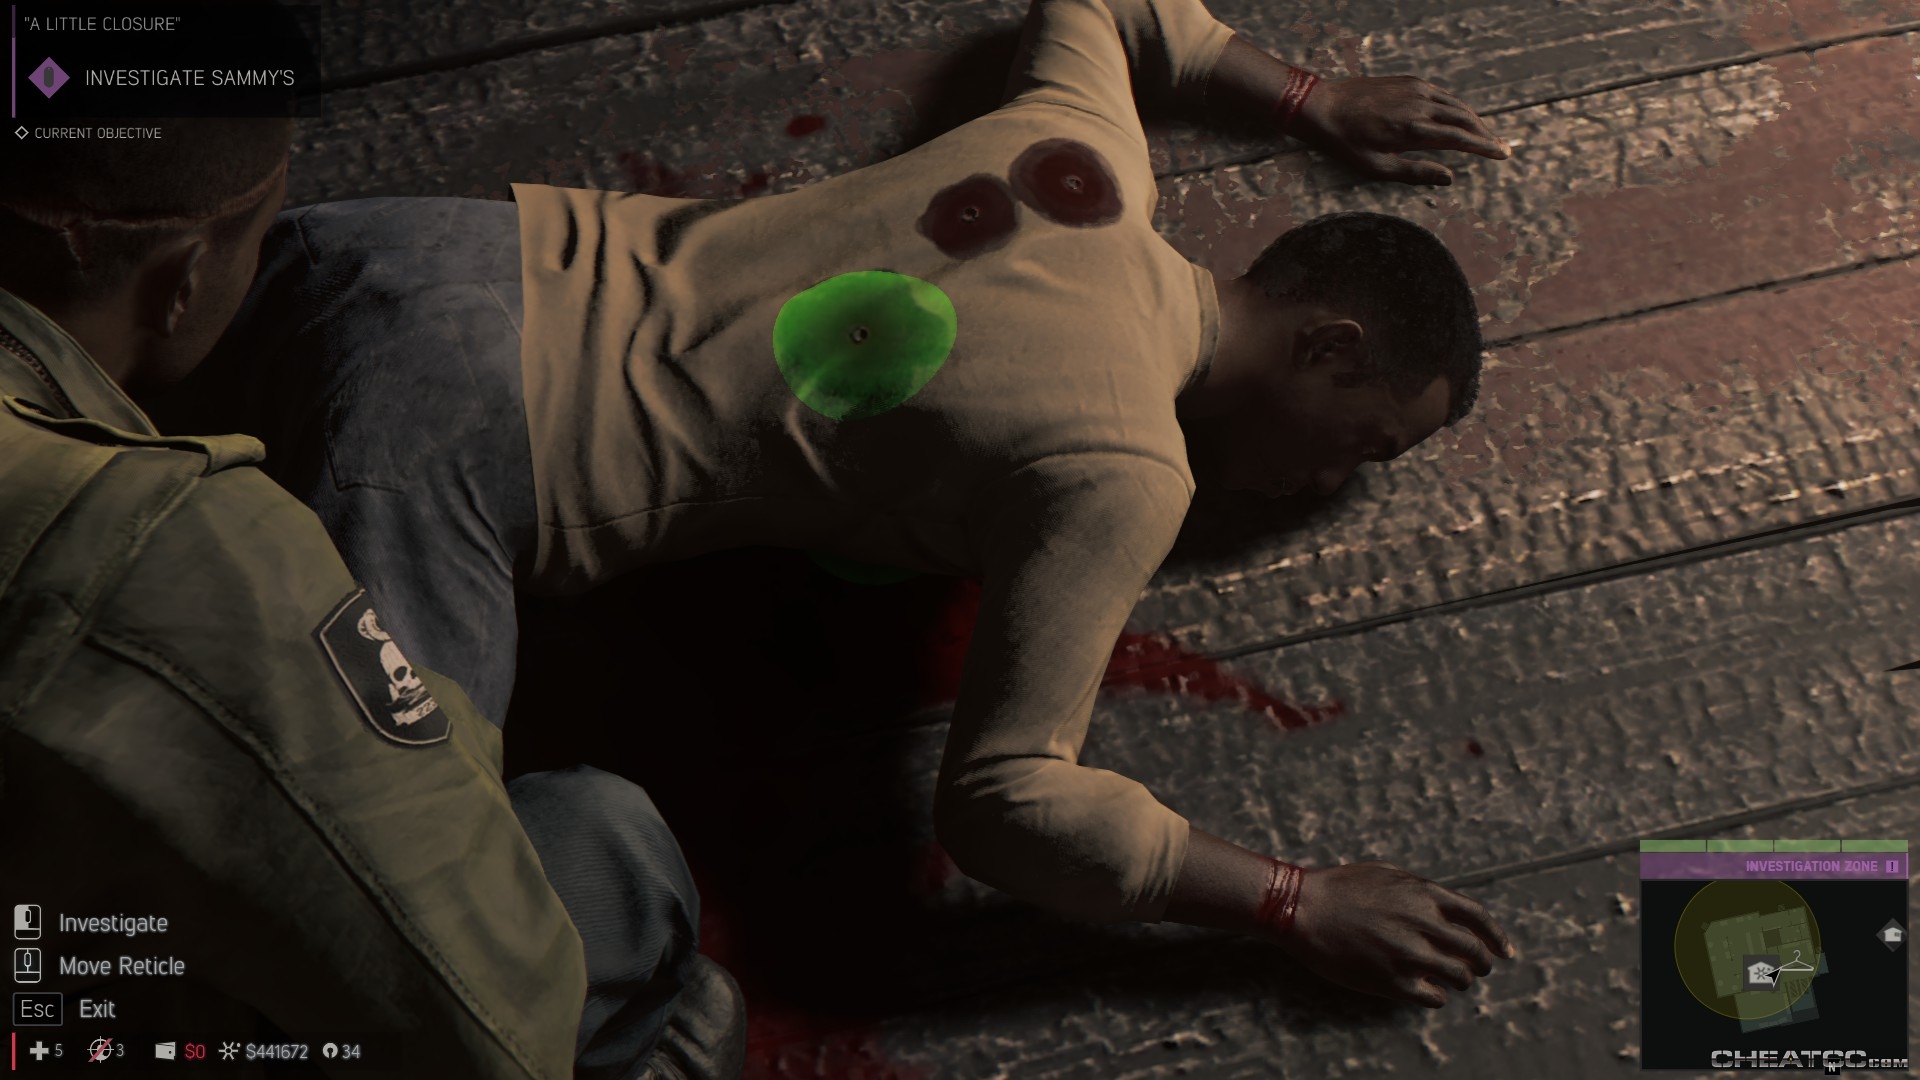
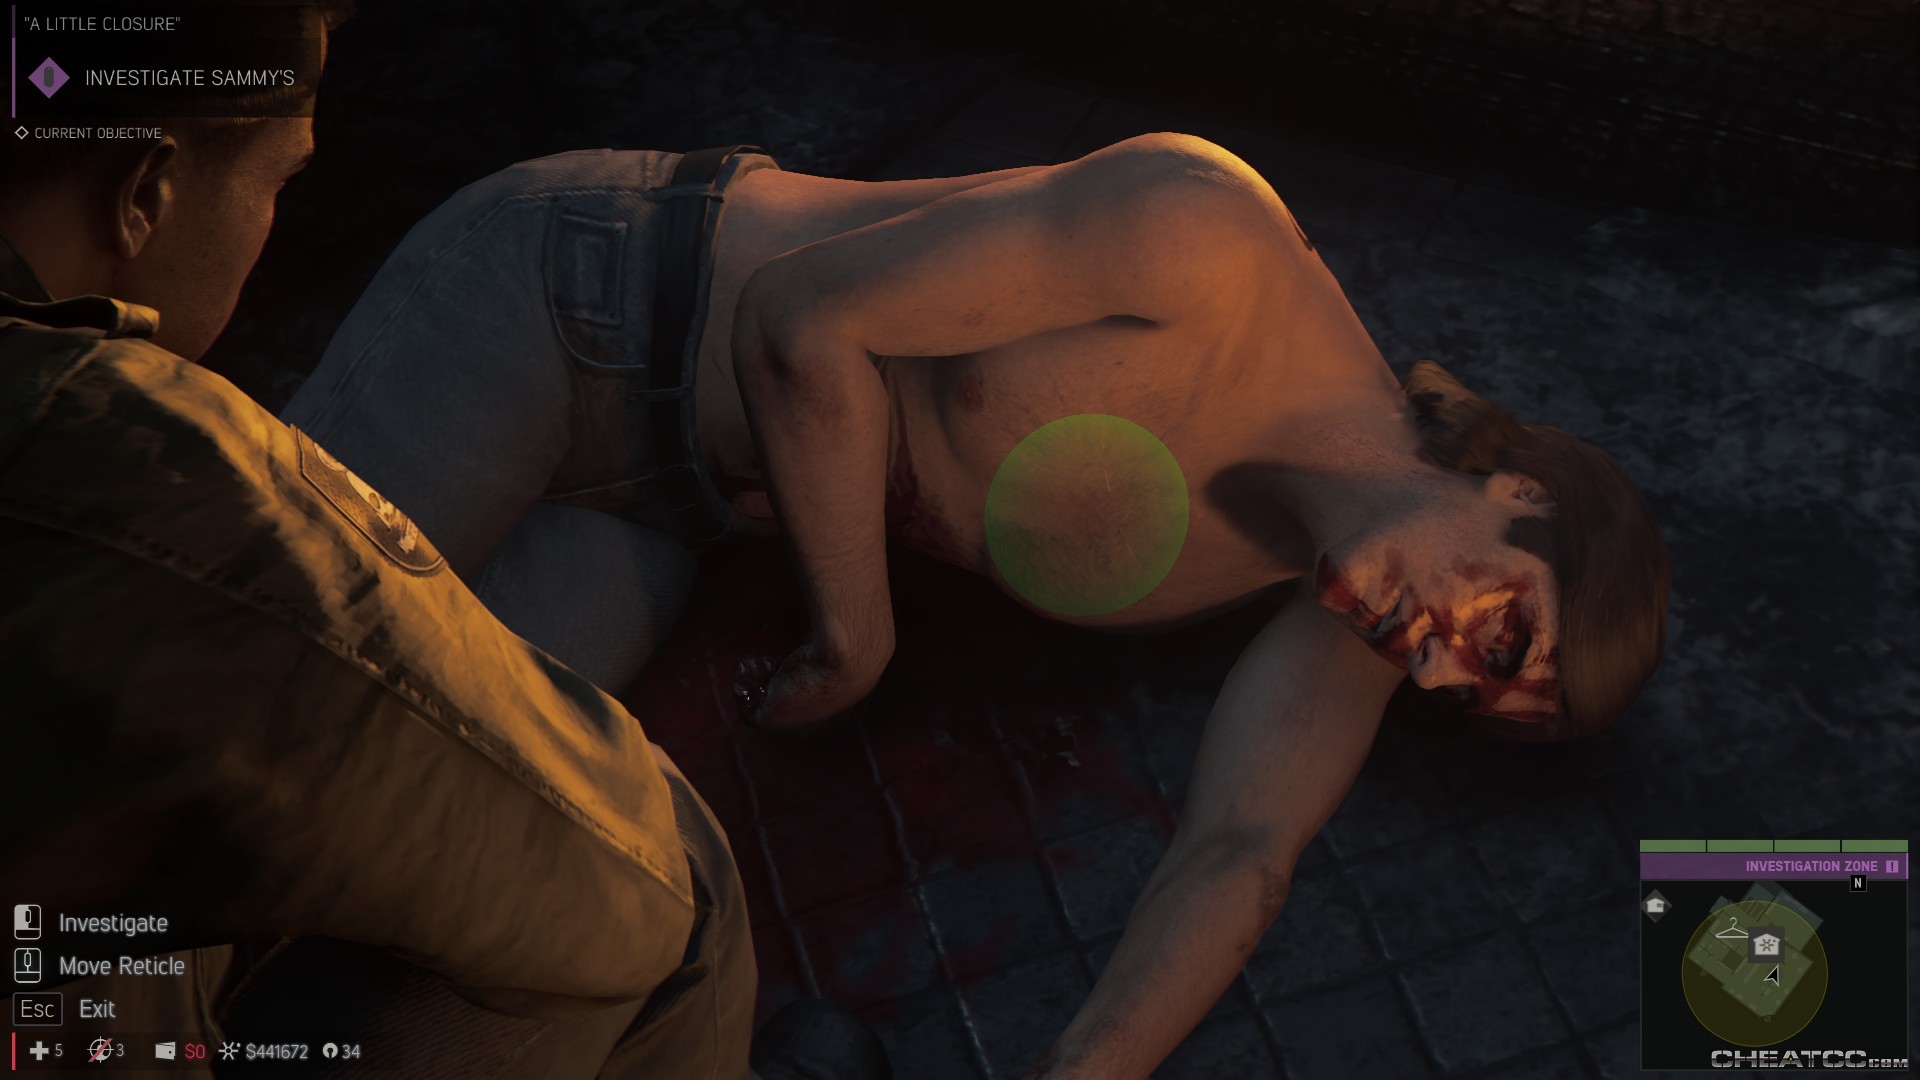
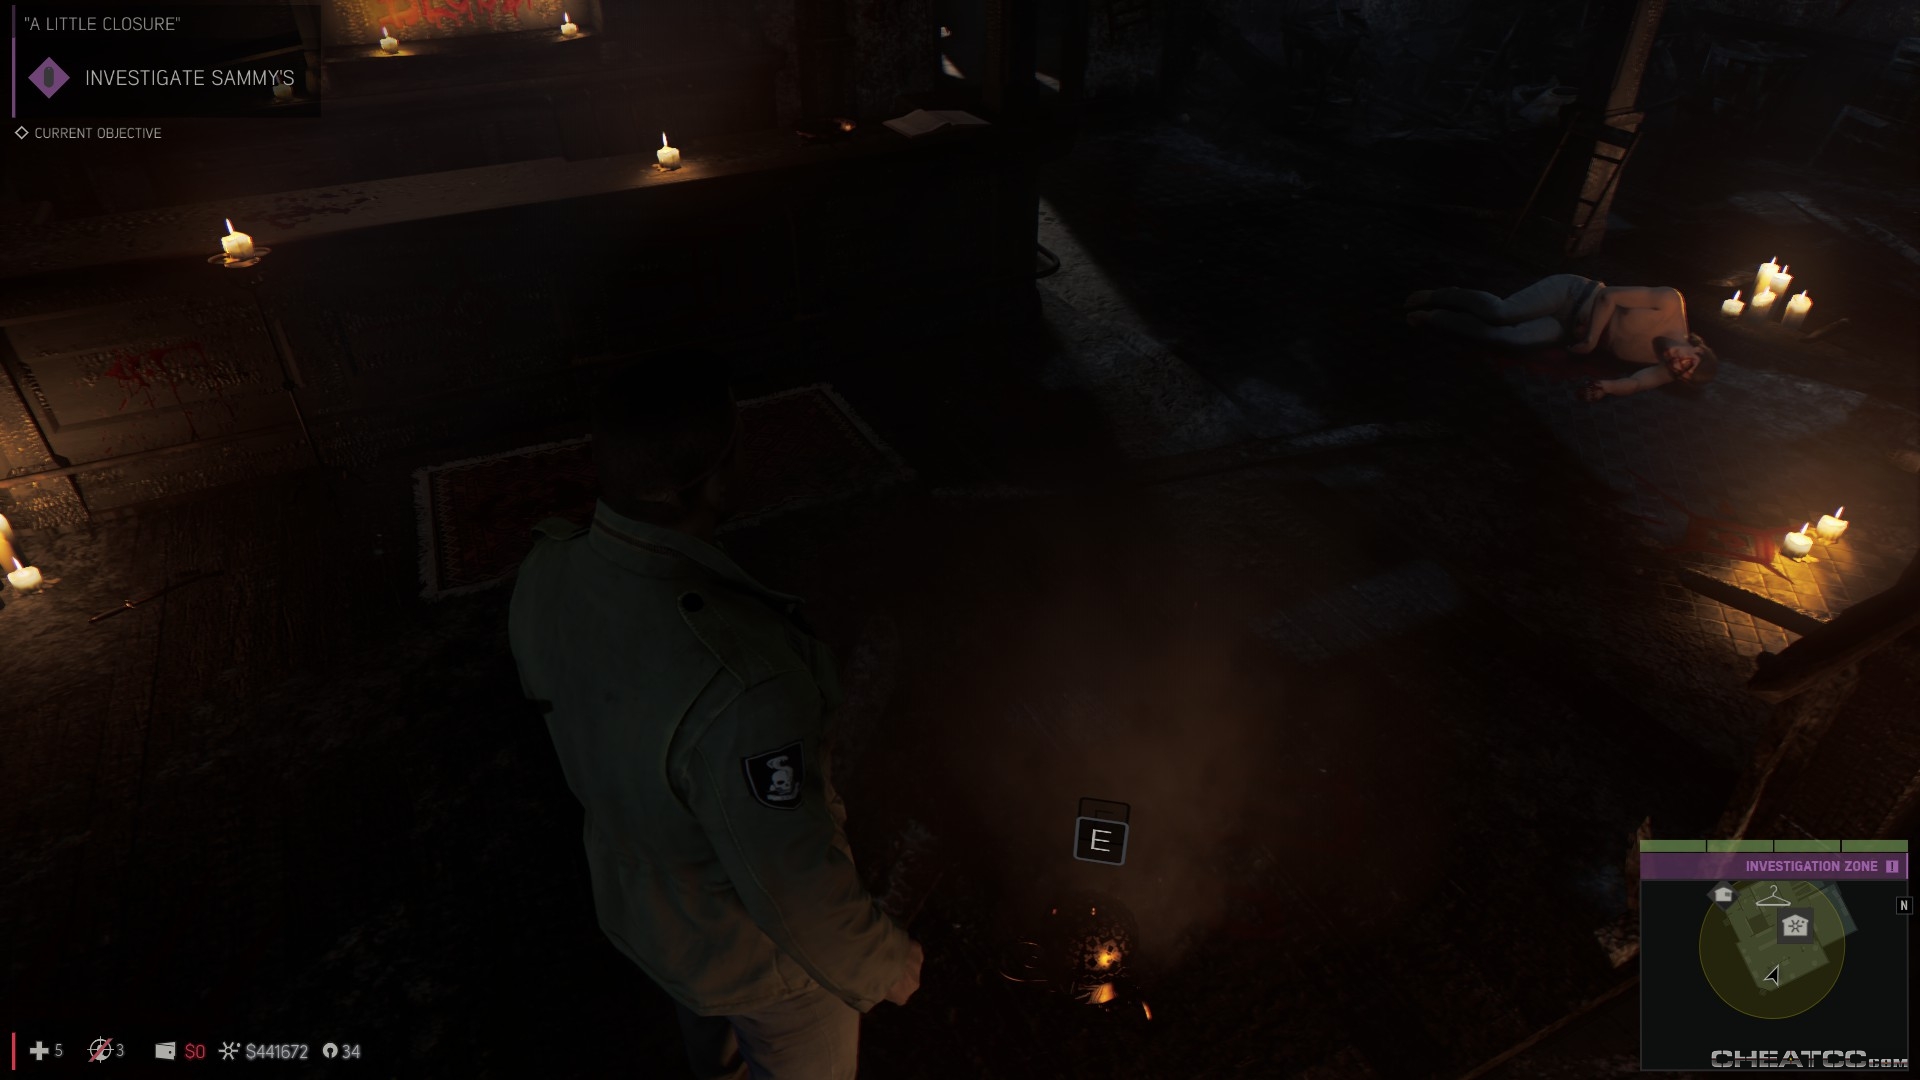
The two clues here are the bullet wounds in his back (You'll want to take a photo of these), and marks on his wrist (no photo required). Once you've found all possible clues, Lincoln will automatically stand up. The corpse in the main room with the bar has even more to offer. You'll want to inspect his face, the tattoo barely visible on his shoulder (which is worth a photo), his bloody hand, his pocket (with a plot required item), and his gut wound (the inspection area for this extends relatively high up his torso).
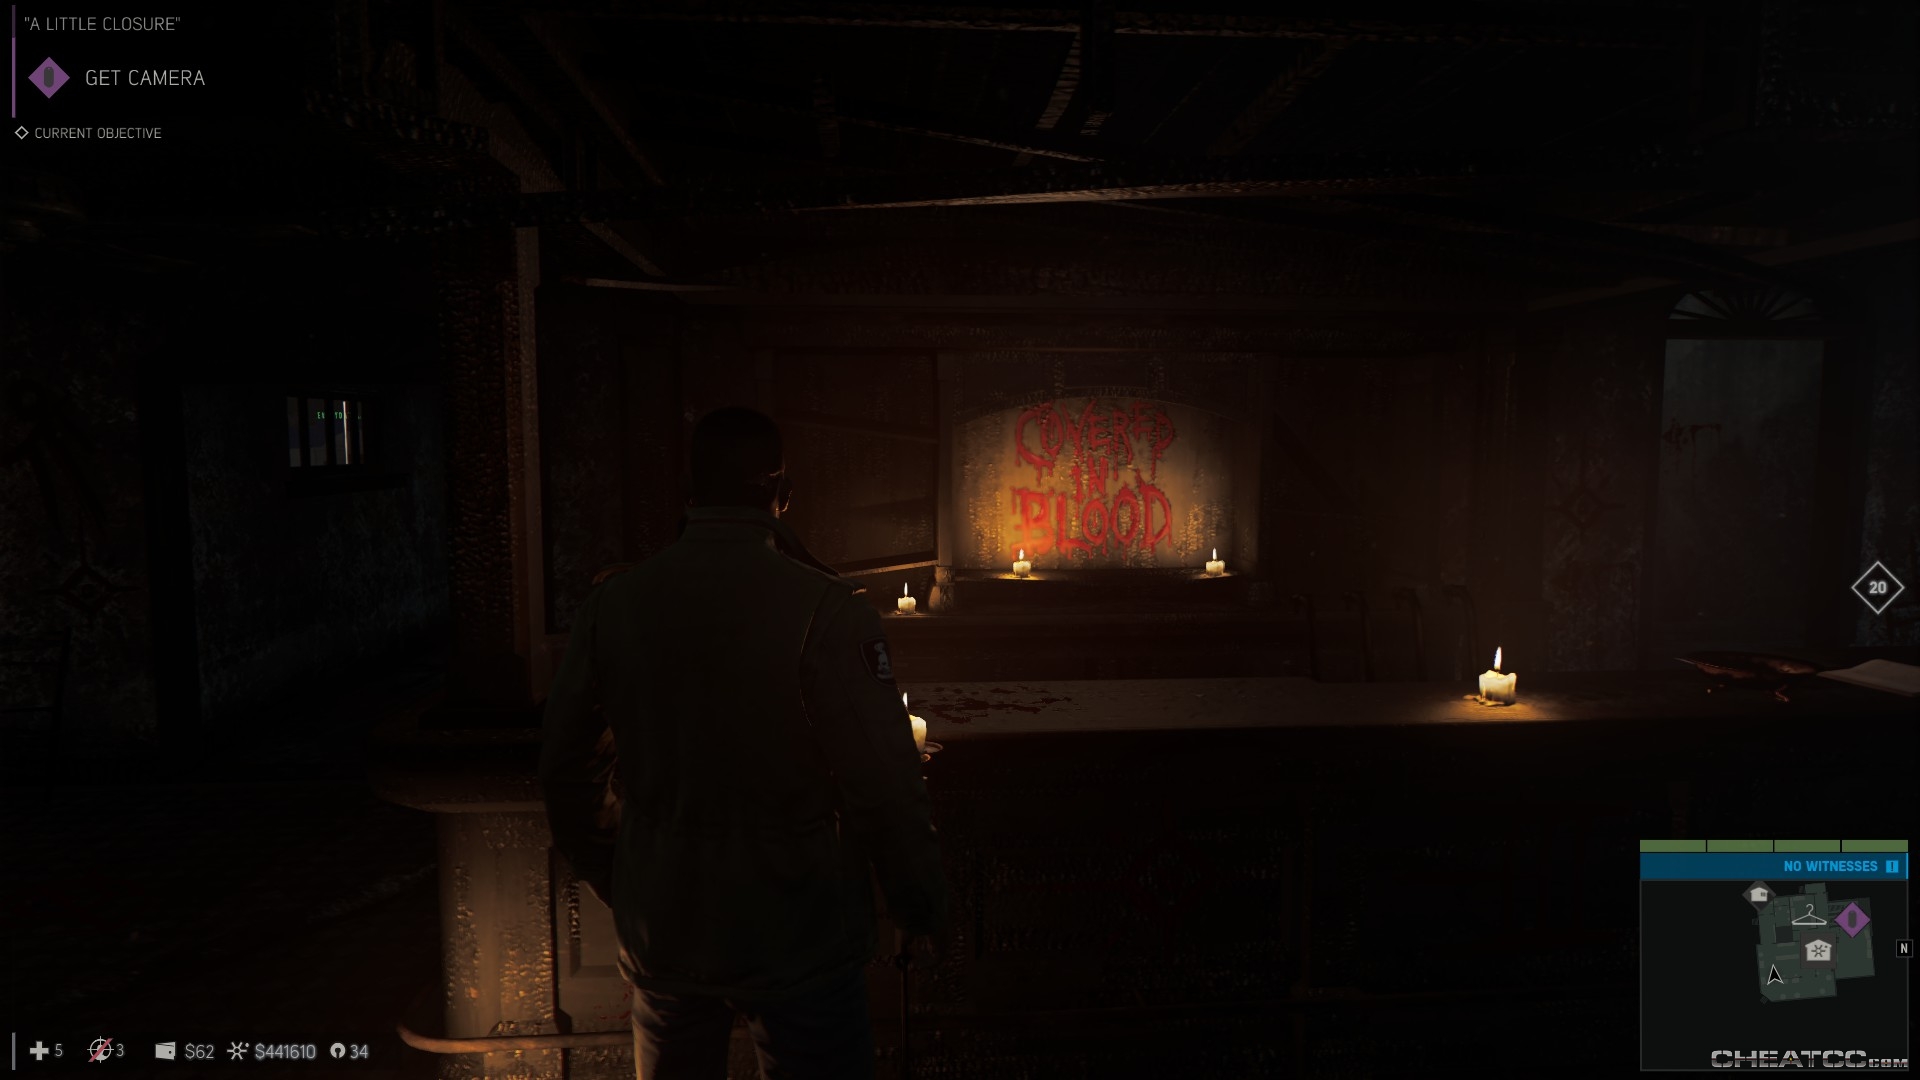
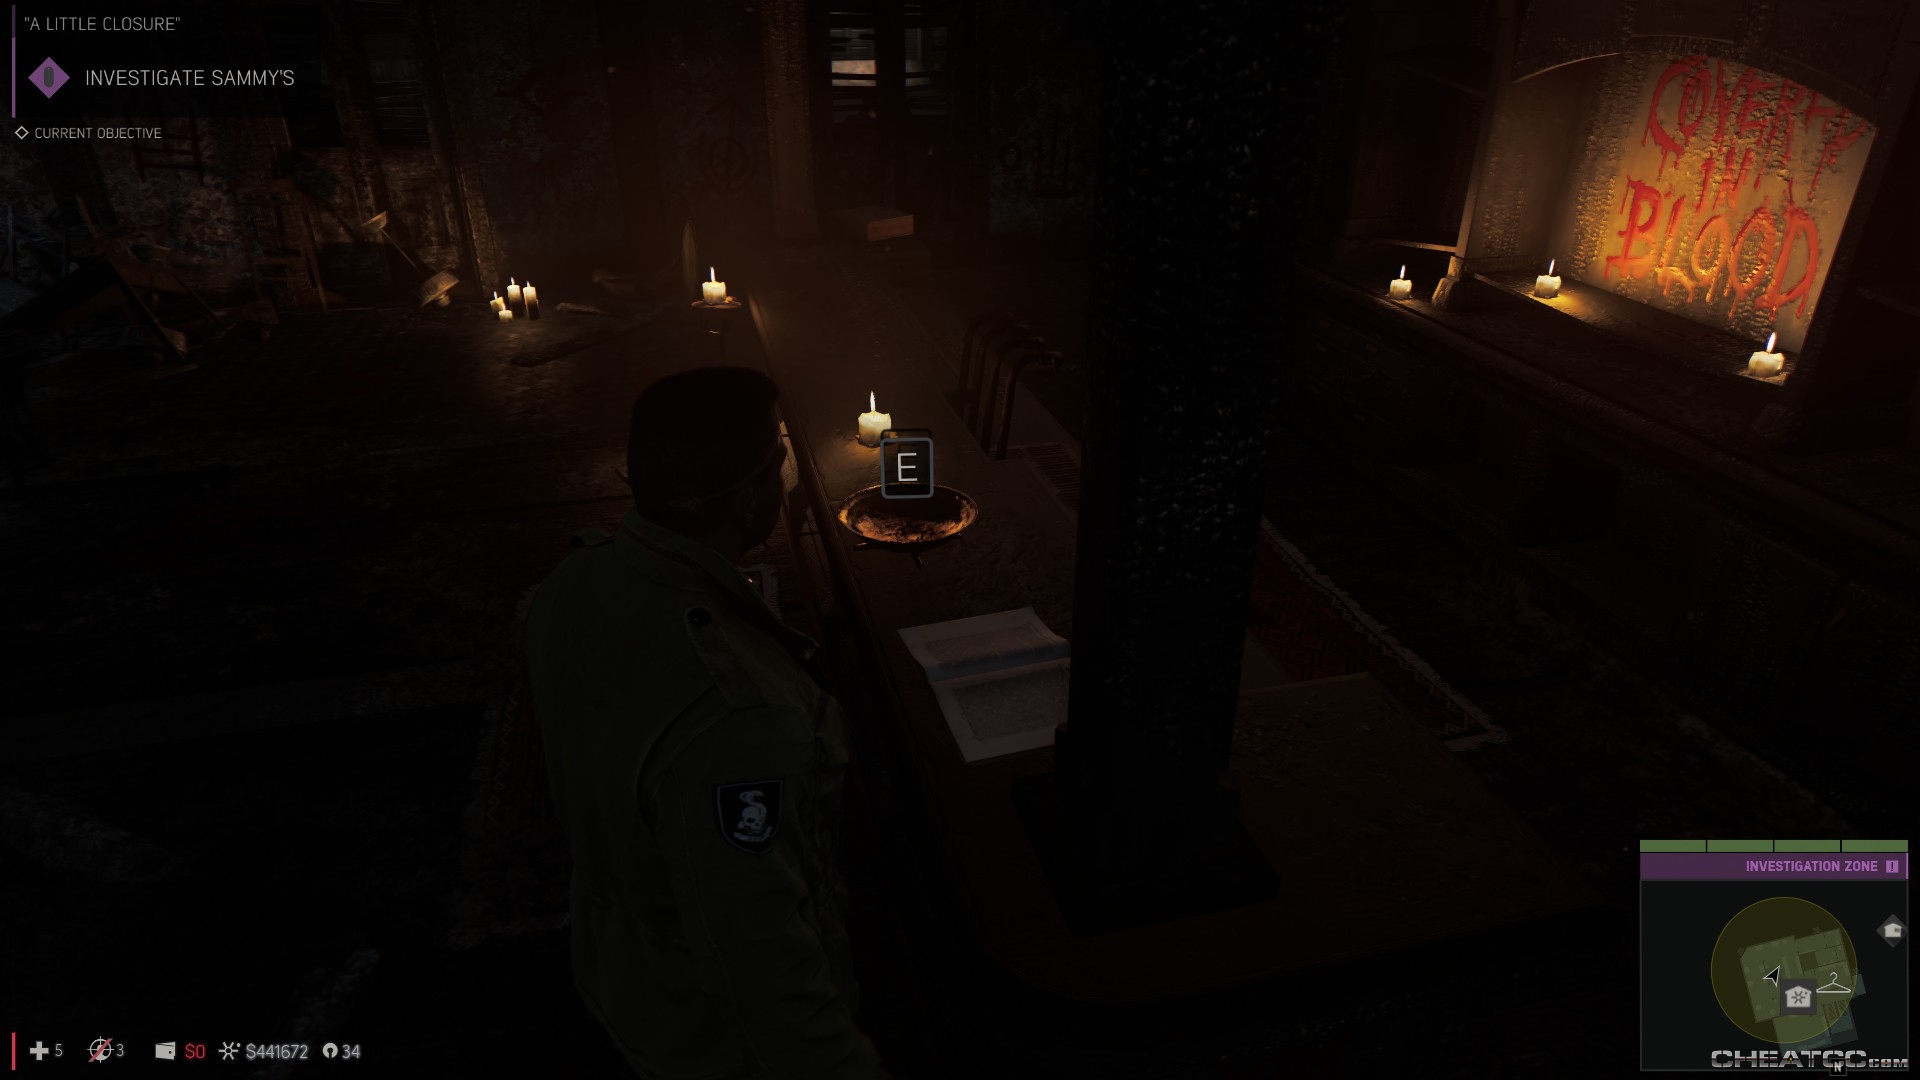
All the other clues are scattered about the room, but relatively well-illuminated. You won't need to venture into any dark corners or open any doors to get at them. First, there's the creepy writing behind the bar (photo).
In front of the bar is a sacrificial knife. Use the mouse to rotate it, then investigate the glint, and the writing on the side, which you'll photograph.
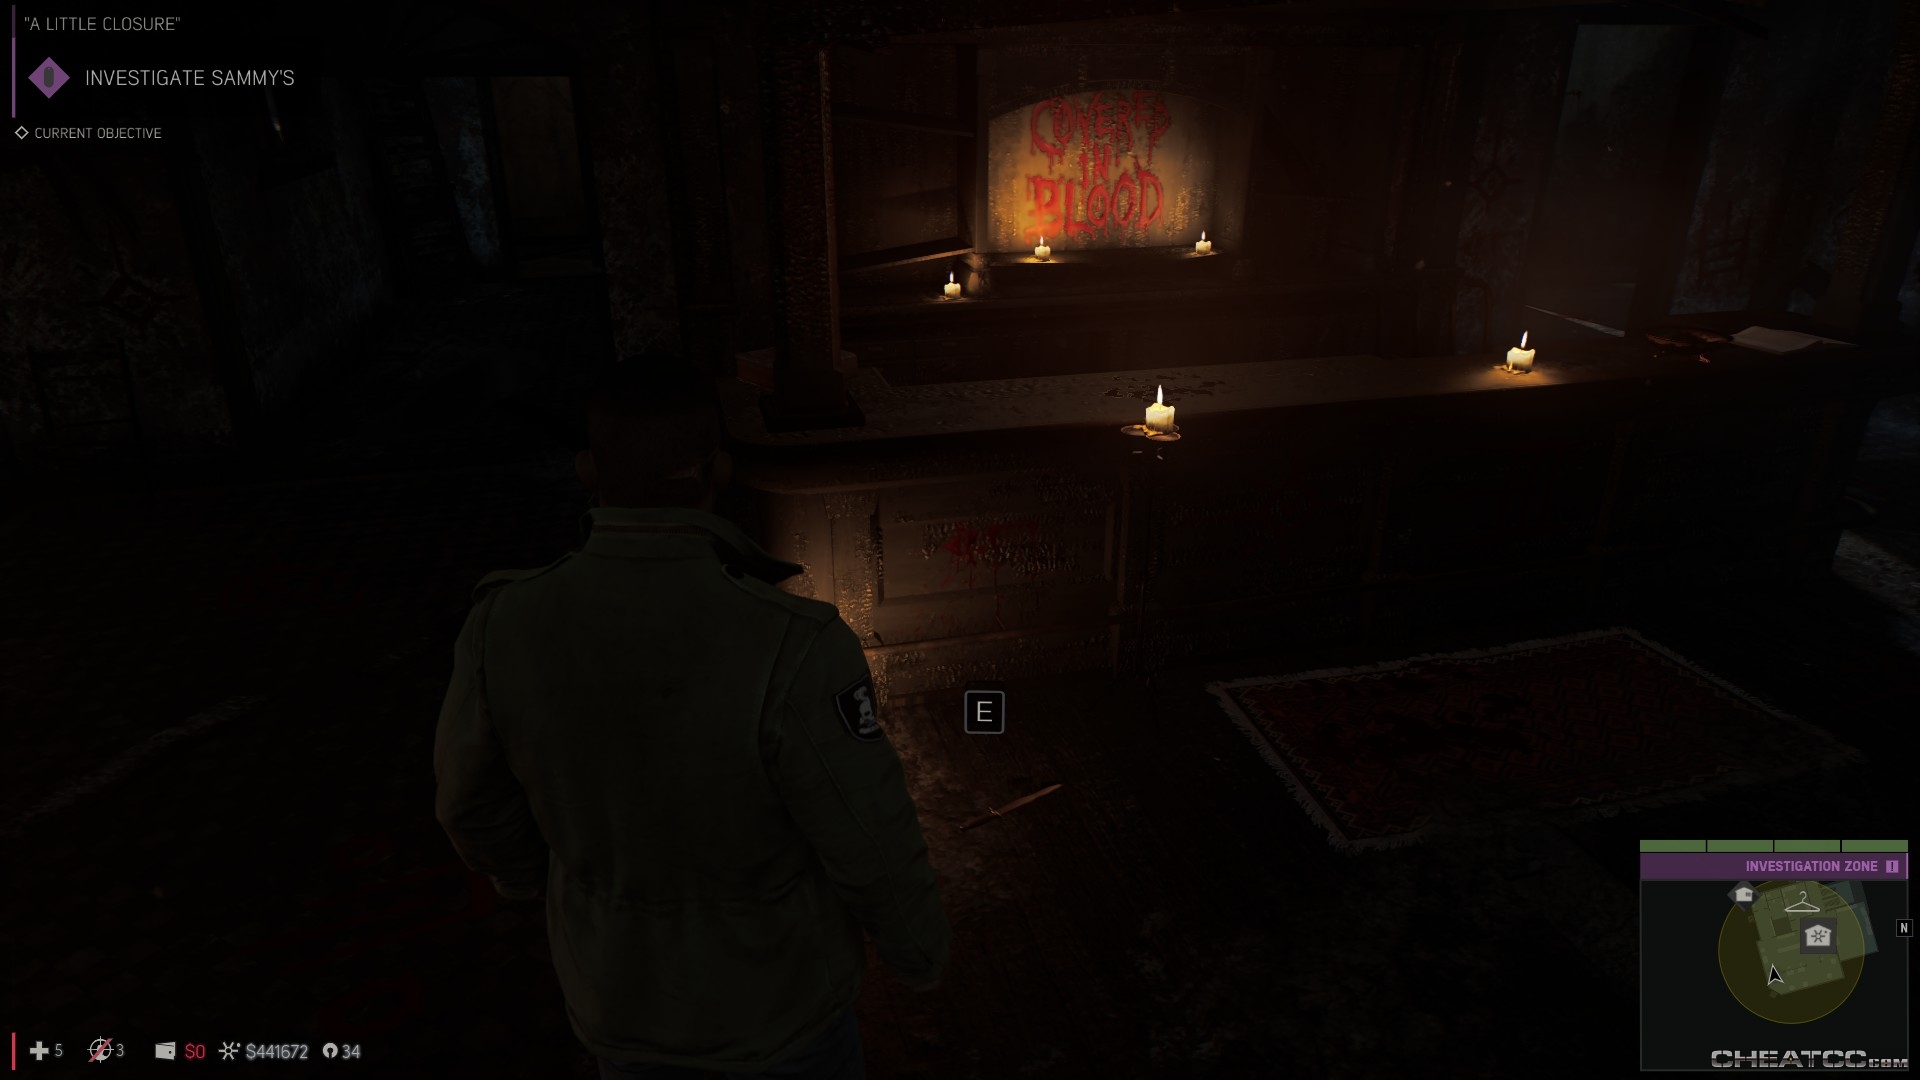
On the bar itself is a sinister bowl.
In the middle of the room, nearer the entrance, is a brazier full of incense. Inspecting it will cause the room to spin, but there's no ambush or psychotic break. Yet.
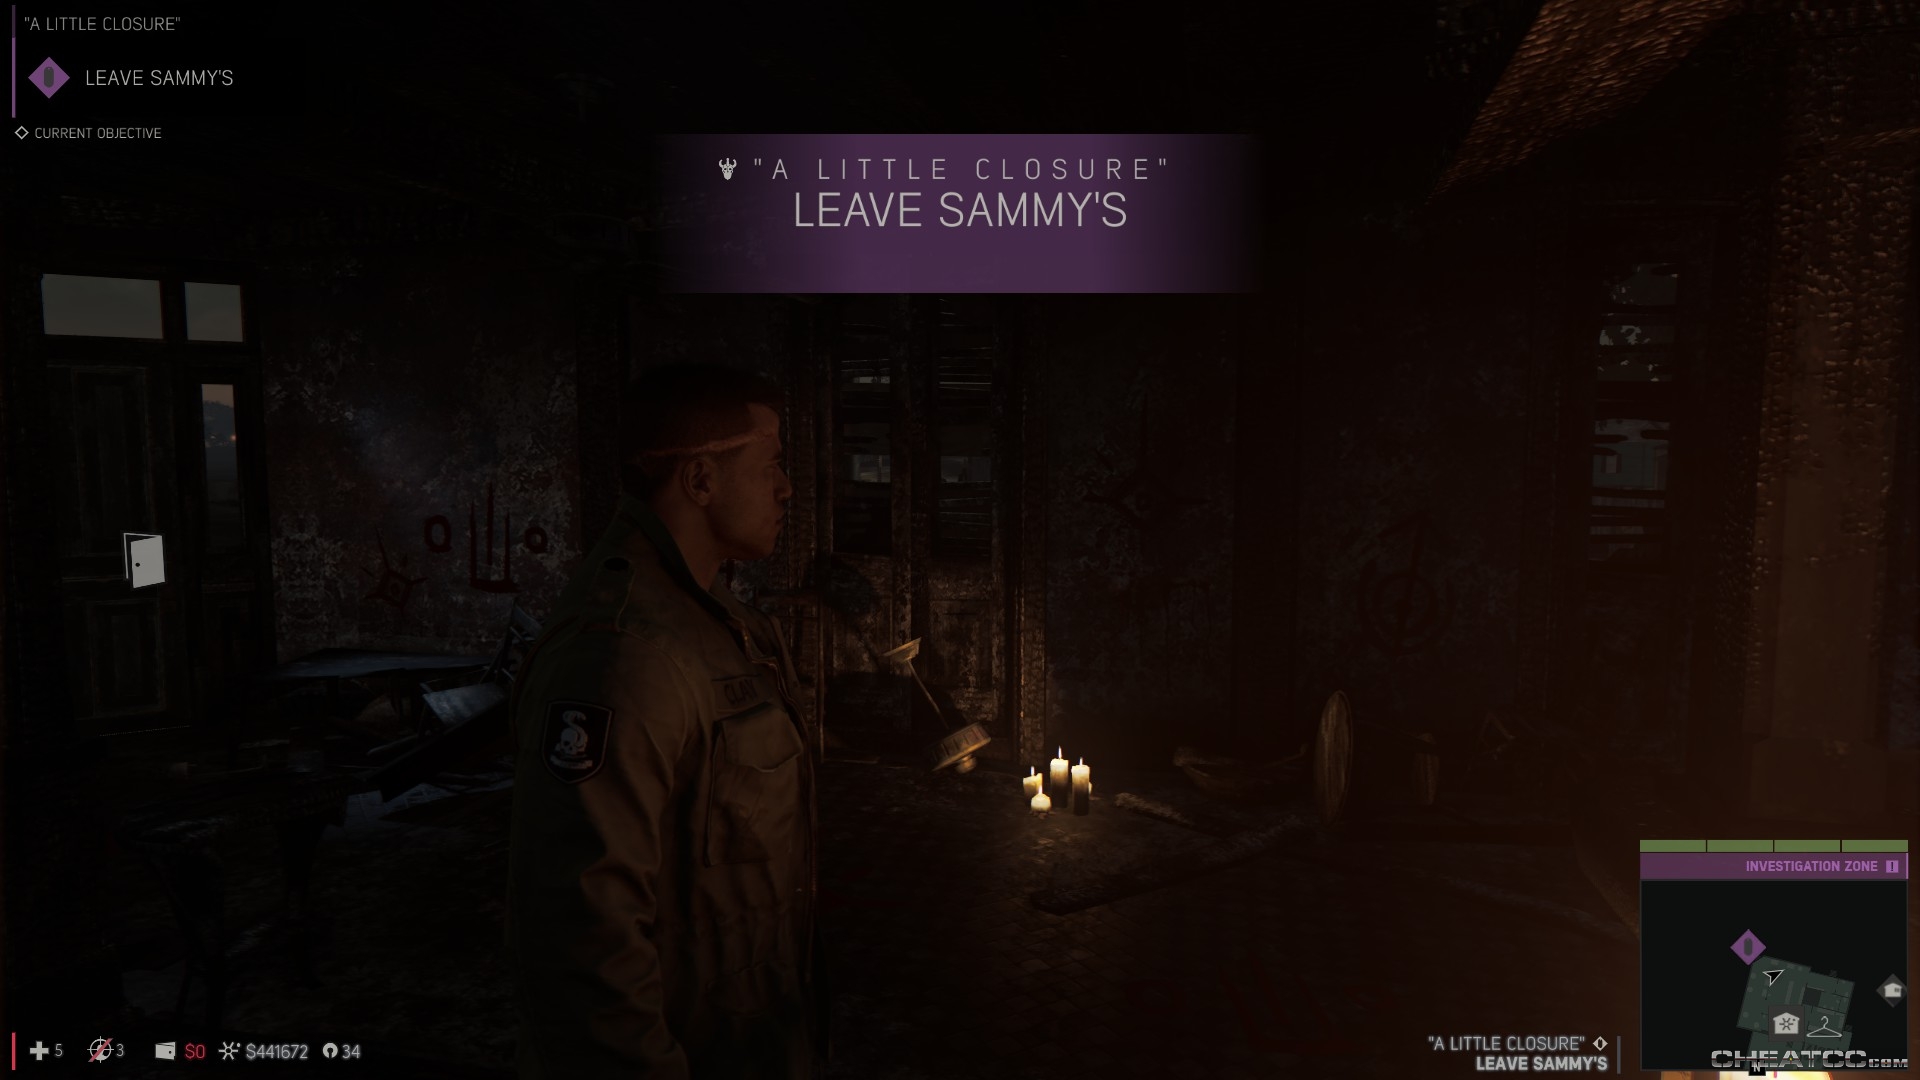
Lincoln will tell you when you've found everything. When that happens, exit the bar to join up with Father James at the apartment of his mysteriously absent parishioner.
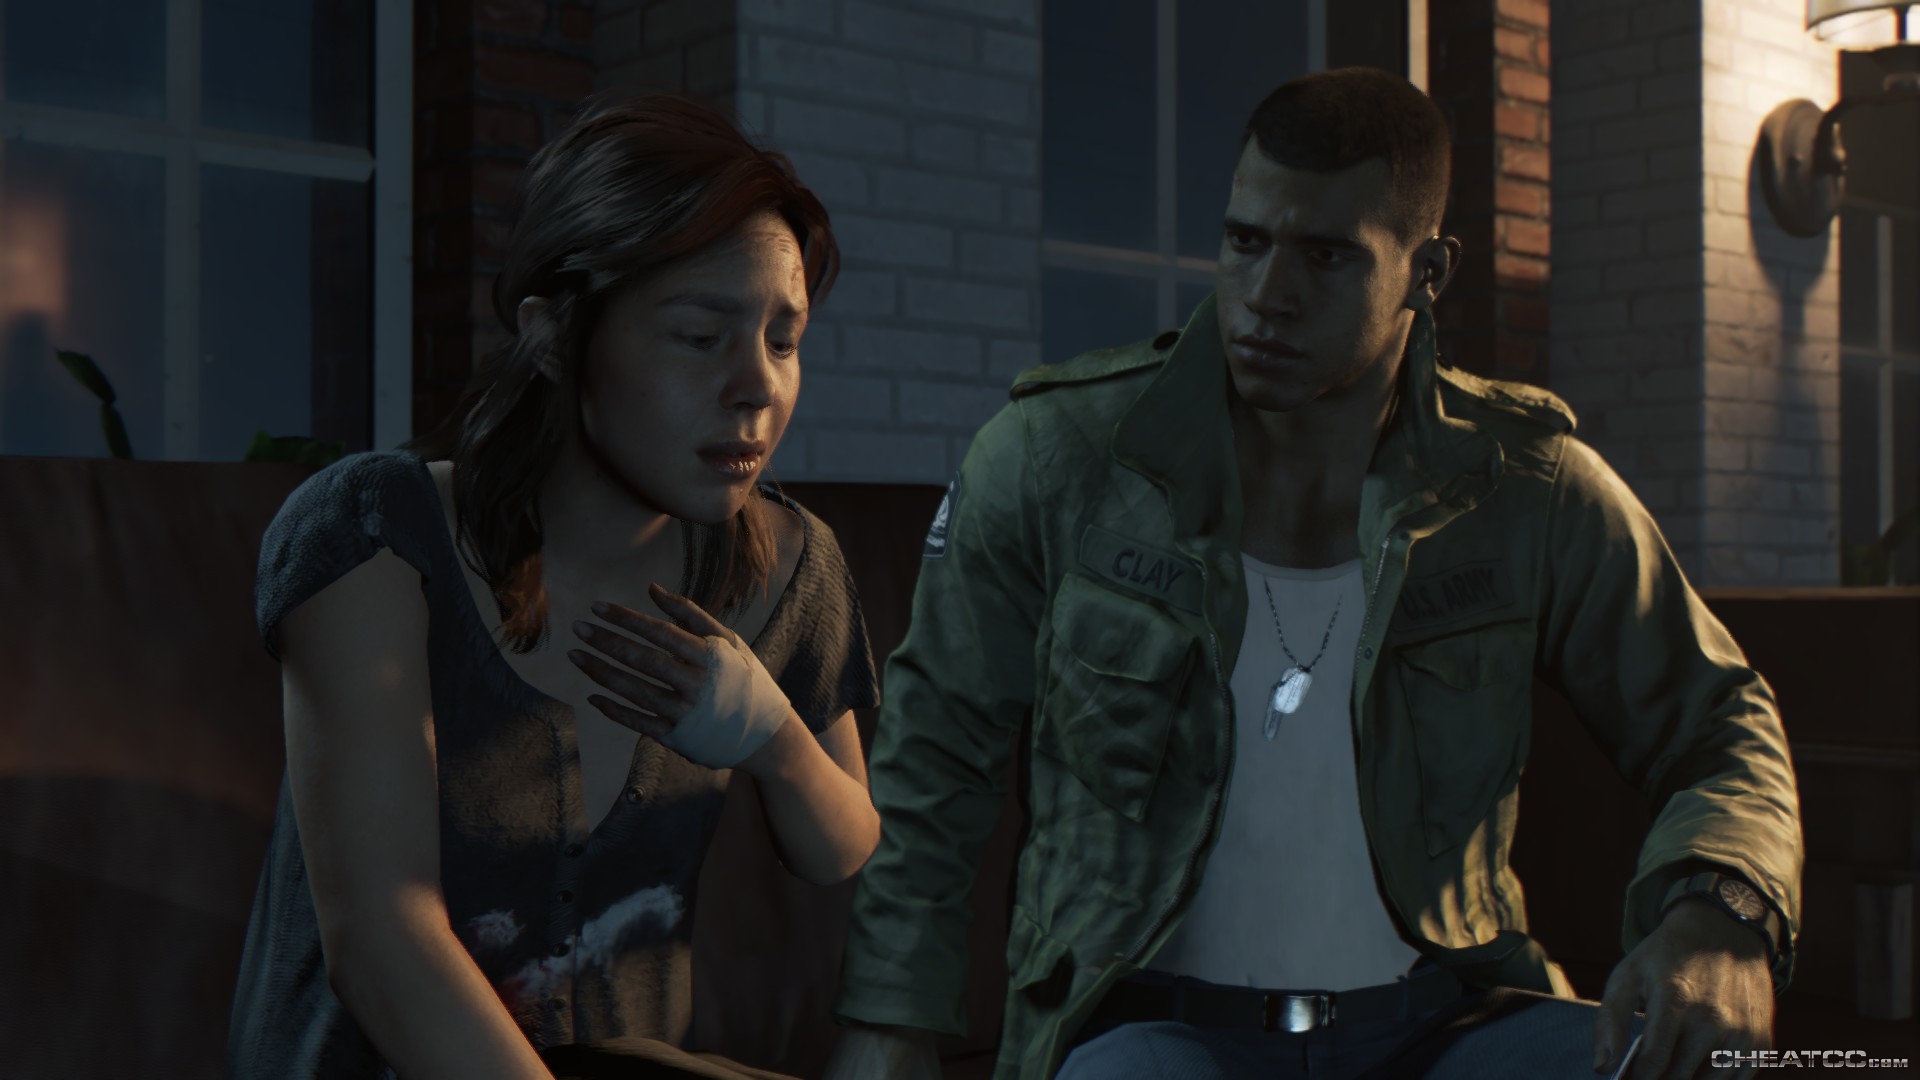
A lengthy cutscene will fill in some details about what happened at Sammy's, and the kind of enemy you face.
Your next objective is to head to a cultist hotspot downtown. You can snag a medkit and bulletproof vest from the apartment before you go. There are stairs leading up to the roof, but right now they don't offer anything but a view.
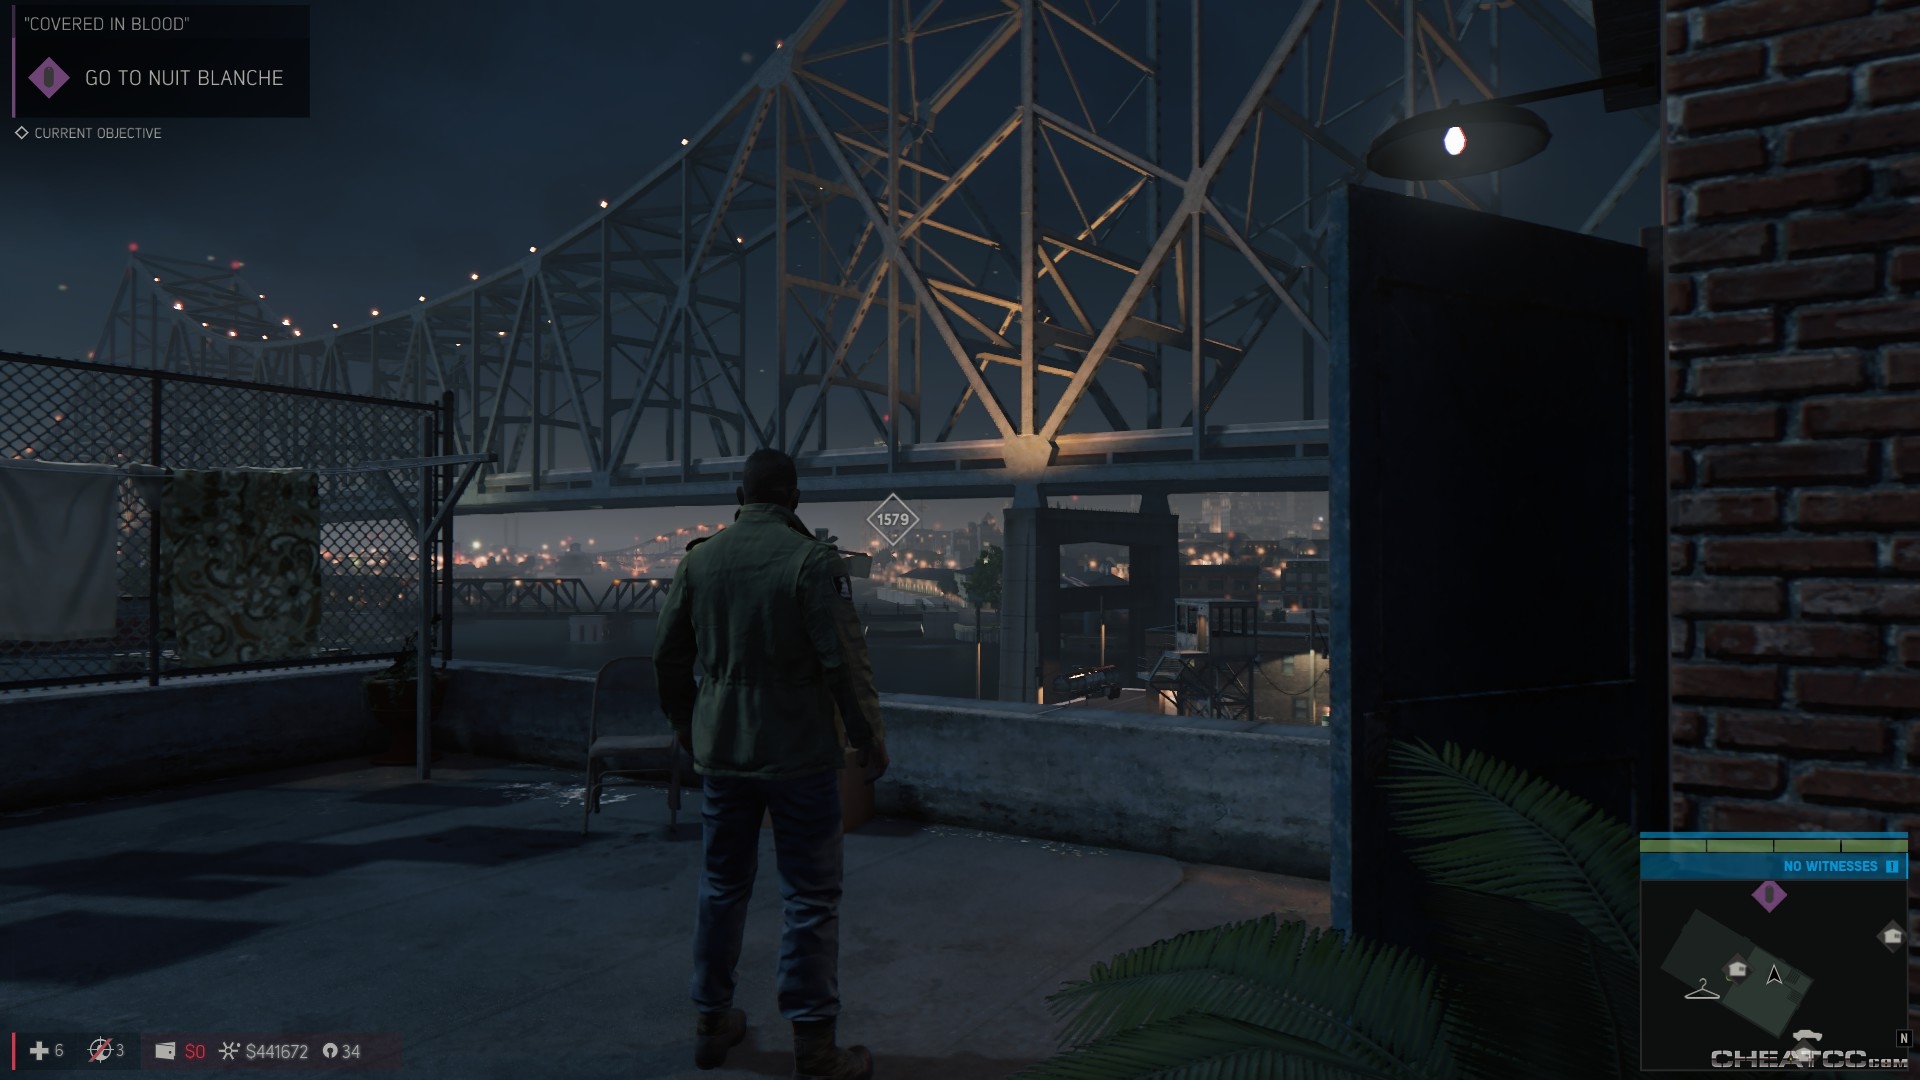
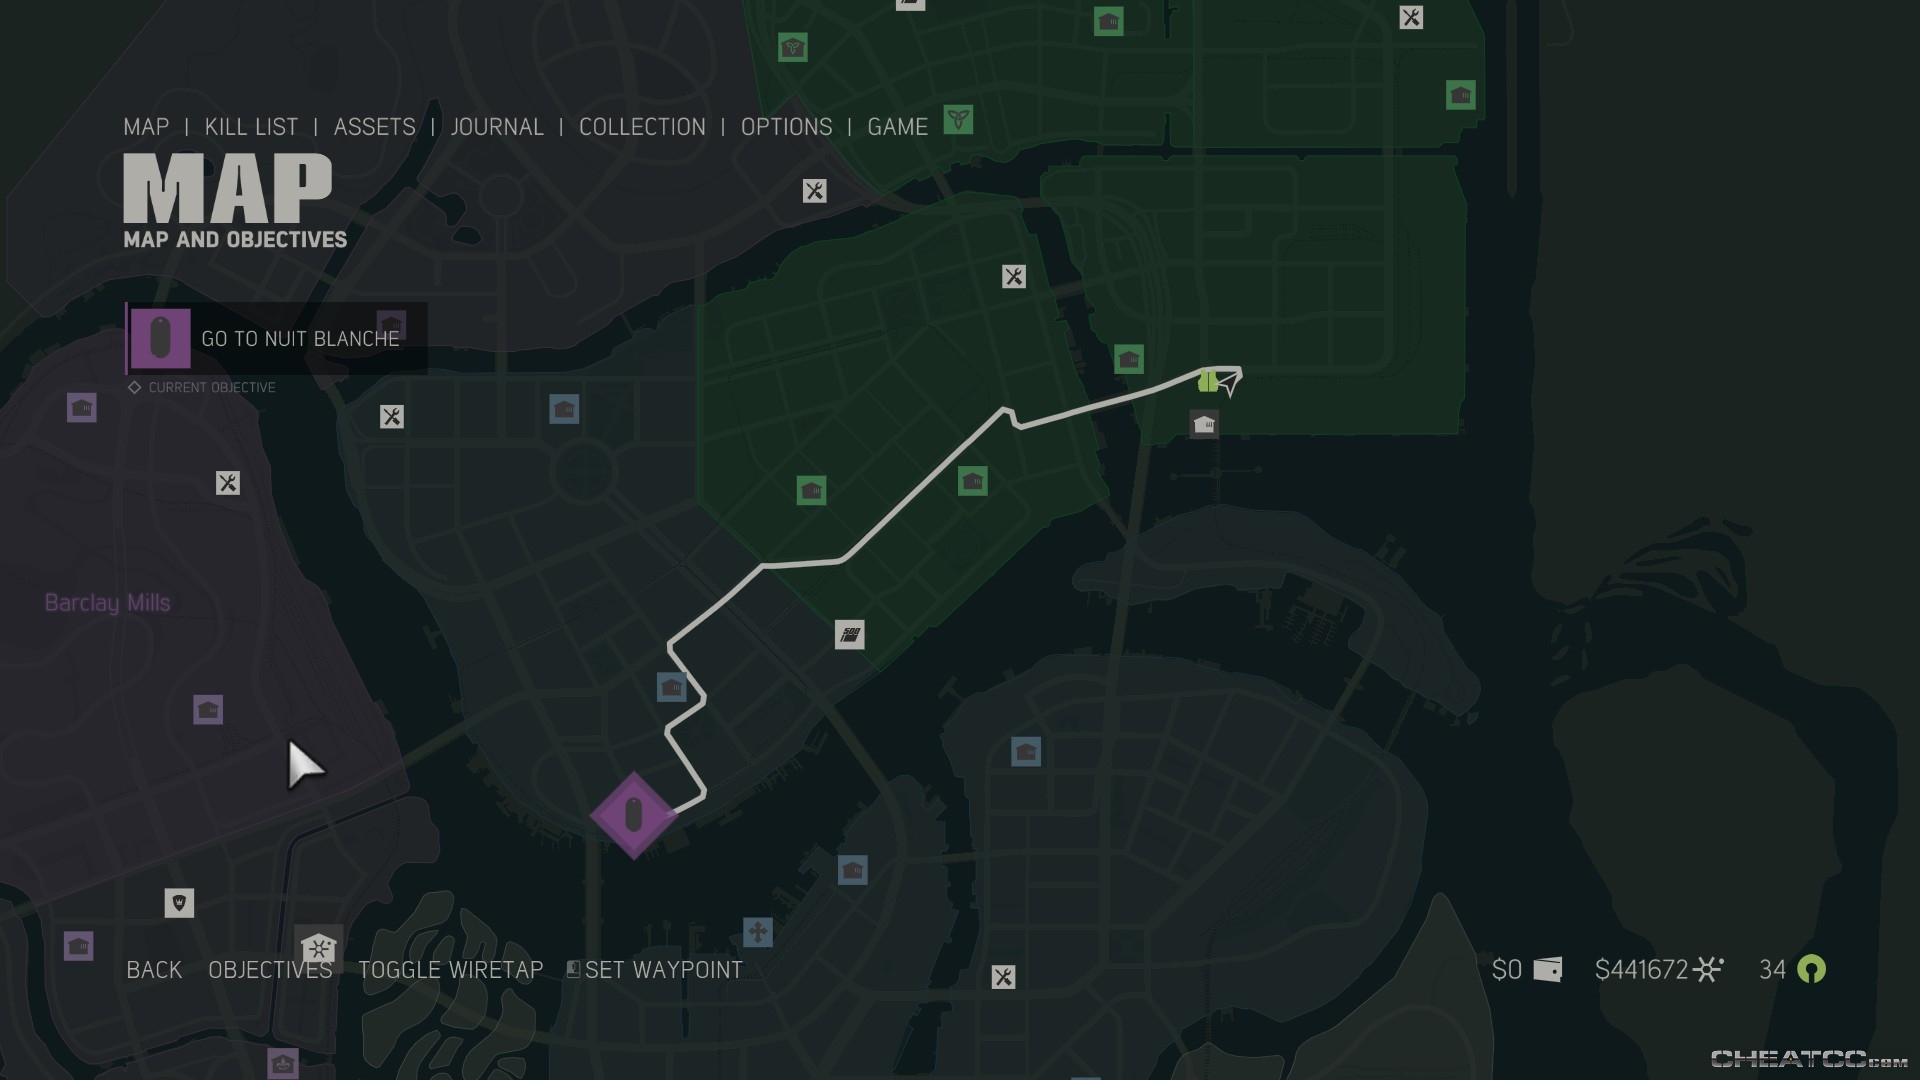
Downstairs, there's the Father's Berkeley at the door, but you're probably better off whistling up your own ride. Follow your marker downtown to the Nuit Blance.
It would be wise to take a tacvest with you. The two main combat scenarios you'll face are enemies-really-close-that-you-can't-see-because-it's-dark, and probably some gunners at moderate-long range firing at you from a balcony, with just their heads visible. Arm yourself accordingly.
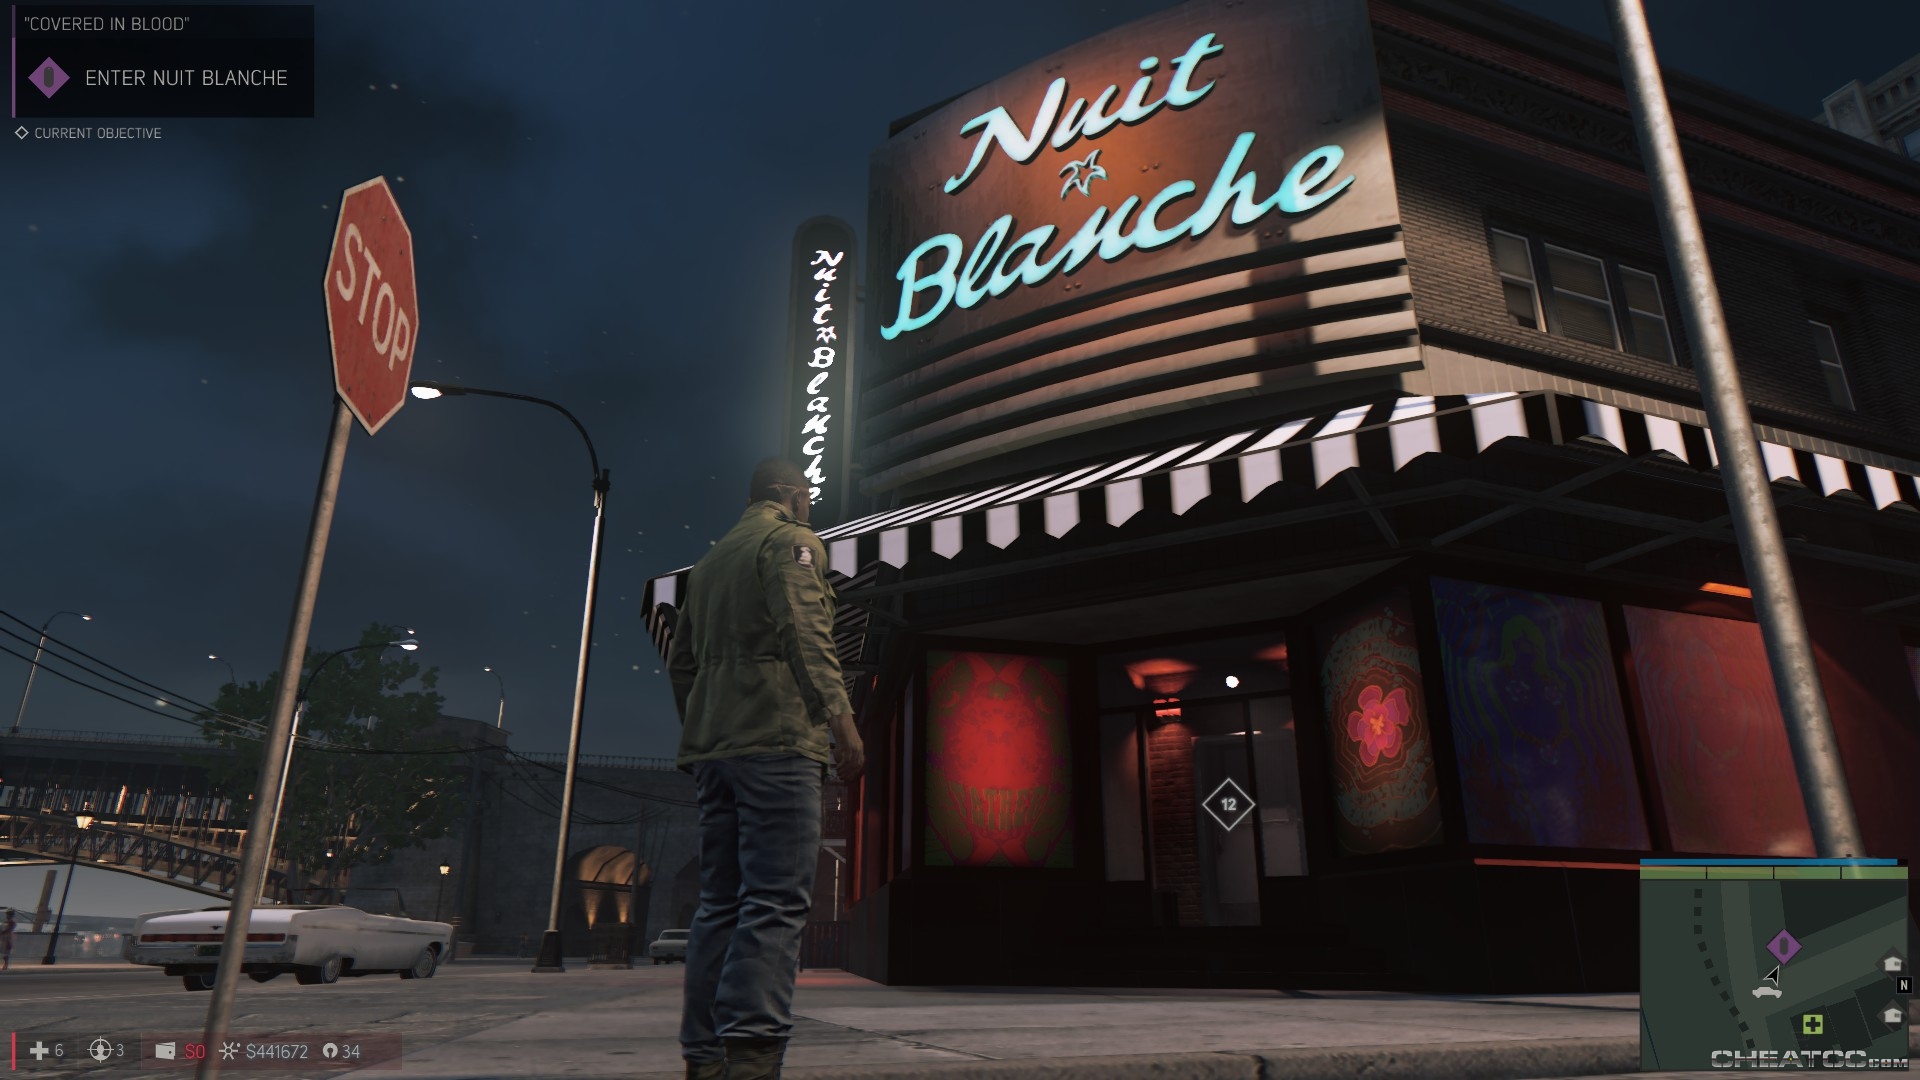
Go to the front door to trigger a guided cutscene- you'll flash your card at the doorman, and he'll give you a tour of the place. Go ahead and drink it all in because, as you might well expect, you'll be fighting your way back through later.
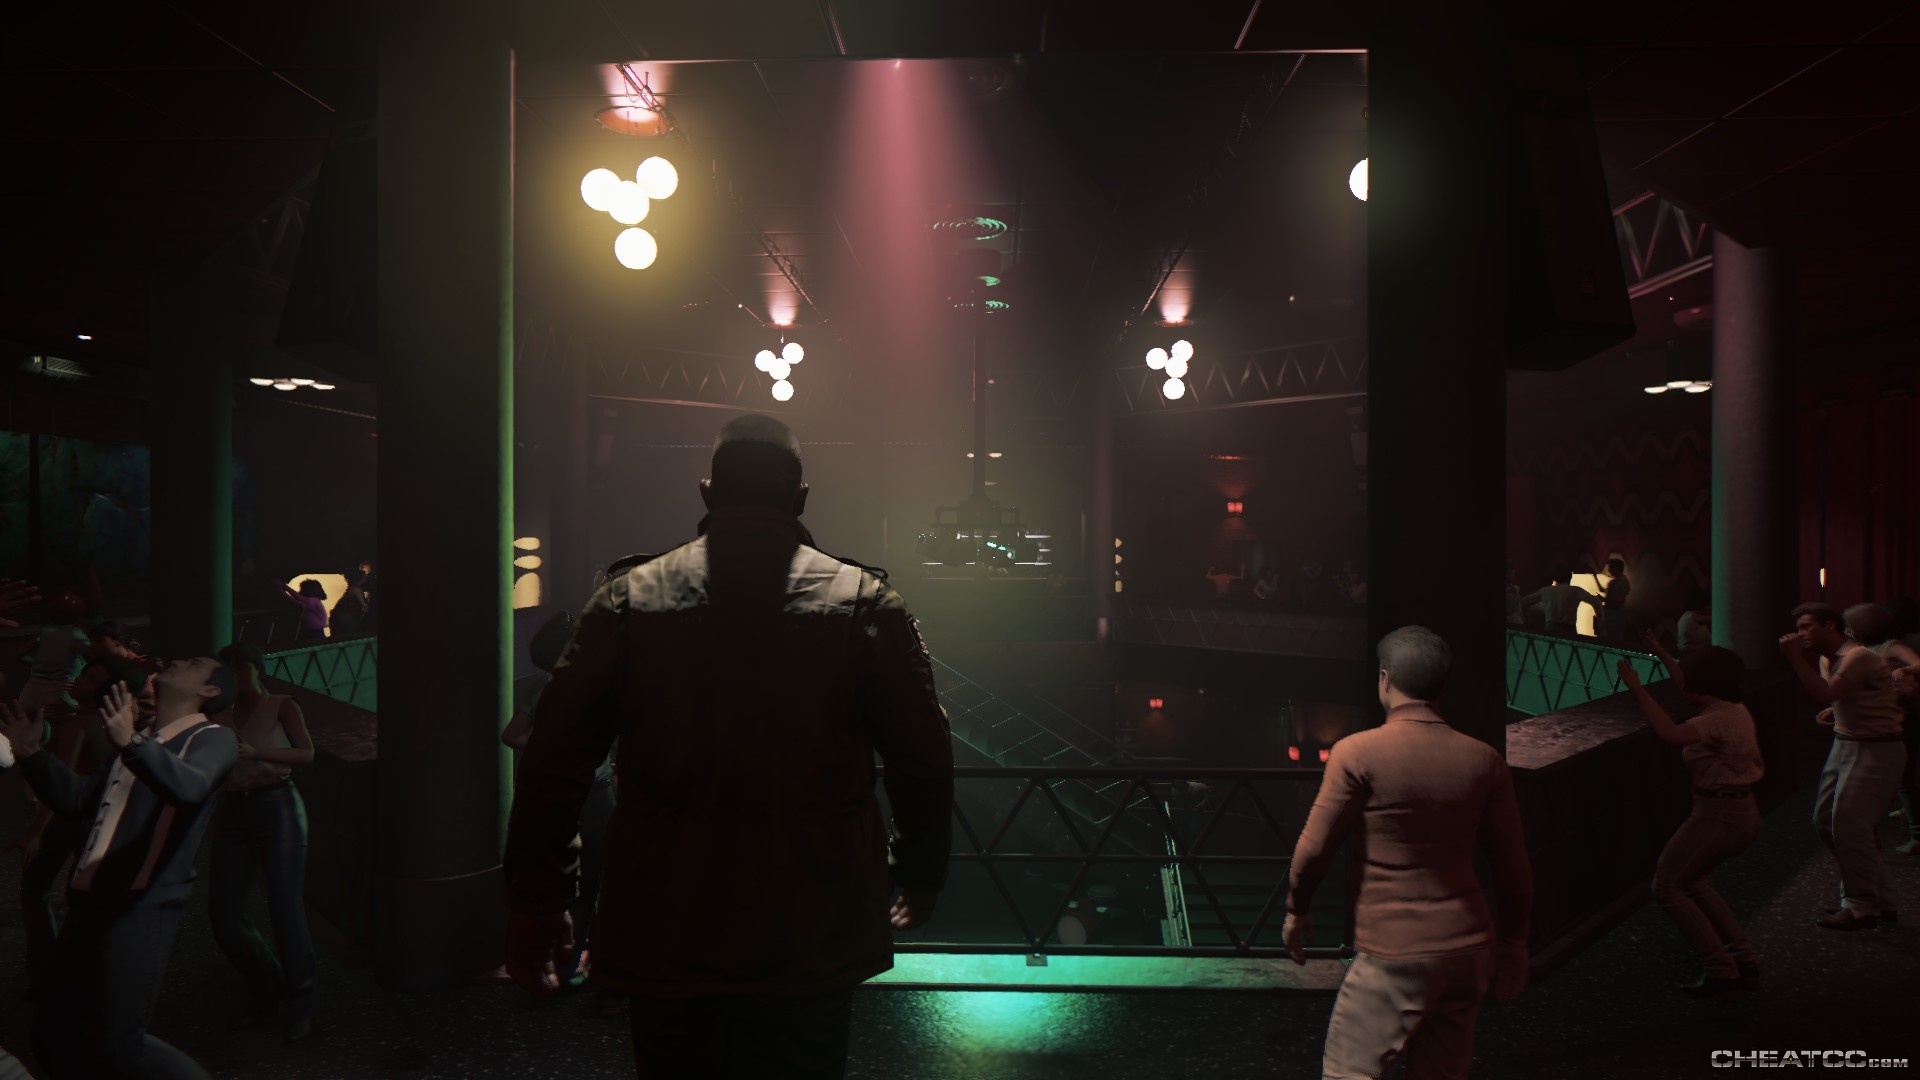
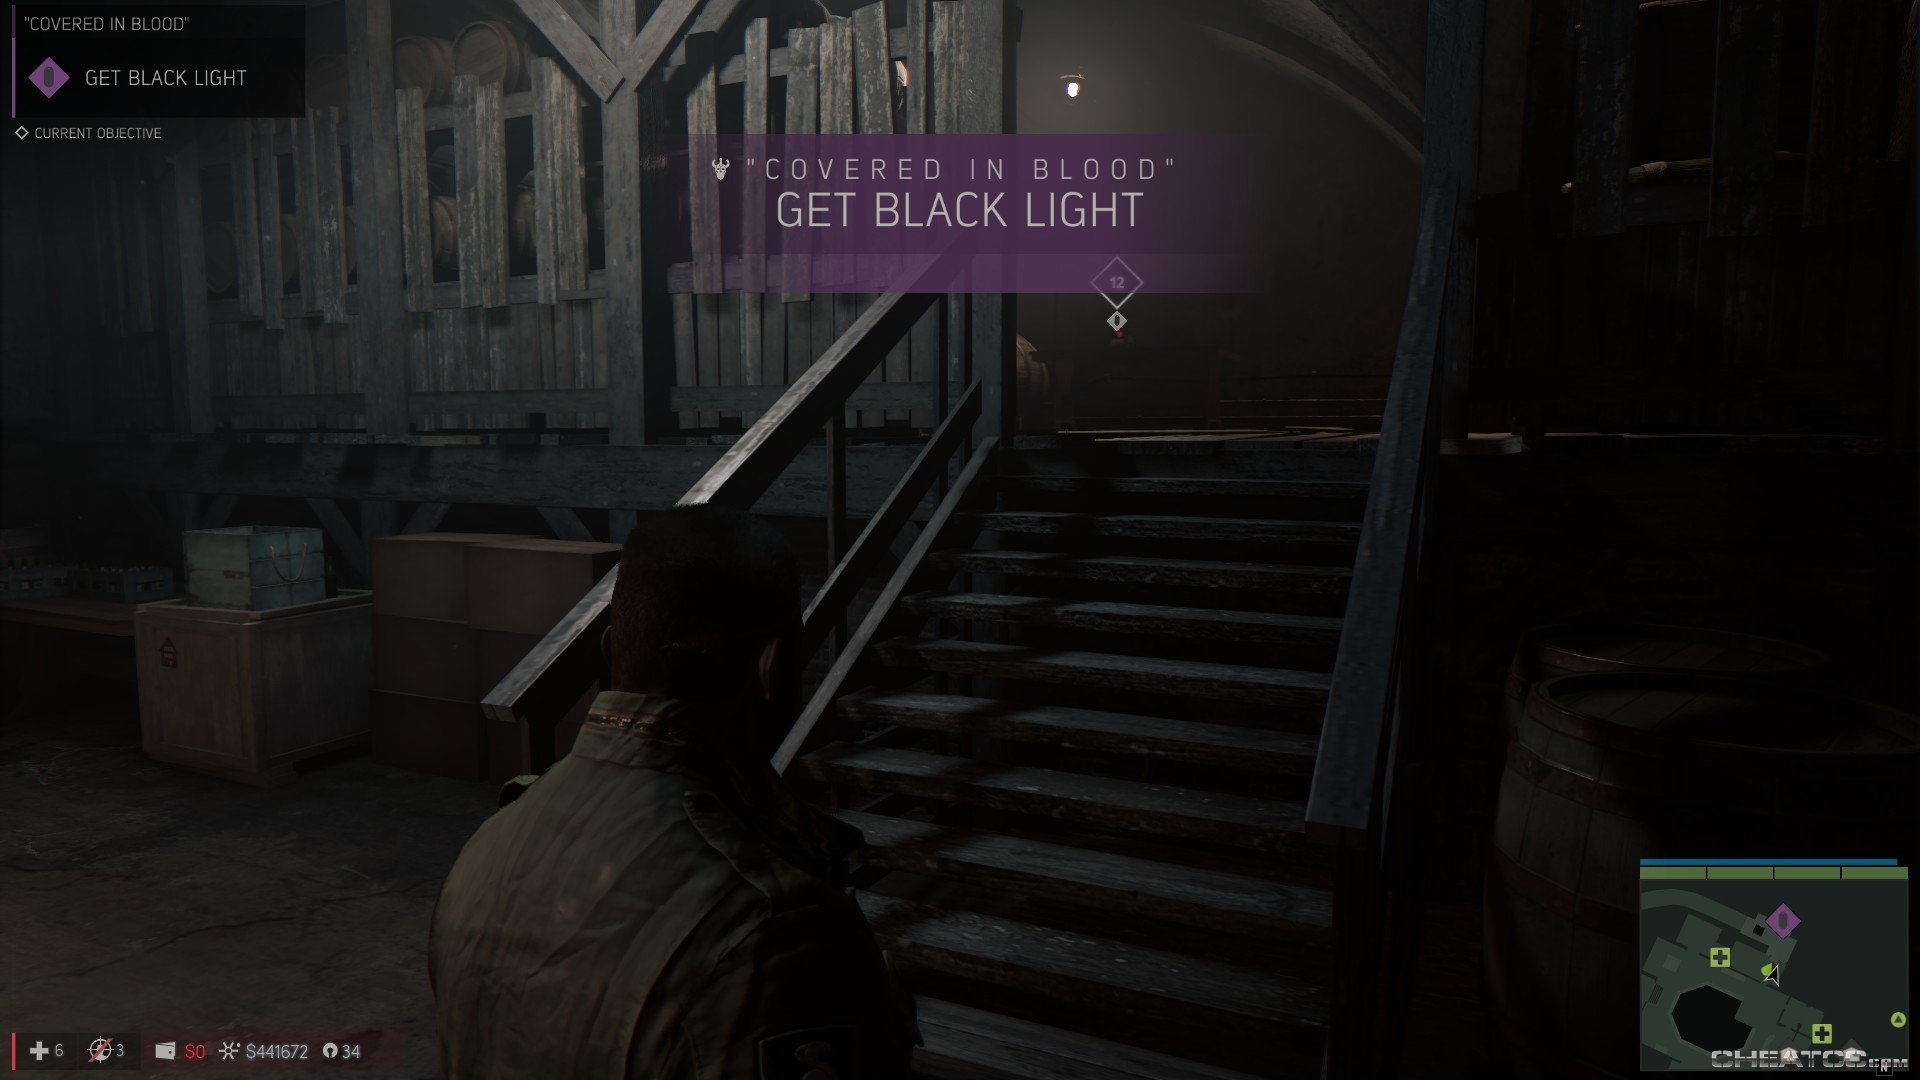
After a cutscene with the local spellbinder, your tour ends in a storage room. Follow your marker to pick up the blacklight lamp.
Almost immediately afterwards, the mean guard from before will start picking on your tour guide. Take him out (your kill cursor may show green, but he's still a valid target). Take the medkit here, if you need it, and follow your marker downstairs. You're technically in hostile territory now, but the crowd won't give you away- just avoid the red dots on your minimap.

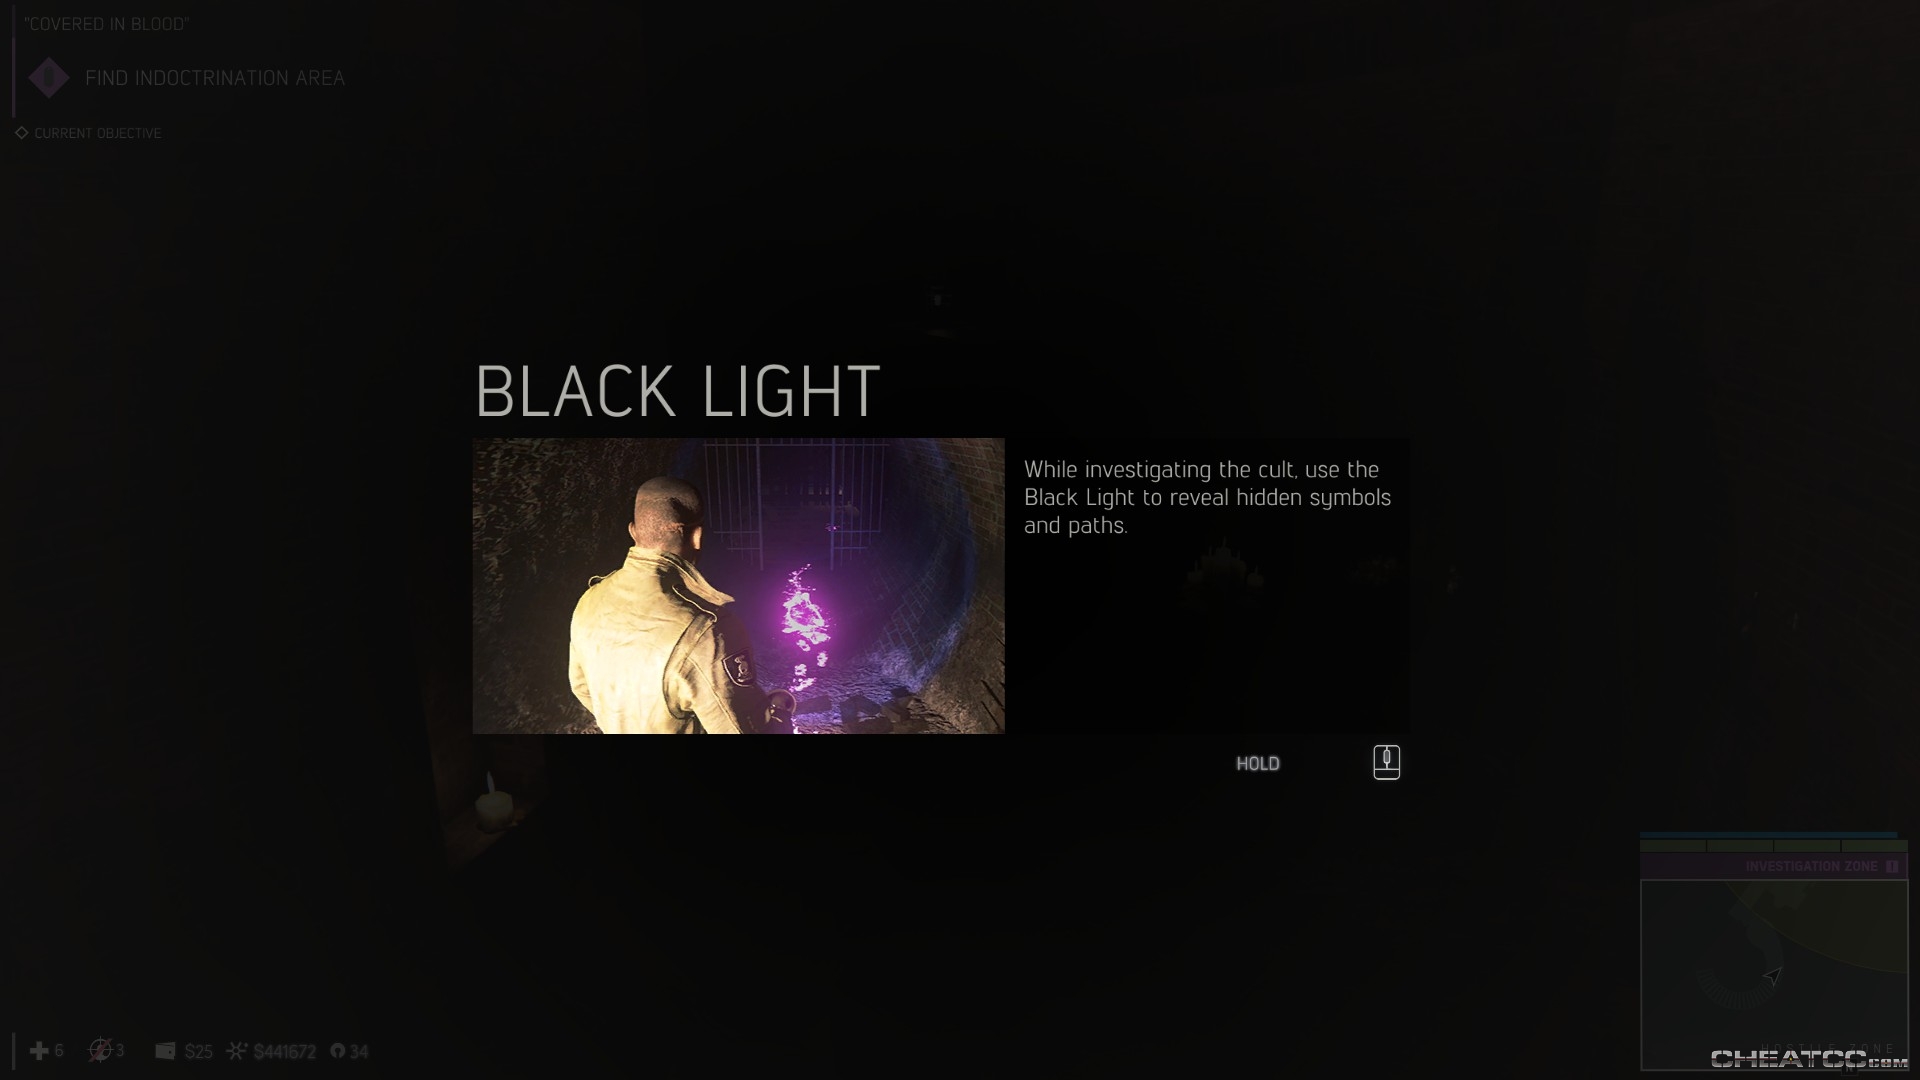
Enter the sewer tunnel and turn on your blacklight when prompted.
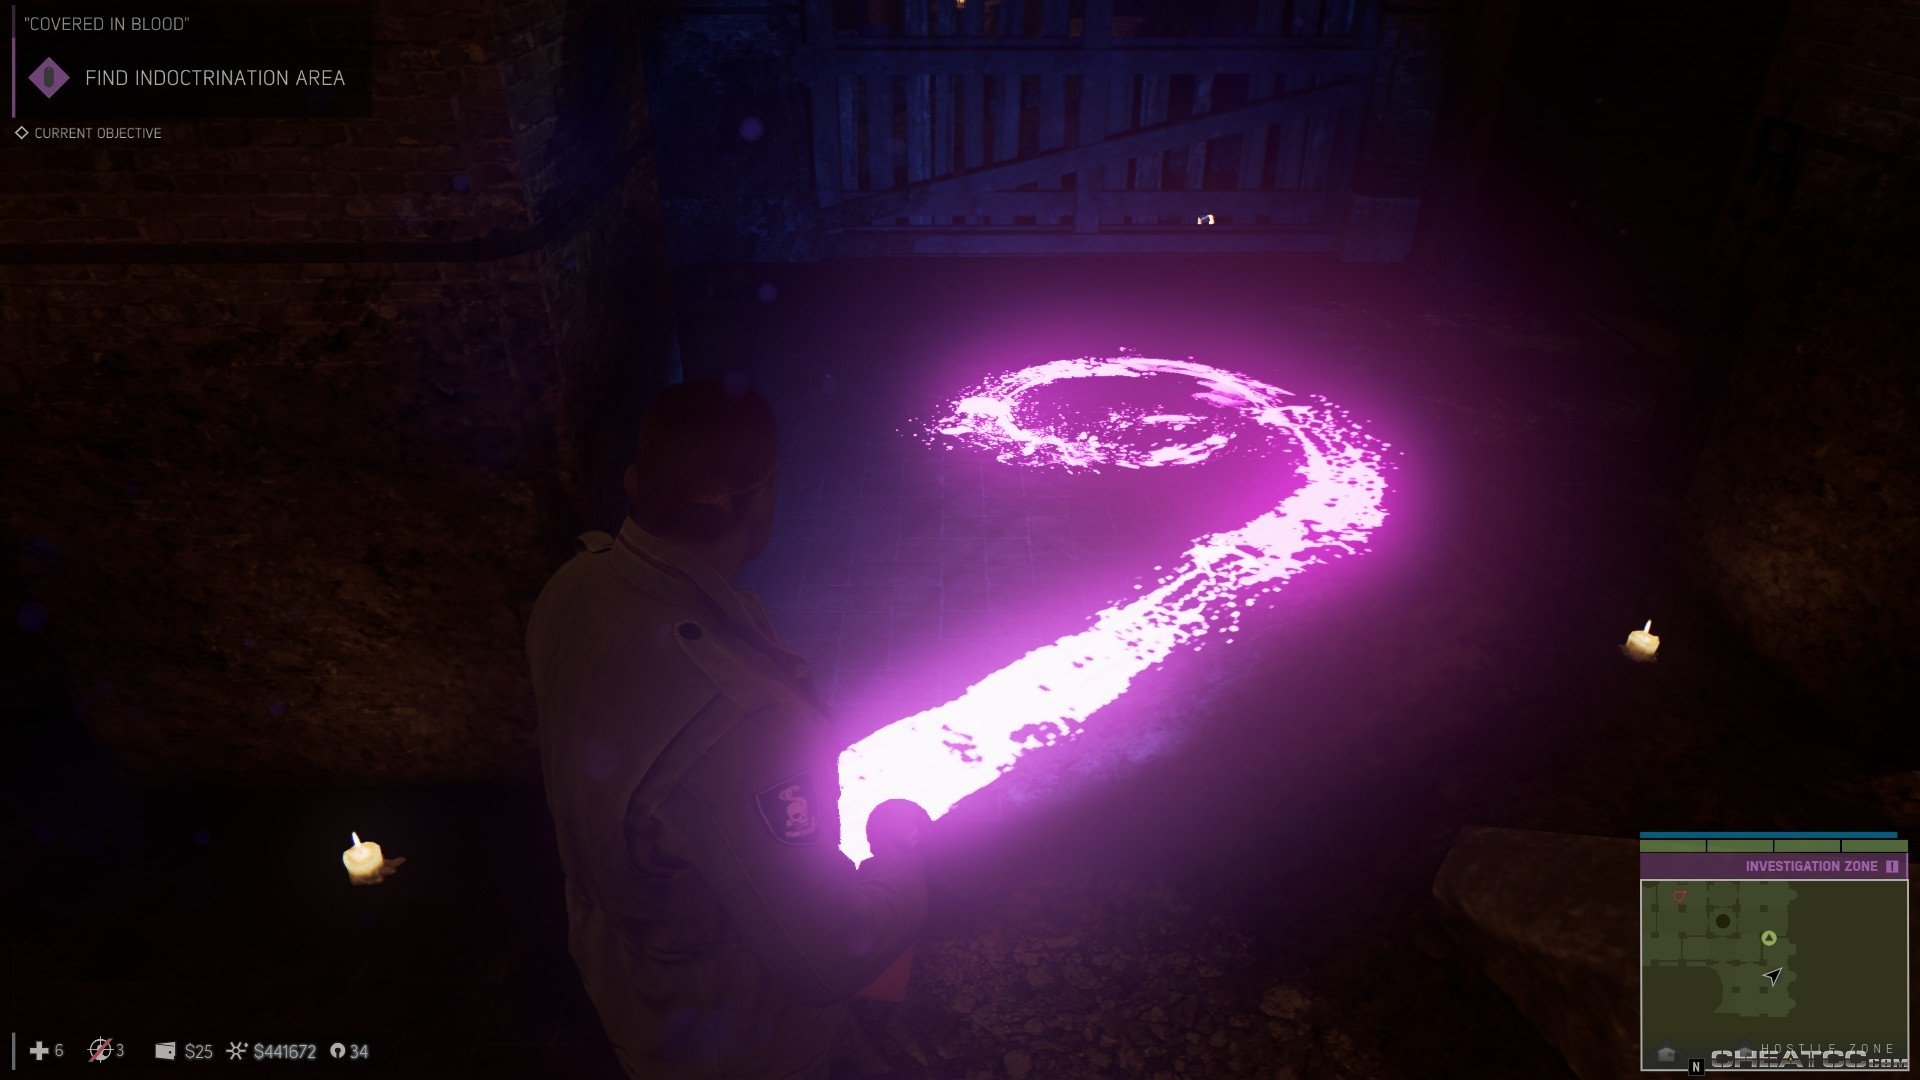
The splashes of paint tell you where you need to end up, but you'll have to wend your way around the barricades and the central waterfall her to get there. The endpoint is marked by a glowing spiral.
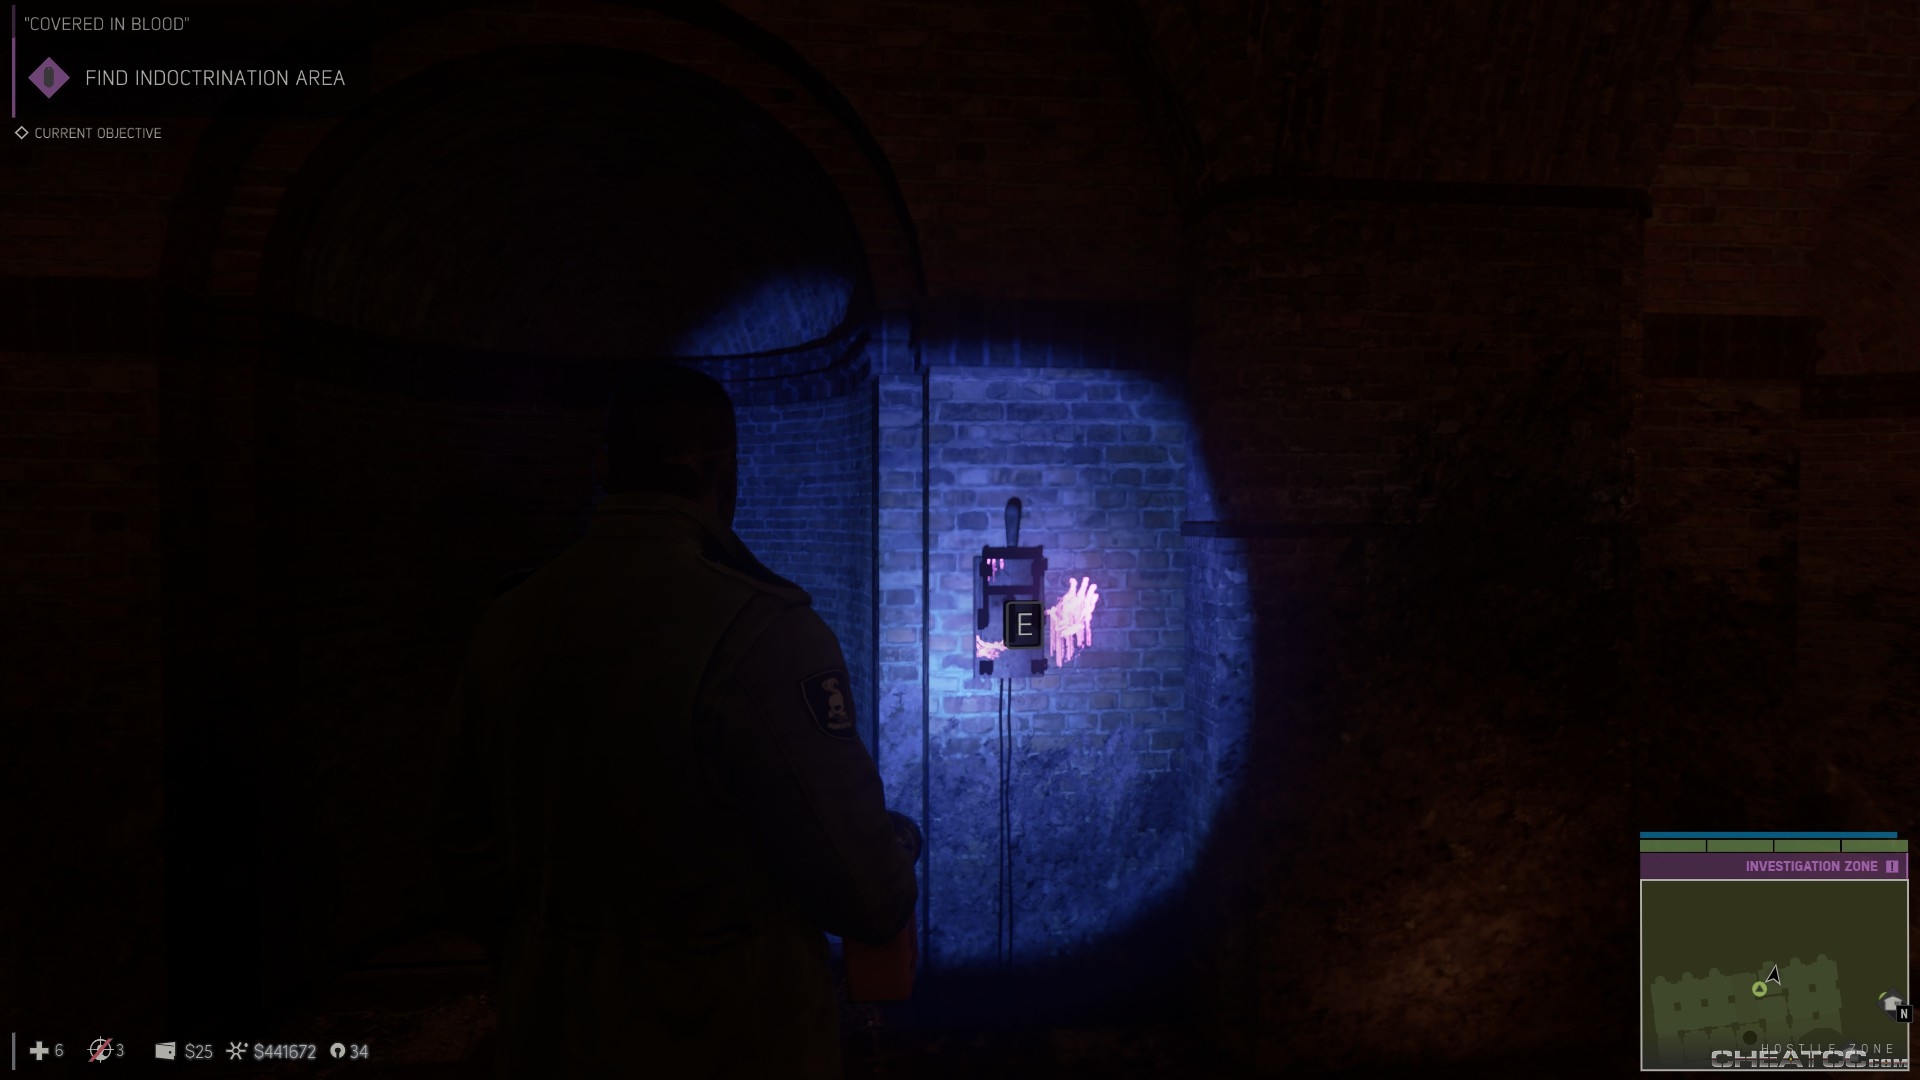
Once you find it, I recommend retracing your steps back to the entrance, keeping an eye on your minimap. In a few minutes you'll need to fight your way through here without the flashlight, so a bit of prep now will save a lot of stumbling later. Once you feel you know the way, throw the switch by the spiral.
This will lead you into another investigation zone, but the only clues are on the three altars, and none are hard to crack.
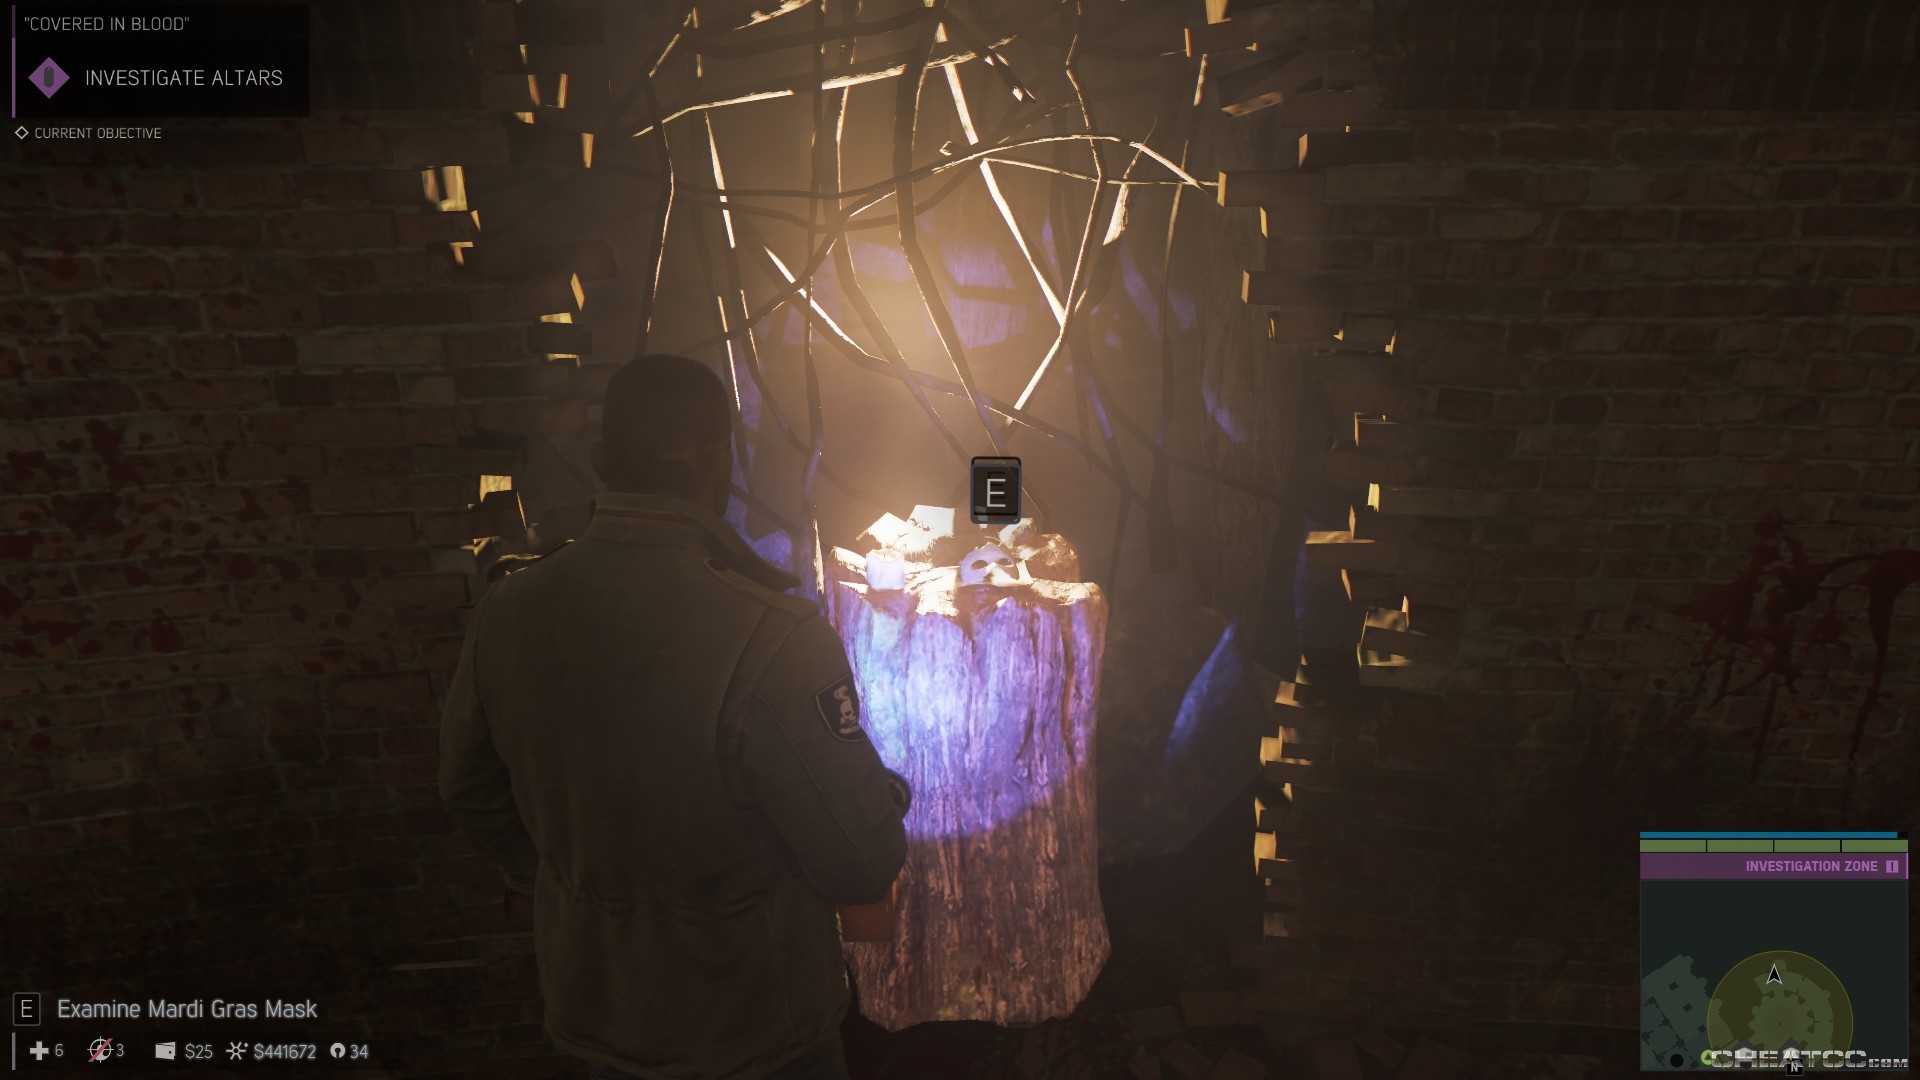
The leftmost altar reveals an article about an auction house, the middle has a high school yearbook with a note and photo op, while the rightmost has a photo that you need to rotate in order to recognize the man on the front (there is writing on the back, but it's not a clue).

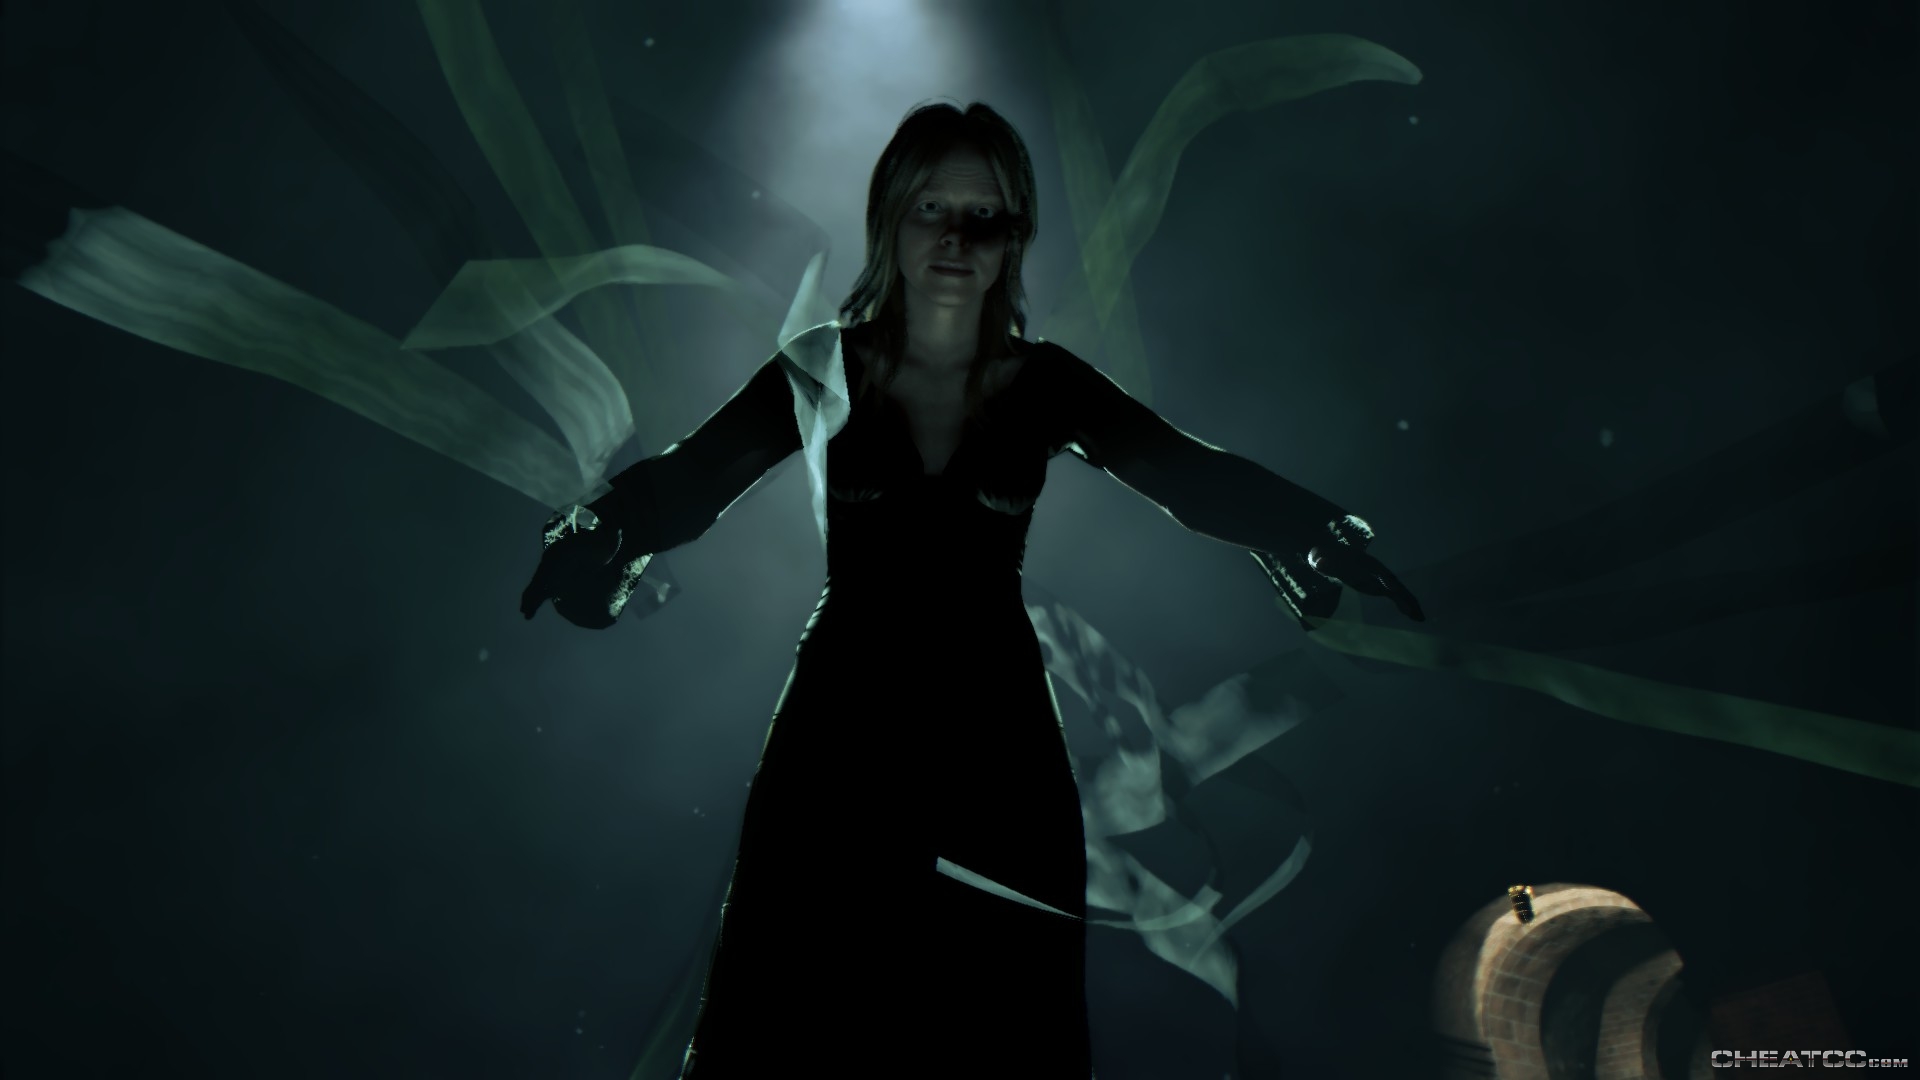
Once you've gathered the evidence, you'll trigger a confrontation with with high priestess herself, who drugs you, but declines to kill you.
Now you get to pick your way back through the underground, but in nigh total darkness (Lincoln could learn a thing or two from Mulder about flashlight-handgun discipline). Enemies will occasionally rush you, but usually give an audible warning beforehand. Use L-Alt to fend them off, or just shoot them. Once you get back to the sewer door, you'll acquire the throwing knives.
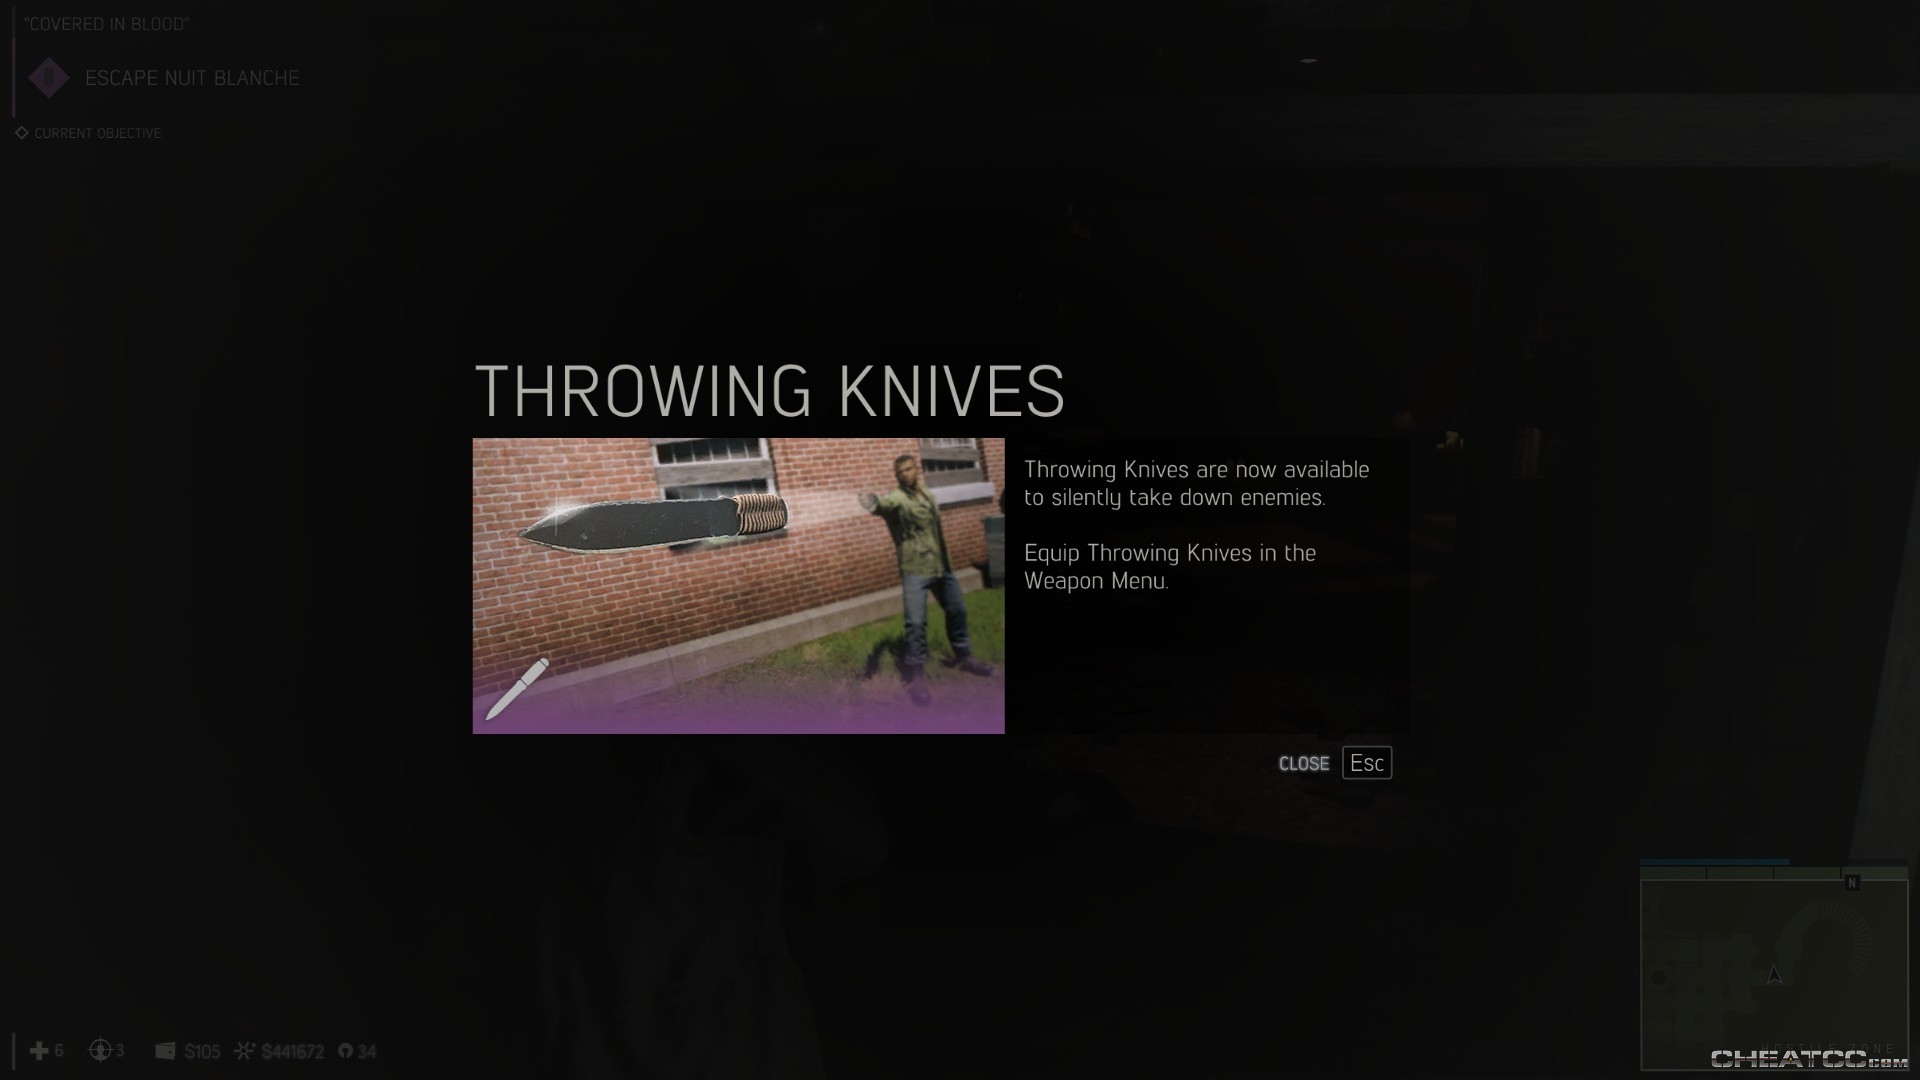
They're fine, I guess, but not significantly better than most silenced weapons. You can also whistle-kill your way through this next bit, as per usual.
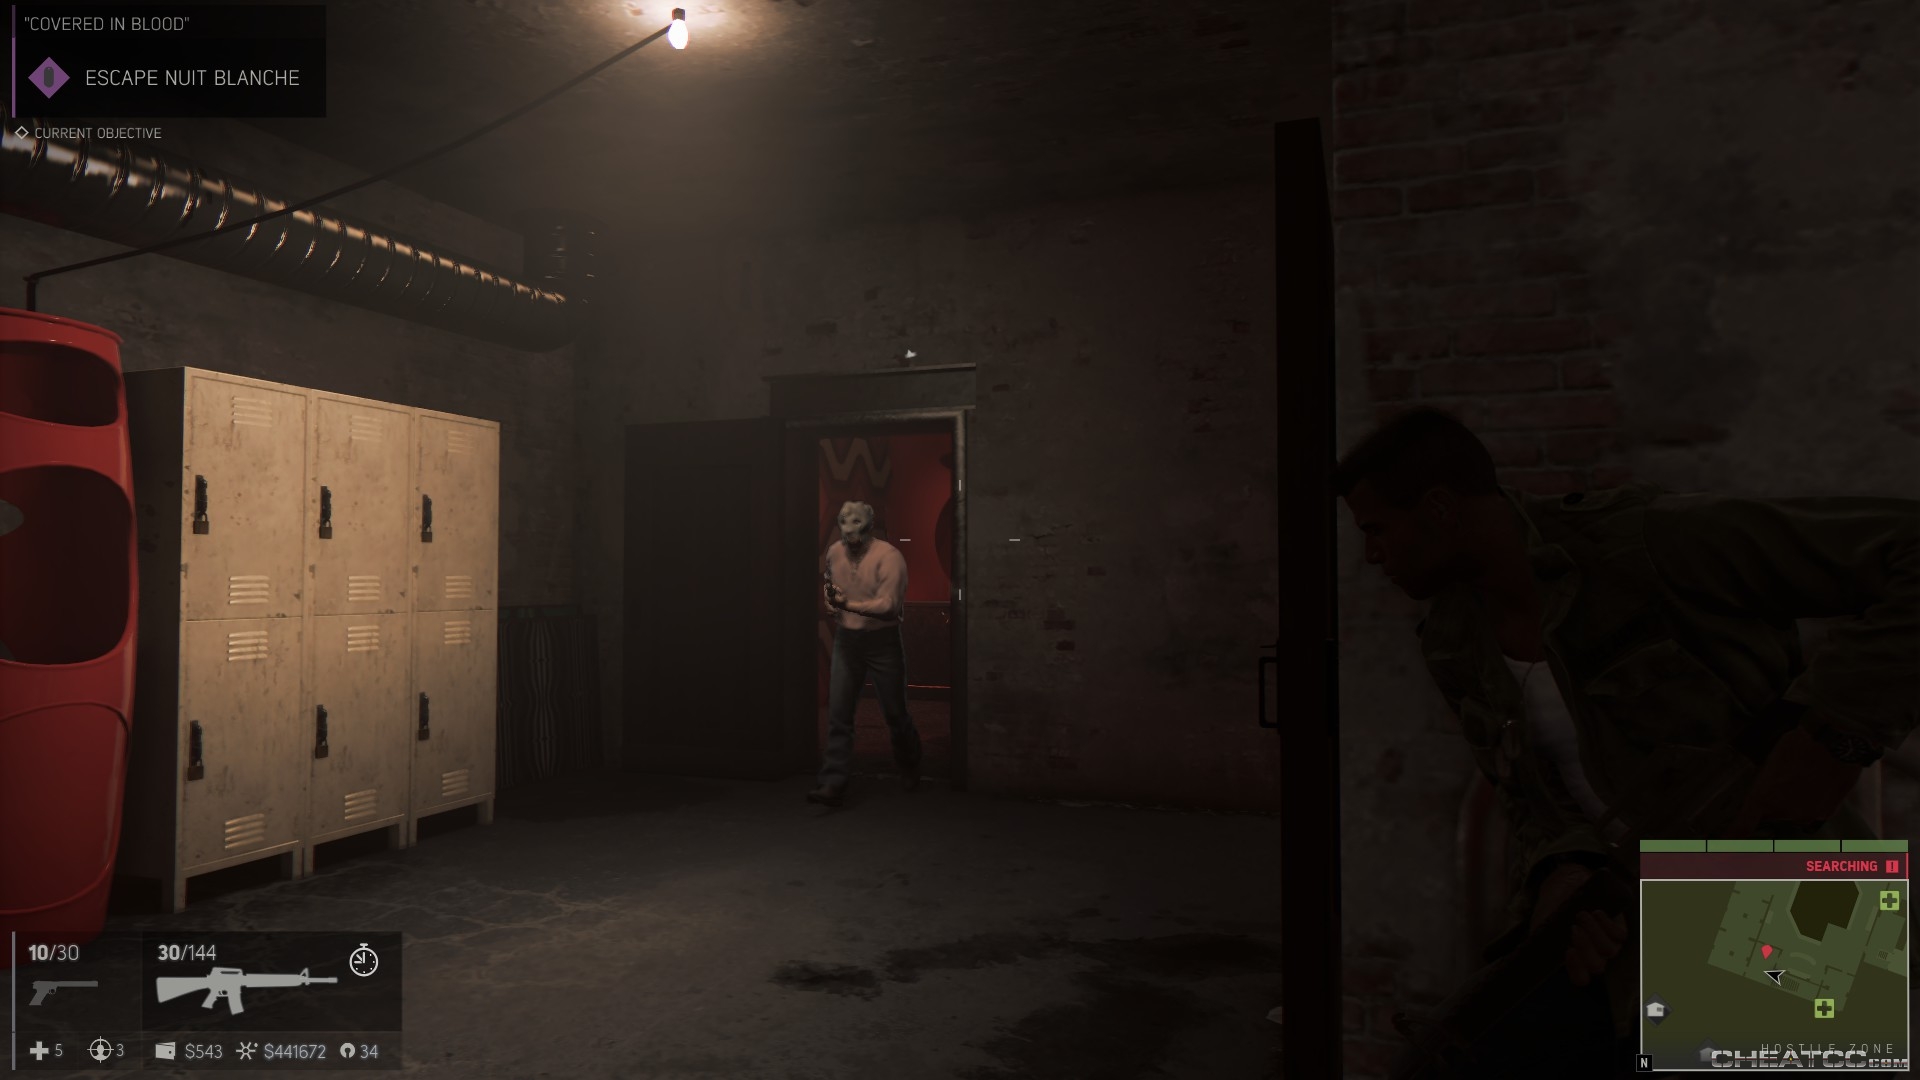
You can use this technique to clear the guards from the stage level of the club as well. Whether you manage to do so without raising the alarm or not, the best way to ascend here is not the main stairs, but the smaller staircase behind the bar. You can snag a medkit in the little storage room here too.

A nice assaullt rifle goes a long way toward clearing the enemies on the upper level, but once they're done, there's nothing between you and the exit. Leave the club and get beyond the circular perimeter on your HUD to complete the mission.