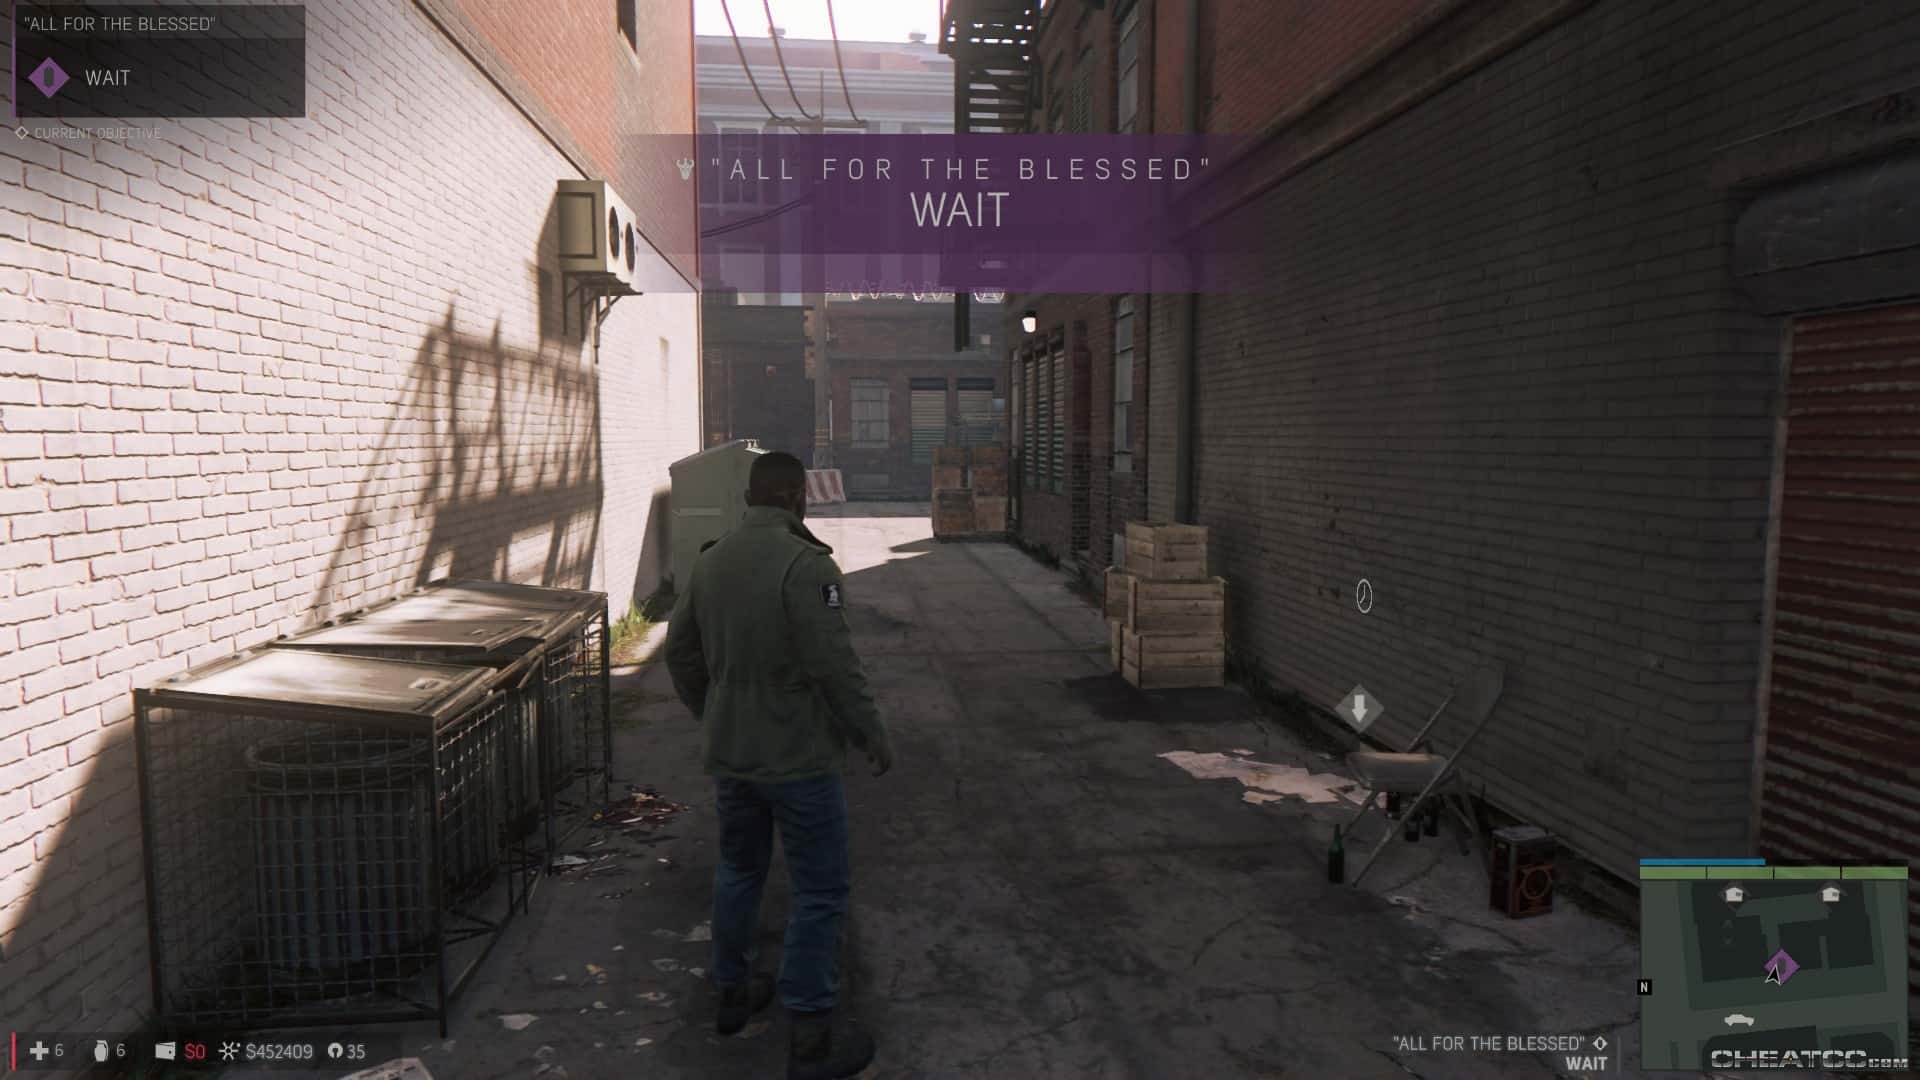
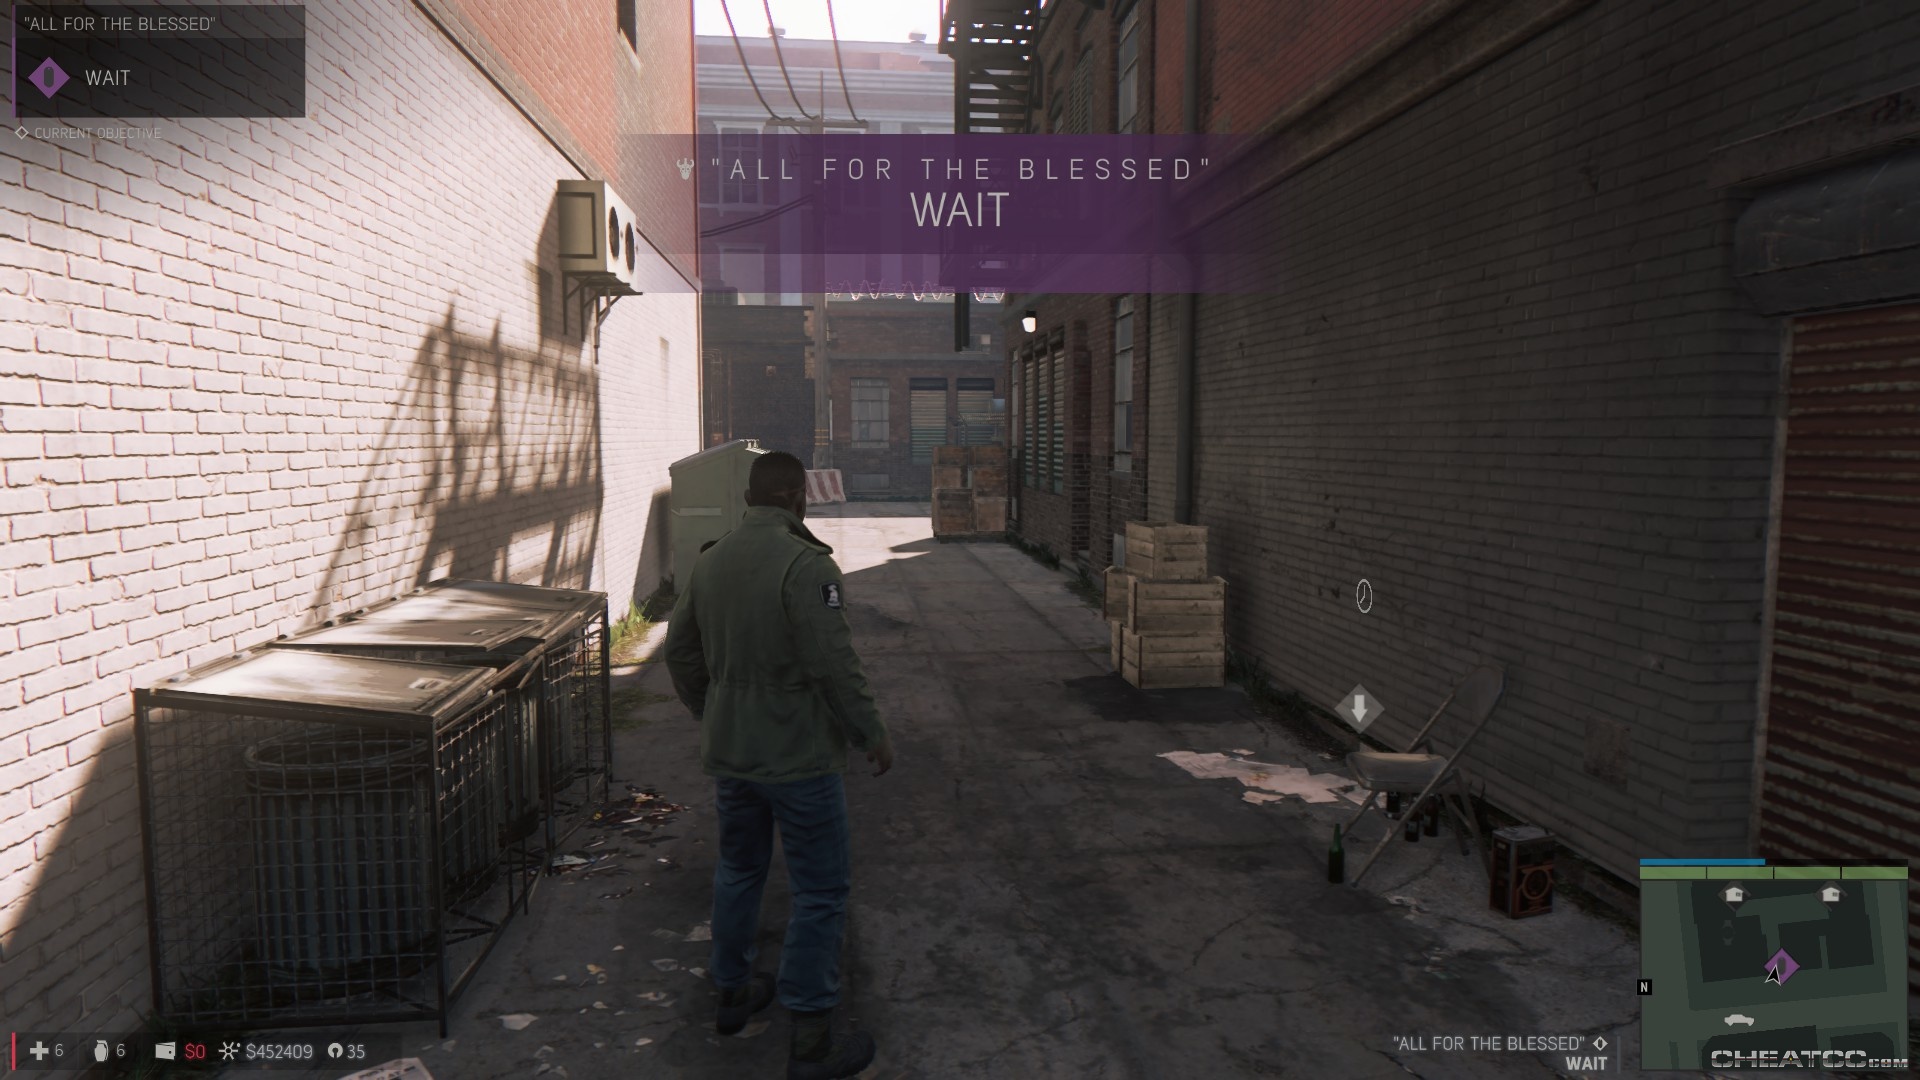
Once you've arrived at the opera house, go to the marked spot and wait until the time is right. Why you want to wait until resistance is going to be heaviest isn't entirely clear, but wait you do.
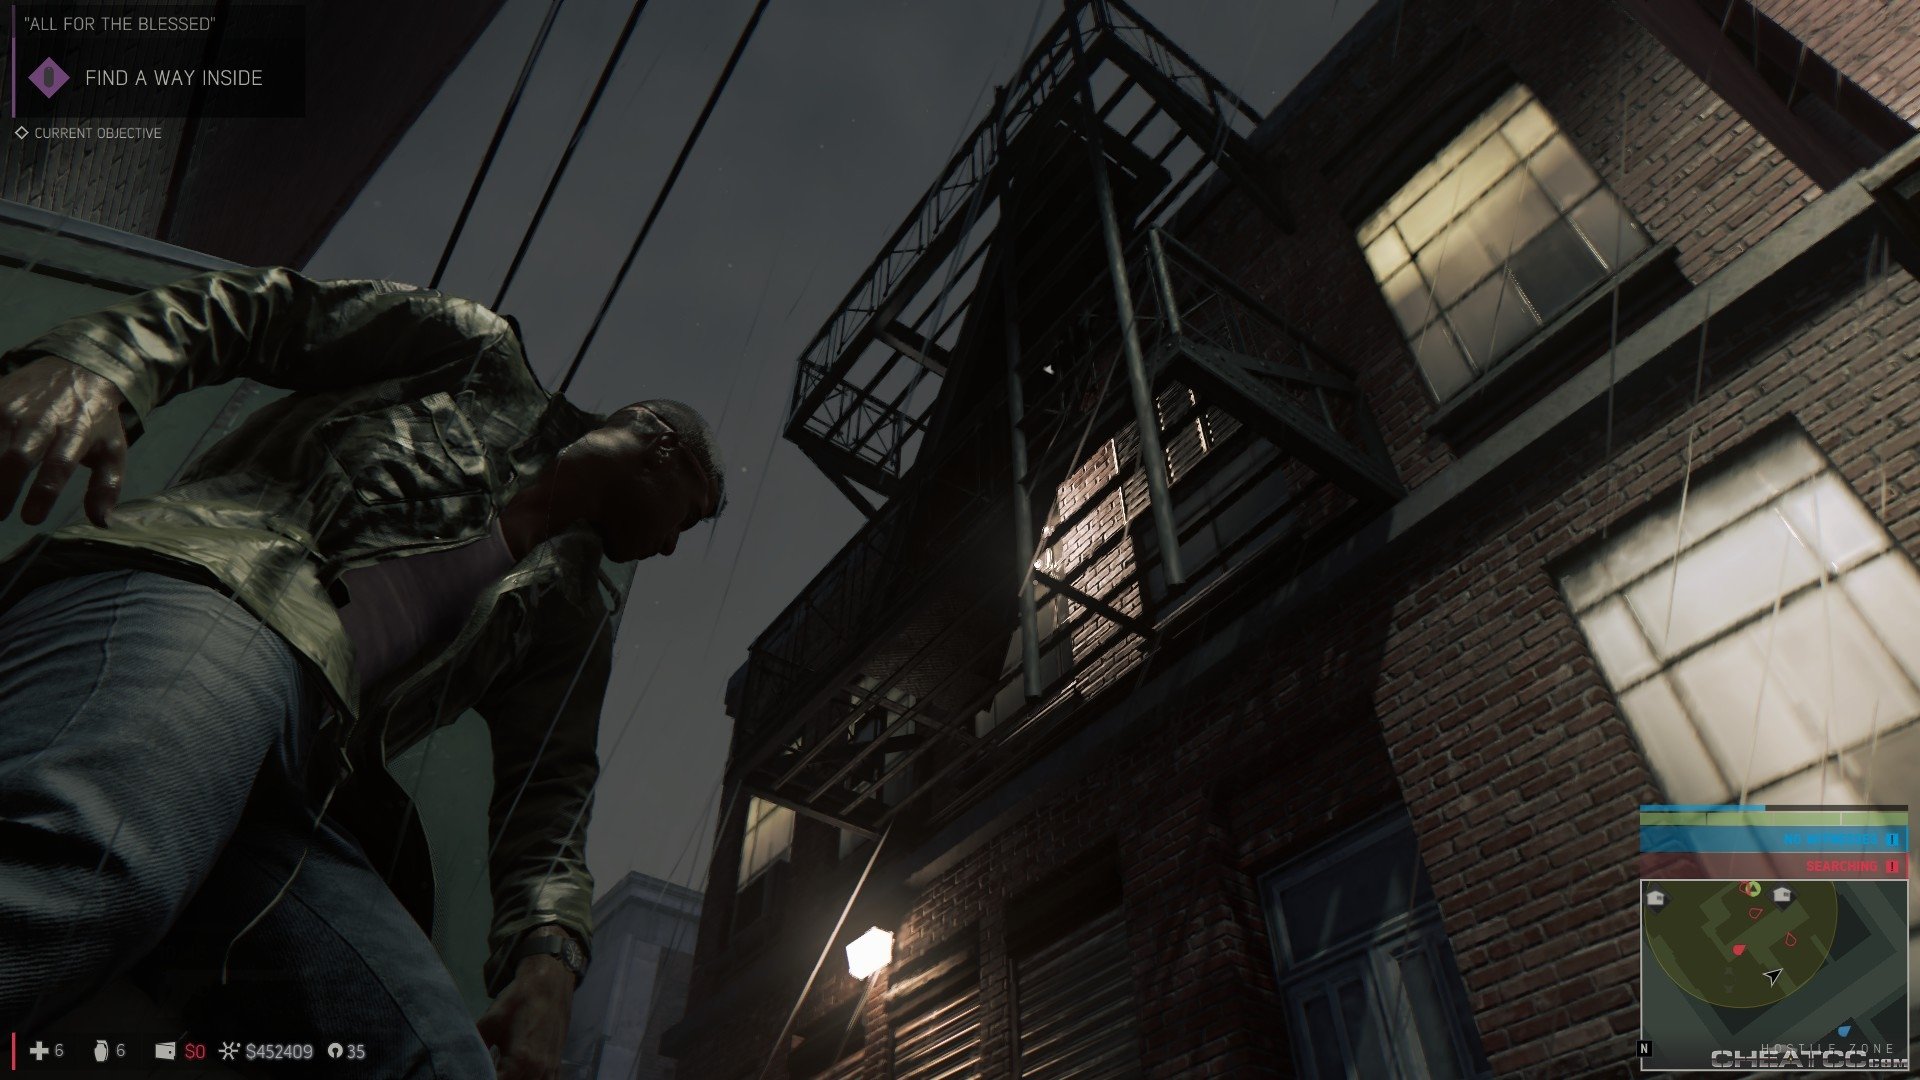
When you're back in control, the game plan is to fight your way up to the roof tops to gain entrance to the opera. As always, make an effort to ID and kill snipers first- they're the most dangerous enemies, and they're usually isolated so no one notices them gone. In particular, watch out for a guy hiding on the corner of the building you were just leaning against.
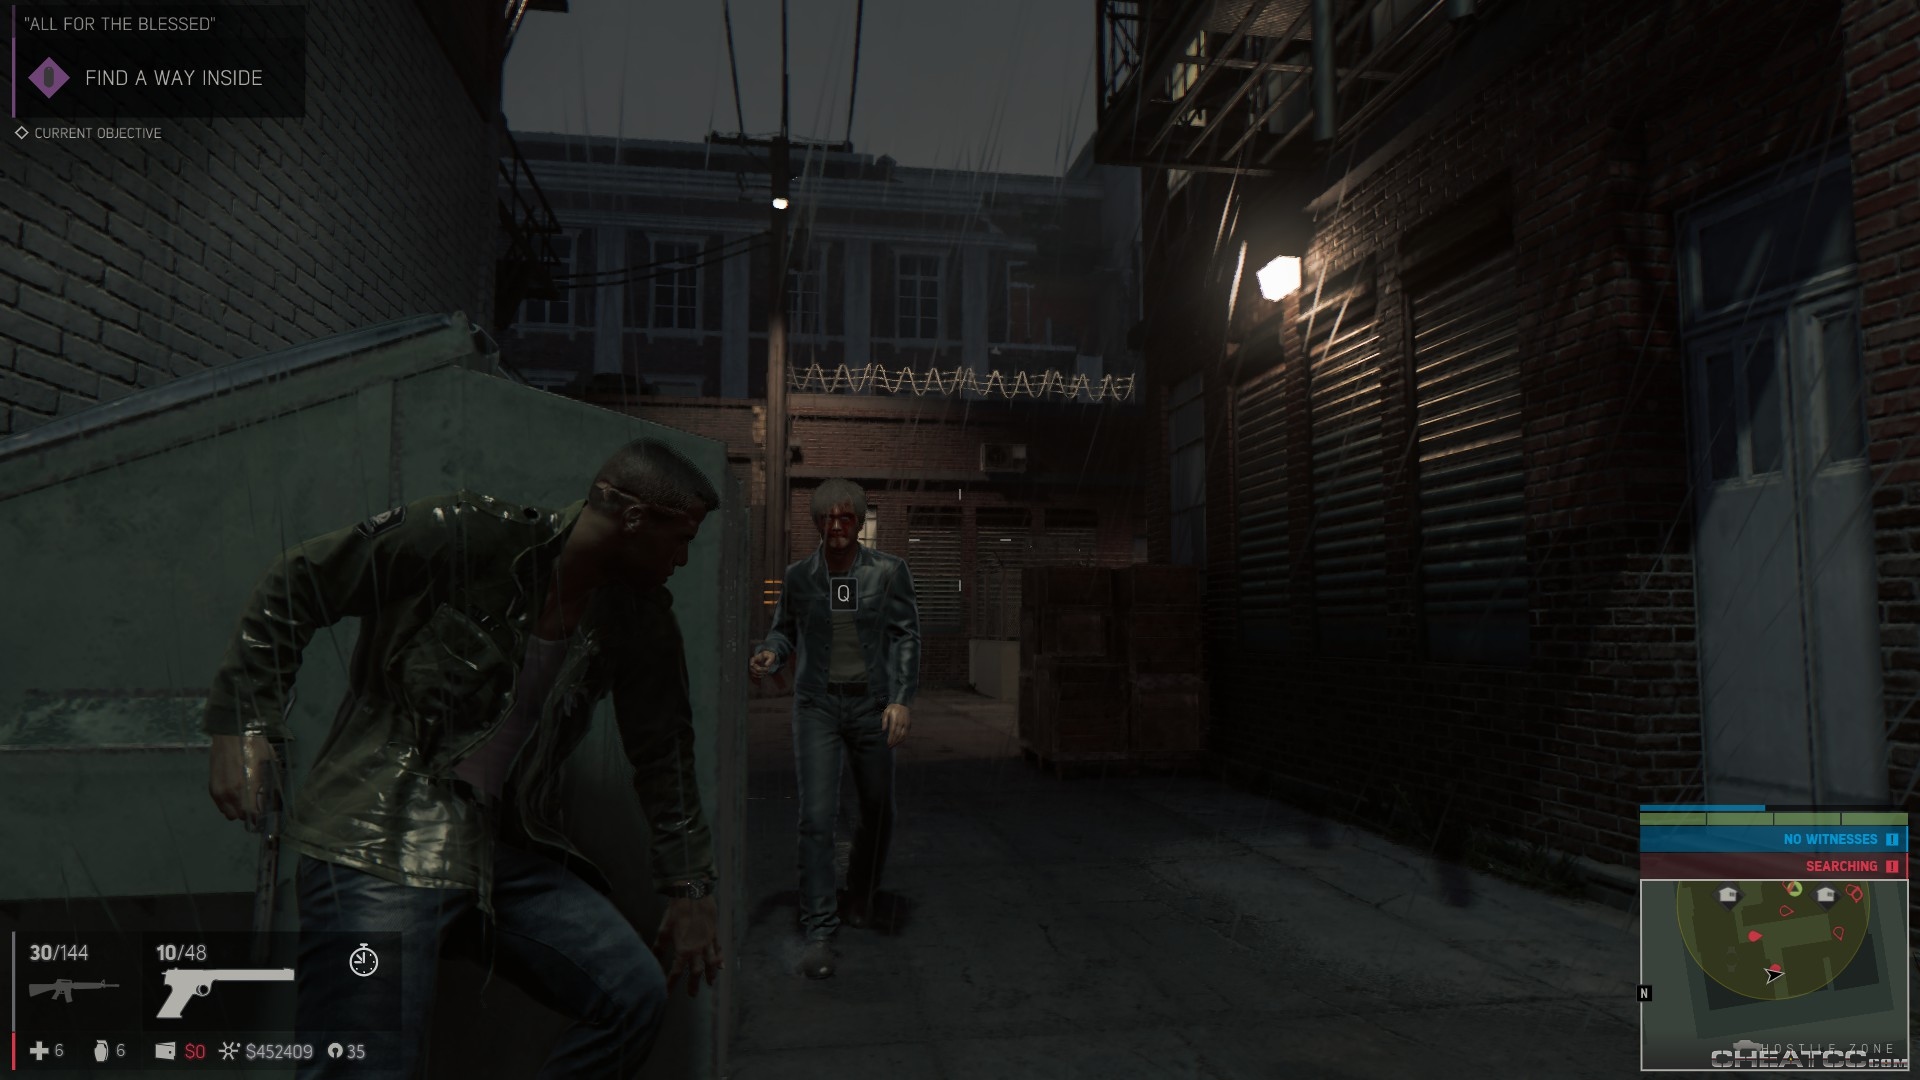
If you're willing to be patient, you can actually whistlekill this guy. Sure, it takes him almost two minutes to mosey on down to you, but it's still an easy, easy kill.
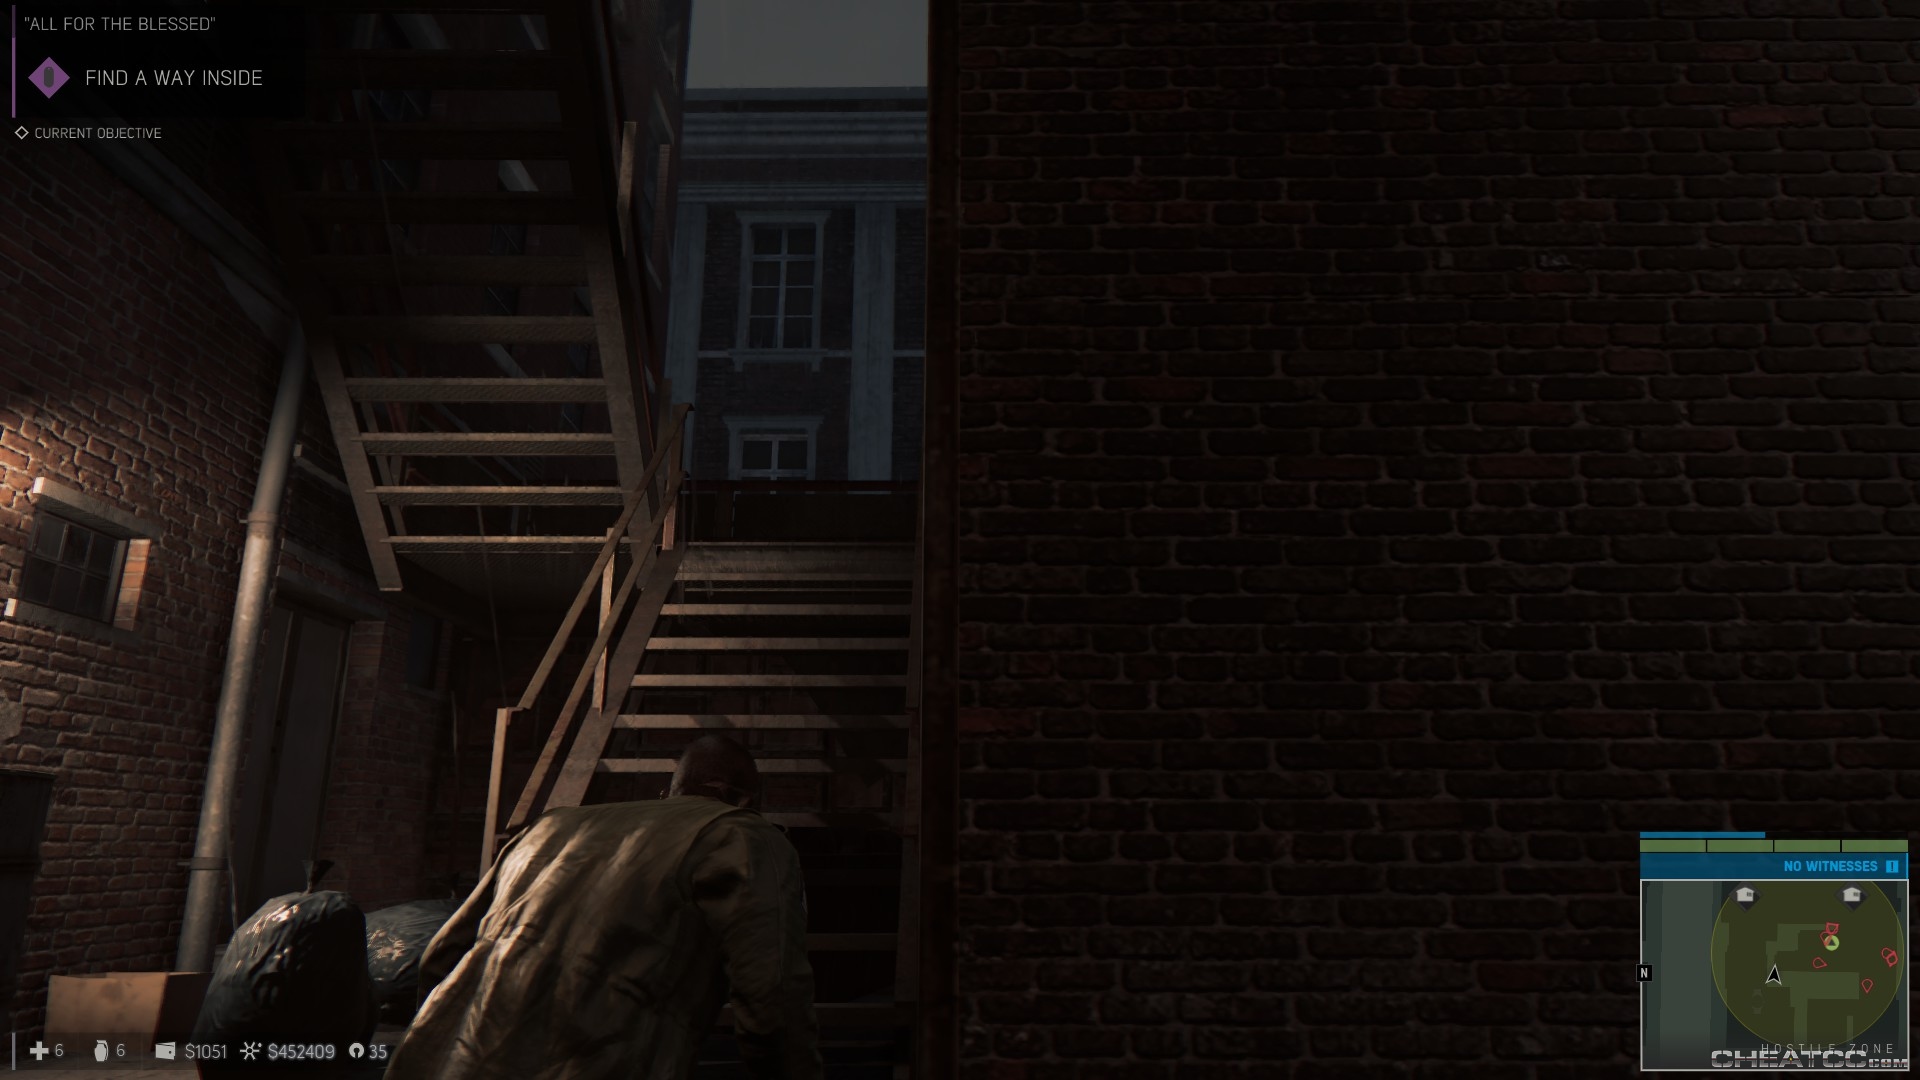
The other enemies are mostly stationery- whistlekill the other enemy at ground level (taking a moment to loot the nearby backdoor, if you like), then ascend the wooden stairs to the rooftops.
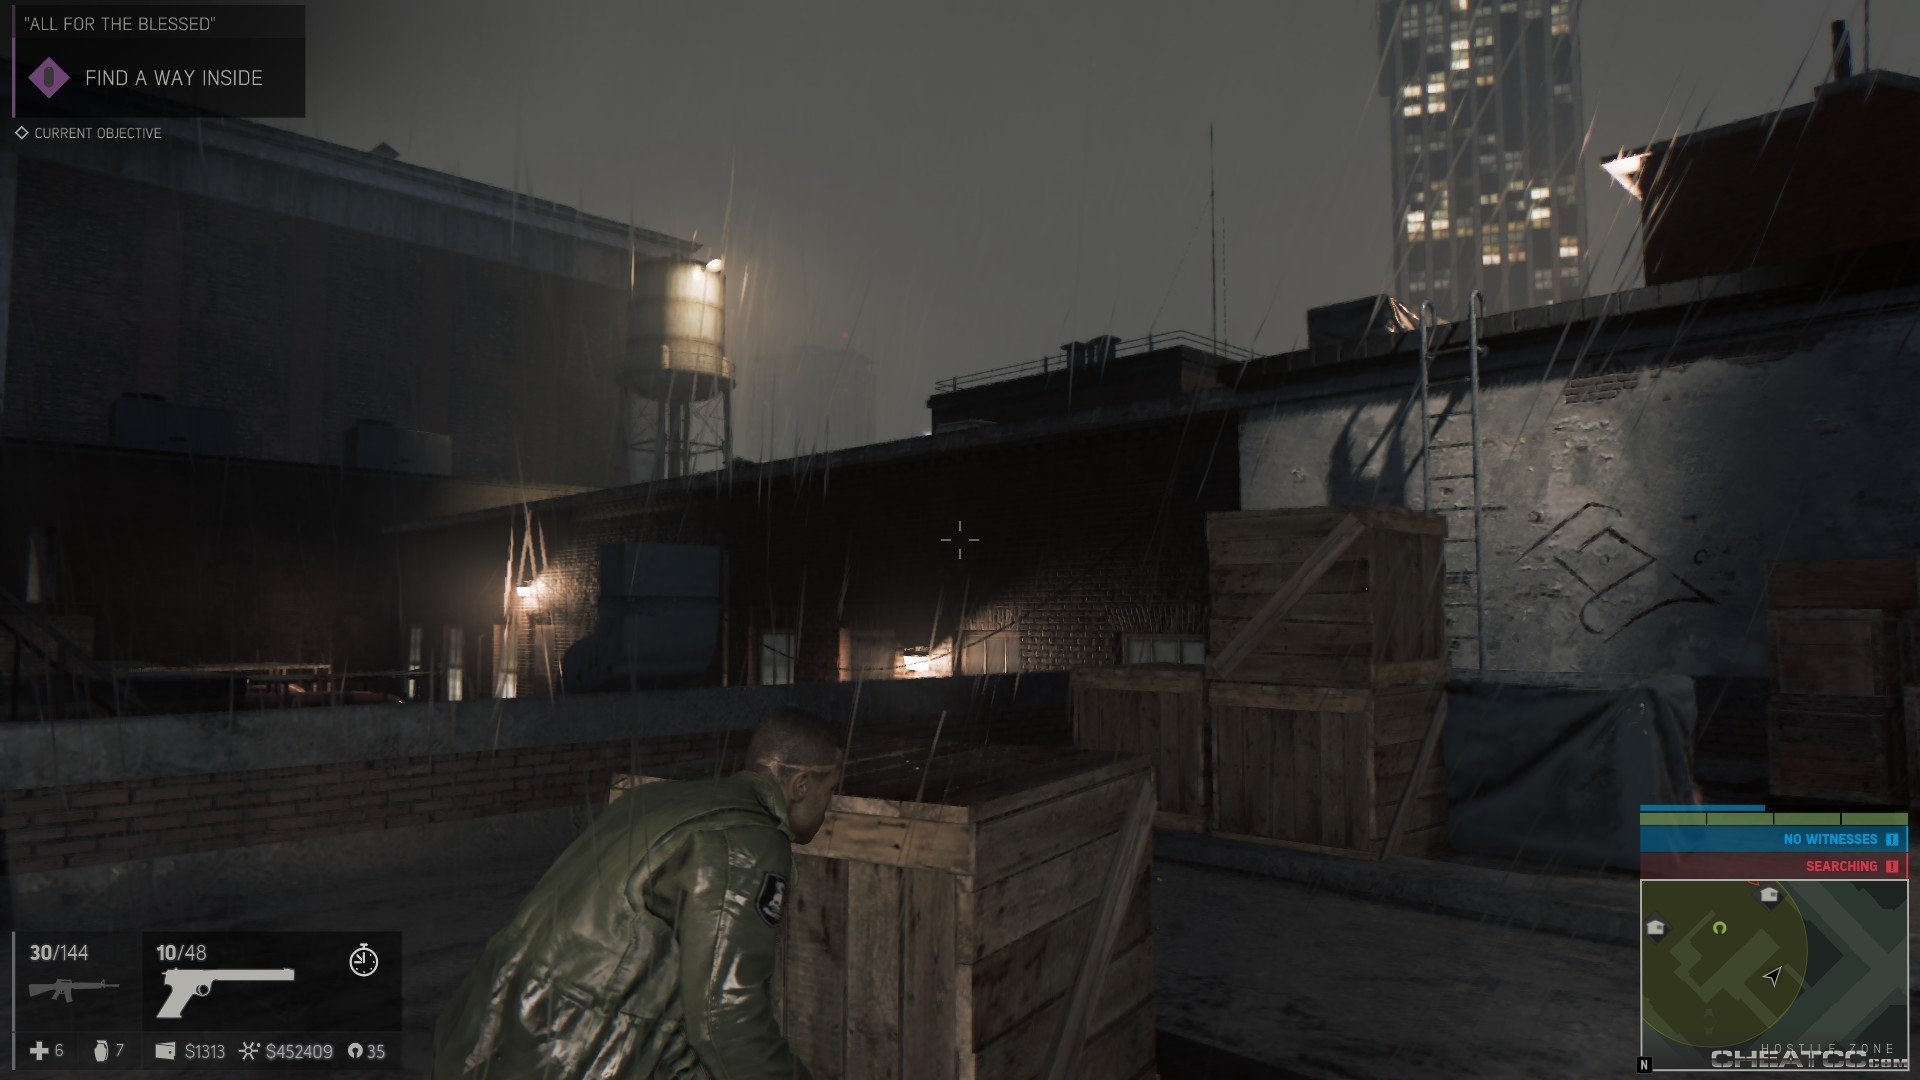
There are a lot of gunsels here, but none of them so tough. Watch out for the one patrolling enemy, and keep an eye on the guys with overwatch on the high, far roof, and you'll find that you can execute the whole lot of them from the cover. When they're down, head up the stairs west, and look for the ladder with the cult symbol.
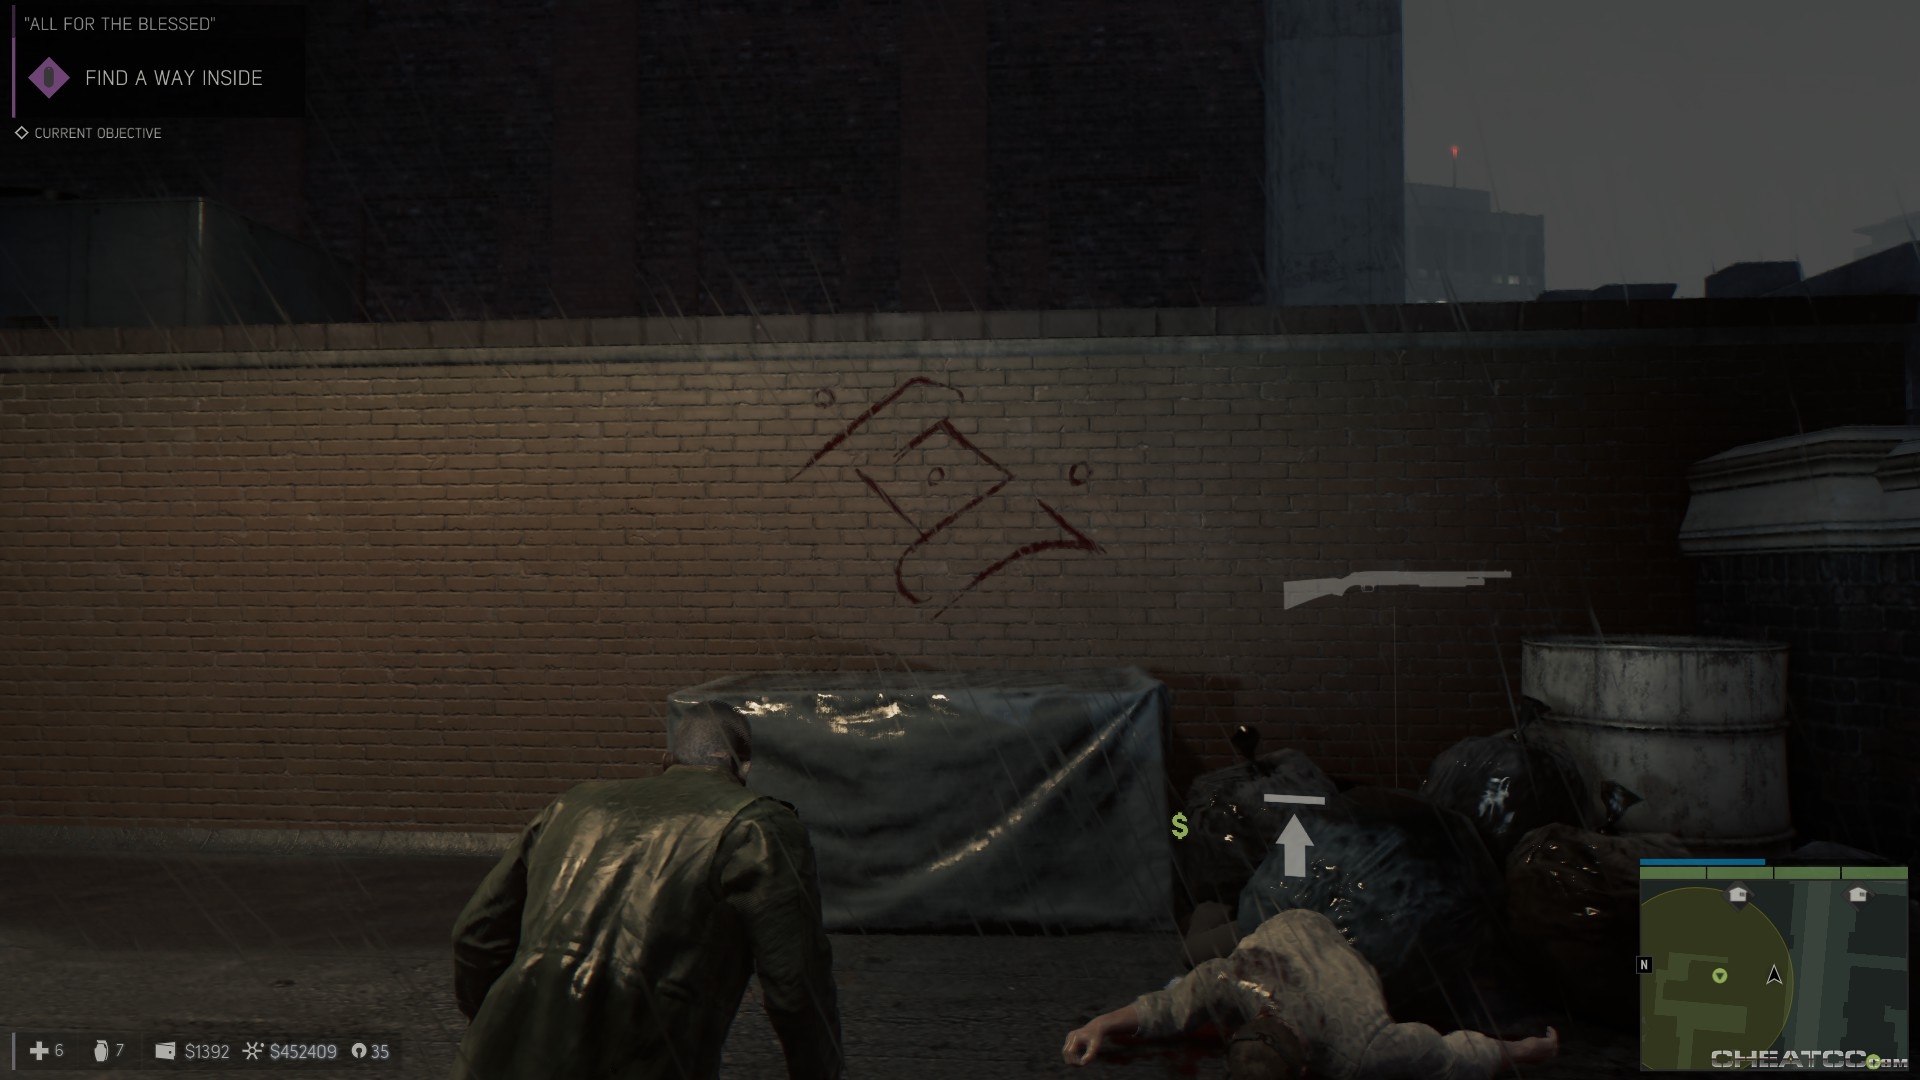
Mop any of the overwatch lads here that you haven't already killed, then look for the crate with the cult symbol on the east side of the roof for your next step.
Drop down into the opera house, then approach the balcony edge to see a ceremony in progress.
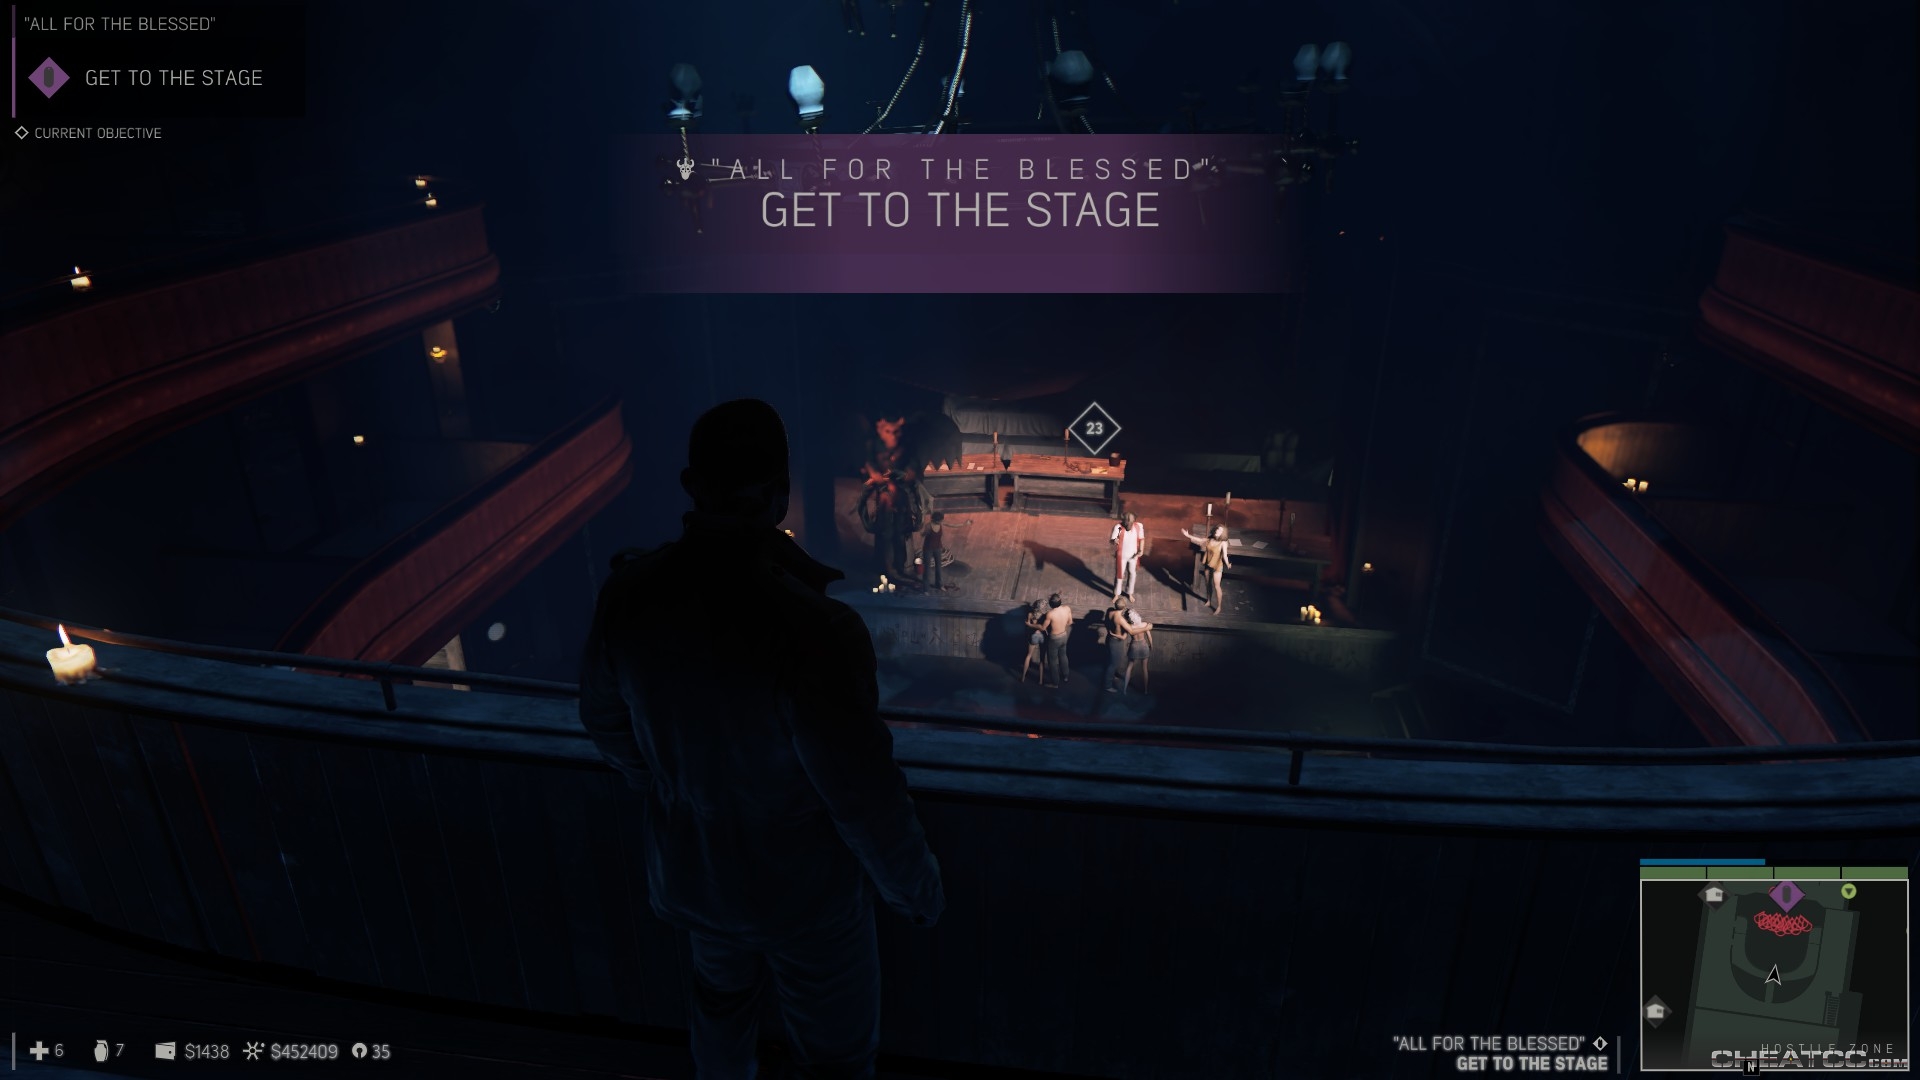
Don't waste your ammo here- it doesn't do a lick of good. Instead, bear left and descend some rickety catwalks (and we're talking expletive-worthy levels of ricktiness here, in Lincoln's opinion), using the flashlight when needed. Eventually your path collapses, but on reaching the stage you find it now empty. Snag the medkit if you need it, then cross the stage and use the blacklight near the cult symbol to reveal a switch.
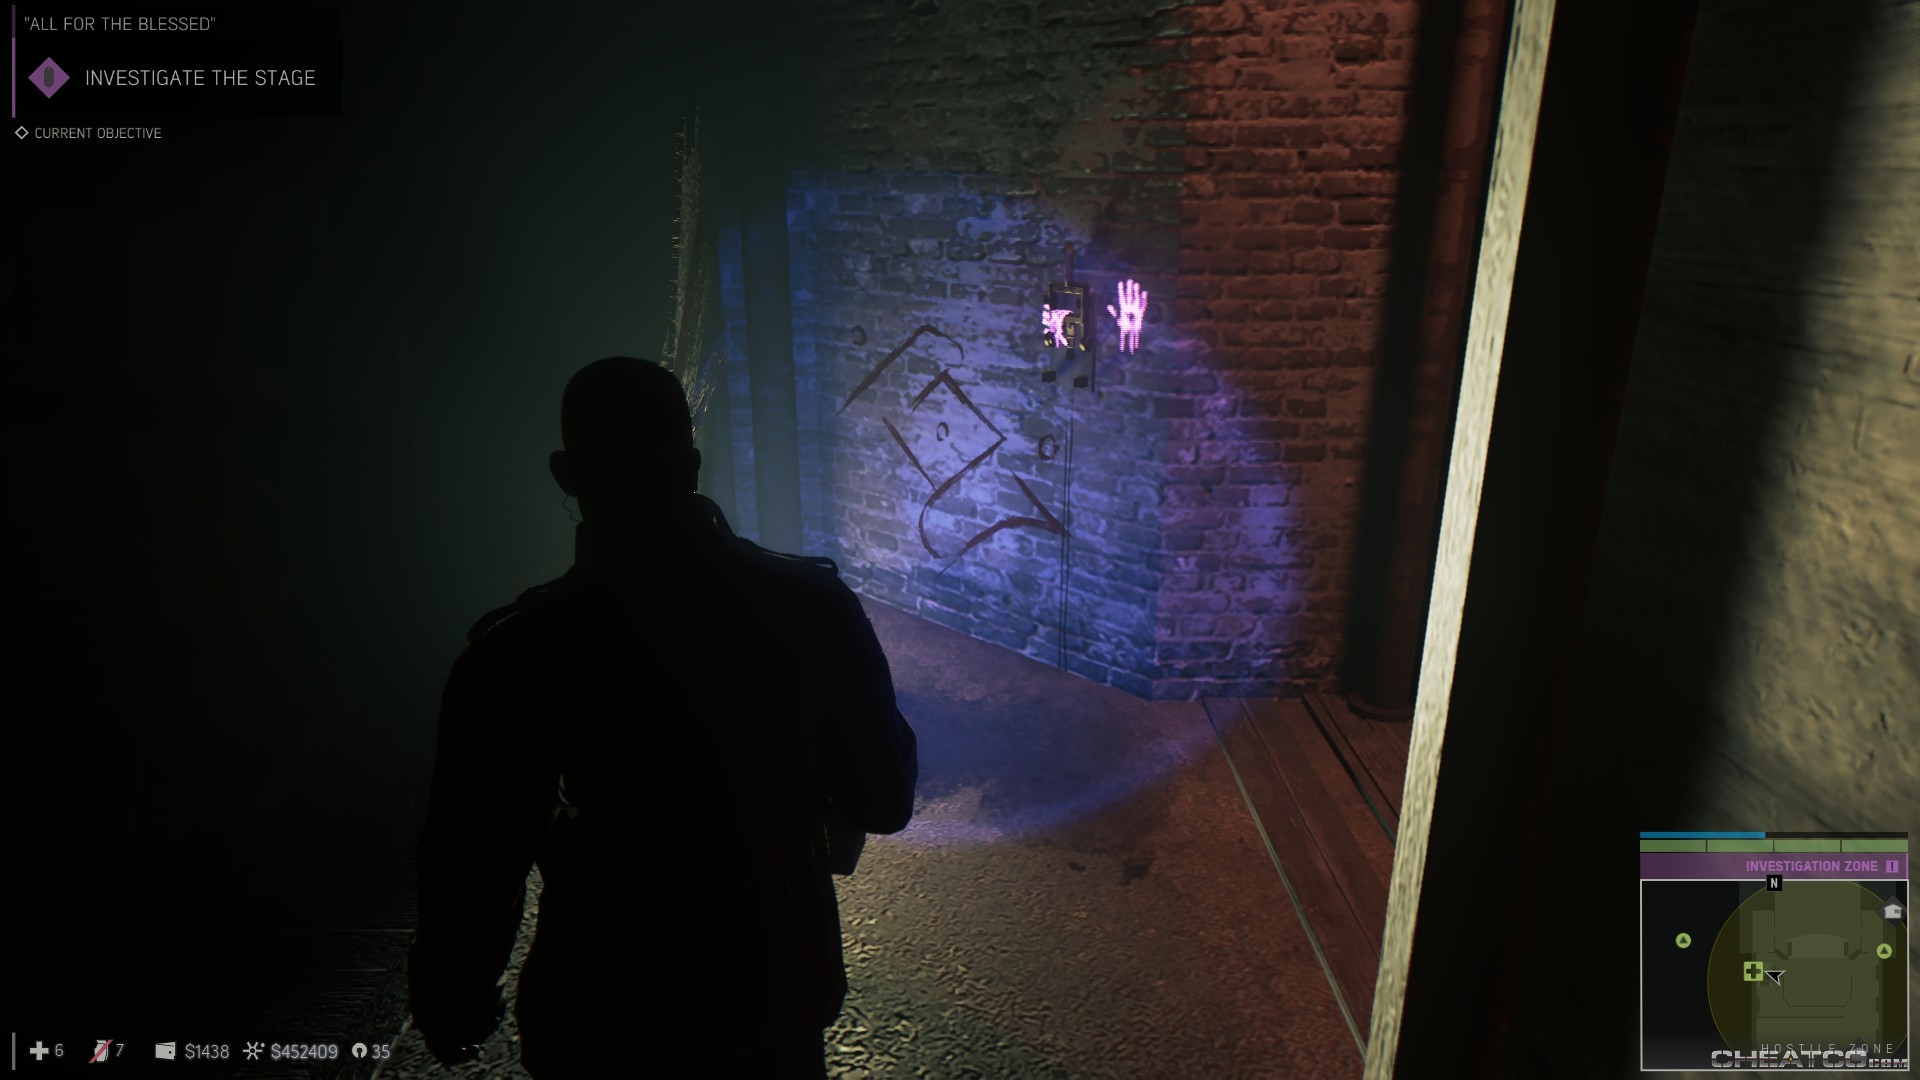
Pulling it opens a trap door in the stage. Drop down and explore the area for a spooky note and an even spookier filmstrip.
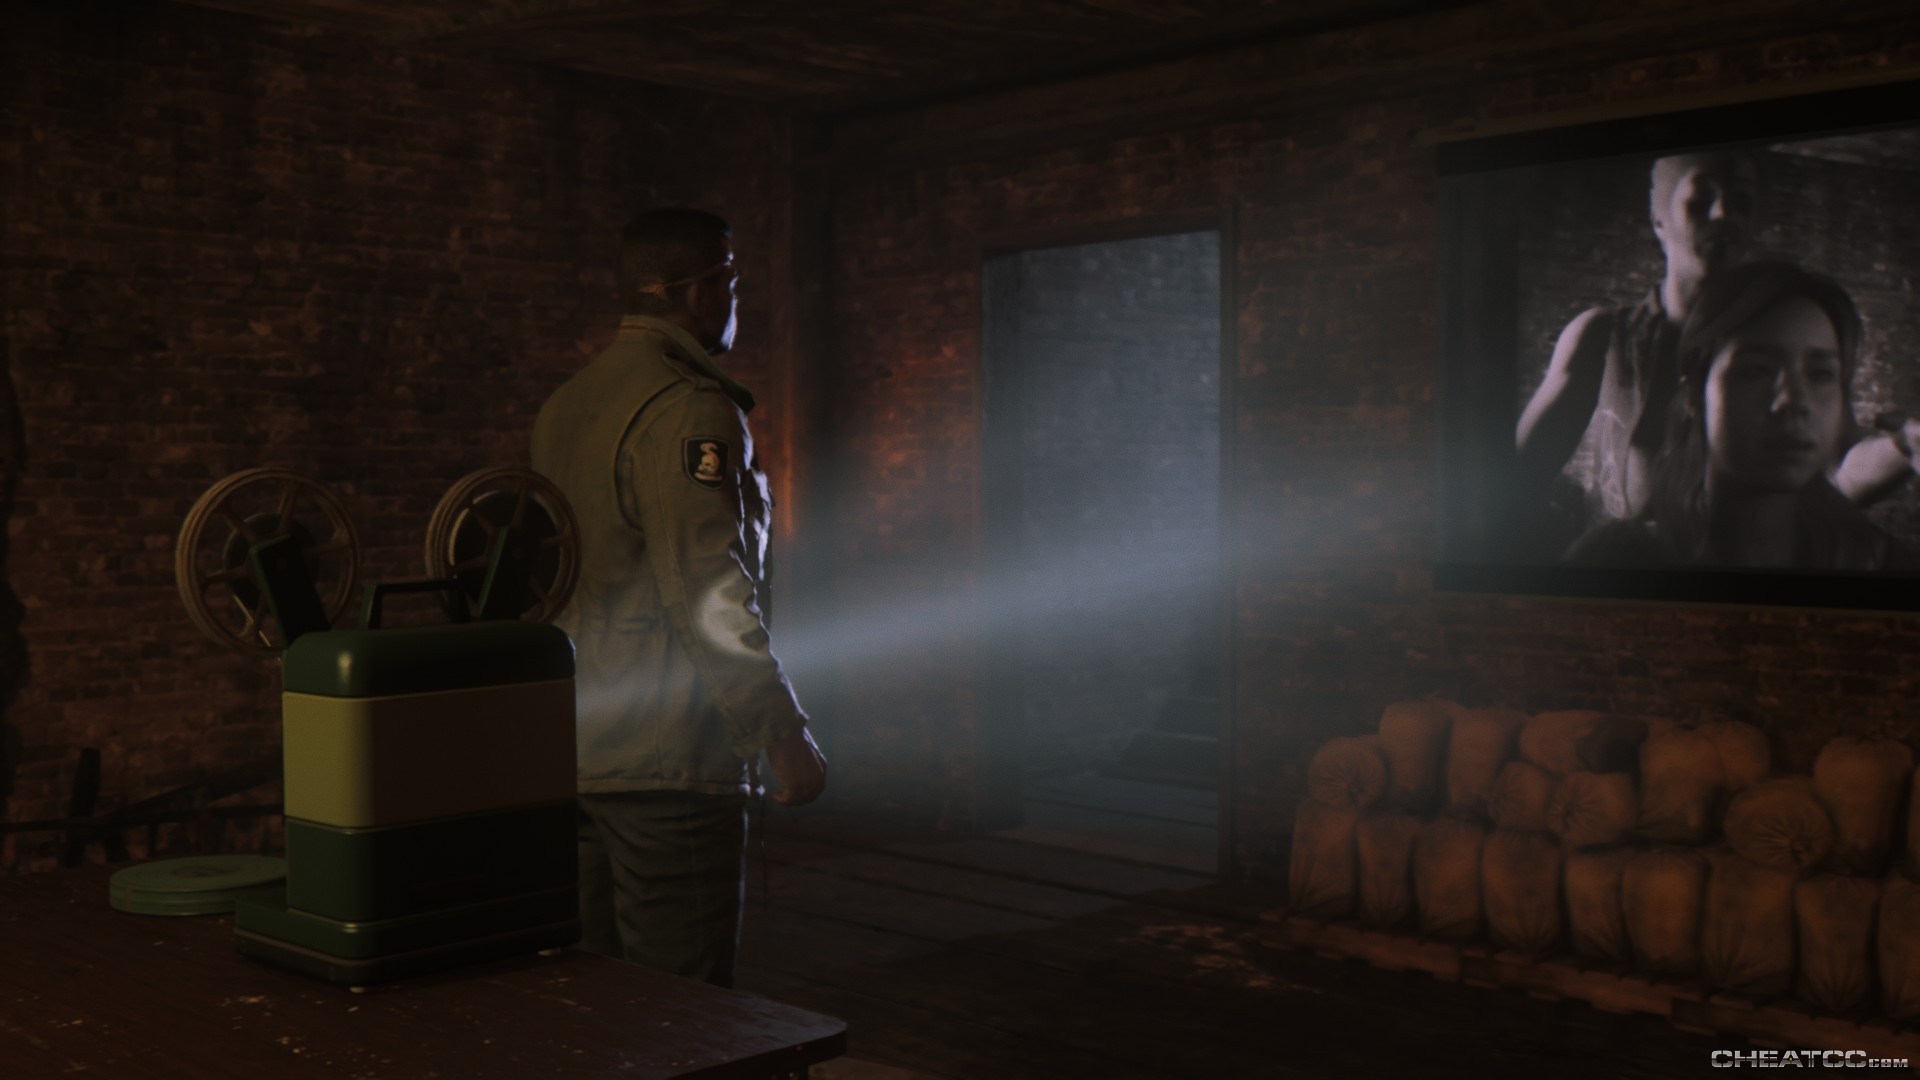
The cutscene ends after Lincoln kills a guy who was in dire need of killing, and you'll regain control on stage, with an audience full of armed maniacs
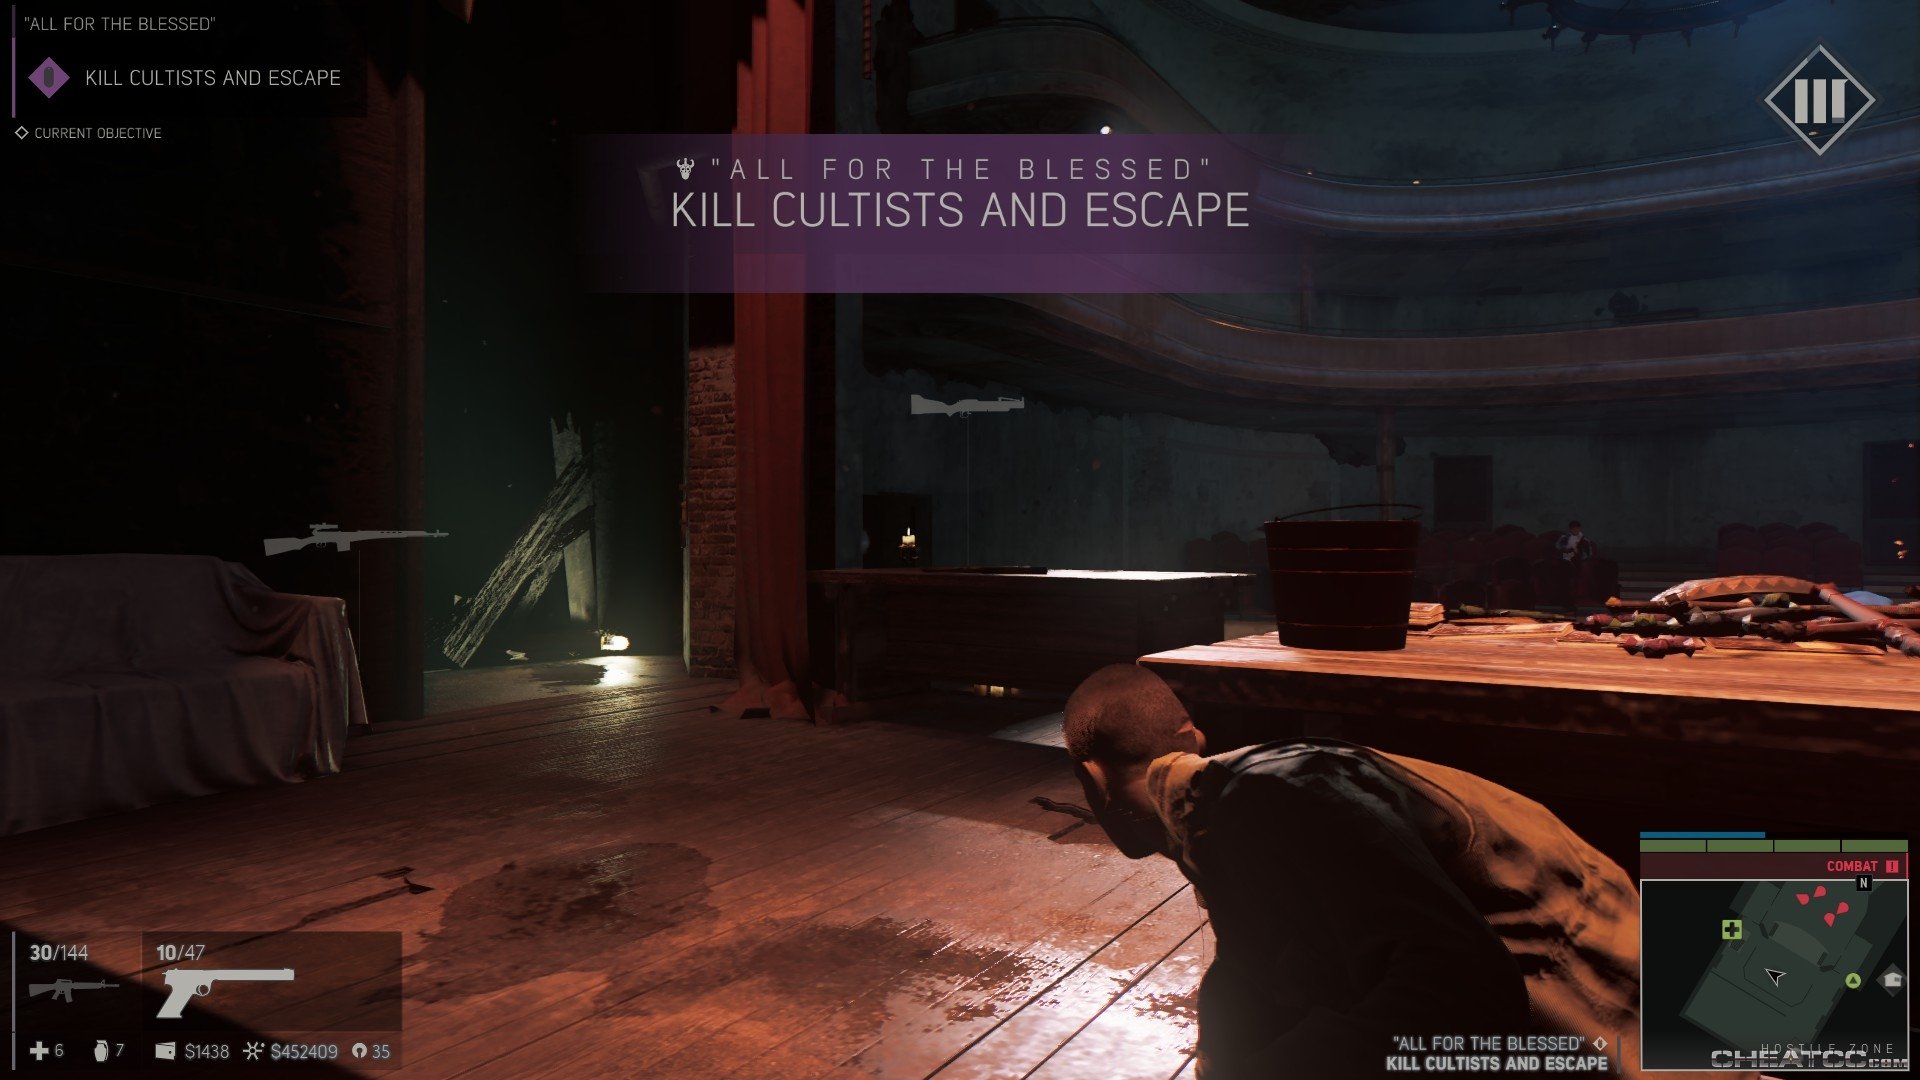
Note the grenade launcher to your left if you need the extra oomph. Note also that you don't have to stay on stage- if you drop back to the wings to catch your breath, they won't follow you (though after you kill enough of them, they will eventually kick in the eastside stage door). Kill even more and the balcony on the far side of the room collapses. Kill & loot any remaining resistance, then climb the ramp, grabbing the Tac Vest at the top.
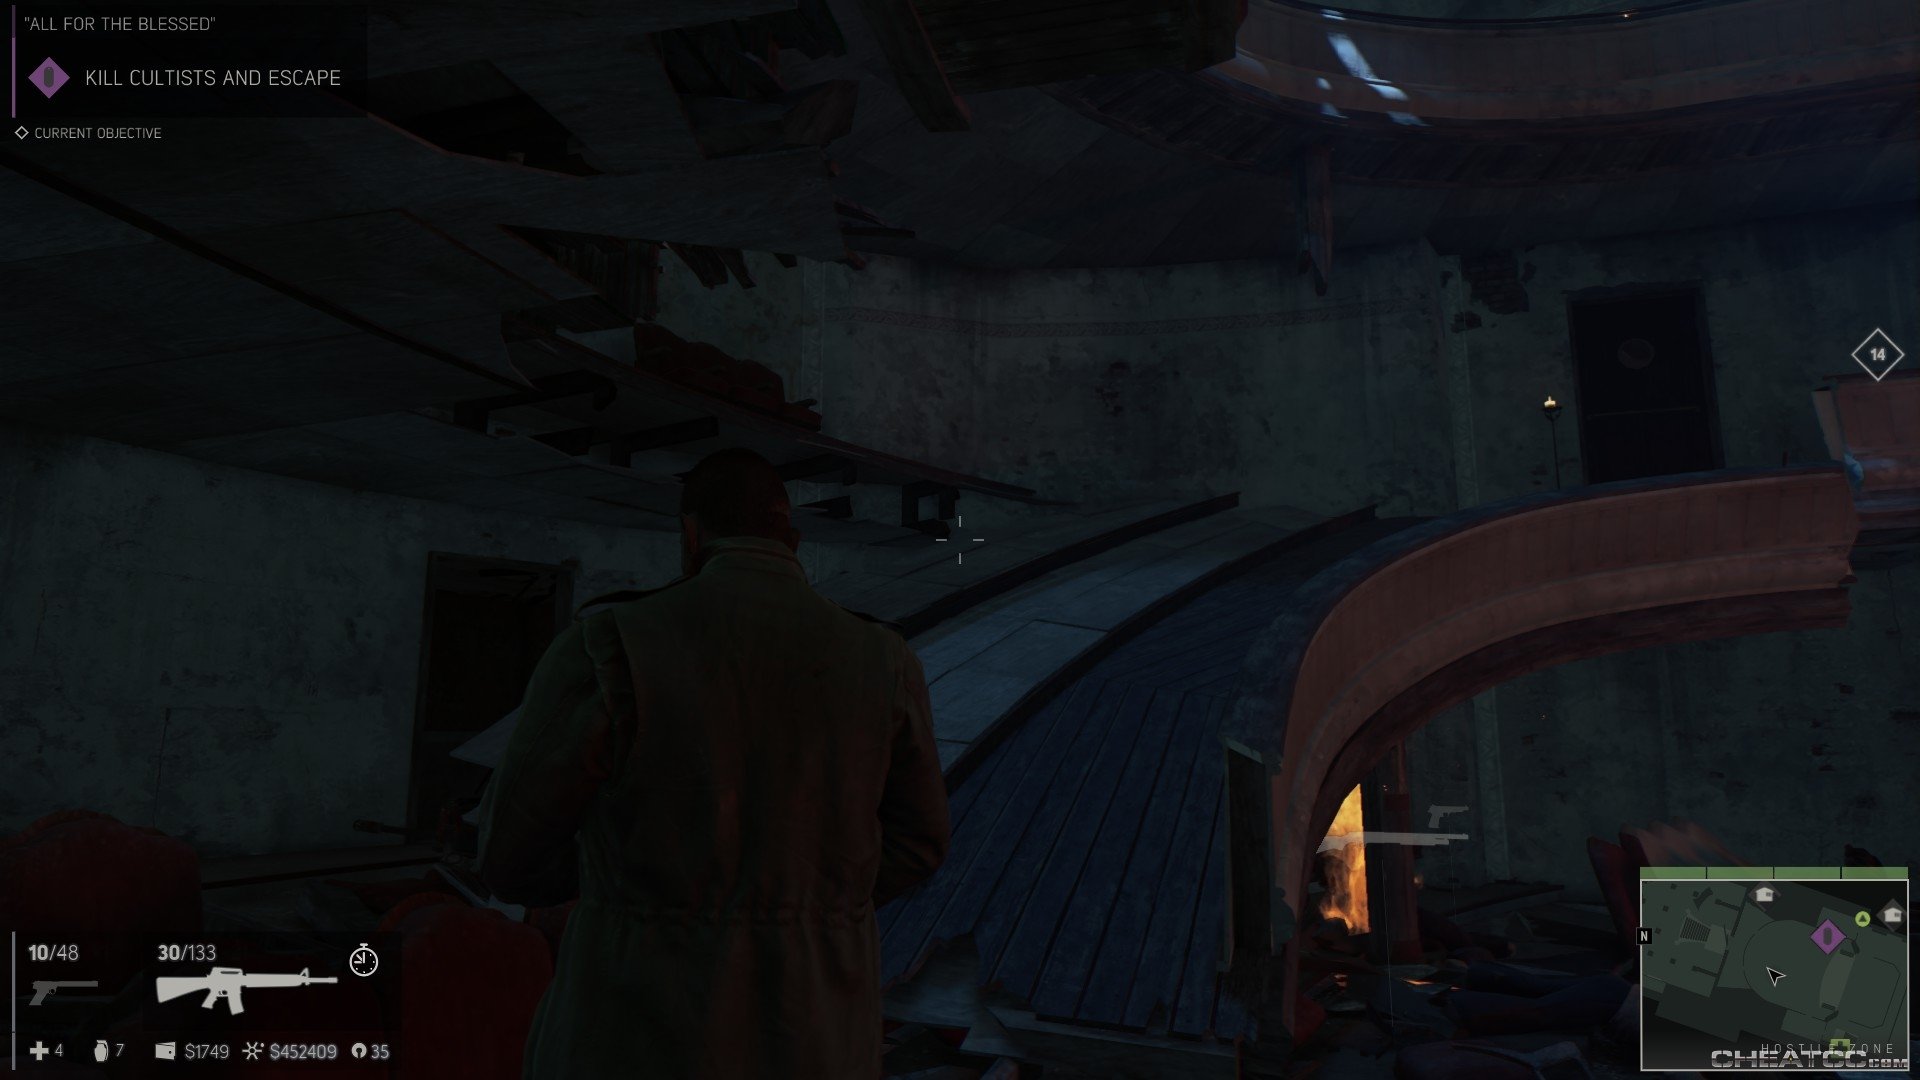
Change of pace in the next area- you'll generally be firing down at people for once.

Changing position often to obviate enemy cover, clear the lobby, then descend the stairs to confront the auto barricade outside the main doors. Despite the extremely public venue, no police alarm is raised. Plus, this is the last fight of the mission, so don't be afraid to go all out. When the street is thoroughly littered with the body fragments of the damned, you'll get an objective to return to Anna
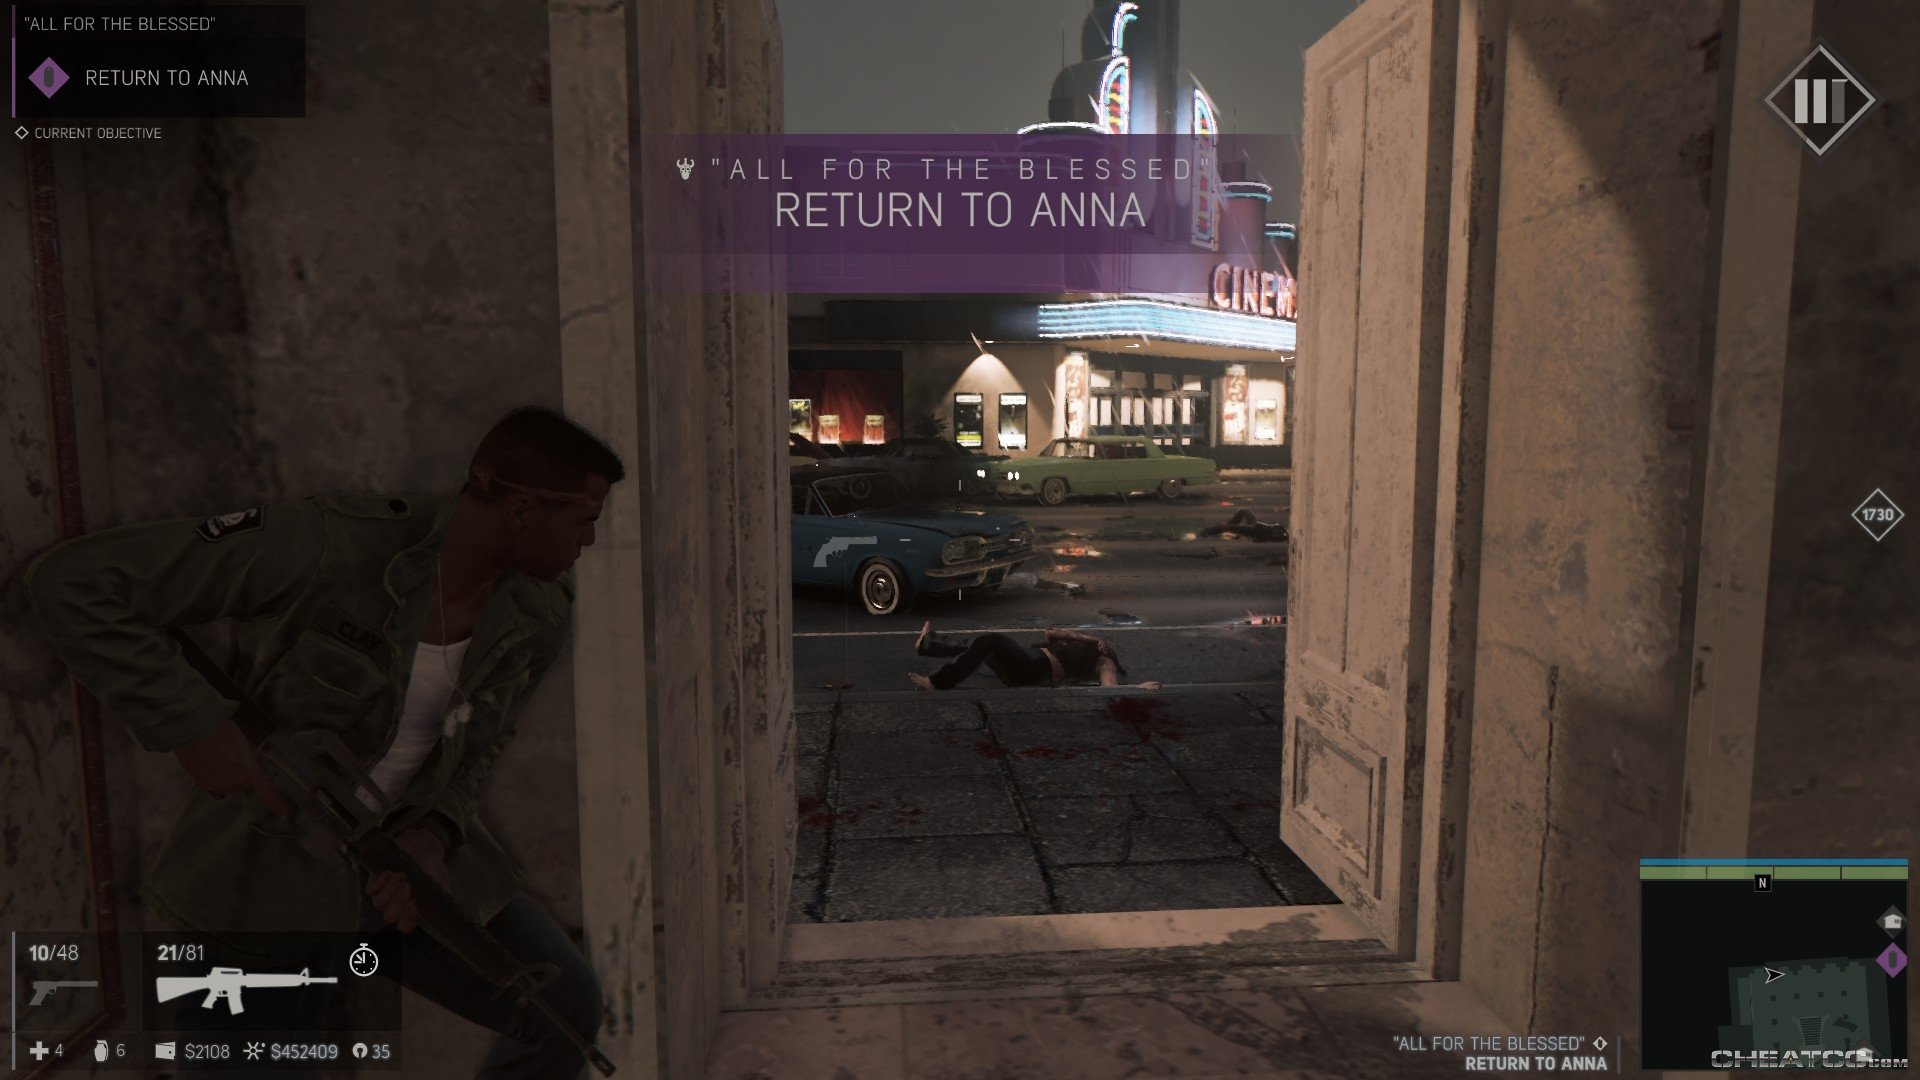
You might consider whistling up the Pinkerton again, because you will be ambushed by another retaliation squad.
Back at the apartment, things go badly. After, you can join Father James in a prayer, if you like.
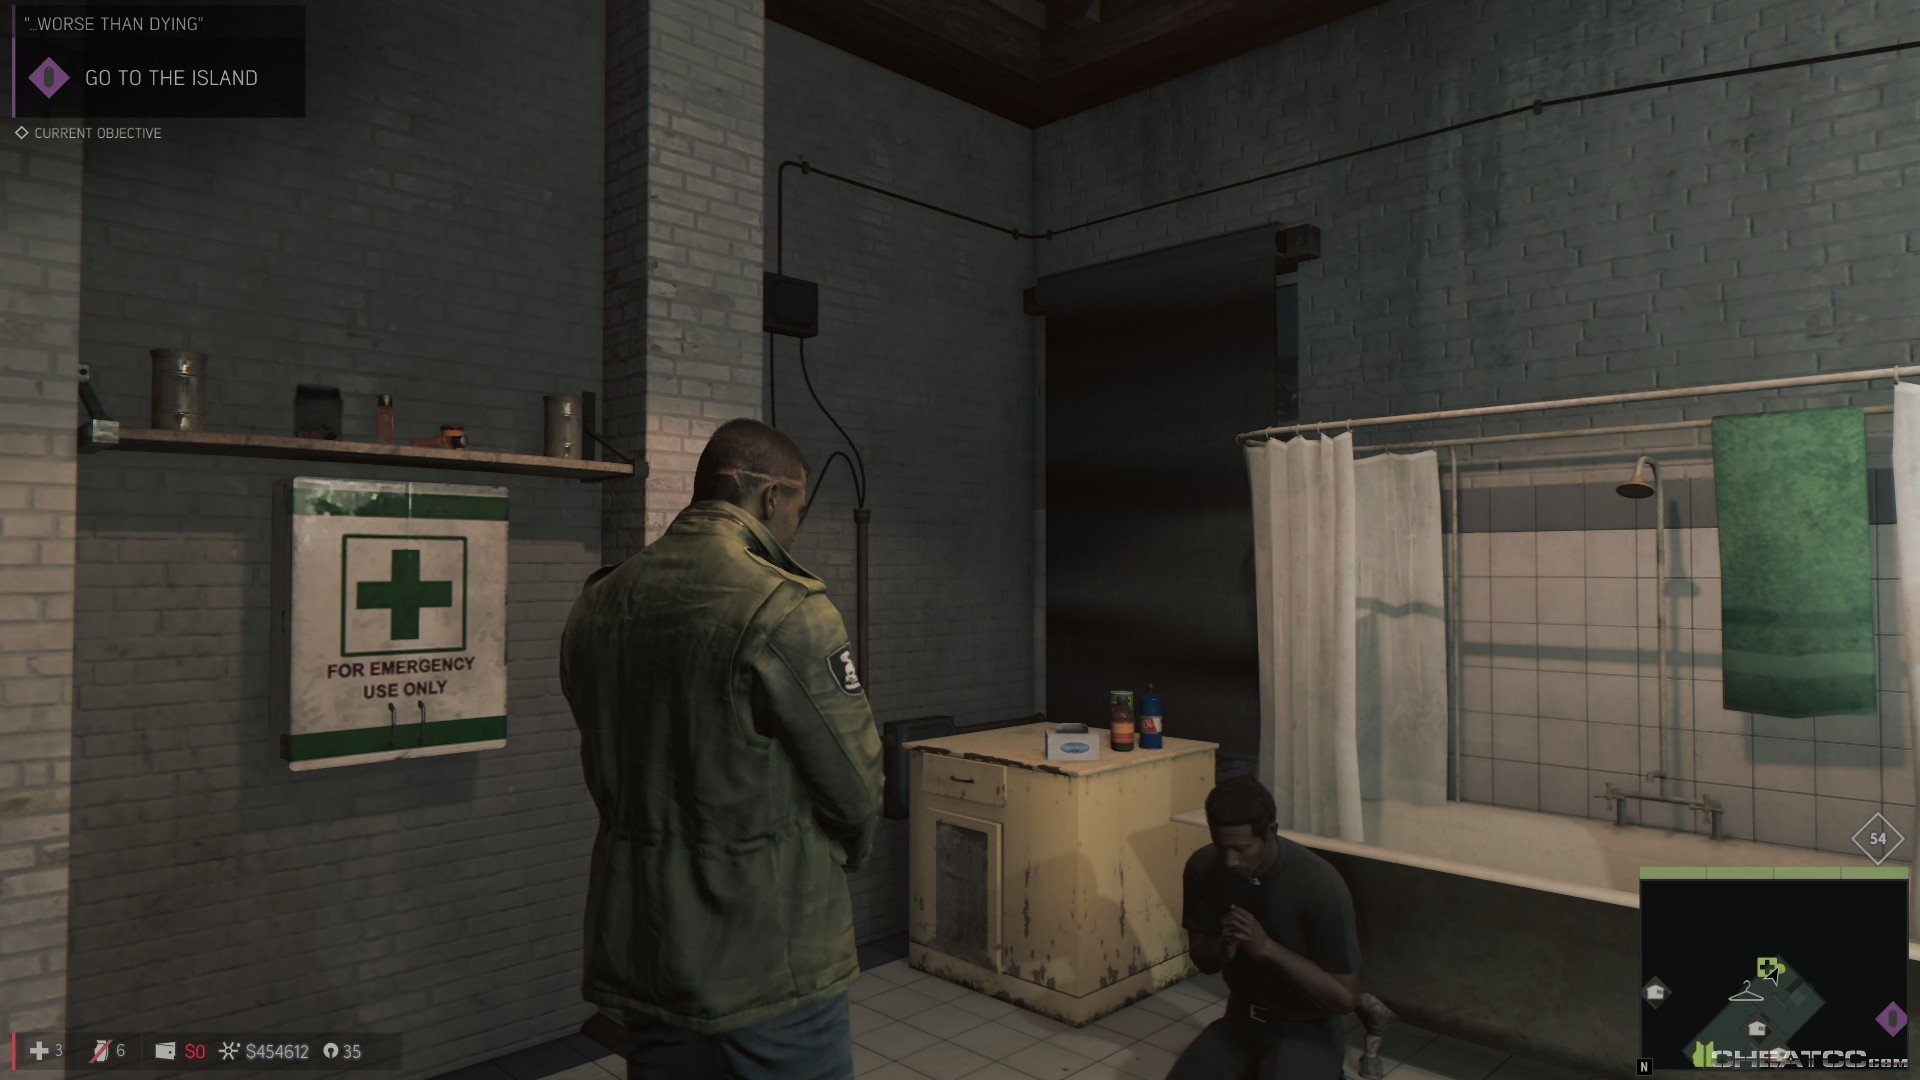
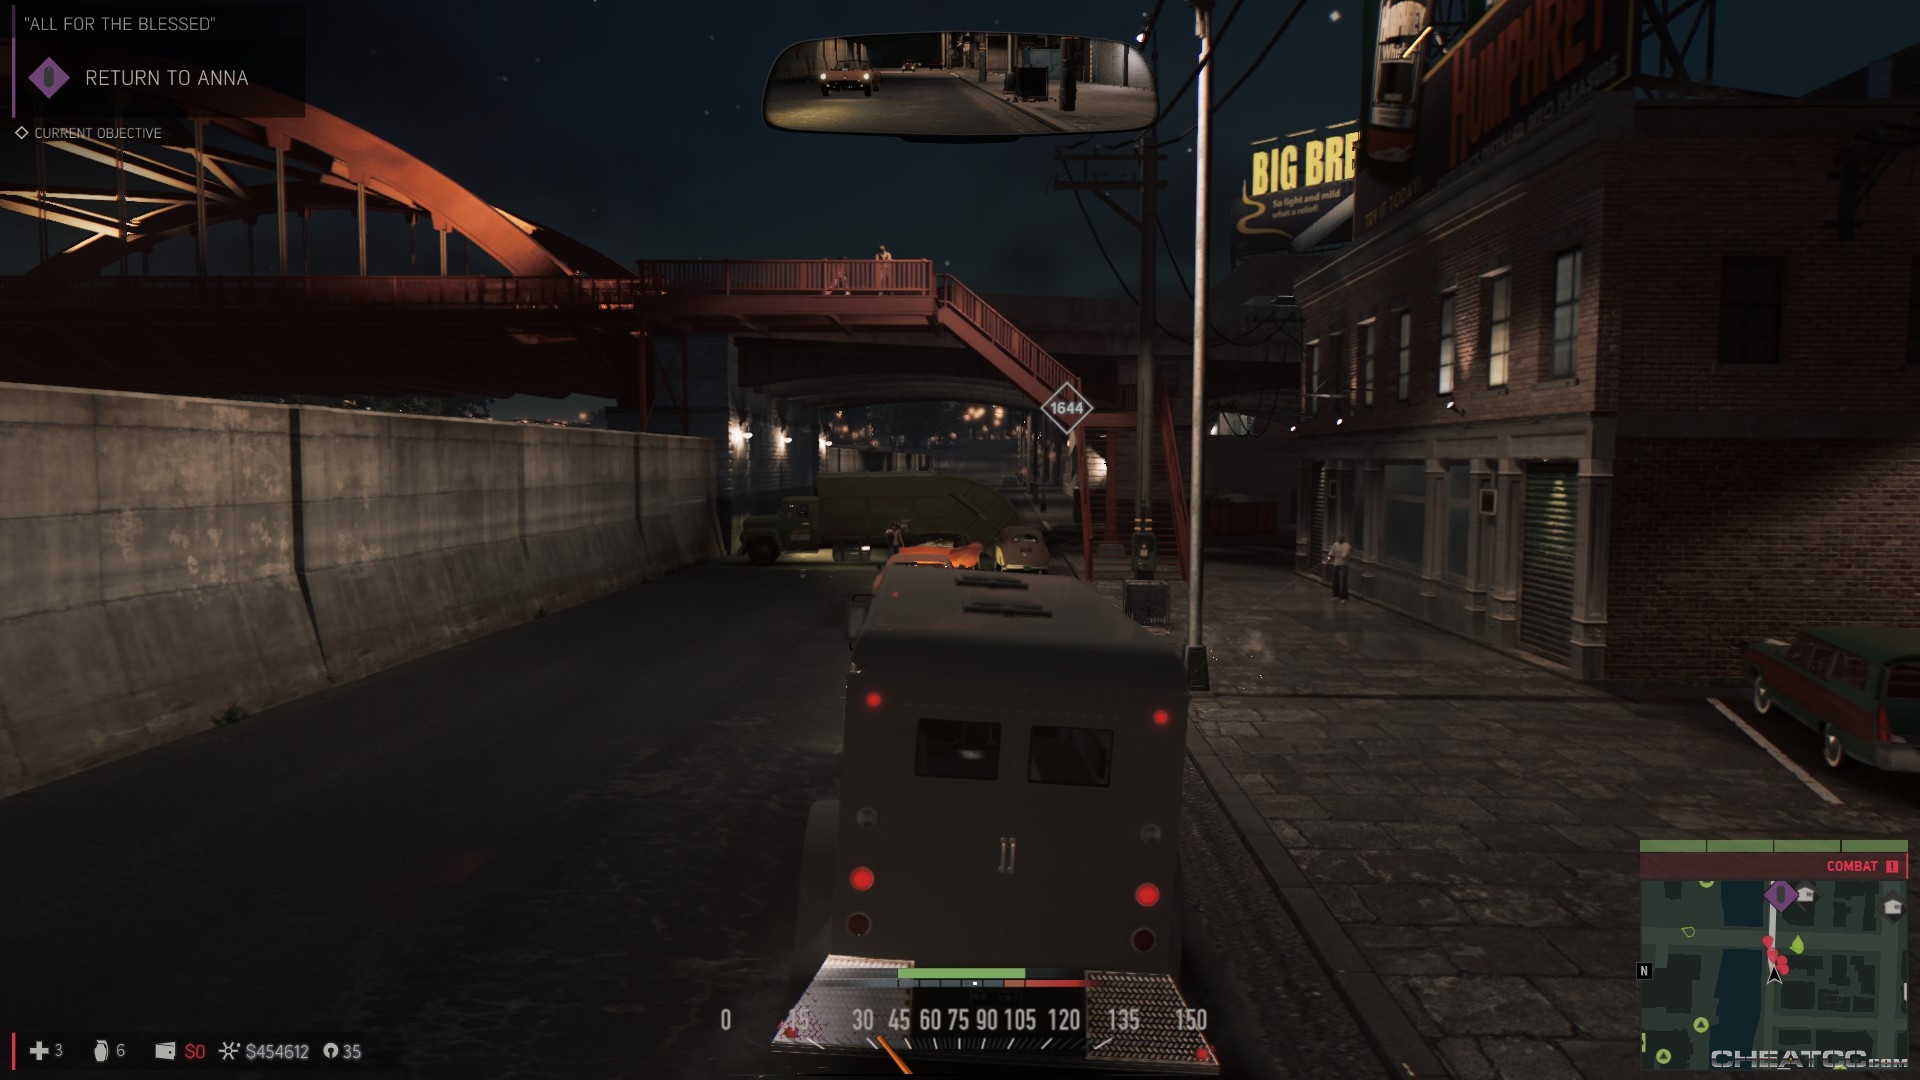
You're now on the last leg of the story arc- 'Worse than Dying.' Snag the health kit and tac vest in the apartment if you need them, and refresh your supplies from the weapons van before grabbing the boat out back.

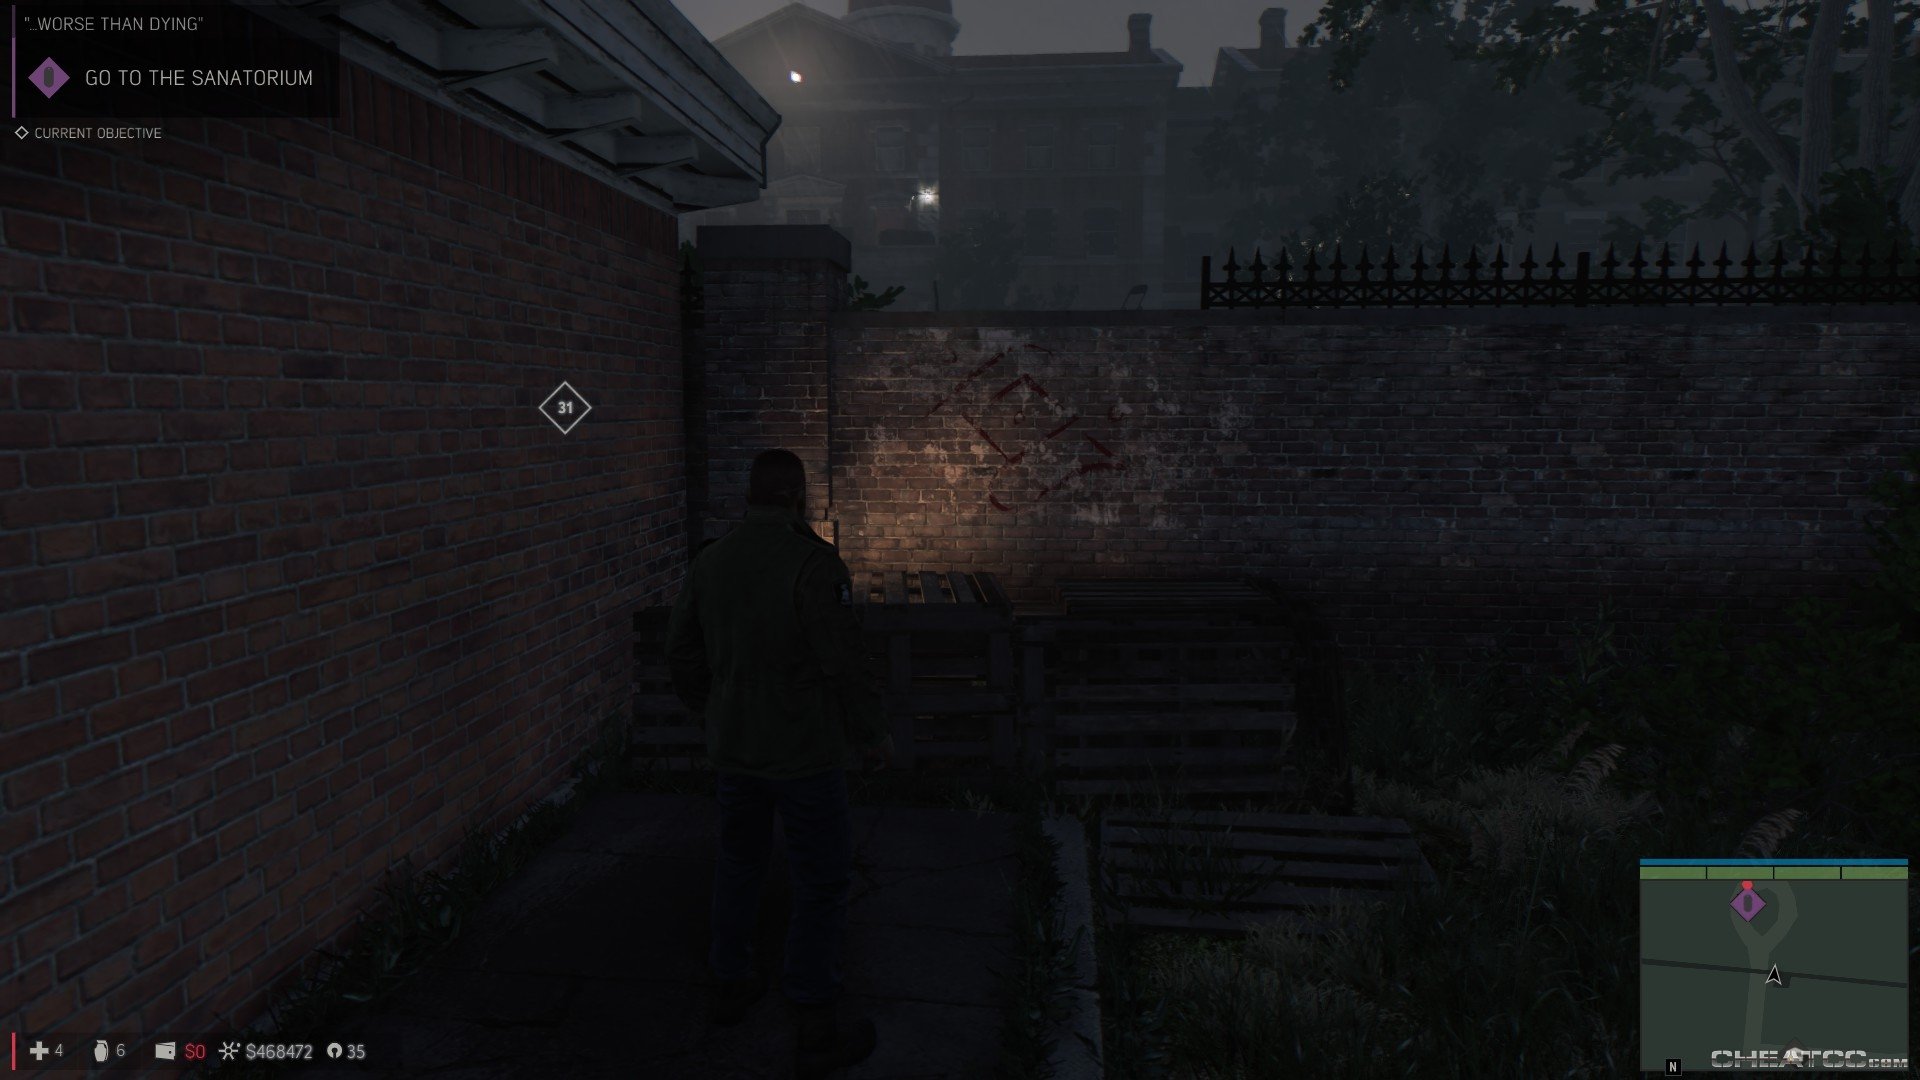
There is, alas, no speedboat Retaliation squad. In fact, there's no resistance at all until you enter the sanitarium grounds, so ignore the ominous lightning strikes and just follow your marker. If you forgot to replenish supplies before leaving the mainland, there is a small shack with a weapons locker to the right of the main gate.
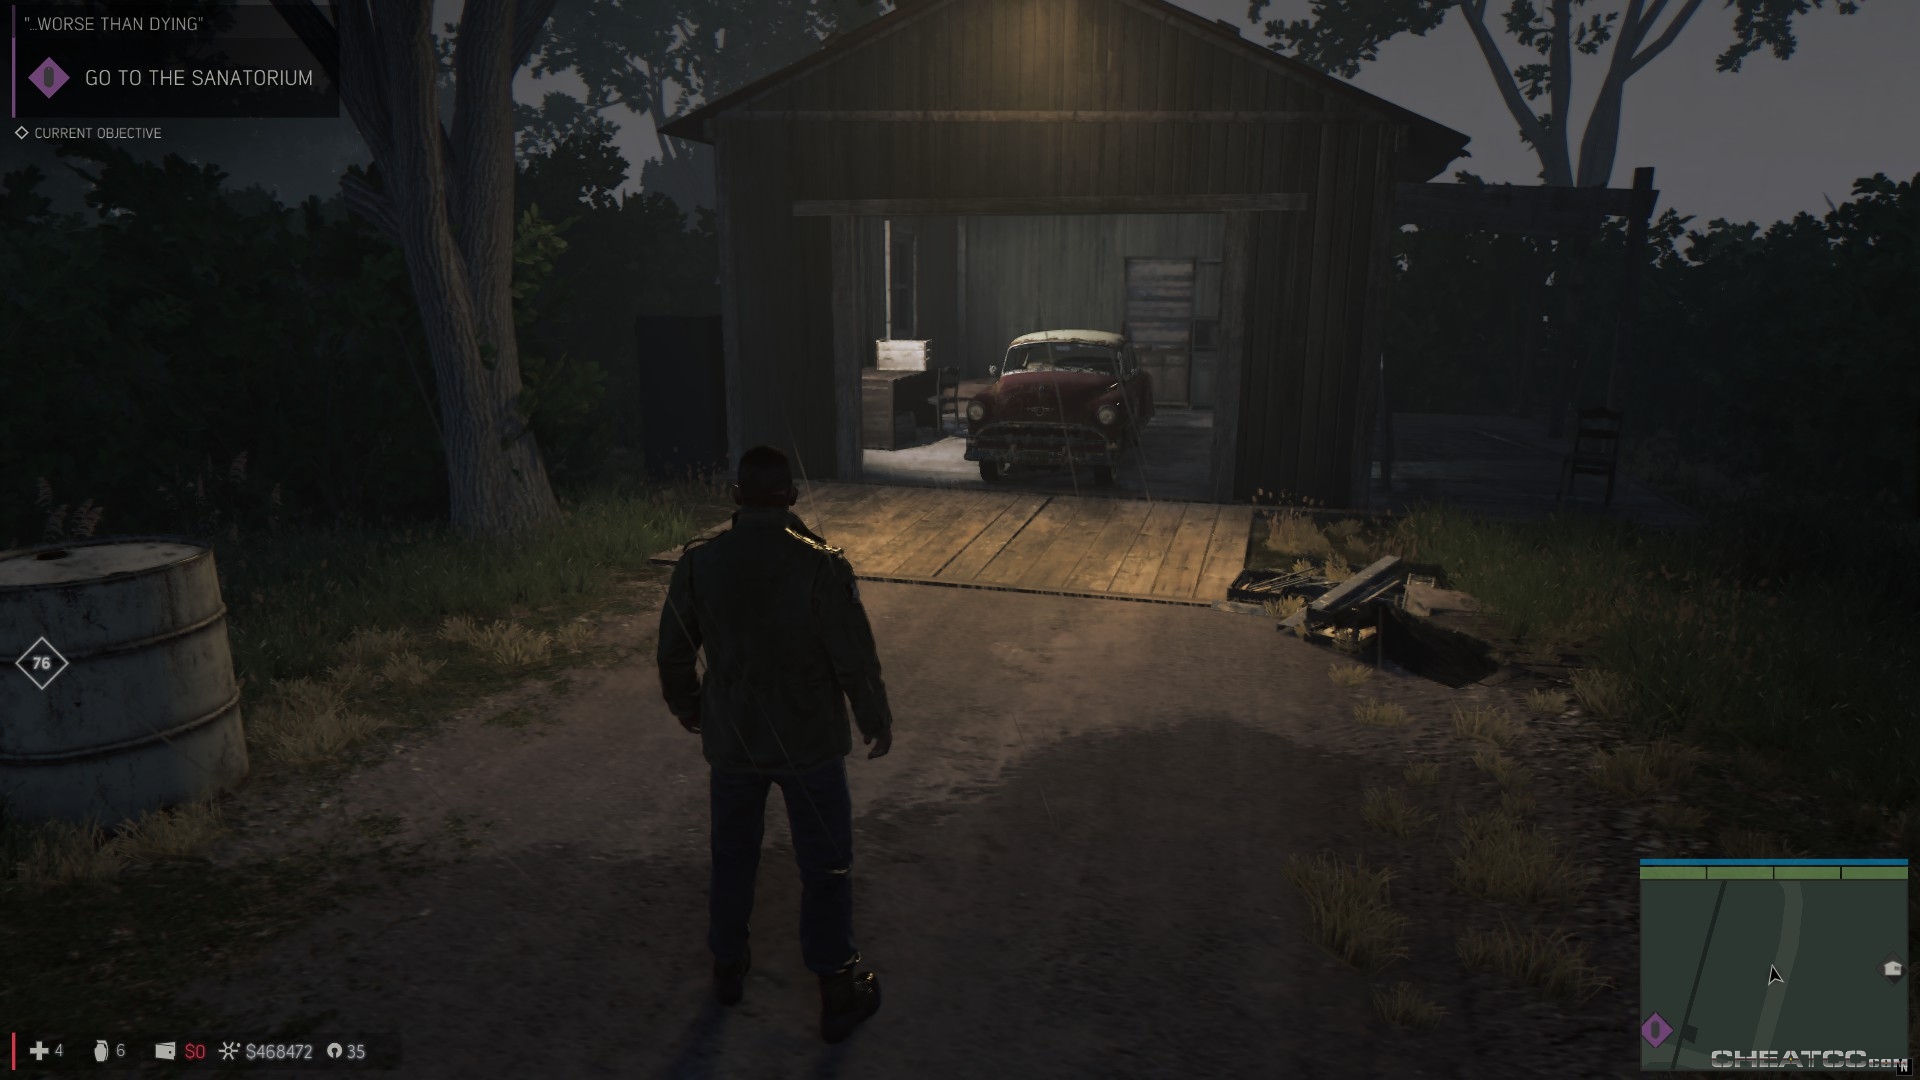
The main gate itself is inaccessible, so bear right and look for the sigil. Climb up the boxes and into hostile territory.
Your slomo mode activates here. Take advantage of it to mow down the enemies in the yard. Remember that headshots refill the meter, so take the extra tenth of second to target some skulls.
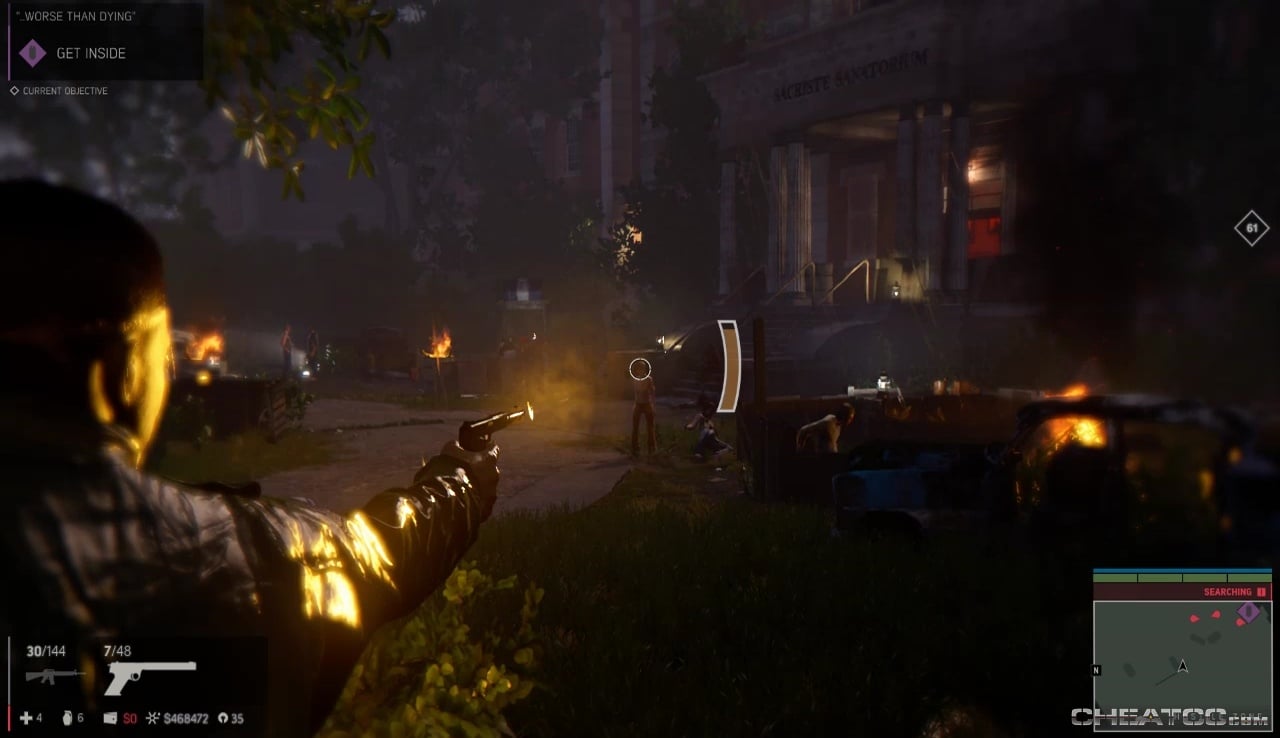
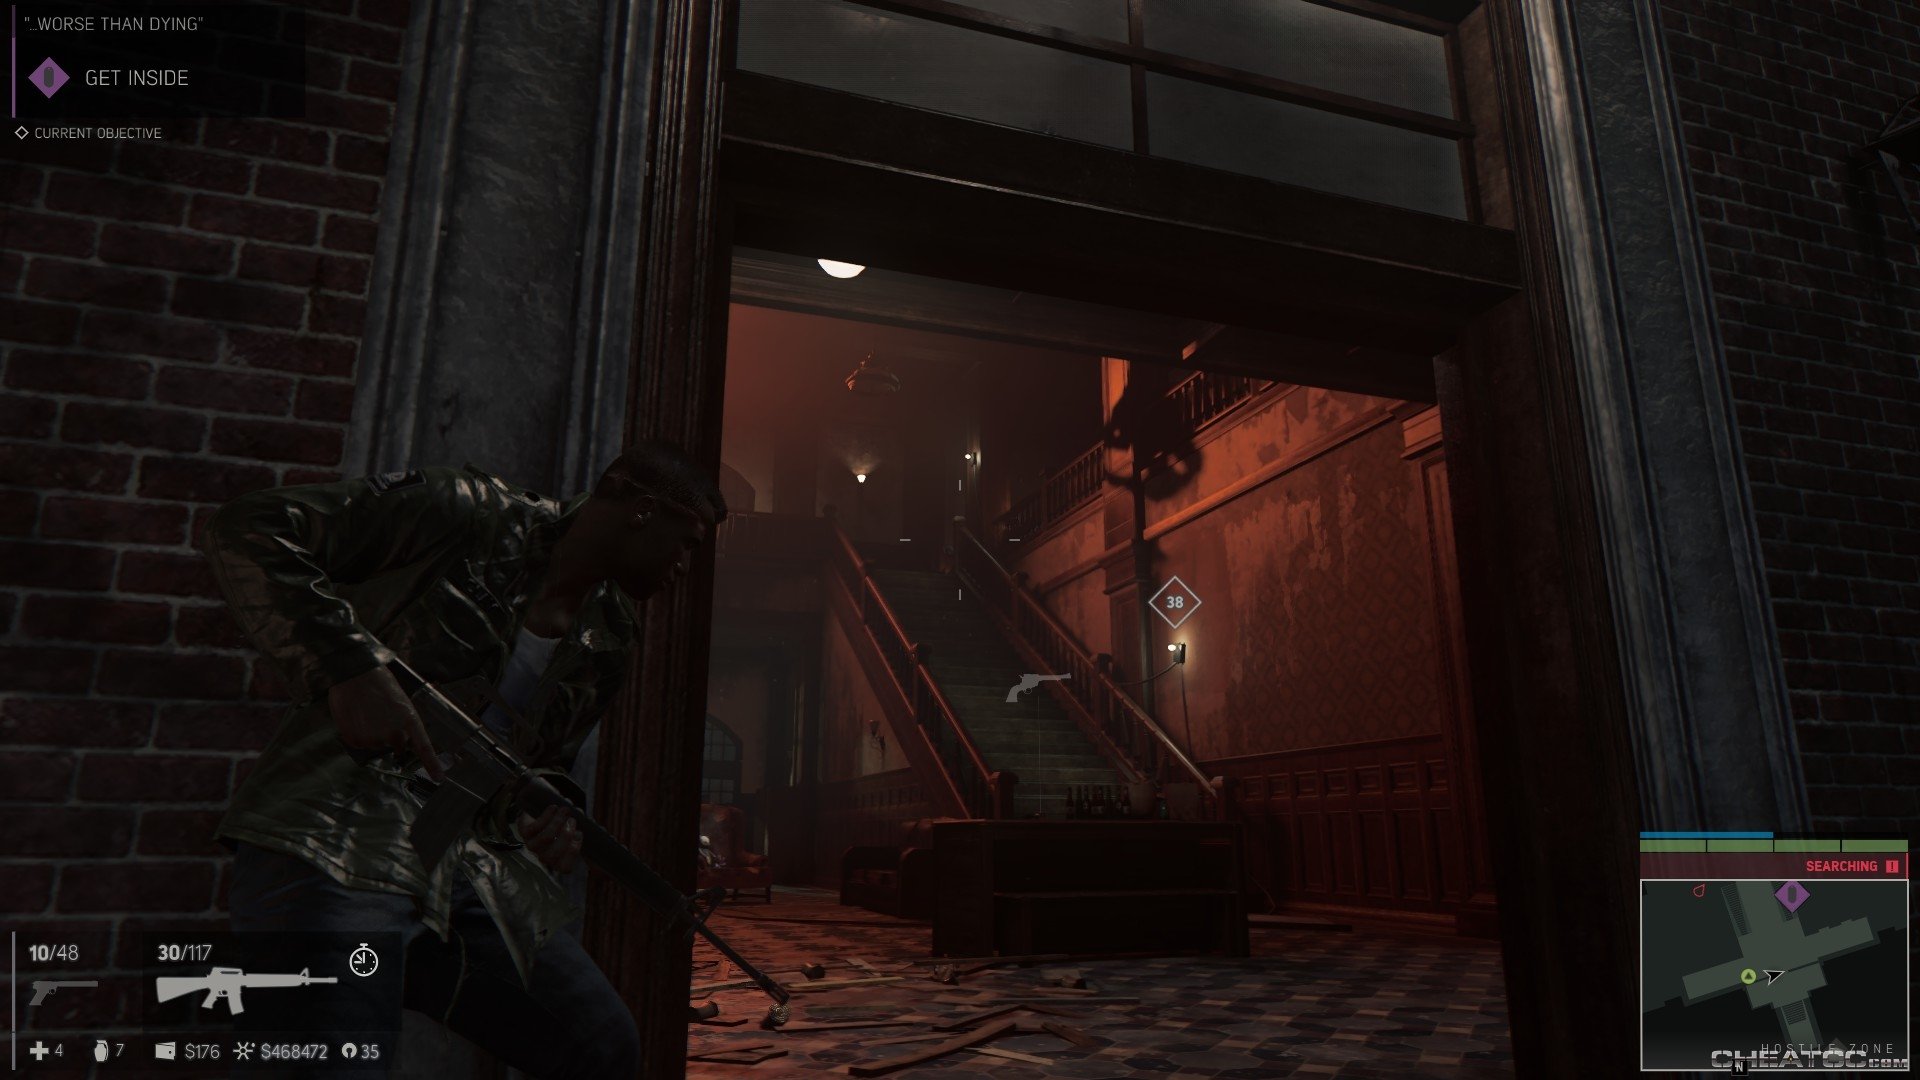
When everyone outside has gone limp, approach the main door. You'll face one running knifewoman (melee specialist on the field!), and two gunman holed up atop the stairs. Kill them all to gain entrance.
Follow your marker to an overlook, with another courtyard full of enemies (expect another knife attack as you do). This is an ideal place to use your slomo power for a TPK before they even know what's happened.
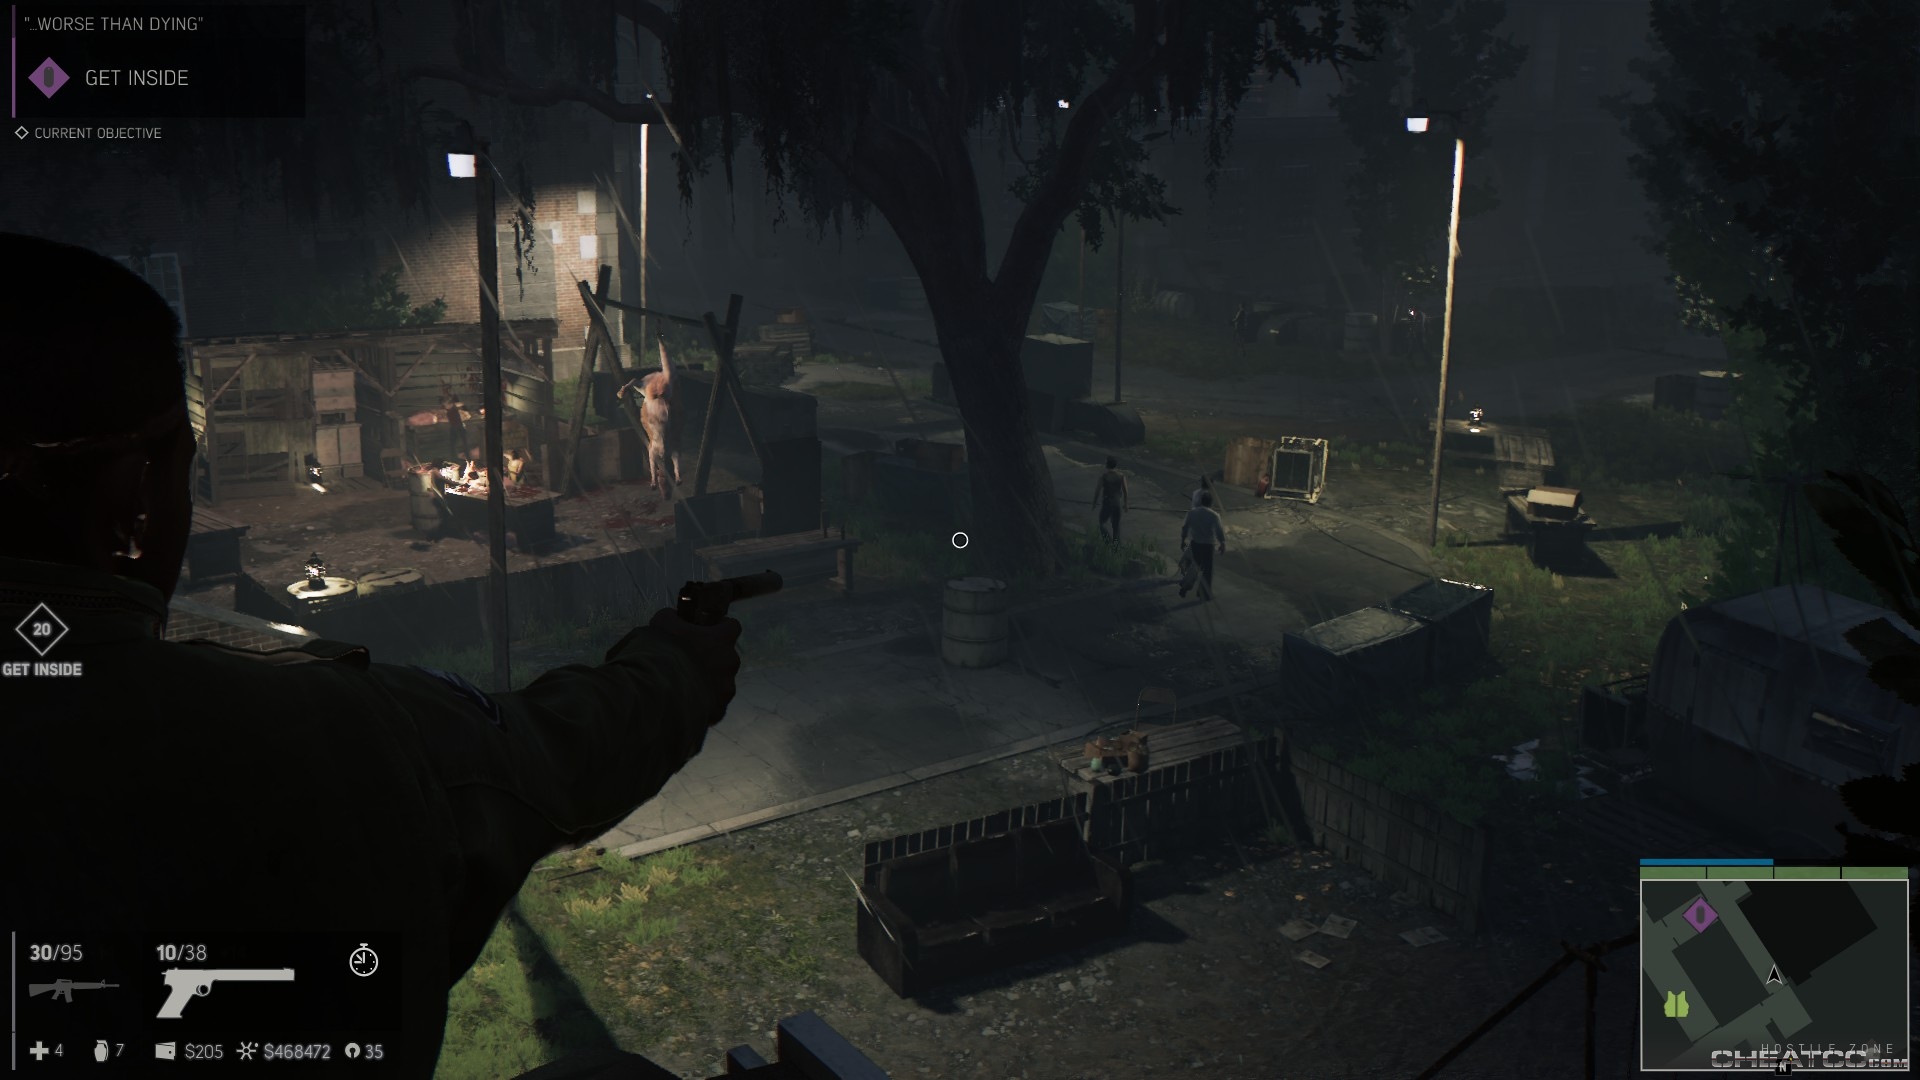
Be sure not to leave any stragglers, as you may need to pass this way again. Follow your marker back inside, and to a mysterious door that requires two cryptic artifacts to unlock.
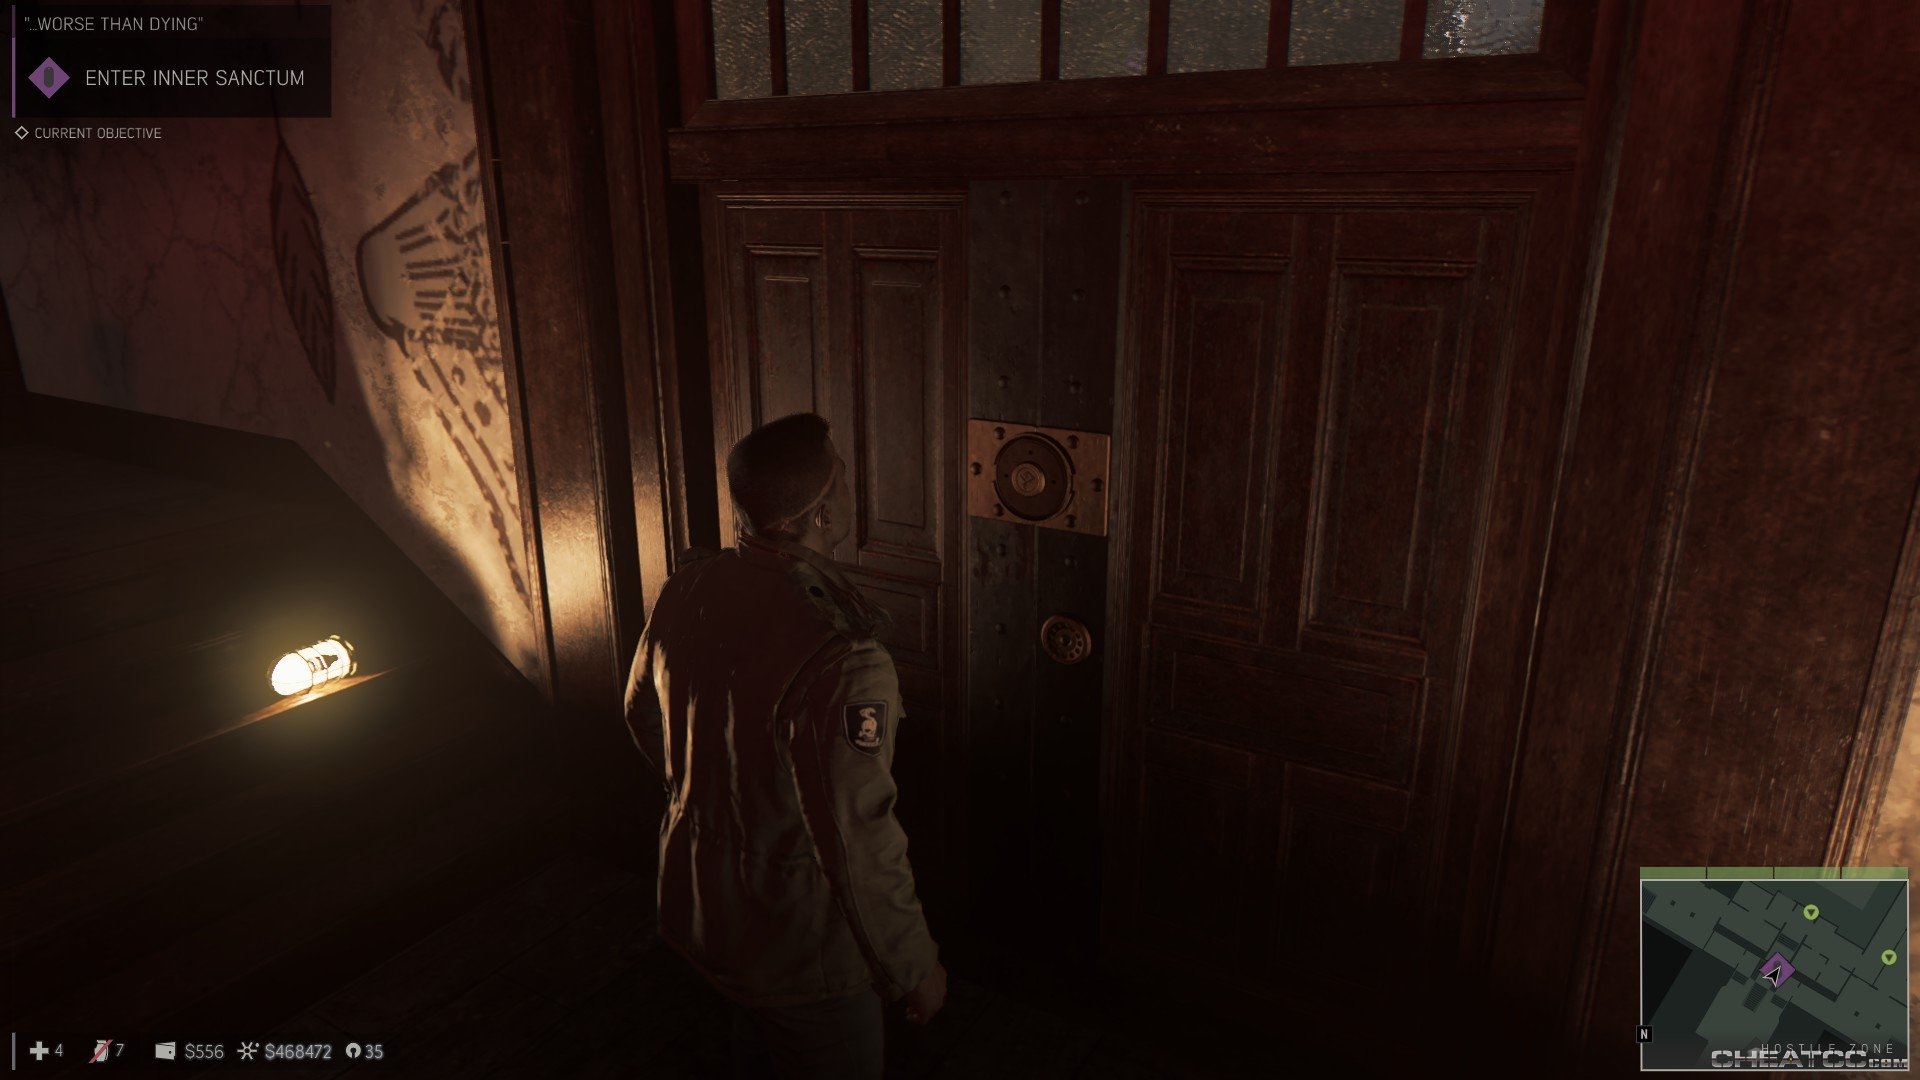
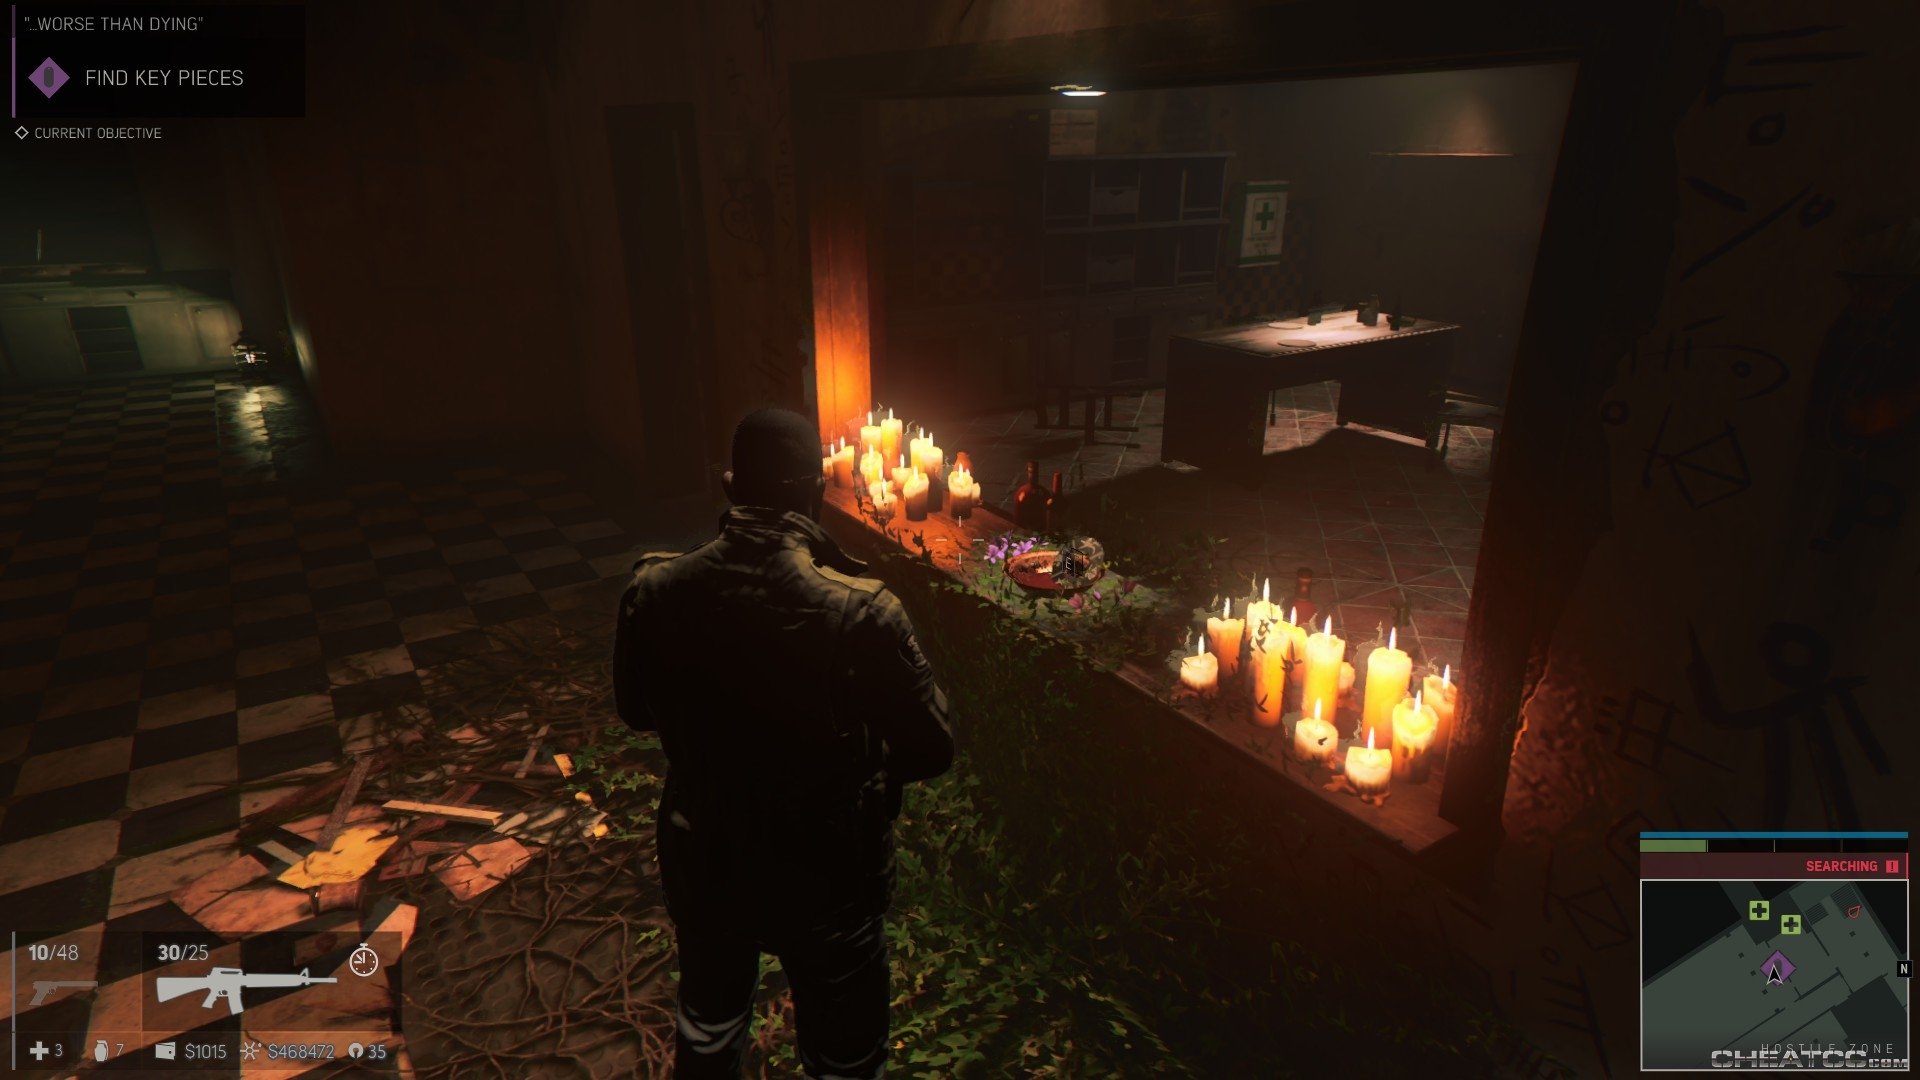
The westermost one is the easiest one, so let's start there. Follow your marker down a hall o' hallucinogens and into the overgrown morgue.
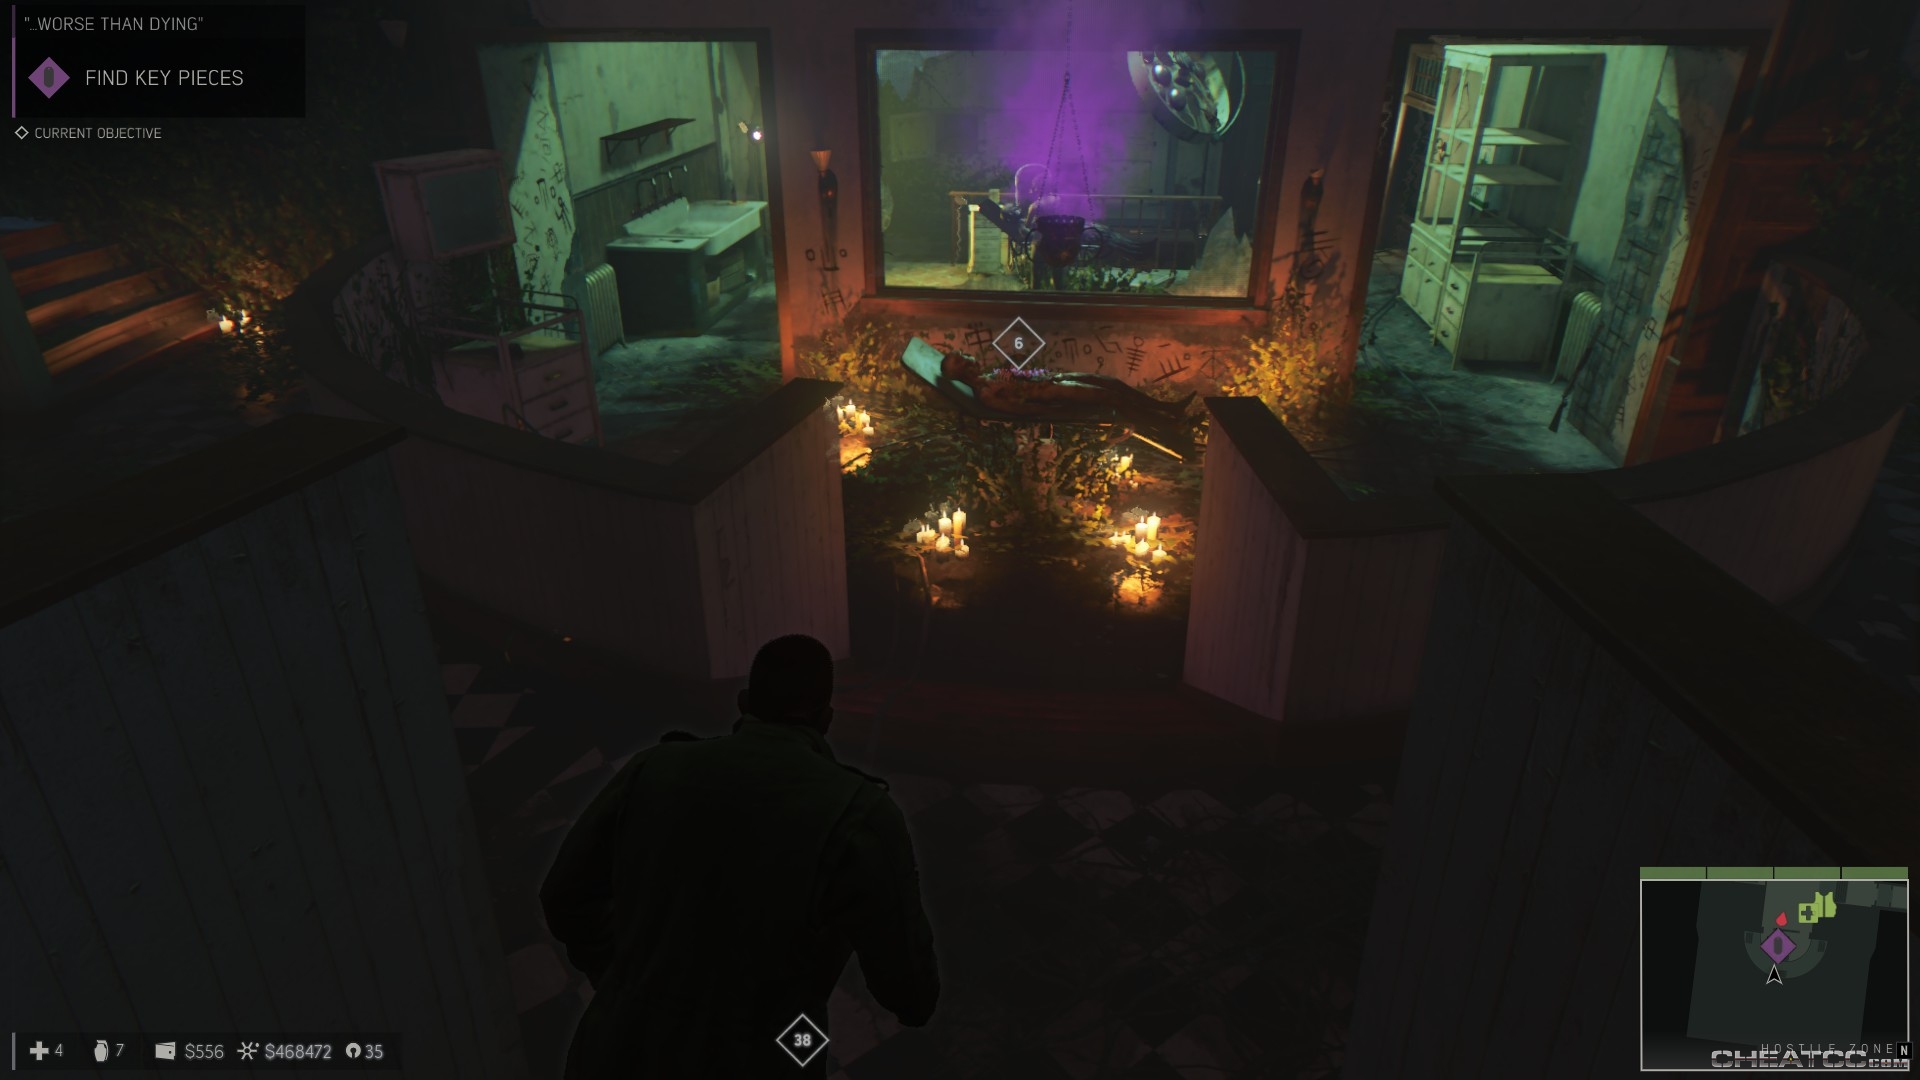
Grab the keypiece from the near corpse, then knock out the cultist. There's plenty of ammo and weapons around, if you're low, and you can check your minimap for a nearby tacvest and medkit.
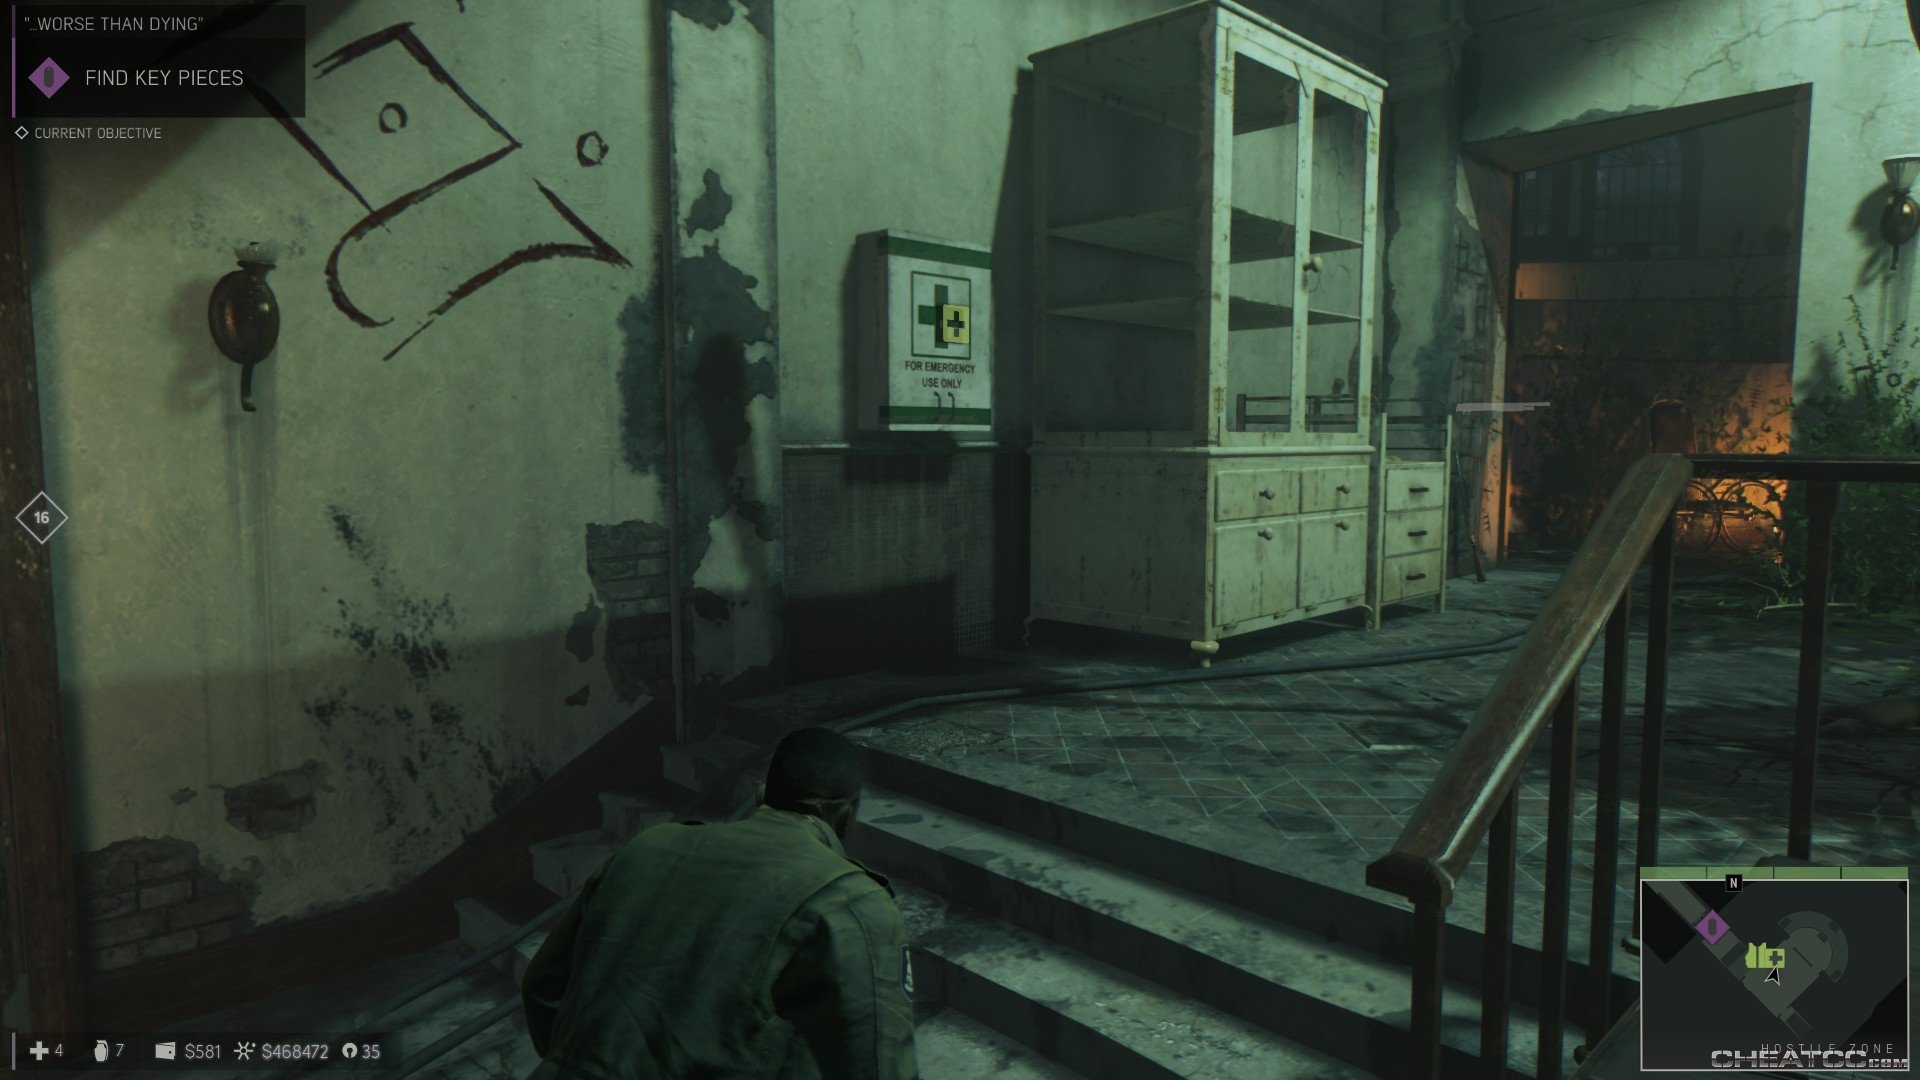
Follow your marker back out into courtyard. Re-enter the inner sanctum and make for other keypiece in the nutrition wing. The trail takes you to an auditorium stuffed with hostiles.
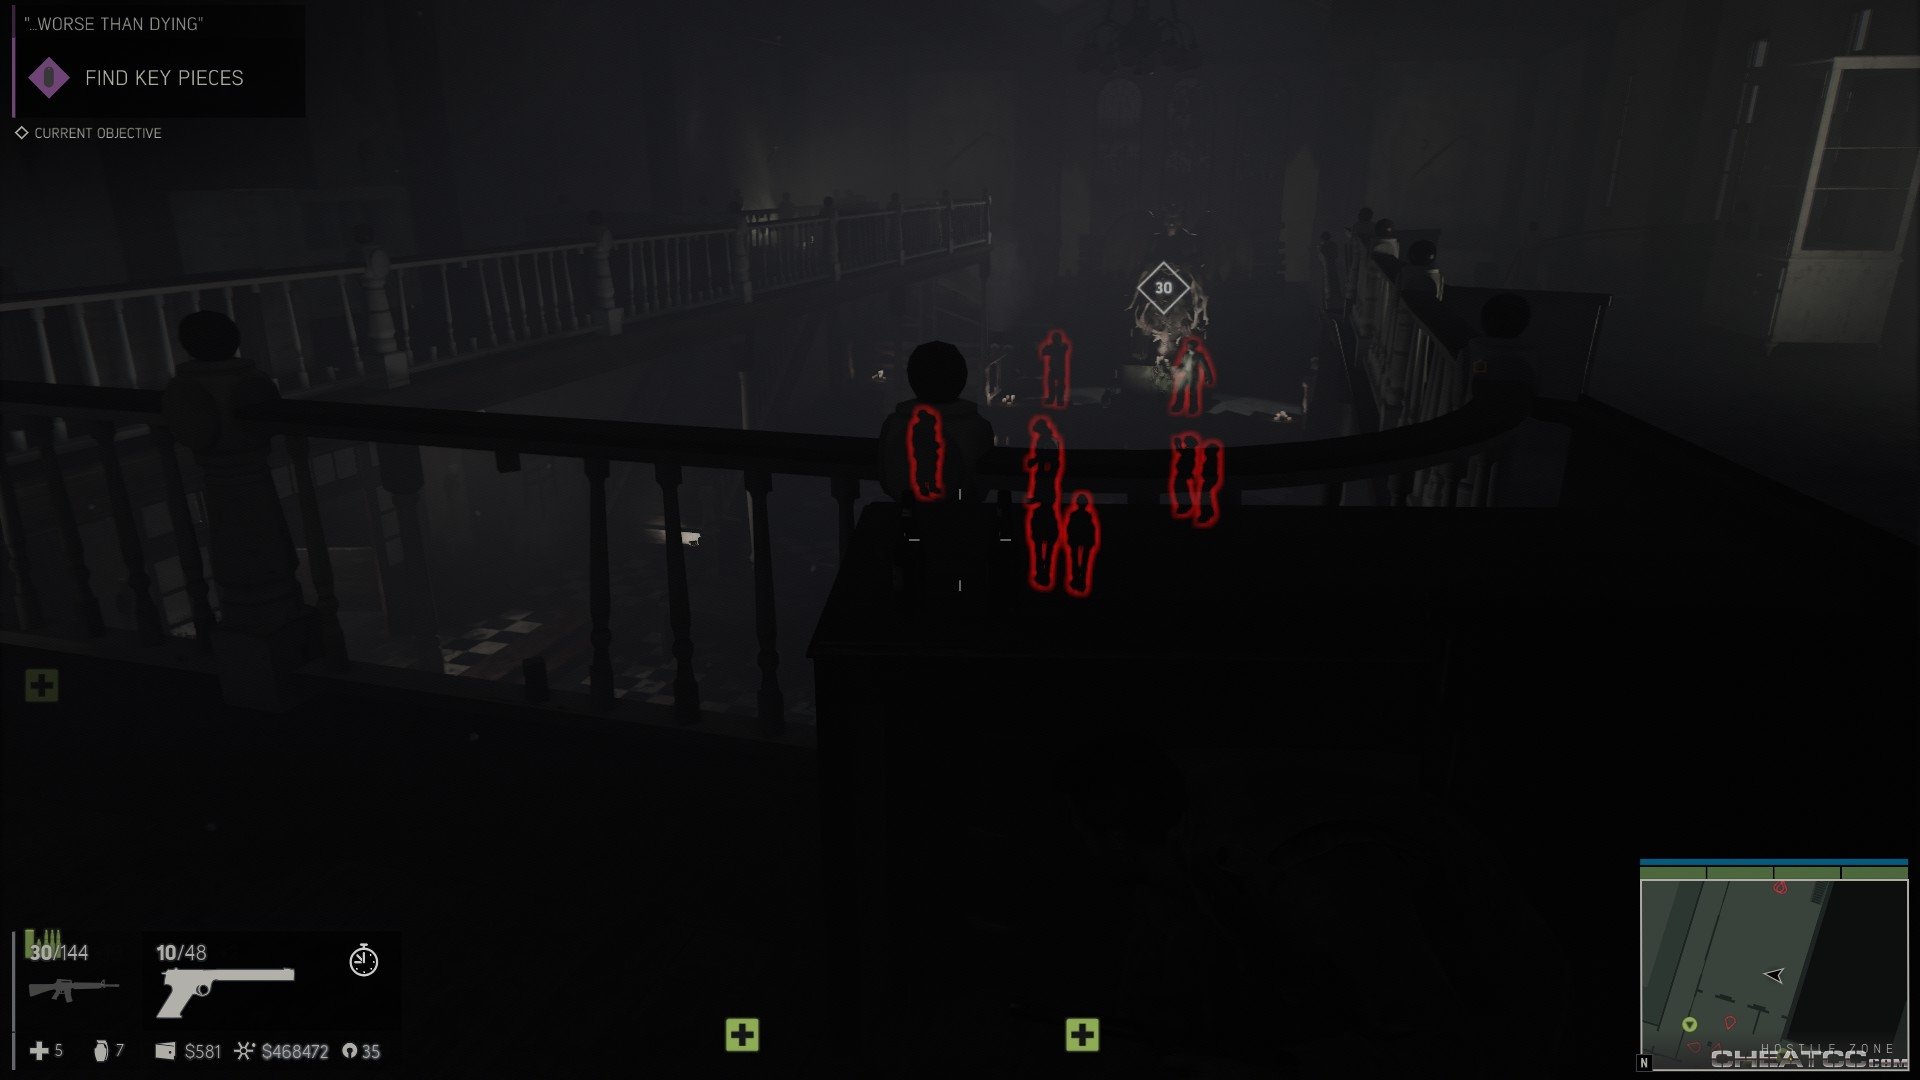
A little slomo goes a long way here- just make sure your upperstory cover isn't blocking your shots. If you decide to just try and make a break for it, note that keypiece isn't actually at the altar, but at the opposite end of the hall.
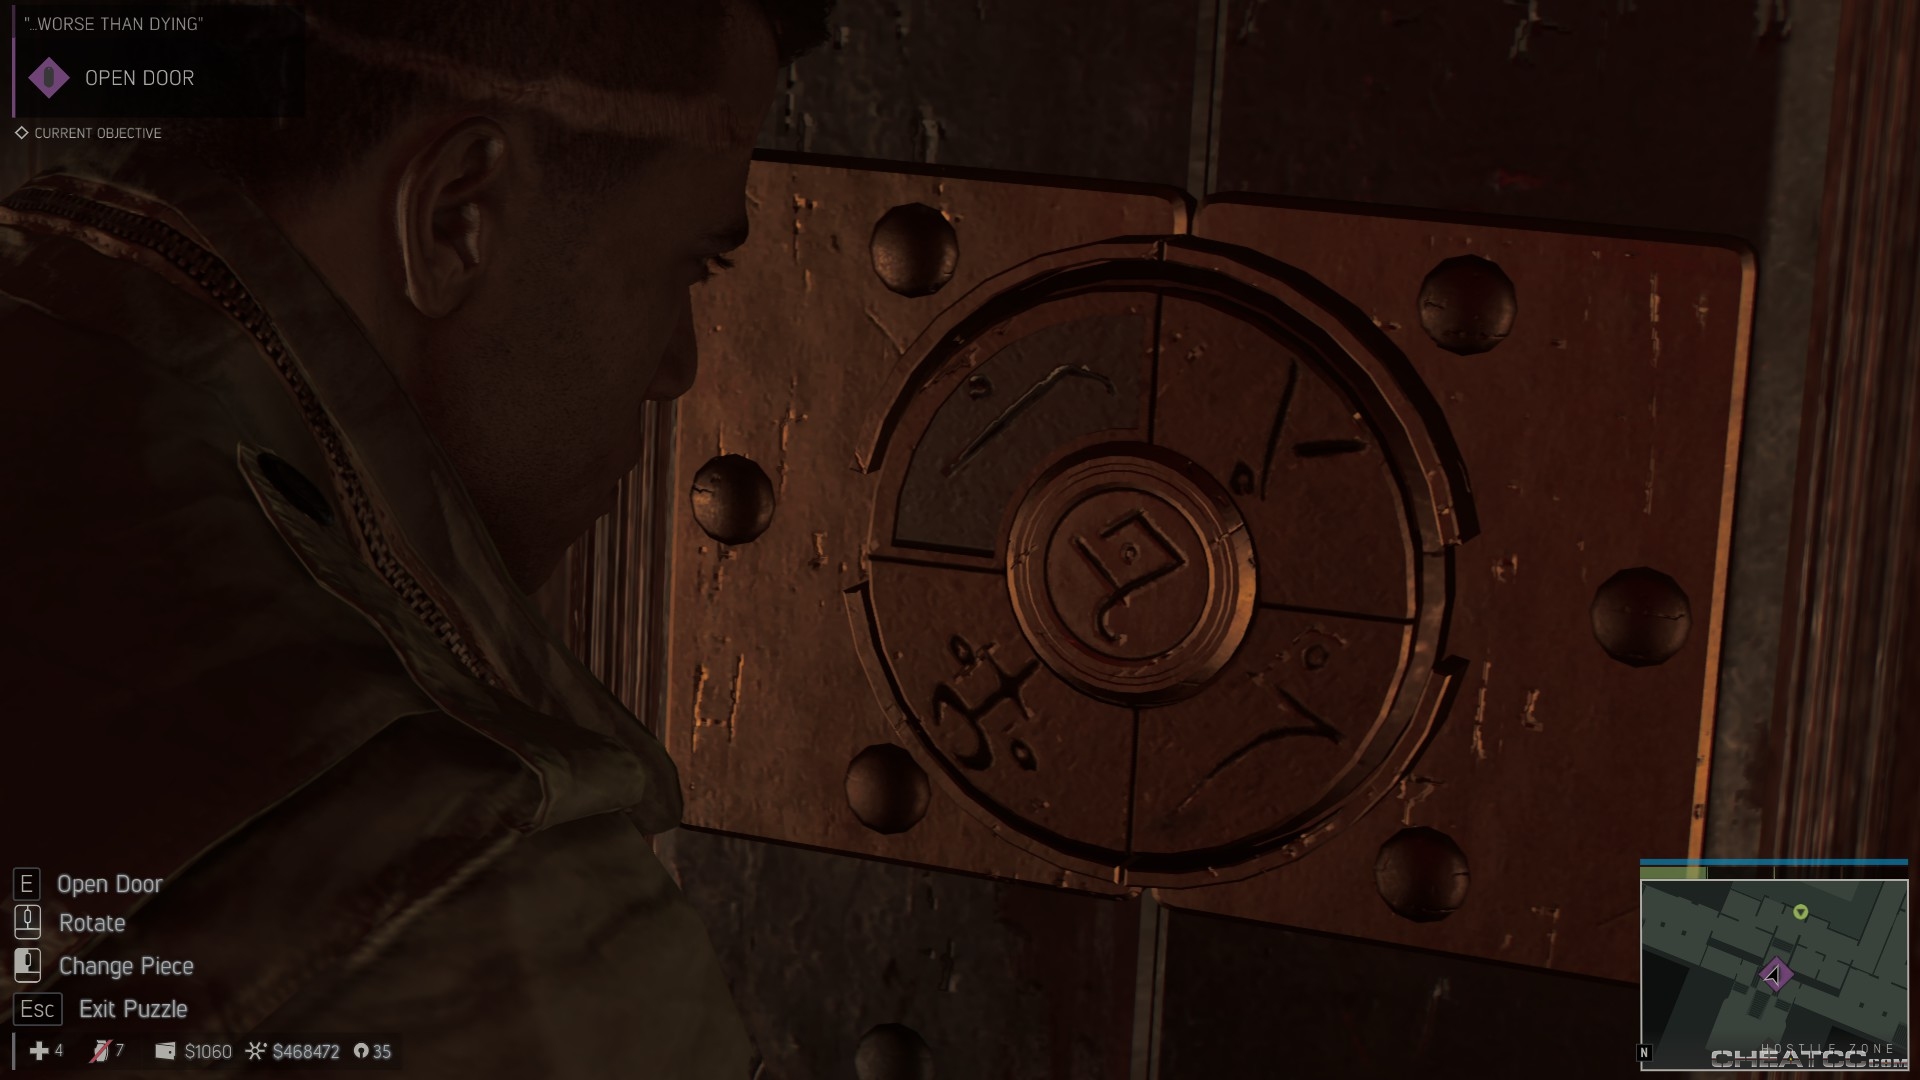
However you acquire it, return to the locked door and slot the pieces into place. To solve the puzzle, you can use your blacklight to reveal the patterns on the wall around the door, or you can just enter the combination pictured below.
Pass through the door and into the most vivid hallucinogenus loci yet.
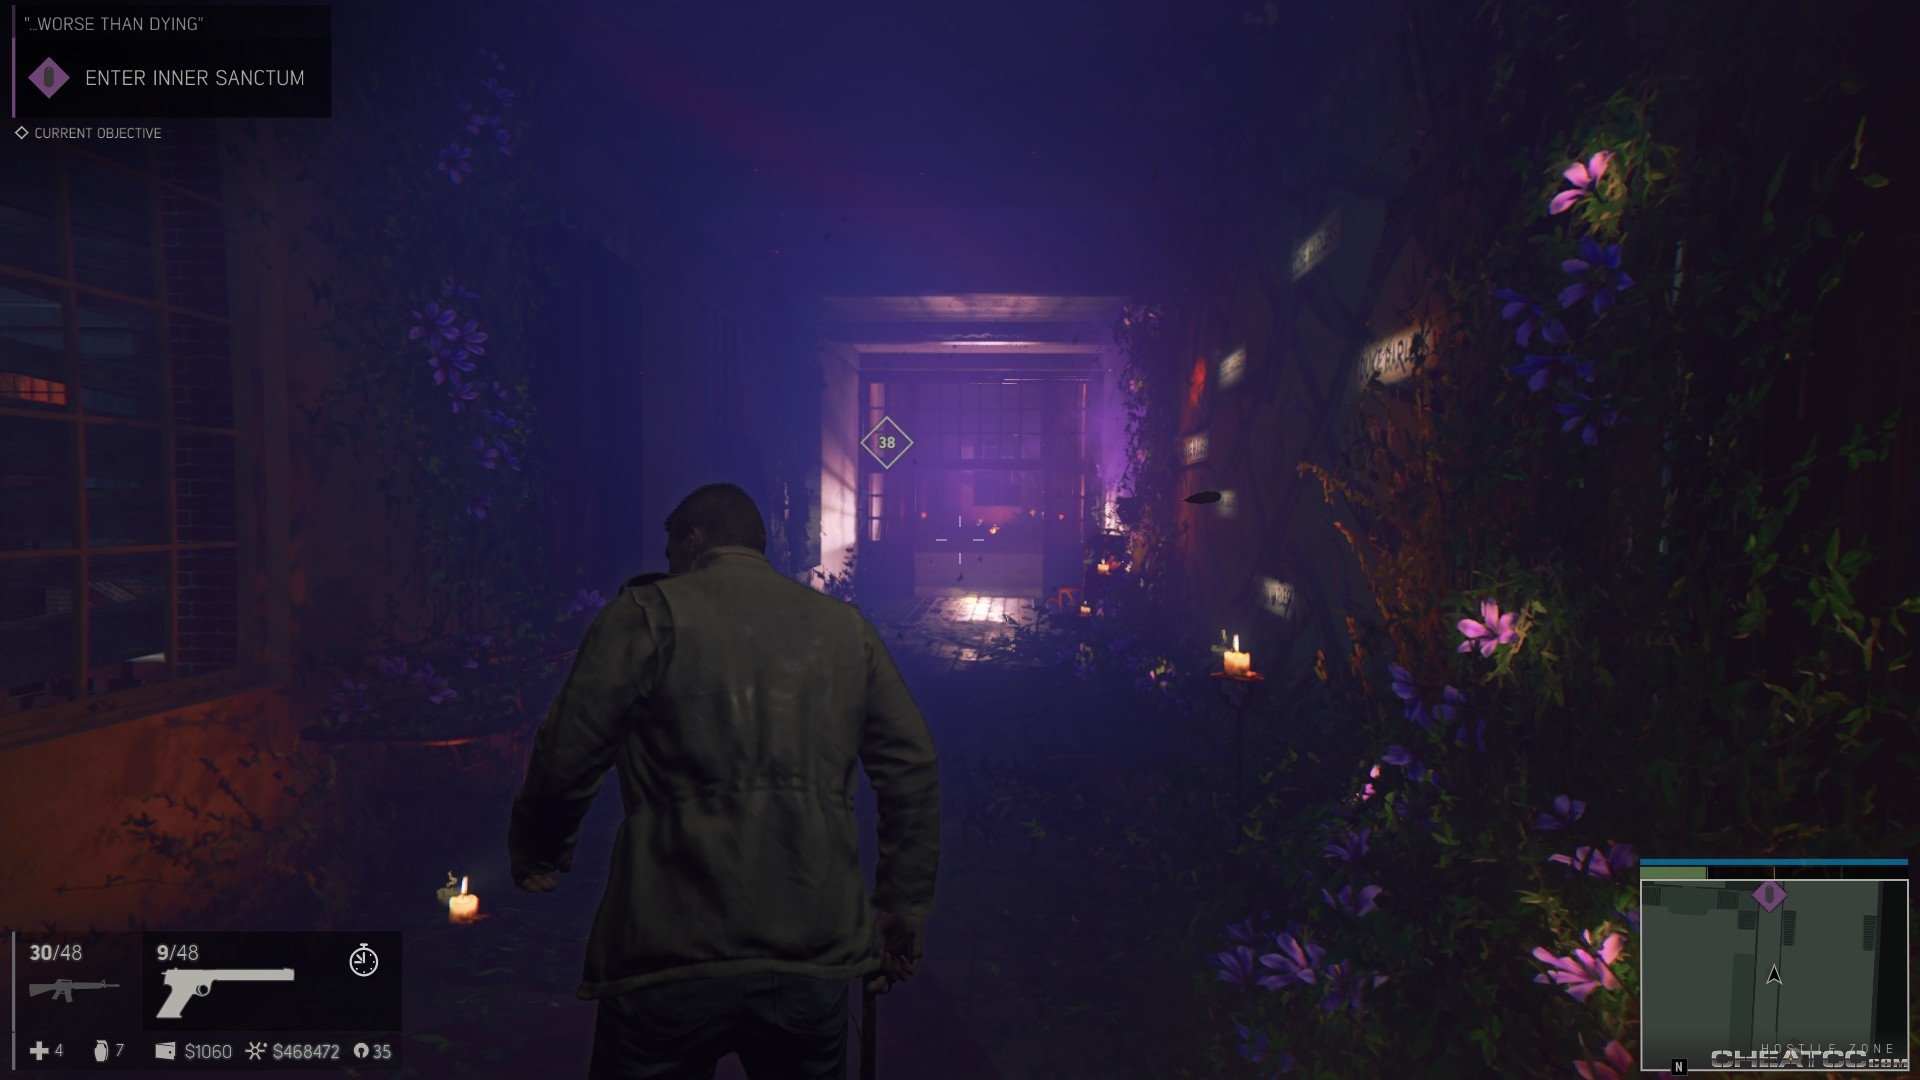
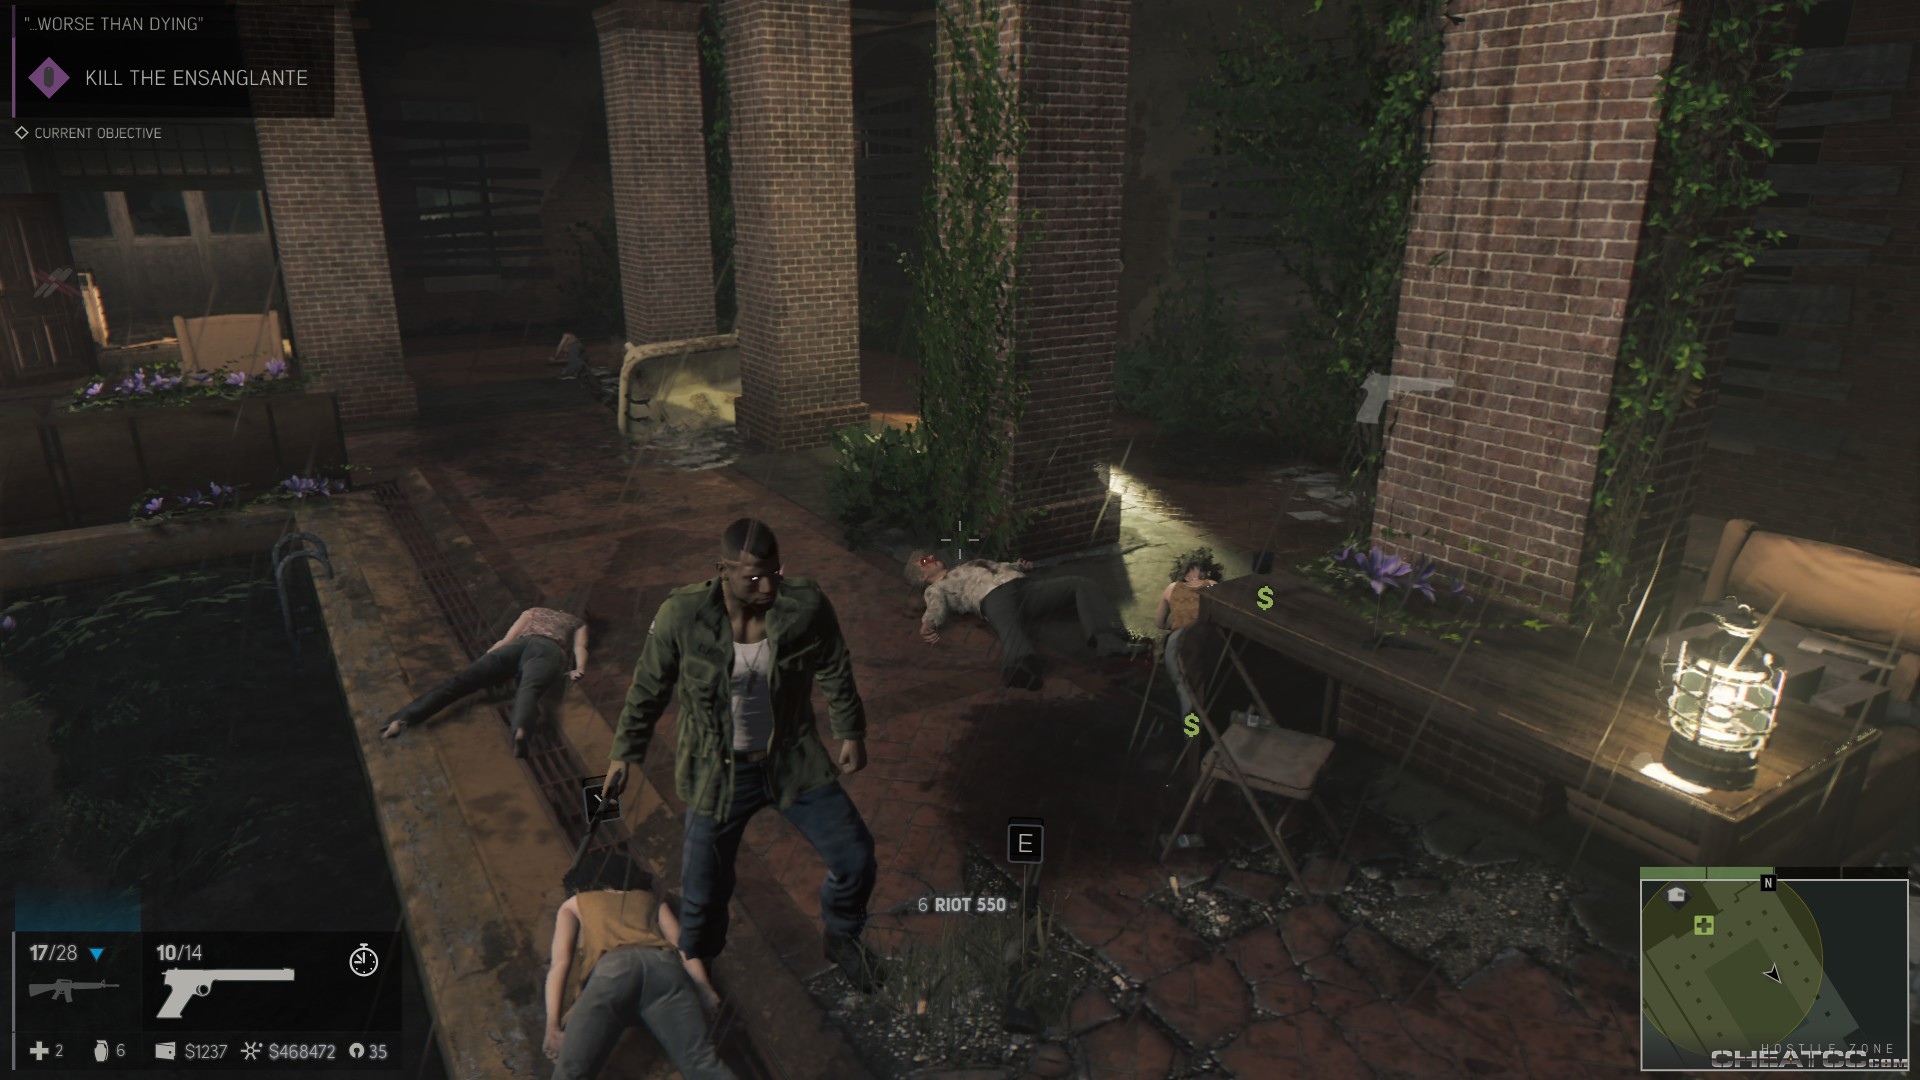
Things will look pretty bad for our not-exactly-a-hero, but there are no QTEs here. Just let the madness take their course, and you'll regain control poolside, with an instruction to exterminate the cultists.
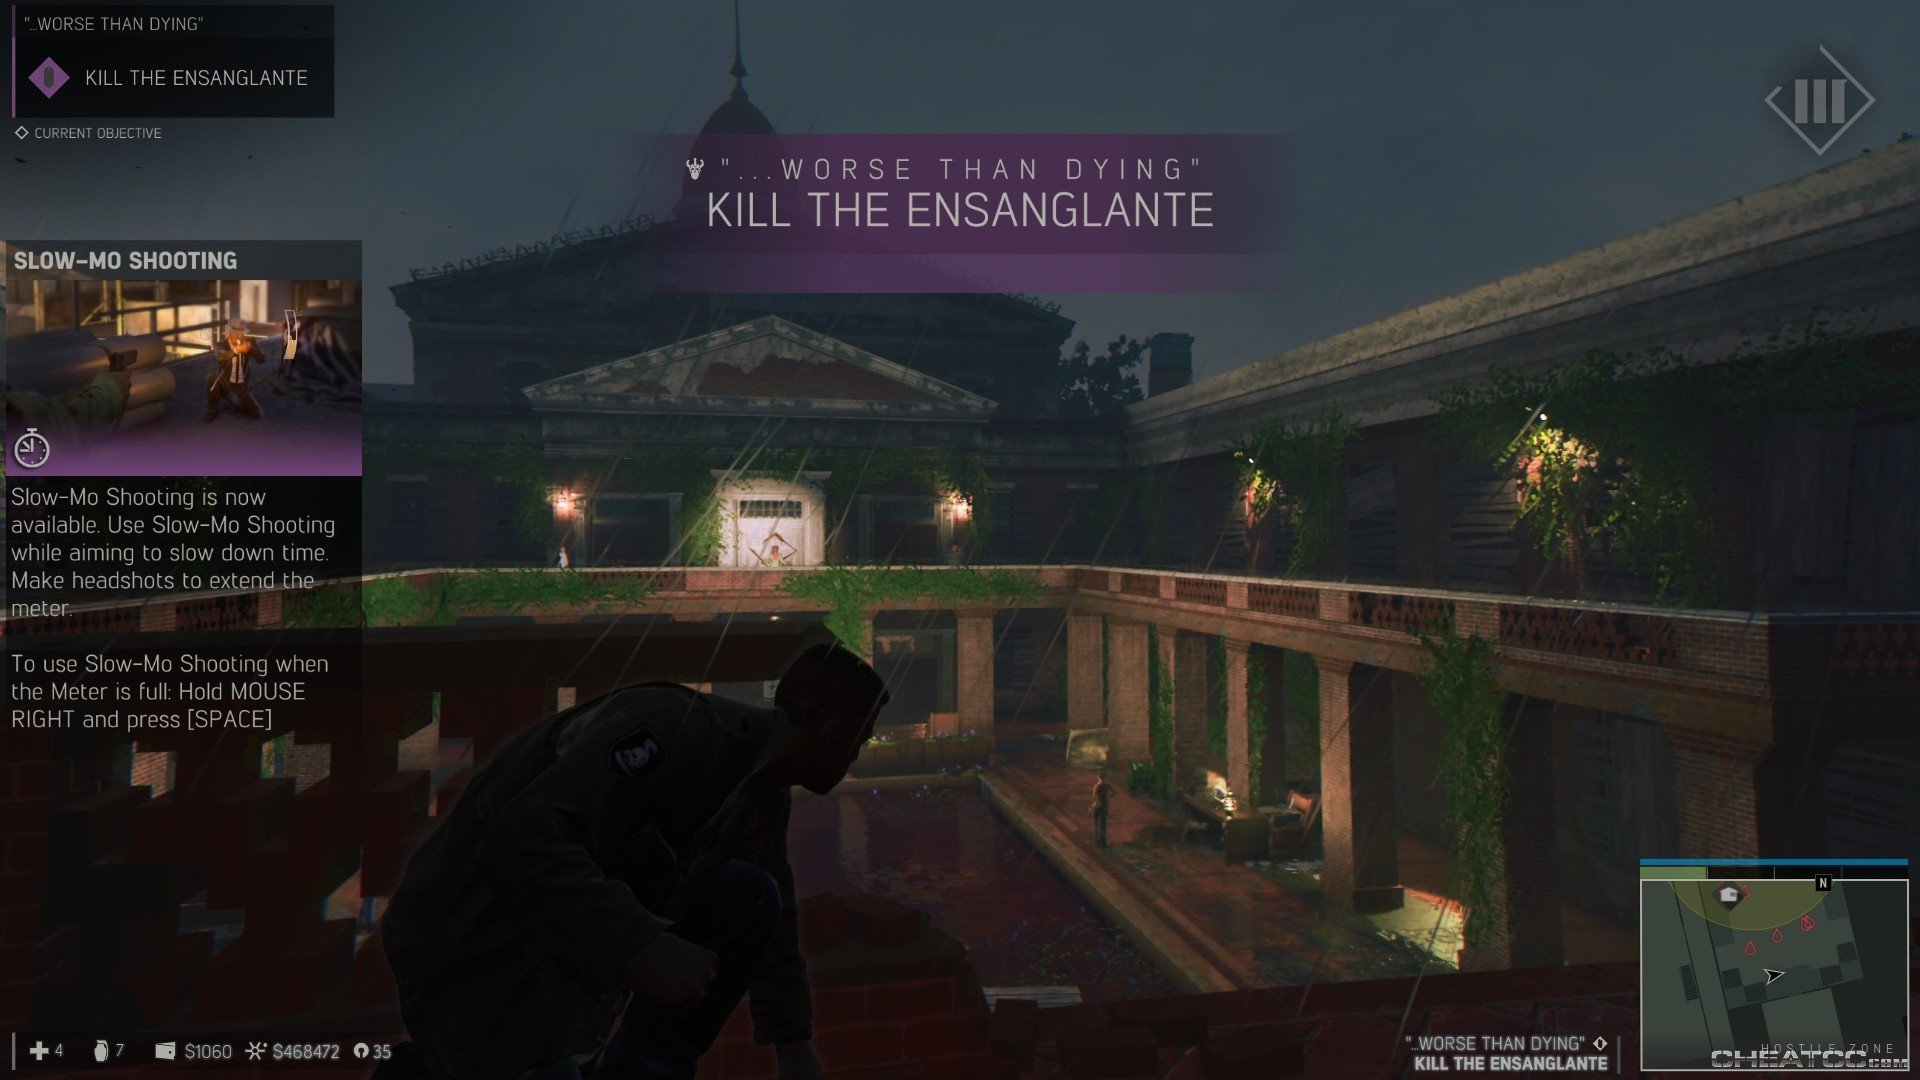
Do use slomo for the extra killpower, but do NOT waste a bullet on Bonnie. She can't be killed here, and even the truest headshot on her won't refill your meter. Your starting position here is a good one- your platform only has stairs to the left, so you're almost impossible to flank. The only wrinkle is occasional waves of reinforcements, and enemies that hunker too far into cover. For the latter, don't be afraid to use your consumables- this is the last big fight of the chapter.
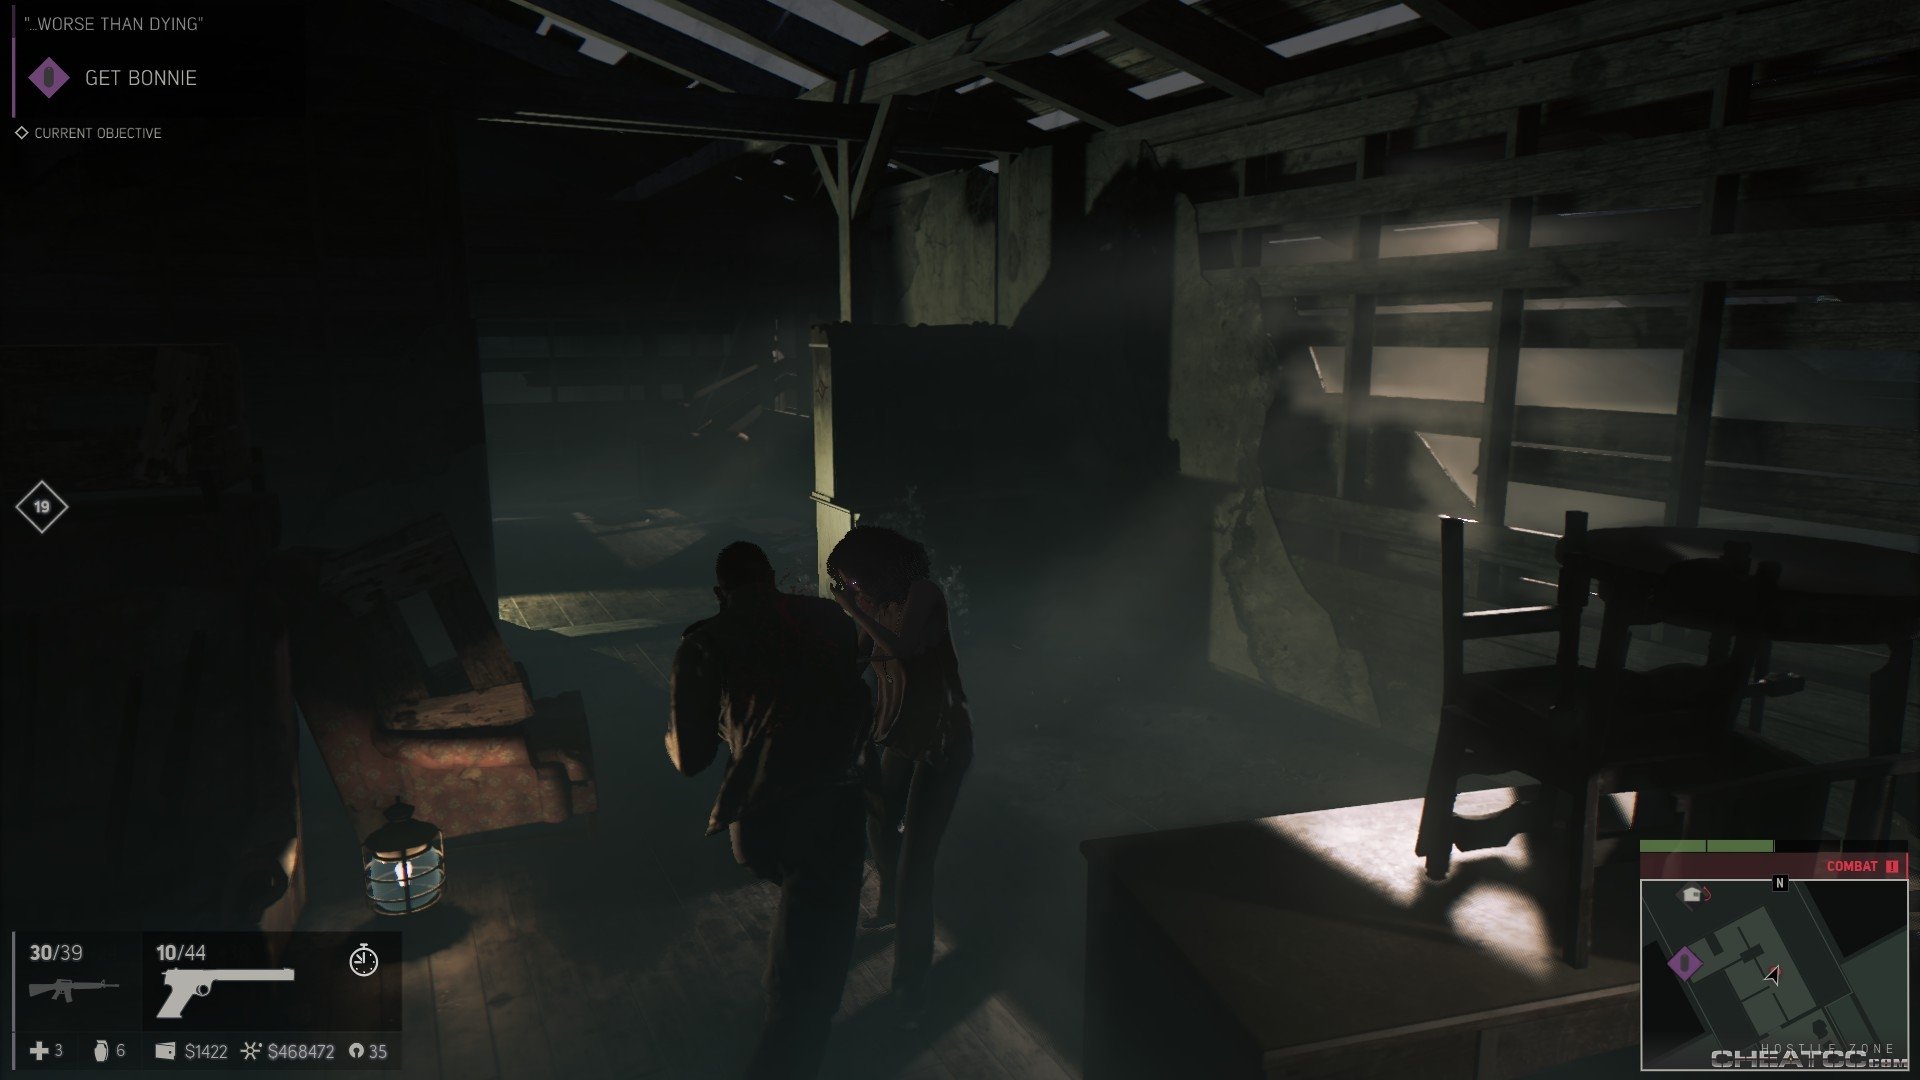
Follow your marker after Bonnie. There'll be some knifegirl ambushes, so keep a finger on L-ALT, and be ready with a counterpunch.
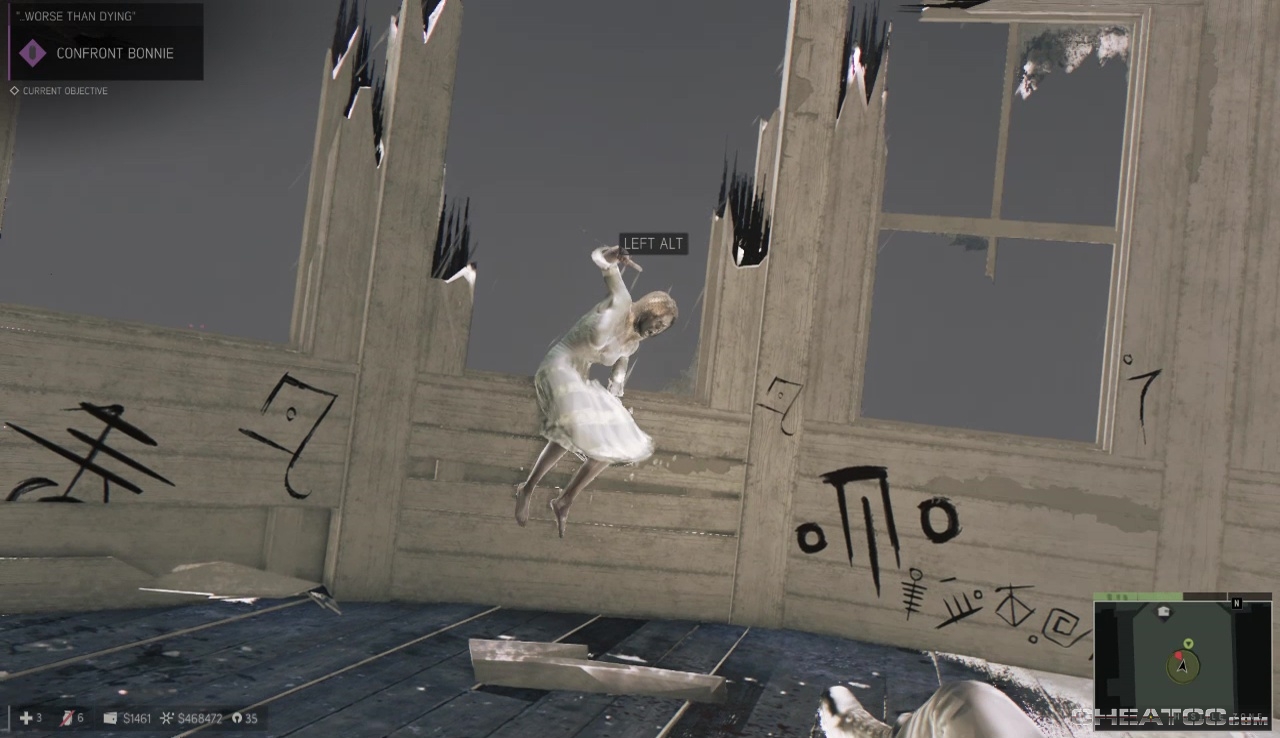
The final confrontation is up in the cupola, Just after you enter, it'll be struck by lightning. Bonnie will swarm in through a window- use L-ALT to dodge her knife attack (you have a lot of time for this input, but it still catch you by surprise).
From there on out, it's all cutscenes. Let the story wrap itself up for mission completion, new vehicle and weapon access, and the final bit of story mode- Sammy's Renovation.
