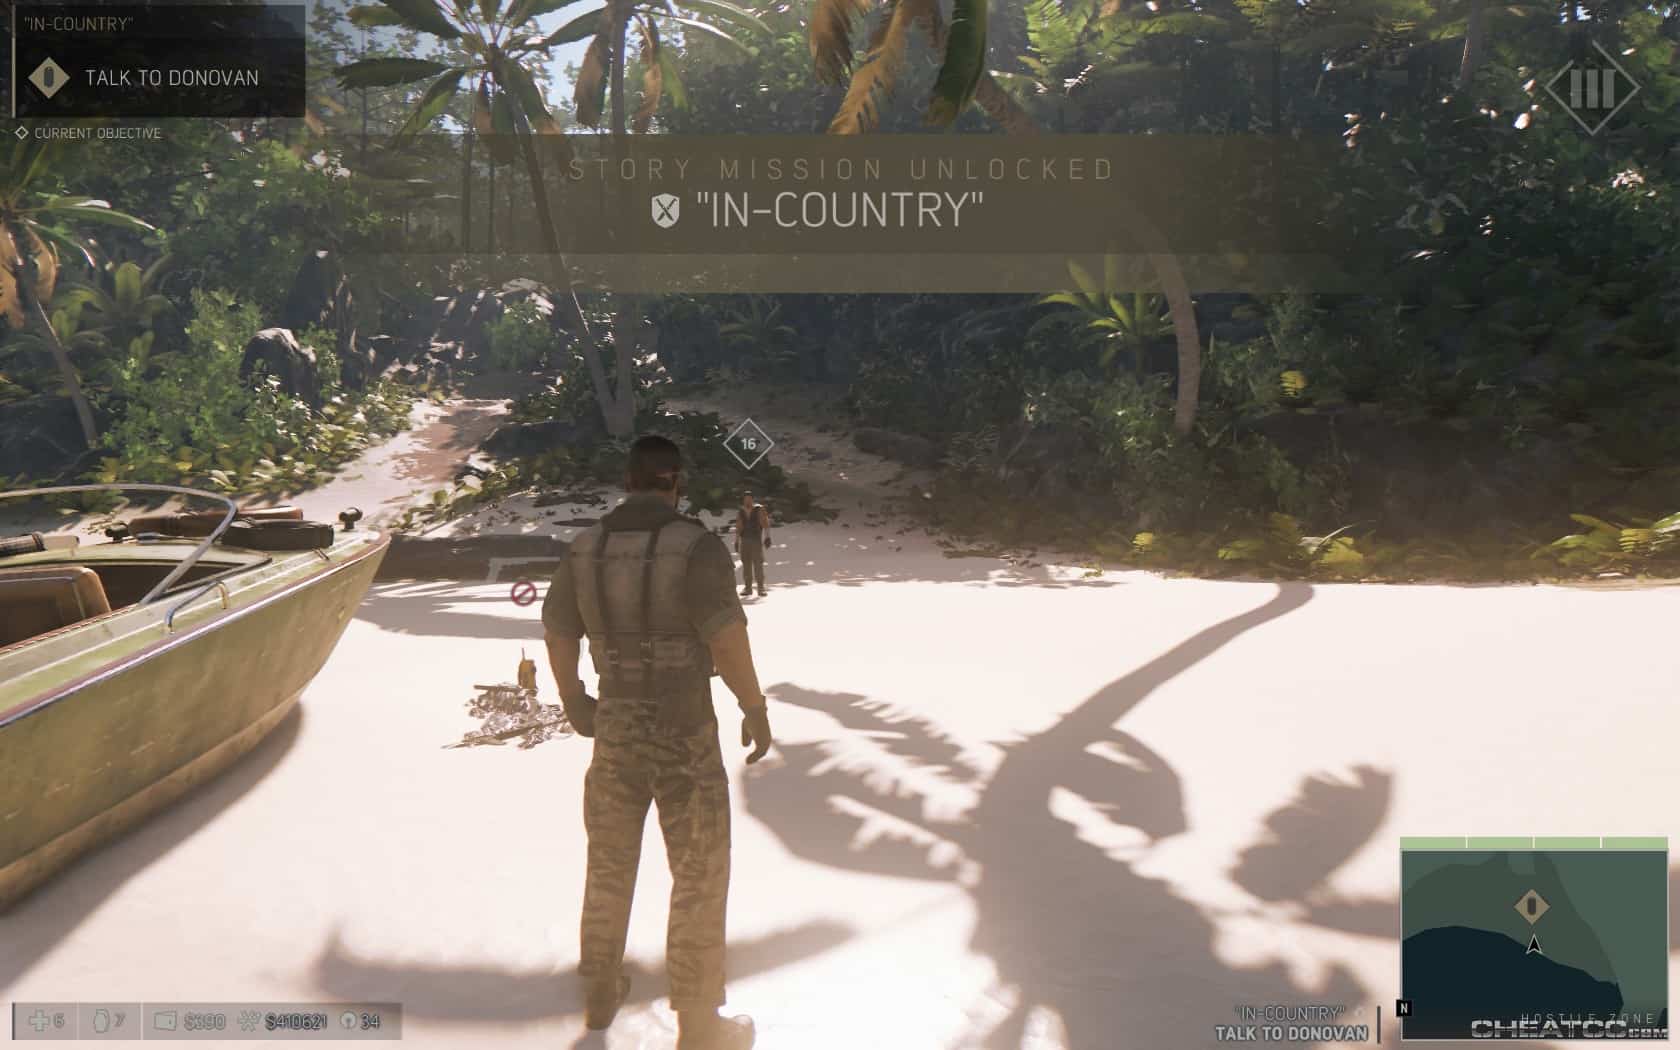
Story Missions: The Island

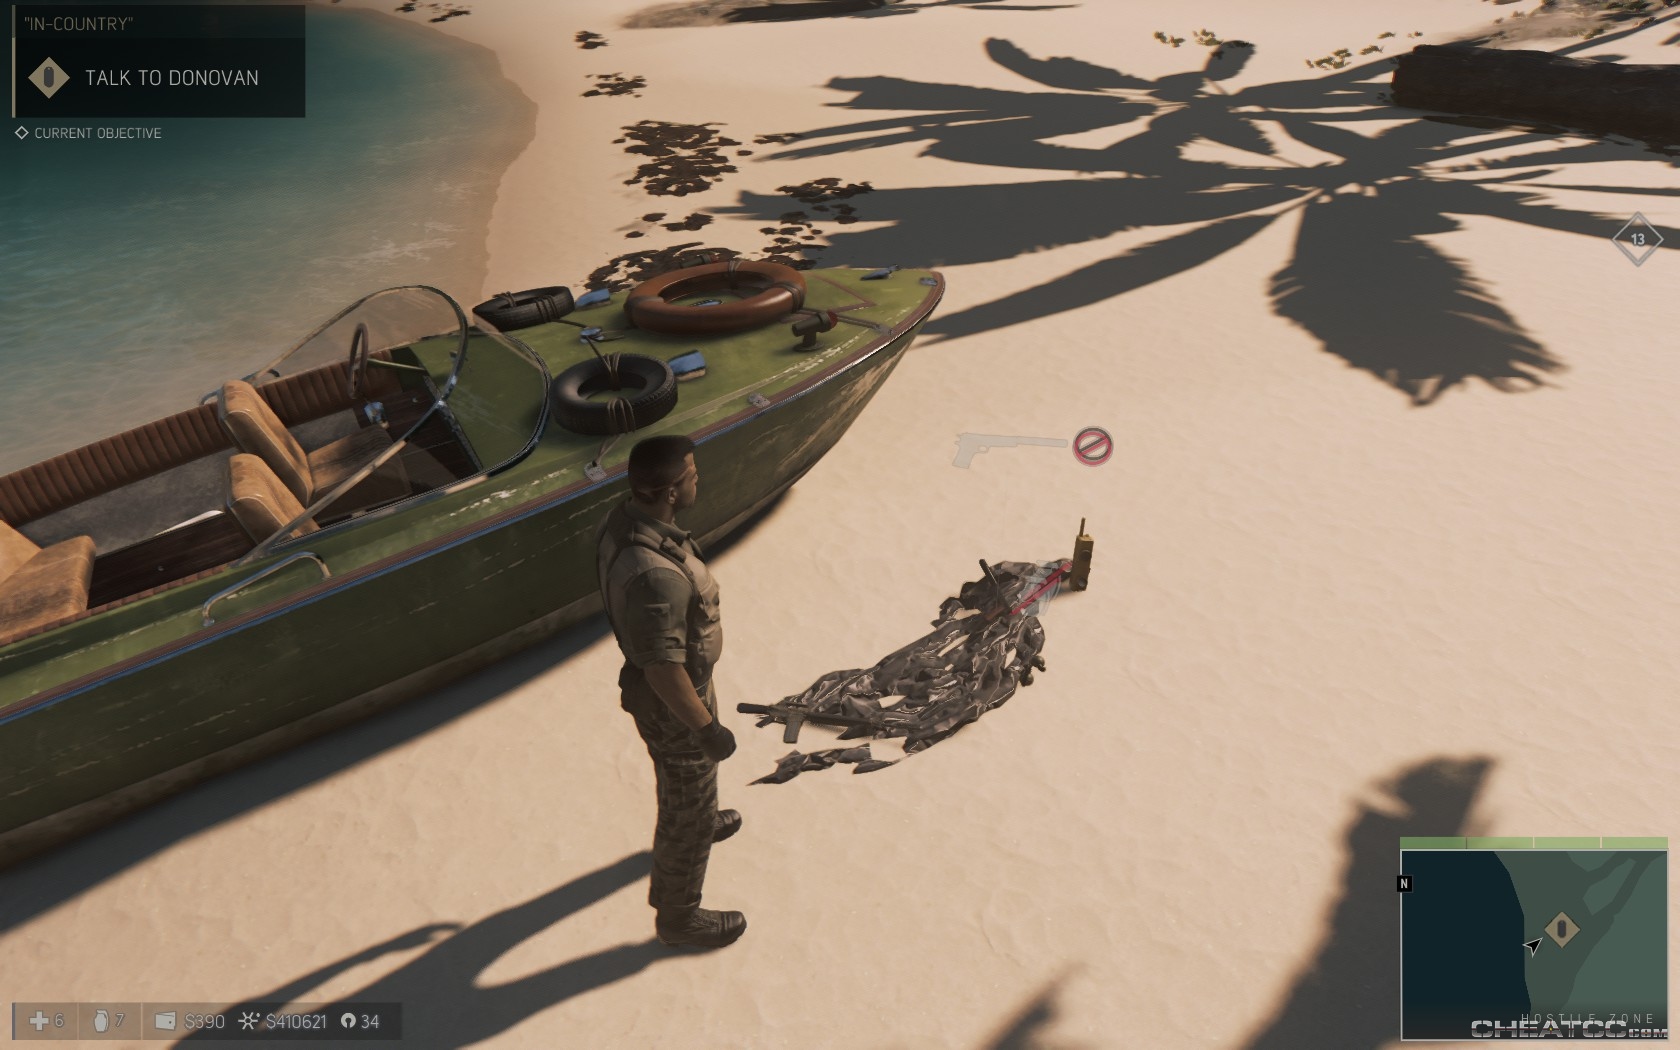
Your first objective is to talk to Donovan, but there is a bit of gear on the beach if you need to top off ammo or explosives. This will be a constant in your island journey- there's ammo and explosive refills everywhere- especially for pistol bullets, rifle rounds, and grenades. Don't skimp on using any of these, as there's always more just around the corner.
Follow your objective up to the high ground, and waste two guards to find a mercenary encampment.
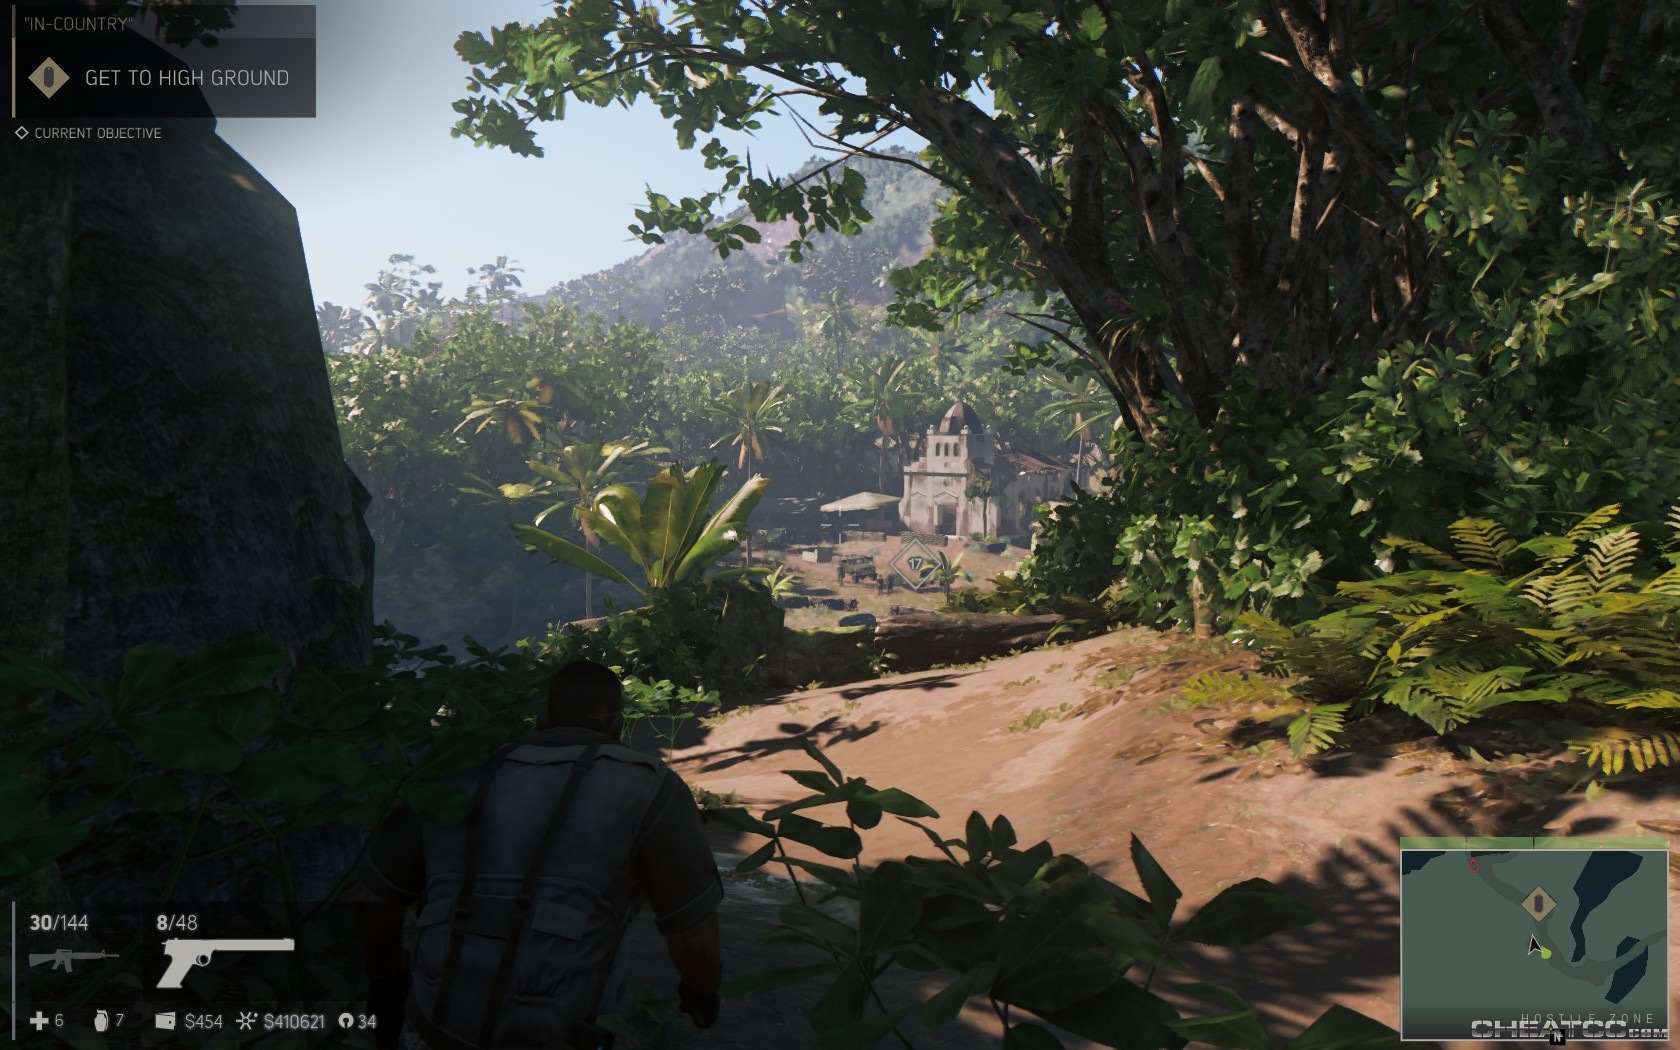
Your objective changes to Interrogate Merc Commander.
There's a lone guard at the bottom of the hill that can be killed silently. From there, you can either go loud, or use standard stealth tactics (ie waiting for people to end their conversations and split apart before silent-shotting them). The one traditional tactic that doesn't work so well is whistle killing- you just don't have the corners for it. When you've stealth-cleared the lowlands, bear right and using the stony path for cover as you ascend to the next section.
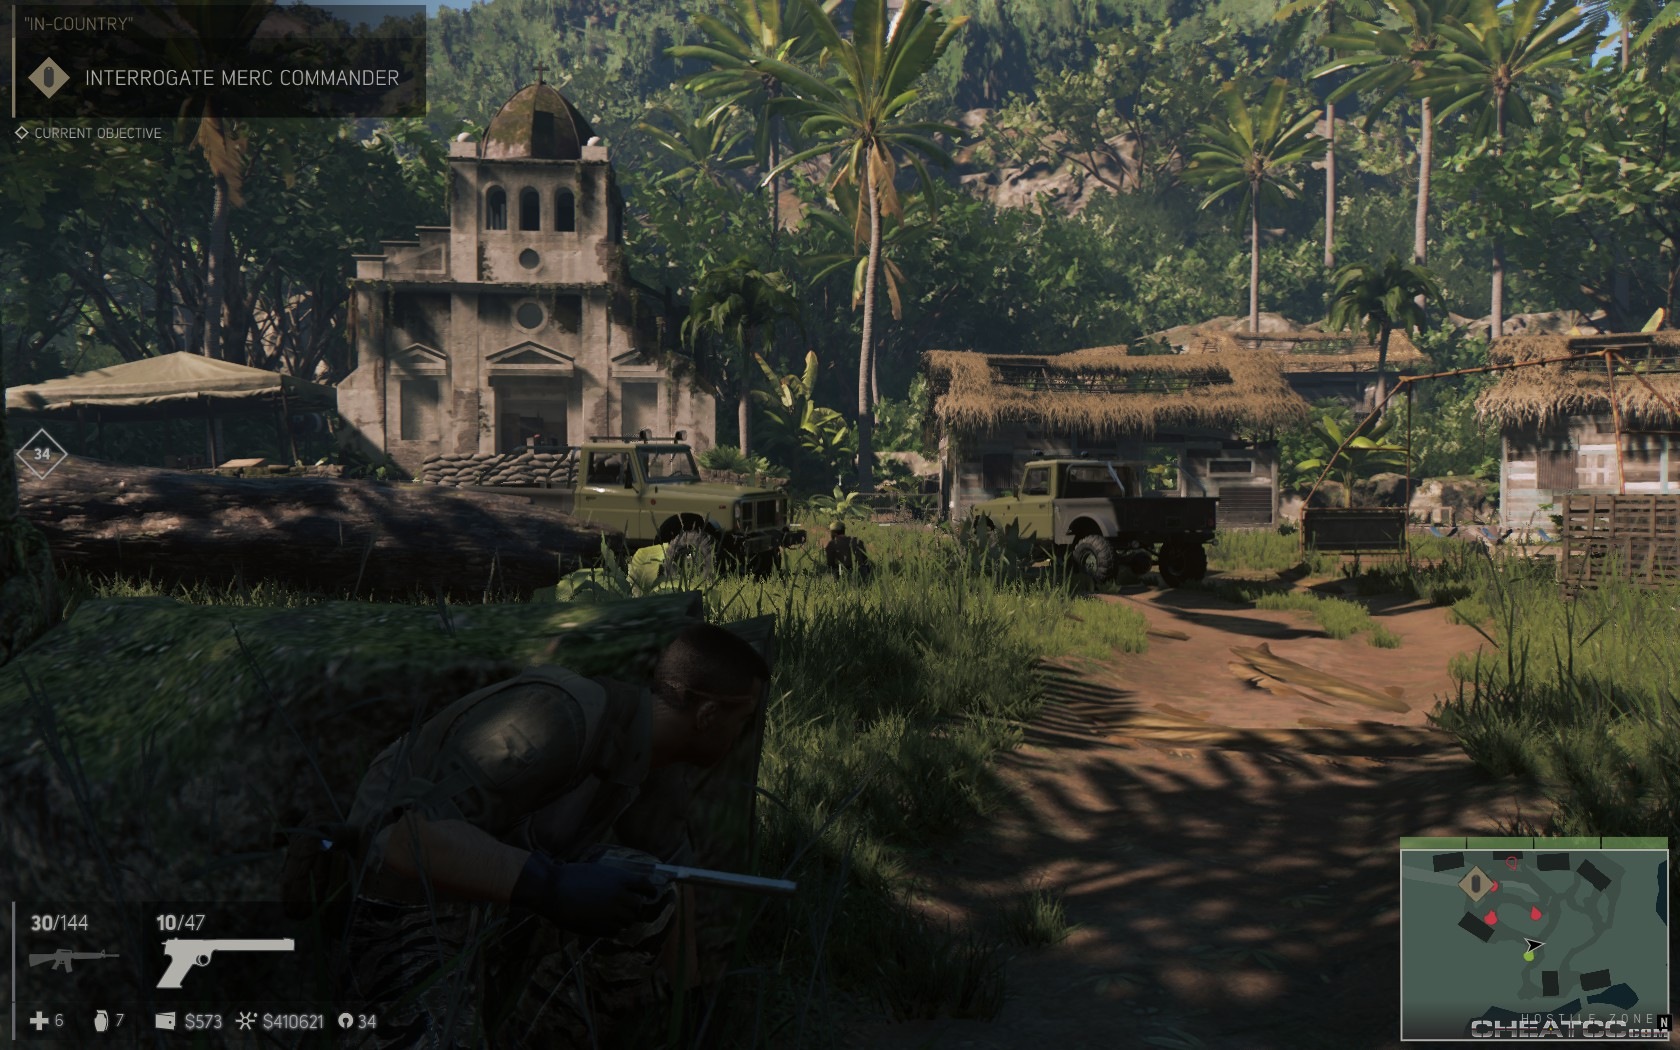
Two particular targets to note- the turret gunner, who becomes a hassle if he's both alert and alive, and the merc commander. Like other informants, the merc commander can't actually be killed with weaponsfire, only subdued, but his subdual raises the alarm- so don't shoot him down until you're ready to stop sneaking. Note that you can technically use the turret yourself, but with the effort you put into getting there you might as well just kill everyone normally.
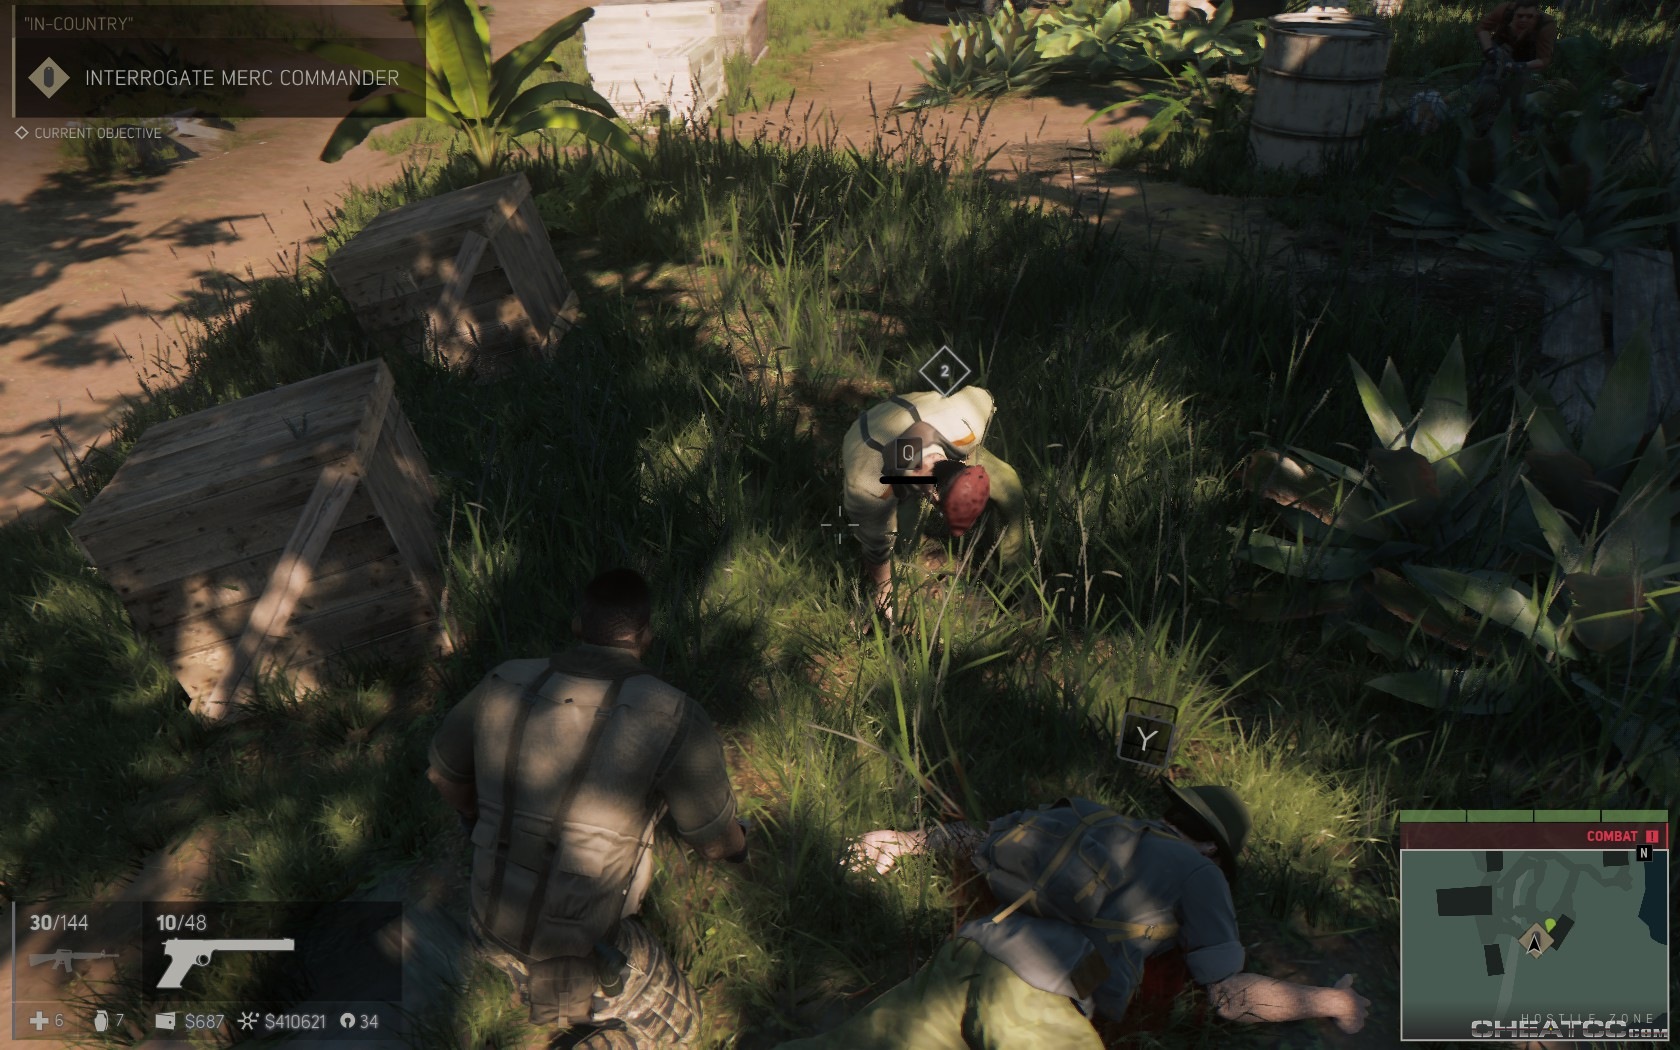
When resistance is eliminated, interrogate (and automatically kill) the commander for your next objective. You can also explore the camp but there isn't a lot there (though a note in one building suggests that Marshall was once part of Aldridge's circle). When you're done, grab a vehicle and make for the next objective.
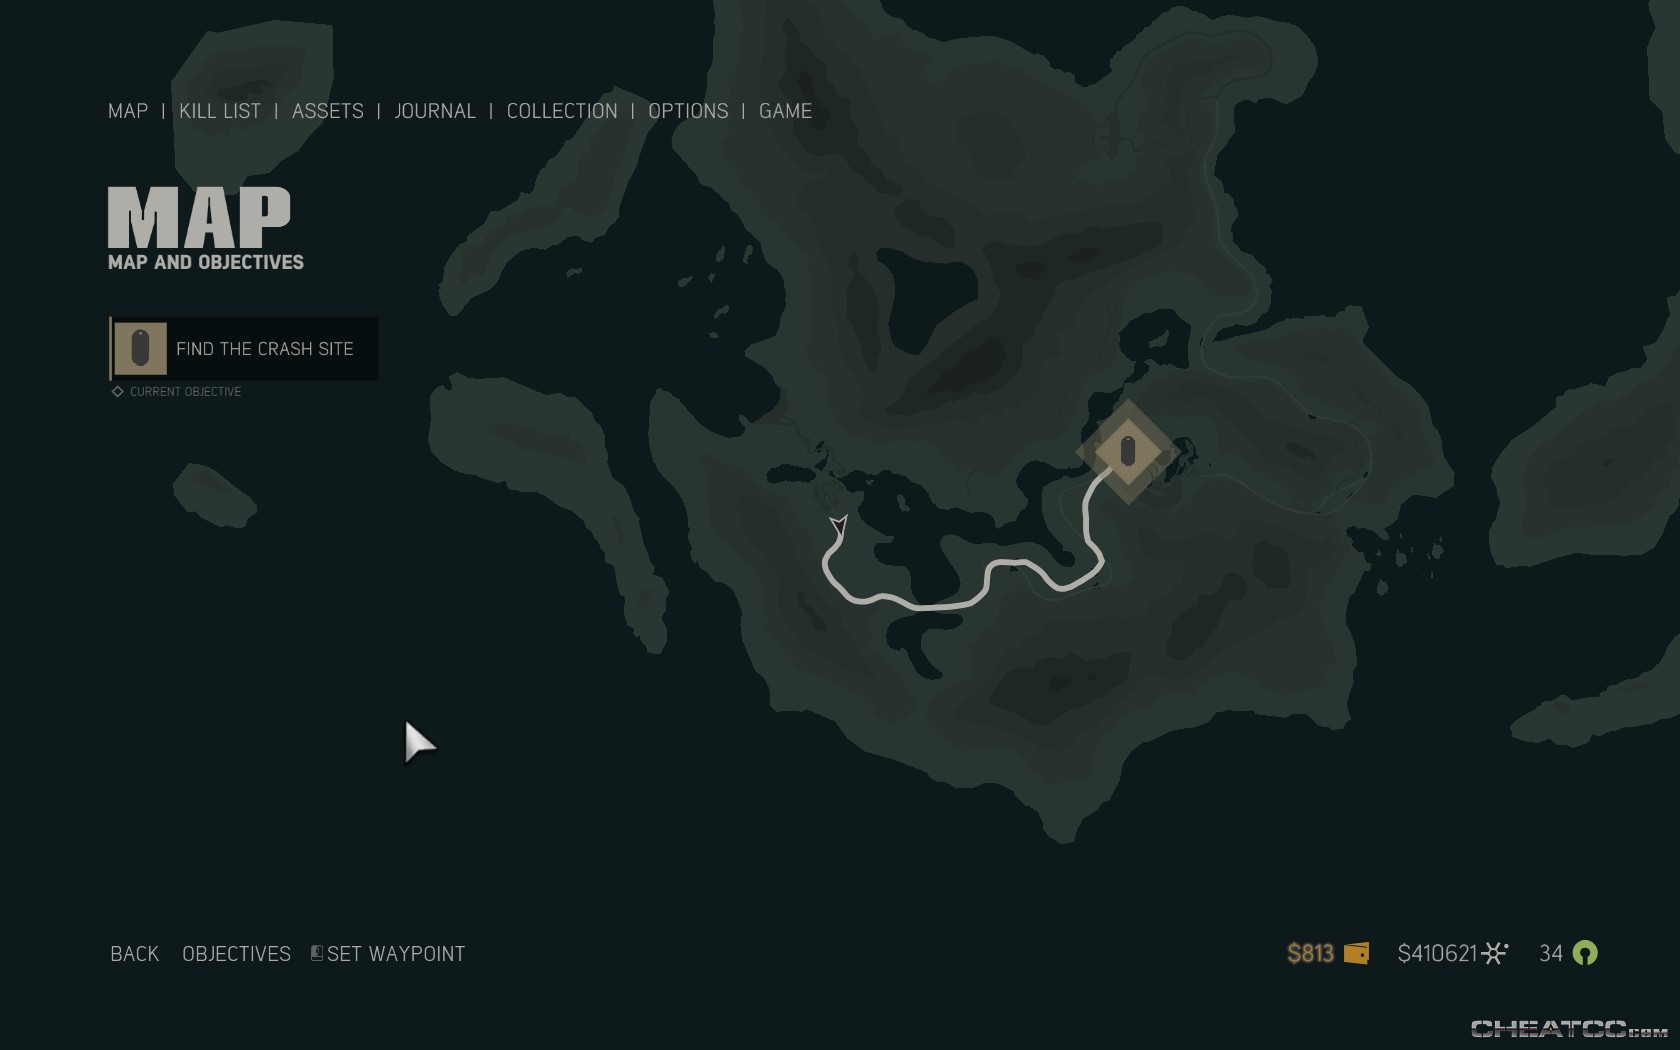
It doesn't matter much which vehicle you take, as there are no encounters, combat or otherwise, on the trip. At the end of the trail you'll find the site of the crashed plane.
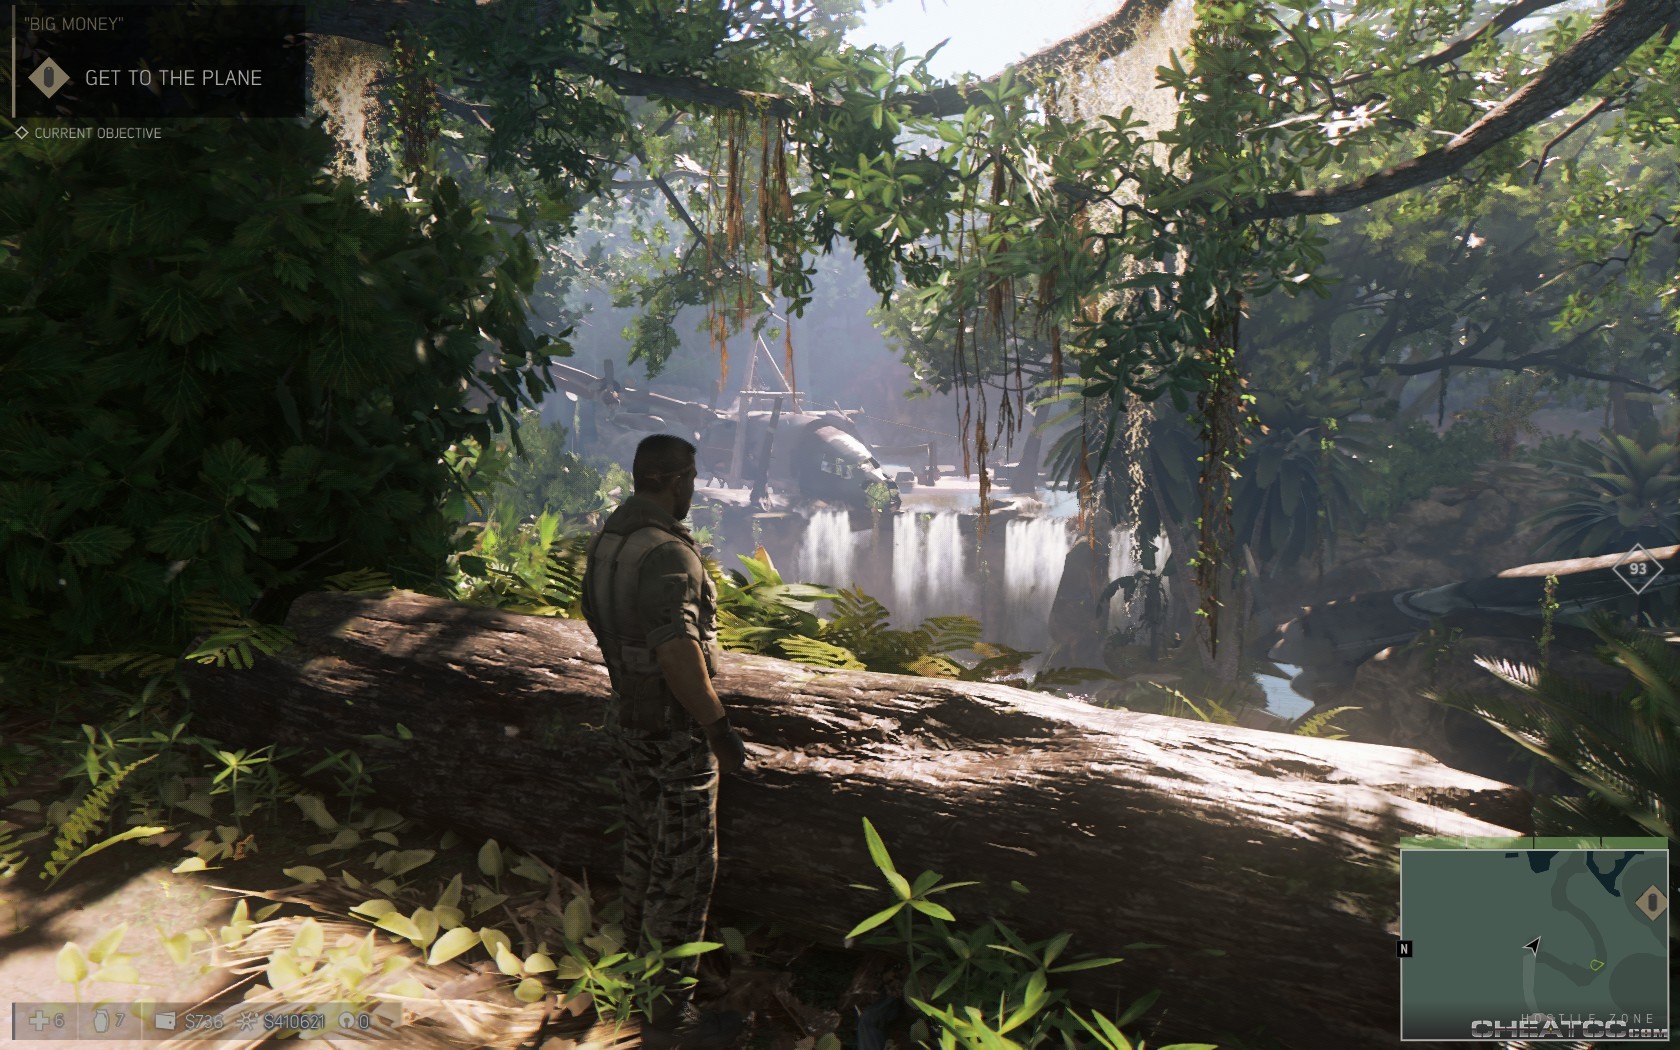
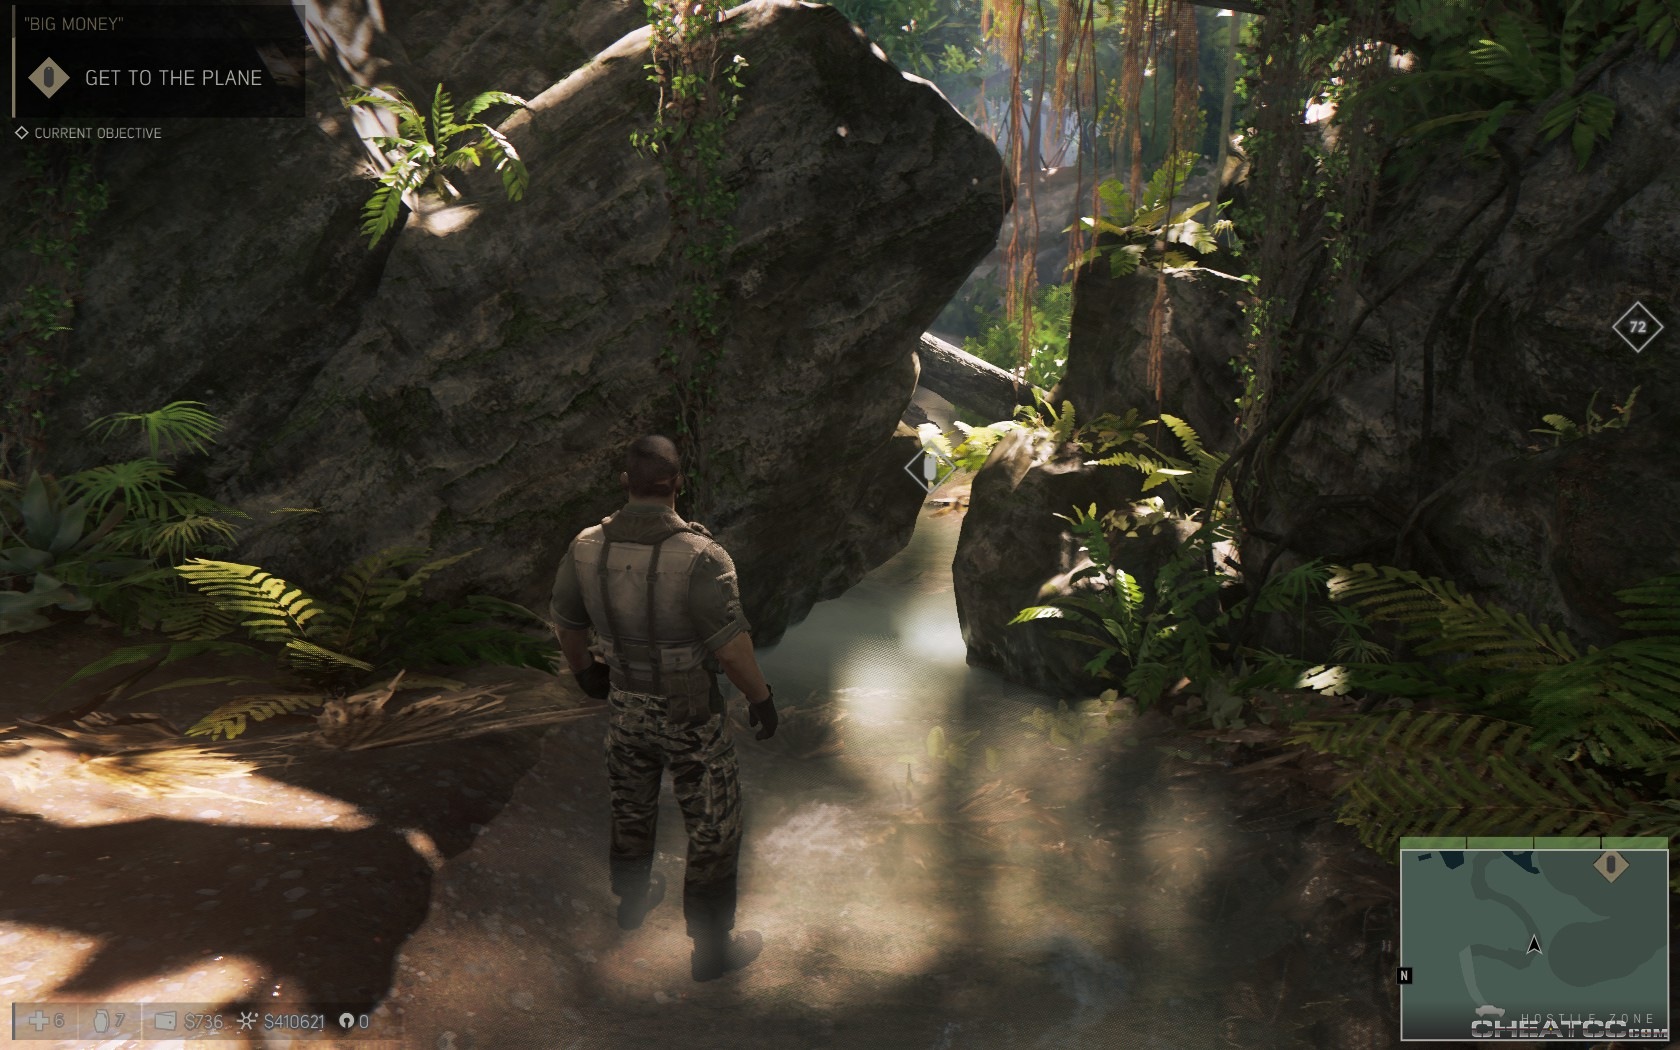
Follow the path. You and Donovan will part ways- you'll give him a boost up to the upper level, and Lincoln will enter the low road by squeezing through some rocks (frankly, Lara did it better).
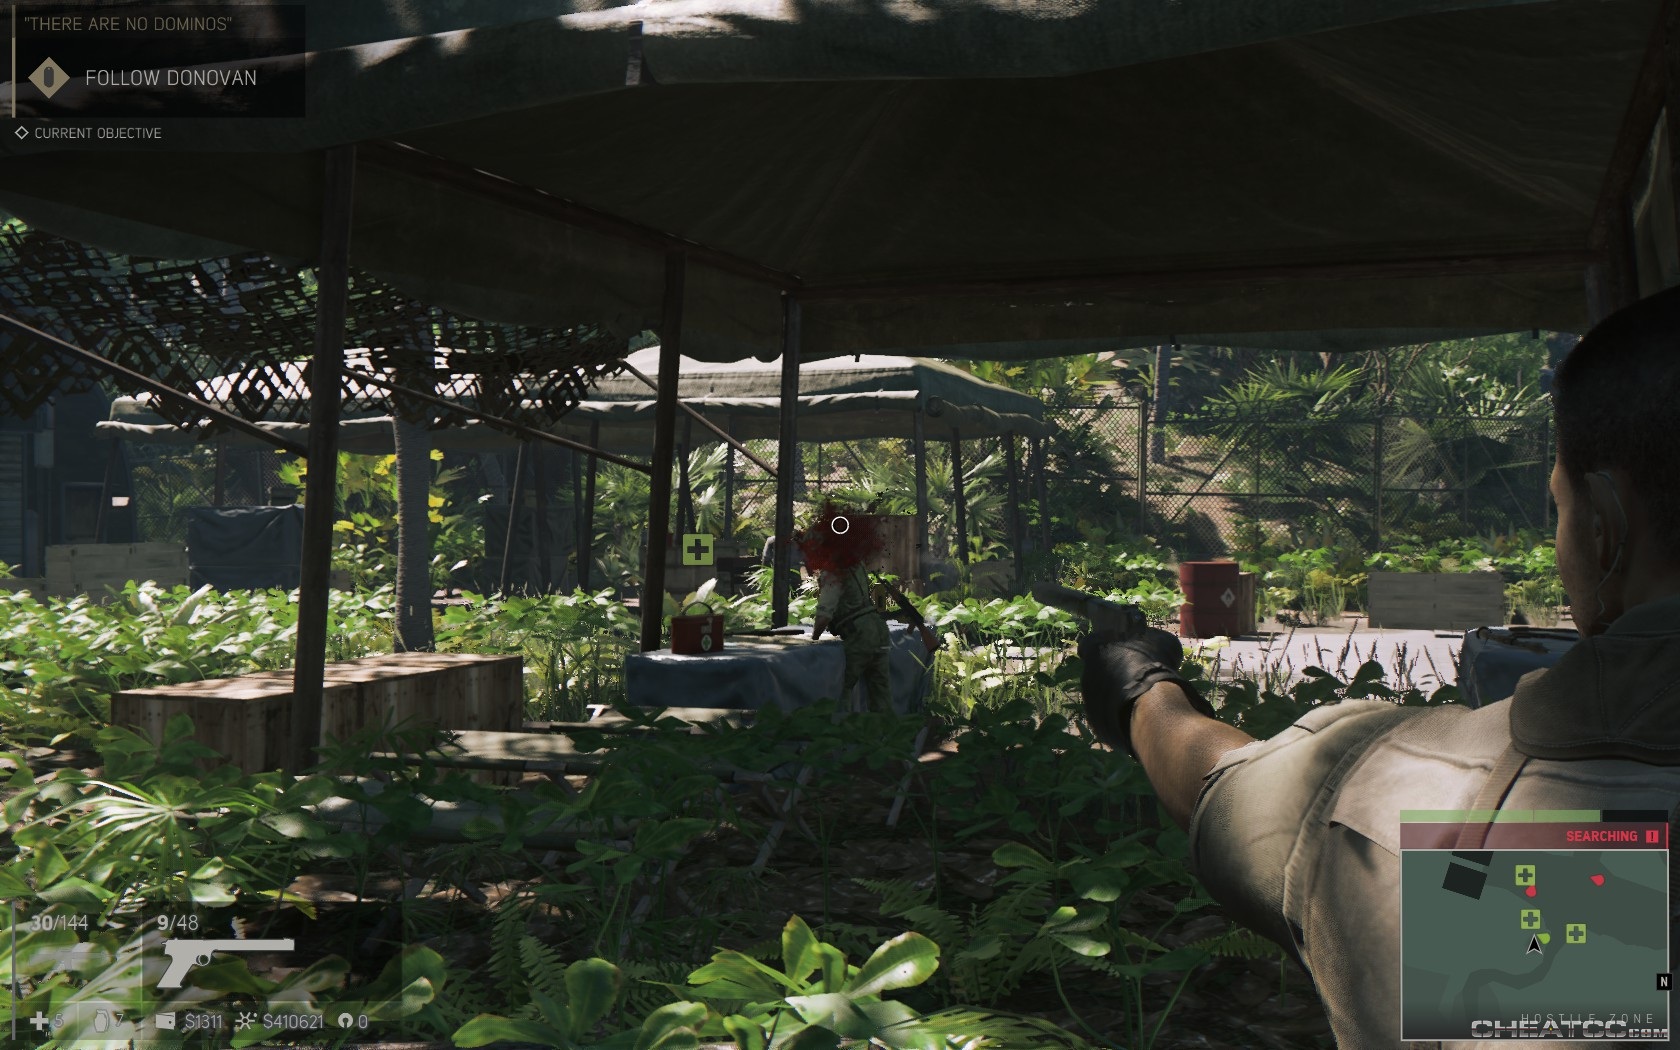
Don't worry about the first few enemies- Donovan will take them out automatically as you advance. This continues until you reach the larger clearing, and Donovan stations himself at a turret above. It is possible to clear this section through stealth, by starting with the tent to your right, and walking your fire leftward.
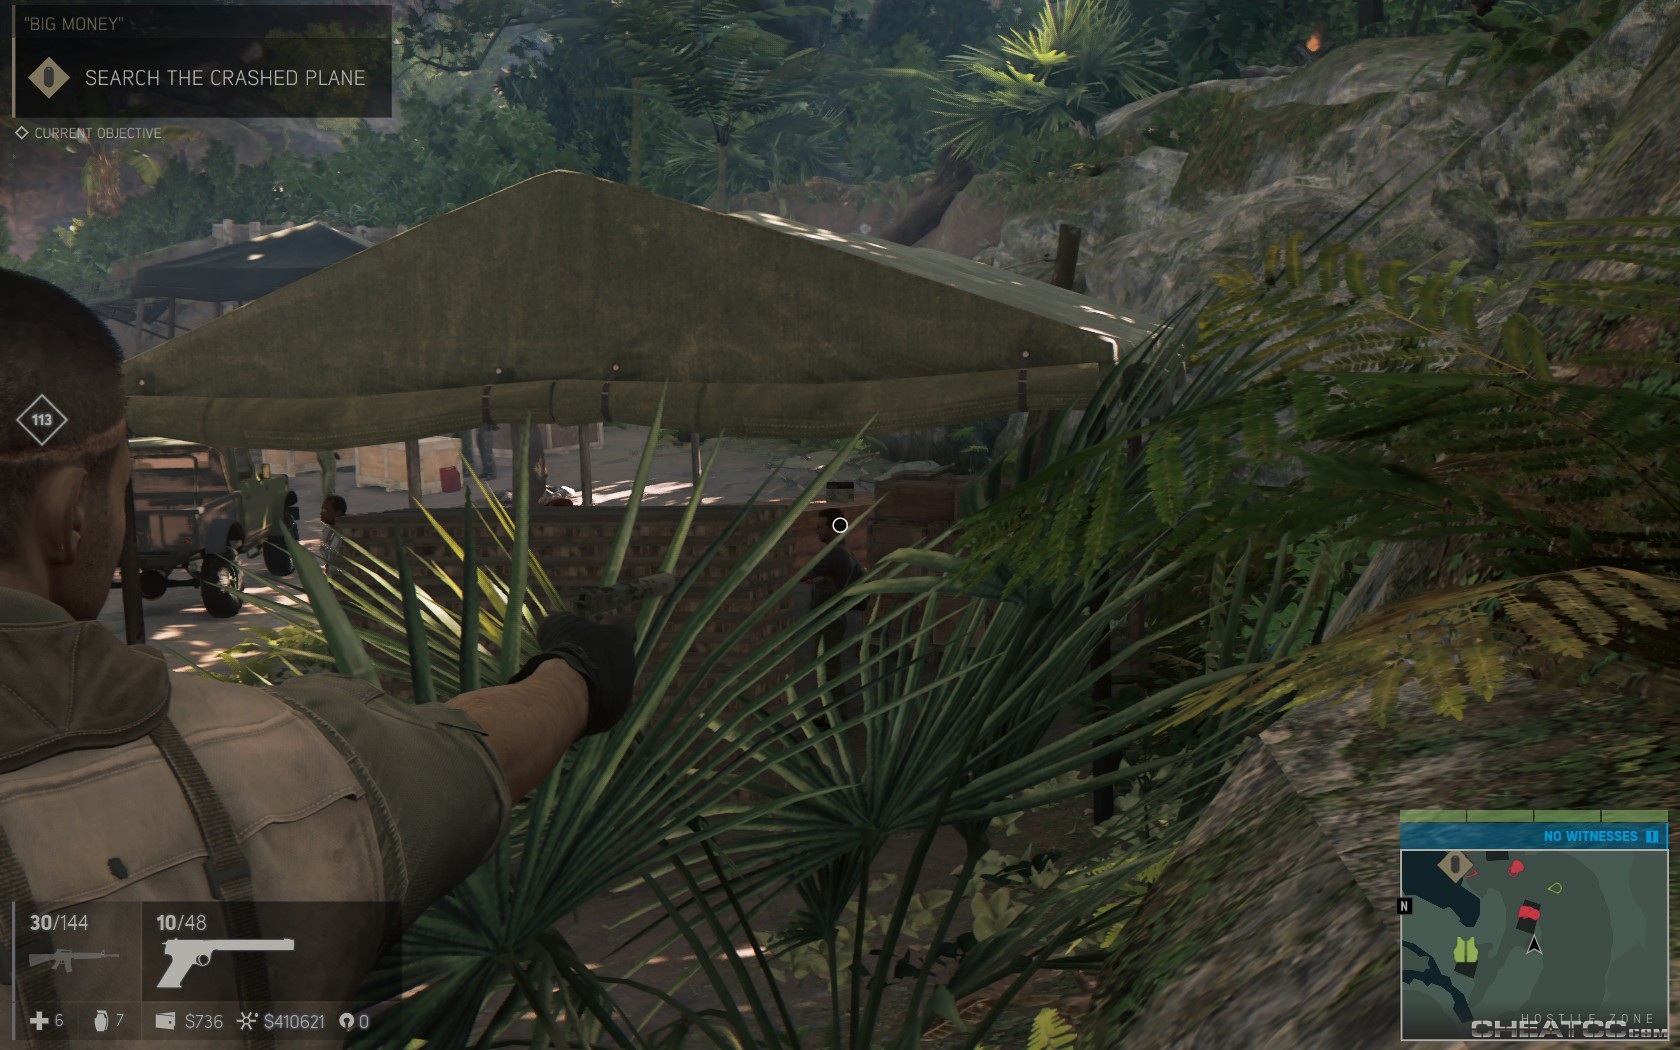
However, Donovan is pretty amazing turretman. For an easy approach to the plane, just shoot a guy in the middle of the camp, then let Donovan rain down hellfire while you poke around at leisure, grab the tac vest marked on your map, etc. You might have to flush a few stragglers out of cover, but it's a very low-impact fight.
When this first section is clear, slowly advance to the plane, either killing enemies or just luring them into Donovan's field of fire. When you get close enough, Donovan will rejoin you, so be ready to headshot the last few hostiles.
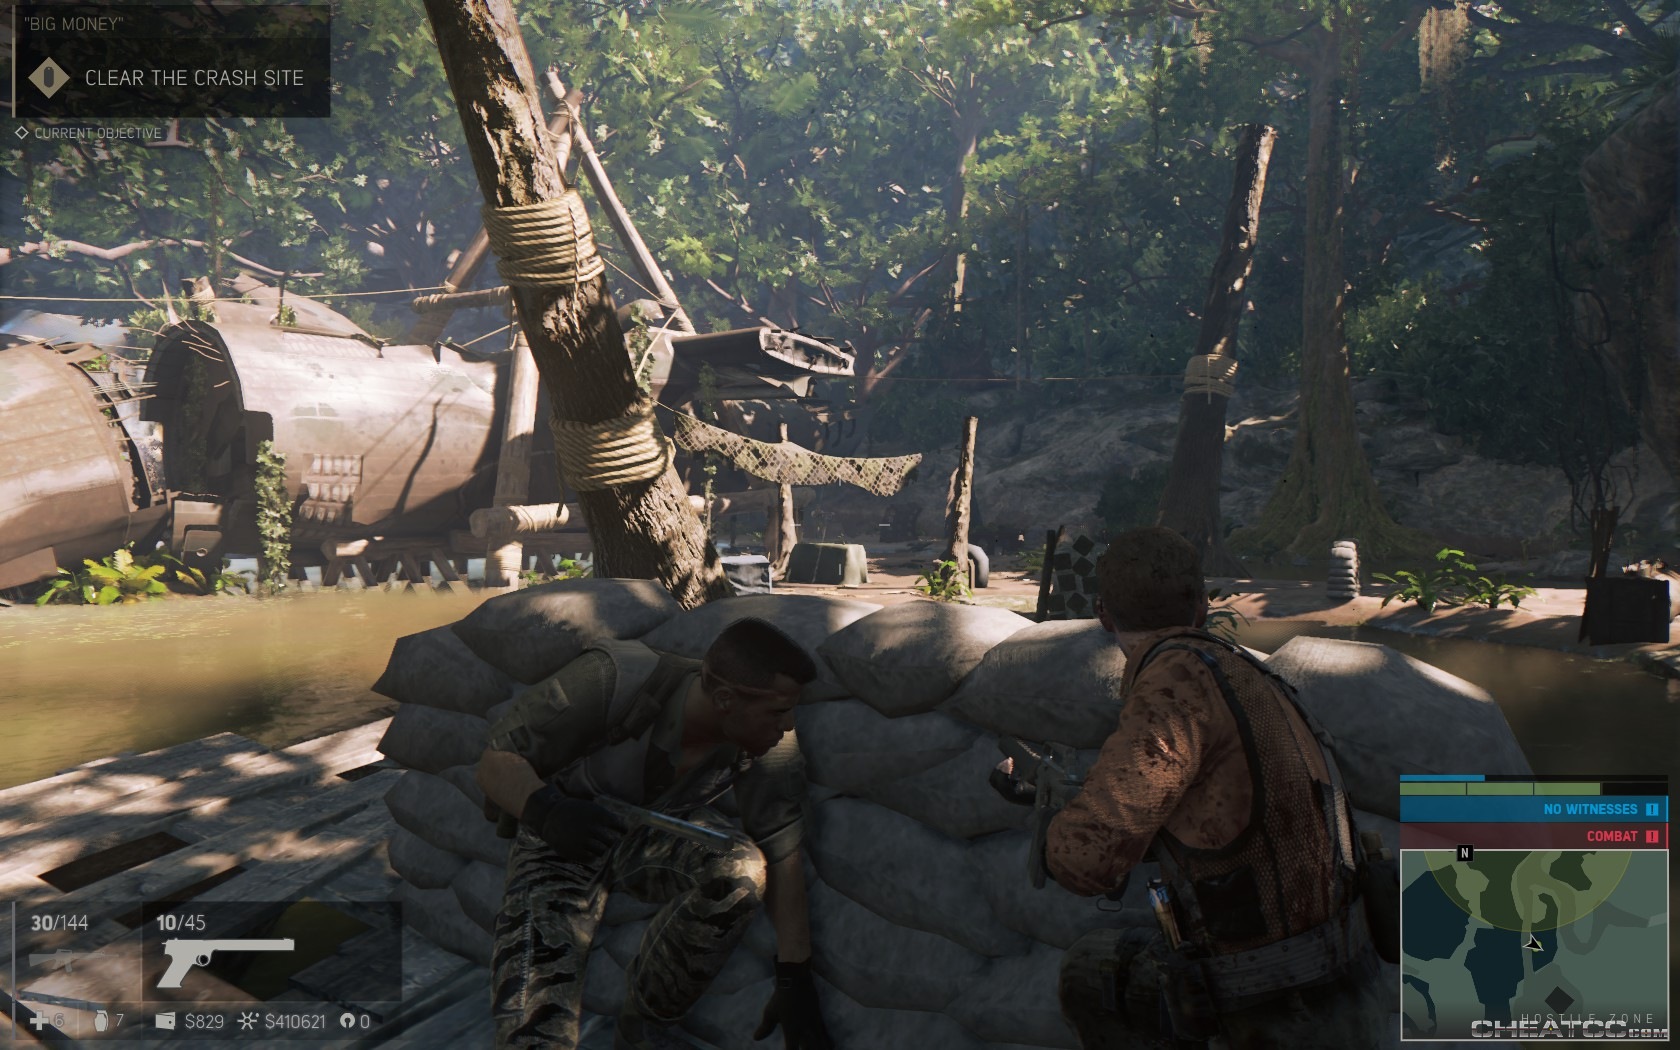
Take a last look around this area (because of course you'll have to fight your way back through in a moment), then enter the plane.
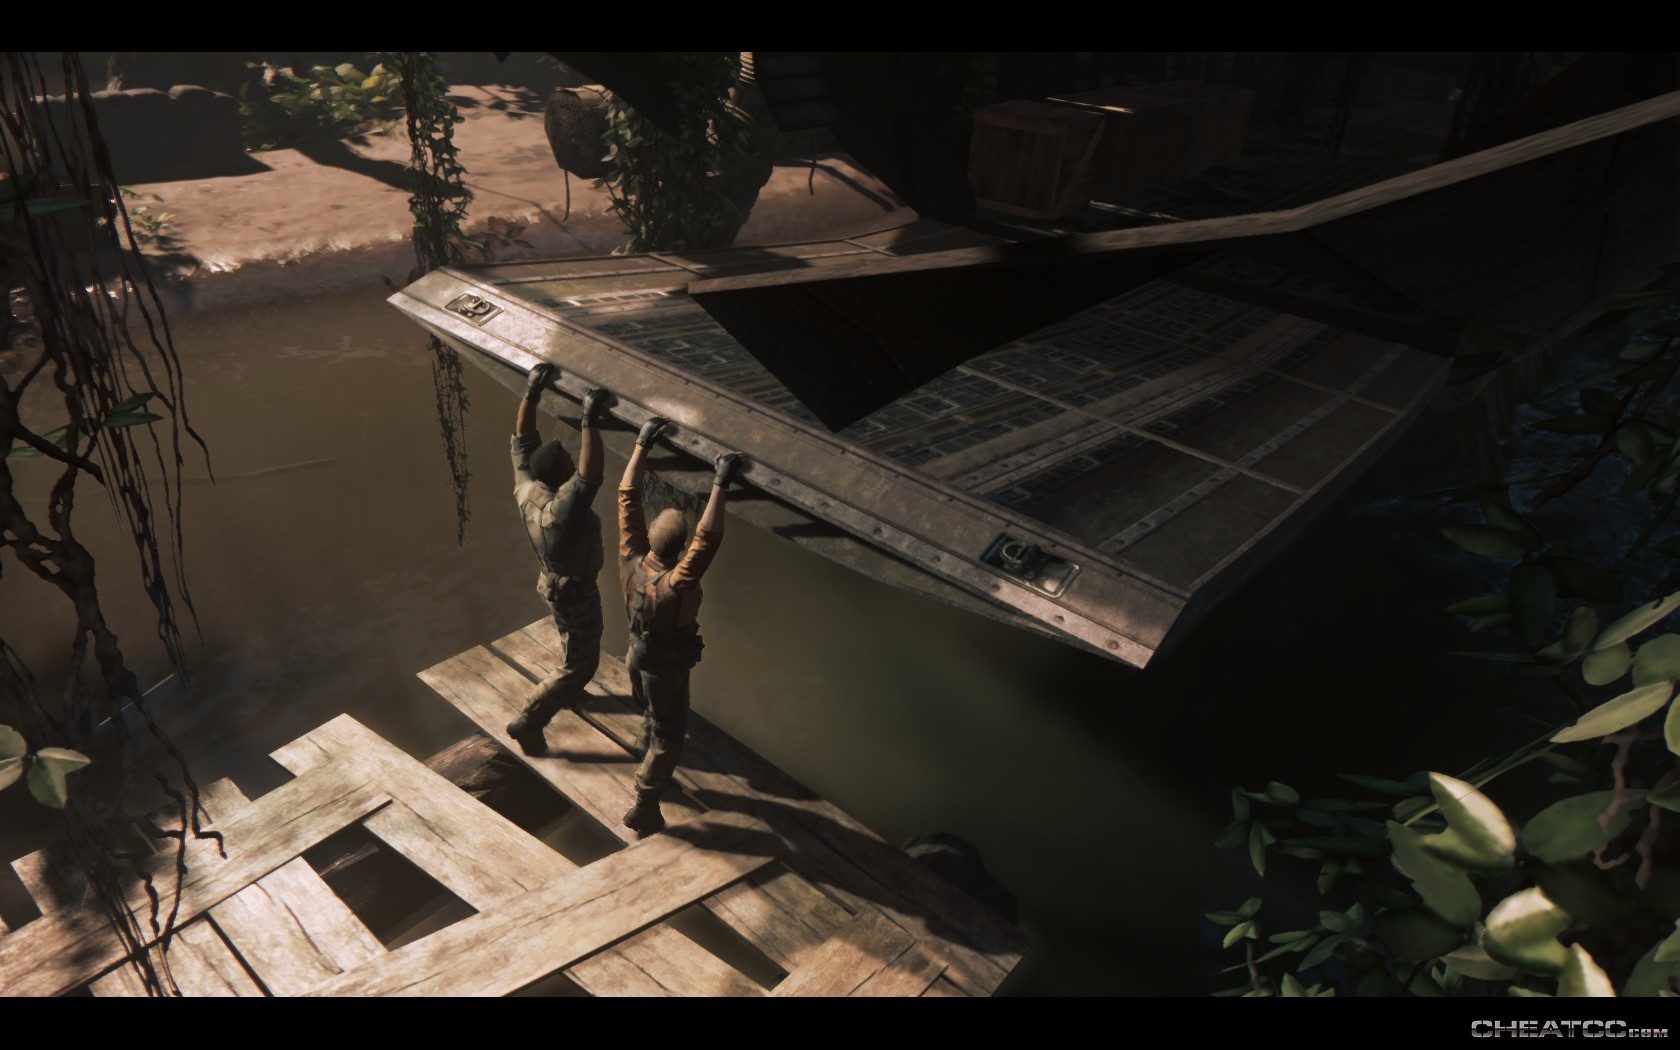
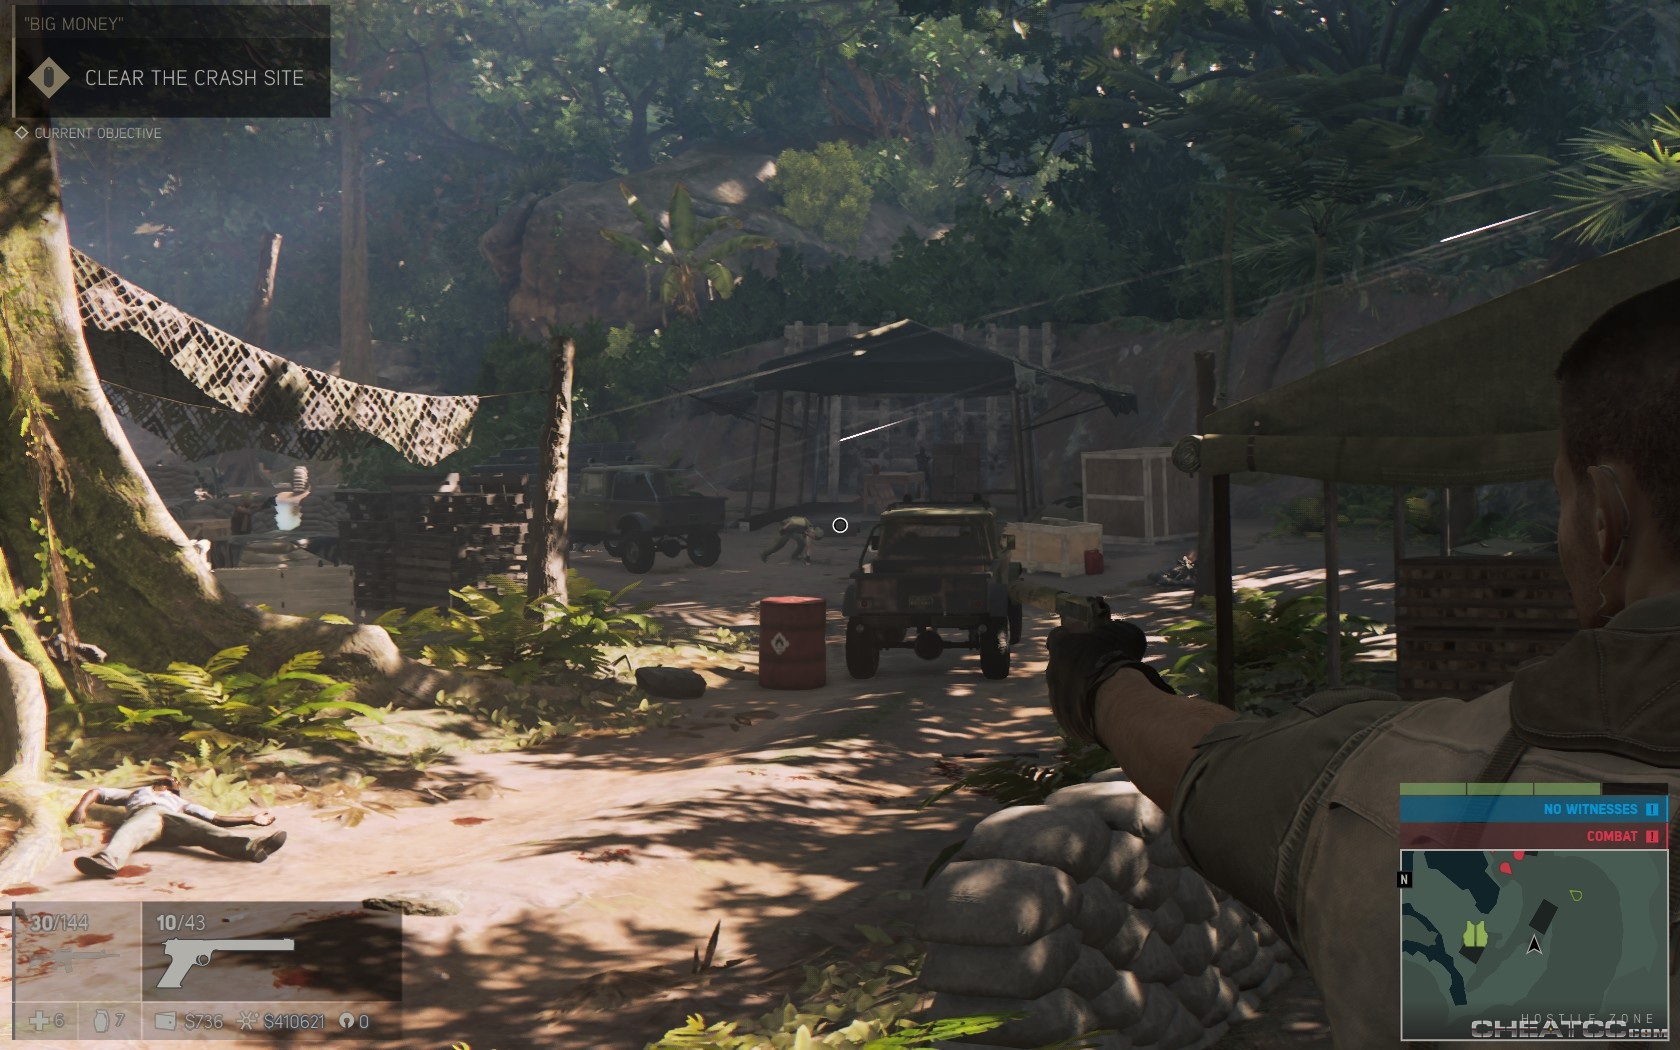
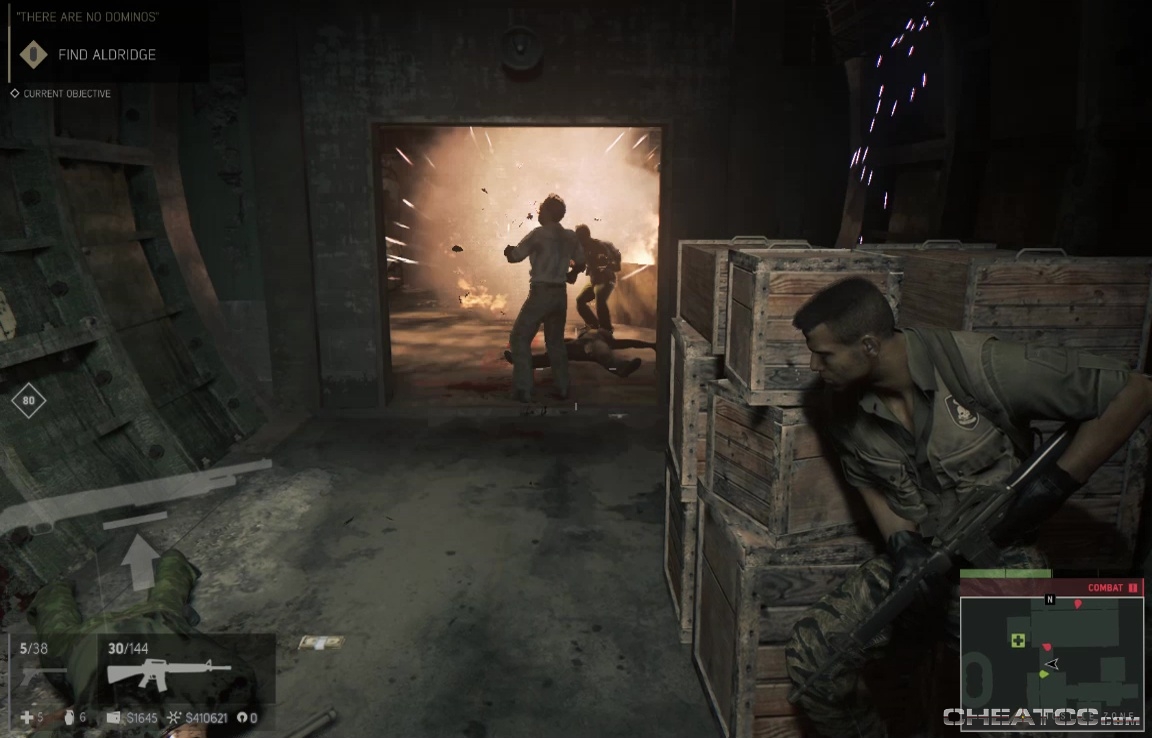
Cutscene, conflict, chaos, and you'll regain control in one of the game's tougher fights.
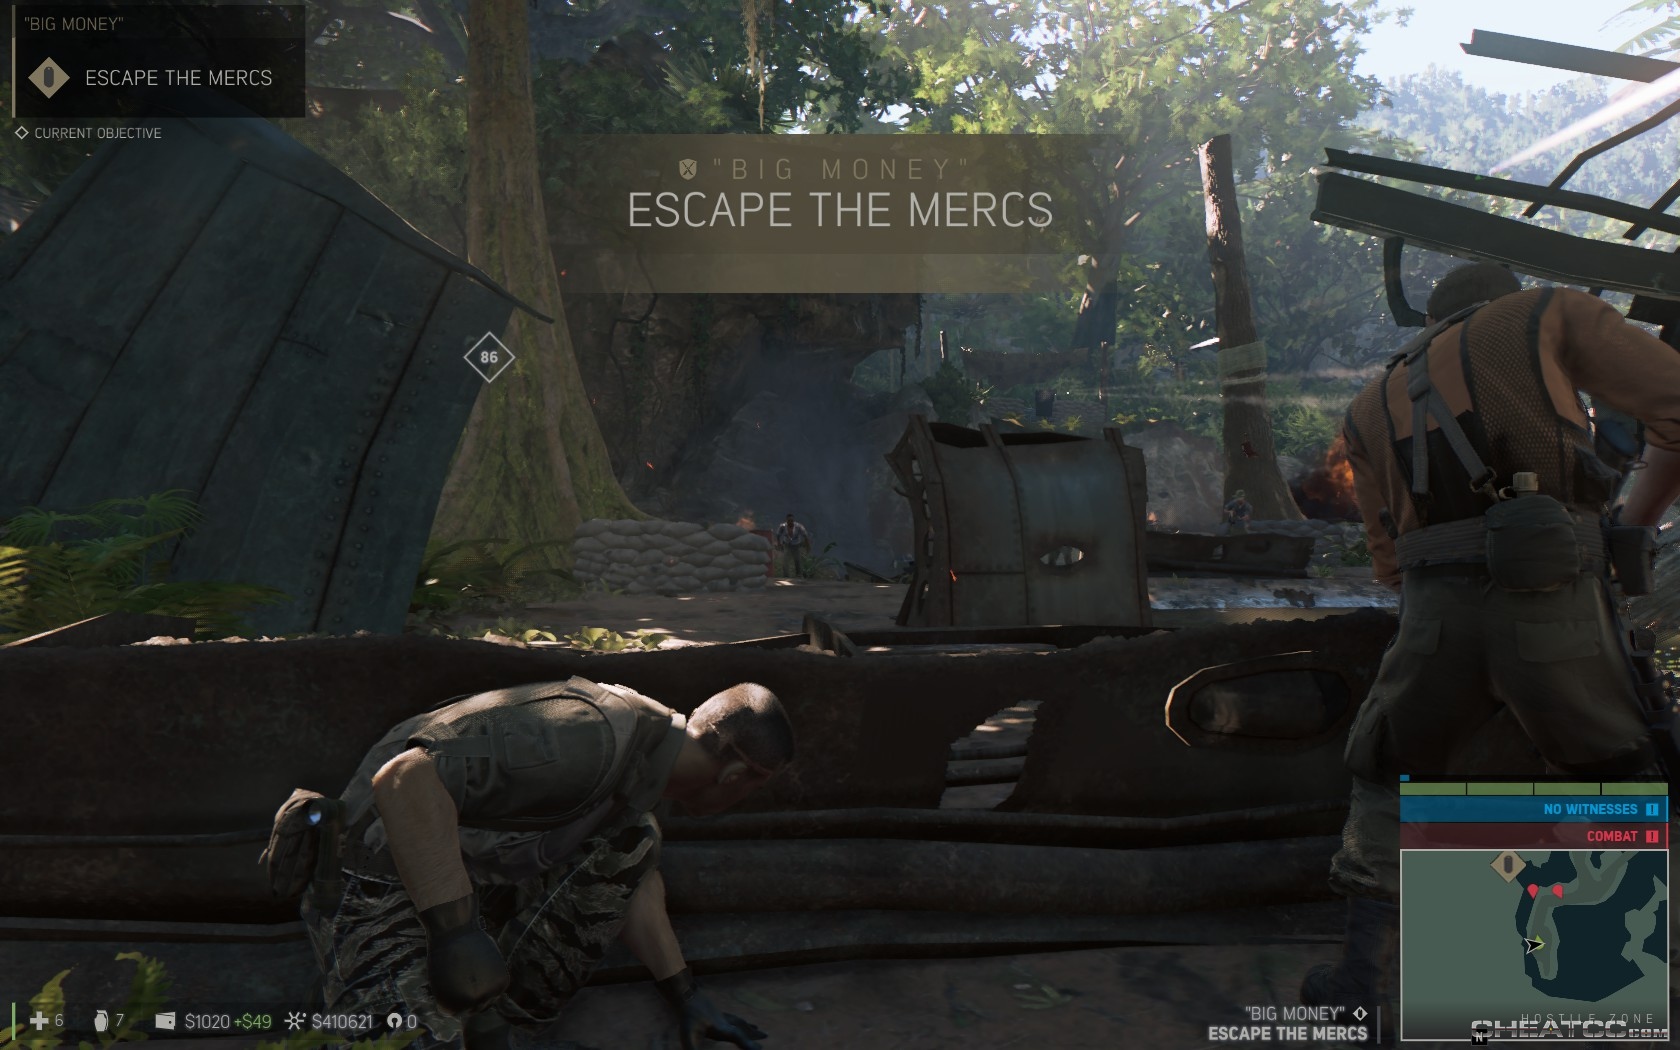
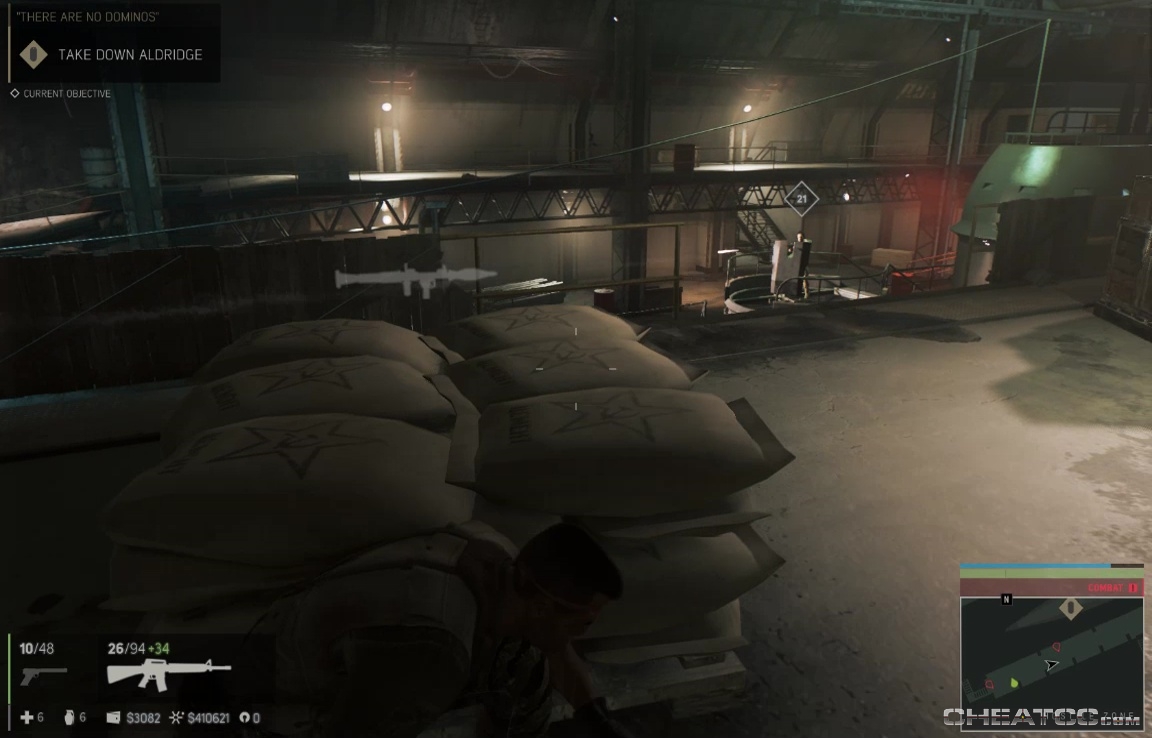
Your two big worries are the turret gunner on overwatch, and the constant stream of enemies trying to flank you. Start by thinning out the closest ground level enemies (from behind cover), then advance to the corner of skinny wooden crates.
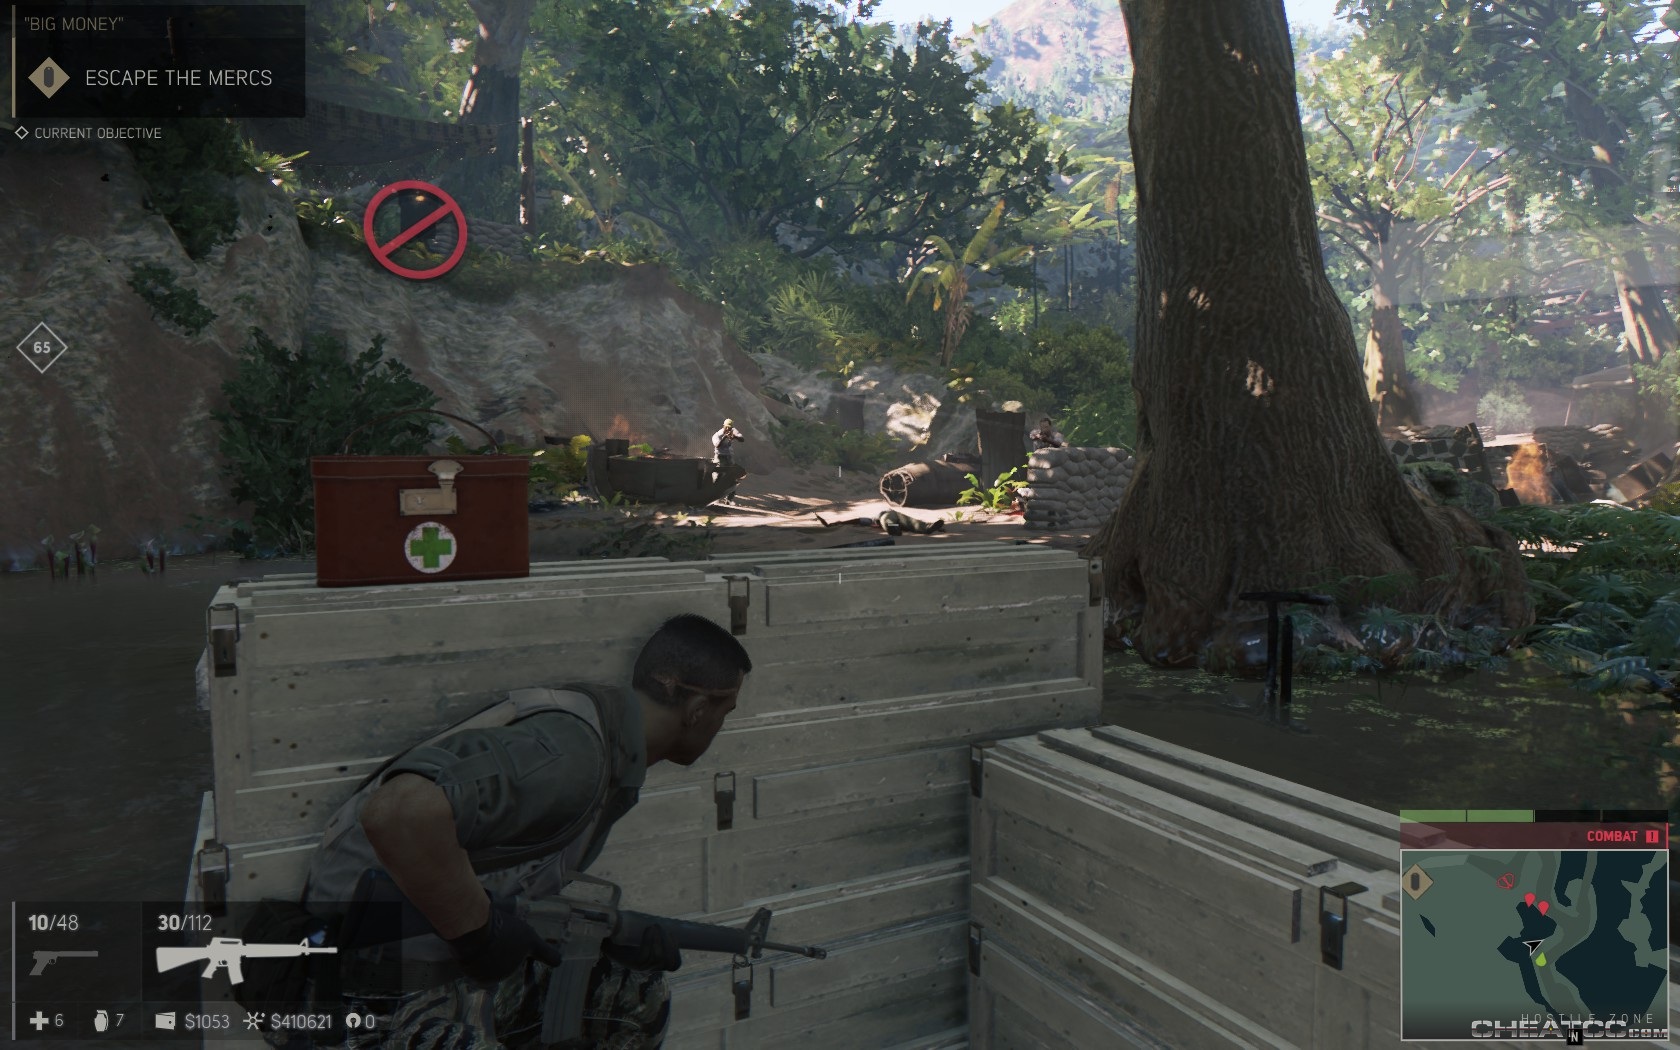
There's a medkit here, but more importantly, there's an RPG launcher. Use it to take out the turret.
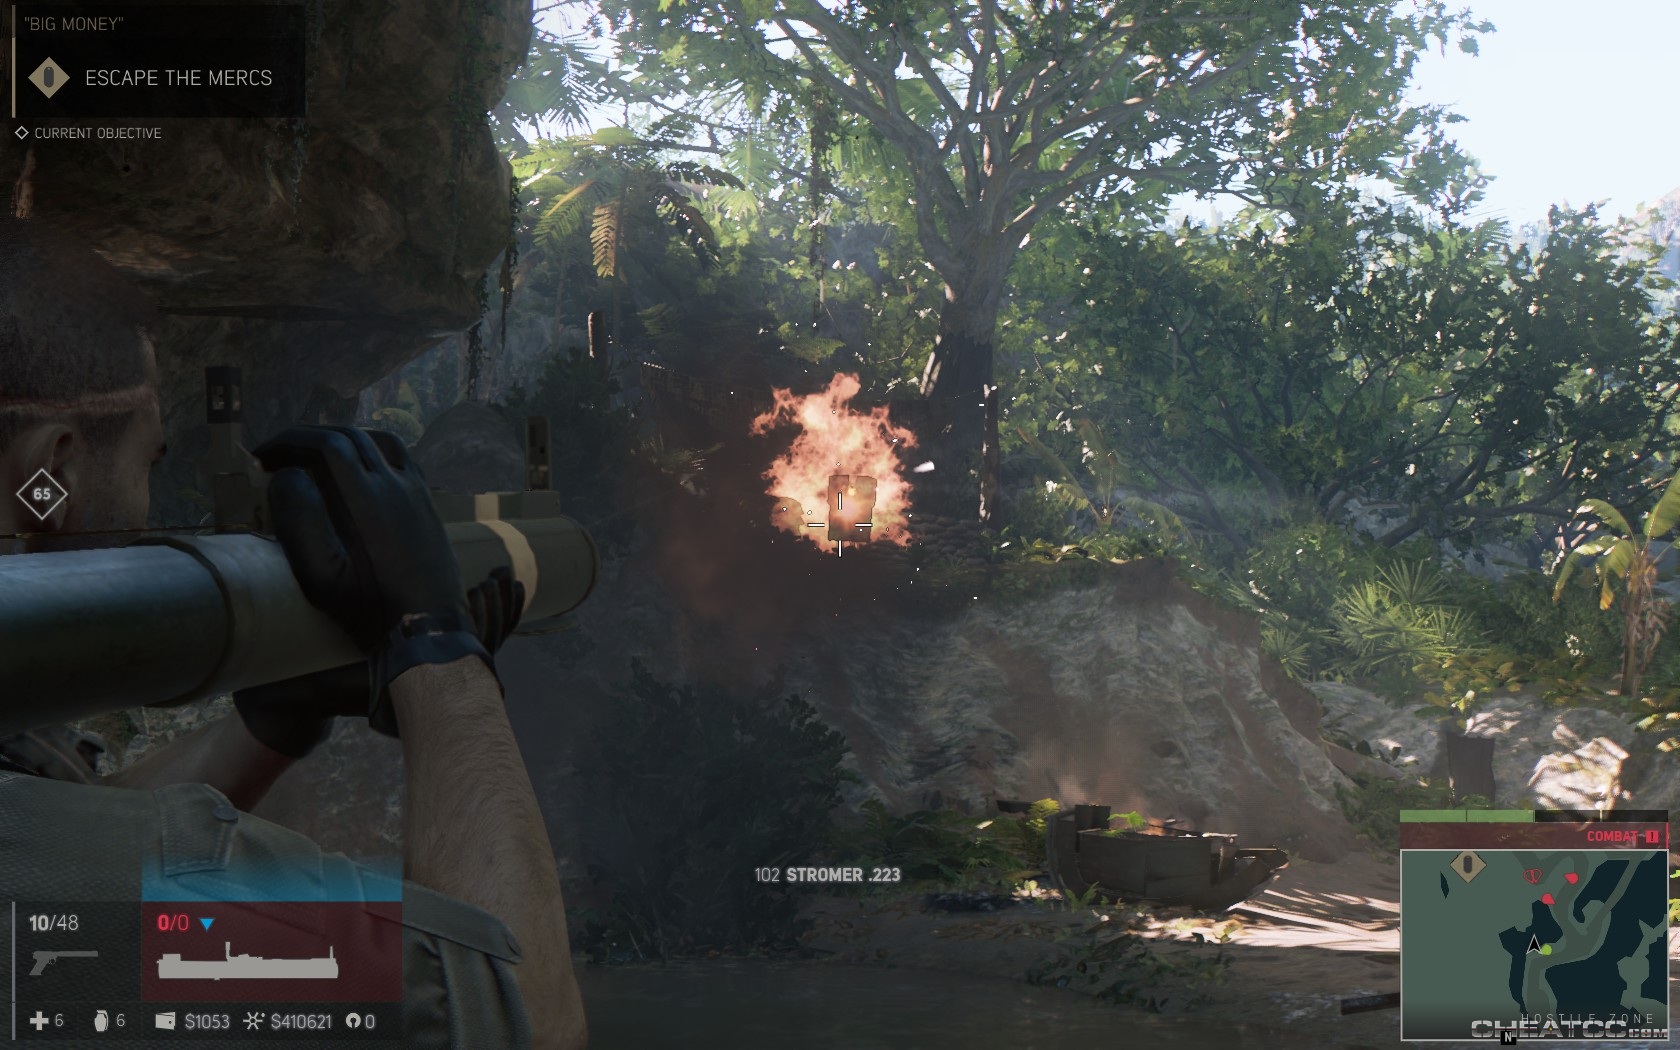
You can now mow down the regular troops with your assault rifle- you'll have plenty of spare ammo to scavenge from the nearly endless field of the dead here. Kill all hostiles to end this part of the mission.
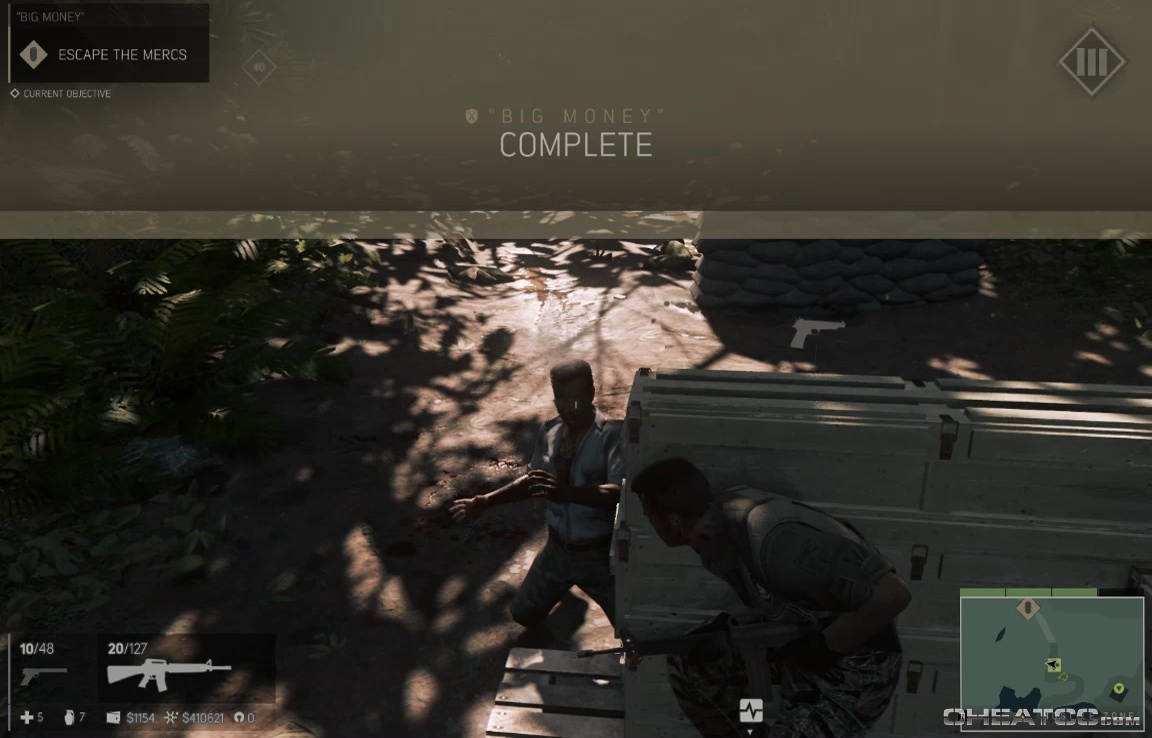
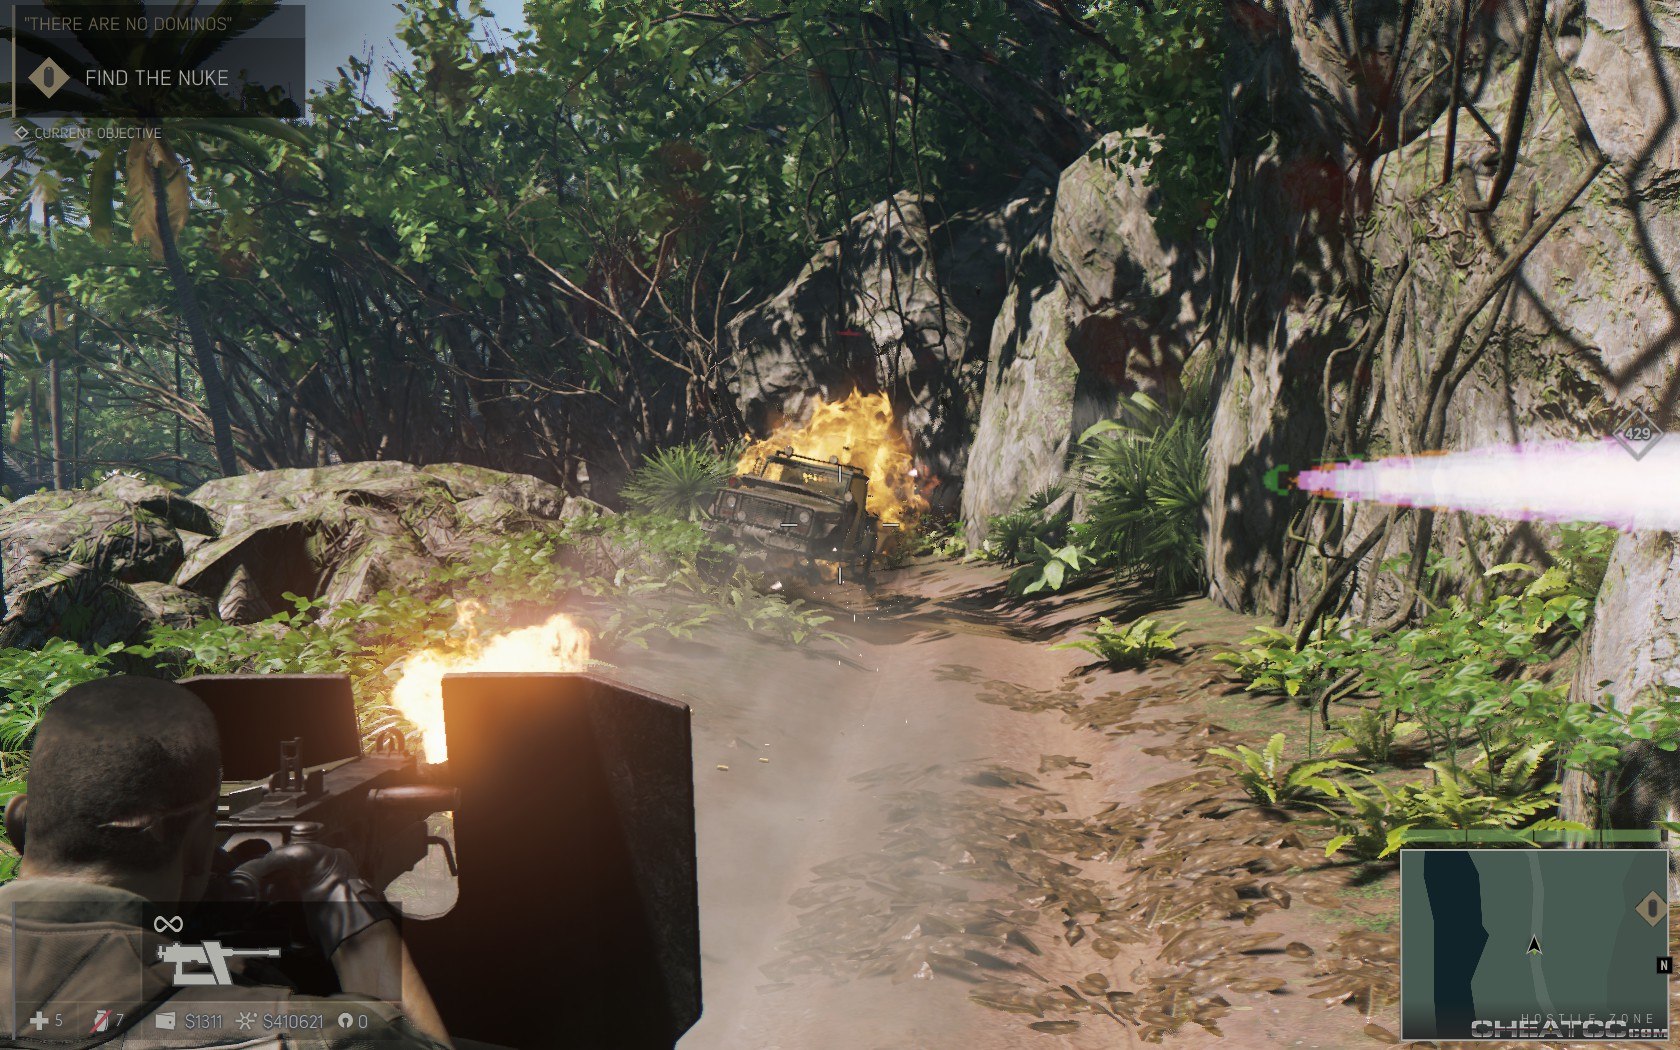
Follow your marker to another turret truck (a little ways behind the stationary turret your just rocket-grenaded). This is another shooter-on-rails sequence, but stay sharp- it's a lot deadlier than the last. Again, shooting drivers is a good way to stop trucks from chasing you, but for stationary trucks, you'll want to try and blow up the truck itself, otherwise the gunner will just keep on firing.
The end of the trail will lead you to a secret missile silo. Follow Donovon down. The outside of the silo only has five hostiles, and Donovan will take care of two of them for you. Take out the other three and top off your supplies if you need to (there are three medkits in the immediate area.)
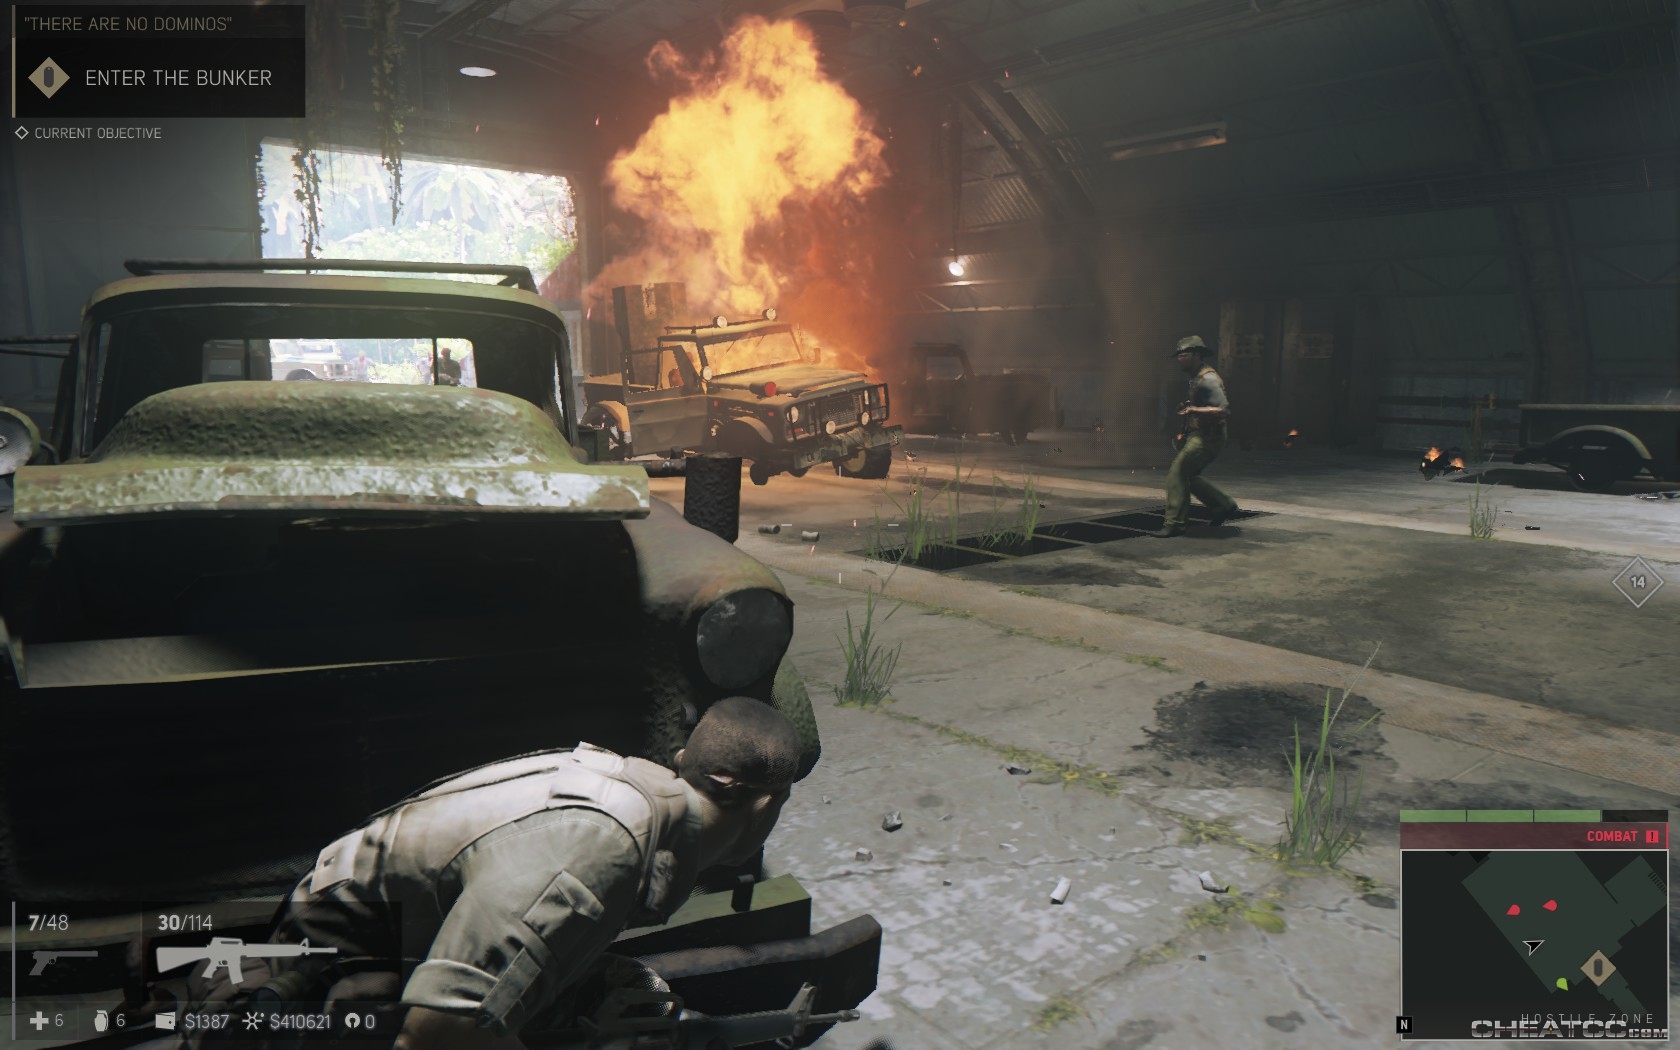
Inside the bunker, Donovan will attempt to hack the door, This raises the alarm, and a turret truck of hostiles will drive up behind you. A grenade or other explosive will take them out, and you can shoot the few remaining hostiles on foot. There are no follow up waves.
Which is fine, because you're going kill scores, and scores of mercs inside, starting with an ambush on the passage down.
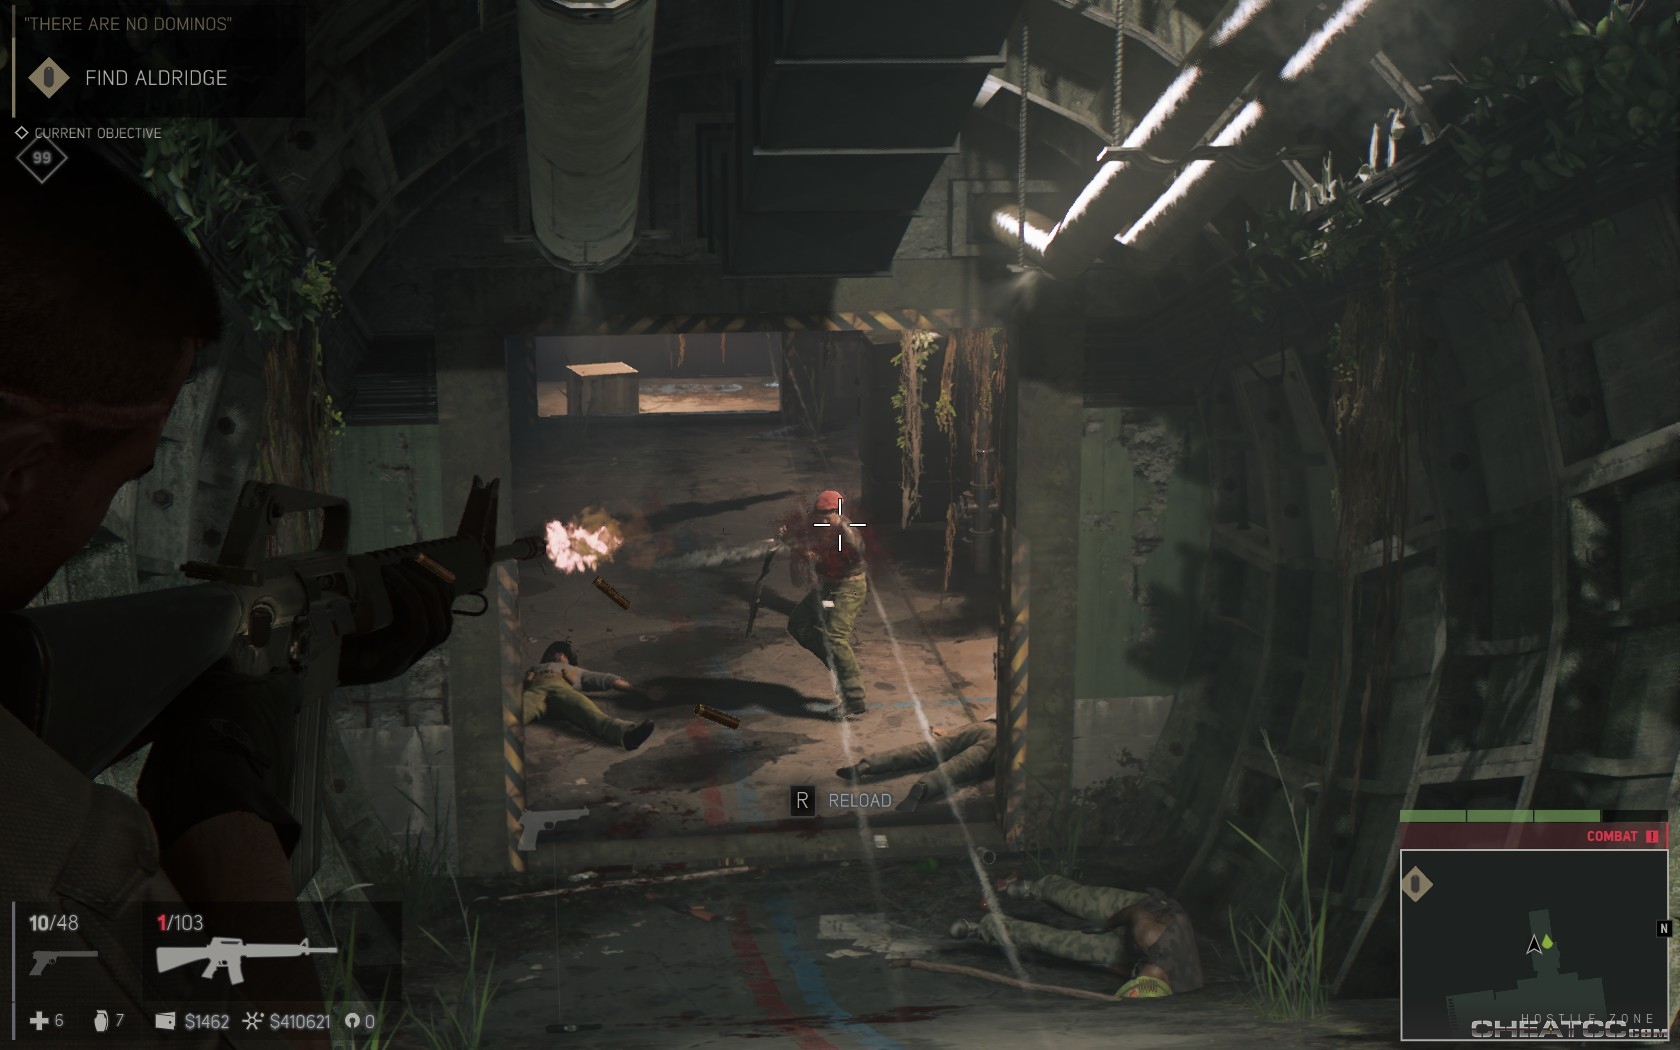
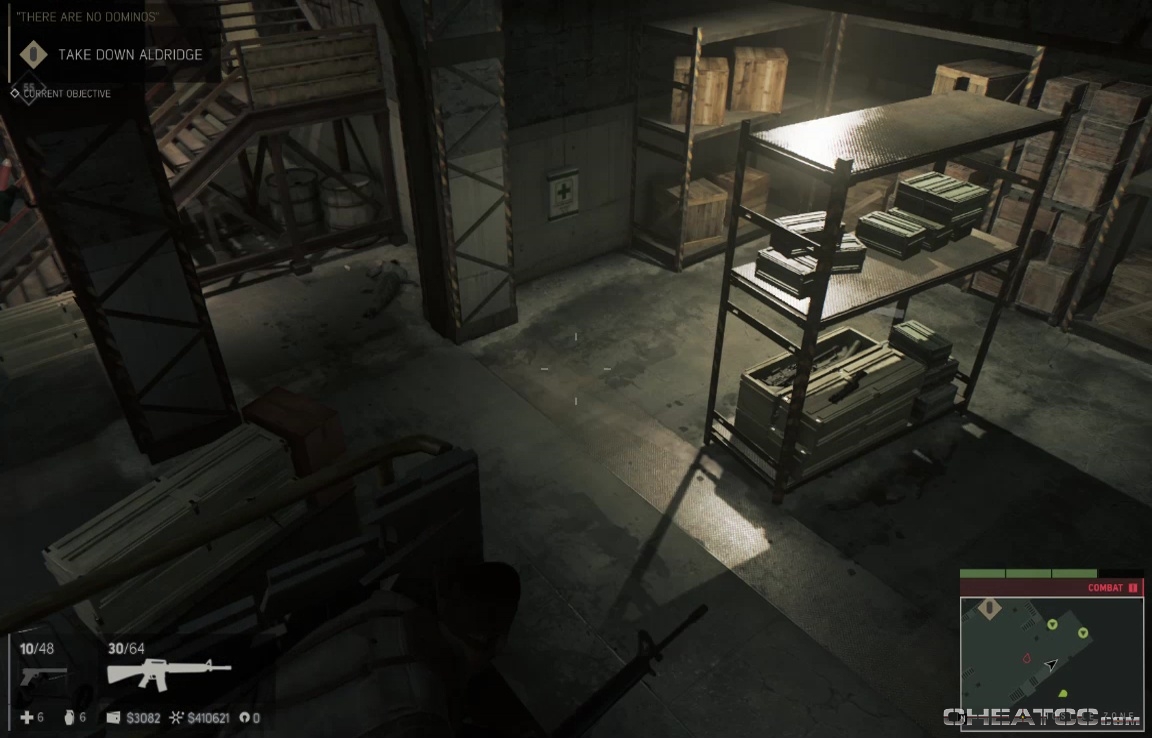
There's an ammo locker at the bottom (if your guns aren't already overflowing with looted bullets). Through the double doors expect an immediate rush of half a dozen enemies- best met with autofire or explosives.
You'll then clear out a barracks and prison section, but the enemies aren't quite so densely packed, and can be eliminated normally. Be sure to check out the northeast corner of the prison for a Tac Vest and explosive refills.

There's also a med kit in the bathroom and just past the double doors into the next section (they'll show up on your minimap).
Your next combat set piece is a corridor with a turret at the end. You can't quite get a grenade over the turret, but if you land one just in front, the splash damage is sufficiently lethal.
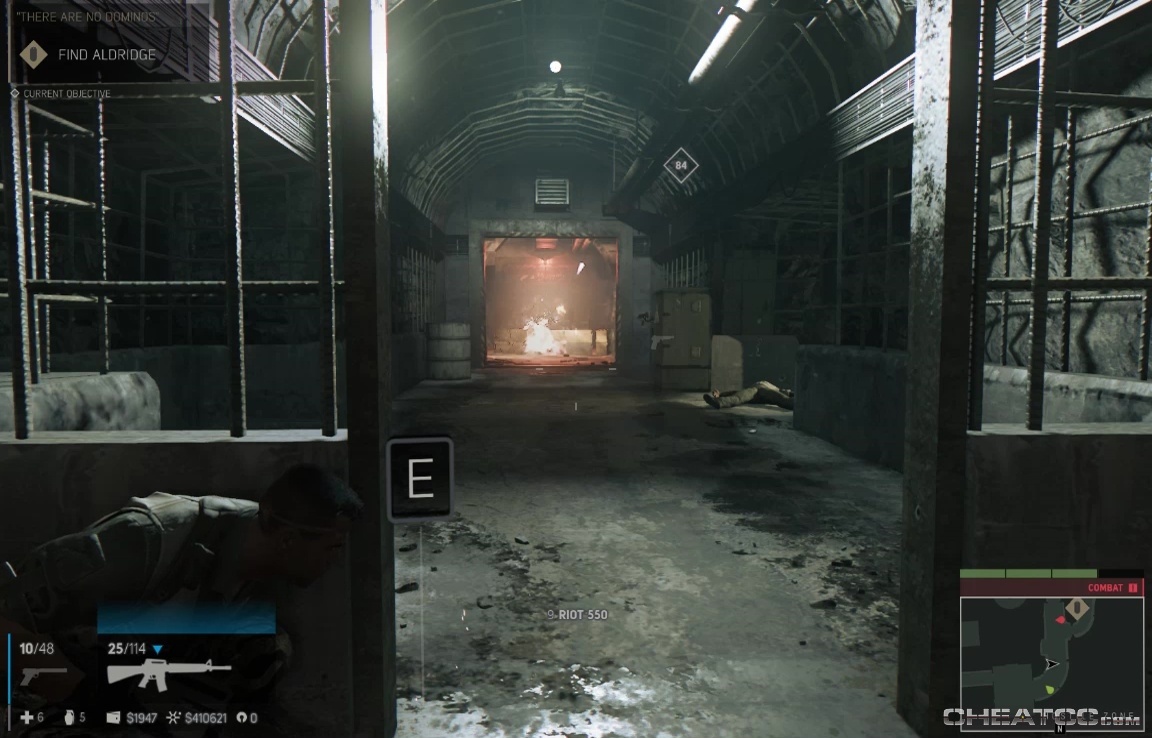
If you'd prefer, you can also flank the gunner by sprinting for the tunnel to your right (look at your mininmap). Still, there's no shortage of grenades here. Follow the red-lit stair past several weapons crates (good for topping off ammo) to the fifth level, and sneak into a control room. Here whistle-killing becomes useful again, but then, so does regular killing.
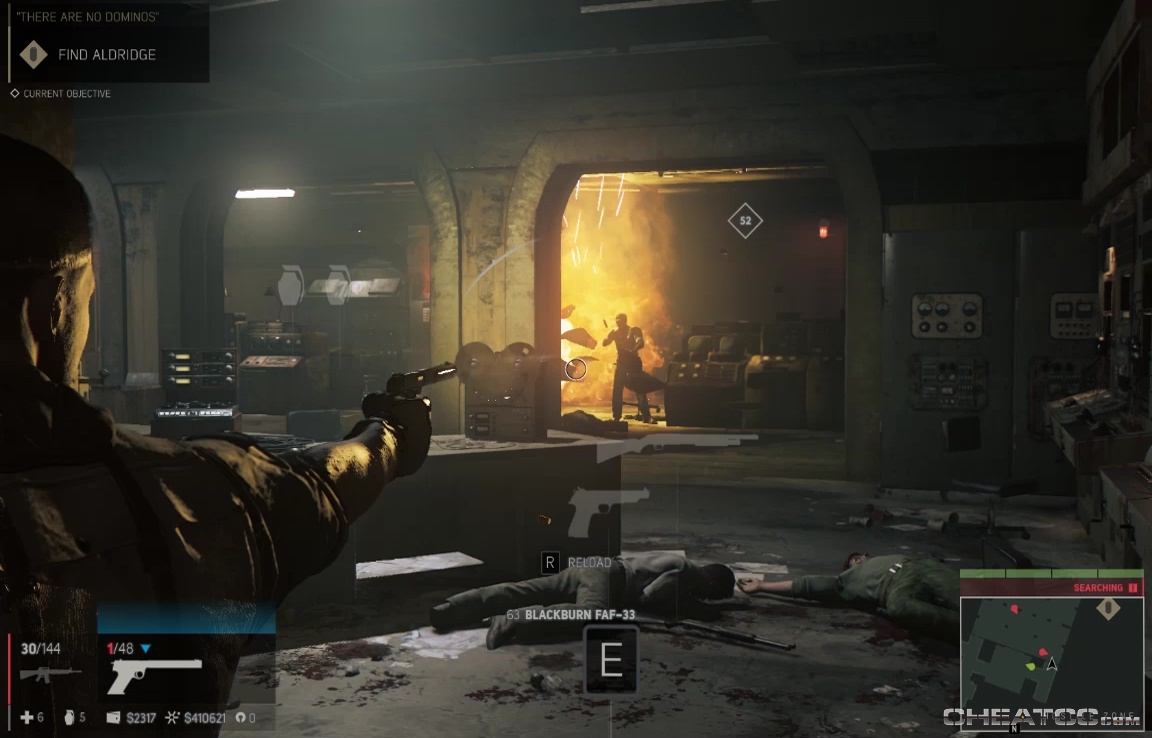
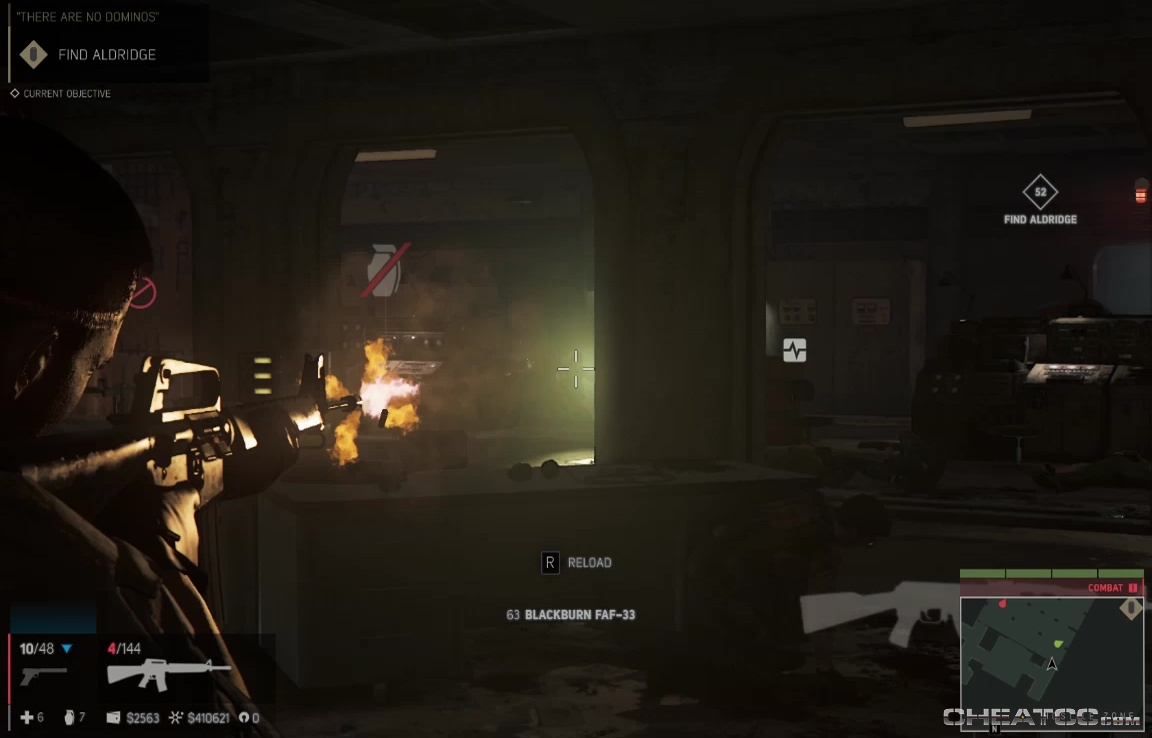
Wipe out the enemies, but advance carefully. As you near the far door, the lights will go out, and enemies will swarm the room. Immediately fall back to the doorway you entered by- it's not that darkness makes it hard to kill the enemy, it's that it's easy to think you're in cover, when you actually aren't. Use the hard cover of the doorway to clear out as many hostiles as you can, then carefully creep into the room to mop up the rest.
When you're clearn, take the stairs in the back to a room full of radiation suits (which neither of you seem sufficiently concerned about) and descend the silo proper.
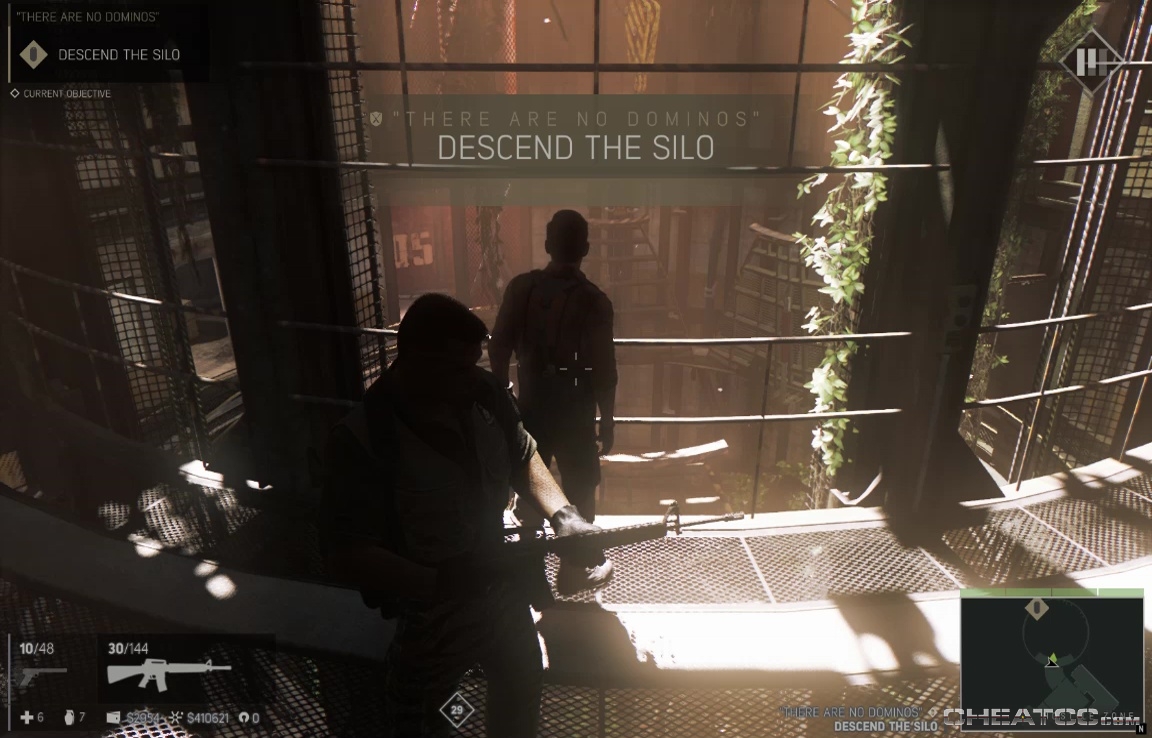
Jump down a level to deal with four auto-alerted hostiles.
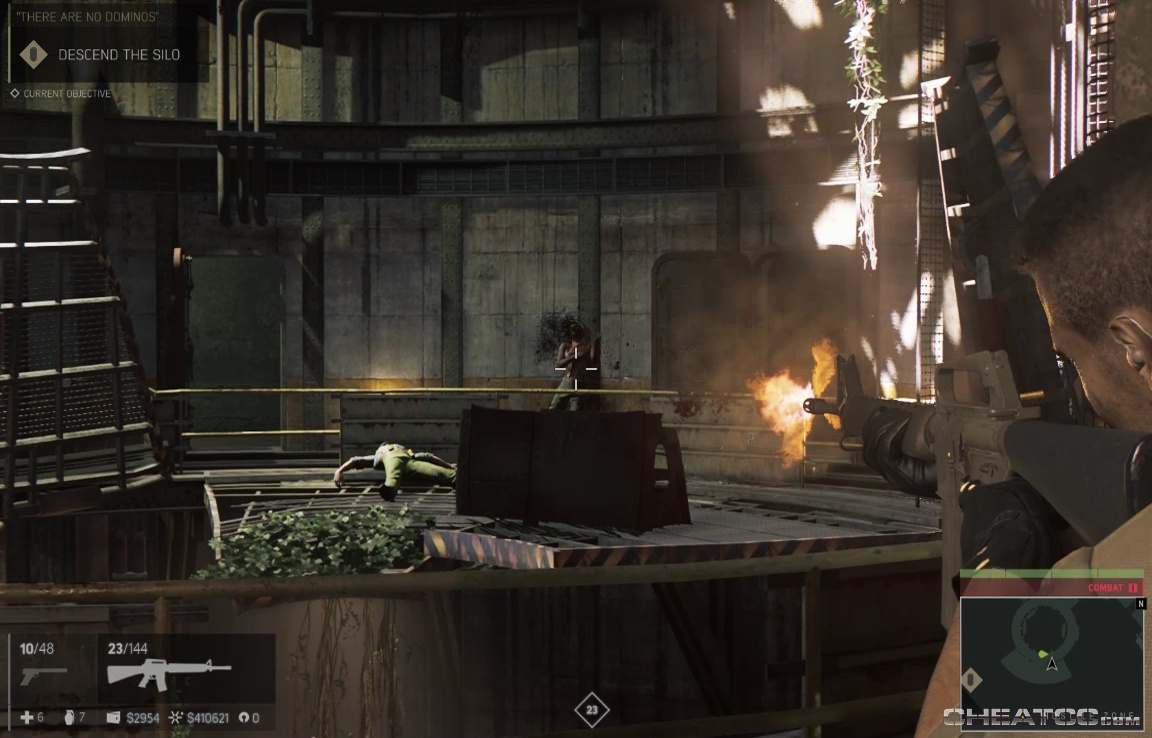
When they're dead, take the south ladder down to the next level.
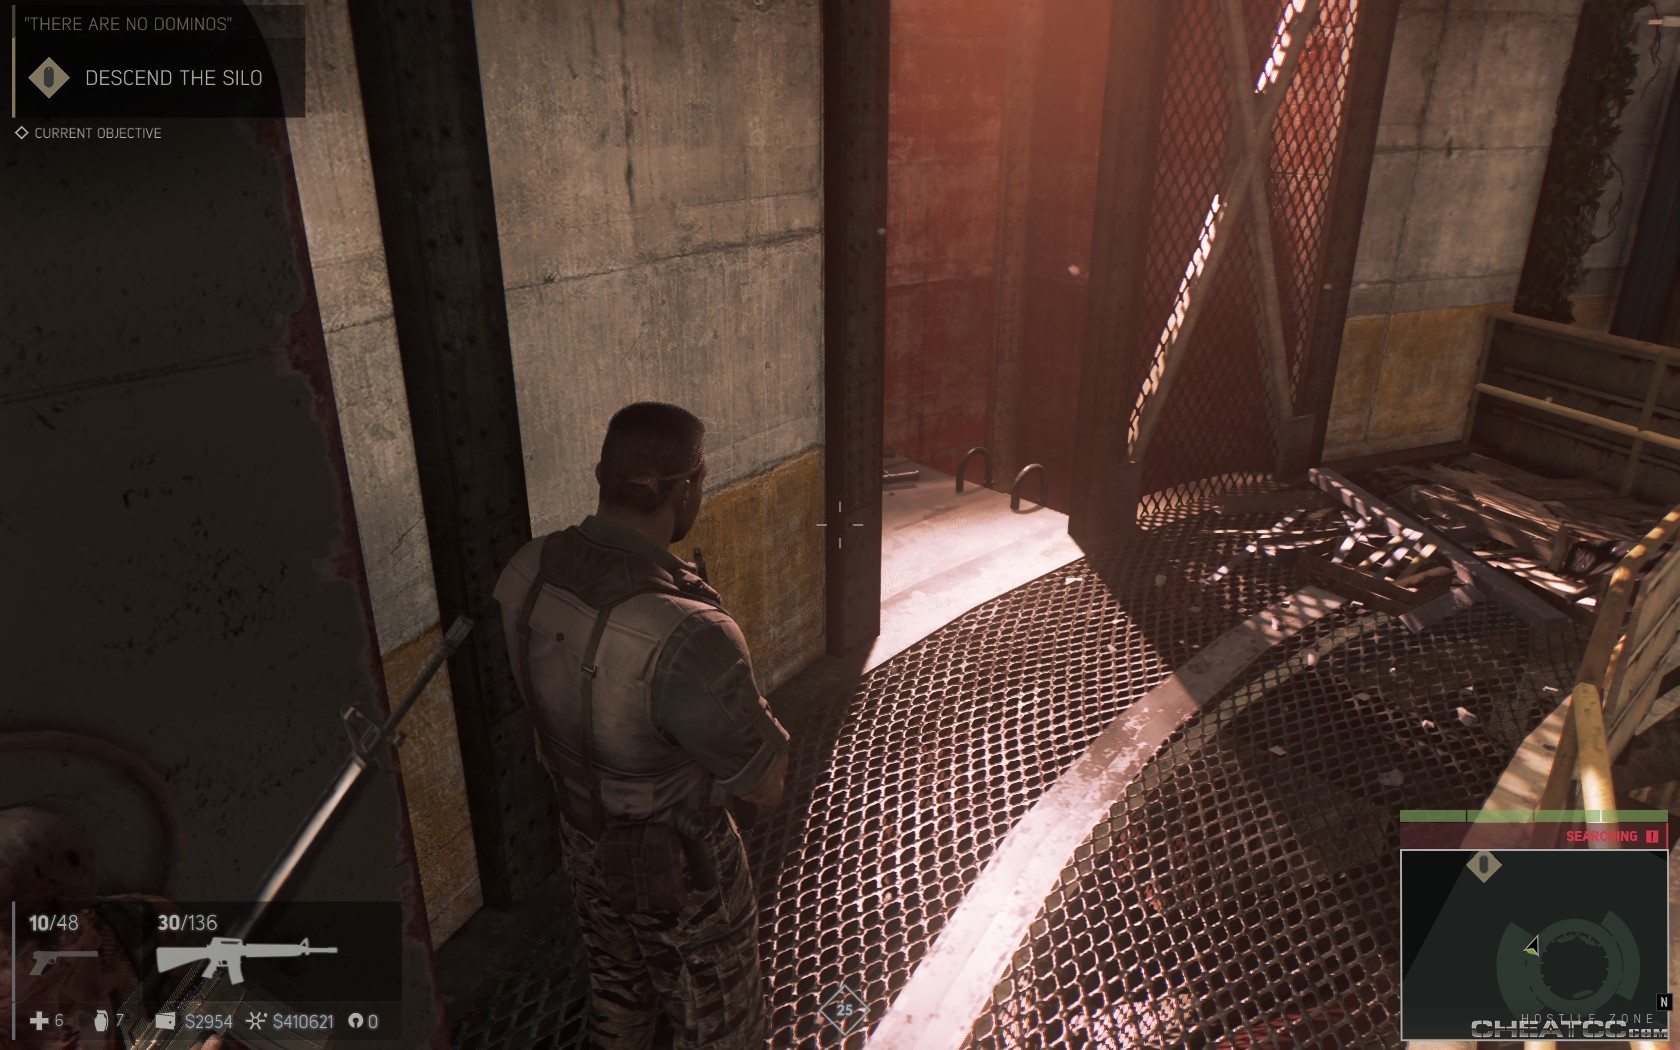
Three enemies here- kill them, and jump the rails to the north section, where you can find a medkit, and the control pad which opens up the next area.
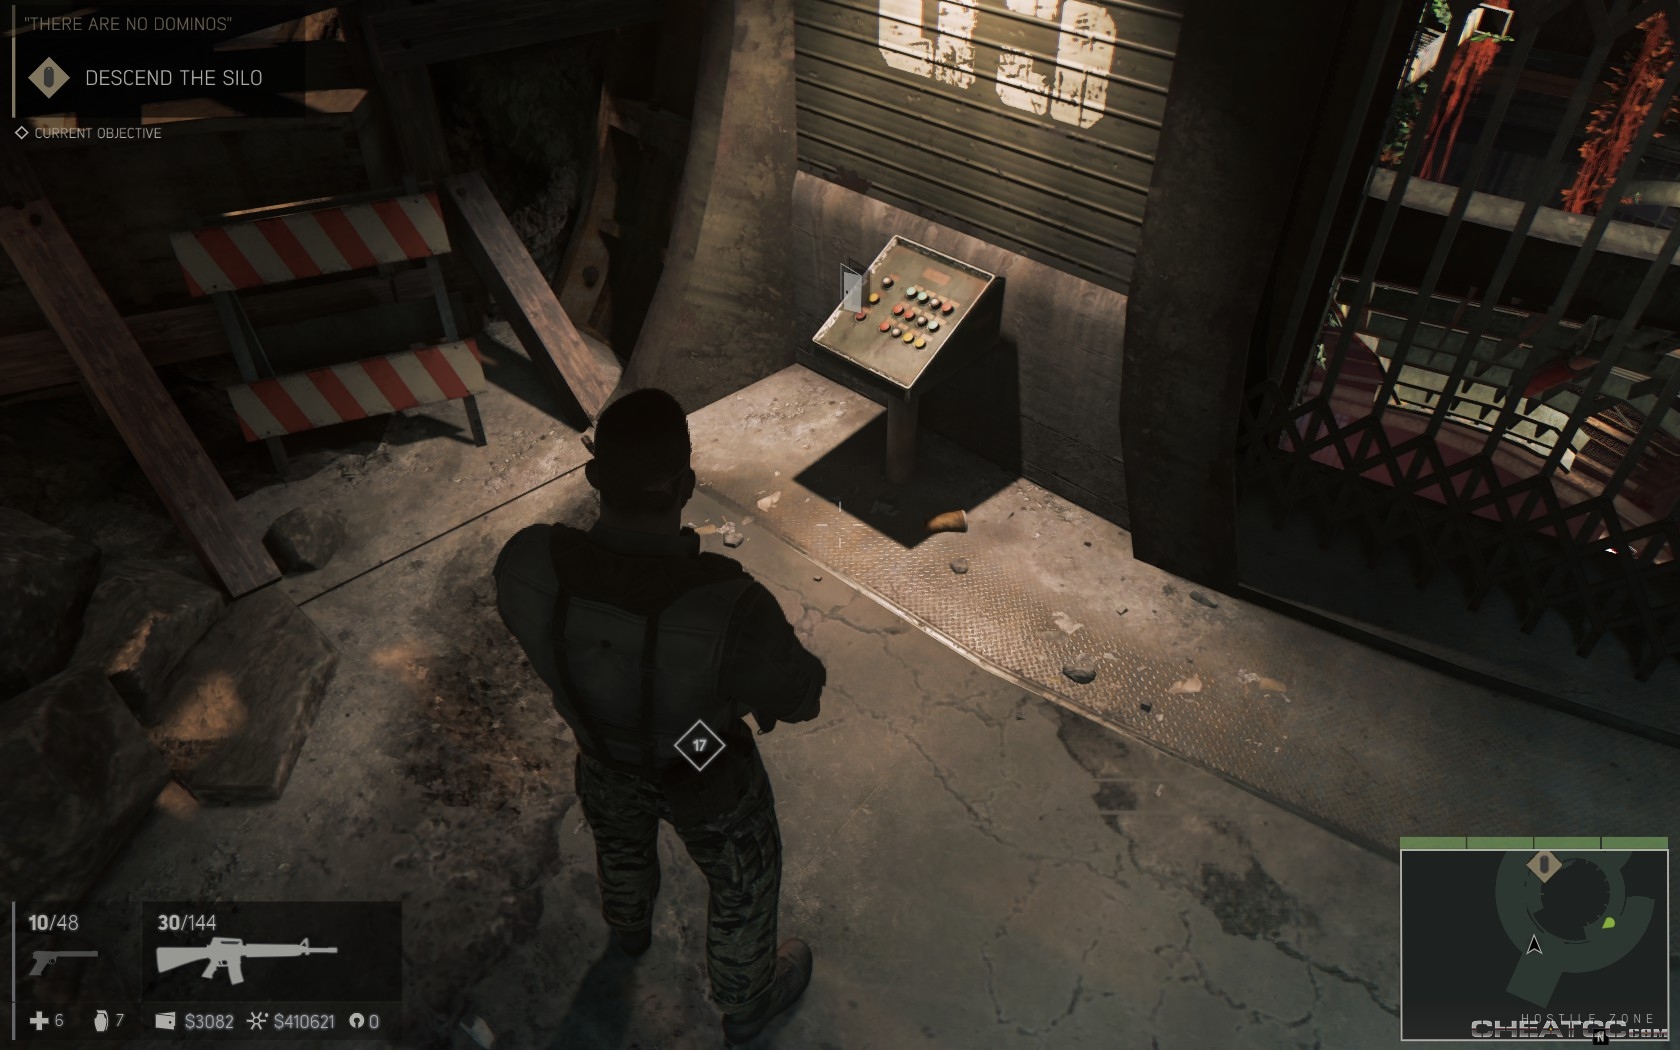
Head down the tunnel to the next silo station. Again the enmies will auto alert, but they tend to bunch up, making this another prime grenade opportunity.
Clear the area, then it's down another side ladder into a partially submerged section. Just keep following your marker along passages and up/down ladders until you reach the control room, with an objective marker'd console.
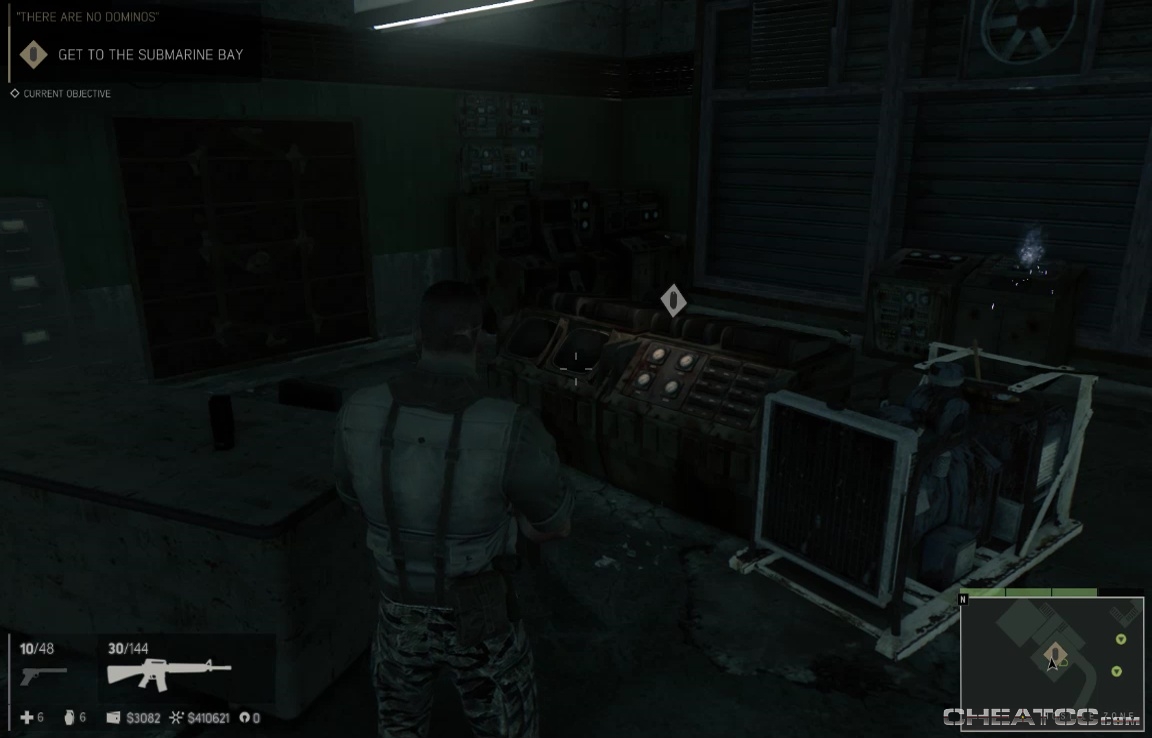
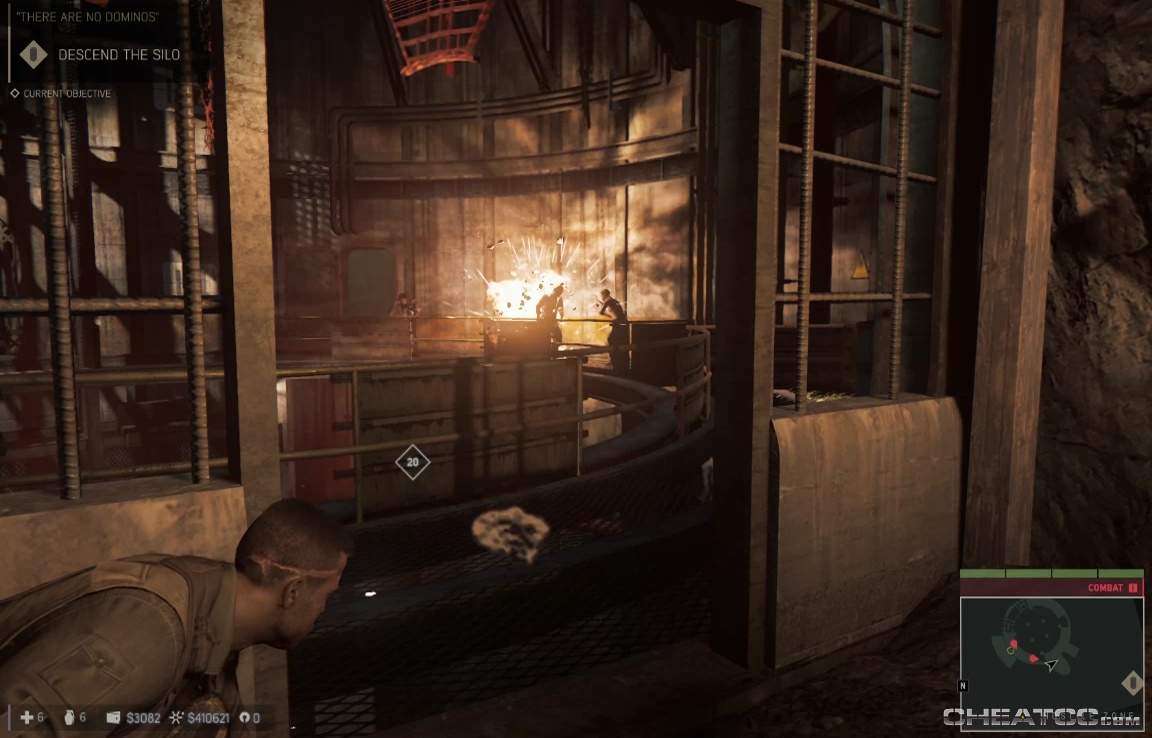
Activating the console kicks off the game's final fight- you'll be facing a submarine bay full of enemy mercs, and Aldridge himself manning the turret. The key is not to let yourself get boxed up in the control room. Timing your moves against the turret, you'll want to advance to the window, shoot only the nearest enemies, advance to the balcony, then look right.
Here you can see a tac vest, health kit, and grenade launcher When he lets up firing for a moment dash down, use your rifle to eliminate near threats, then mount the stairs. Take the kit and vest if you like, but ignore the launcher- by the time you're close enough to use it you'll have better options. Advance to the cement bags mid-platform.
From here you can grab the rocket launcher, lob a regular grenade, or just go for the headshot. Whichever you choose, Aldridge will limp away inside the submarine. Kill the rest of the mercs in the bay to get the objective Confront Connor Aldridge.
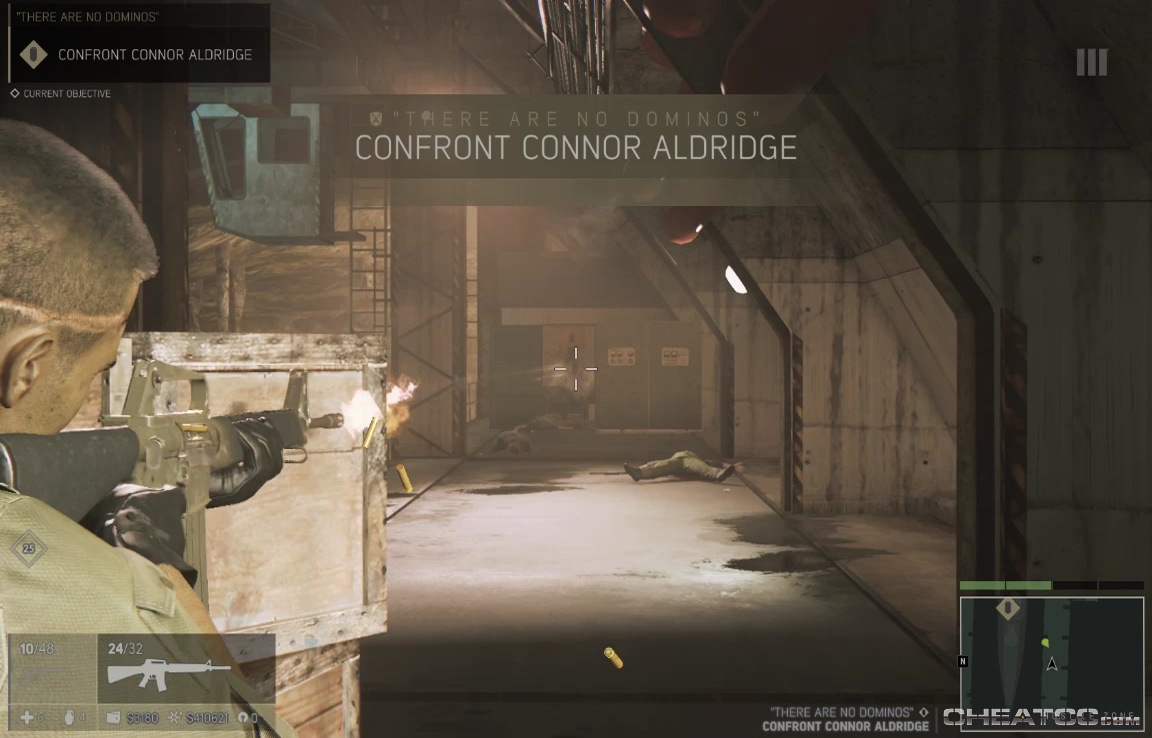
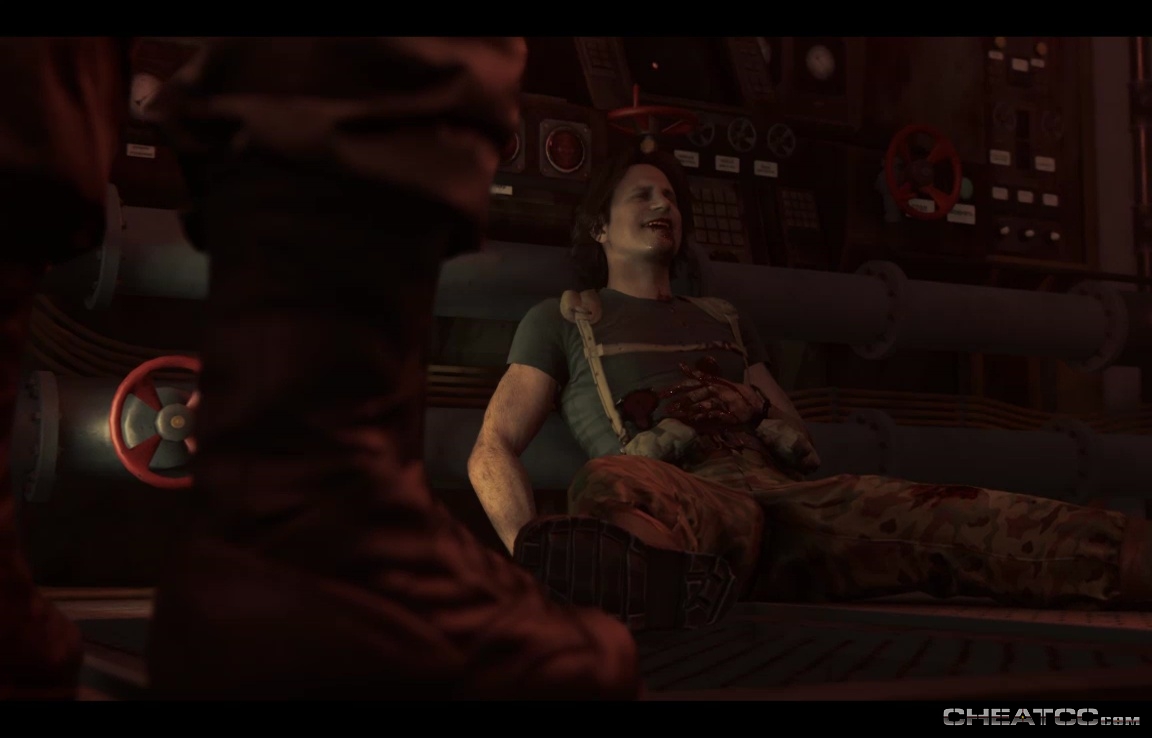
Enter the submarine (from either side, though you'll need to climb over box to reach the door). This triggers a cutscene chronicling Aldridge's final fate.
When that's done, enter the truck with the warhead. You'll ride it up a funicular to the surface, and Donvan will call for a chopper to pick it up. Unfortunately, you'll be ambushed by mercs (who haven't figured out that everyone else is dead and they're not getting paid for any of this).
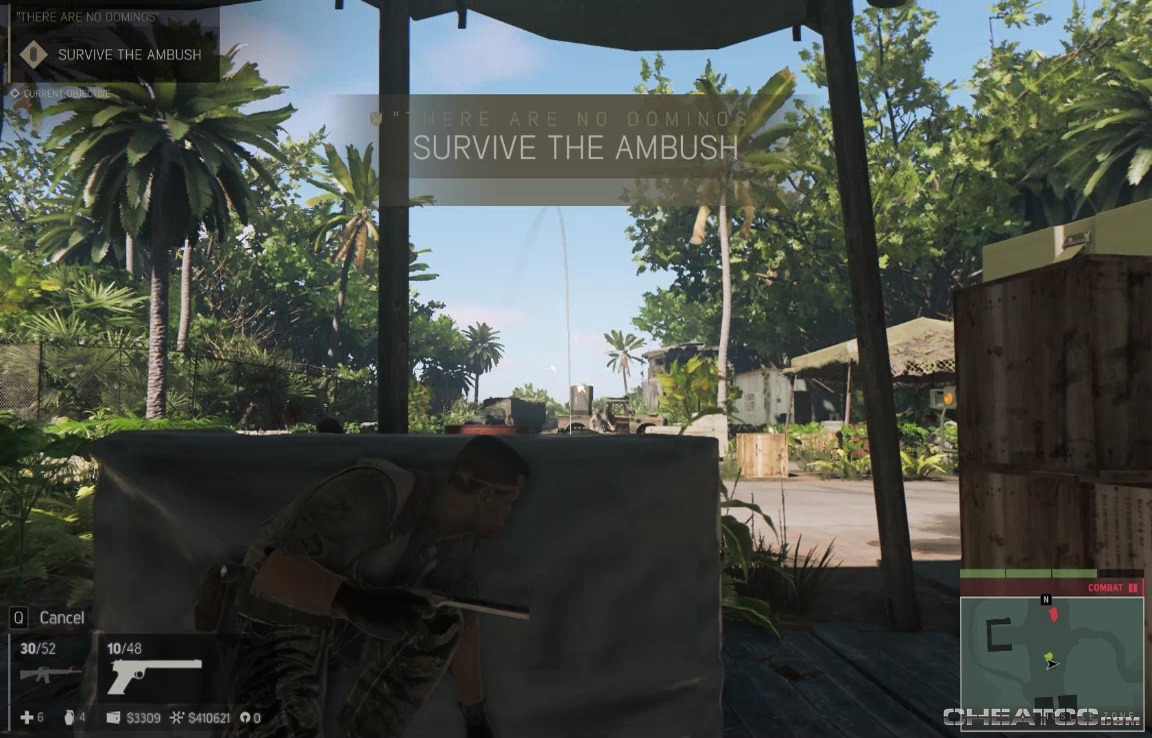
The first force rolls up in a turret truck almost exactly one grenade's throw distance from your starting cover. Kill it and any survivors, then brace for a jeep that will roll in along the east side. Kill the rest to make the area heli-safe, then walk off into the sunset.
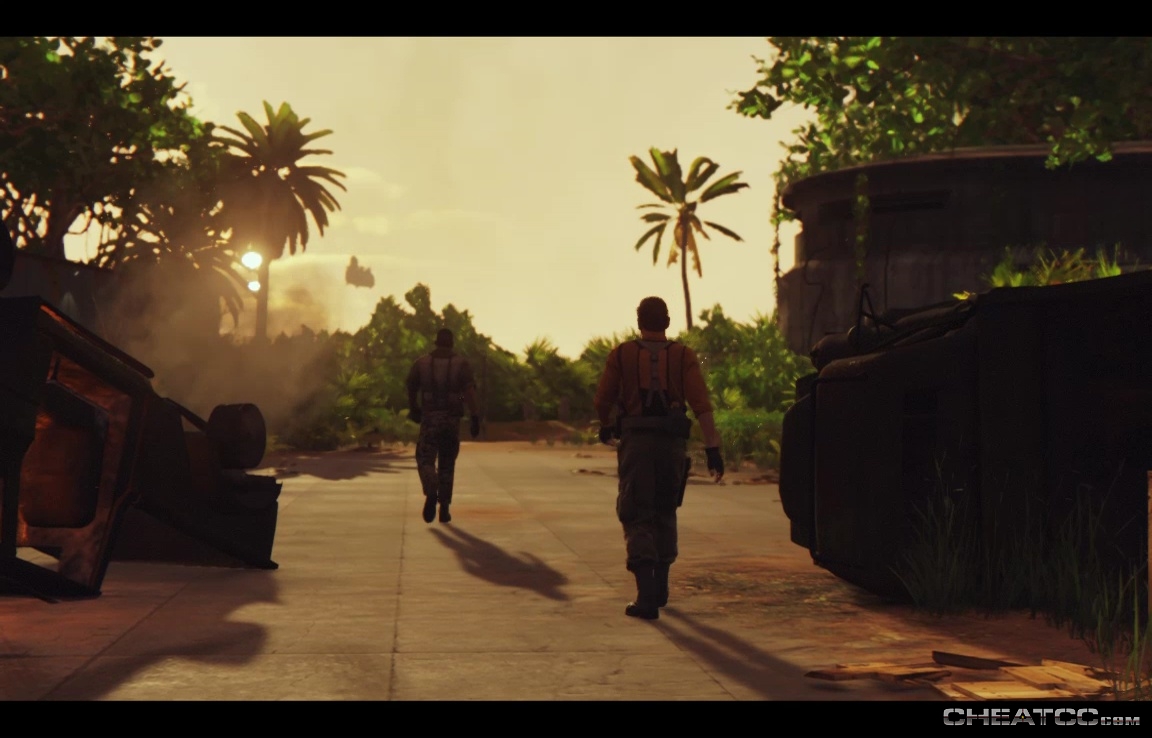
This completes the story mission for Stones Unturned, and unlocks the Jungle Camo outfit, the Party Animal Outfit, and the Griffin Borneo Sport vehicle. None is particularly special, though you'll need to be wearing the Party Animal duds to get the Big Fat party Animal achievement.
You now also have access to Marshall's Bounty Hunter missions.