Cora Harper: At Duty's Edge
Locations: Tempest, Valay System
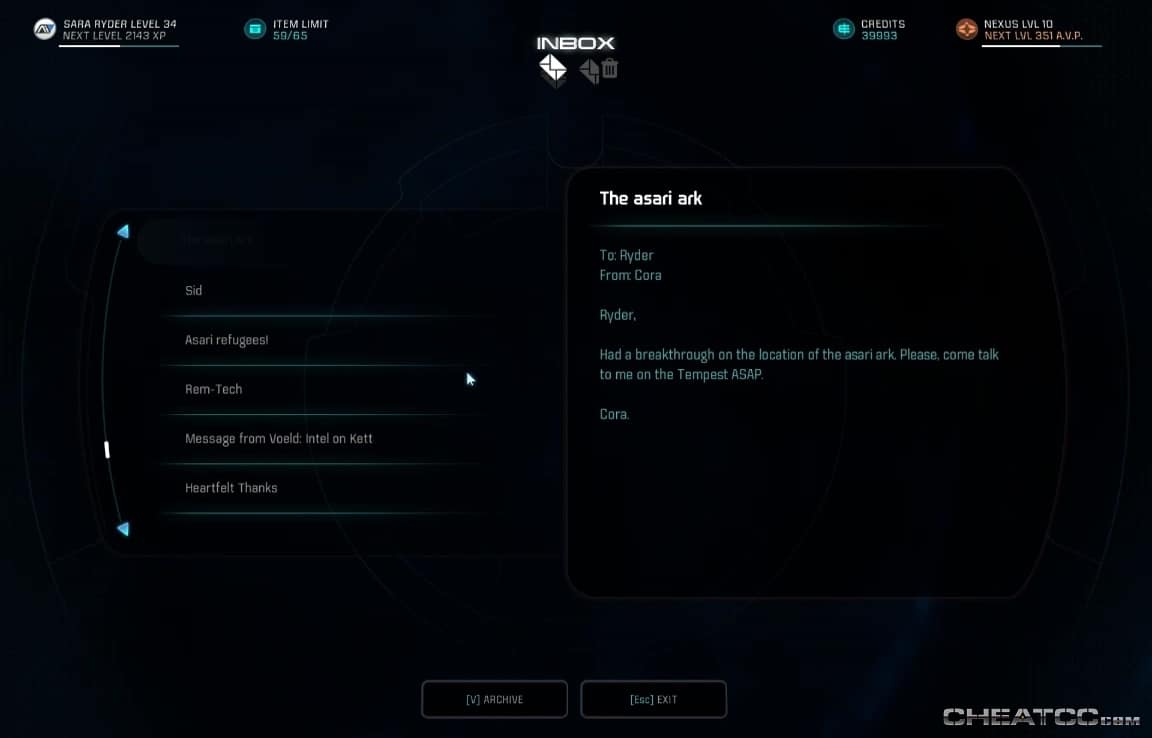
Shortly after you've visited the Vault on Aya, Cora will be able to decrypt the transponder codes from Cora Harper: The Asari Ark, and tell you as much in an email.
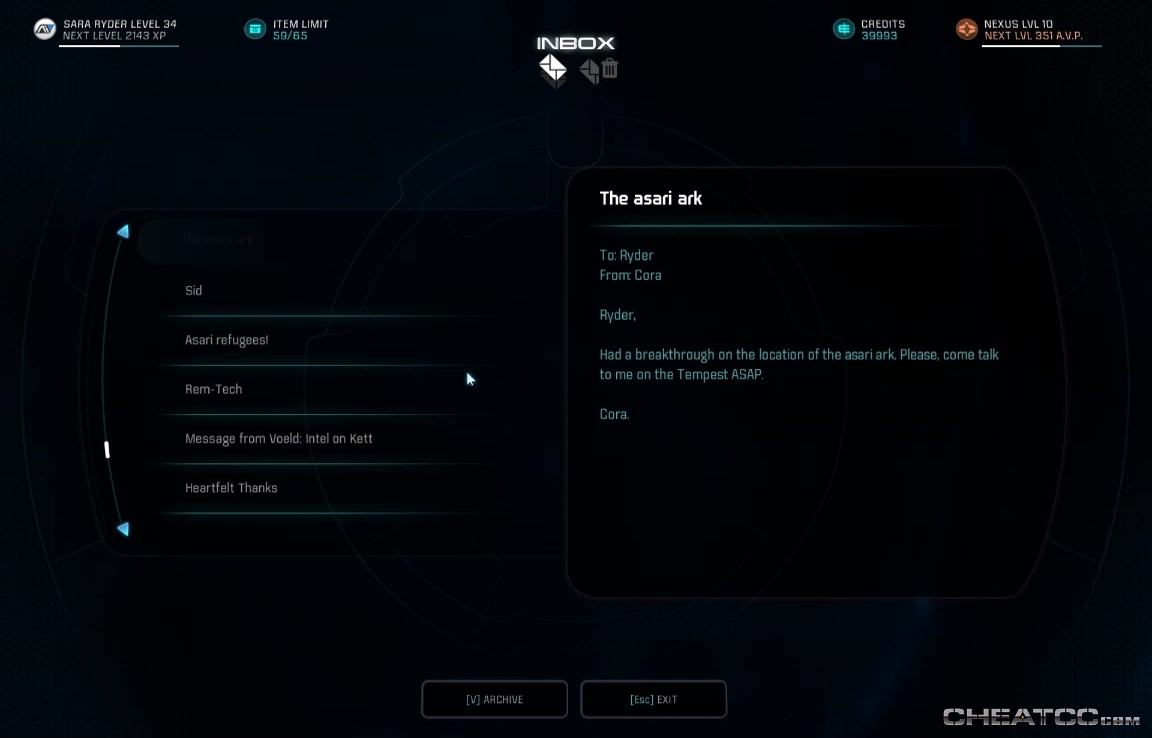
Talk to her aboard the Tempest, then follow the trail to the Valay system and search for anomalies.
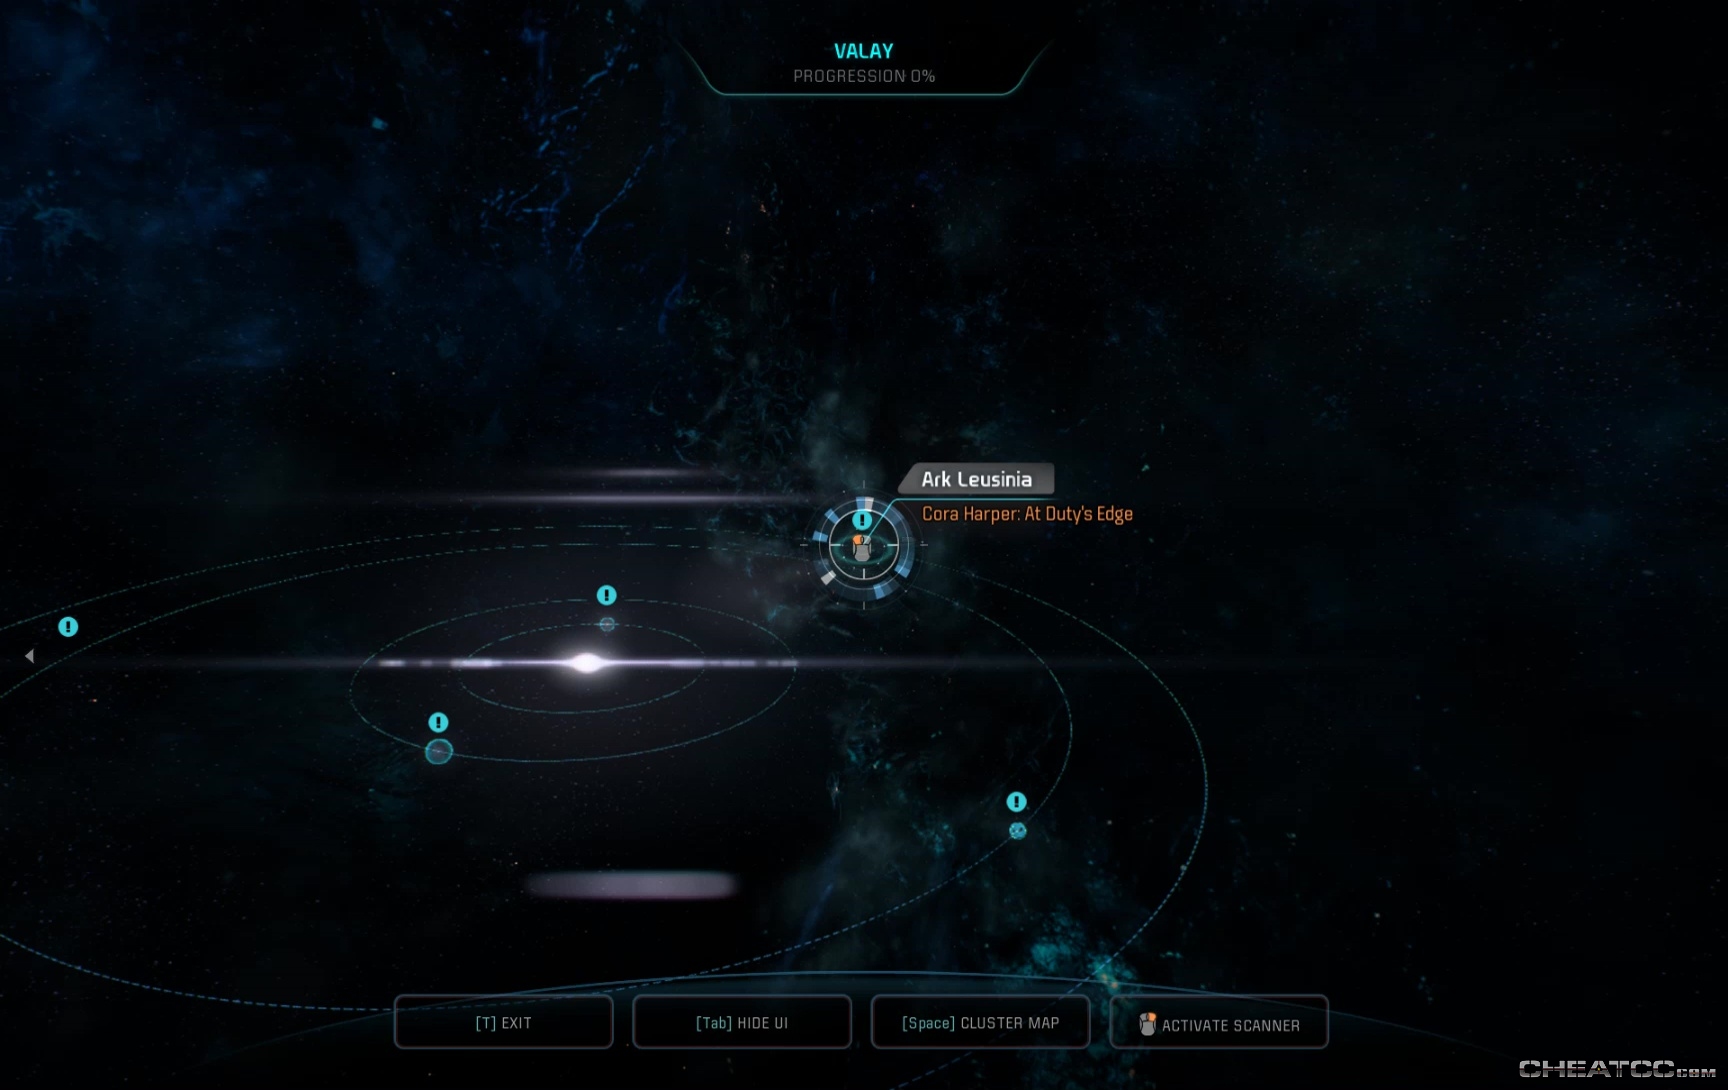
Scan and select the Leusinia to start the mission. You'll have some light chatter with Cora, but it doesn't mean anything yet.
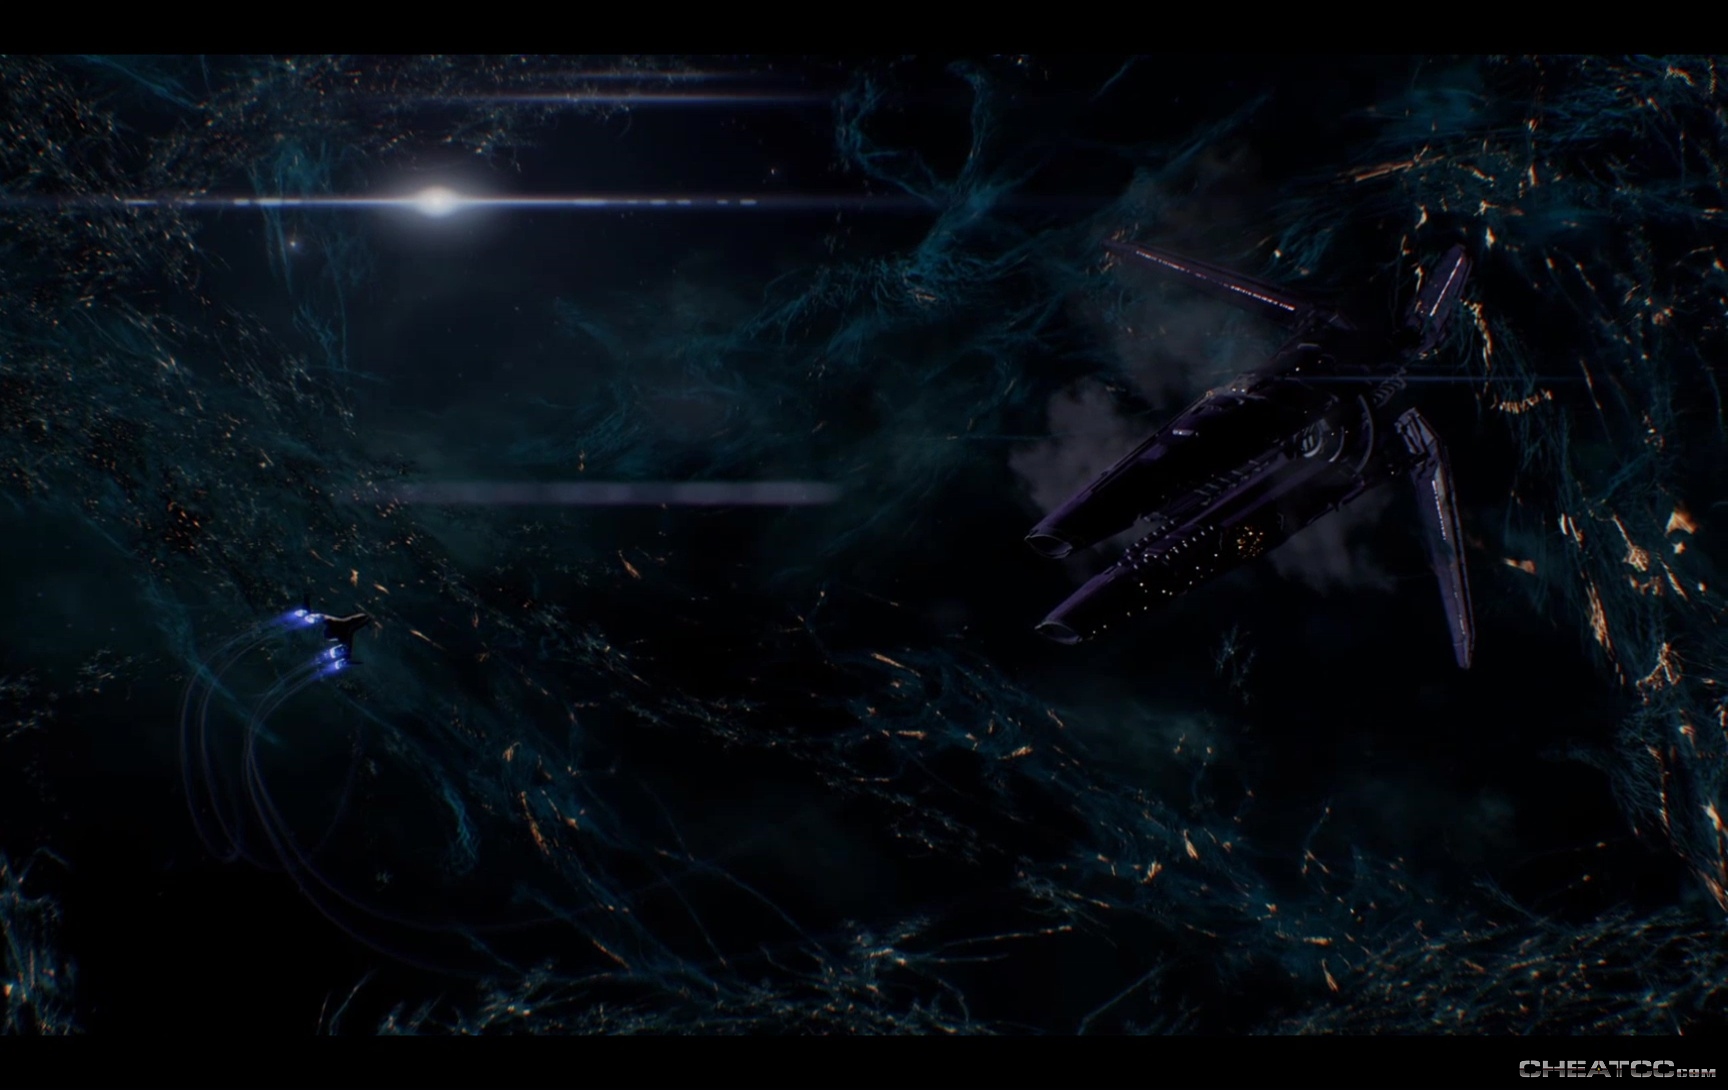
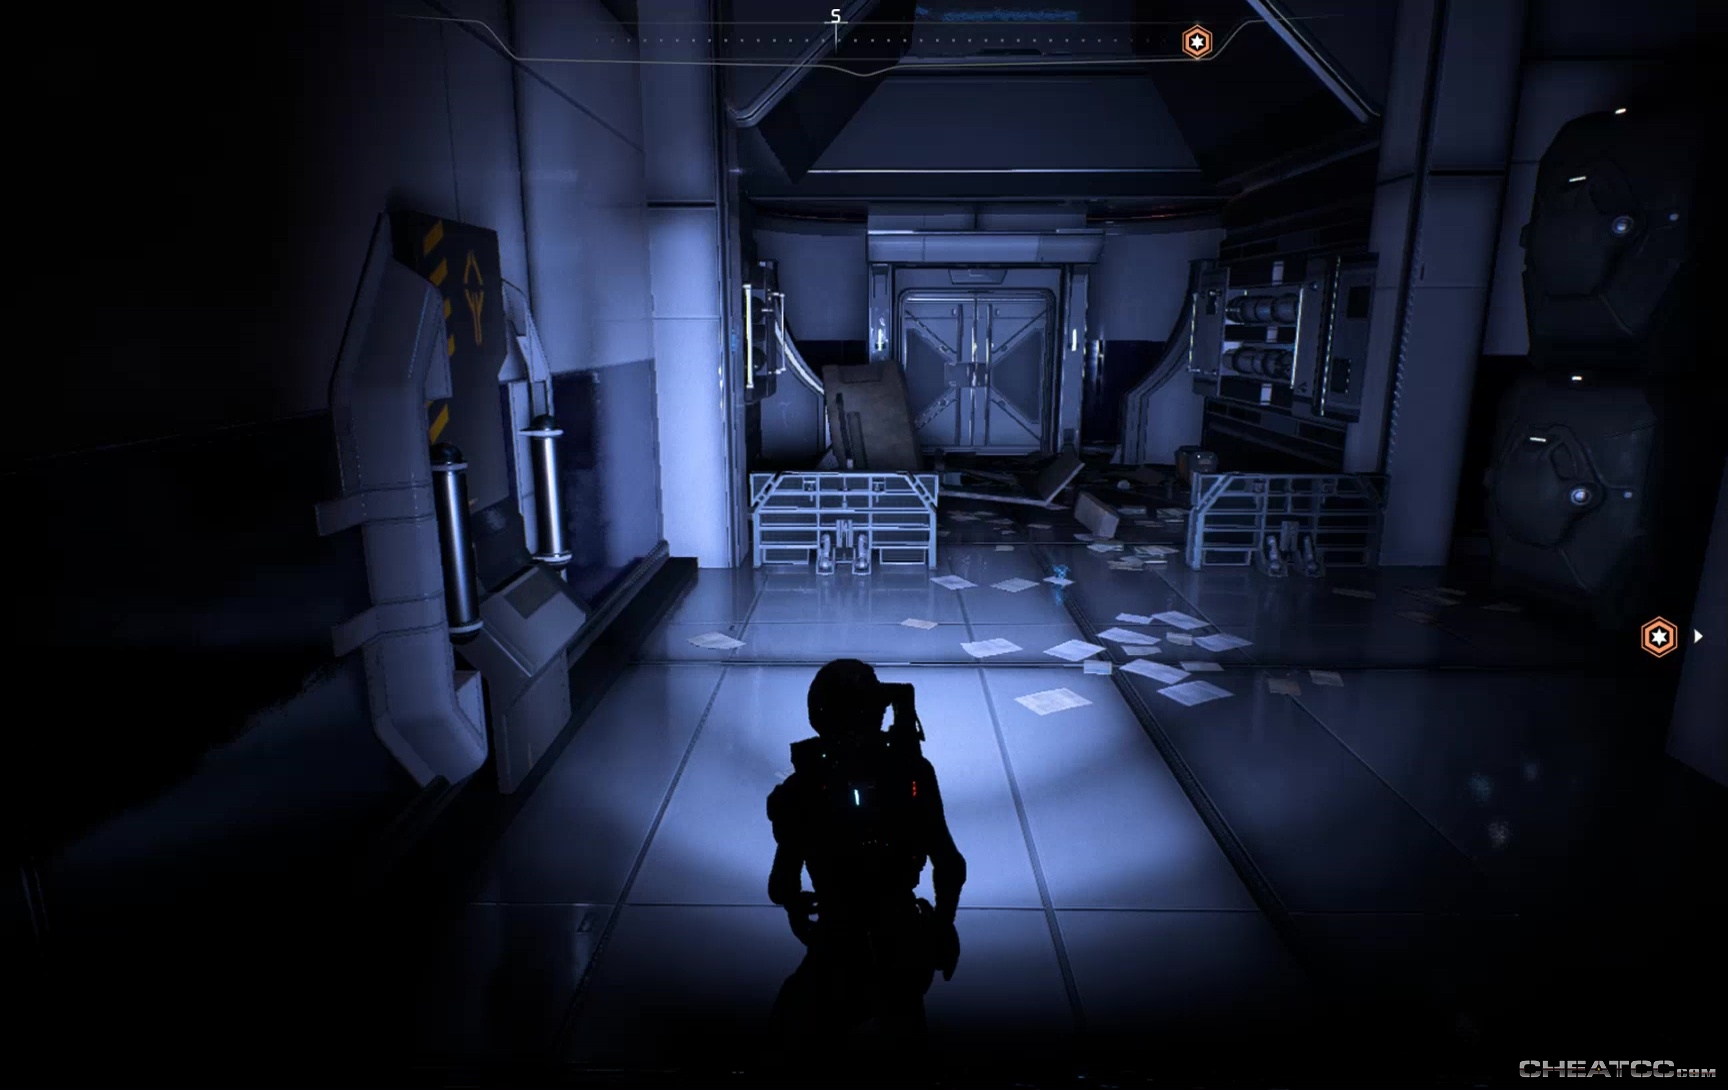
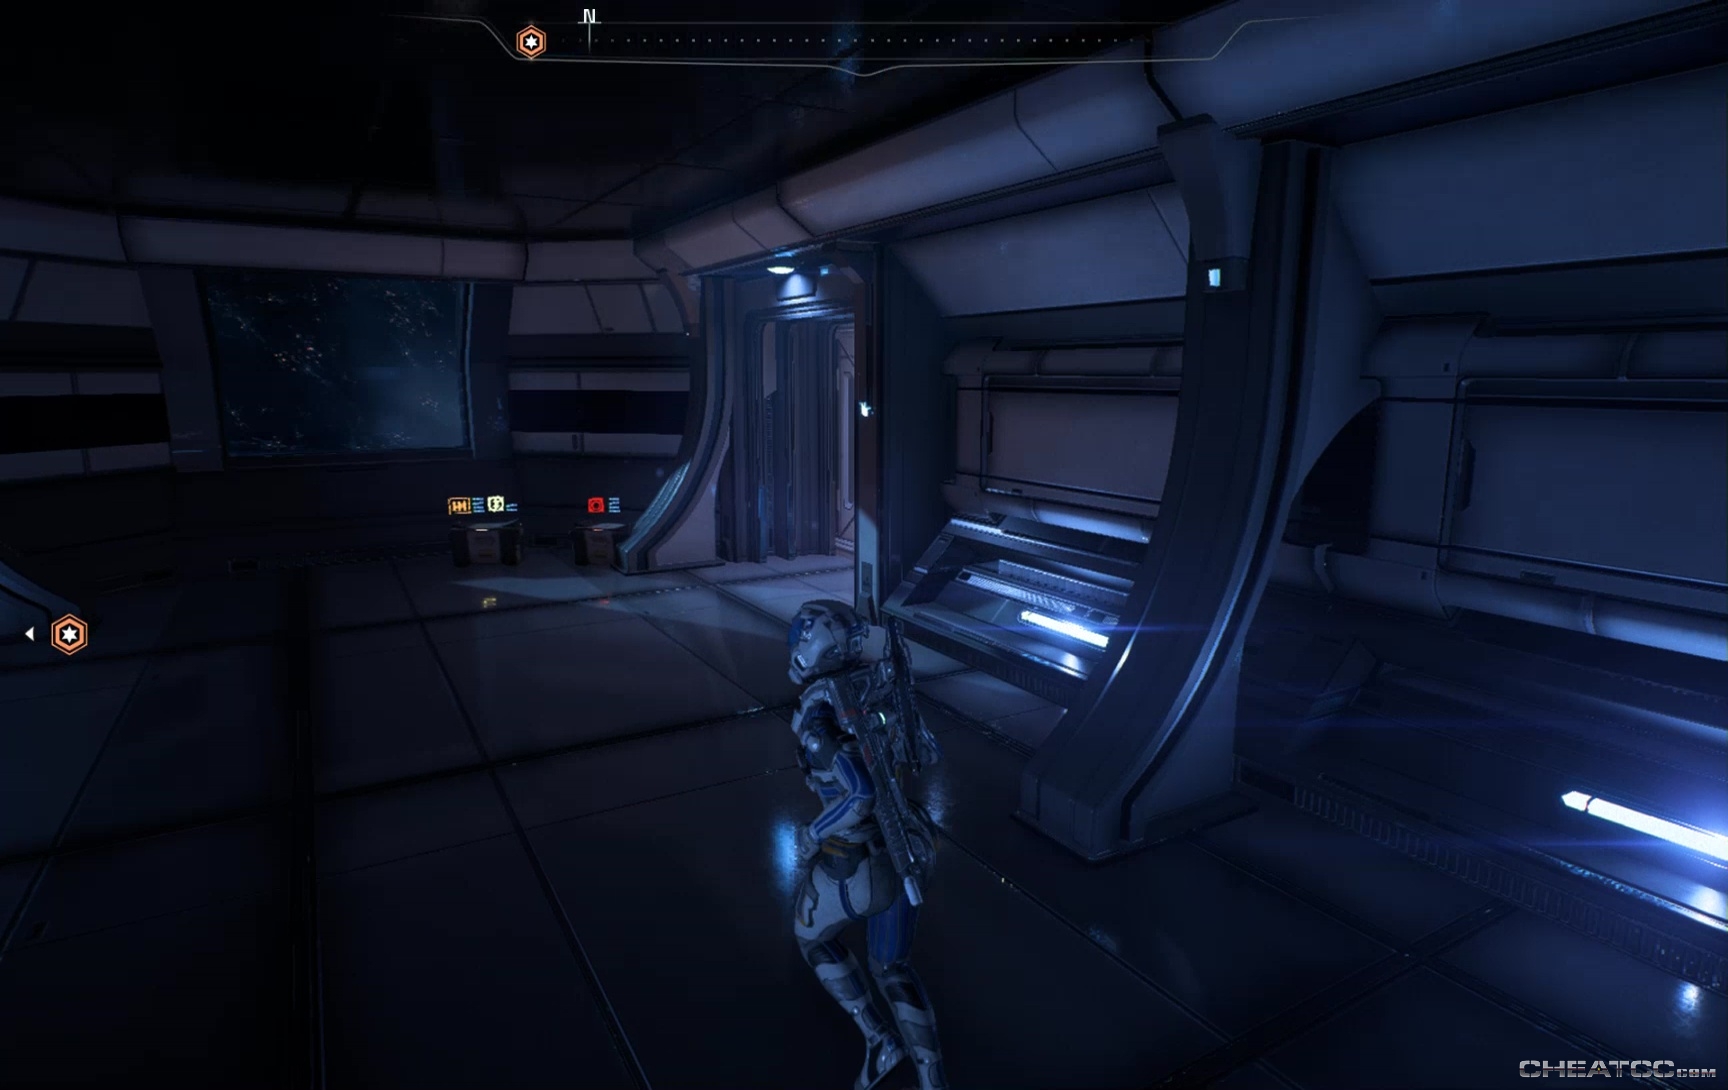
You'll come aboard a dark, damaged ship. Follow your objective marker.
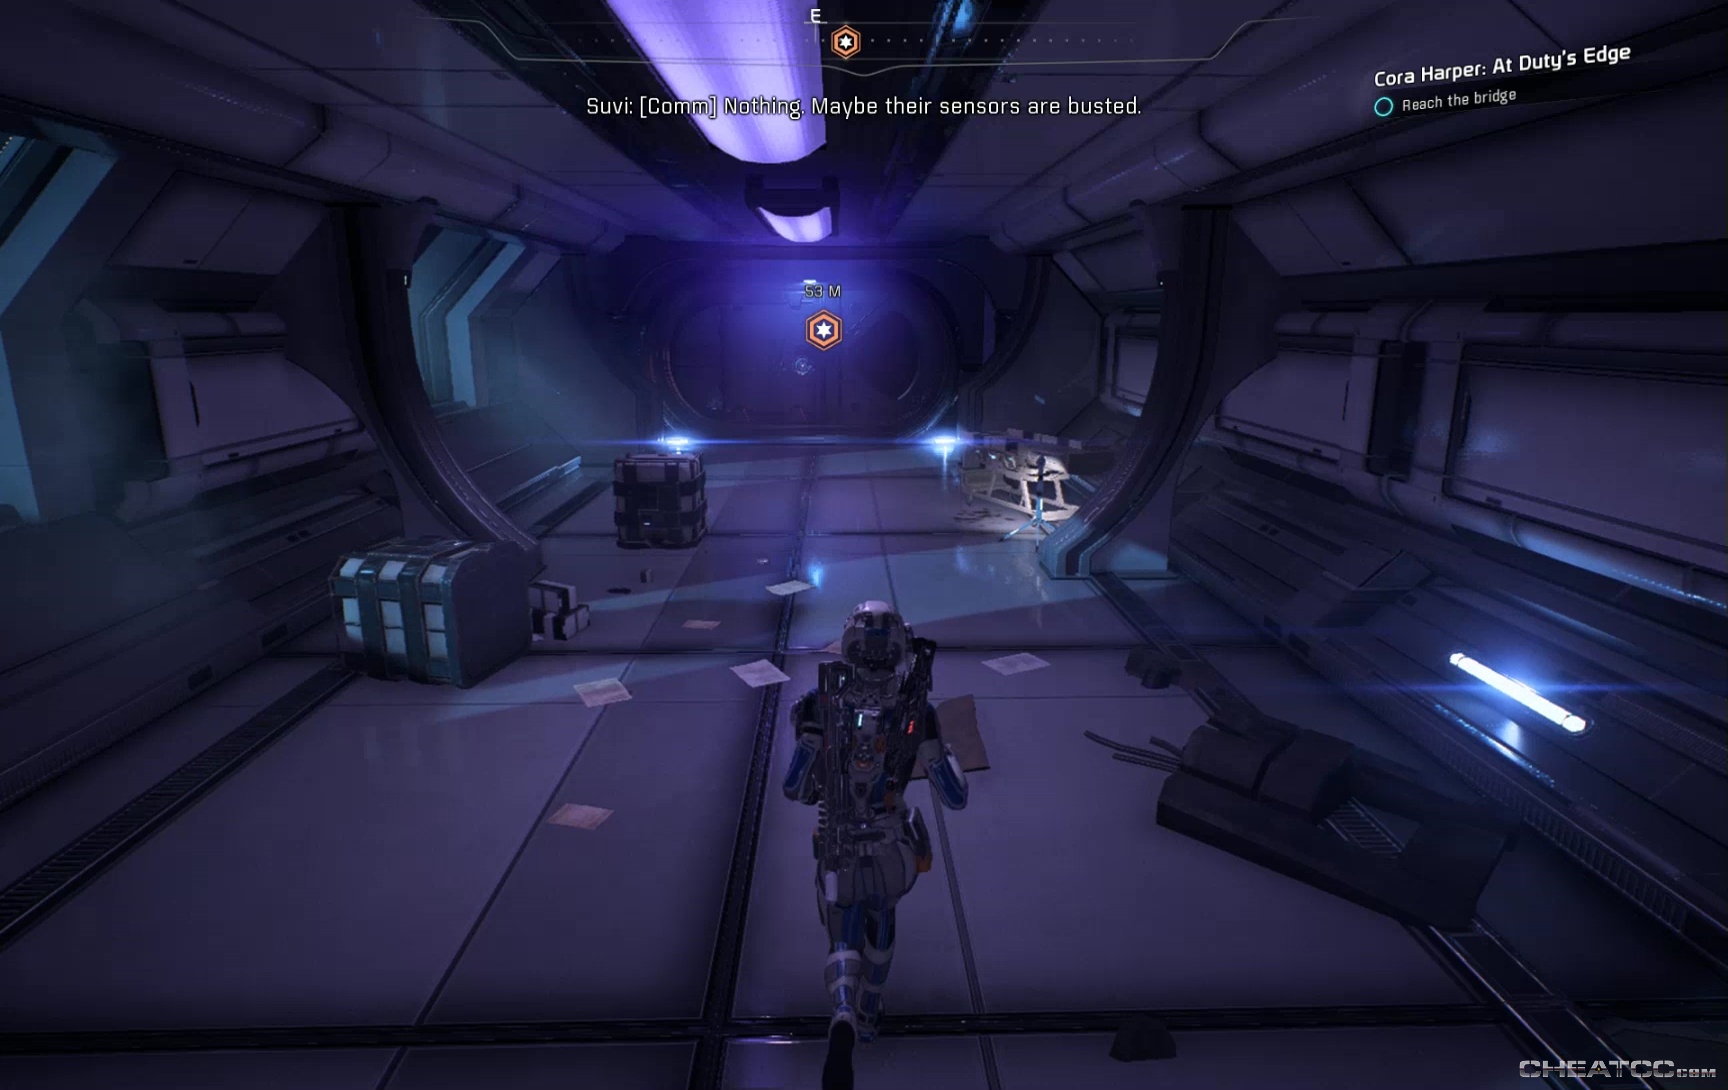
The ceremonial banners in the main hall are scannable, but yield no research data. A surprisingly common phenomenon here.
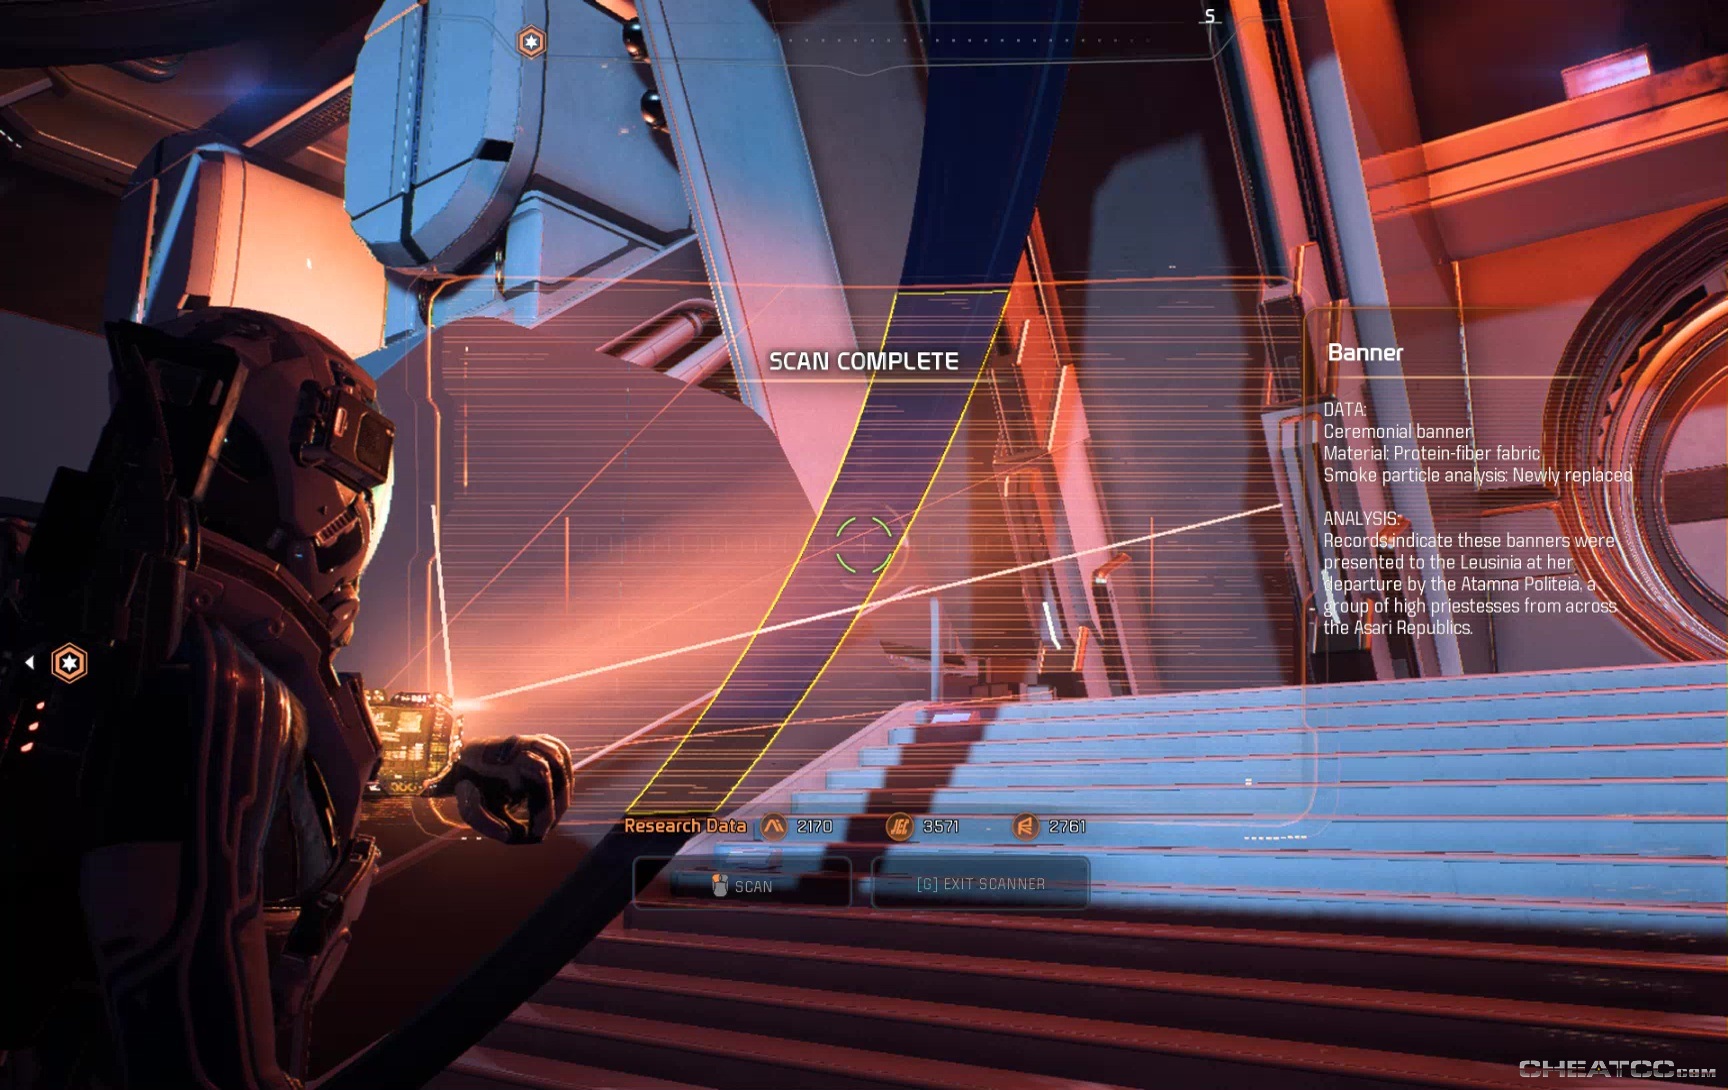
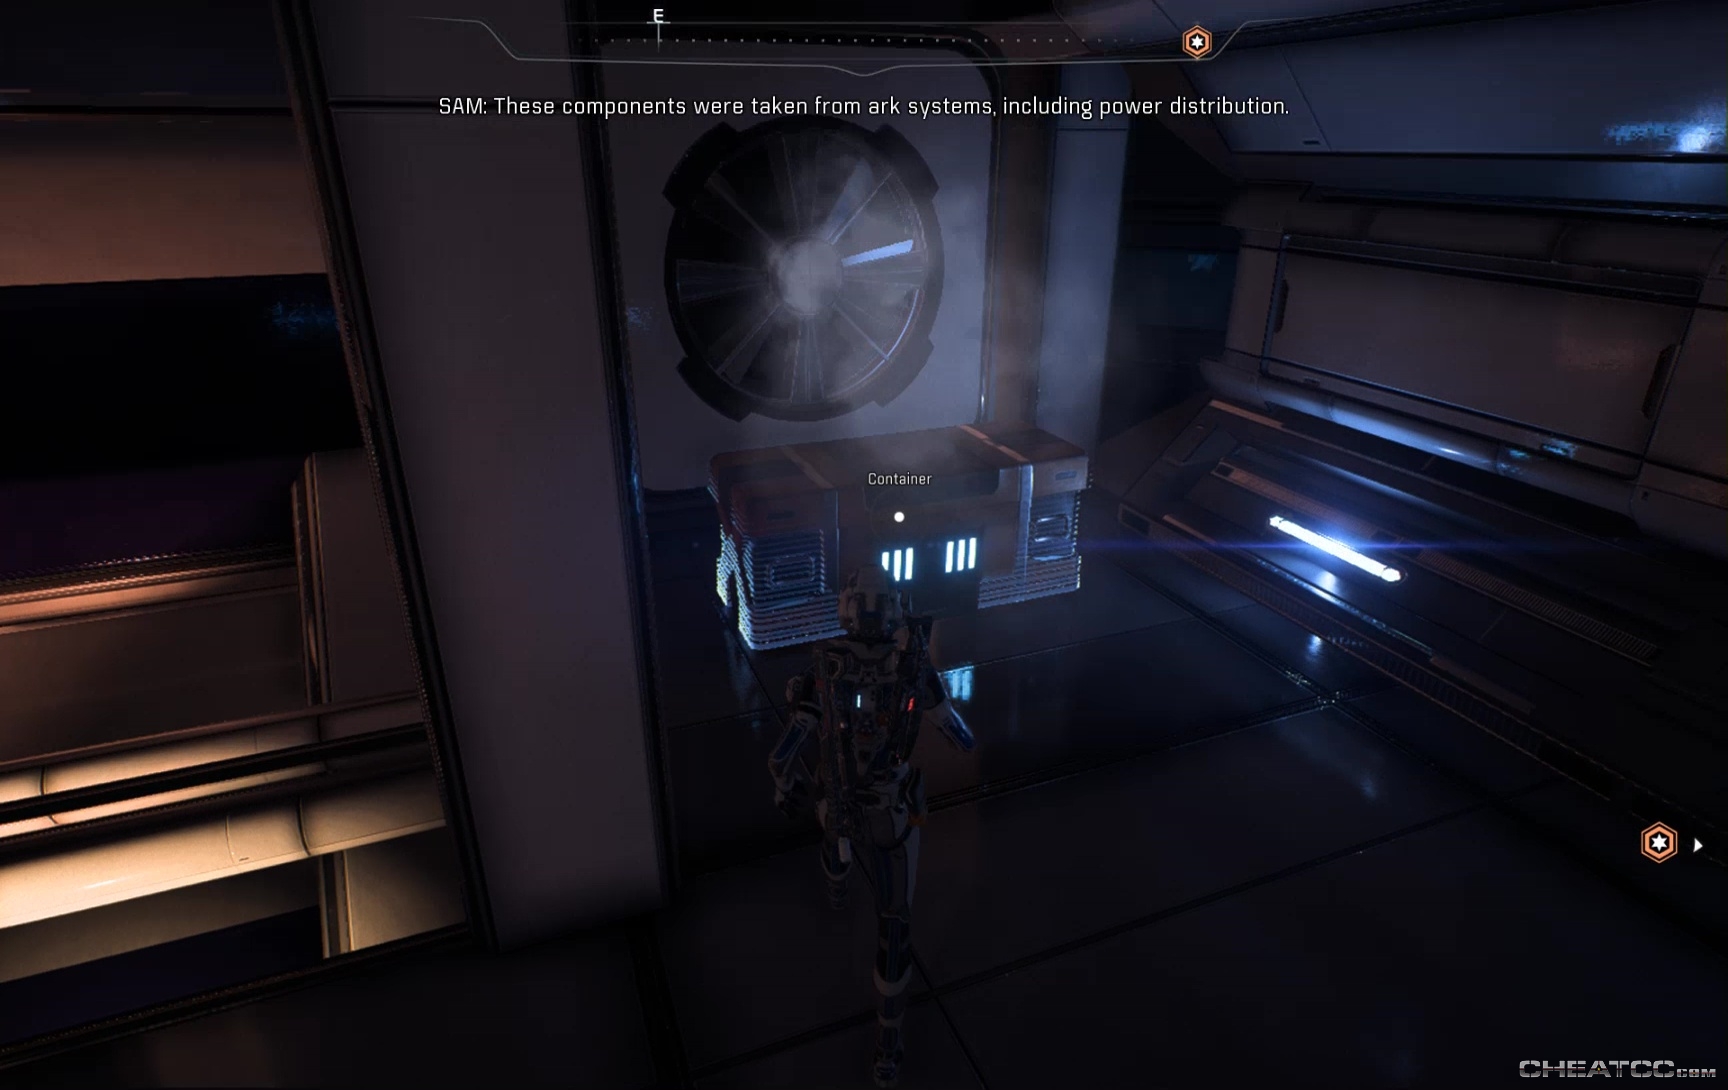
The next door has a bit of scare, but it's resolved automatically. Proceed to and through the atrium, where scattered datapads shed some light on recent events. This also your first chance to scan some debris.
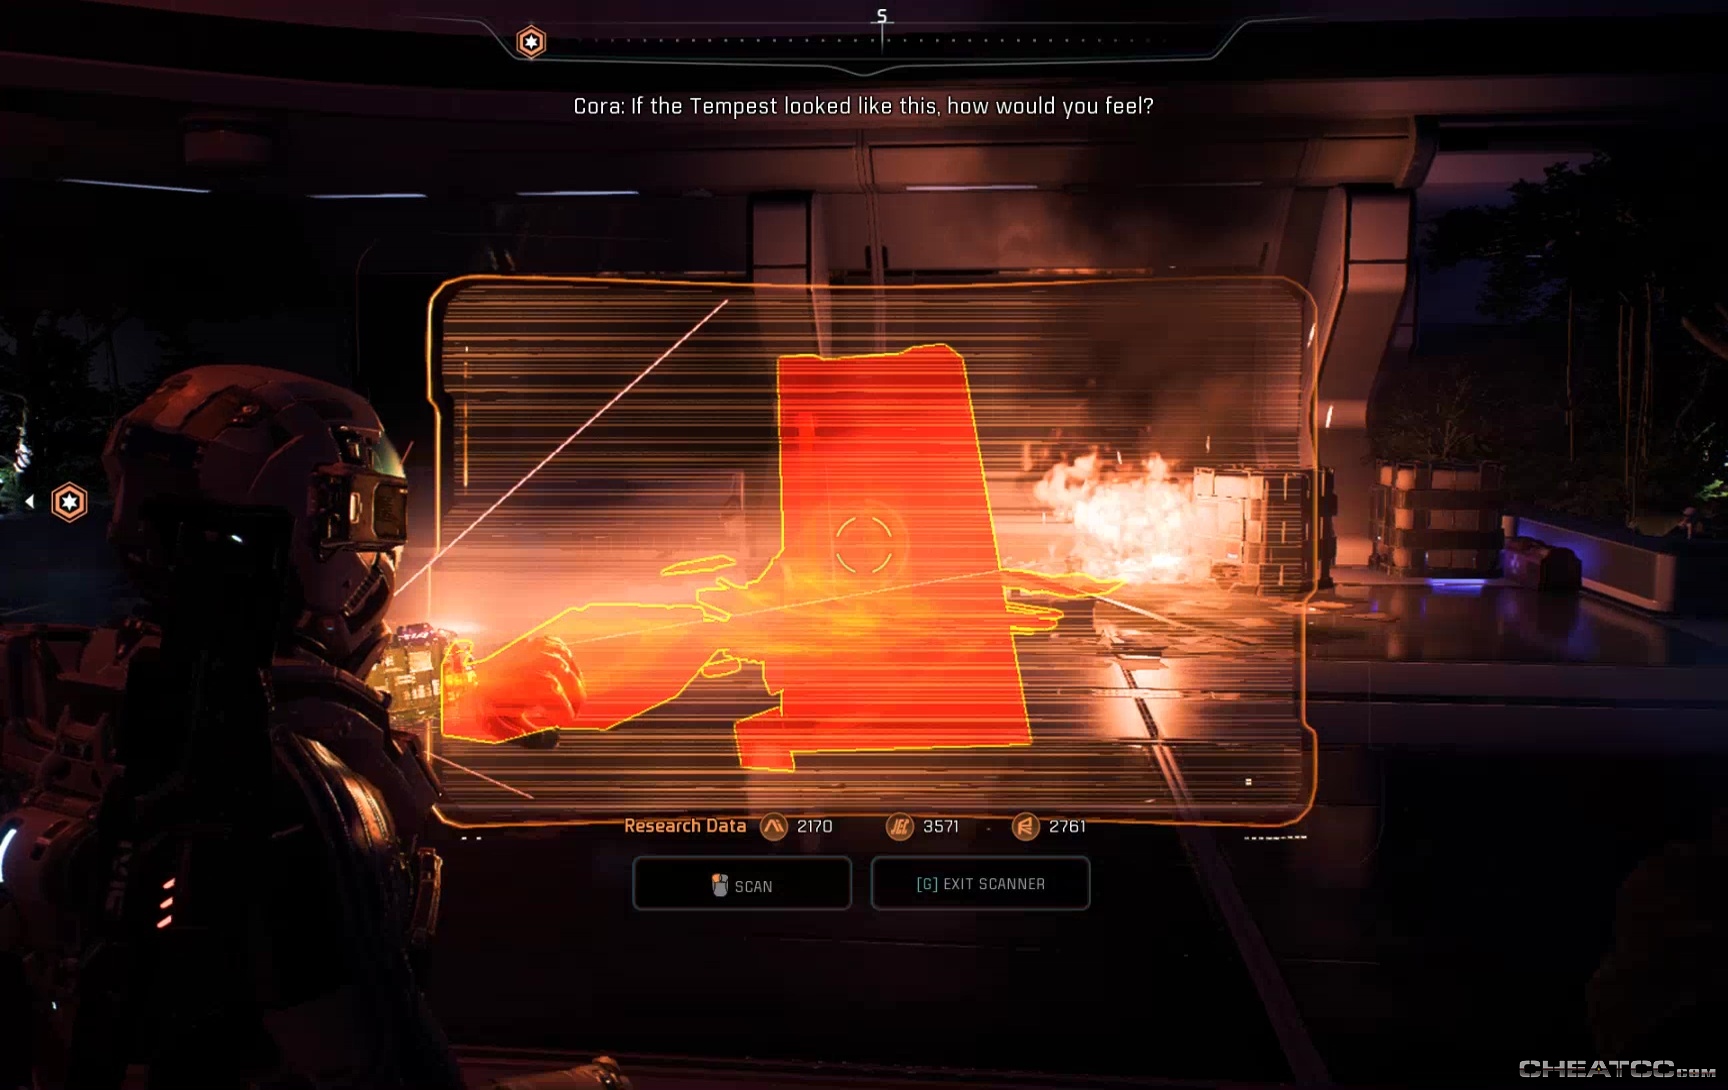
This may be left over from a scrapped quest – as in Turian Salvage, the scan says that you're tagging it for another team, but this is never followed up on. You also never get research data from scanning it, so you can safely ignore the countless other debris instances up ahead.
Continue on to the bridge, where you find some asari debating the merits of spacing you.
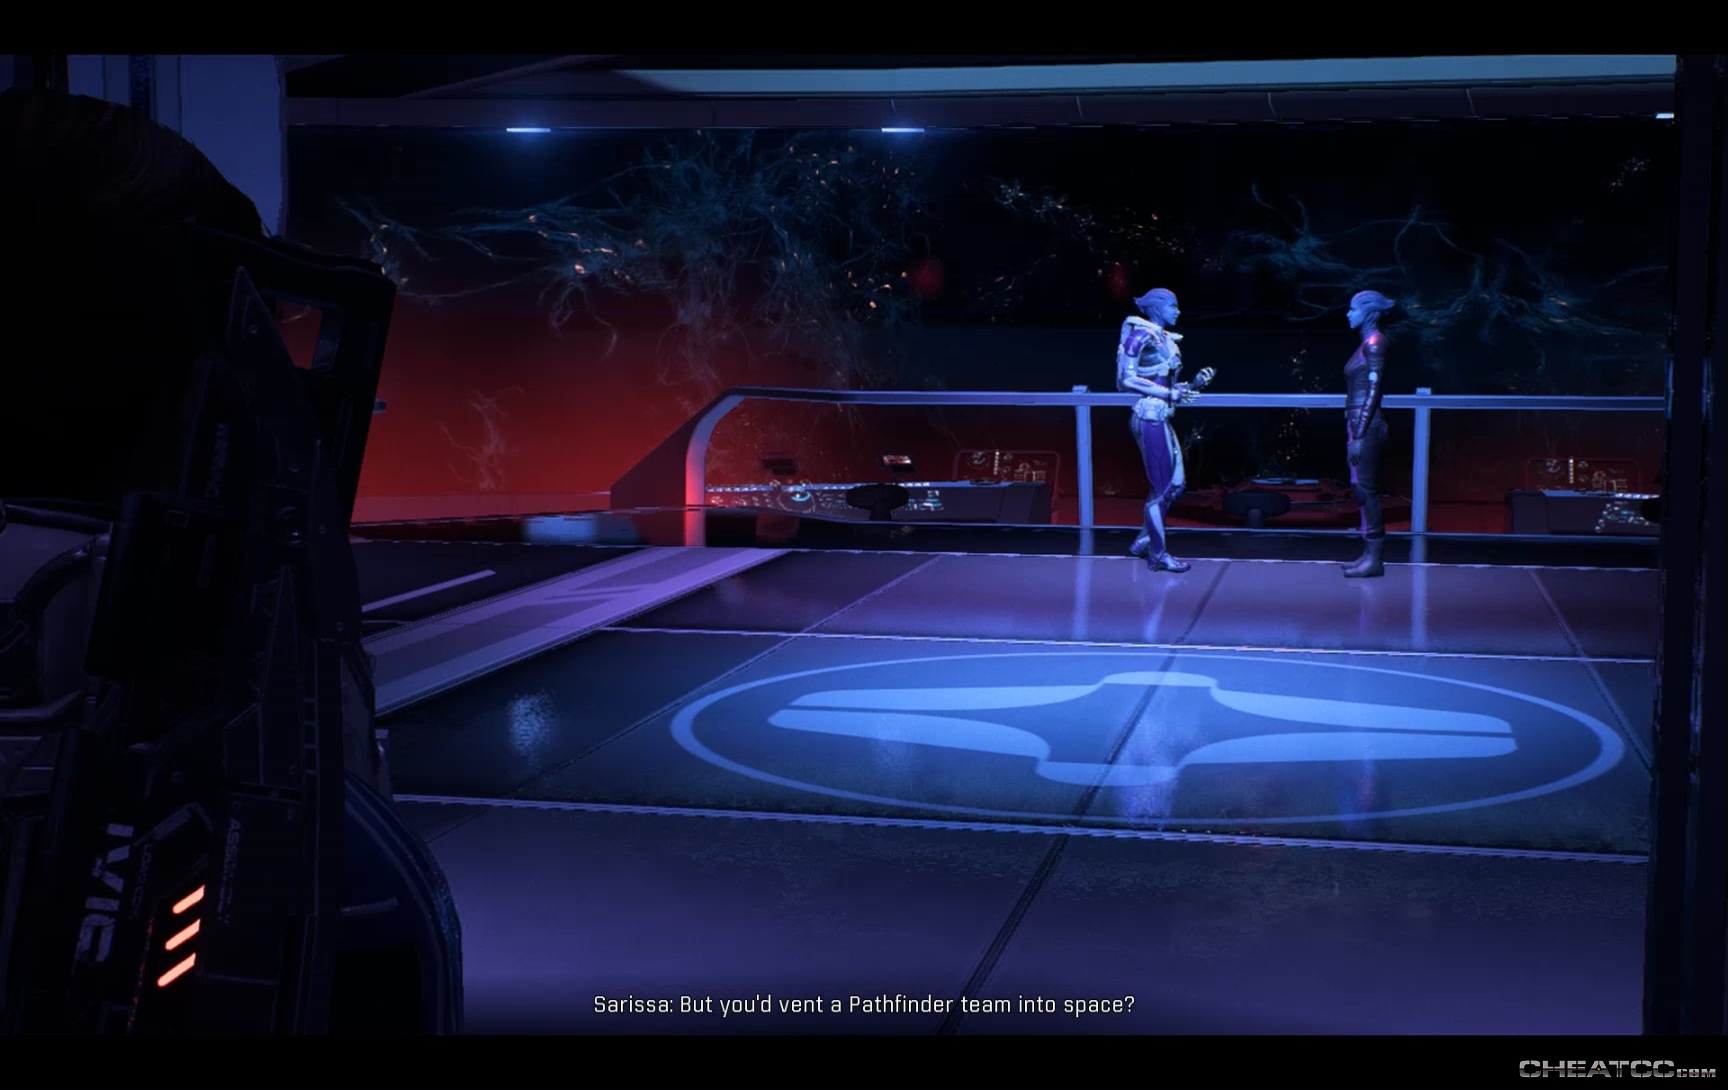
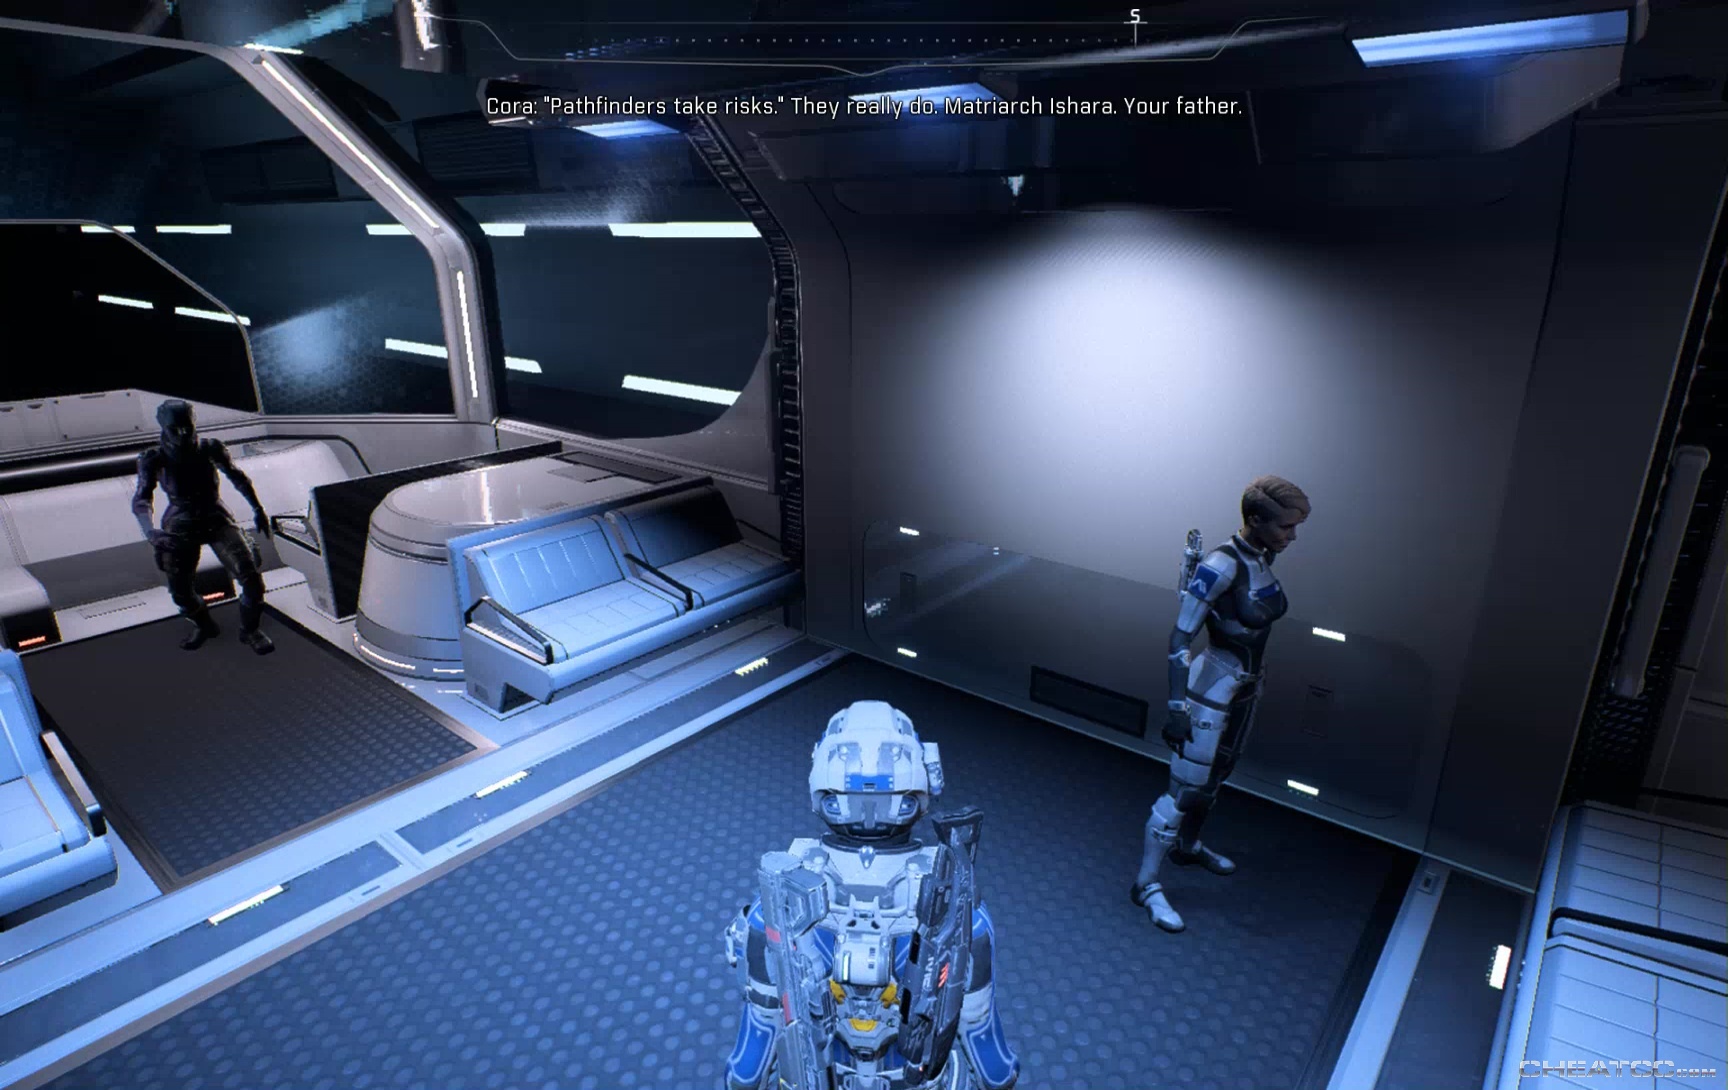
Introductions are made. You'll have a chance to say whether you think Sarissa's datatheft was foolish or part of the job- either way Cora will muse about it on the tram to the lower decks.
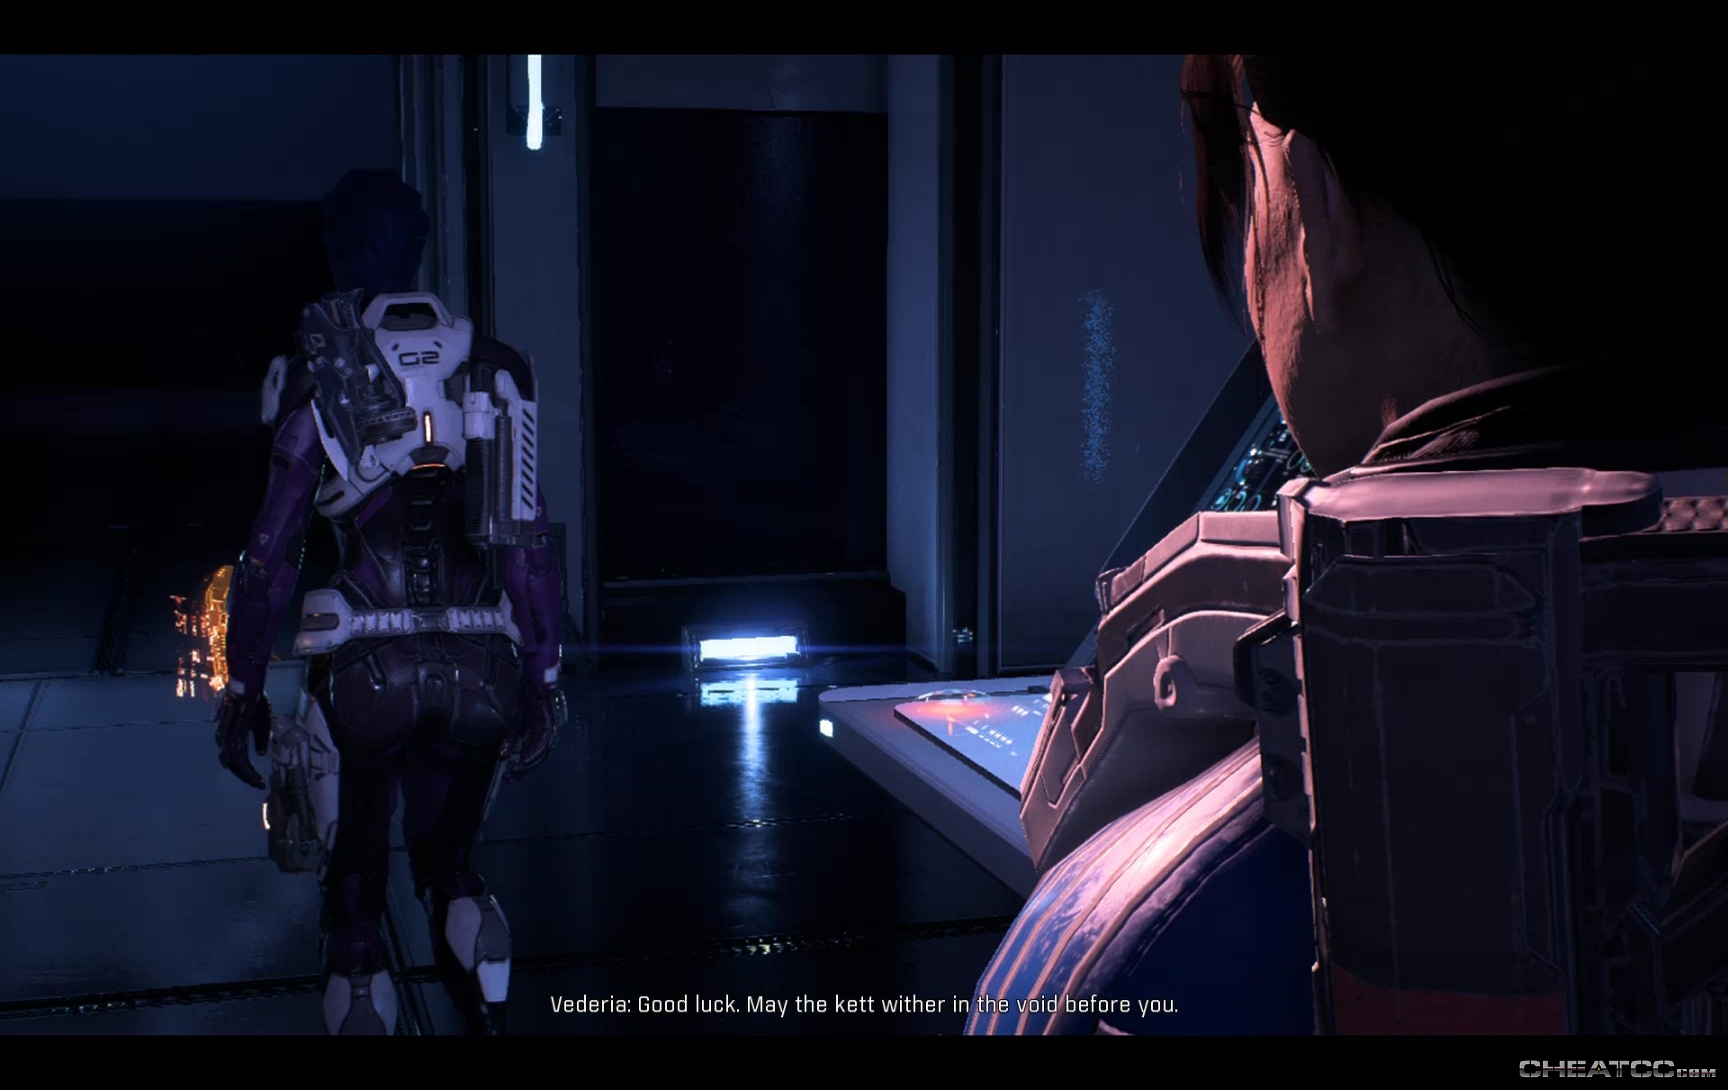
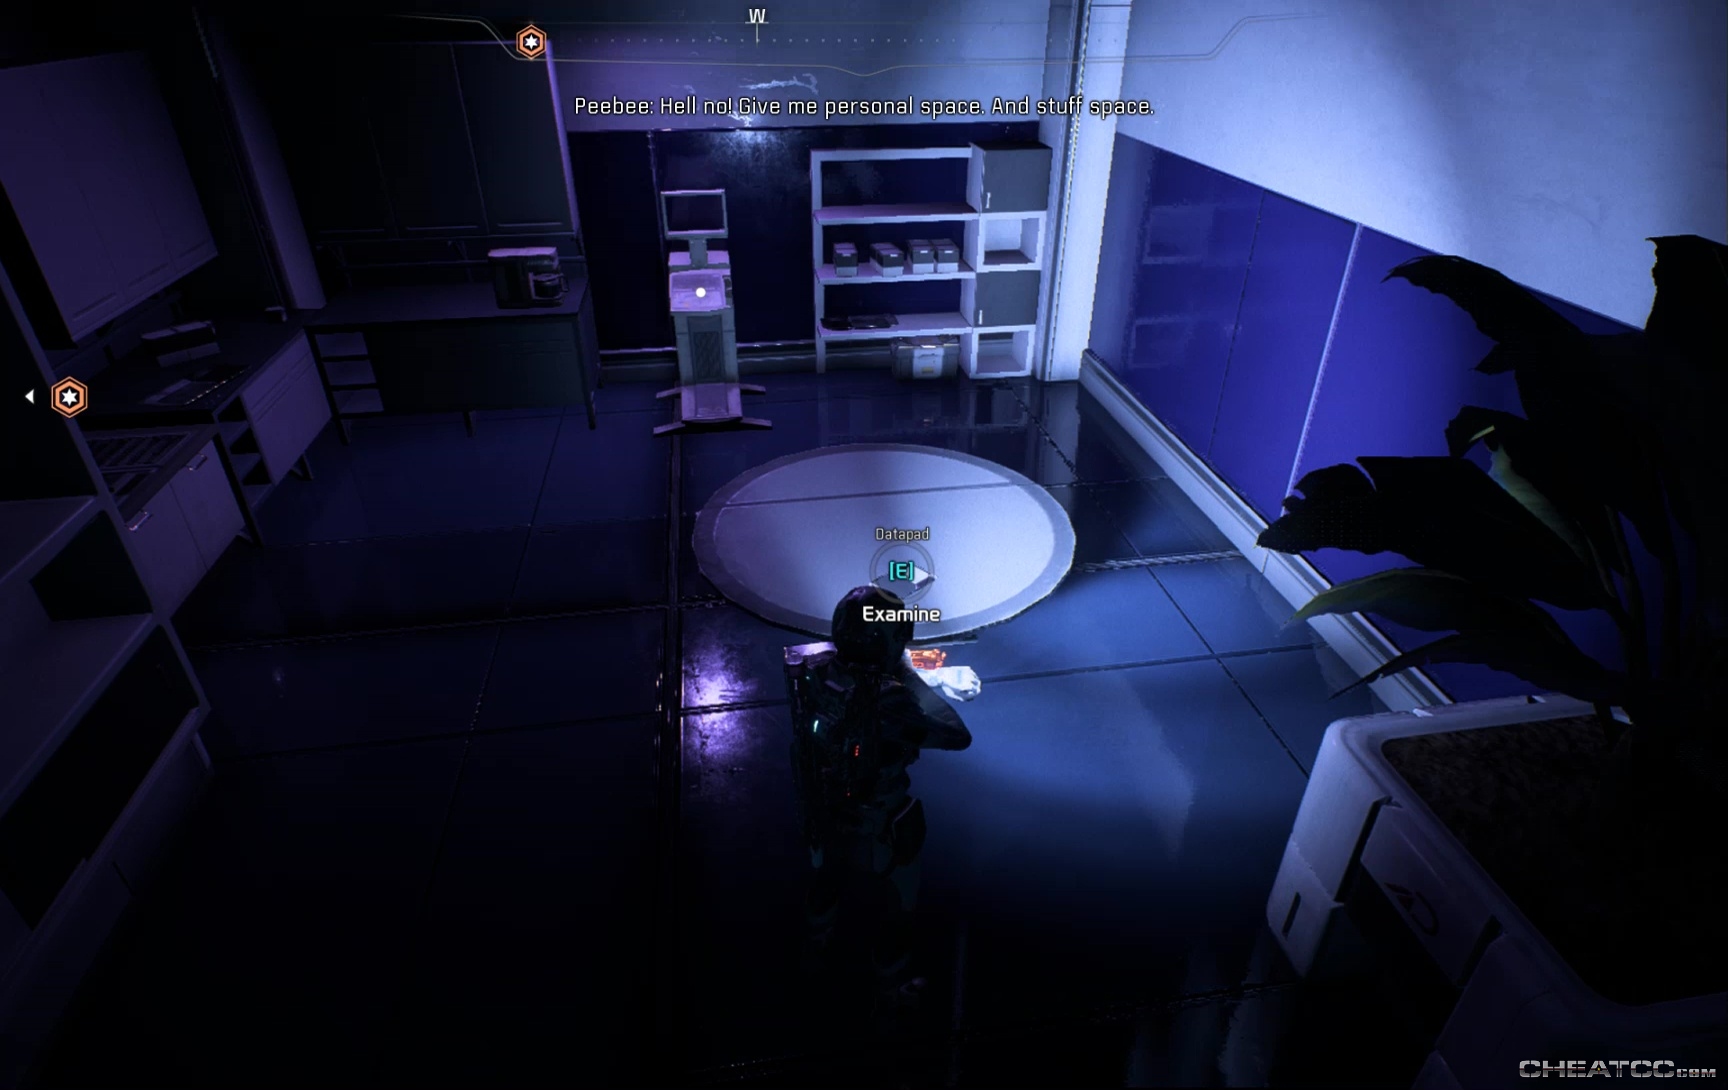
There's a datapad to read, but nothing to loot, so follow your objective to the Asari operative Vederia.

Activating the console she indicates will start another 'hack the point' type sequence- you have to stay within the circle while fending off kett. Mostly Wraiths and Chosen with a few Anointed mixed in.

There's plenty of cover by the console, so pick your shots and let your constructs and/or teammates handle the toe-to-toe. When you're clear, talk to Vederia, who will give you access through the Living Quarters as a shortcut to your next objective.
You'll chat over comms with Sarissa, then enter the residential area proper. Just at the bottom of the stairs is a little corral area with a banter-prompting datapad and a lootable container.
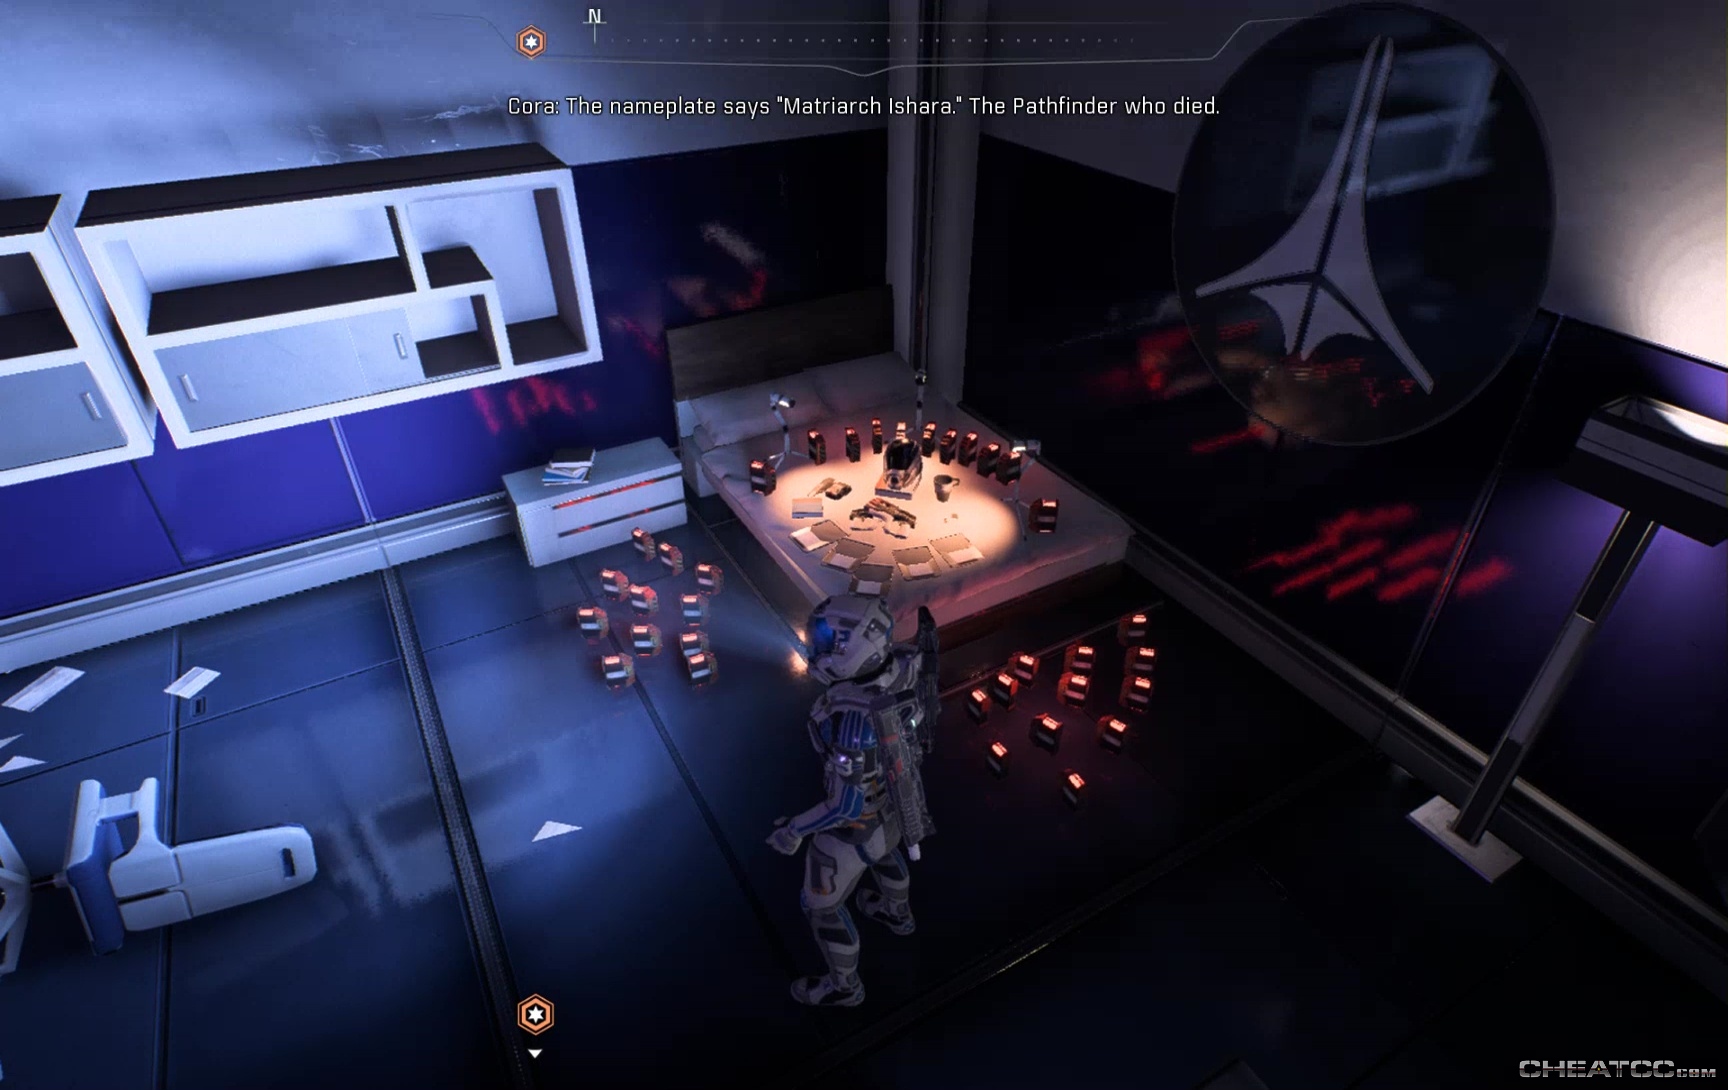
The next section passes through a hallway of rooms- you can enter each of them. The first (in the northeast corner of the block) contains a makesift shrine to the fallen Asari Pathfinder, as well as a lootable container and a First Aid station that can be scanned for research.
The next room has a container, a coloring book on data pad, and a terminal with childcare details.
Room three just a terminal, after which the hallway widens up, and you fend off some Wraiths.

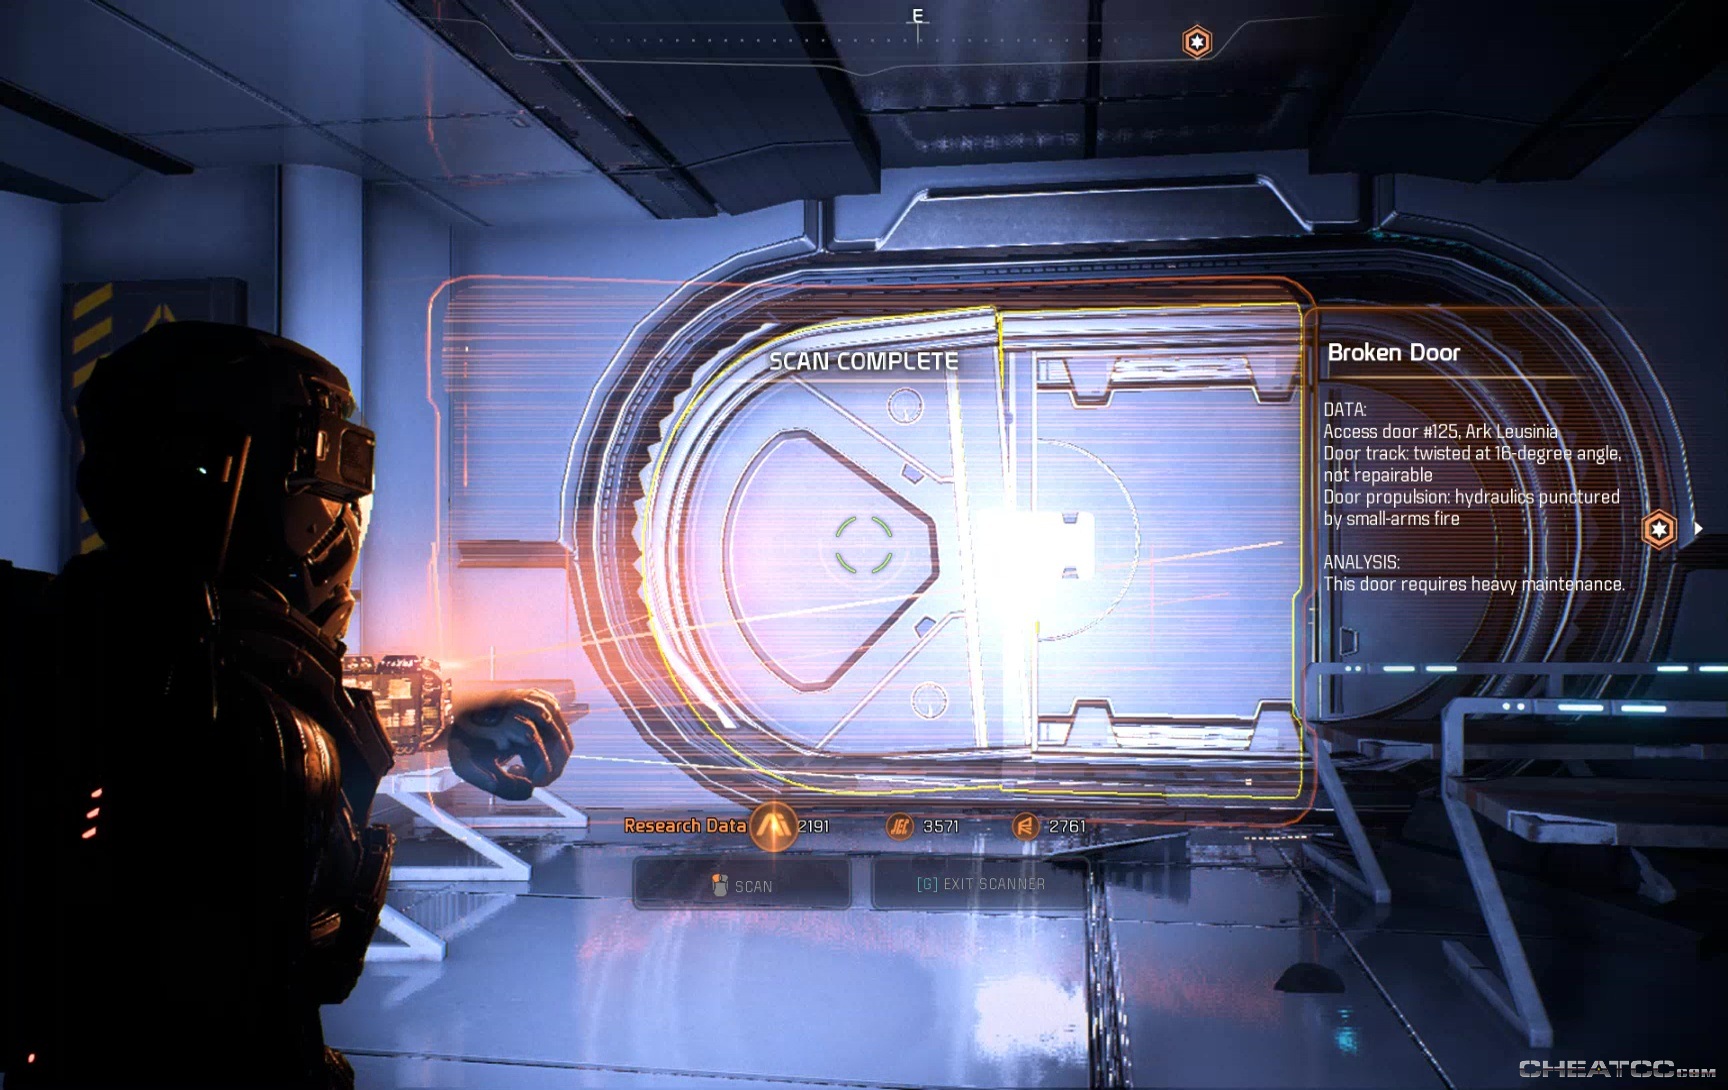
The broken door here can be scanned for research.
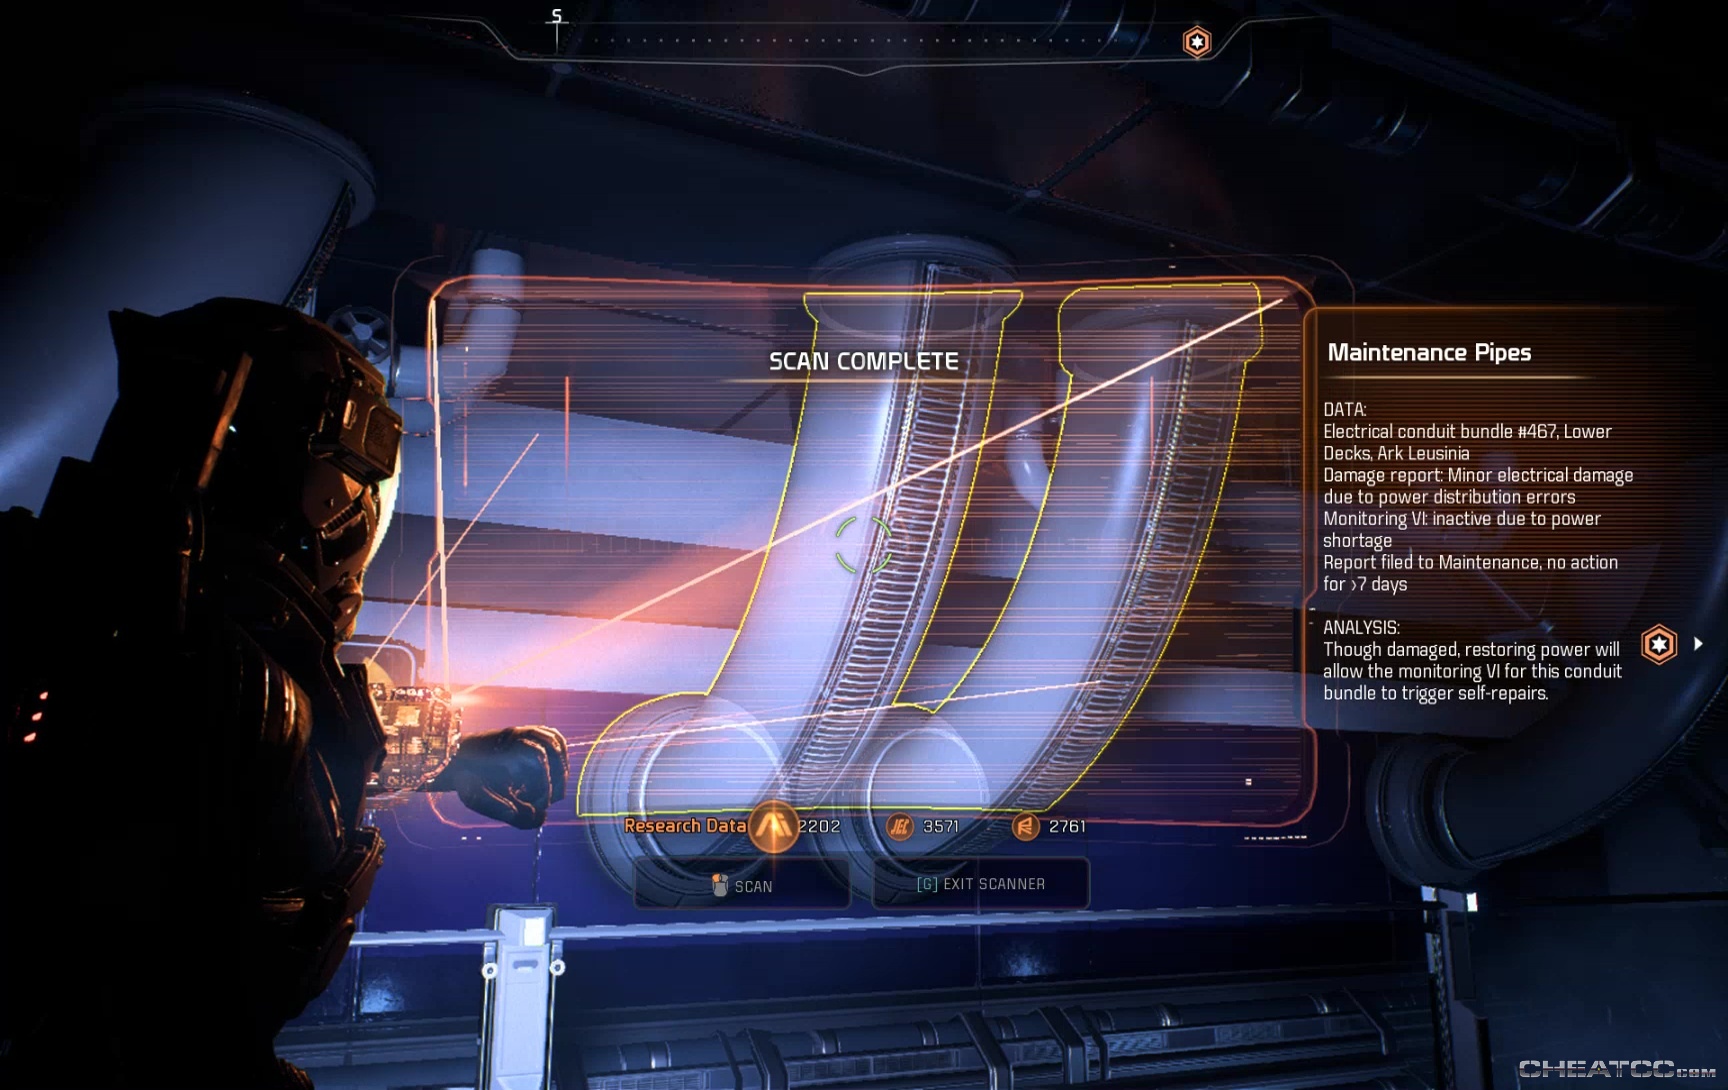
The last room in this area contains two kett and a container. Swing by if you like, then follow your marker to get an update from Vederia. The pipes here can be scanned for data.
Avoid walking through the flames as you get to Fire Control, then pick off the kett waiting for you there.
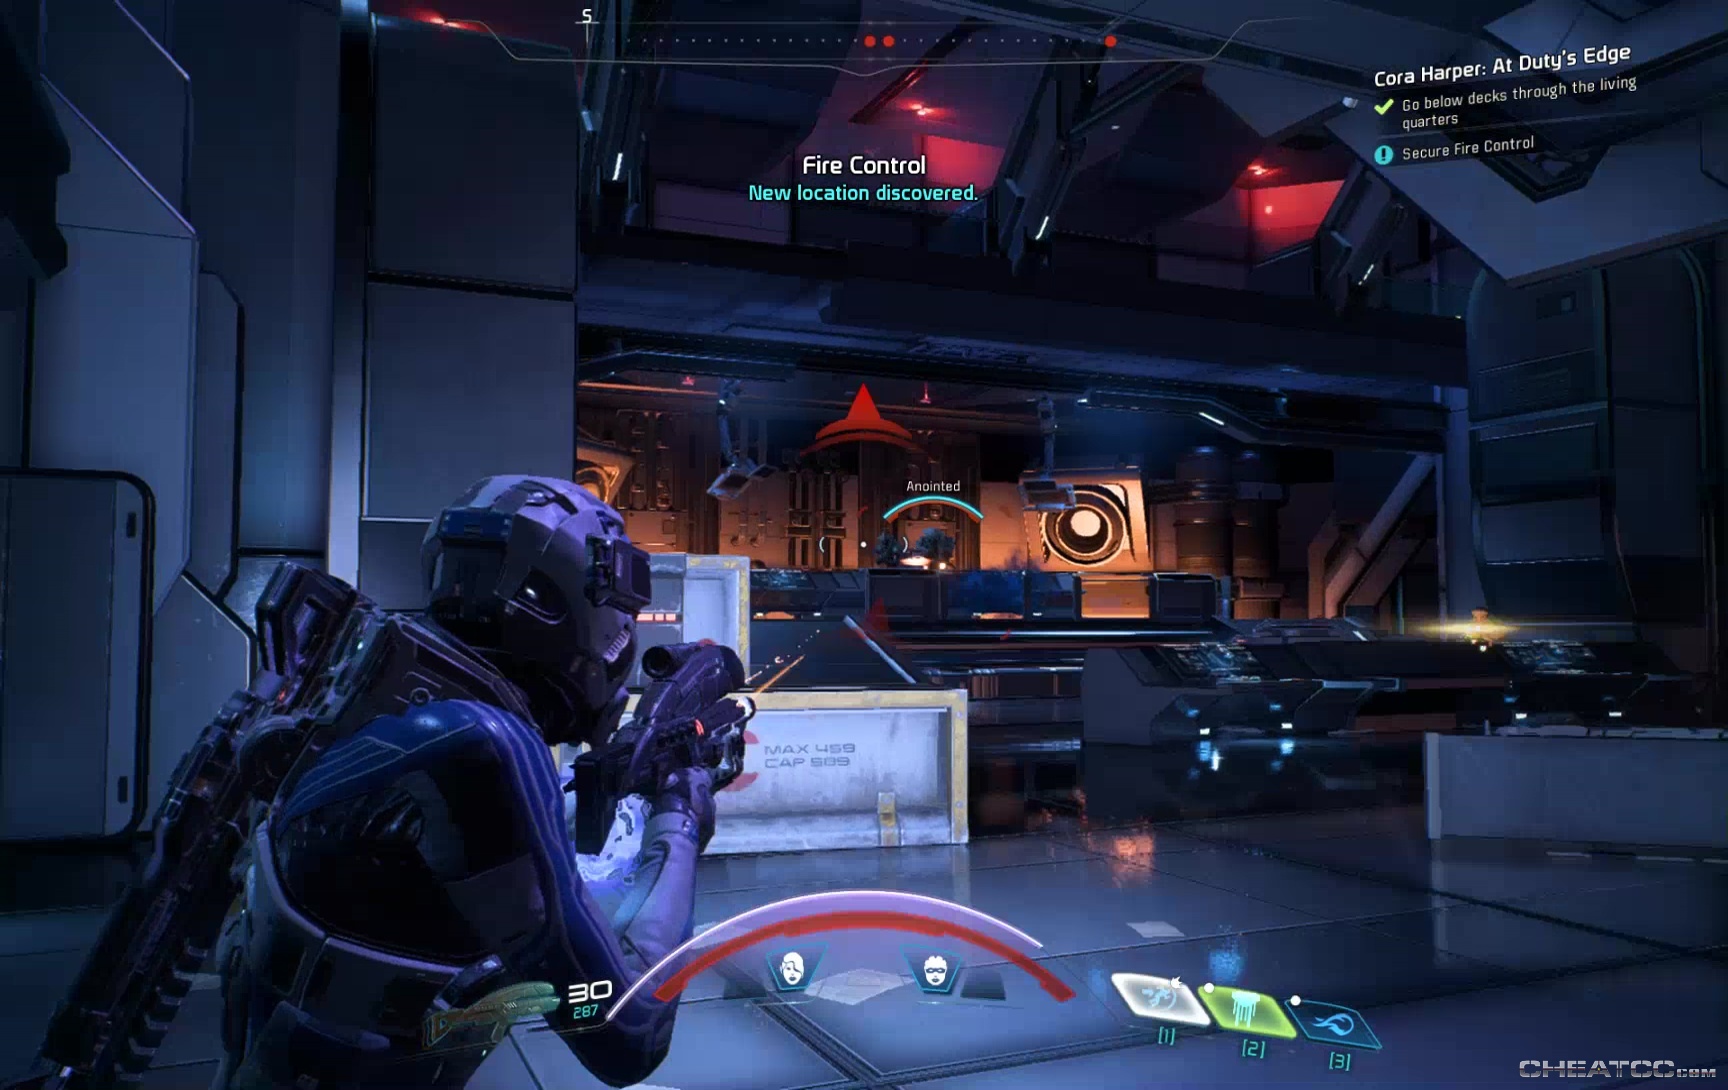
You've got at least one each of Wraith, Chosen, Destined, and Anointed- nearly the full set. Take them down, then use the Fire Control panel, which instantly shorts out.
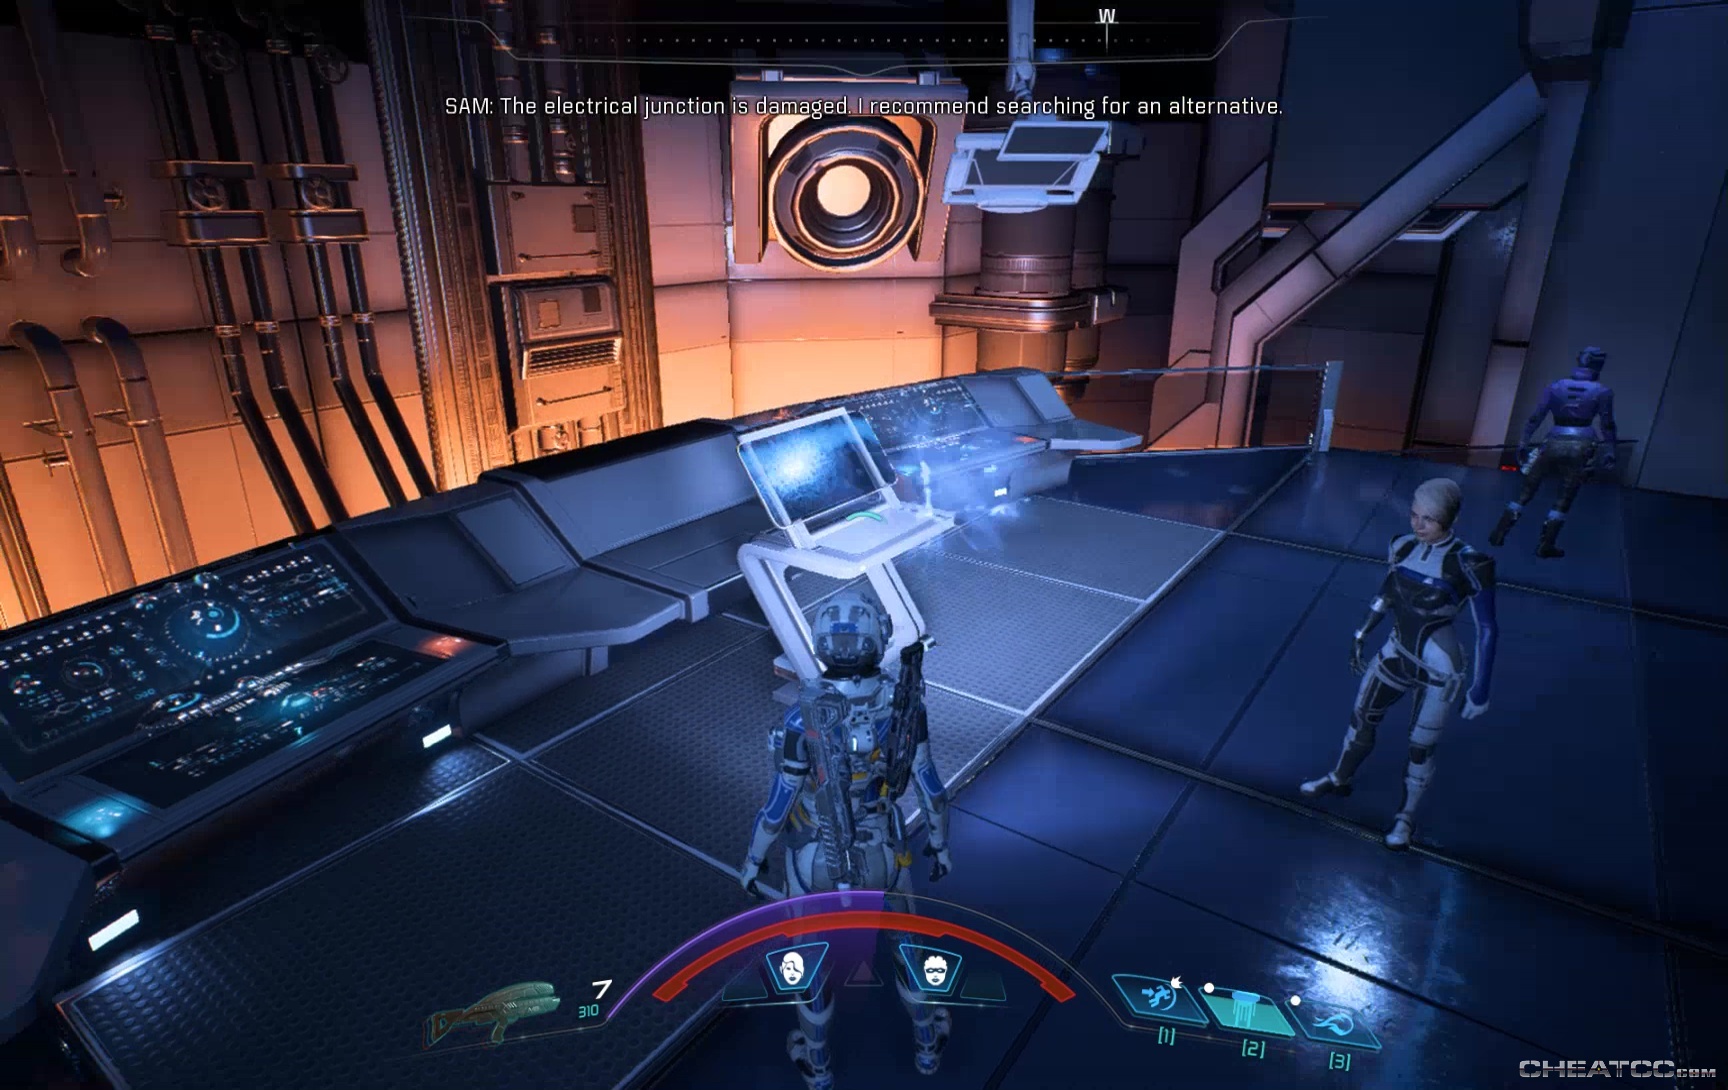
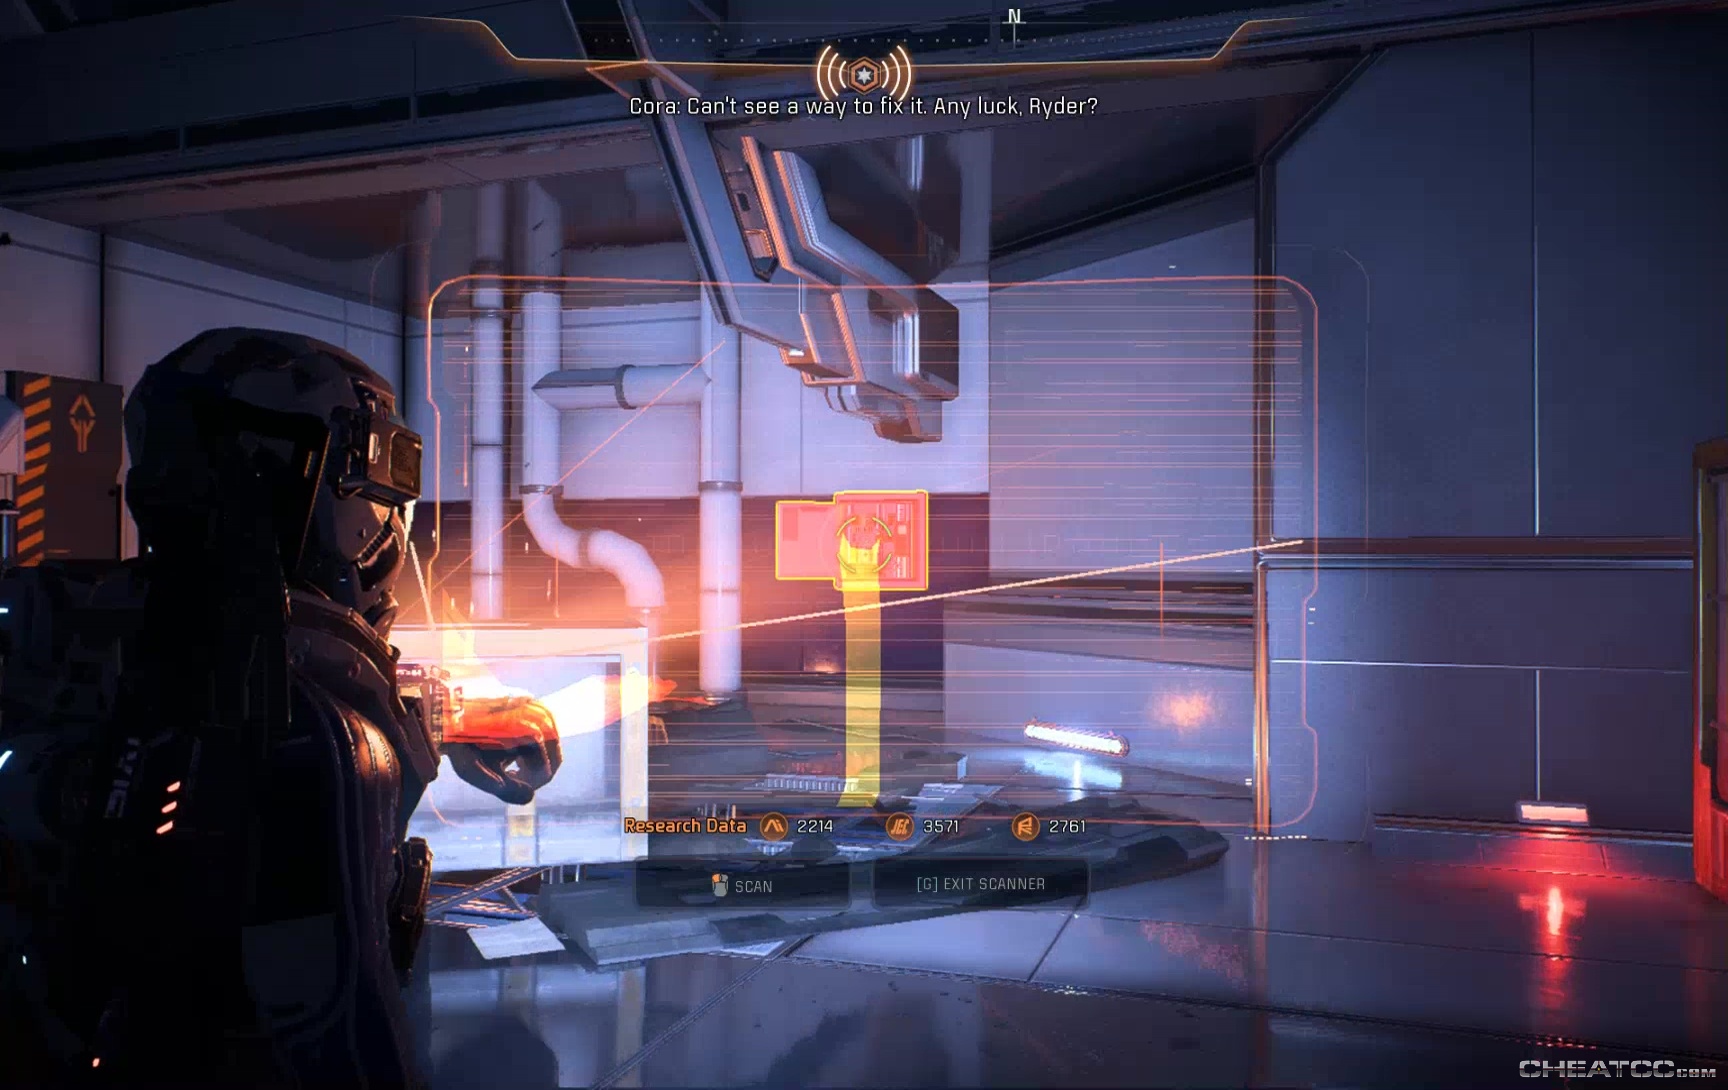
Use your scanner to follow the energy conduit to a panel on the north wall.
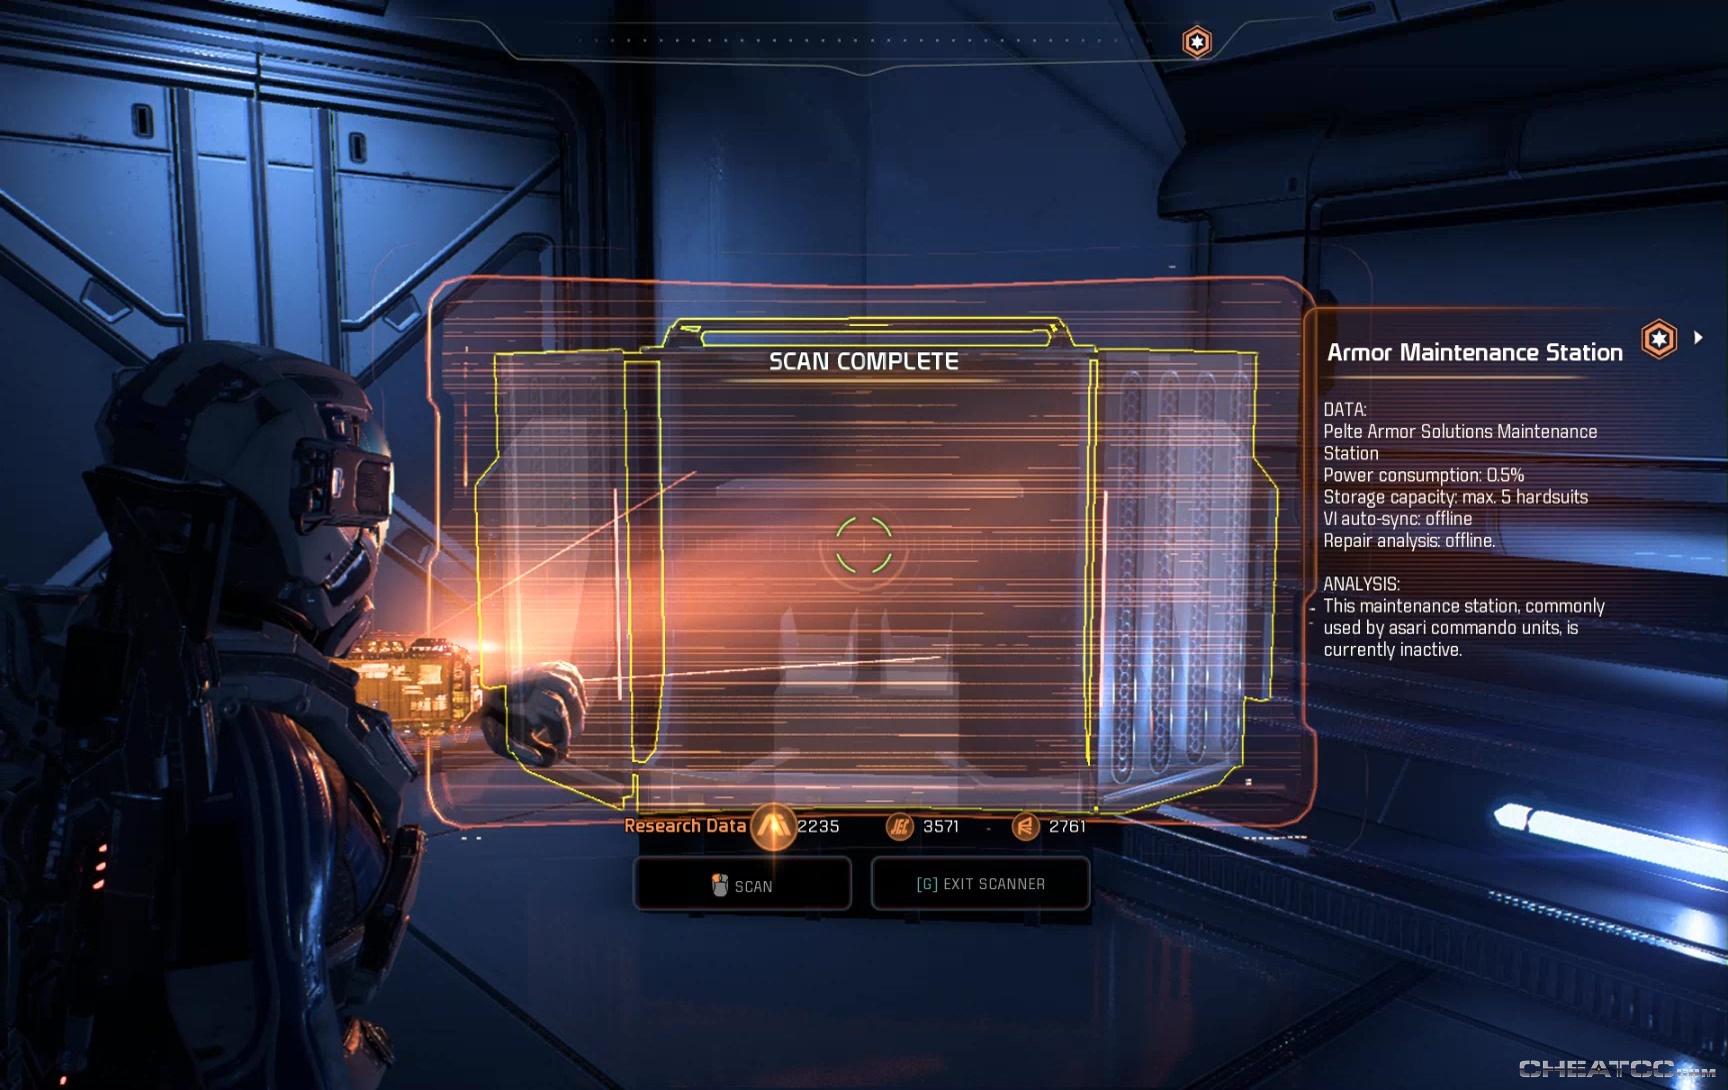
Activate Fire Control. As you exit the area, scan the Armor Maintenance Station in the hallway.
Jog past the objective-leading door to the west, and instead take the northeast door by the ammo.
Read the terminal and datapad for some backstory, scan the equipment, and loot the container for an Asari Sword. They're a ton of fun to use if you haven' tried them yet.
Follow the objective to the Observation deck, and Vederia, who seems to be doing okay.
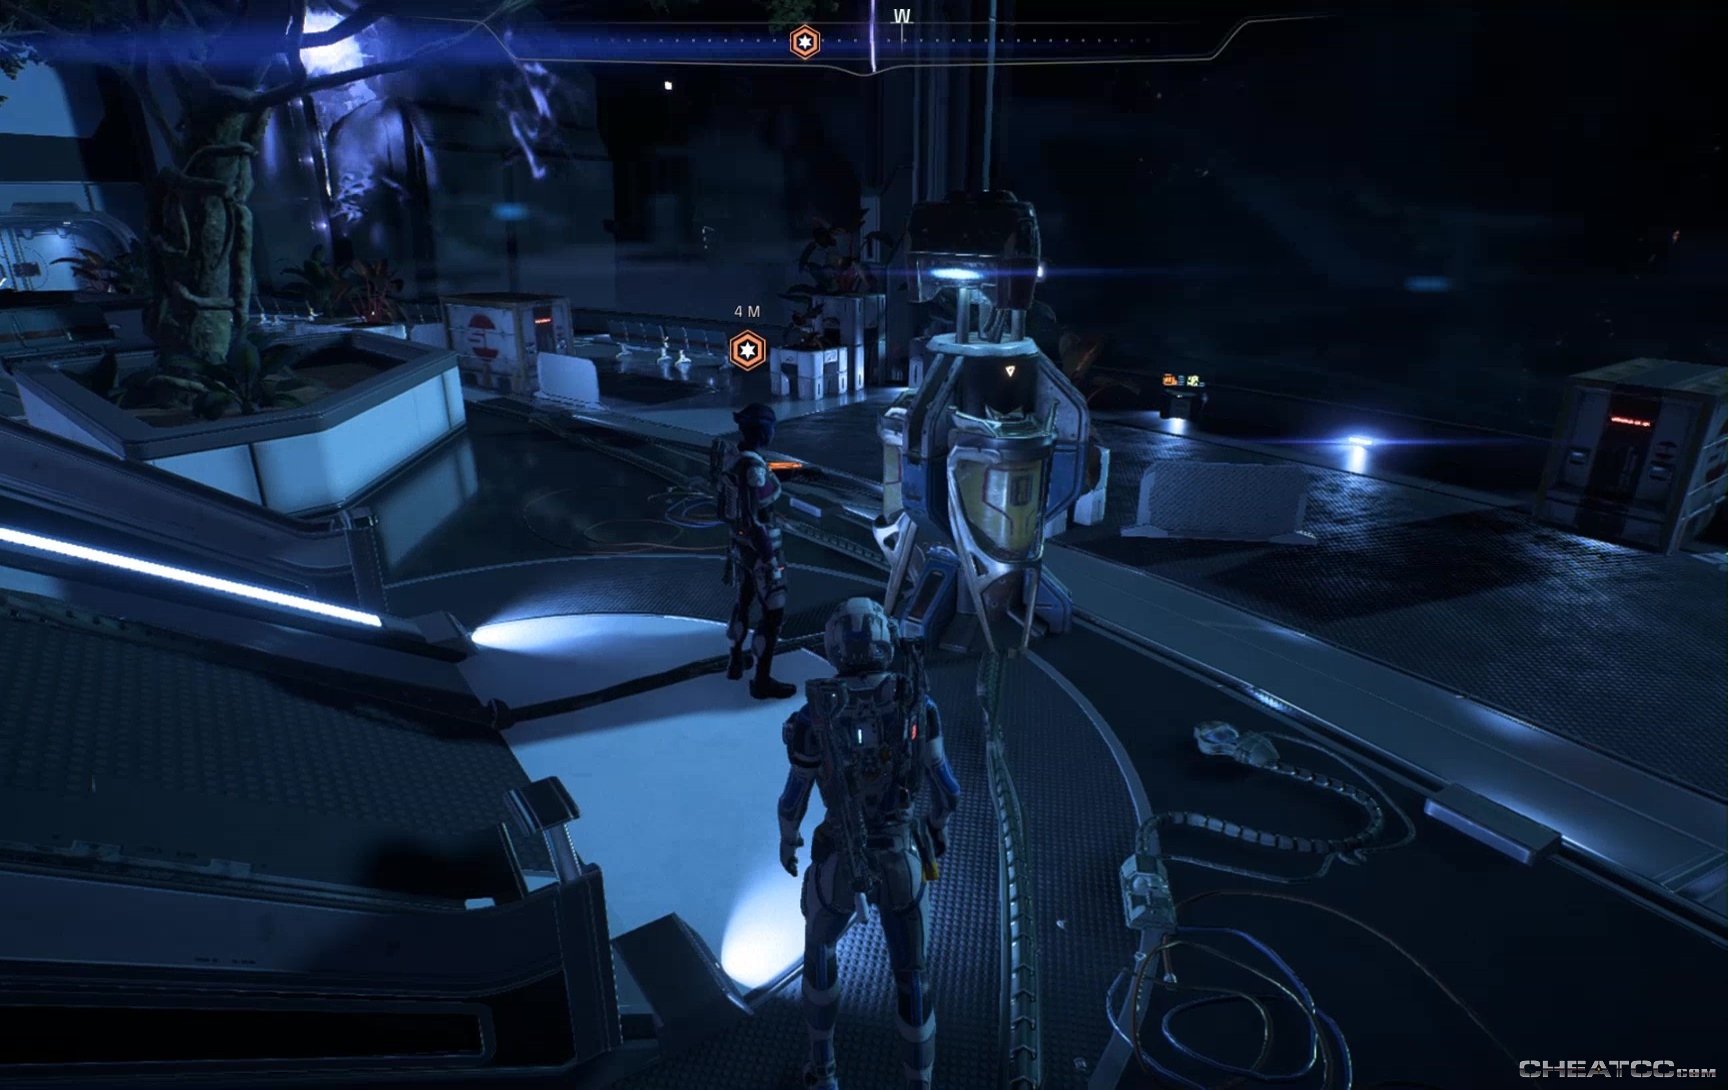
This next bit will be a series of triggered fights- pull a cable and mow down the kett as they swarm in.

Once you've pulled three cables and mopped up three waves, deactivate the device
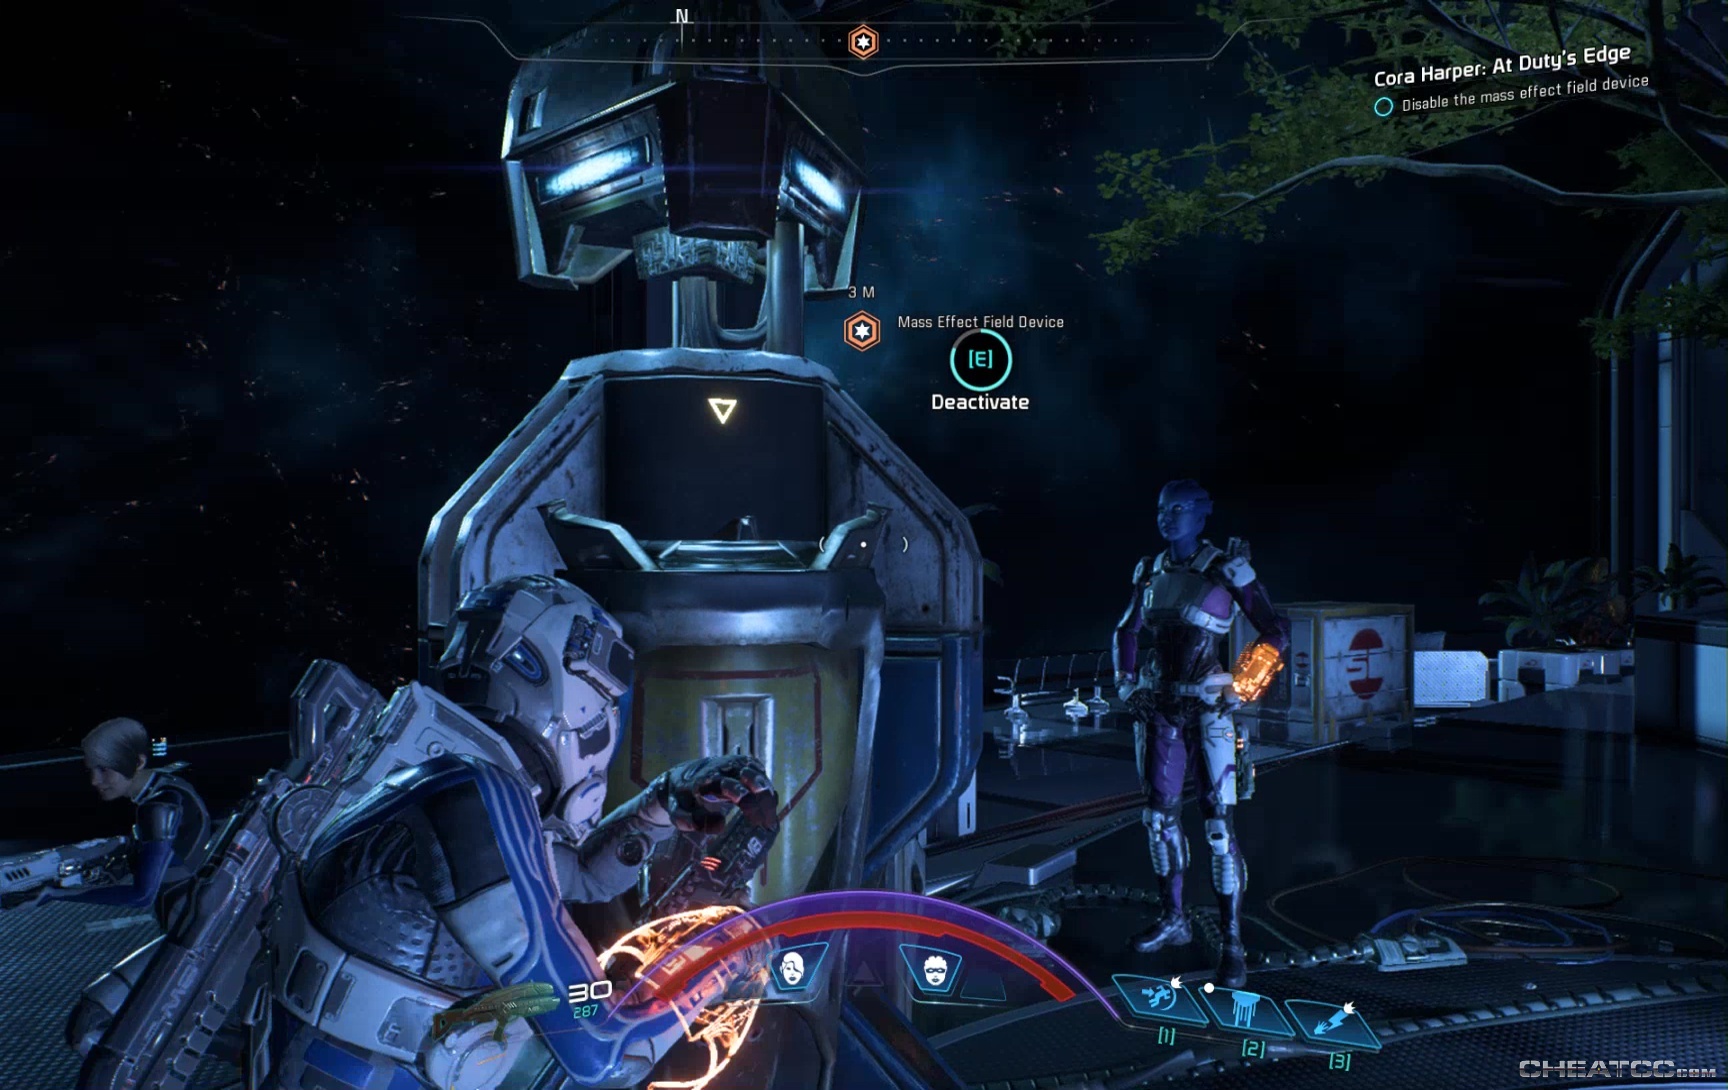
Vederia will split, just in time to not-hear SAM's revelation of how the previous Asari Pathfinder died, and how Sarissa let her.

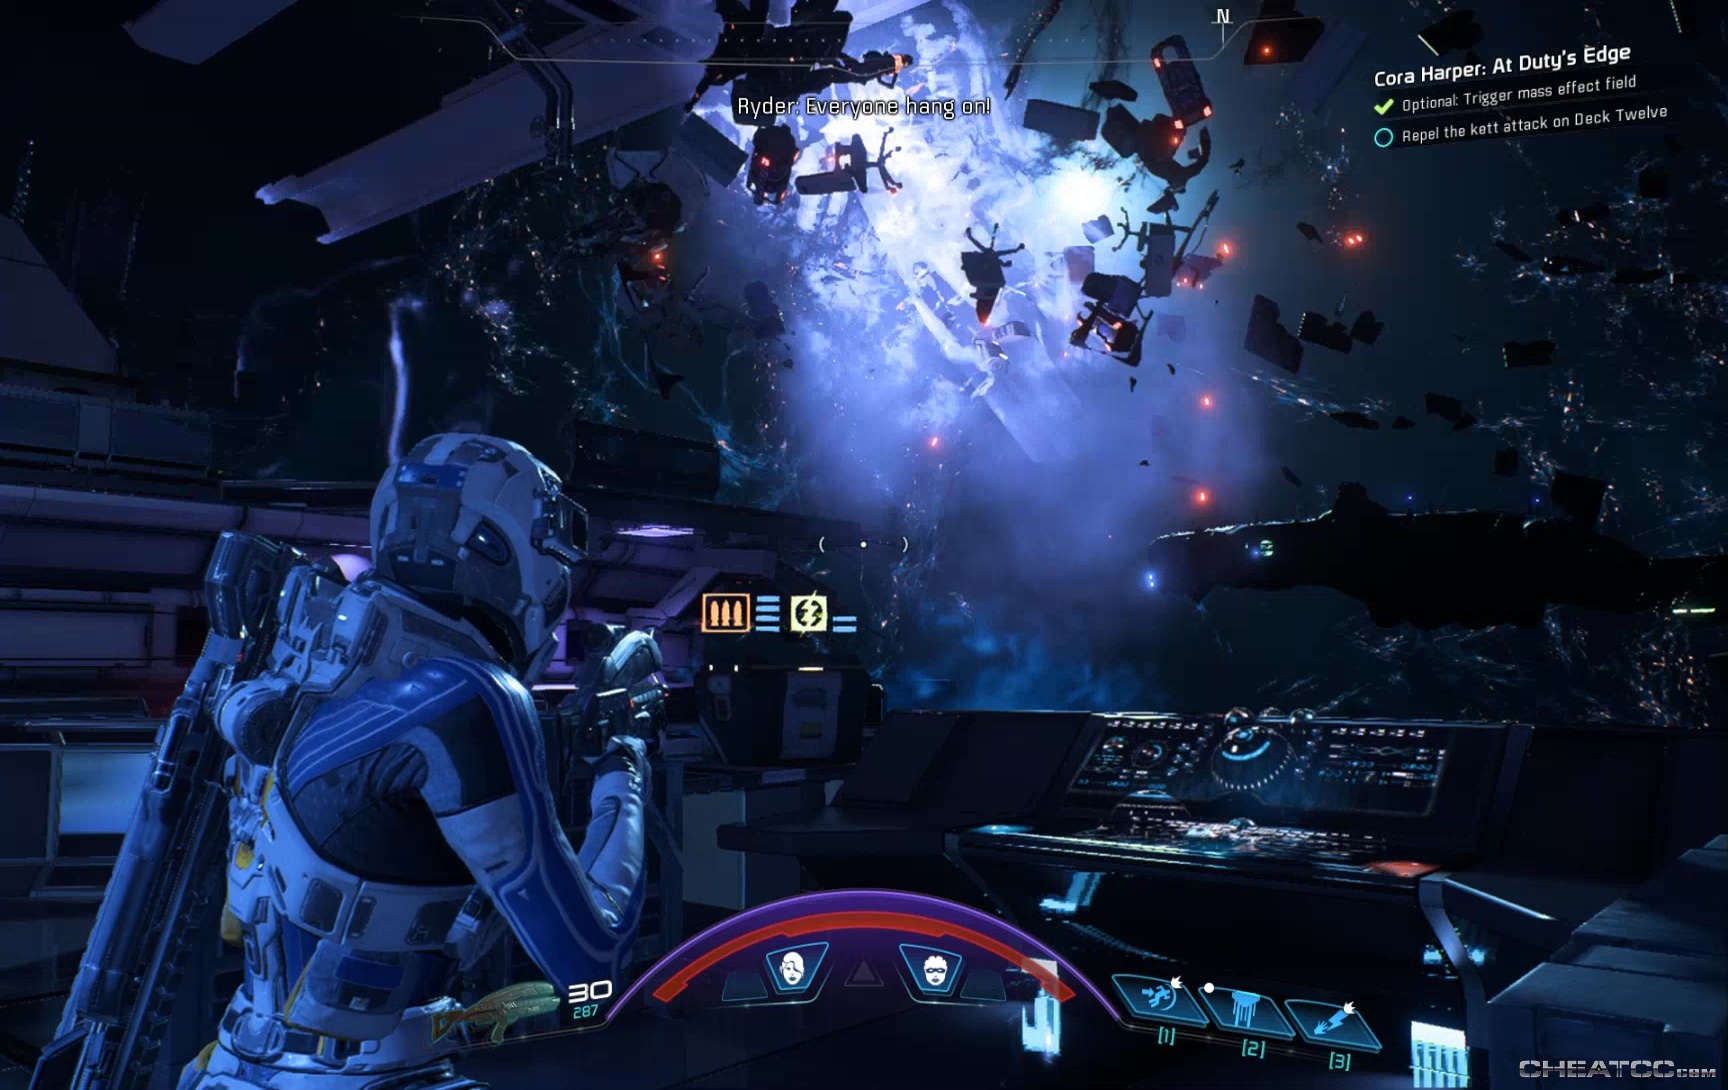
You can defend Sarissa's decision or not, but either way your conversation is interrupted by inbound kett. Make for deck twelve to repel boarders.
There are a lot, and they scatter quickly, so be ready to dash to cover at any moment. You can also activate the mass effect field (once) to blow them out in to space.
This has no effect on The Valiant, the local Ascendant boss. Take him down like any other Ascendant- eliminate all lesser enemies, shoot the orb, pour on damage while the shield is down.
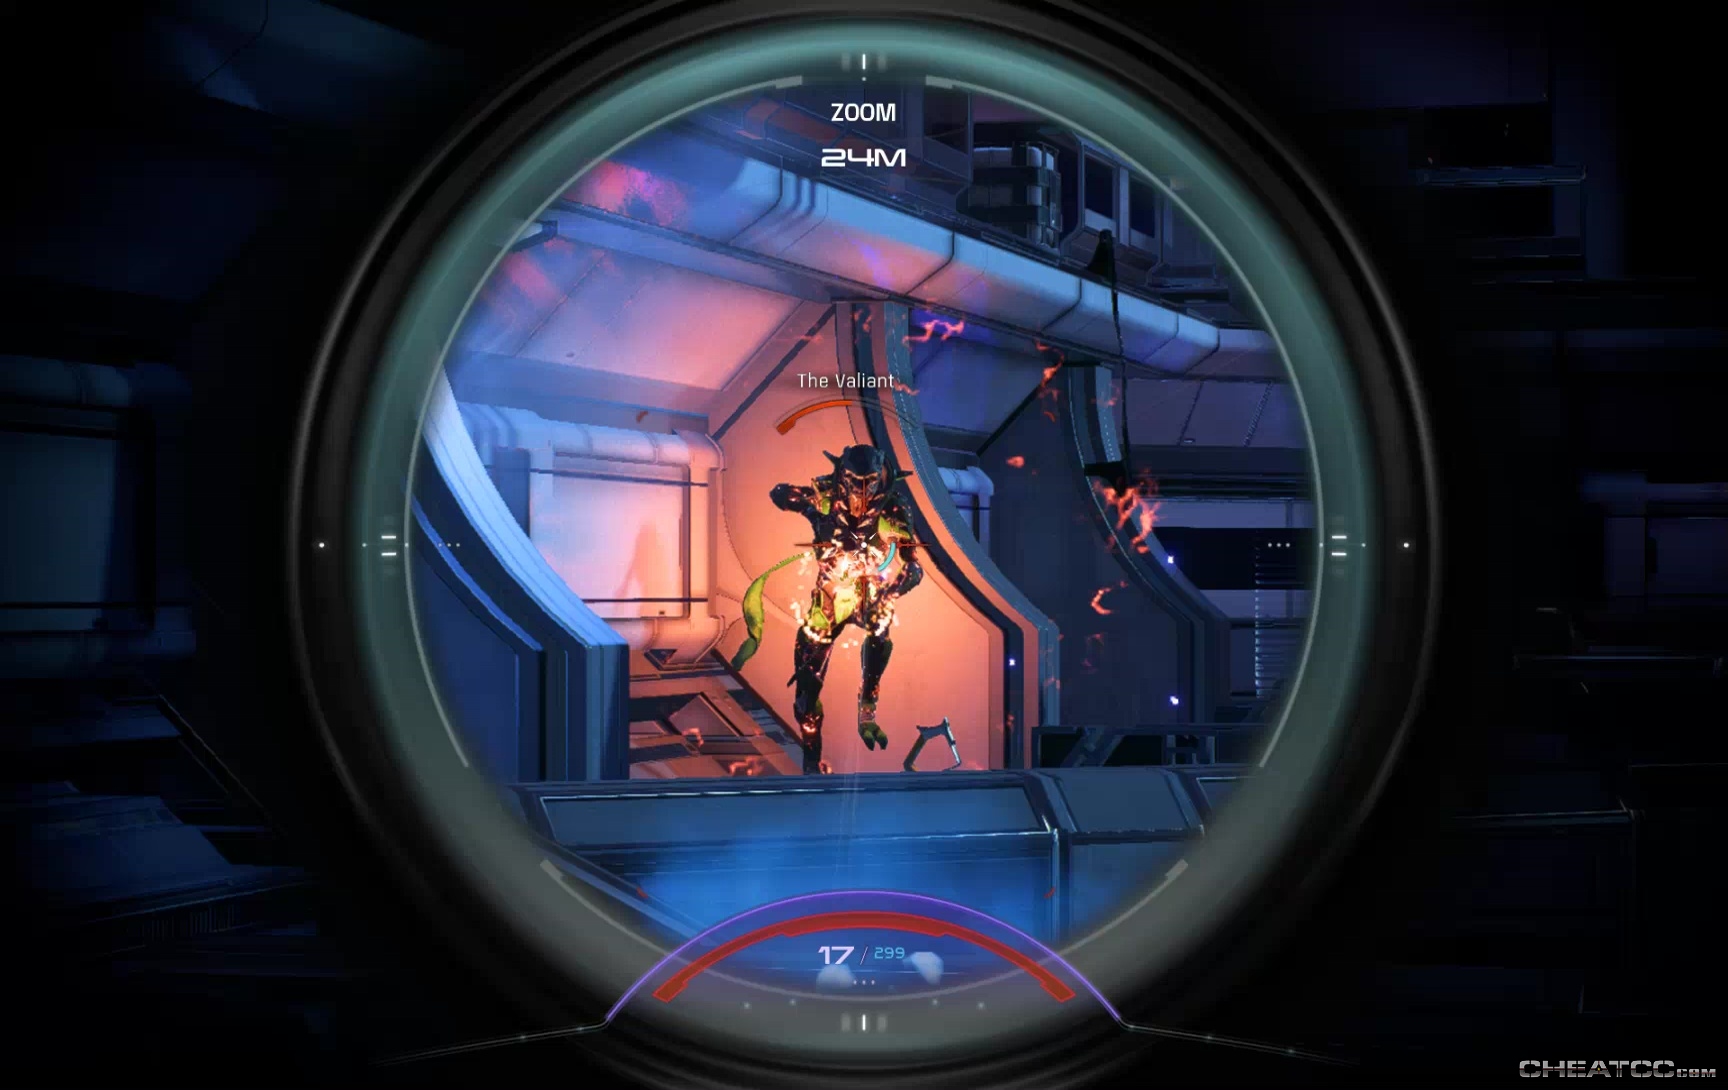
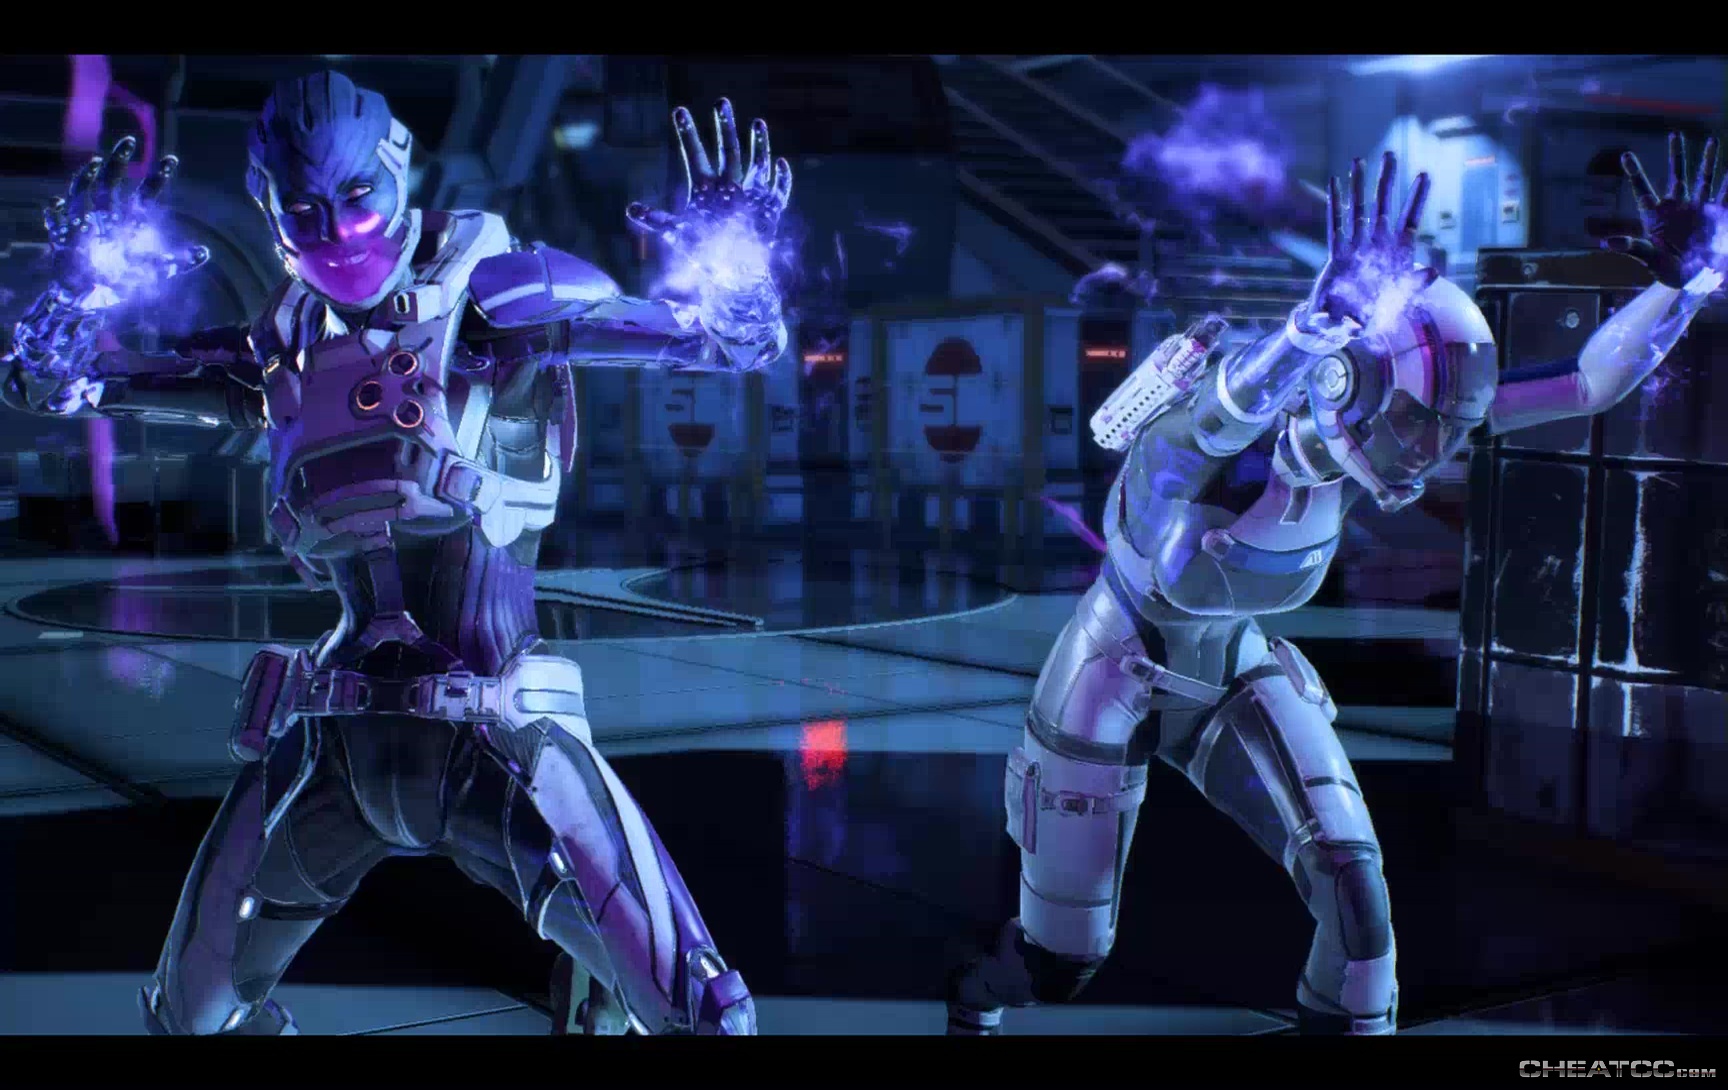
Like the Cardinal, however, the Valiant can only really be killed in a cutscene. Sarissa steps up to do the honors, then she and Cora join forces to take out the Decimation.
And then it's judgment time. You can choose to keep Sarissa's misdeeds secret, to inspire hope, or you can reveal all. If you chose the latter path, Pathfindership passes to Vederia, unless you recommend Sarissa keep the post. This has no major impact on the game- you'll meet the Asari Pathfinder again later on, and it'll be whoever you choose now. Of the three choices offered, number three (reveal Sarissa, but keep her on the job) may be the most tactically wise. It's not that she's so great, it's that Vederia is so green (is there really no one else on this entire ship of Asari elite better suited to the post?). Let Sarissa redeem herself in the field or die trying.
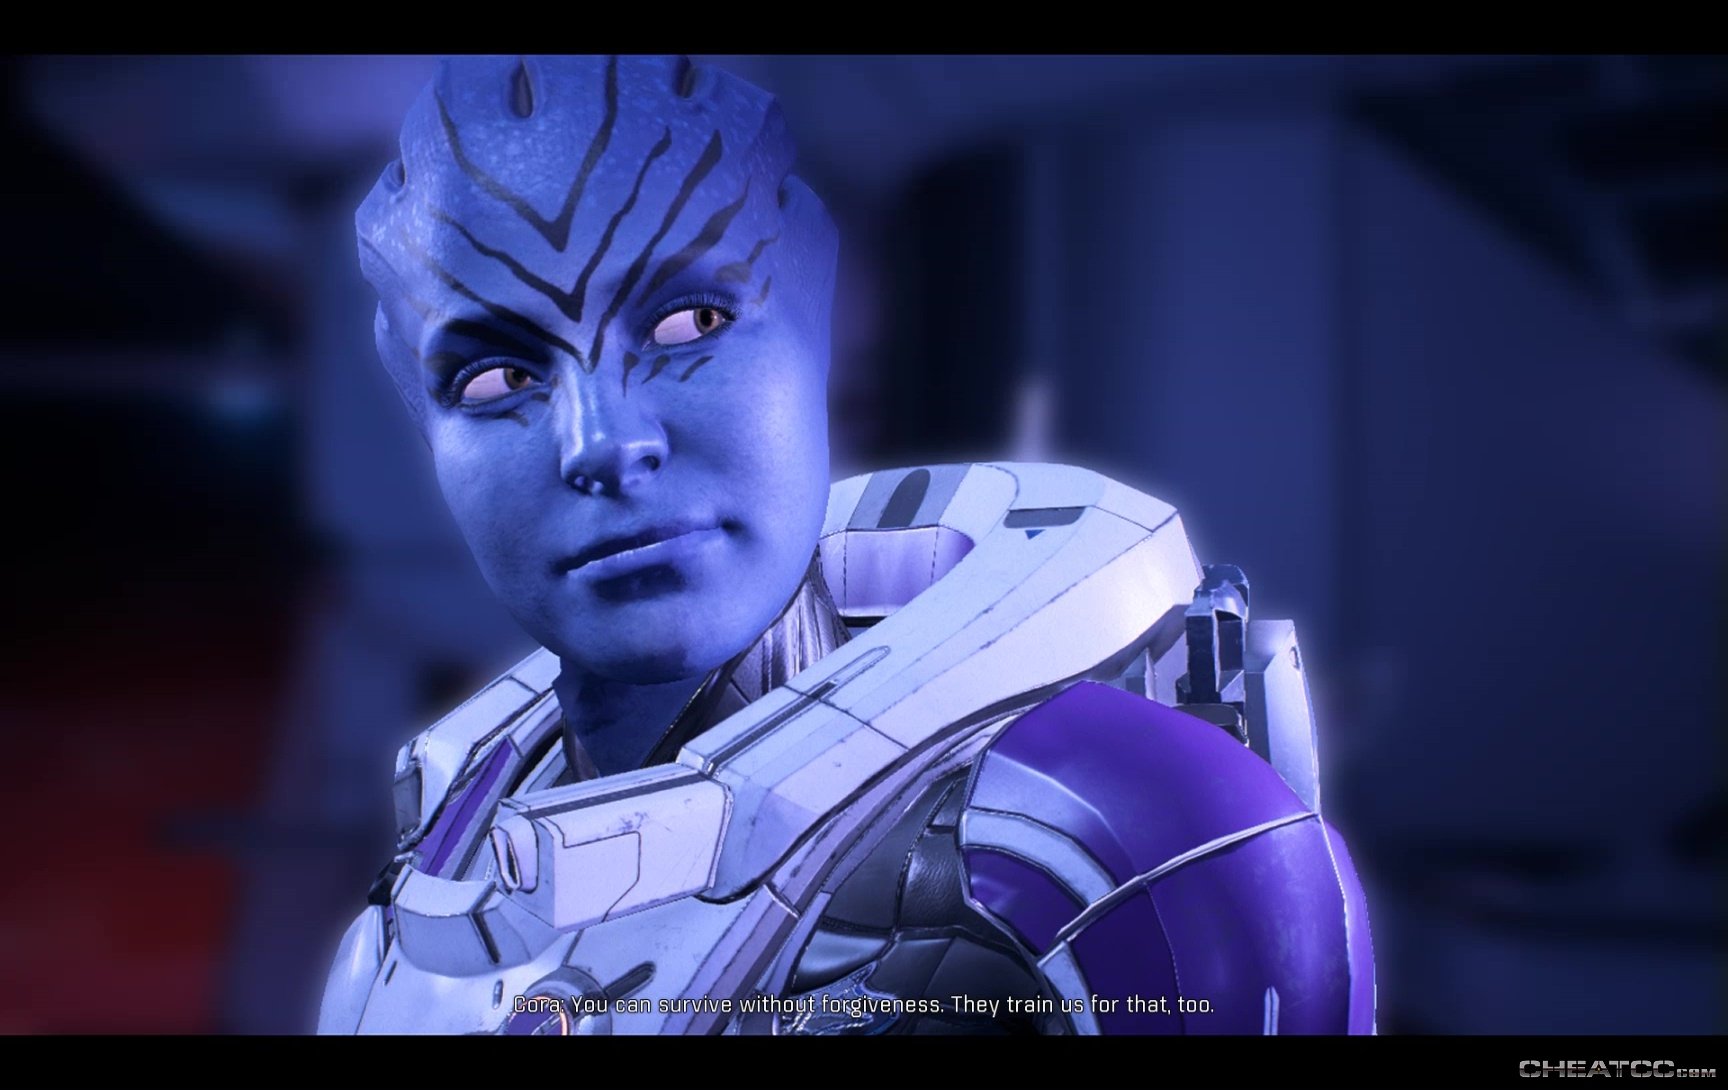
Or not, it's up to you. Either way you'll automatically wind up in a conversation with Cora aboard the Tempest, which ends with her loyalty unlocked.