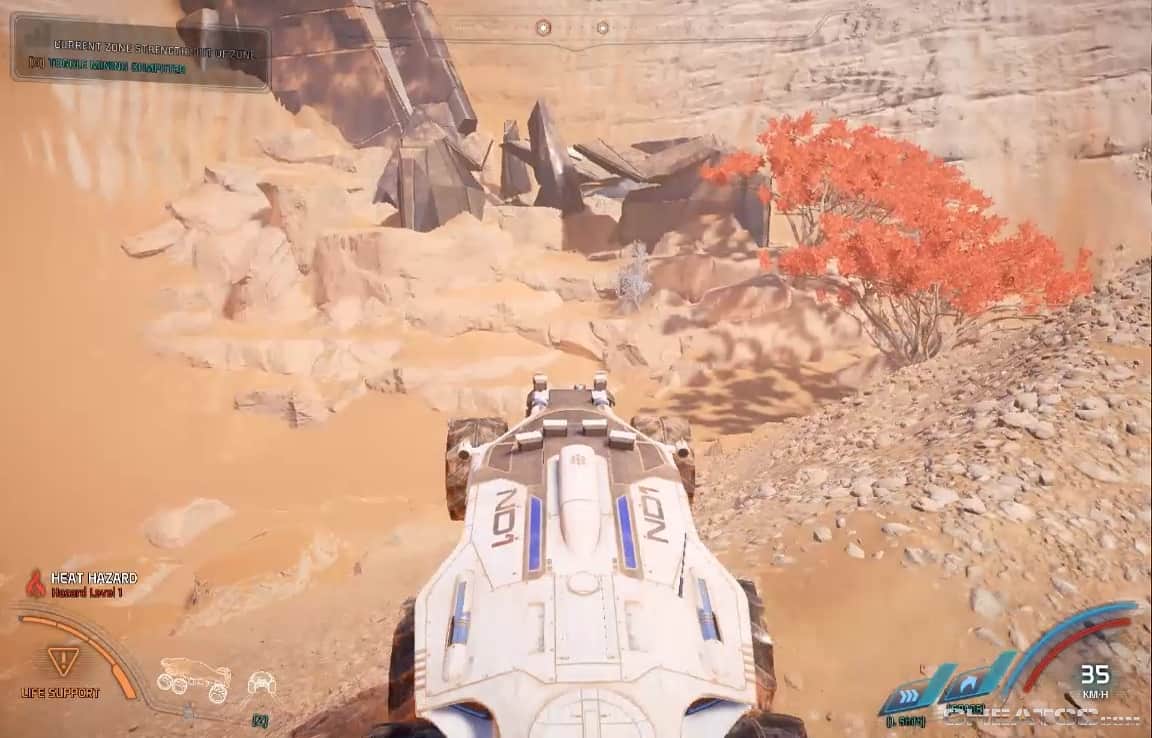
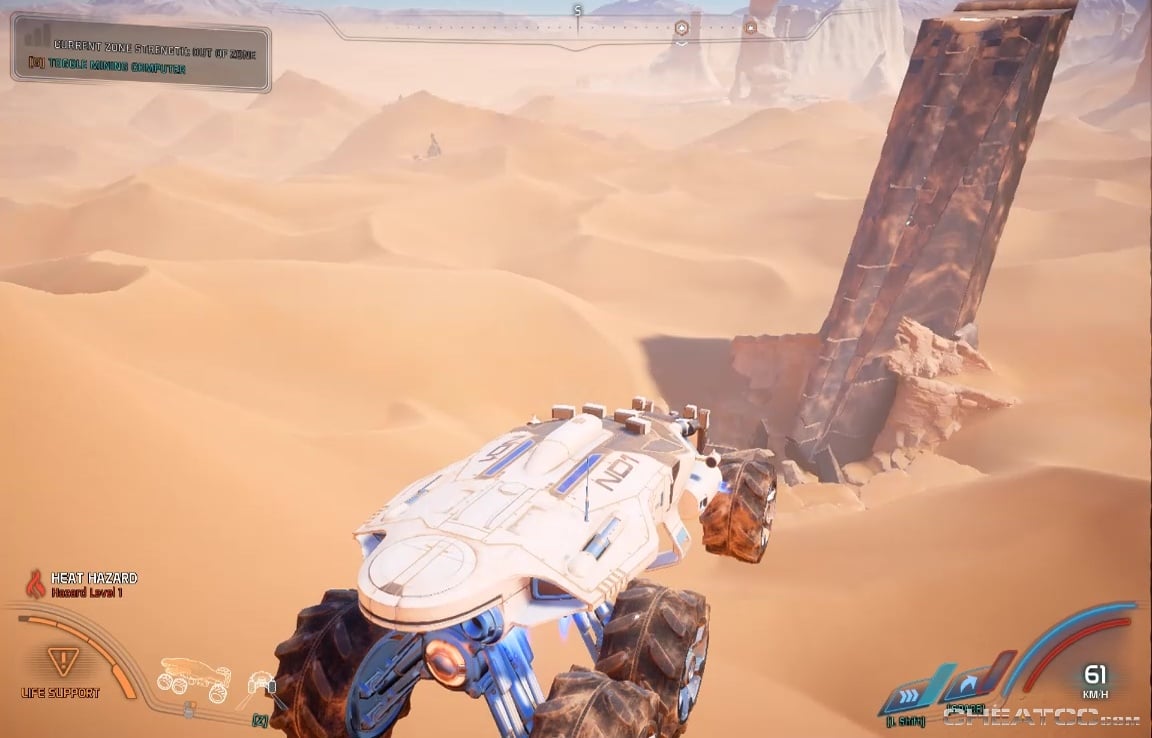
Taming a Desert Pt. 1
The first and westmost monolith is in a shady grove, or at least what passes for one on Elaaden.

Use the sub-console to the northwest to raise some helpful pillars.
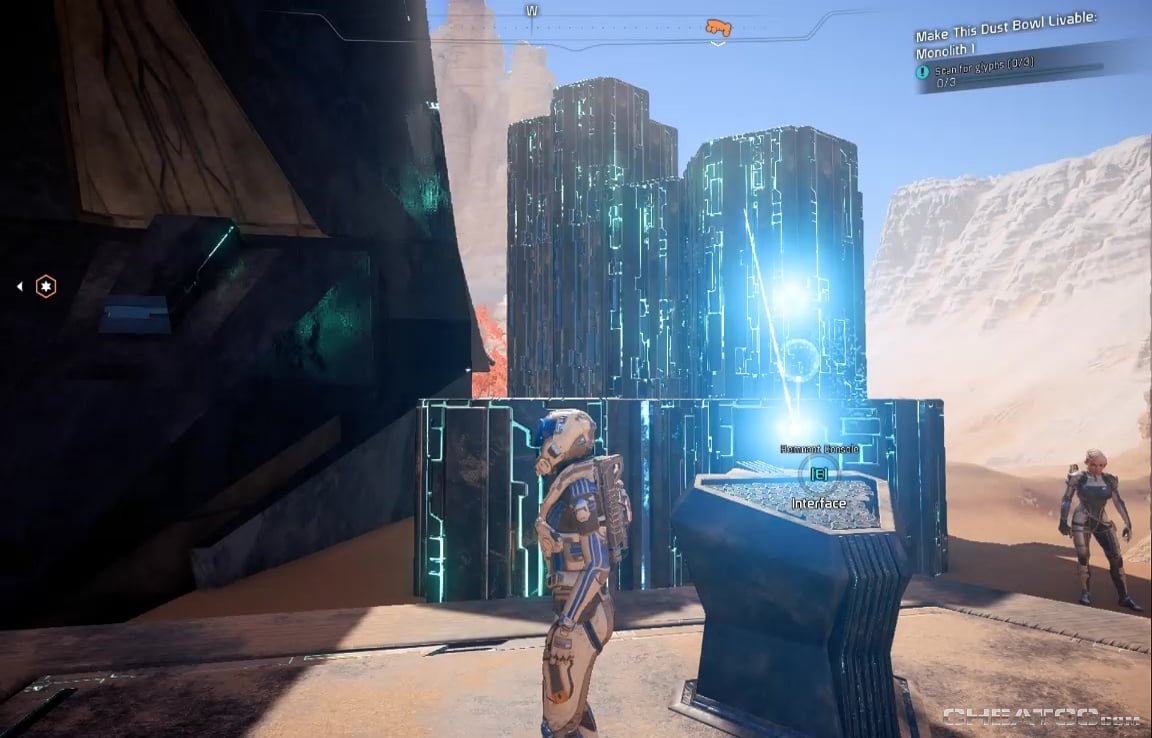
This gets you access to one glyph.
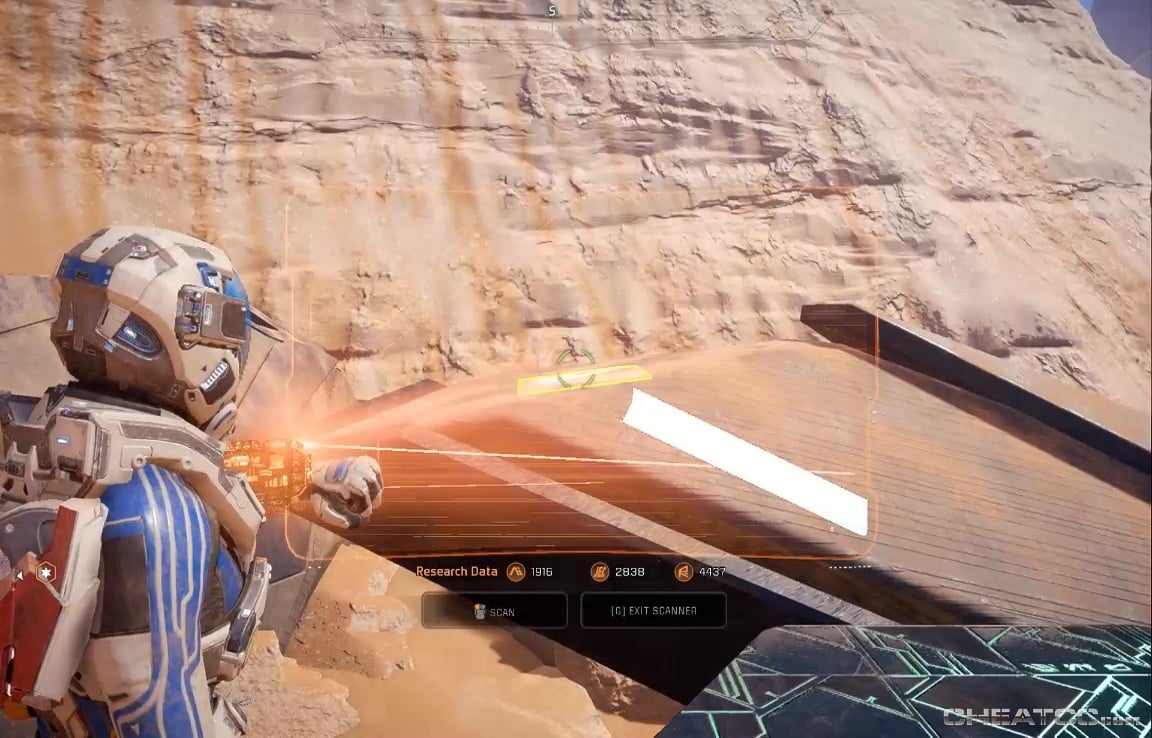
From the tops of the pillars, jump-dash to the upper slope of the northerly monolith.
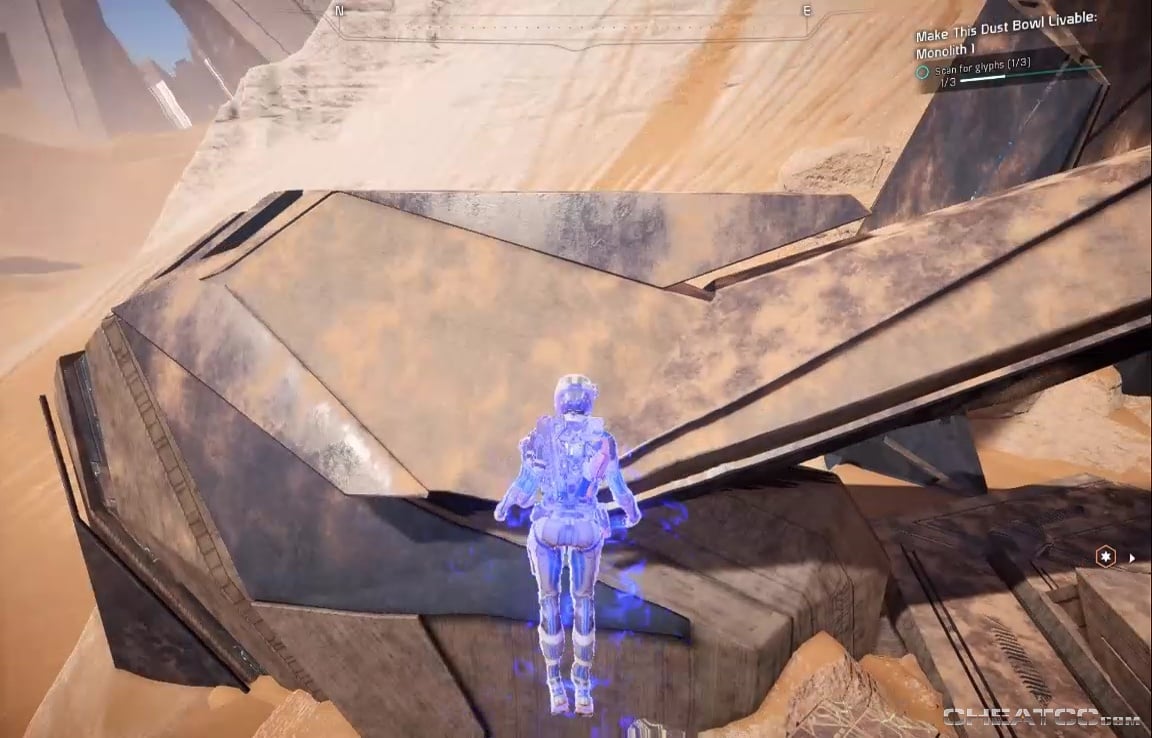
From the top of that, you can scan the other two glyphs.
Drop down and activate the console- no puzzle required.
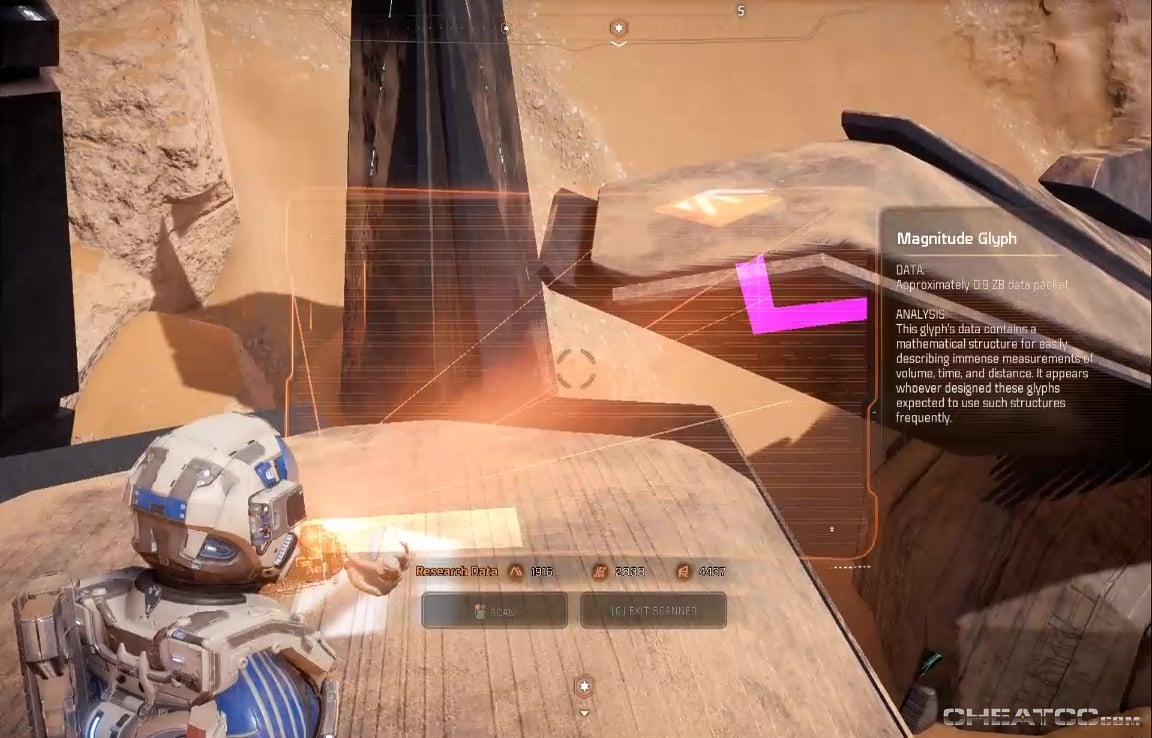
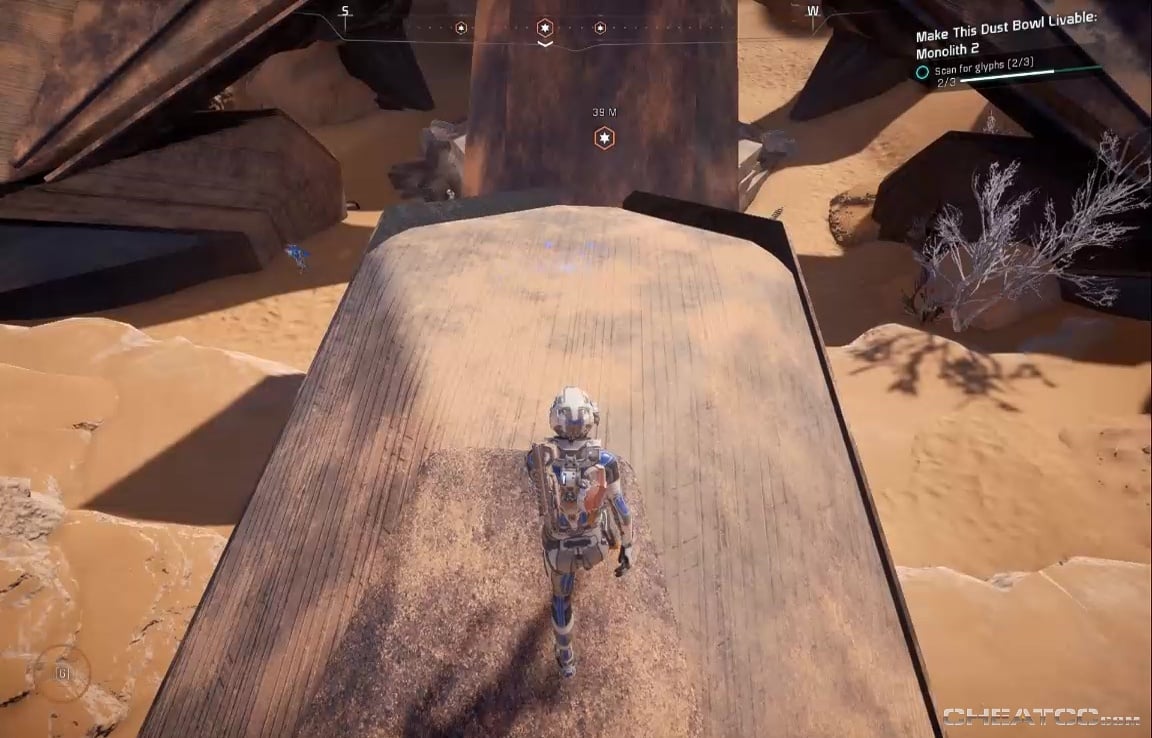
Monolith 2, in the northeast of the map, is situated in a bit of pit.
Two glyphs are atop two prongs overhanging the connsole, and are easy to reach by jumping up from nearby rocky ledges.
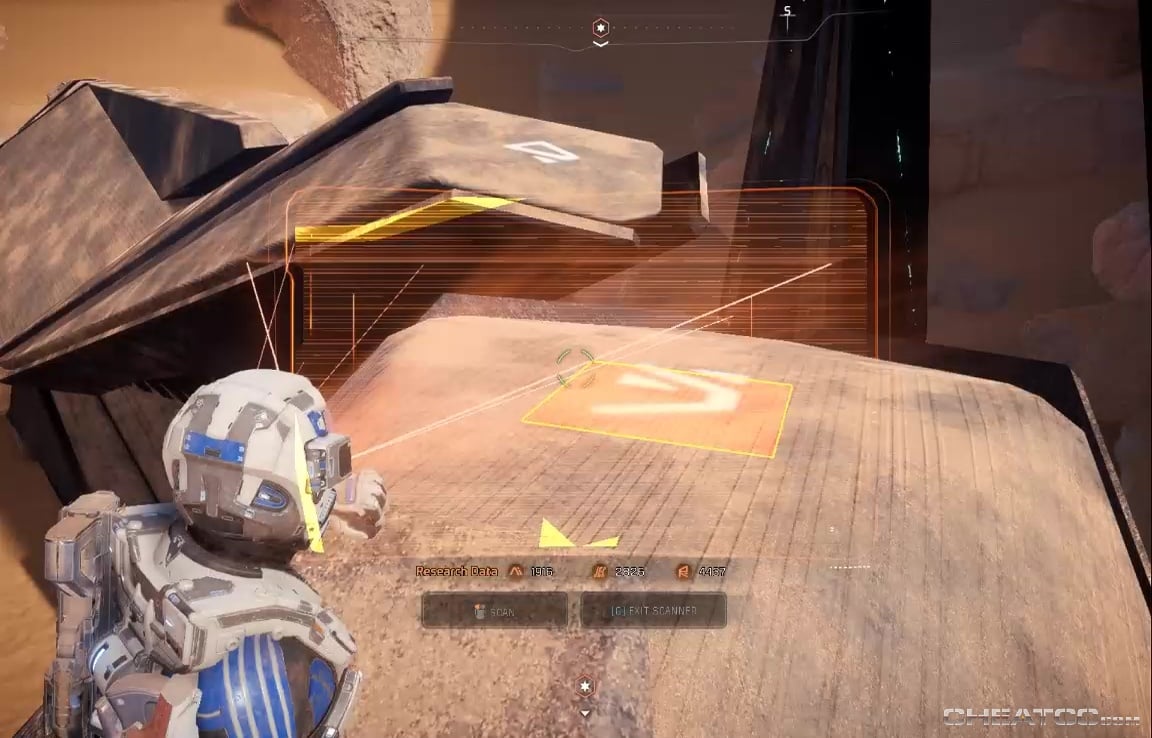
The third glyph is a more outlying prong to the northeast, but is also reached easily from the cliffy terrain.
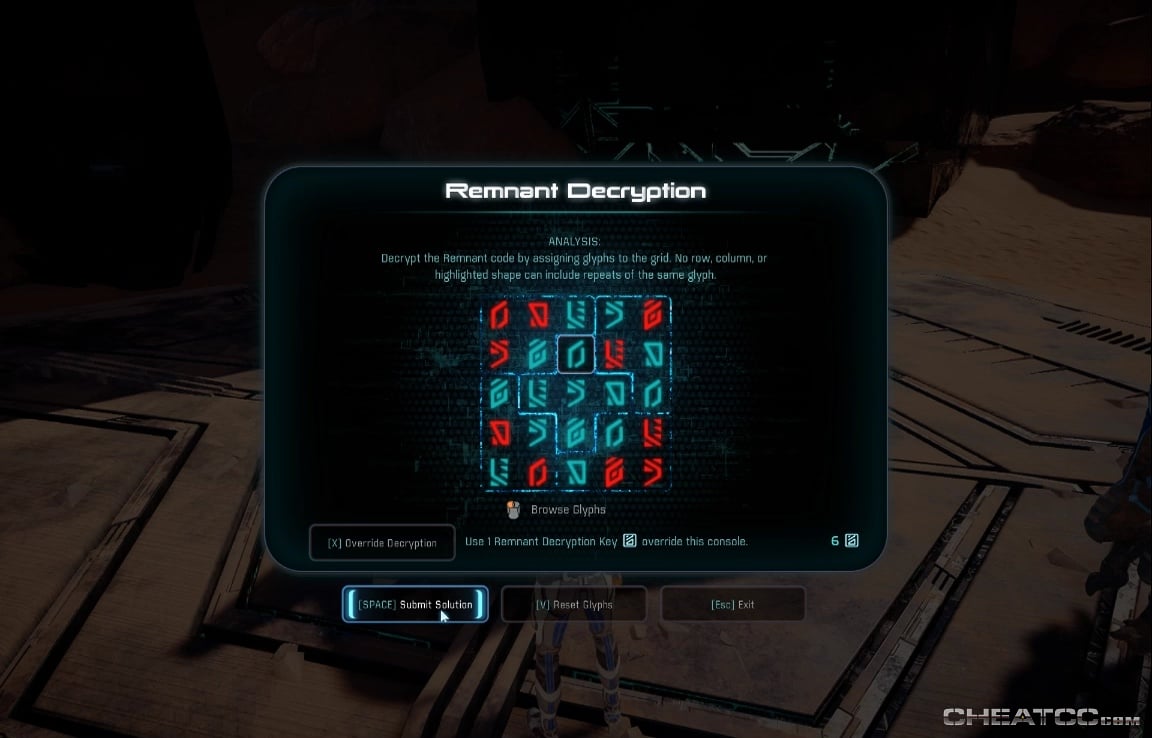
The console is of the trickier 5×5 size, but the puzzle itself isn't so hard (start in the lower left corner)
Activate the console, then on to the next, and last monolith. For this one, activate the westmost and middle consoles, but not the eastmost, to get the pillars you need. As has been the pattern on Elaaden, there's a single glyph on one outlying prong, and two glyphs on the prongs over the the main console.
No puzzle for this one either- just follow the lights to Elaaden's vault.