Taming a Desert Pt. 2
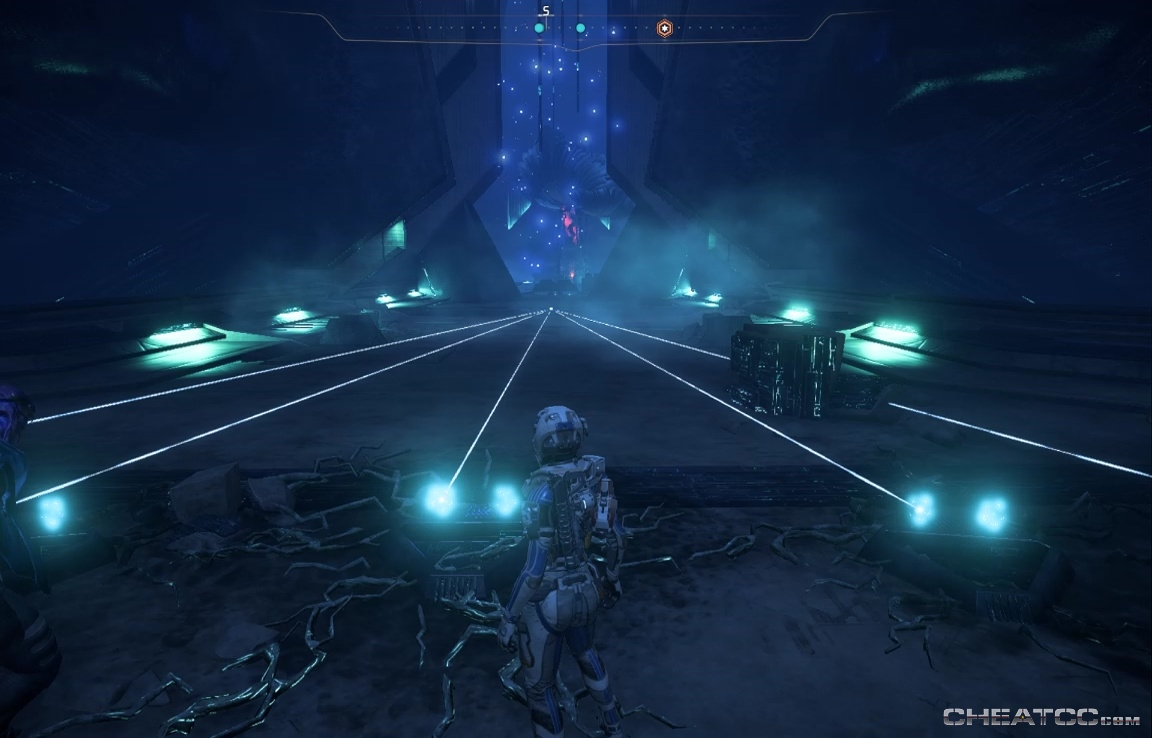
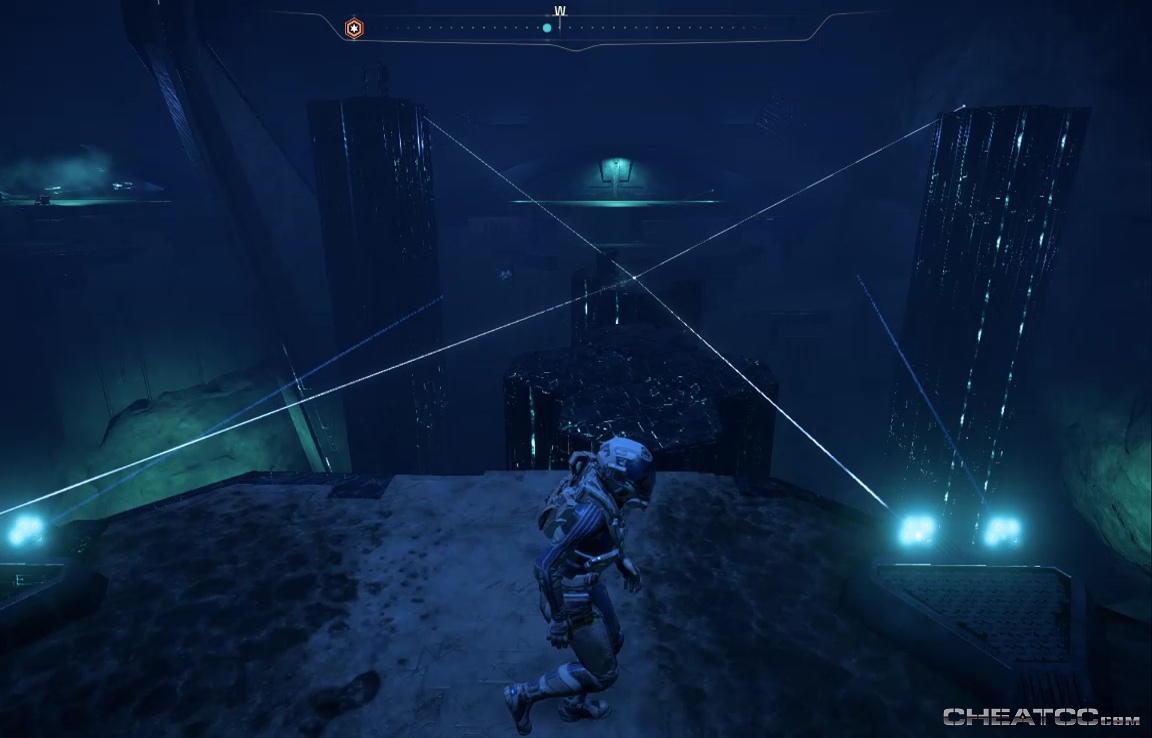
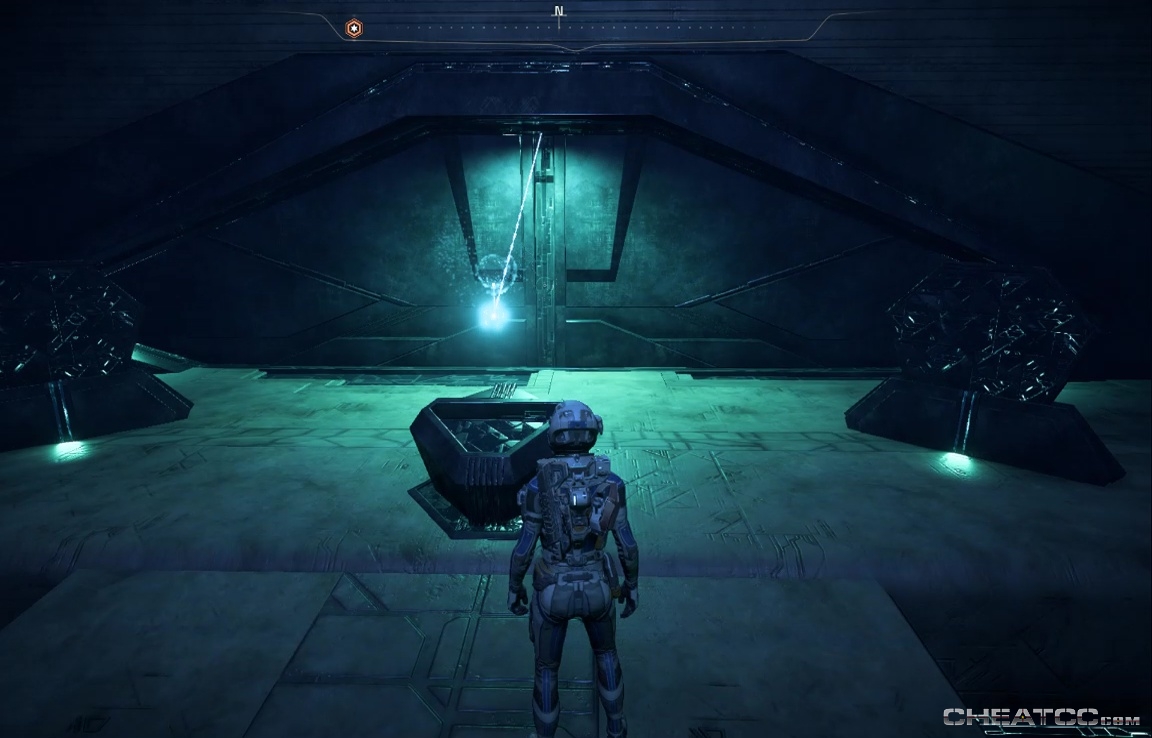
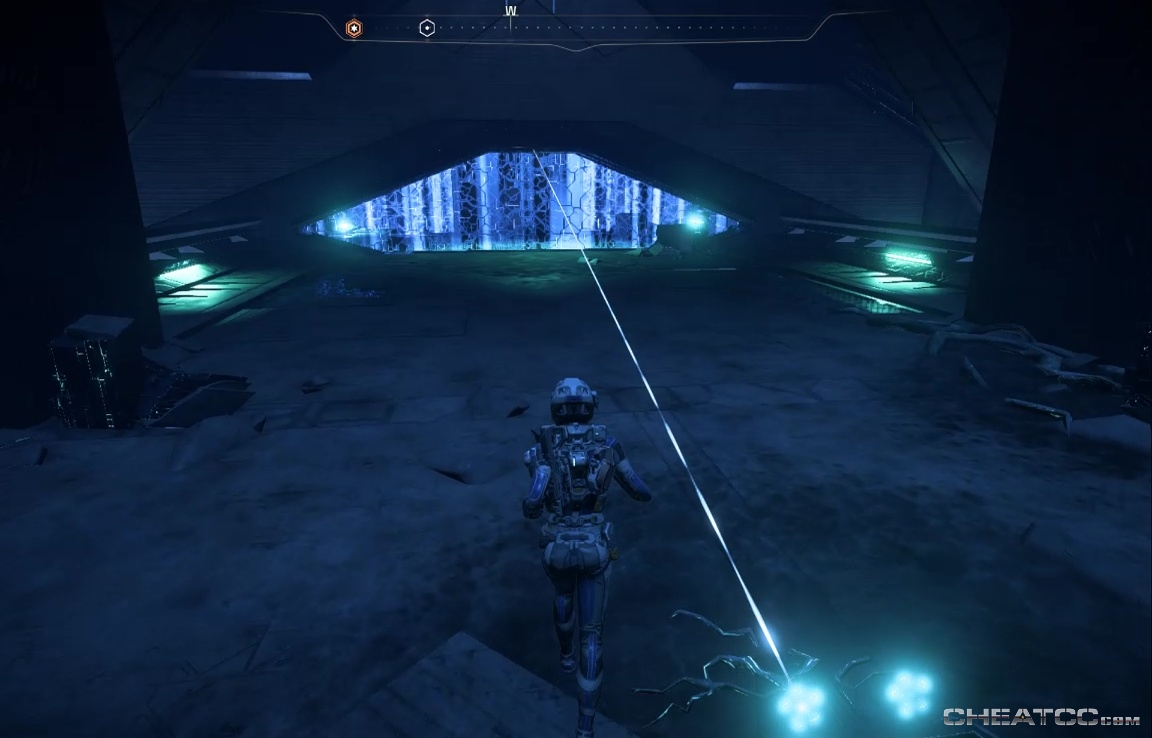
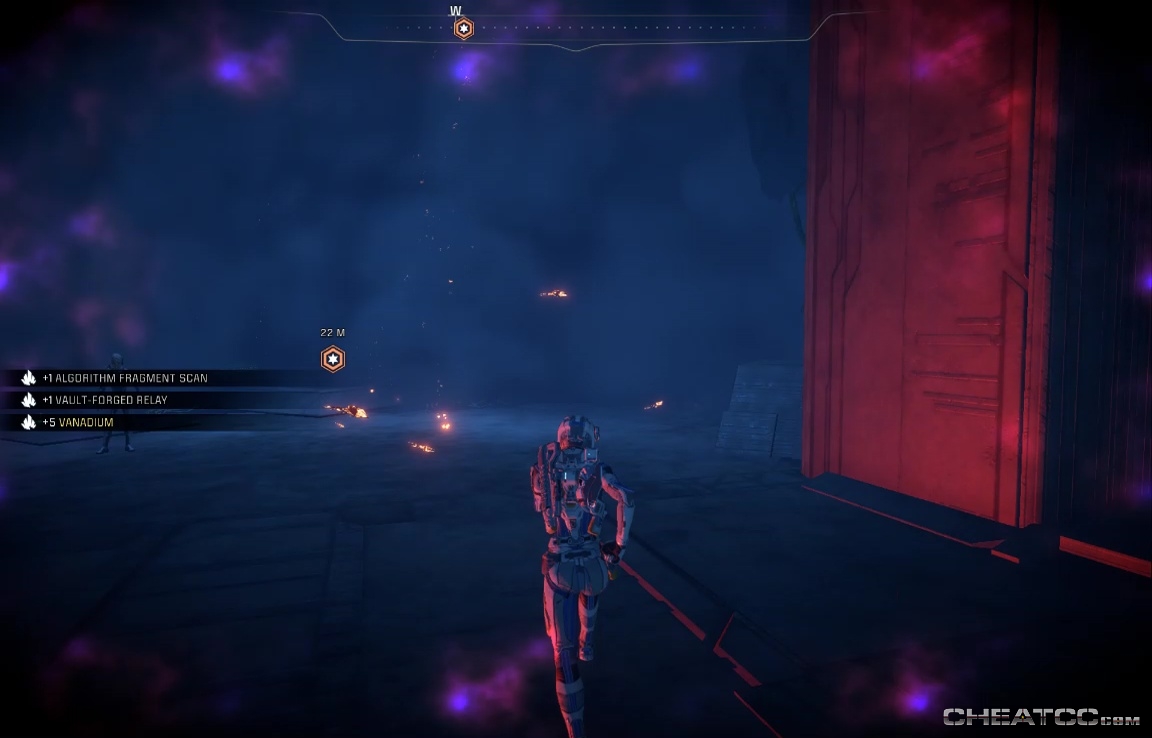
Follow the lightbeams to Elaaden's vault.
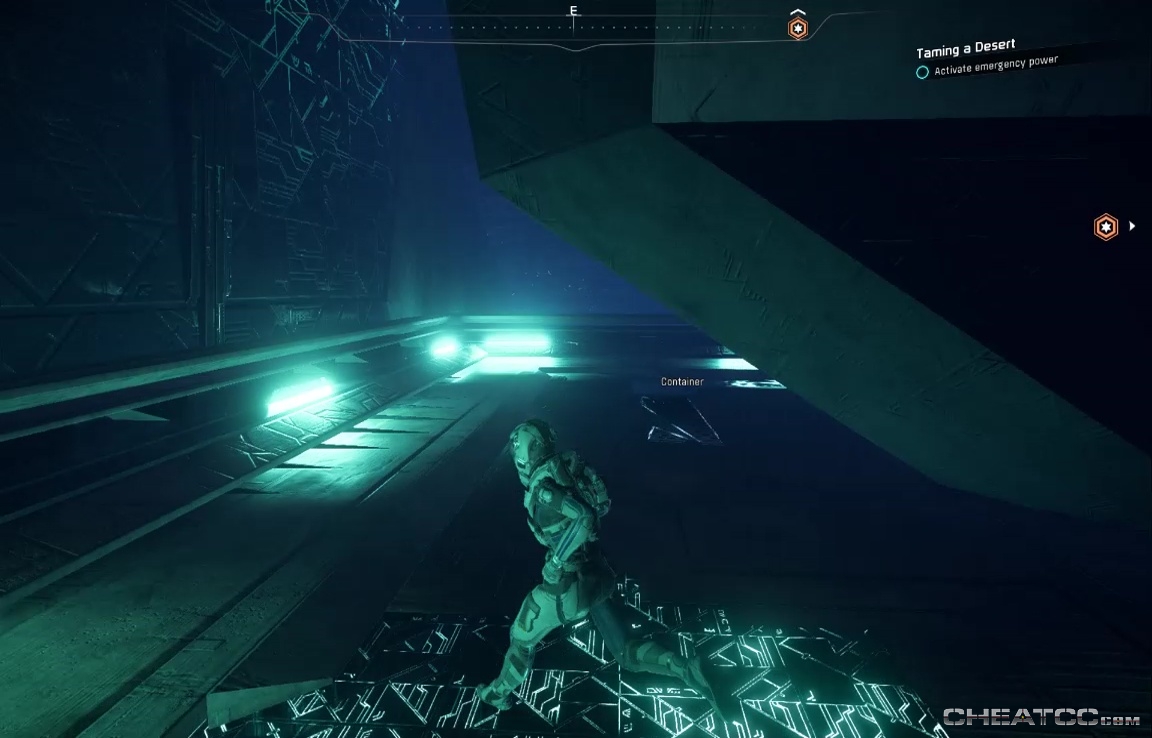
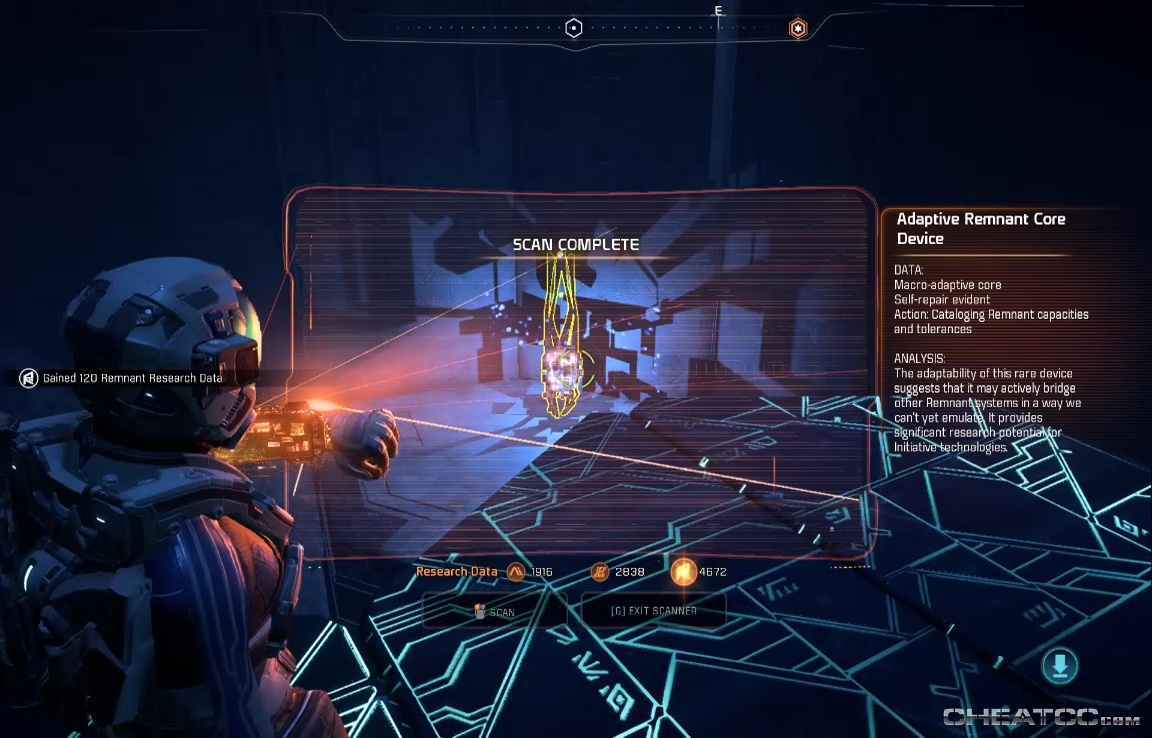
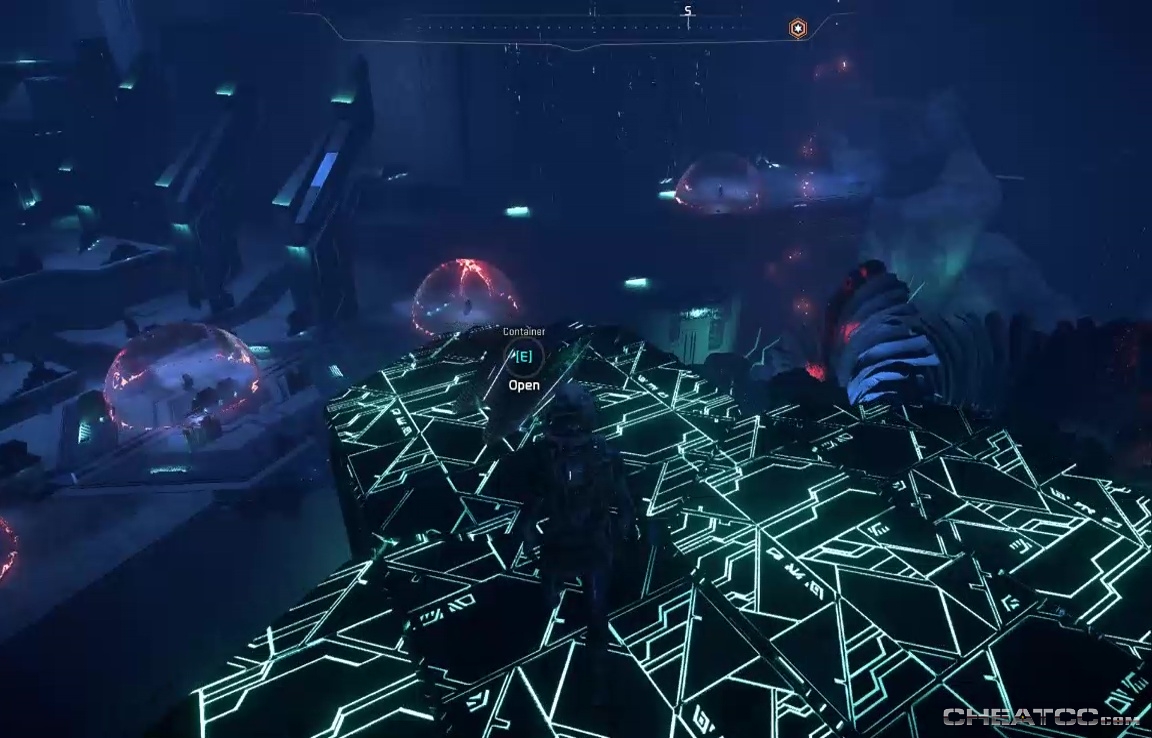
No loot in the entry hallway, so drop down and scan the core to the southeast. There's a continer on the high north platform, and also in that underlip beneath the platform.
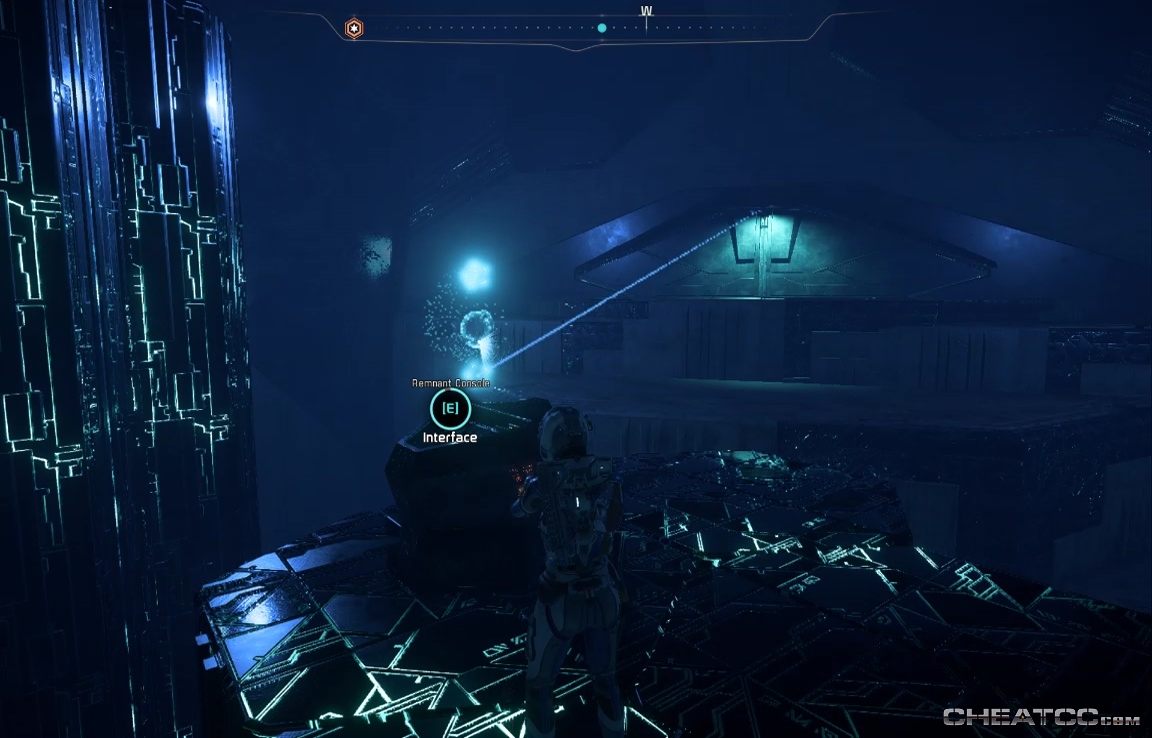
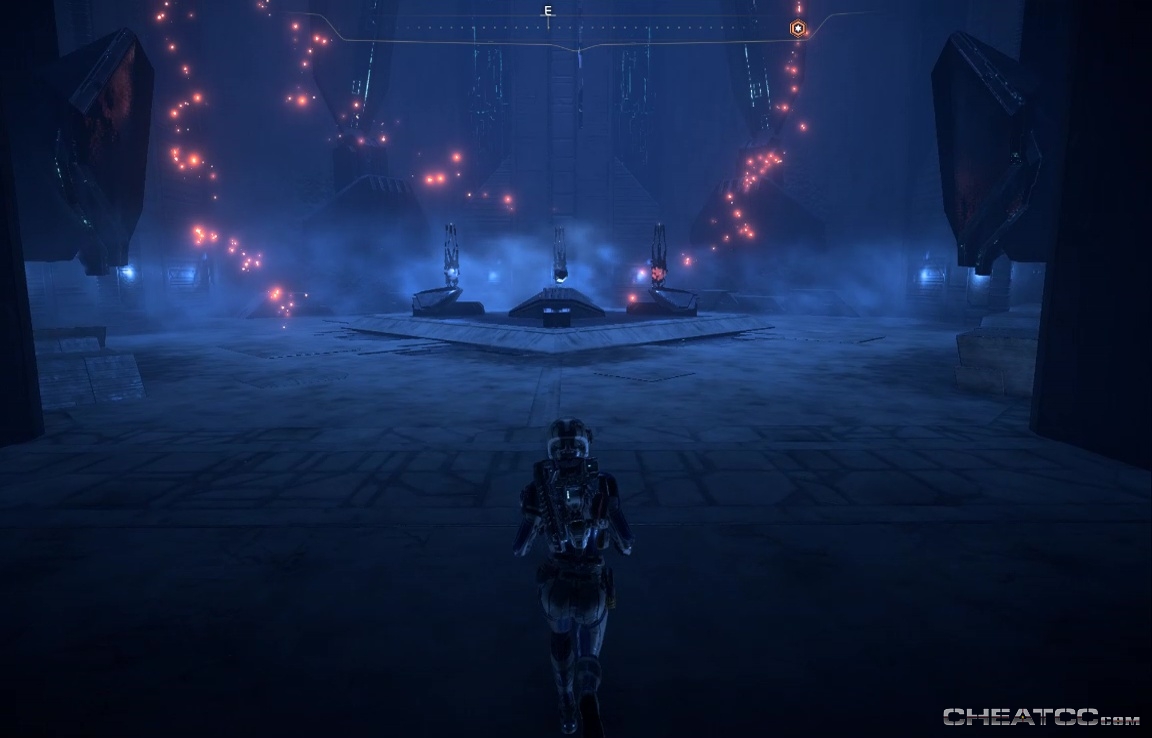
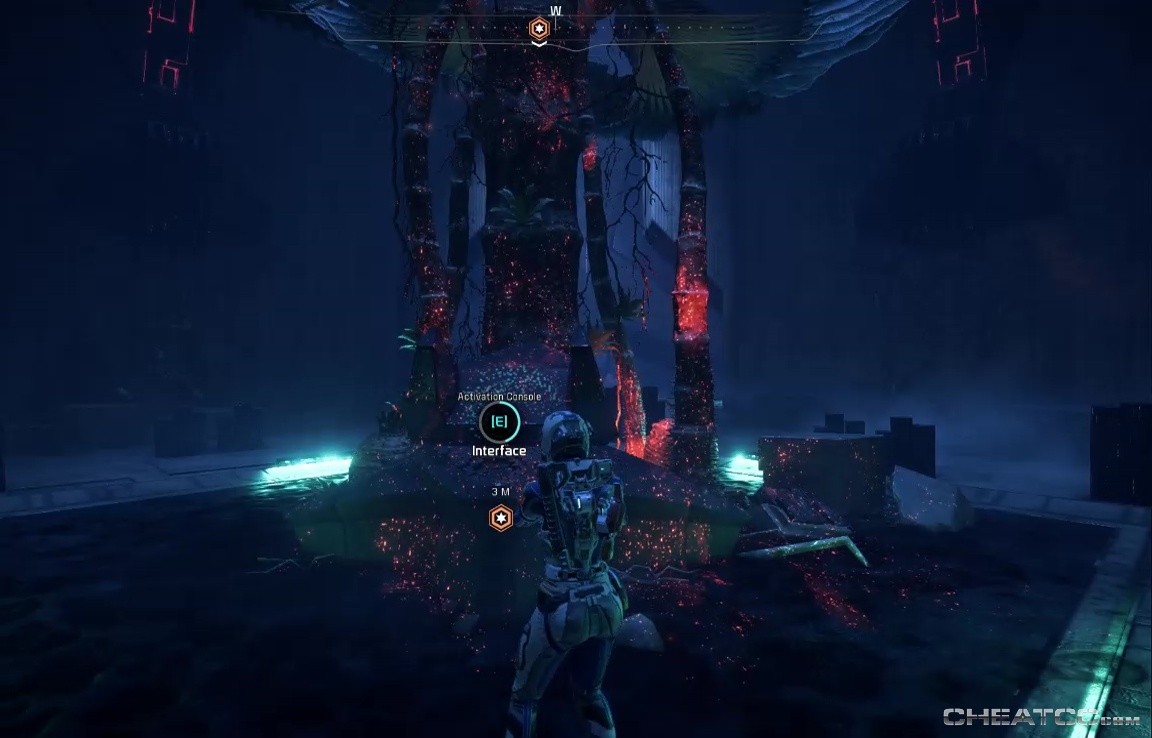
Activate the main console to raise five other consoles, and a very annoying puzzle.
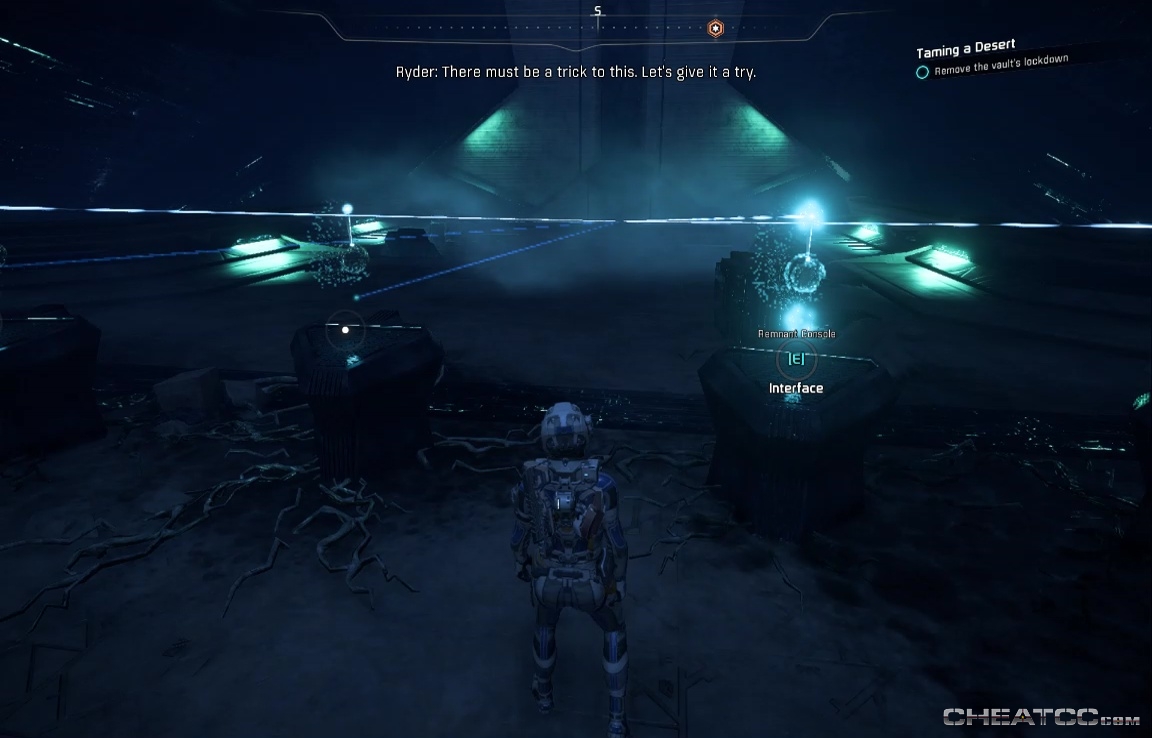
This is one of those 'turn on all the lights' type puzzles, where each switch affects itself, and the console to its right and left. However, the placement of the lines, and how they change with the up/downess of each console makes this one irritating to 'see.' In anycase, you can solve it by activating the leftmost console, then the middle console, then the rightmost, in that order.
Clear some baddies from the next room- nothing special. Exit west, but note on the map that it looks like this room should have an east entrance. It doesn't now, but it will later.
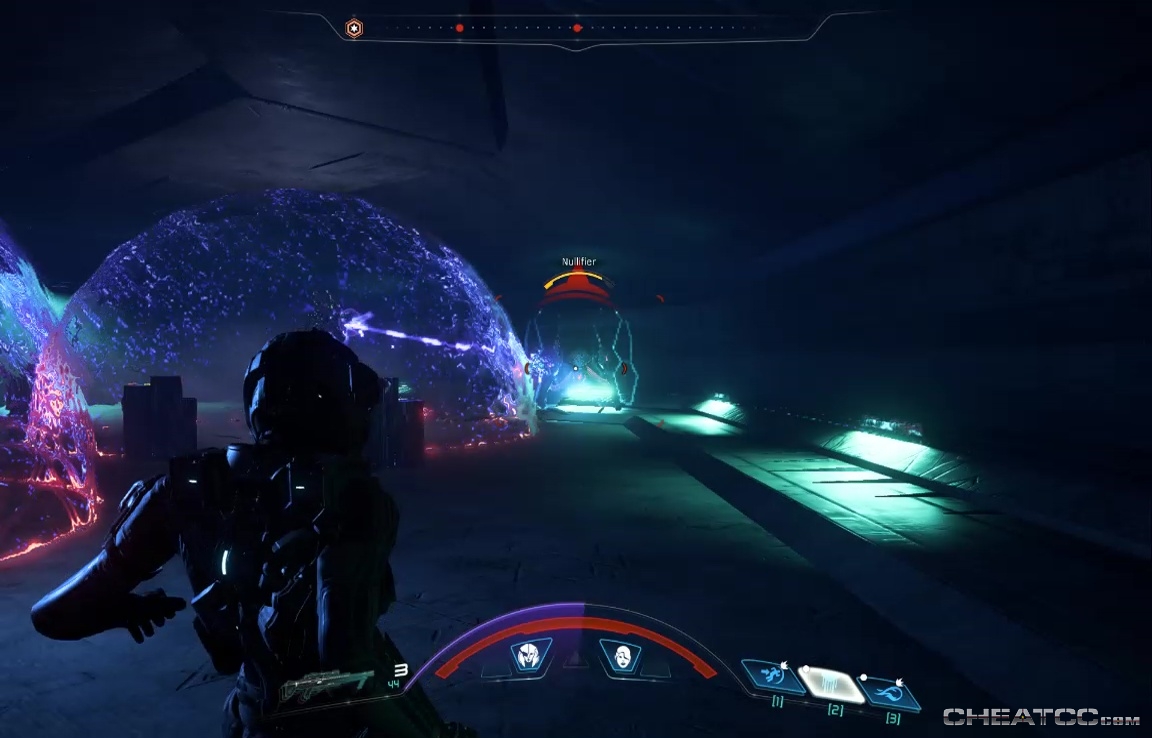
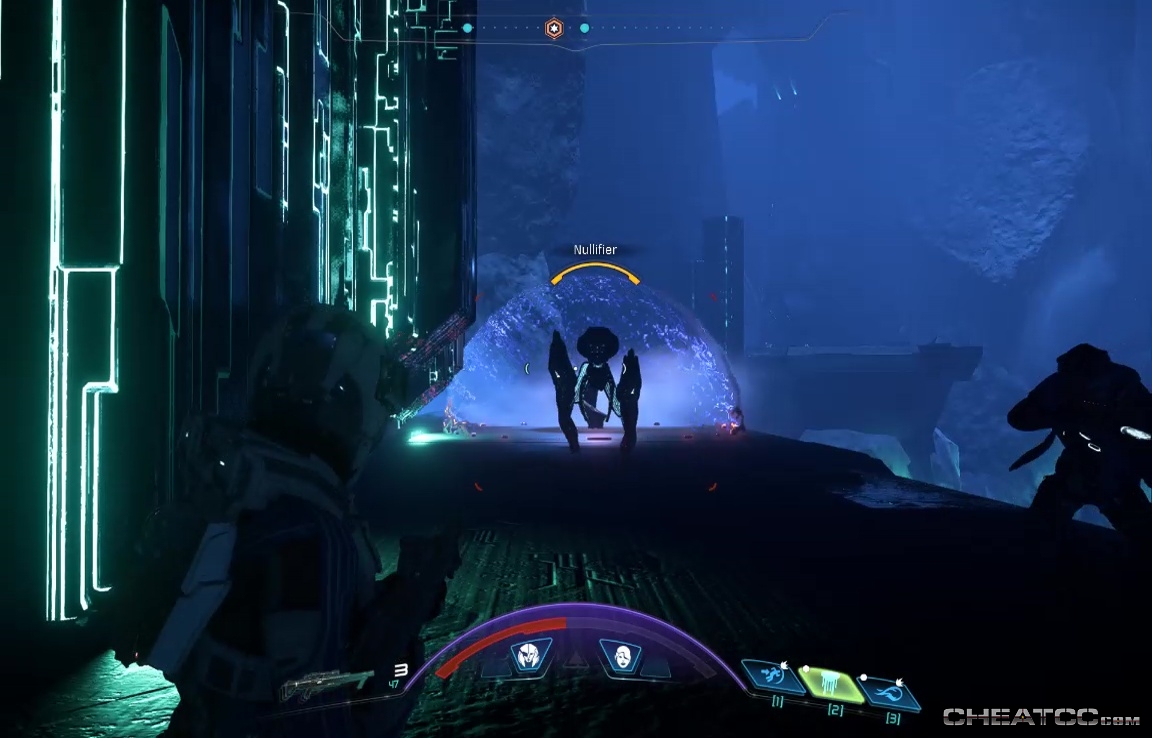
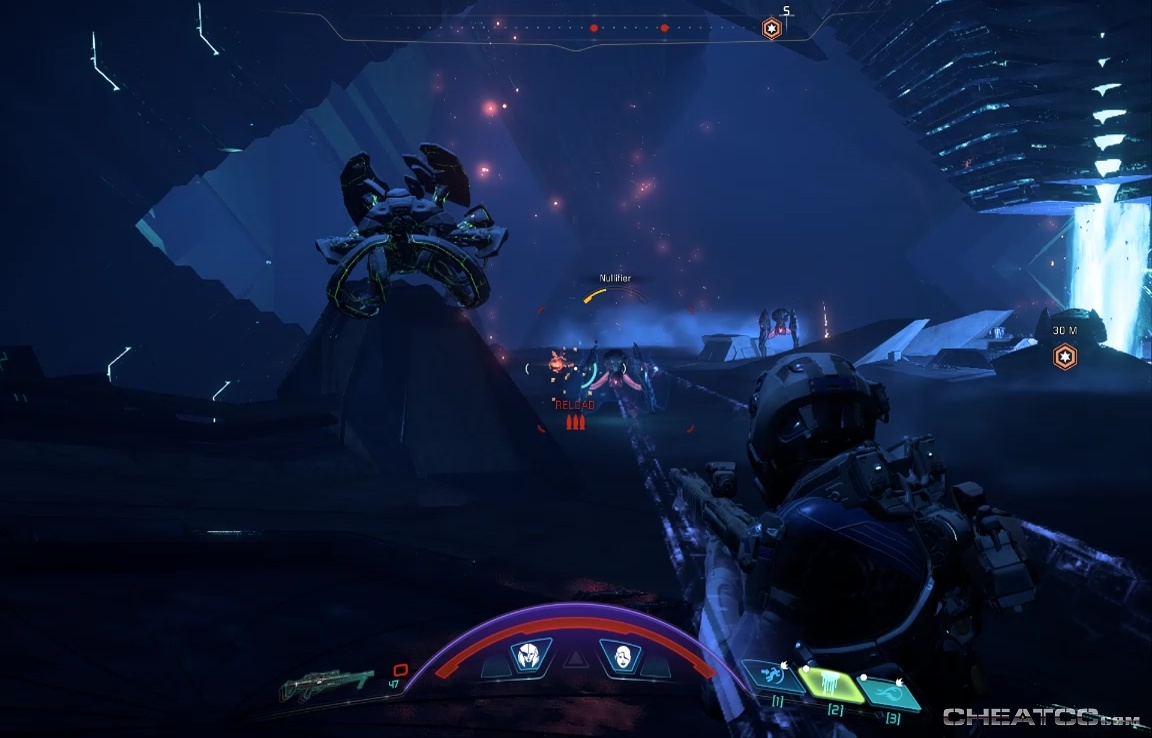
The west corridors has a Nullifier backed by lesser Remant. There's a console you can activate to toggle the shield bubbles and raise/ lower cover for a minor tactical advantage.
Exit the corridor south and dispose of some lurking Observers. Note that the area here has a split down the middle, with a remtech barrier. This is one of two such barriers in the vault.
Head to the south end of this promontory, then to the west side to see two consoles and some pillars. After the first room, you might be a little gunshy, but this puzzle looks more complex than it is.
Switch the left console, which will raise a tall pillar. Jump up the console there, activate it, then jump back to the original console, and switch it back the way it was. Do exactly the same thing for the right console- raising a tall pillar, activating a high console, then reverting the first console. Having all four consolse sending energy into the middle here will pull up a new platform in the center. Activate that console to open the far door.
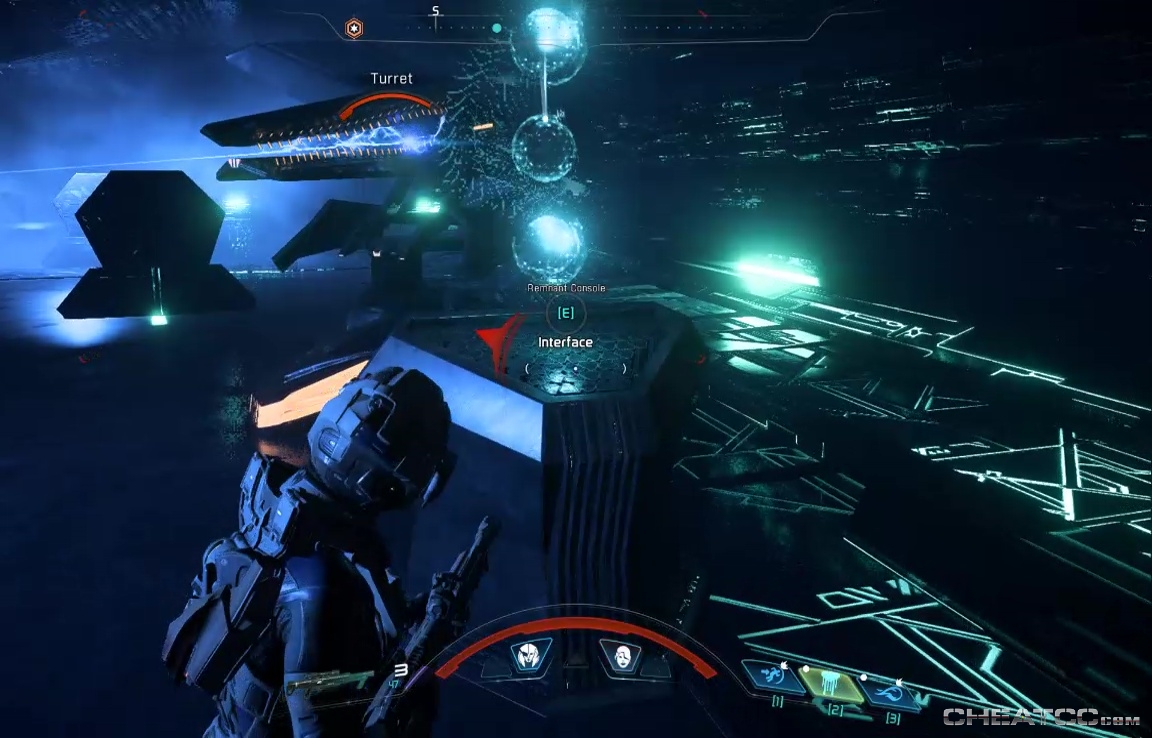
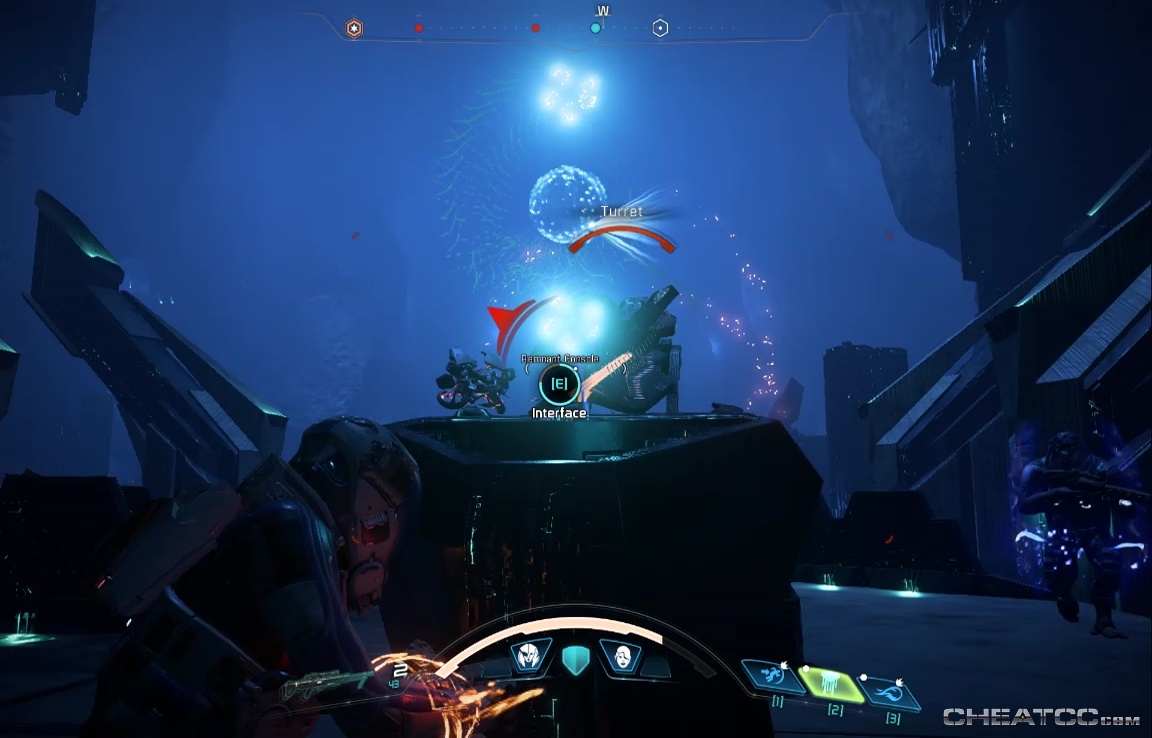
There's a corridor here with minor Remnant resistance and a Turret. Hack the turret to make everything much easier.
The corridor loops around, bringing you back to a ledge in the main chamber.
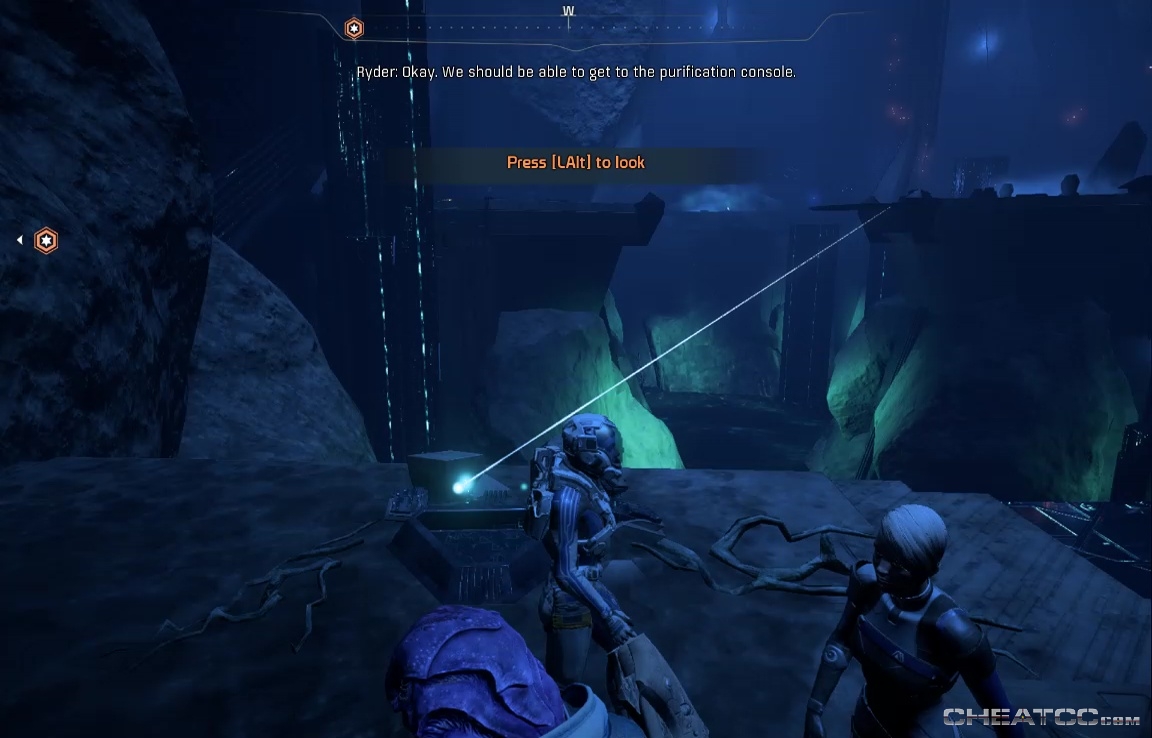
Use the console here to open the Purification room door, and also create a way back to the central platforms. Take a moment, if you hvane't already, to scan the spinny core on this side of that platform (ie the promontory that has the narrow ravine with the remtech barrier).
Now, go to that same inset nook on the east side of platform to find a console, which you can activate. It will raise some pillars which will be useful later.
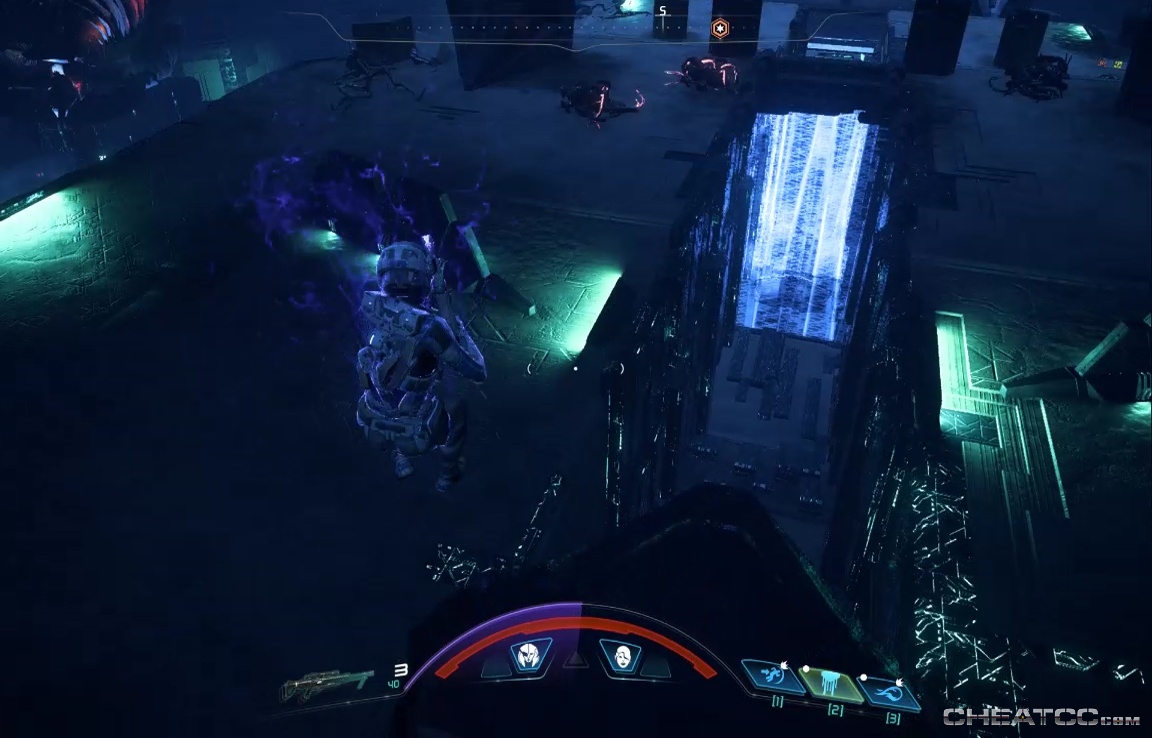
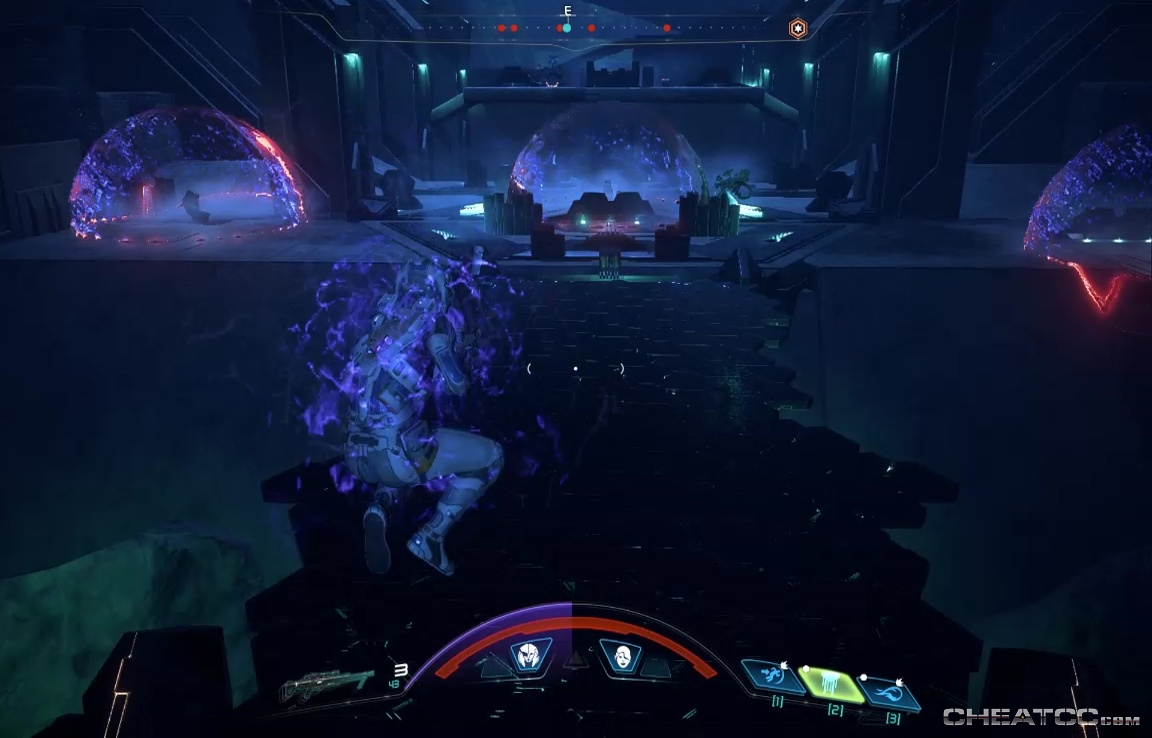
Now head east across the chasm, toward a Remant bridge and many shield bubbles.
Charge the upper platform- there's a hackable turret to your left that you'll want to make yours.
Clear this area of enemies (they're pretty thick here, but the turret helps), then go back toward the water's edge and turn south, to clear a shield-bubbly ledge of Nullifiers (there are other enemies and challenges on the high platforms to the east, but we'll be back for them)
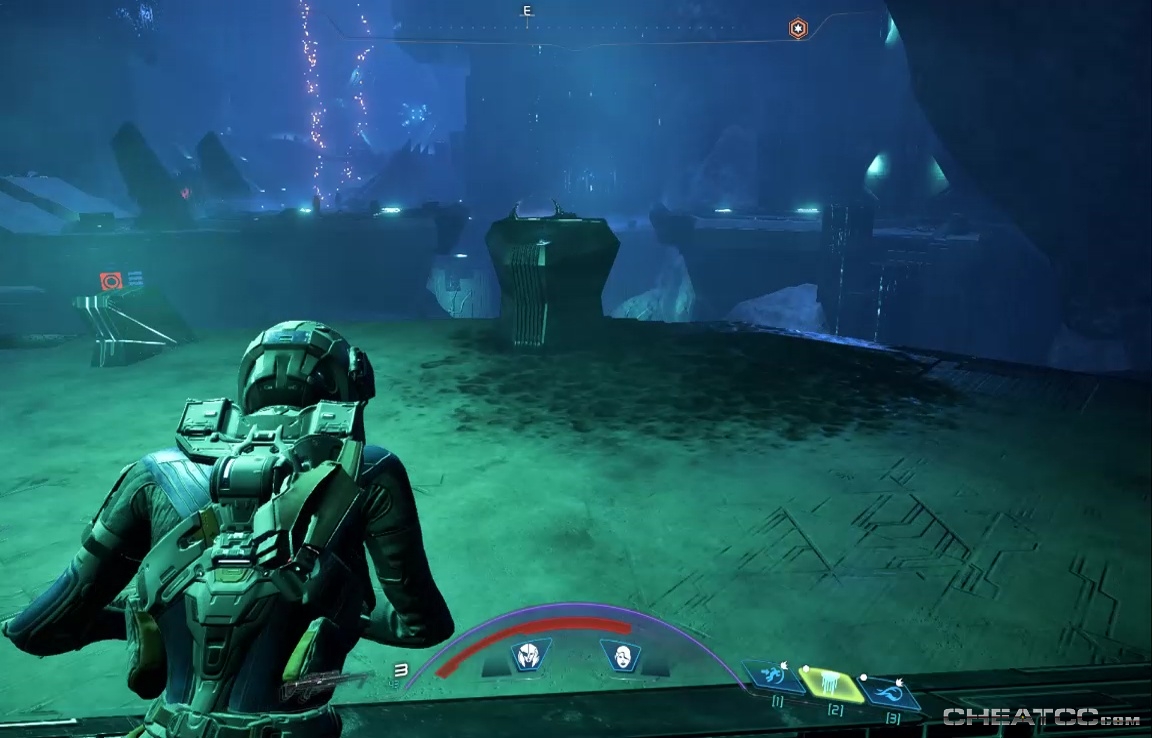
At the southern end of this ledge is a spinny core, and a console that raises the bridge to the Purification area.
You can make your there now if you're completely sick of vaults, but there are still secrets here to uncover.
Head back to the area where you hacked the turret, then on to the upper east platforms.
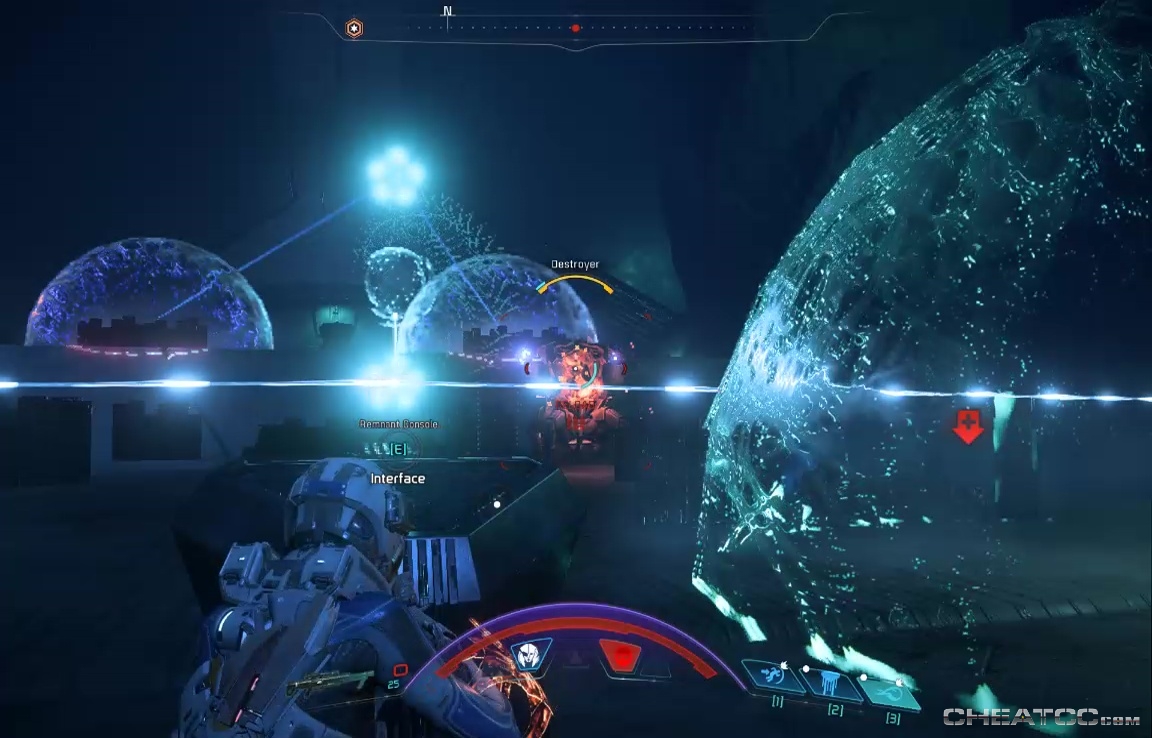
Here you'll have Nullifiers and a Destroyer to contend with. The consoles switch the bubbles from buff to burn, but it's better to rely on hard cover. When the enemies are dead, head to the high north door, and open it with the nearby console.
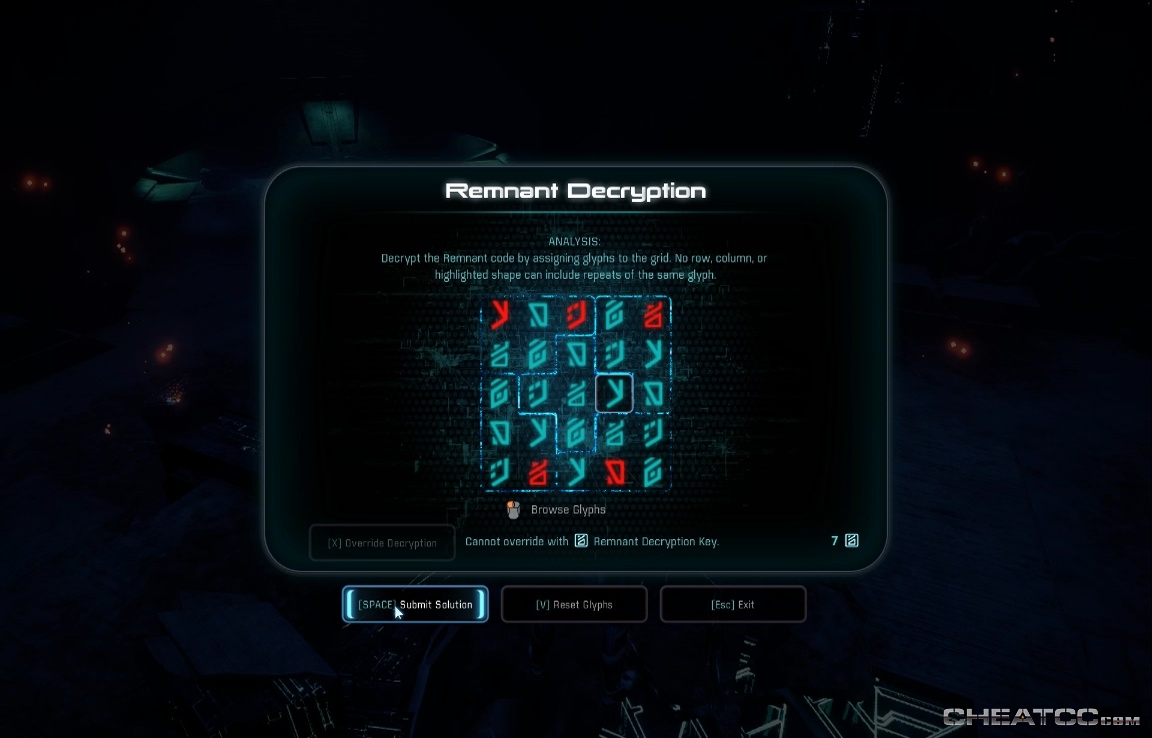
There are a few puzzles in the next room. Atop the central pillar is a decryption puzzle, solved thusly.
Around the base are a series of consoles that need to be activated in the right order. Start with the console that doesn't have a sparkling Remnant light by it (by the eastmost corner of the square).
That lightlessness is the key. Once that console is down, go the far left console, now lightless as well. Activate each of the lightless consoles to complete the sequence, then use the sprouted console to open a door into another remtech barrier. This barrier forms the east wall of that first room outside the gravity well.
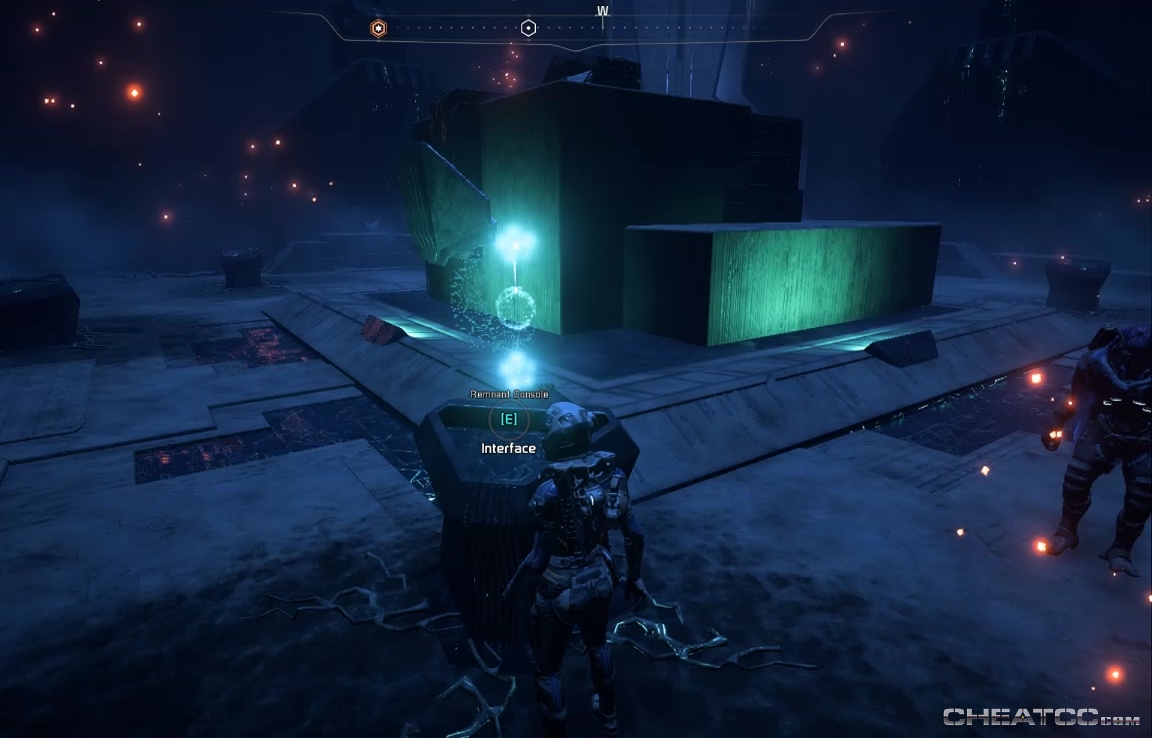
With less fanfare, a door console has also been made available for east wall. Open it to claim the Remnant Data Core for this Vault.
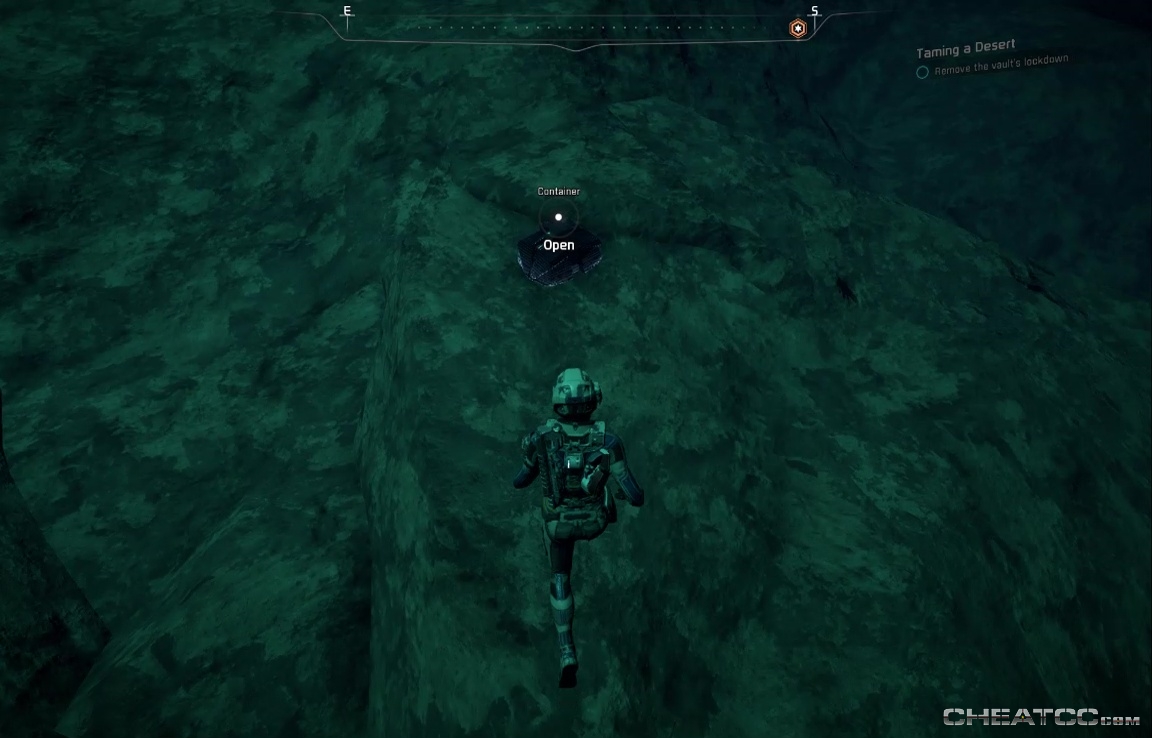
As you return, note that rocky gully at the bottom/eastmost part of the vault can be explored, and has two containers- one on the rocks and one on the pillars in the lake.
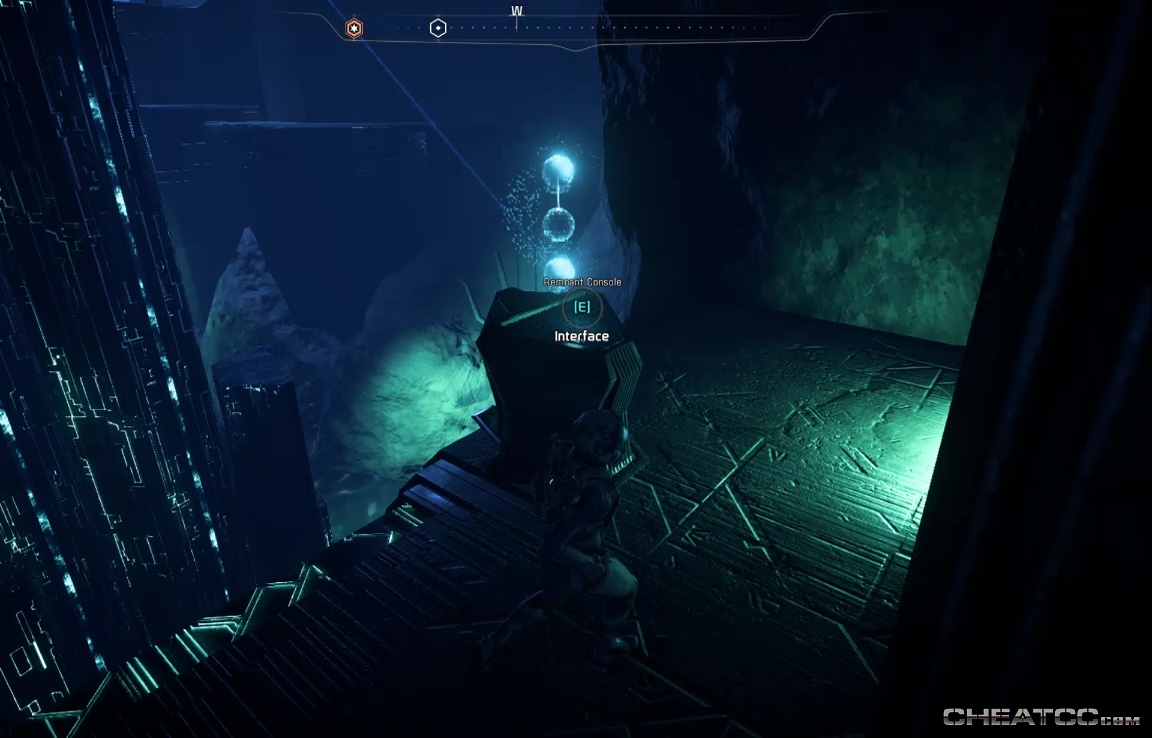
Also on your return, look for a console on a lower ledge of the westmost side of this section- a twin to that other lower-ledge console we hit earlier. With both consoles activated, you can now access a container atop the midlake pillars.

The container itself is hardly worth the trouble- just regular loot, but better than nothing at all, I suppose.
Now you can now head to the Purification Room, and clear out resistance there (mostly Nullifiers)
There's nothing else important in this room, so activate the console when ready. Remember that you have two barrier-chests to loot. Time is tight on this one, but there does seem to be a trick to it. Essentially your path is- run straight forward, dodging the fire grates.
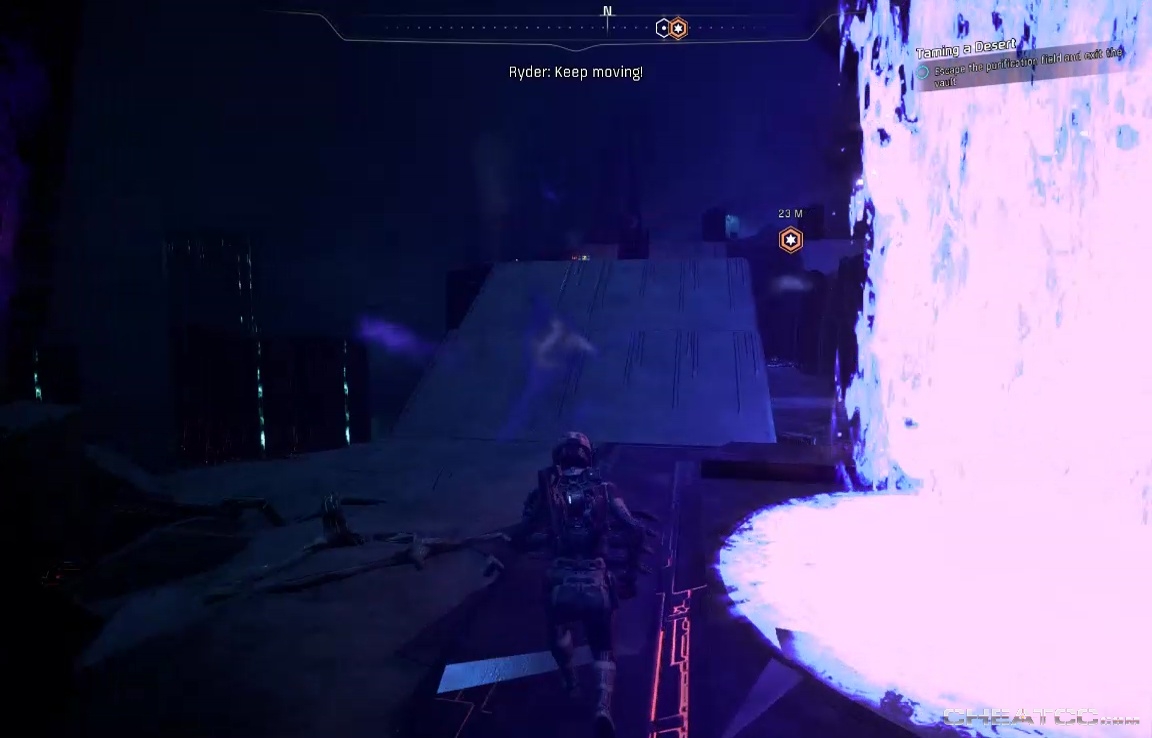
Loot the first remtech chest in the split, then barrel through the corridor beyond. Don't waste time dodging the shield-burn bubble- they can't possibly do enough damage to matter.
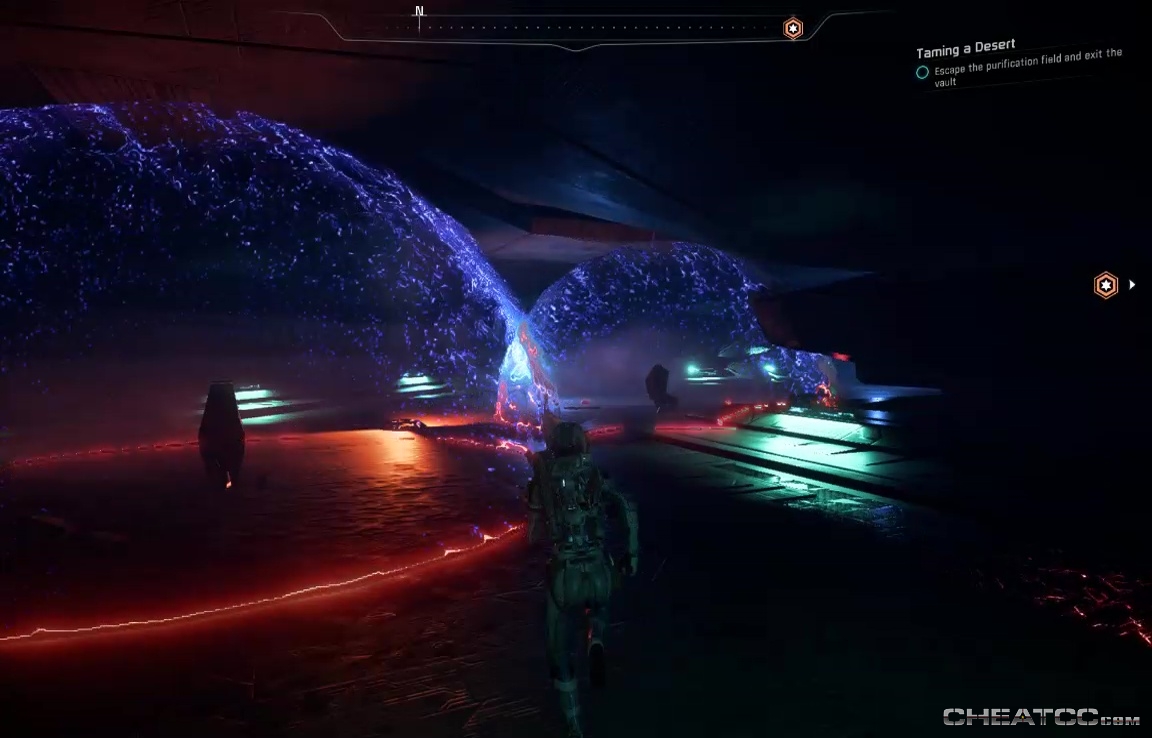
Grab the last remtech chest then turn back- you'll be running right into the deathstorm front.
Do not try to reach the console- instead duck right(north) into the vestibule. The storm will pass you by, and you can then return to the activation console at your leisure.
Claim the usual AVP bonus, and exit the vault to discover changes already in effect. You can now explore most of Elaaden without worrying about heat damage.