
The Flophouse
Location: Elaaden
Get ready to kiss your Paragon status goodbye.
As you may recall, the primary enemy type on Elaaden is scavengers. Not raiders, pirates, or cultists, but desert outcasts just trying to survive. Sure, they'll shoot if you get too close their little patch of scrap and dust, but only because that's all they have in the world.
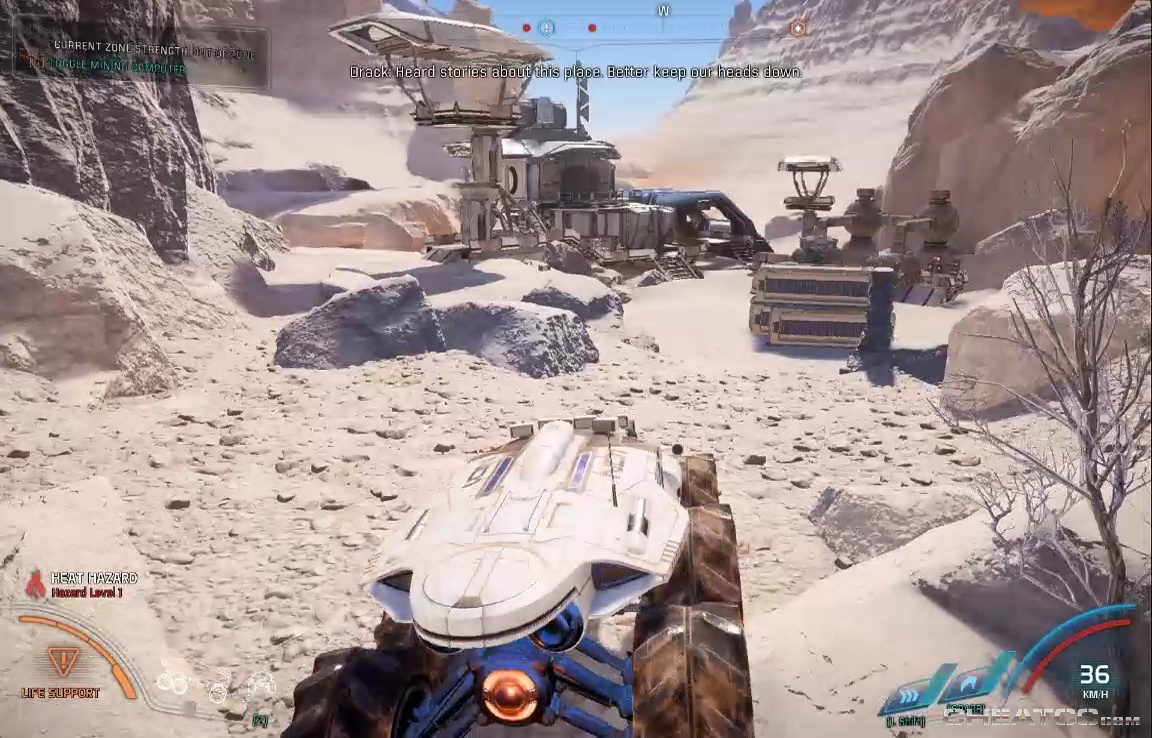
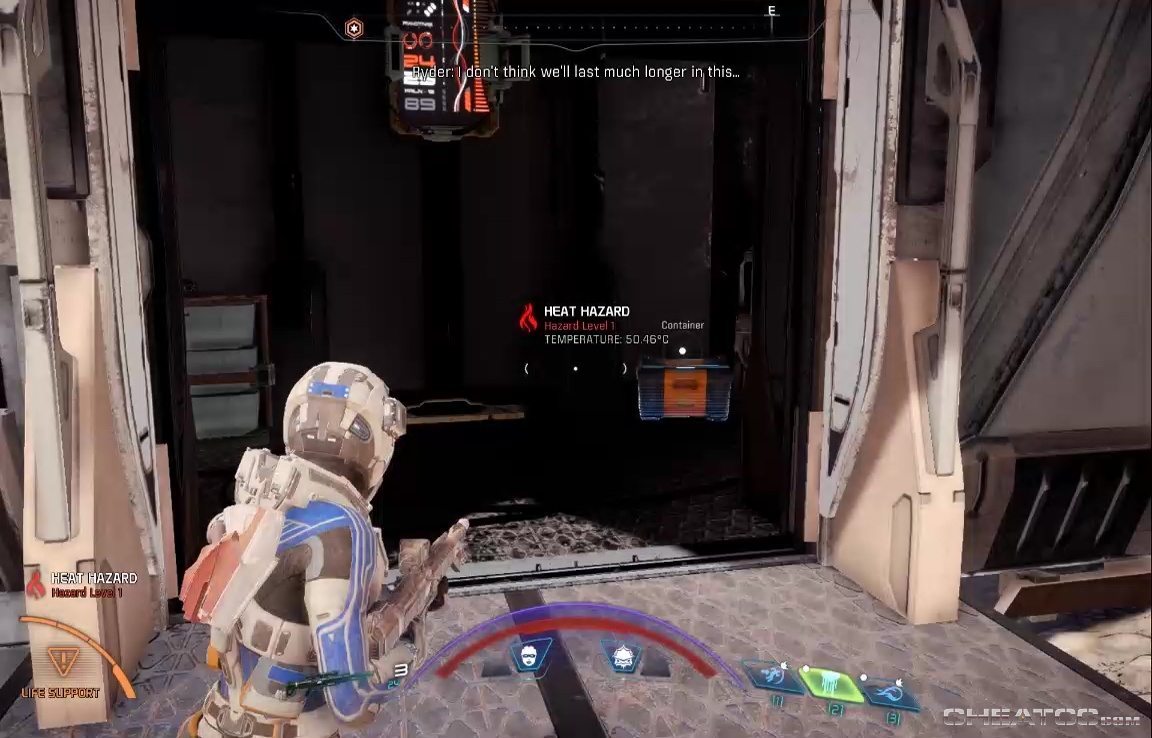
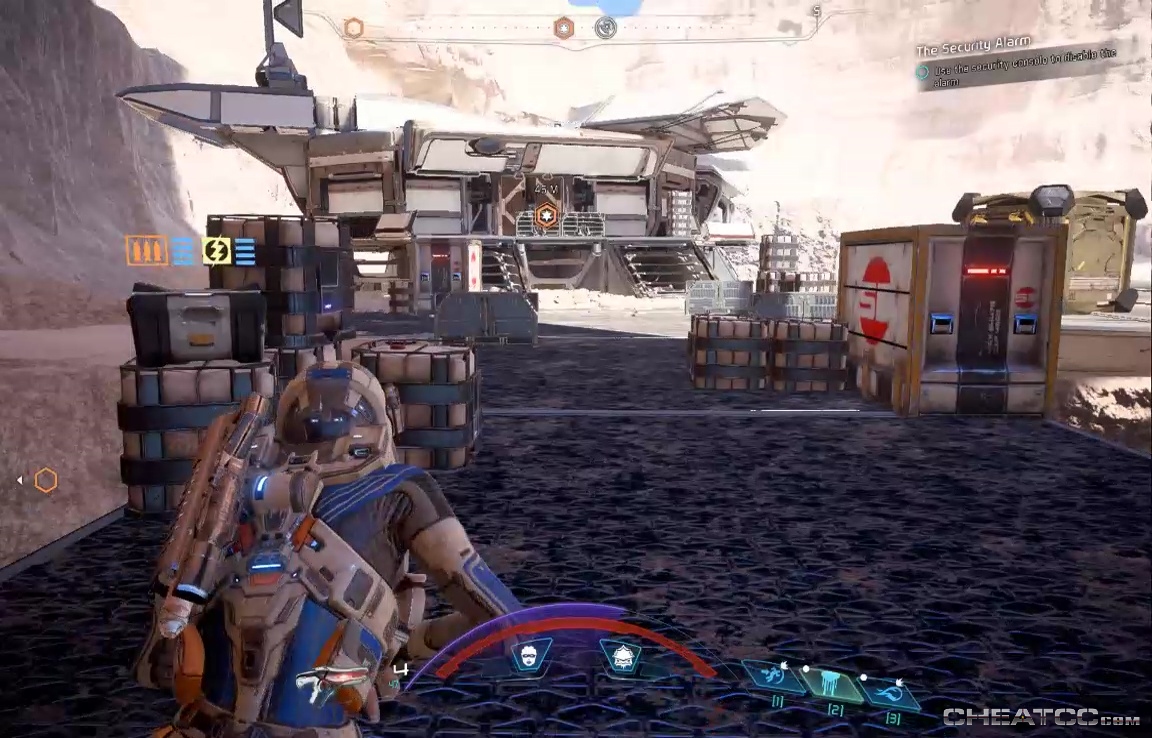
The Flophouse is where these miserable wretches go when save up enough credits to afford a roof overhead for a night or two. It's also something of a local trouble spot, so Ryder decides to solve this problem by killing every last person in the place.
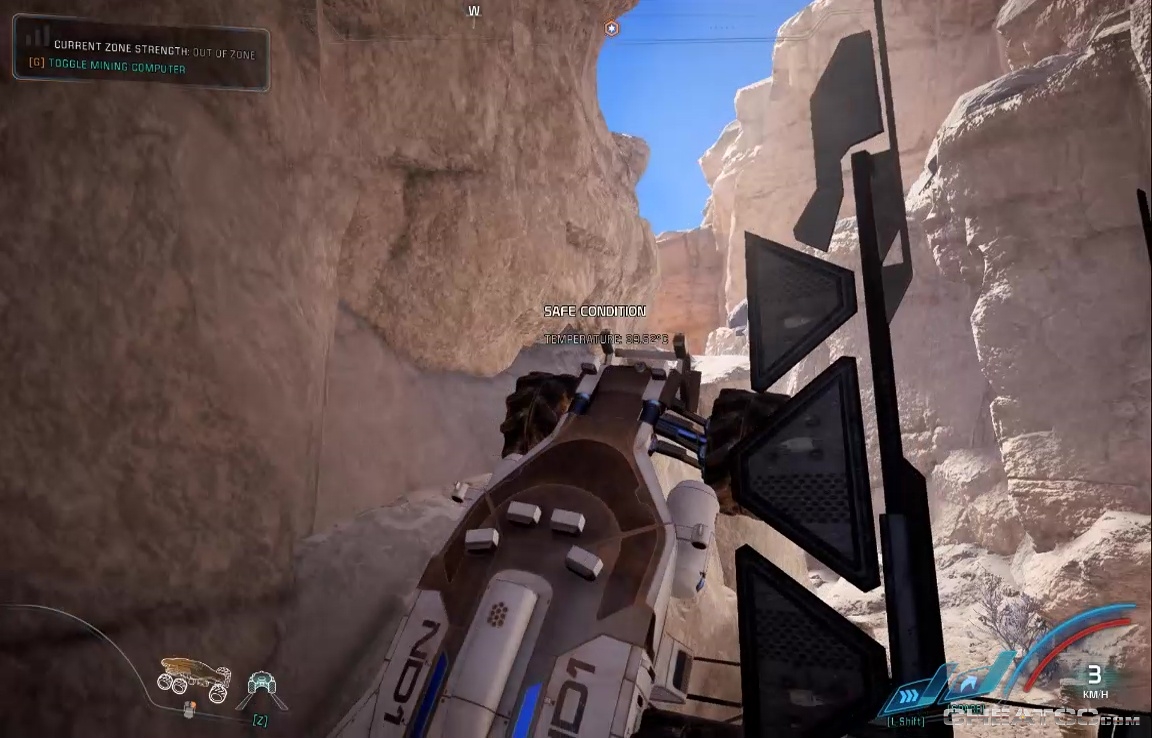
This quest is unskippable if you plan to put a colony on Elaaden, so let's get to it. You can approach the Flophouse from any angle. One of the easiest is to drive nearly due west from the nearest Forward station, along a rocky gorge until you reach a security door. You can find the code for this door during the quest to recover the Remnant engine core, otherwise you can just muscle your way over the wall (take a bit of a running start and aim for the left side of the door).
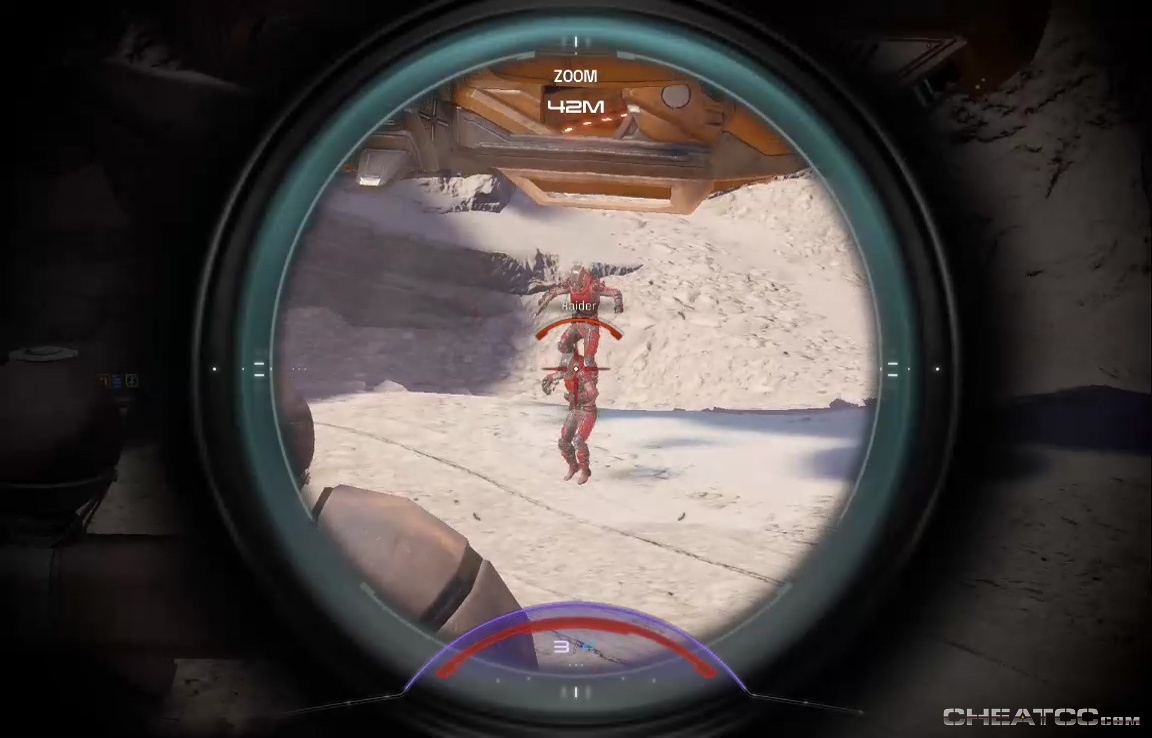
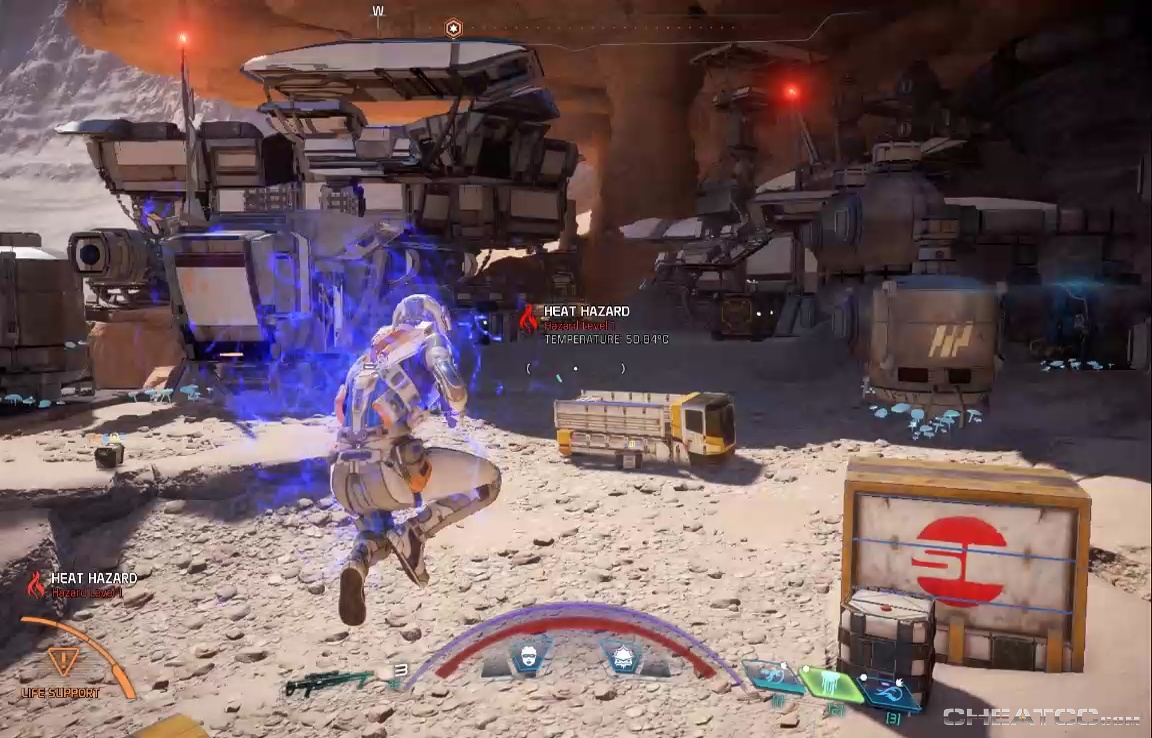
Roll in and you'll be attacked on sight. This area isn't as heavily populated as others, and the handy cover makes it hard for the scavengers to seriously challenge you, but do watch out for Sharpshhoters in the towers.
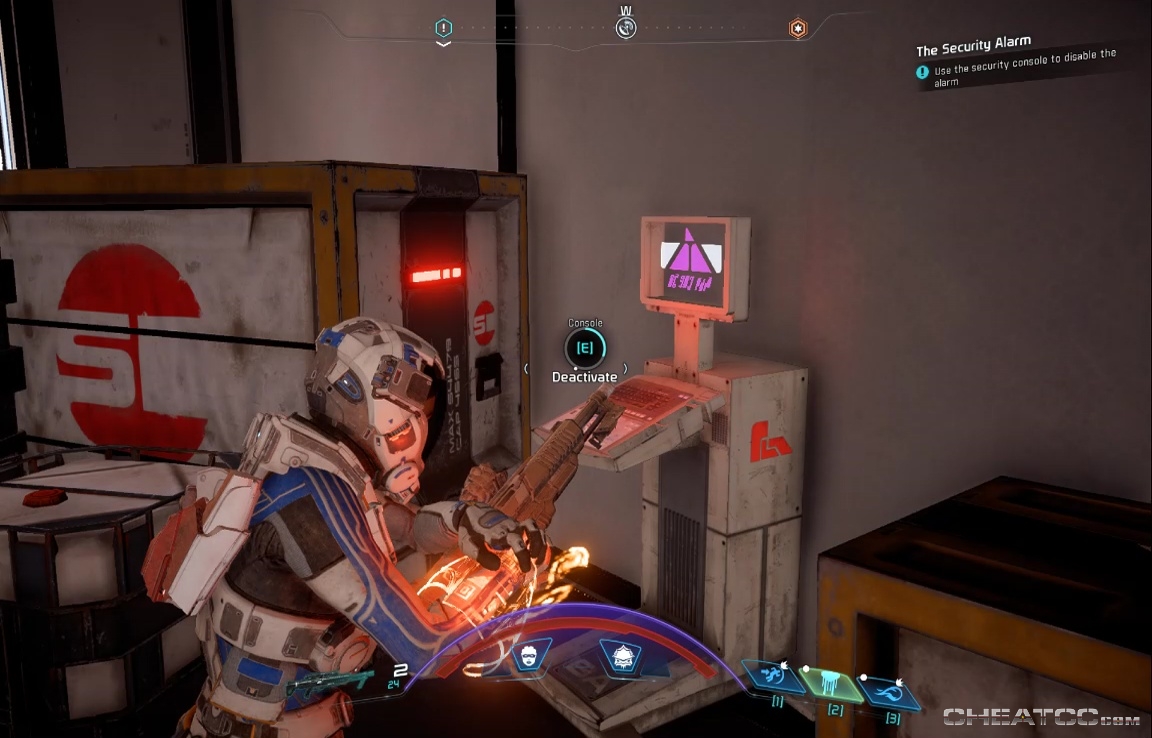
You'll also want to disable the security alarm when the objective populates. This alarm is inside the little pod building here, and uses a console that looks like one of Peebee's research scanners on Eos.
The datapad here starts a different quest (Crisis Response), so leave it be for now, and return outside where a shuttle of reinforcements is landing. Try to dispatch as many as you can while they're landing (ie before they scatter behind all that cover).
When they're clear, head through the arch north to the rest of the complex, but do pause to loot the container from the shack to your right (east).
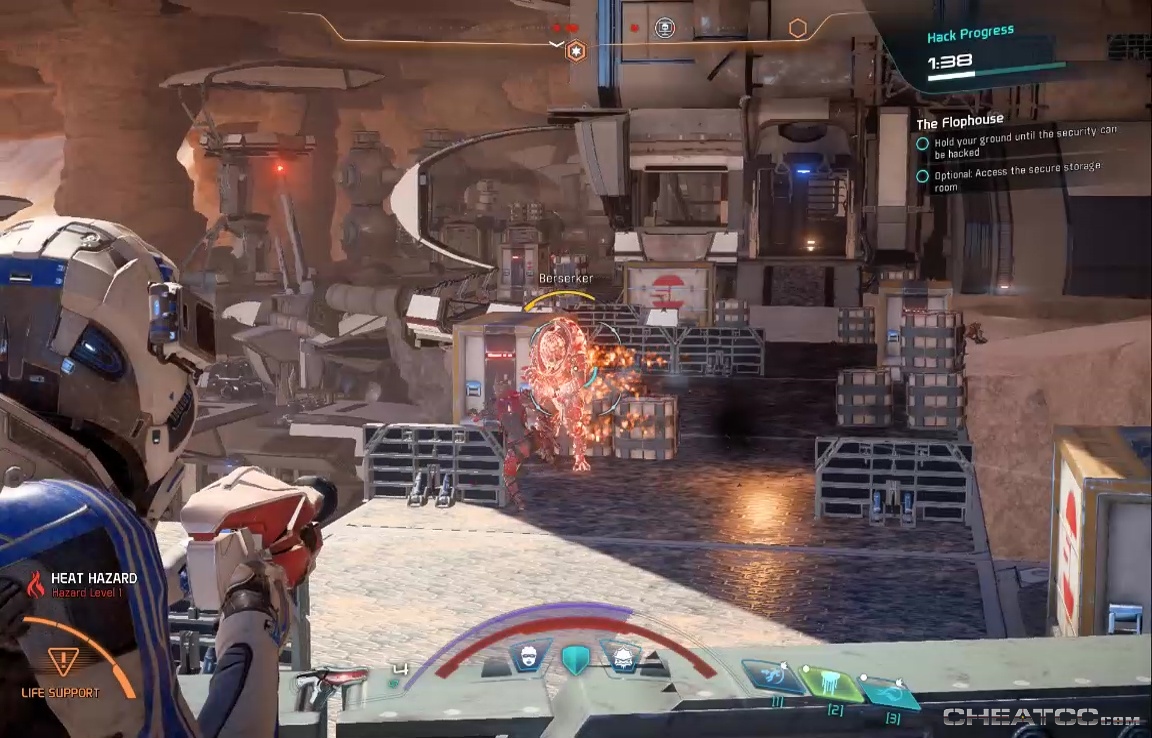
The next section has every Raider enemy from adhi to Hydra. Take them out as your please, but if do find yourself pressed, remember you can always duck into a building, or fall back to the previous, cleared section.
You may also find it easier to save the Hydra for last- taking advantage of its slow footspeed to wreak havoc wherever it isn't. When you get close to the Command Center (the large, double-decker building at the western end of the complex), security barricades will slam down. Possibly because three guys just showed up and started massacring everyone in sight.
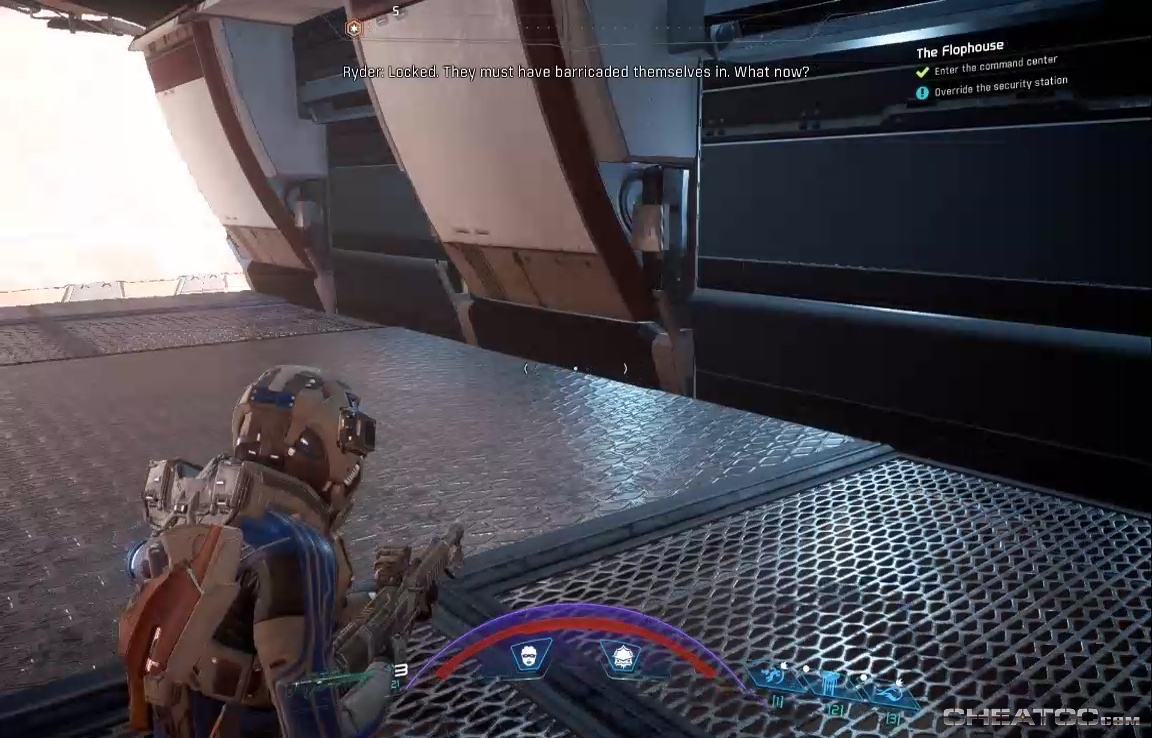
The security station is all the way on the east end of camp, but before you go, be sure to investigate the other side buildings here. In particular, check the second level of the larger building to the north.

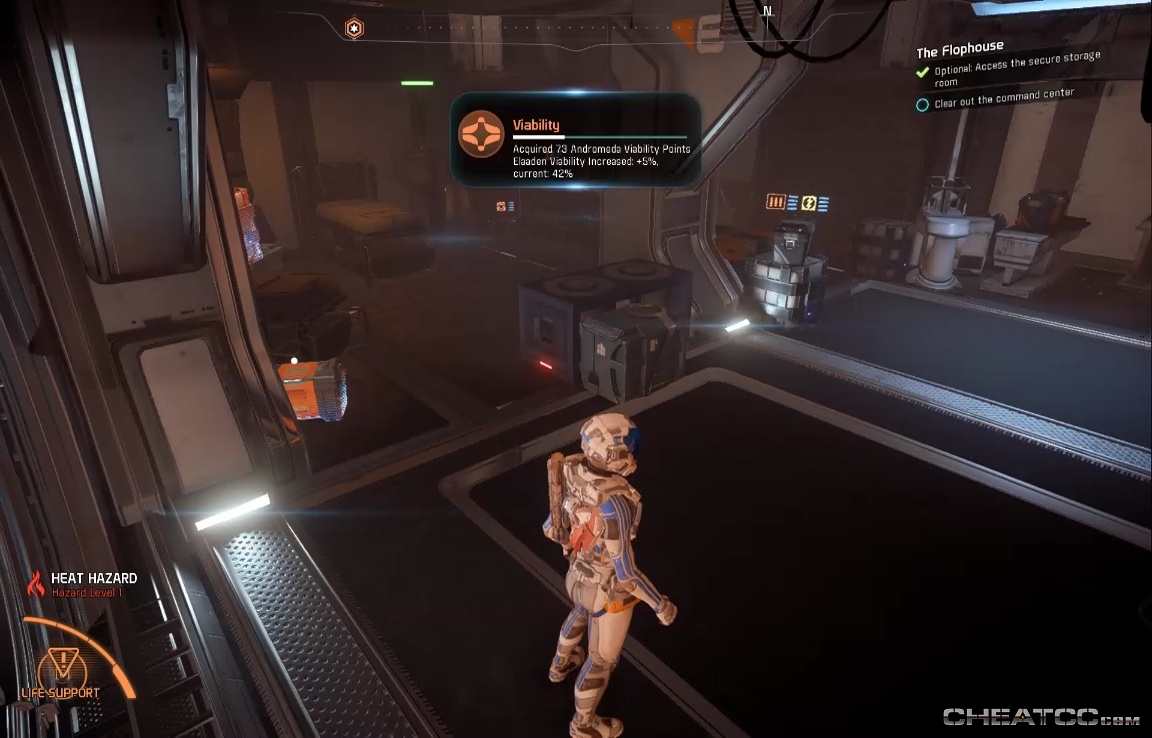
This will activate a treasure-hunting subquest. Like the Kett base in Removing The Heart, the Flophouse has a secure storage room unlocked by three security terminals. These are marked as little skull monitors on your radar. Two are on you current level, one is on the little plateau above, along with the storage room itself.
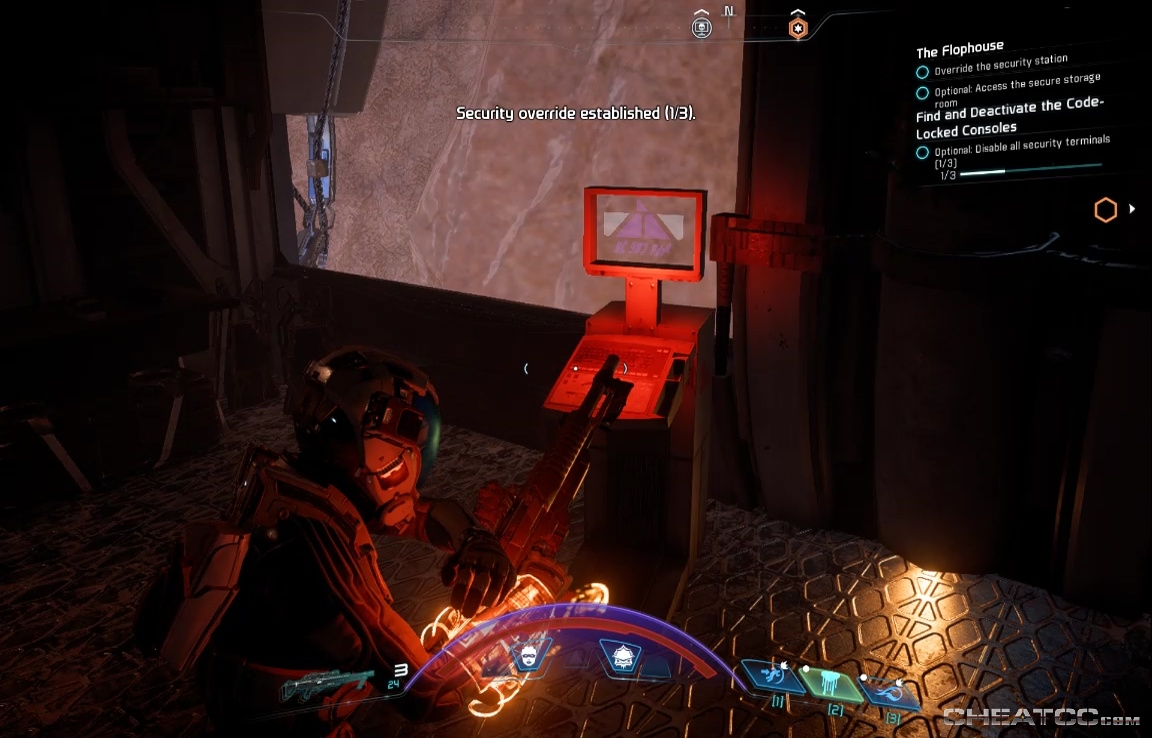
Snag these when convenient (but before entering the unlocked Command Center later). You may, during your searching and fighting, trigger another alarm. The console for this is in the same building as the console that releases the security barricade, out at the east end.
Inside, use the small console in the west corner to deactivate the alarm, and use the central console to start a hack-the-point sequence to unlock the security doors. This building is very defensible, and enemies have to run a gauntlet to even get close. Do prioritize adhi and Berserkers as targets- they're the most likely to get close enough for trouble, though even then you can always retreat inside the building for more secluded fisticuffs.
If you haven't yet, deactivate the storage consoles and enter the storage room on that upper platform. Just entering the room gives you a substantial AVP reward, and of course access to scannables and loot.
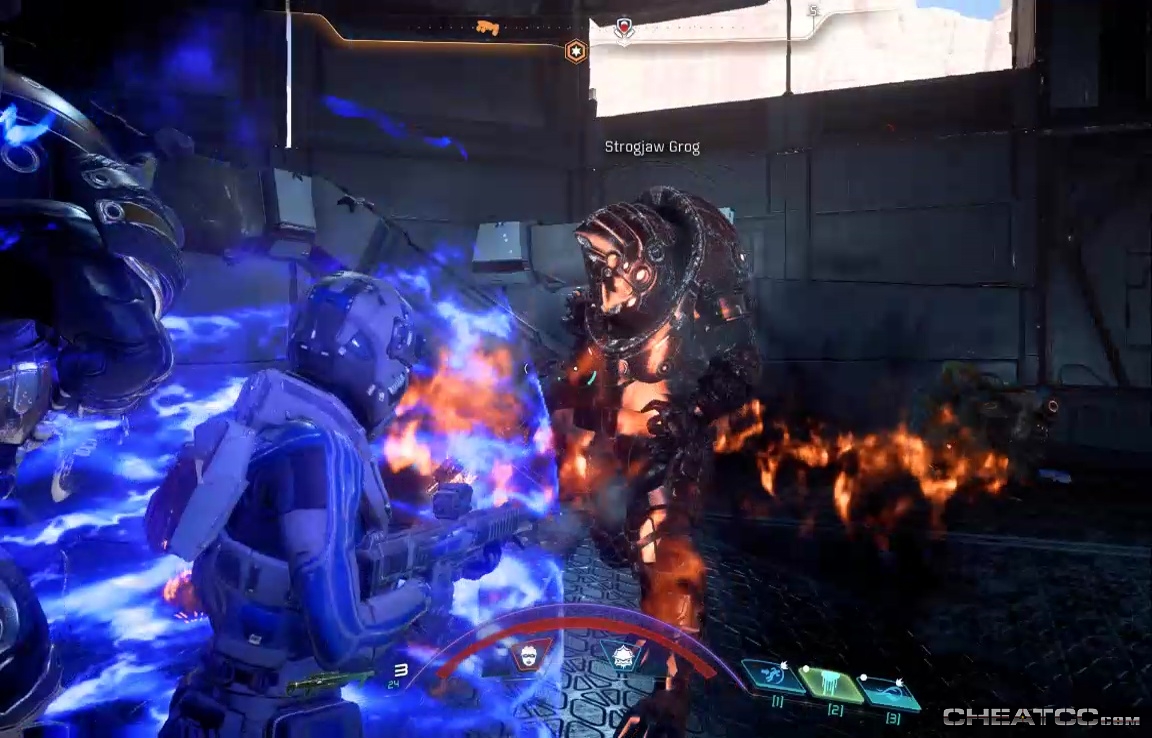
Head to the Command Center, which is a big ol' turkey shoot. There's a bunch of enemies on the first floor, and a big bunch of enemies in the final room on the second, including the krogan boss of the place. The easiest way to beat this room to not enter it. Hang by a doorway and take enemies out at a distance while your teammates go crazy inside.
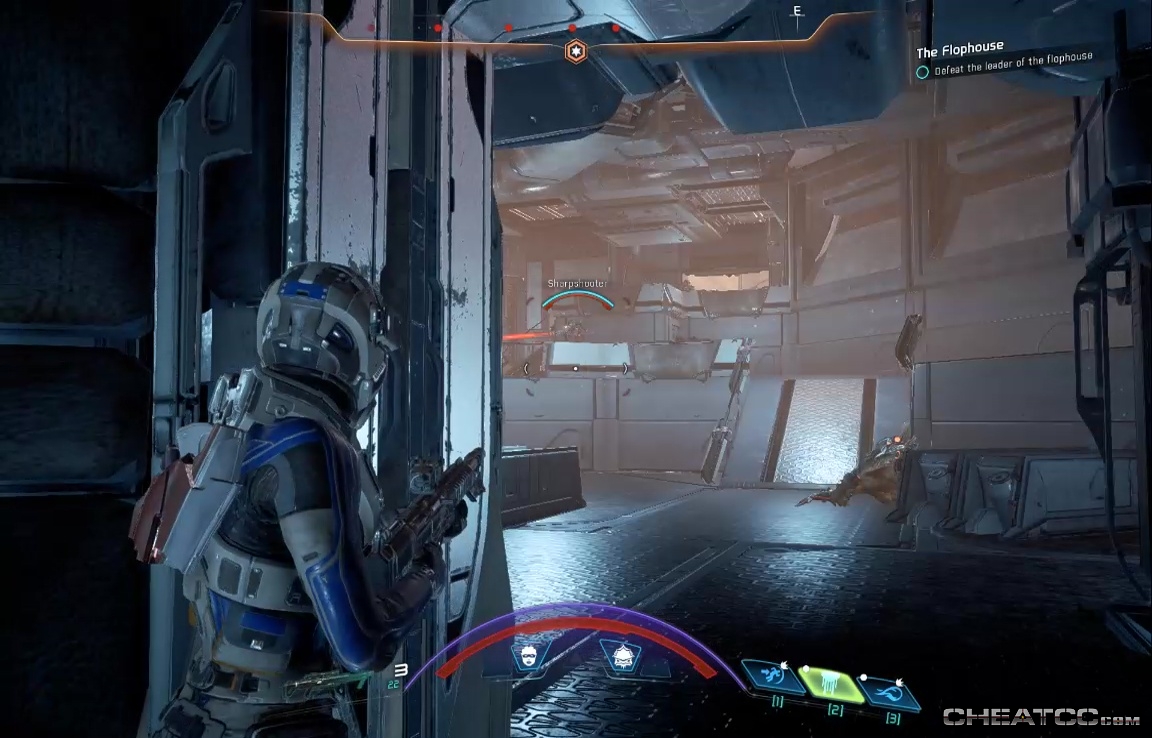
Kill Strogjaw Grog, the hotel proprietor, to end the fight, but not the mission.
No, the mission's not over until you've made sure all the remaining scavengers are dead with a capital D, then used the console upstairs to seal the deal.
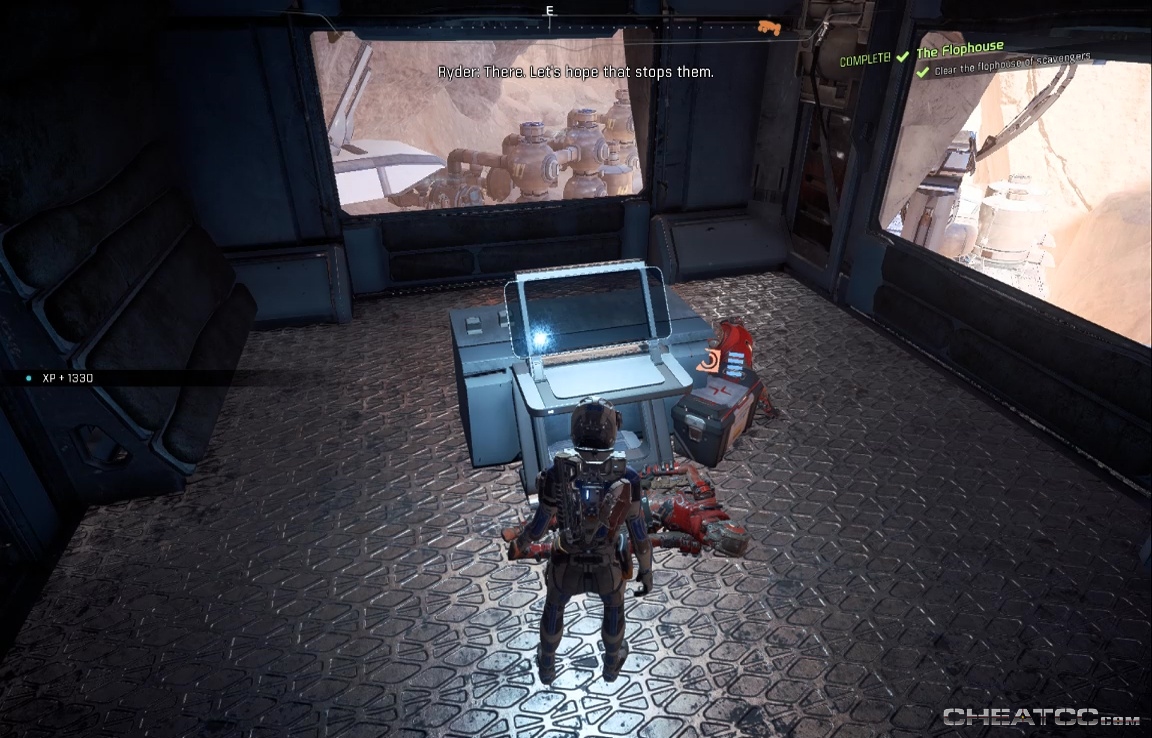
This nets you 300 AVP, a 10% local Viability boost, and clears the way for your own settlement.