Defeating the Kett
Locations: Eos
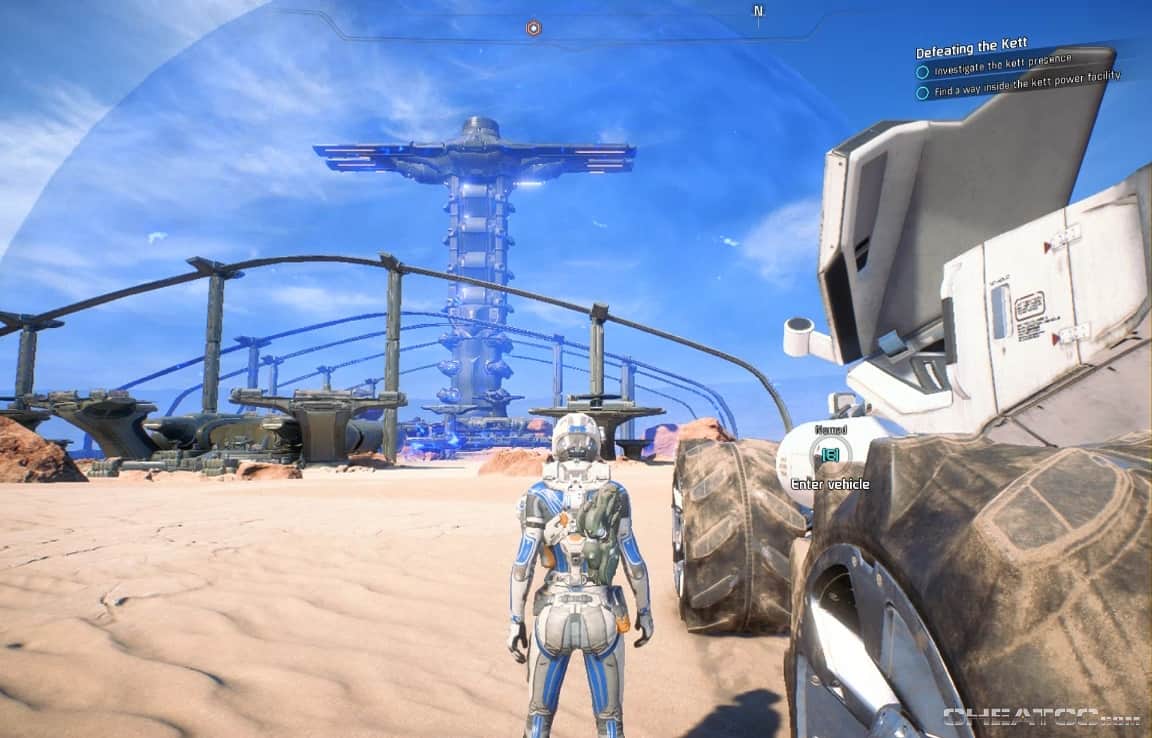
When your bridge crew informs you that the radiation on Eos has cleared, they also mention an increased kett presence. When you drive up to Sheartop, you'll see what they were talking about.

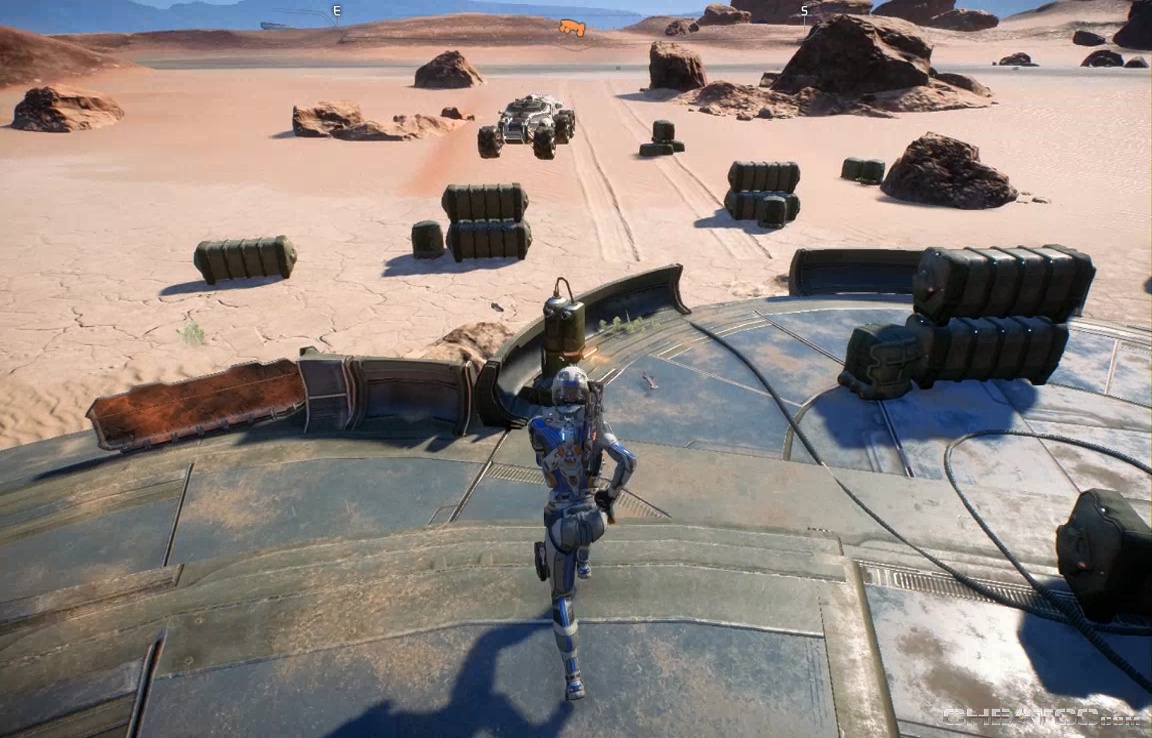
Start its destruction by clearing out the forward facility here. It's mainly Chosen and Anointed, but there are also two turrrets to contend with. You can avoid their fire by maintaining cover or by firing from the roof of the building.
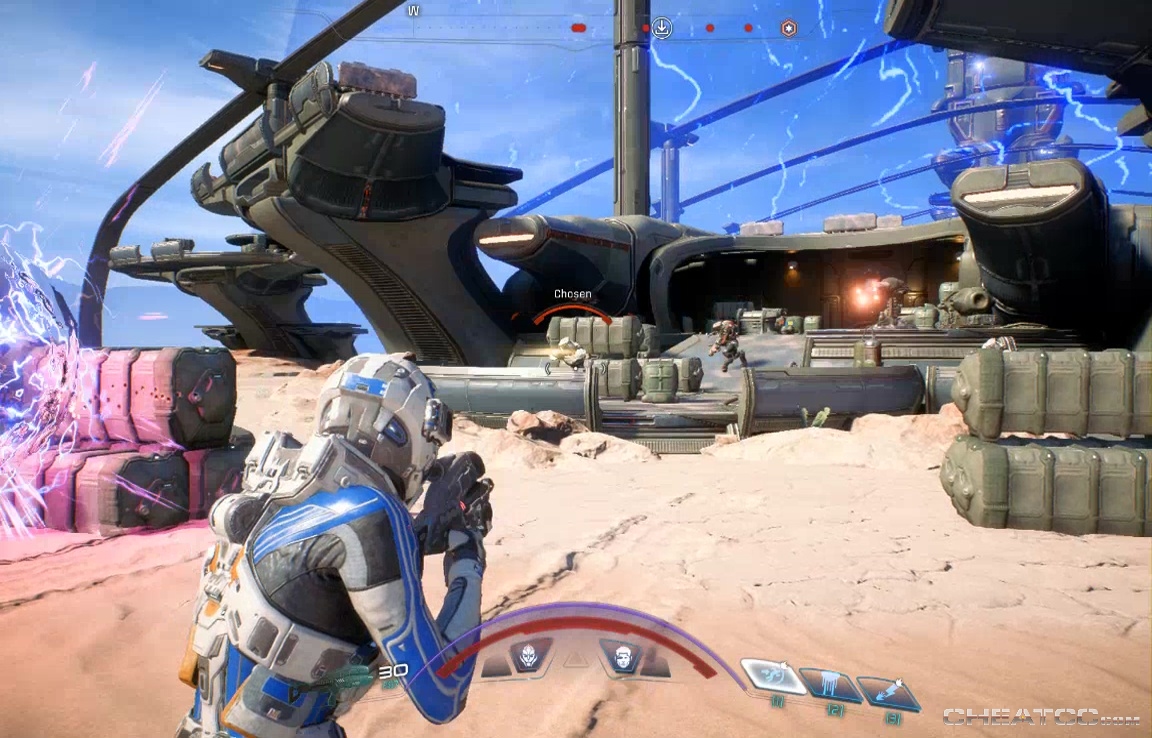
Make sure the turrets are dead before initiating the next step- activating the Locked Console at your objective marker. This will unlock a hack-the-point sequence similar to multiplayer. Stay inside the glowing circle while kett reinforcements drop in.
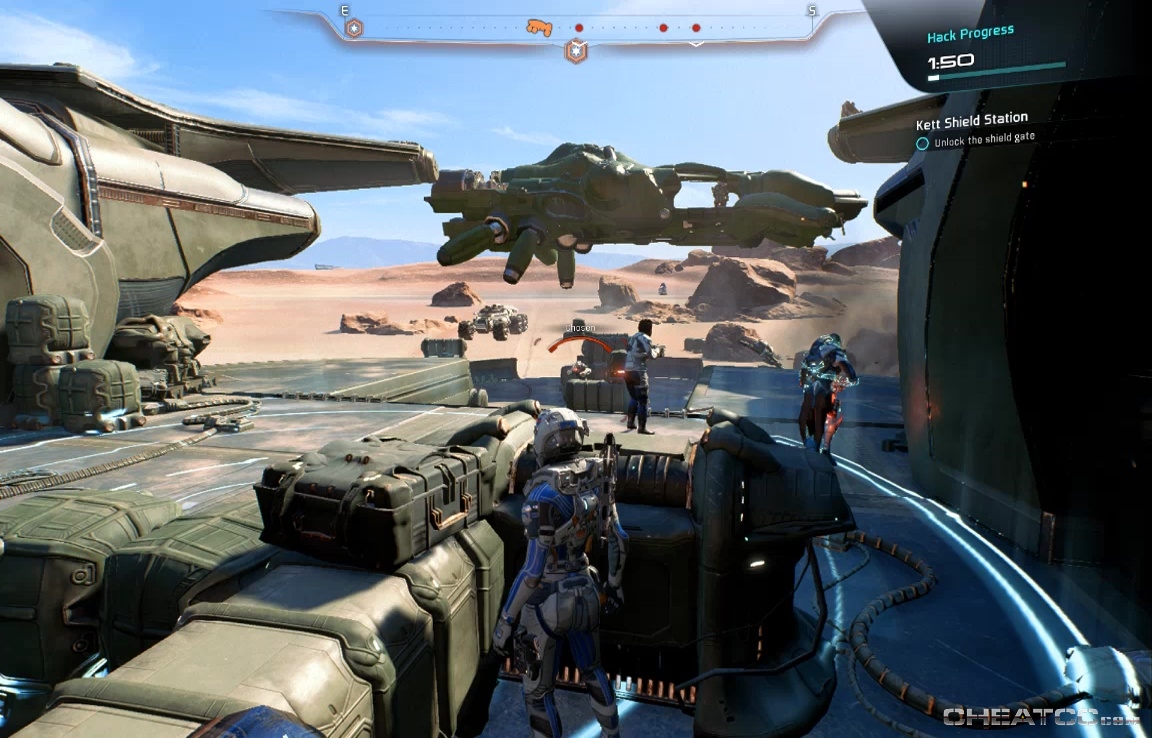
Once the hack is complete, enter the main facility (there is a container in the little antechamber).
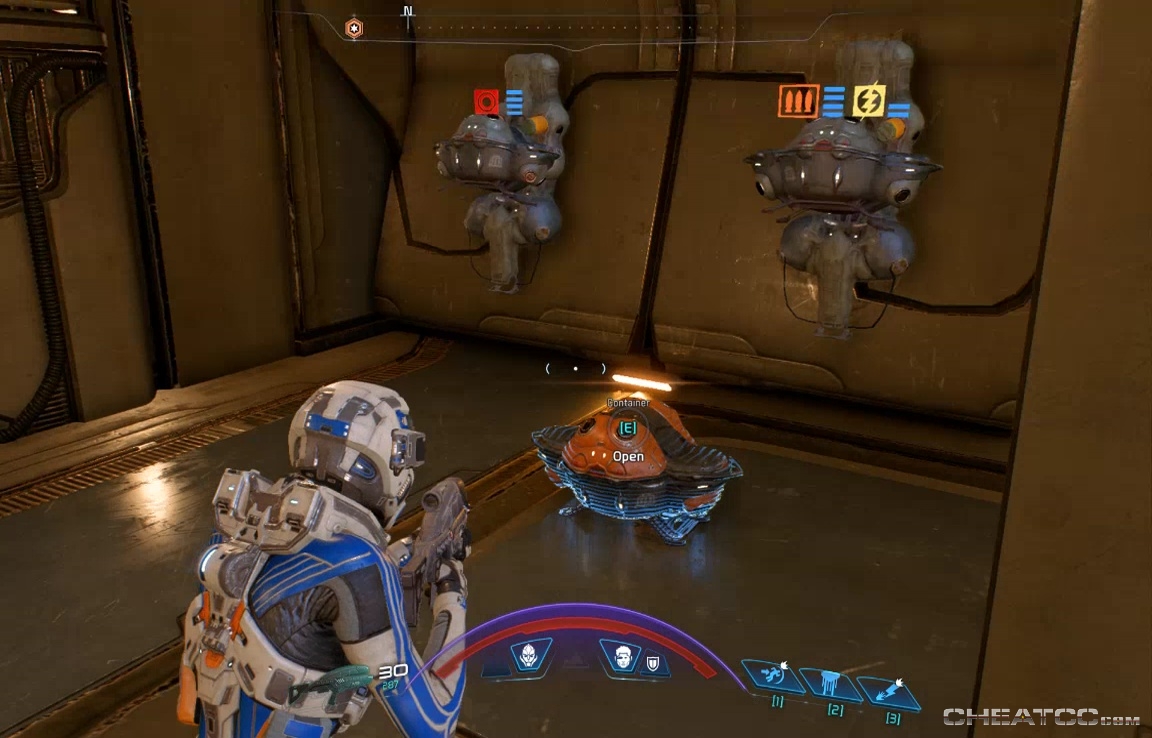
This next part of the mission is mess. You're going to be hit with several different objectives that all require you hack kett consoles, but the game sometimes has trouble telling you which consoles go to which objective. This is complicated by the fact that some consoles actually do go to more than one objective, but can only be used once, and sometimes consoles you've already used still show up as active objectives. The best strategy is to just keep on the move, methodically working your way through the structure killing kett and activating the consoles in turn, trying not to doubleback or retrace your steps too often. Anyway, here we go.
Your first objective is just one console, a shield array station dead ahead as you enter this part of the facility.
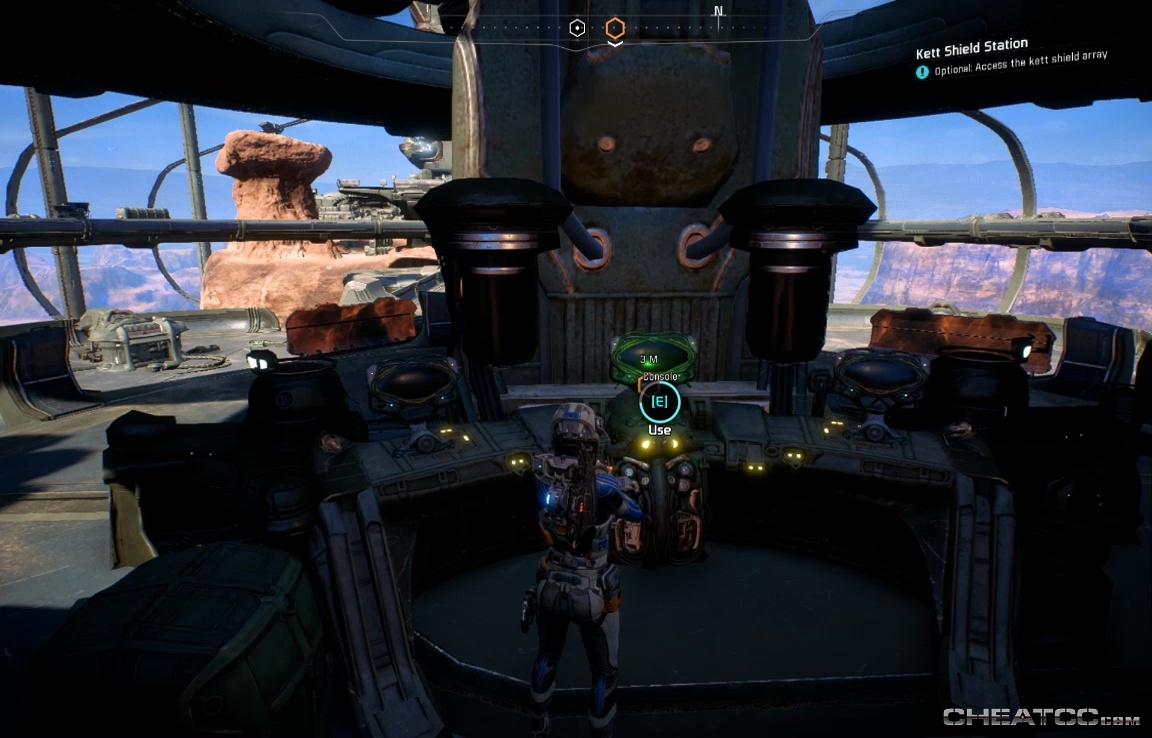
Next, two consoles are highlighted to overload the shields. These consoles are by support pillars on the high walkways over the chasm here (be careful with your evades and asari swordsmanship- it's a long way down).
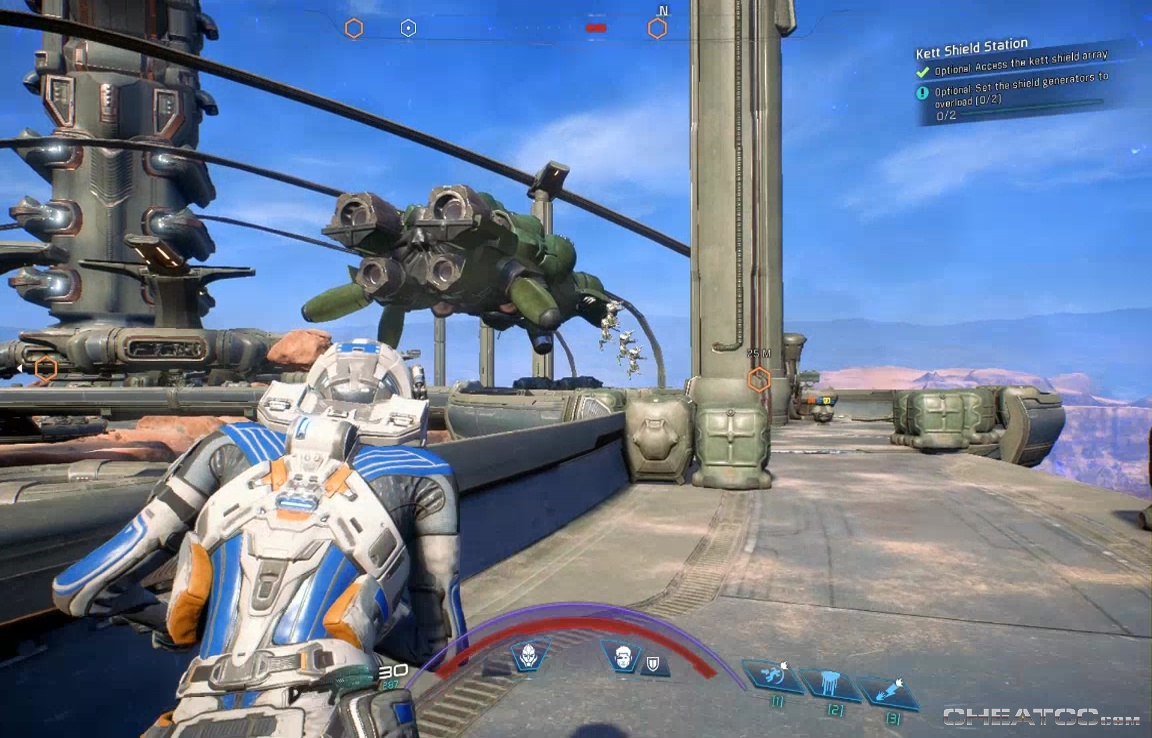
Take these out without advancing too far into the facility, otherwise your objective markers will get scrambled. If you do wander ahead, and find out your objective has changed to disabling the security alarm, you'll have to go back to the very first shield console again to restart this sequence. When you've hacked both walkway shield terminals, go to a console on the round platform above the very first shield console to drop the energy shield. The Invictor will yell at you a bit.
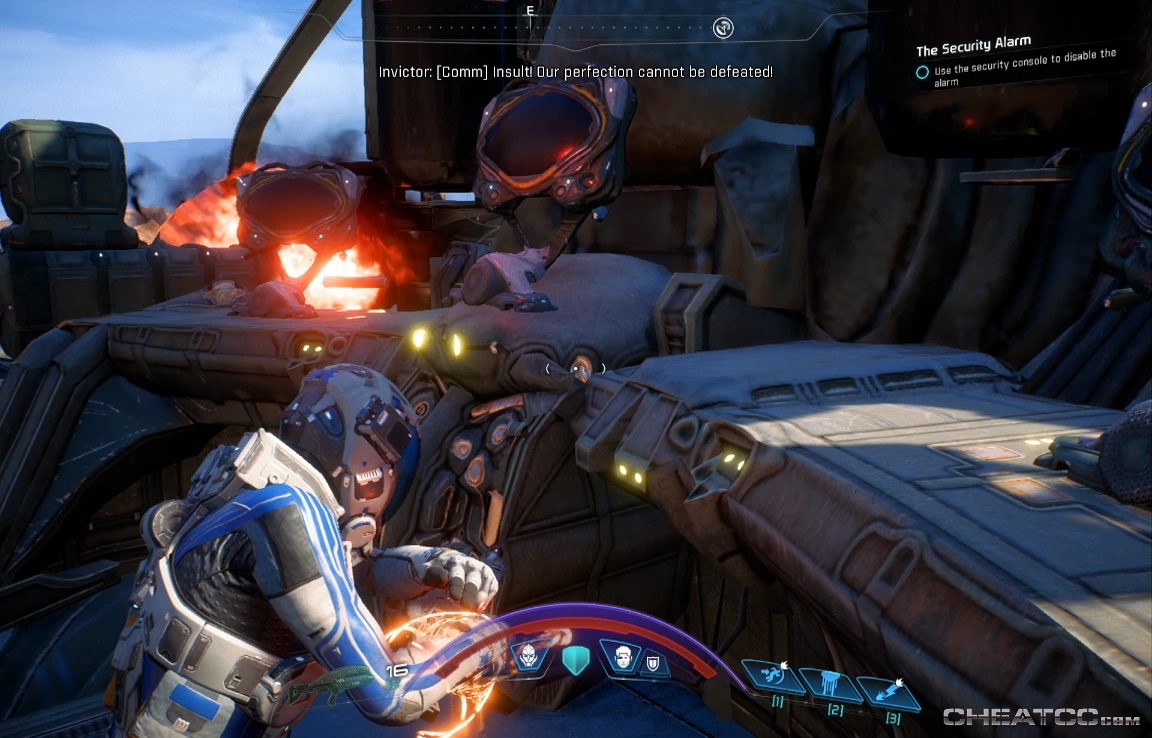
Now you can forge ahead (northwest) into the facility. As you go, you should naturally get a The Security Alarm objective. If it highlights the shield consoles you've already used, ignore them. Instead keep forging ahead until you get a message that the console you need is locked out, and three other consoles must be hacked to proceed.
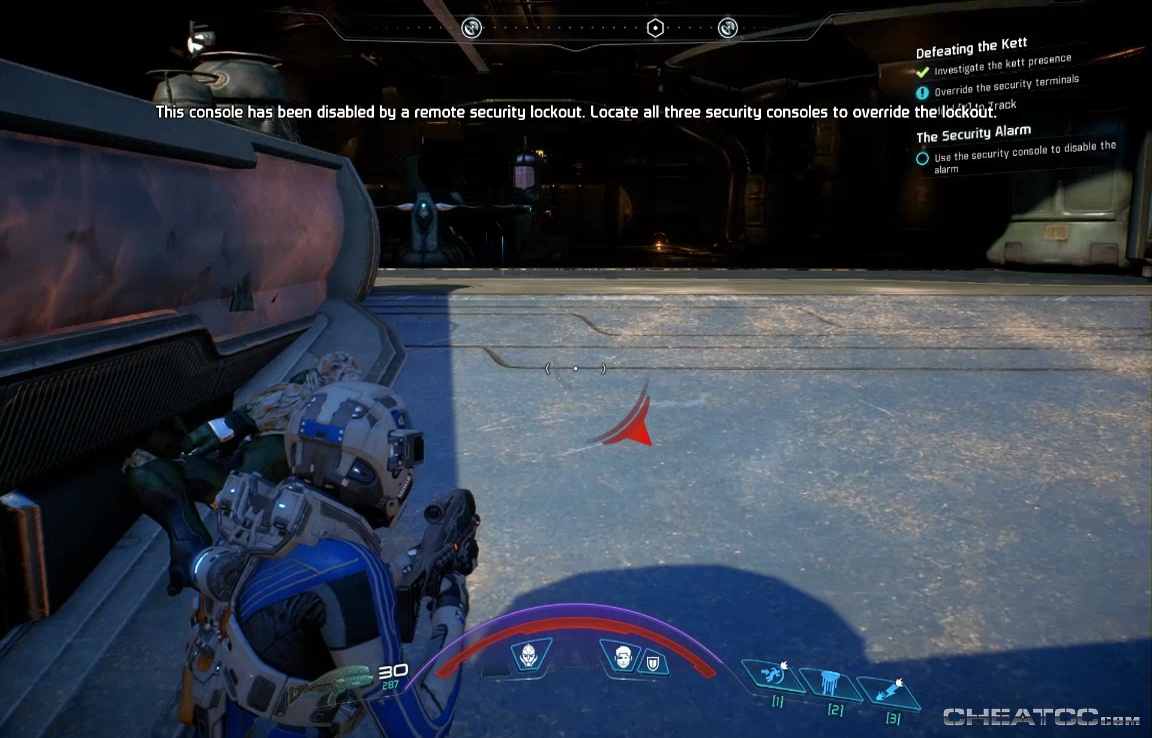
These three are scattered around this section of the base- ignore any markers taking you back toward the entrance.
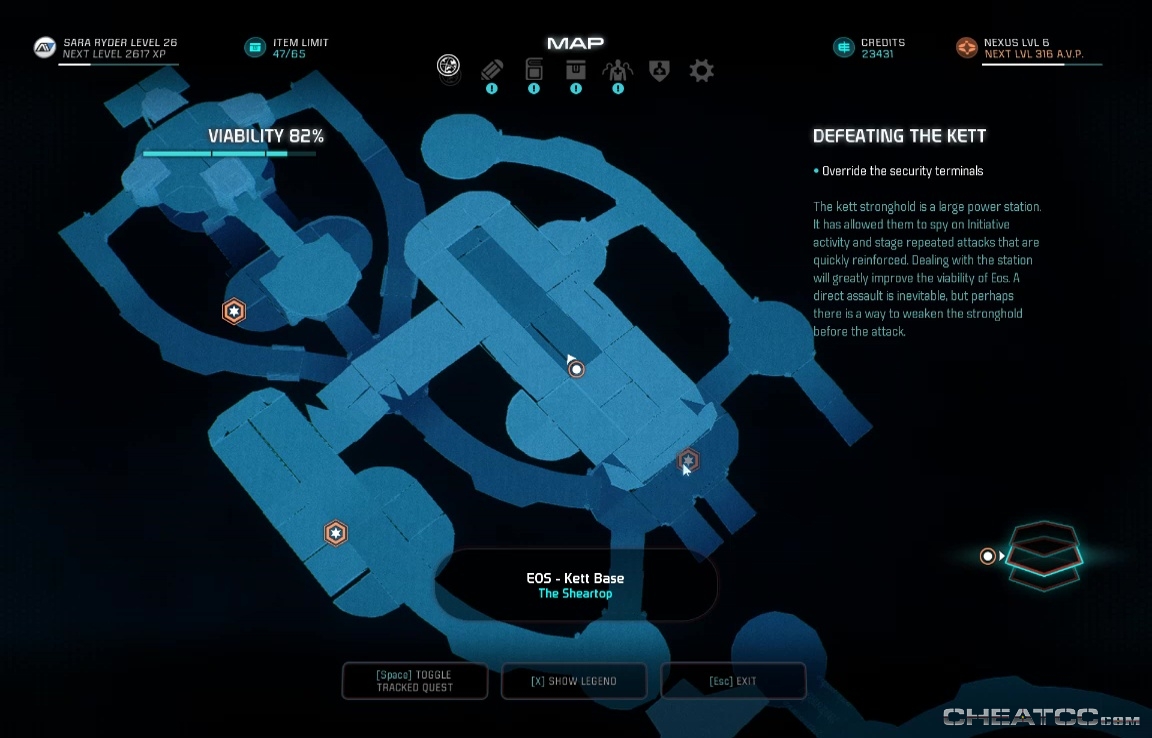
These consoles also stay on your objective radar even after they've been used, so keep track of which ones you've already hit.
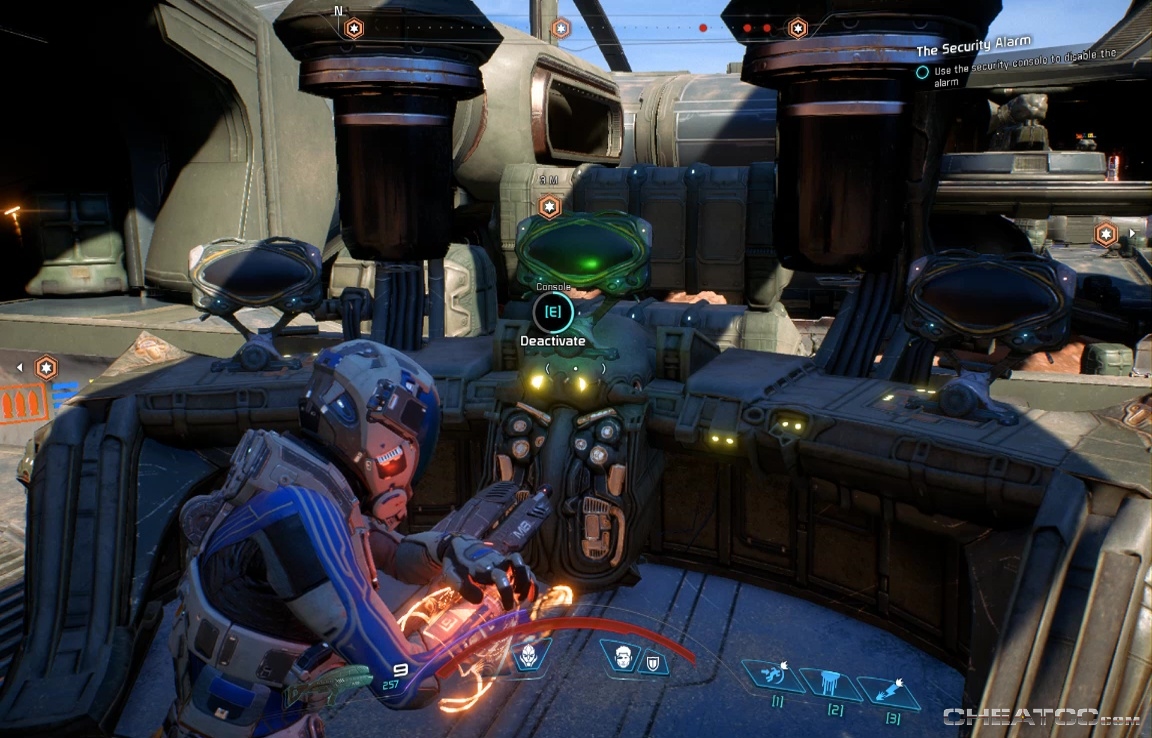
When all three are down, a final console becomes available in the northmost, westmost room. This will open a floor hatch, just like accessing the hangar area on Voeld. Clear out a pretty thick knot of Chosen and Wraiths before heading to and through a large room to the southeast.
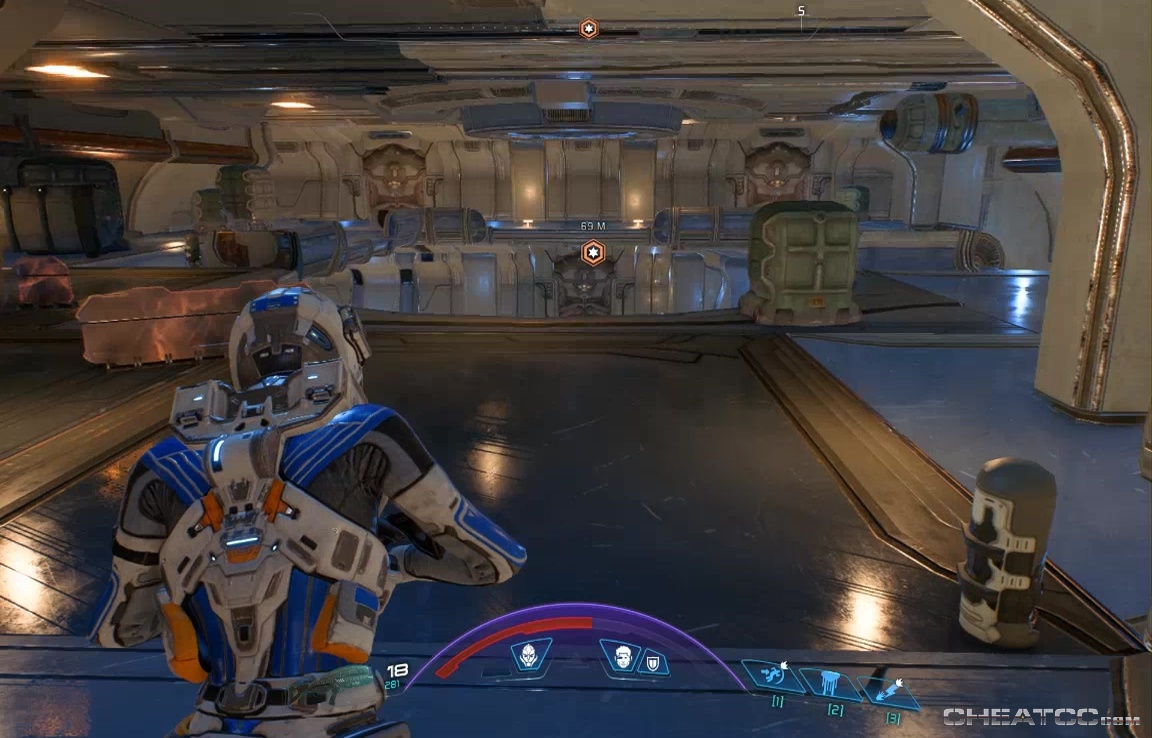
The next room is another Ascendant fight, and standard tactics apply- clear the canon-fodder, take out the Orb from cover, then unleash as much damage as possible during the shield break.
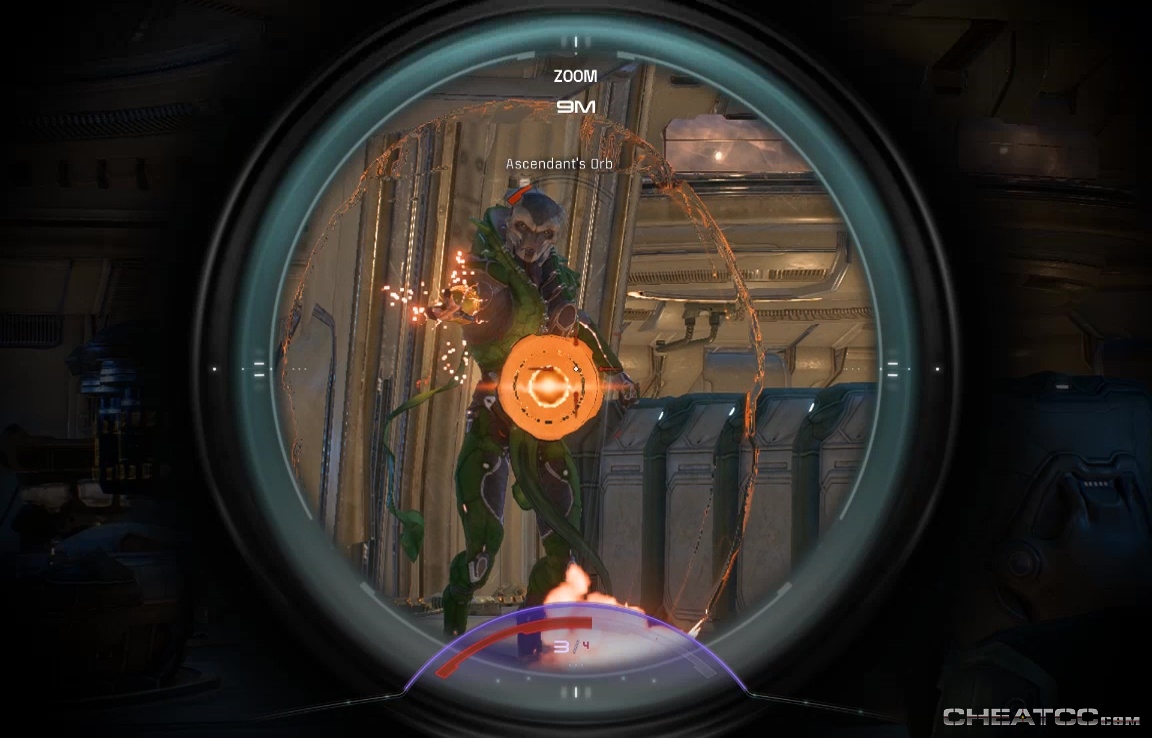
Use the room's many vantage points to deal damage from a distance- just watch out for the Ascendant's sudden teleports, and keep pouring on the hits. When he dies, remember to loot the body, then use the console in the middle of the room to activate the elevator.
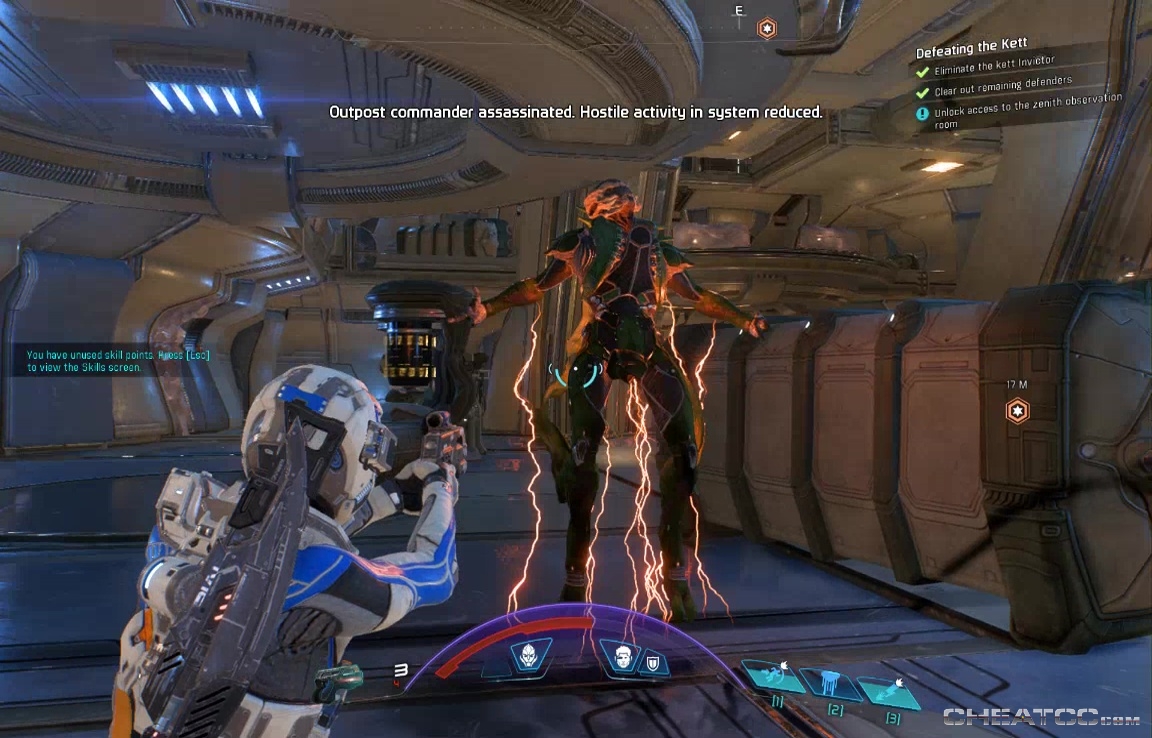
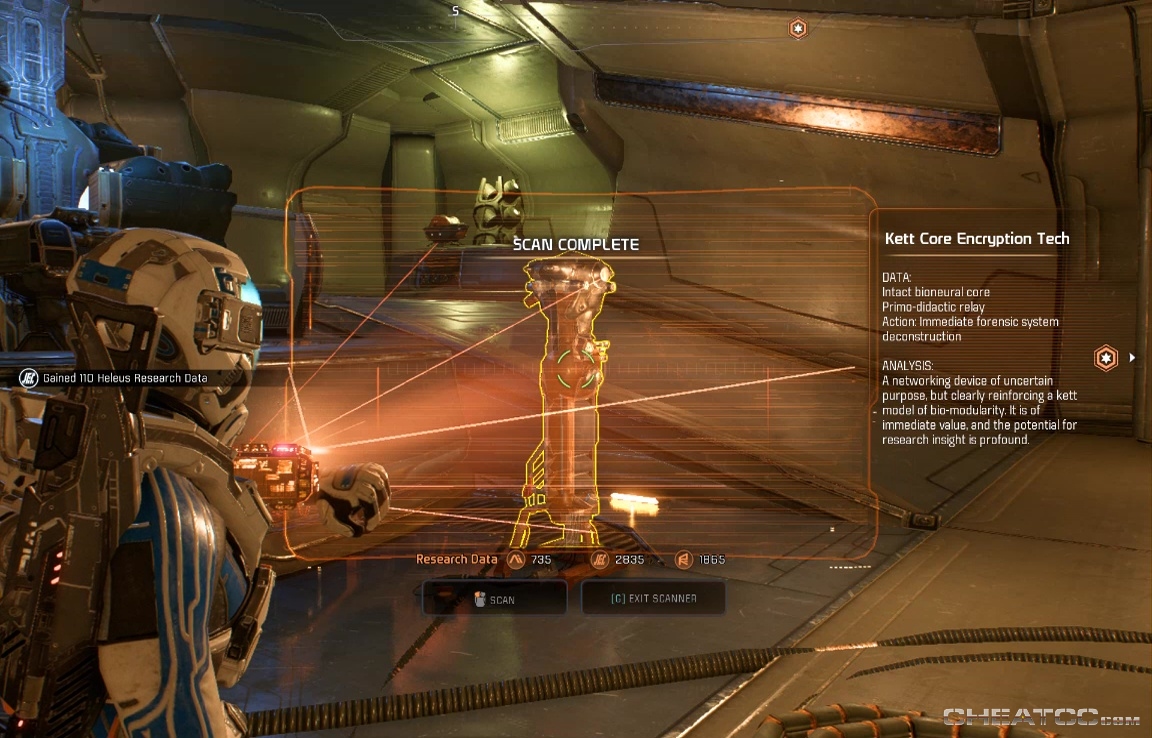
As with other zenith rooms, this has a scannable encryption core, an email terminal, and tons of loot.
When you've finished with such preliminaries, use the central console to take the base offline for a whopping 300 AVP.
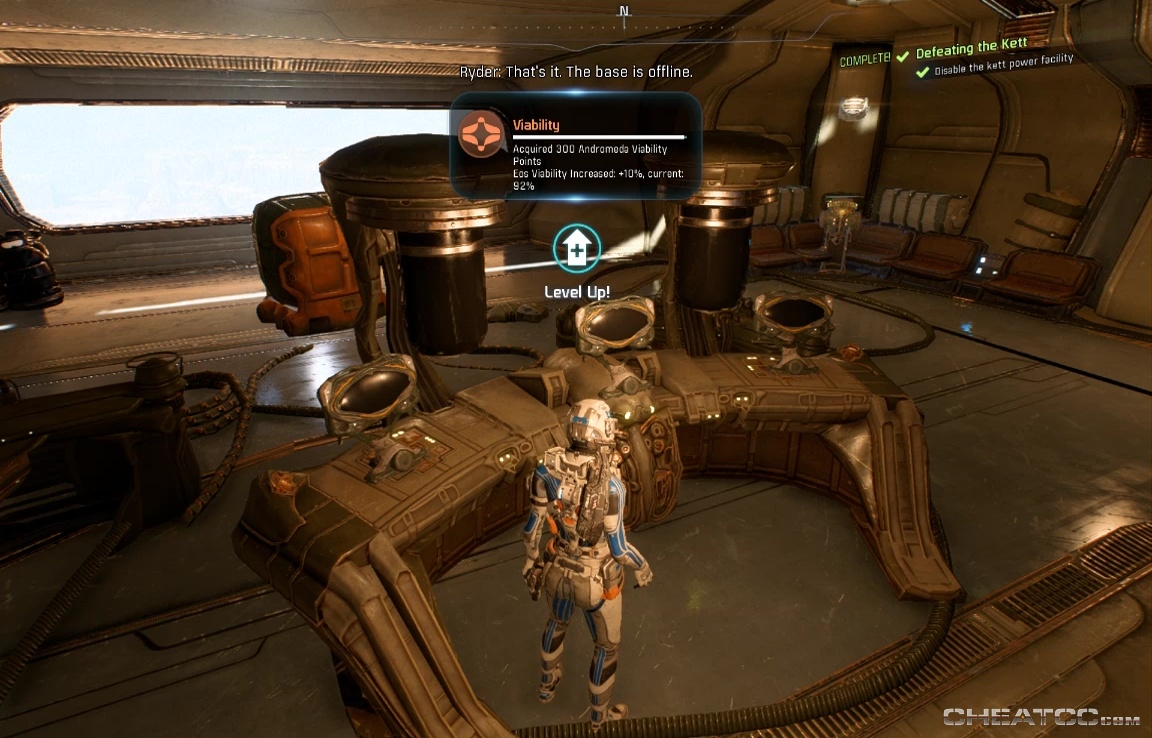
Keep an eye out for any Remains you didn't pick up earlier as you exit the base, and that's a wrap.
