
Making an Impression
Location:Eos (post radiation recovery)
After the radiation clears on Eos, get this mission from Hainly Abrams in Prodromos.
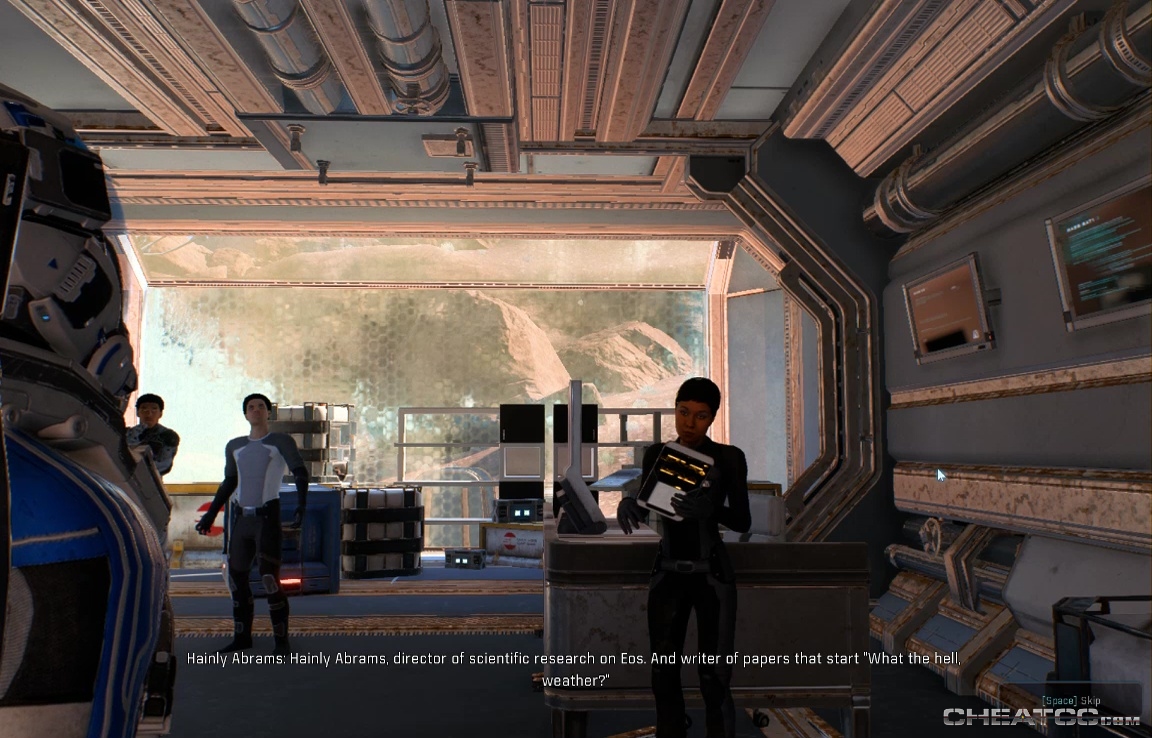
You may need to talk to her more than once for her to bring up the subject seismic disturbances, but it turns out that the answer is to punch the planet really hard with a seismic hammer. So get on that. Your marker will lead you to the desert southwest of Prodromos, where kett activity is particularly high.
Clear out the Remnant ruin here, then place the hammer as indicated.
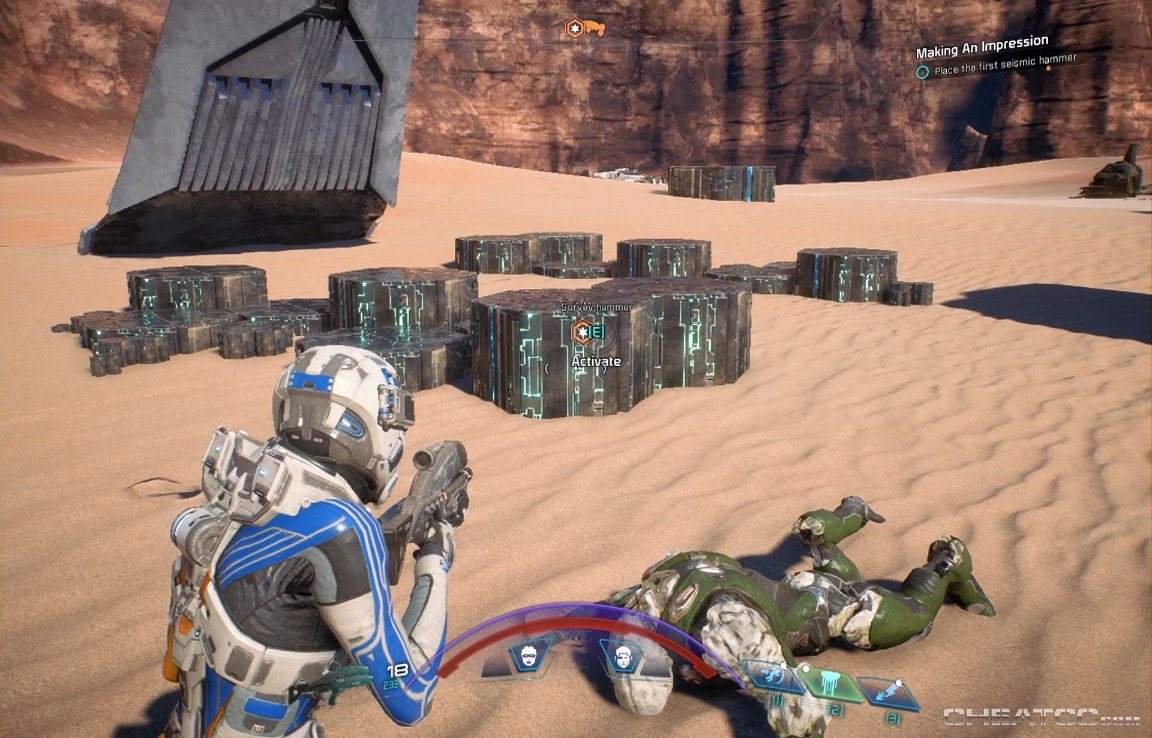
A few assemblers will burst out of the earth- knock them right back down and head to the second hammer site. This one's up on Sawtooth Plateau, and as you get close you'll get an objective to investigate the strangers here (note that the Plateau has a number of loose Platinum clumps, so keep an eye out)

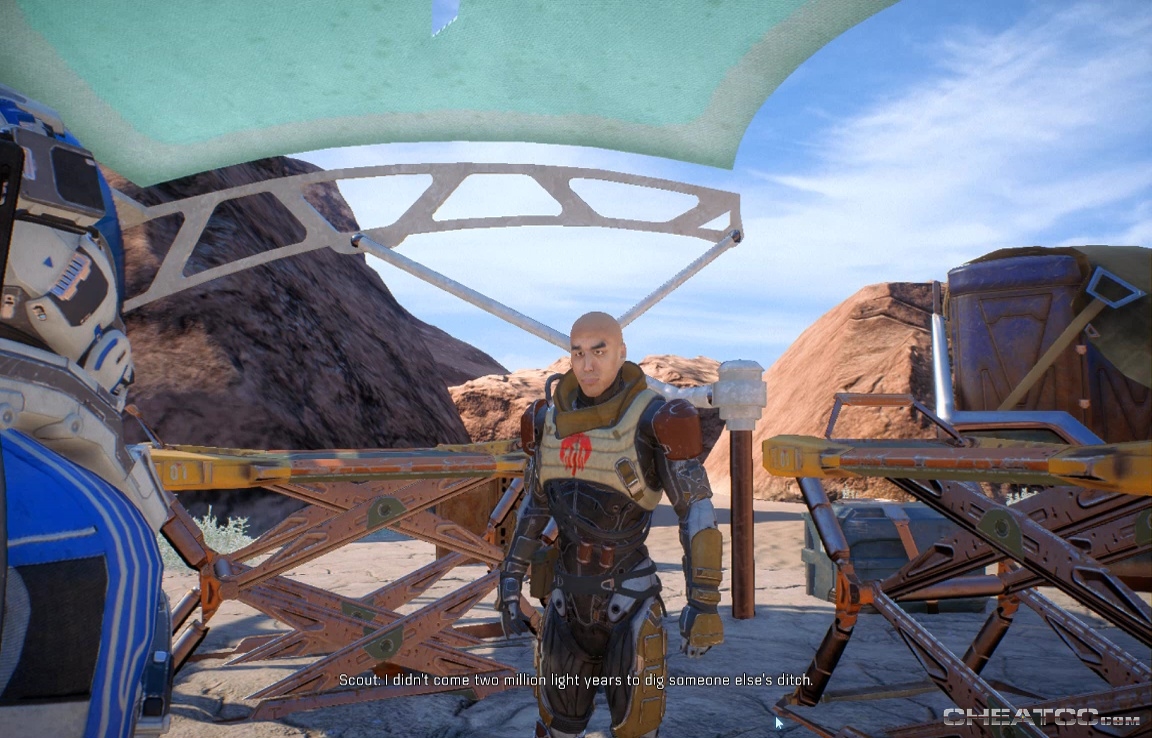
Despite the failures of two Nexus backed colonies, the massive kett presence and the lethal radiation that's only just receding, there is apparently a thriving independent colony just down the road.
No matter what you say to this independent citizen, you'll walk away with the choice of either hammering for water (benefitting Prodromos and hurting the fledgling nation of Advent) or hammering for natural gas (which Advent will trade to Podromos). Awfully generous of them, considering this deposit is a stone's throw from Prodromos and hundreds of kilometers away from Advent, and you'll be doing the work.
This choice doesn't have any long term repercussions, at least in this game, so make your call. Ryder's environmental concerns are pretty nonsensical- a single settlement working a single deposit can scarcely influence the environment- certainly not as much as the alien terraforming megadevice you just unleashed, or even all the machines you keep blowing up. Still, it seems like Advent will either be a problem down the line whether it thrives, and conflicts with Nexus colonies, or fails and you have to rescue everybody. Maybe a little water rationing will persuade them to re-enter the fold. Whatever you decide, go to the appropriate marker, and activate the hammer. More Remnants will pop up, only to be mowed down, though this time there are a few Observers thrown into the mix.

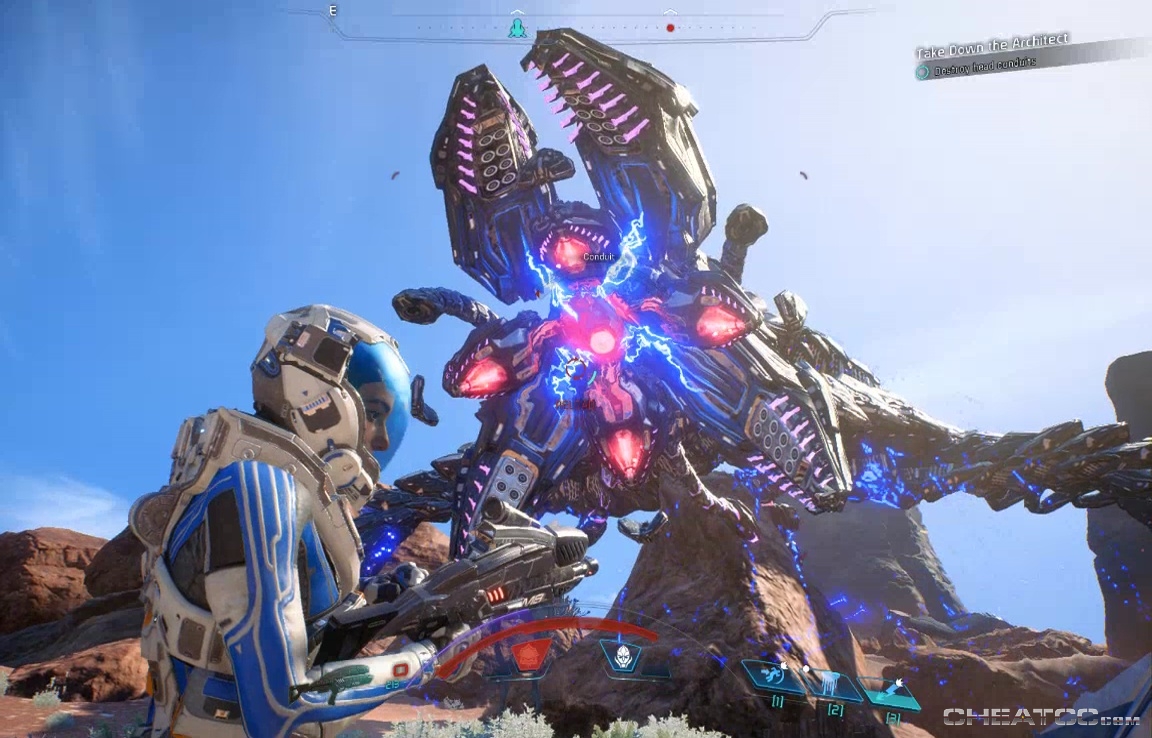
It's at the final site that things get interesting. There's a forward station nearby, and you'll want to gear up for a tough mid-to-long range fight, with an emphasis on dealing massive damage to a single target. This is because placing the final hammer summons up a thing called an Architect.
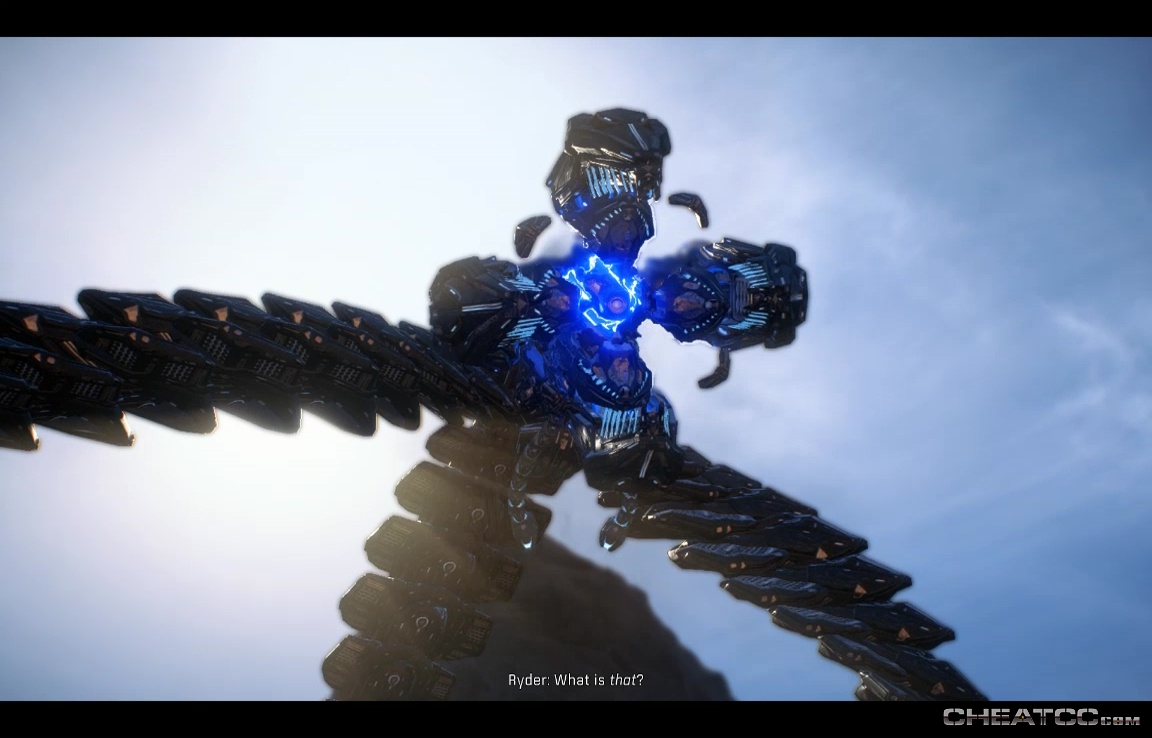
I don't why they call it that- presumably 'giant three-armed robot deathsquid' was already taken. In anycase, Architect fight are pretty much the biggest, bossiest battles in Andromeda, so strap yourself in.
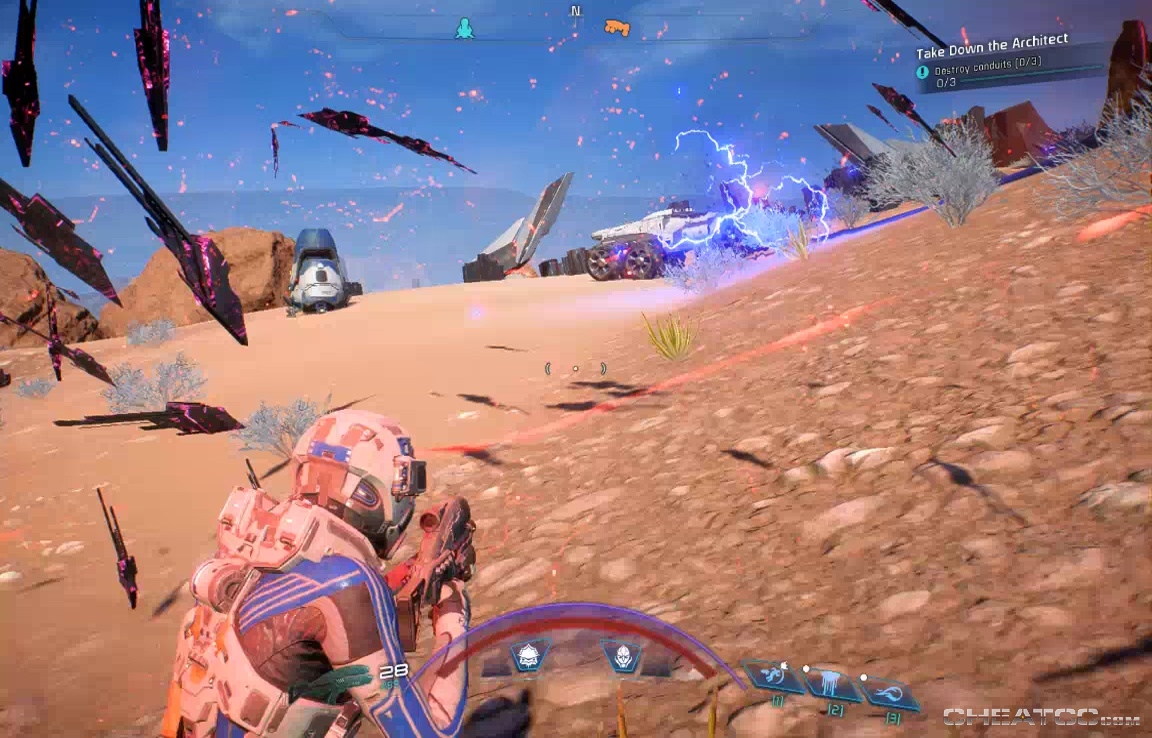
The Architect itself has three main attacks. The first is a rapid fire blaster that chews through shields almost instantaneously. You can outrun it for about half a second- use that time to reach cover.

The second is a massively powerful area attack- sphere shaped Reaving field. It takes time to charge, so if the air around you is suddenly glowing red while black flecks circle and lightning crackles, get the hell out of that area. Even a single hit of that is enough to flash your shields and probably take a good bite out of your health.
The last attack is almost quaint by comparison, a volley of glowing pink sticky grenades. Easy to spot and easy to evade.
Combat itself proceeds in predictable phases. In the first, the Architect summons lesser Remnant to help it. These include Nullifiers, so fire damage is handy. Biotics and melee are too, because it's best to save your bullets for the Architect itself.

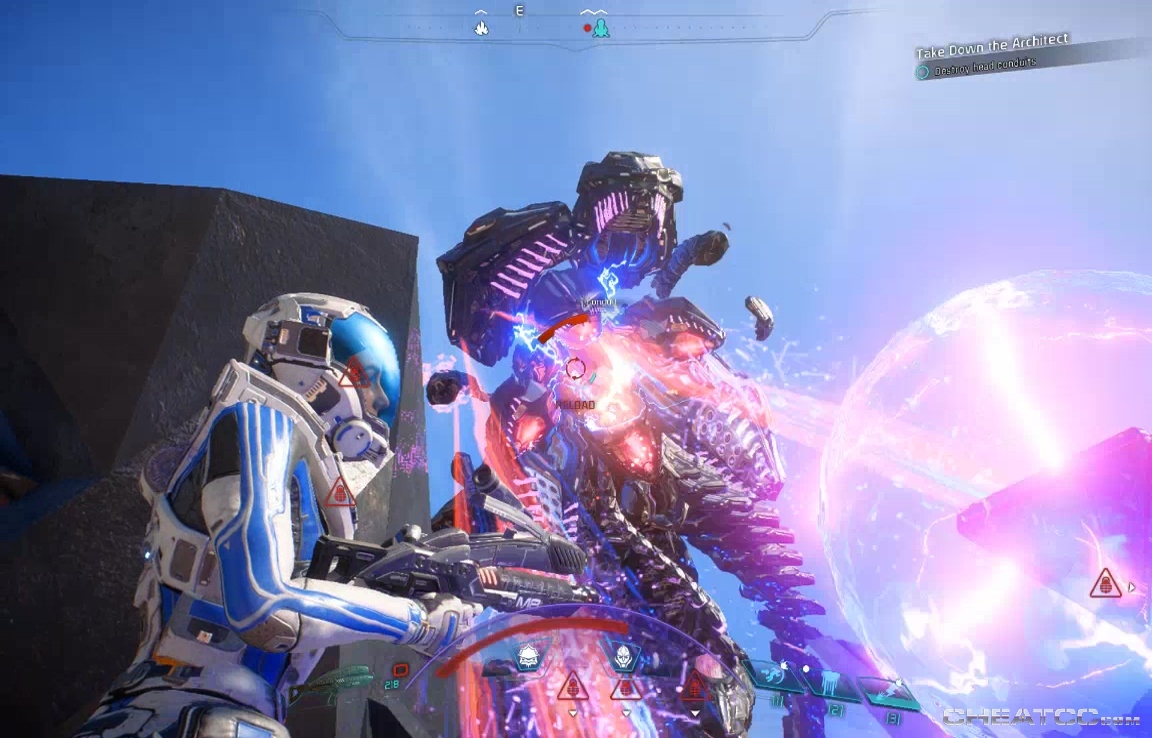
When the lesser Remnant are down, the Architect's legs become vulnerable. Pour on as much damage as you can while dodging incoming attacks.
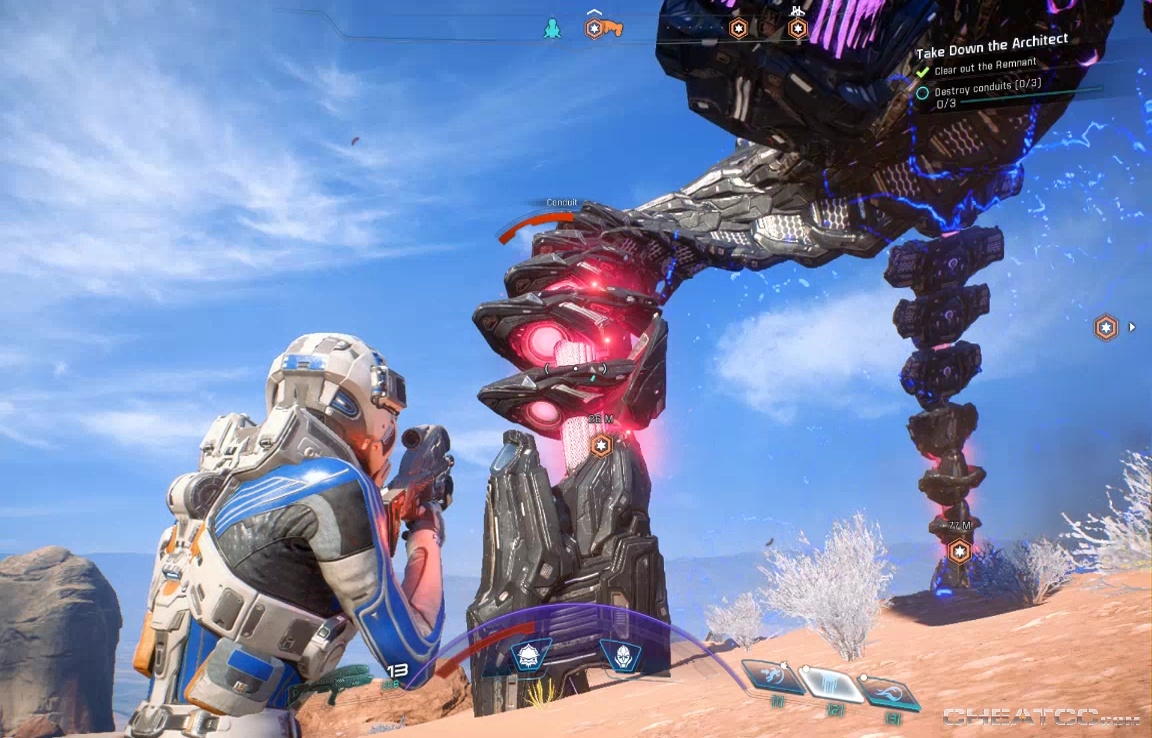
Do enough damage and the head will swing around toward you. Again, you'll want to pour on as much damage as you can. Cobra RPGs can be handy here, because that metal noggin is just stuffed with hitpoints.
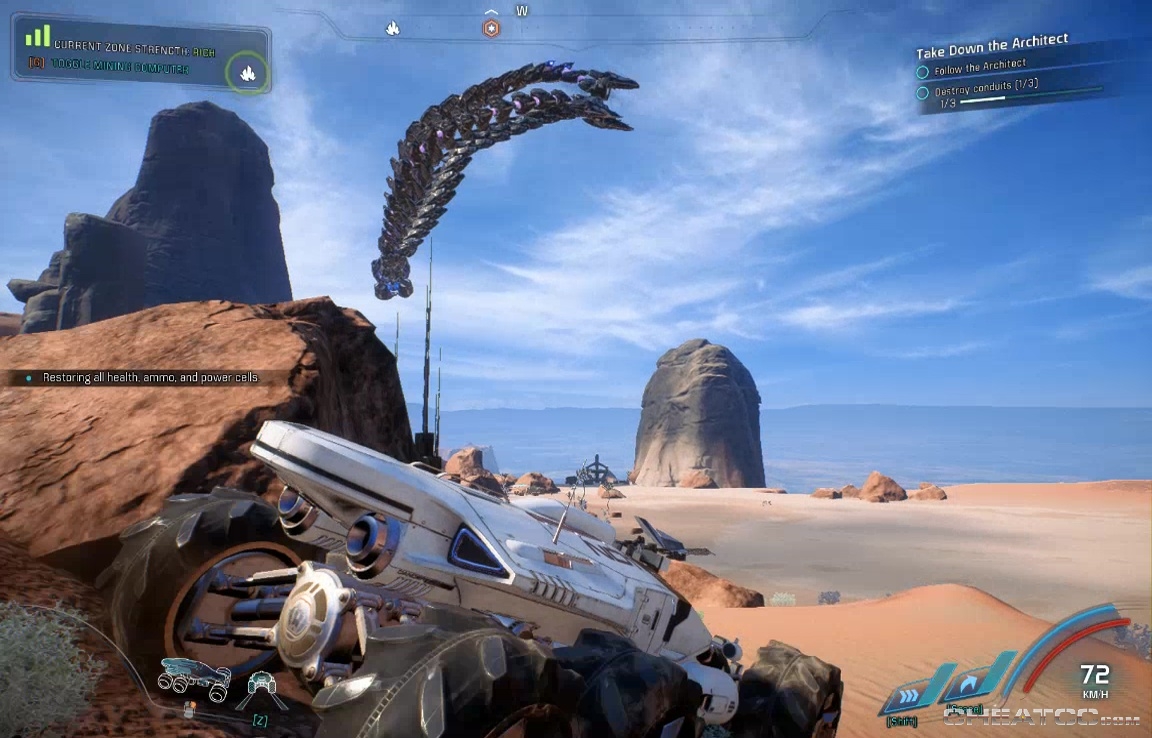
The cycle then repeats. Everytime you do enough damage to destroy a leg, the Architect flies away- follow it in the NOMAD until it lands again, and resume the battle.
When it finally goes down, interface with the head to end the fight once and for all.
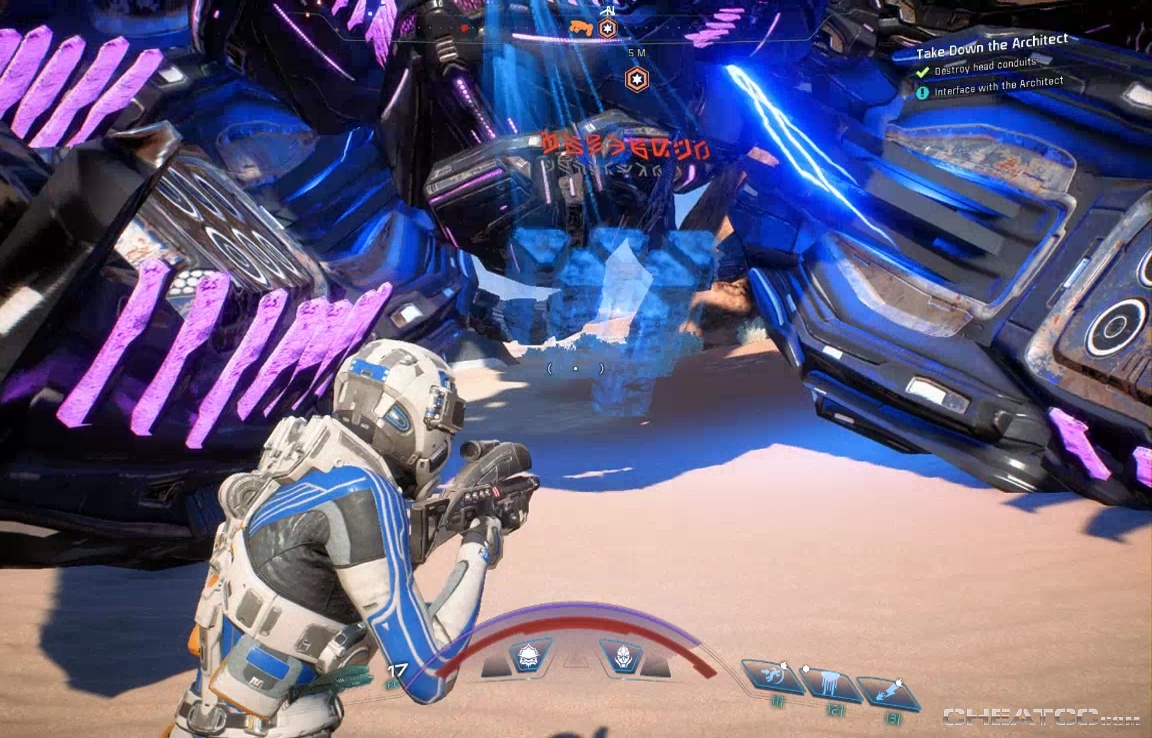
This completes the quest, awards you 400 AVP, and the disappearing Architect leaves a little Remnant Cache where it fell. You'll later find the Architect waiting in orbit, where it can be scanned for Remnant data.