First Flight & Eos
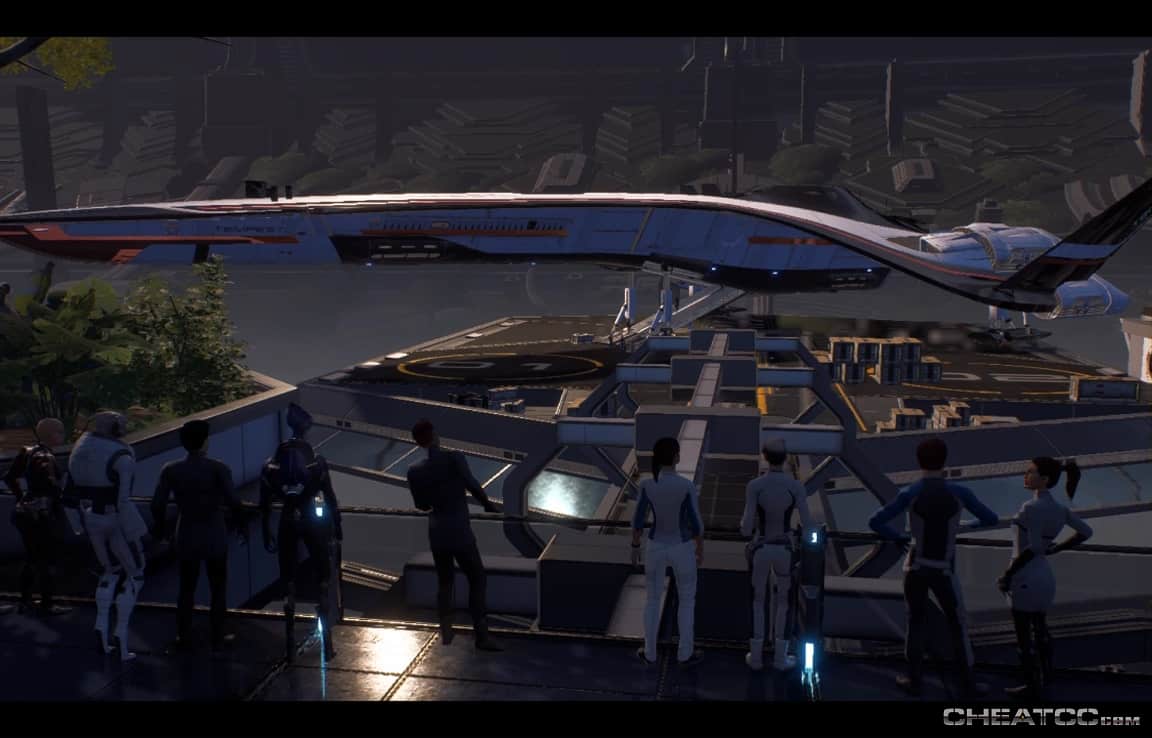
On the way to the docking bay you'll have a brief chat with Cora aboard the tram, then get a view of your new wings.

As you board, a turian will help you cut through a bit of Addison's red tape for departure. This is Vetra Nyx, a crew member you'll come to know a lot better.
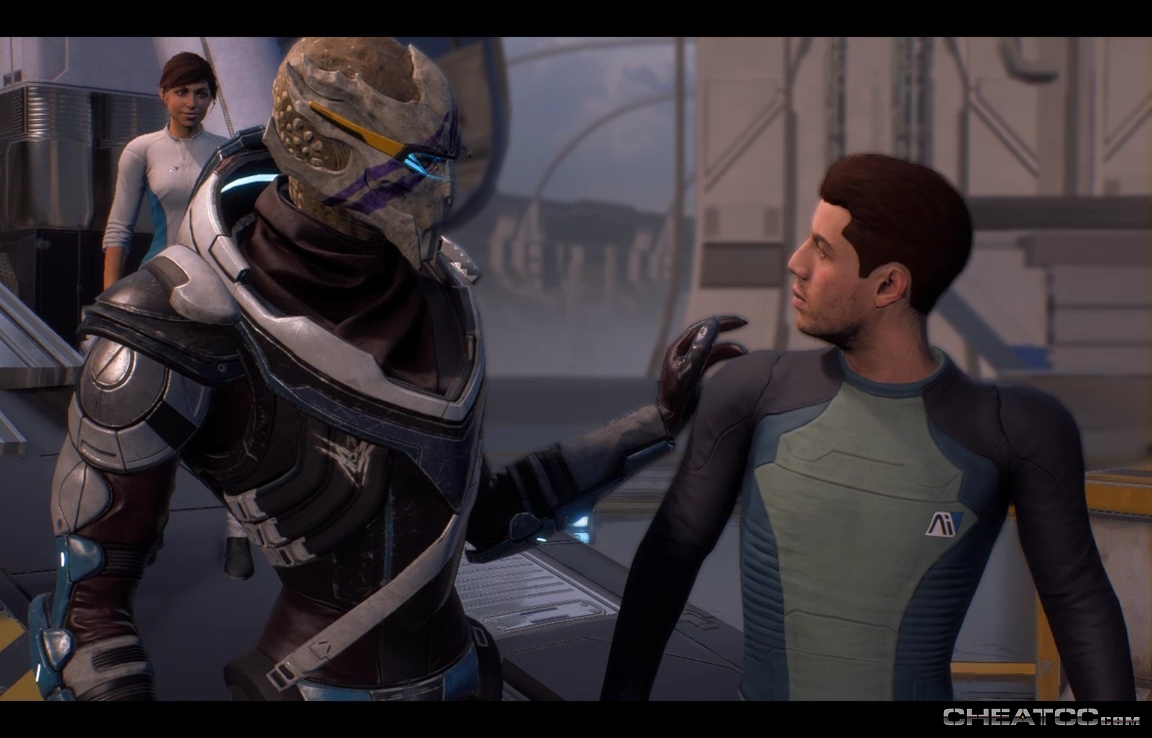
You can approve or disapprove of her grey-market ways before boarding. Onboard you can explore the ship for the first time, but there's not a lot to do yet- no one's ready to talk to you, there's no message on the vidcon, etc. One thing you can do is check out the research station and store interface by Liam. Depending on what you gathered at Habitat 7, you can sell of any items weighing you down, and invest in both research and manufacturing new gear.
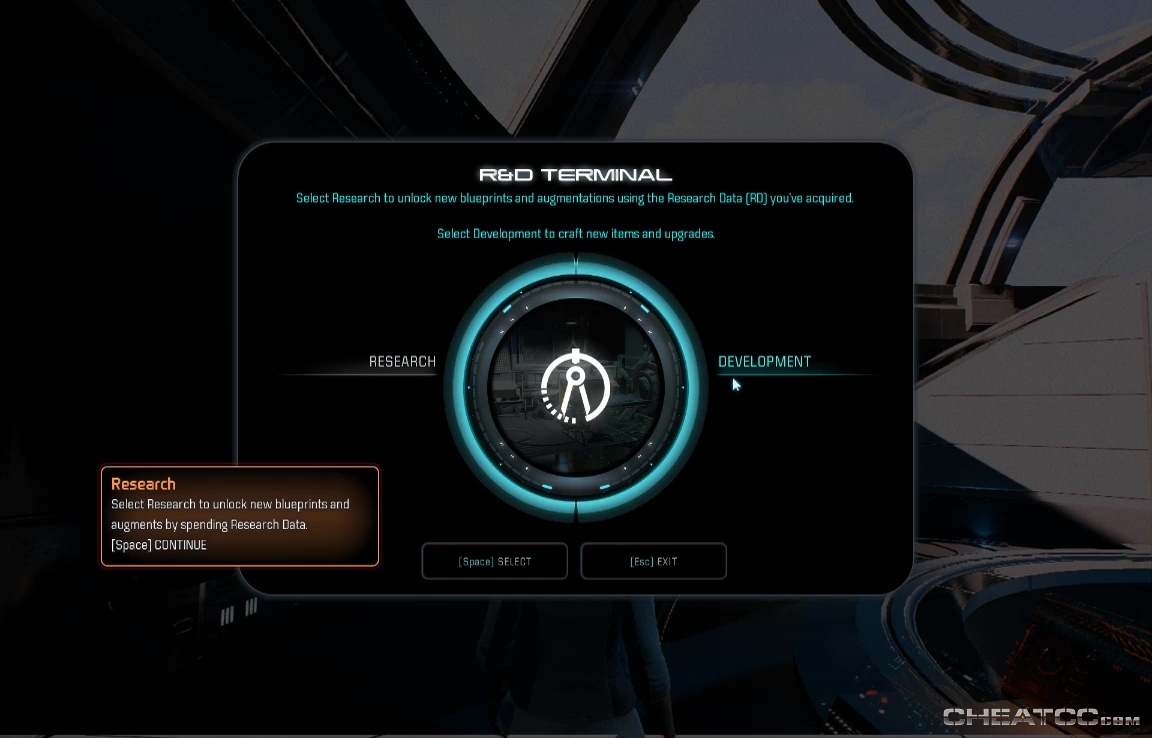
You can also use this table to launch Strike Teams, ie enter multiplayer, but that's a guidepage for another time.
When ready, take the bridge and get some vacuum beneath your wings.
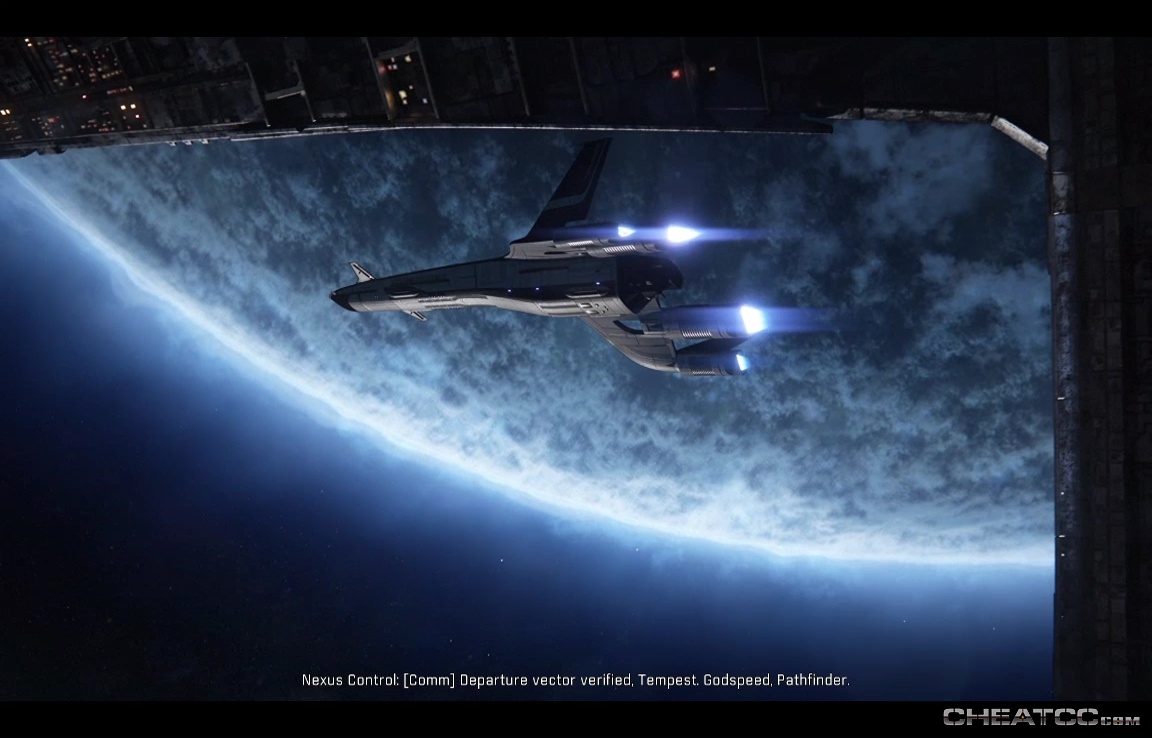
You're not on any particular timetable yet, so feel free to survey any of the available systems (see tour complete system listing in the main guide), but once you're down, set course for Eos, in the Pytheas system.
When you touch down, you'll have a choice of what weapons and gear to bring. Even if you haven't found or bought any non-issued weapons yet, you can also use this screen to attach mods to the weapons and gear you do have.
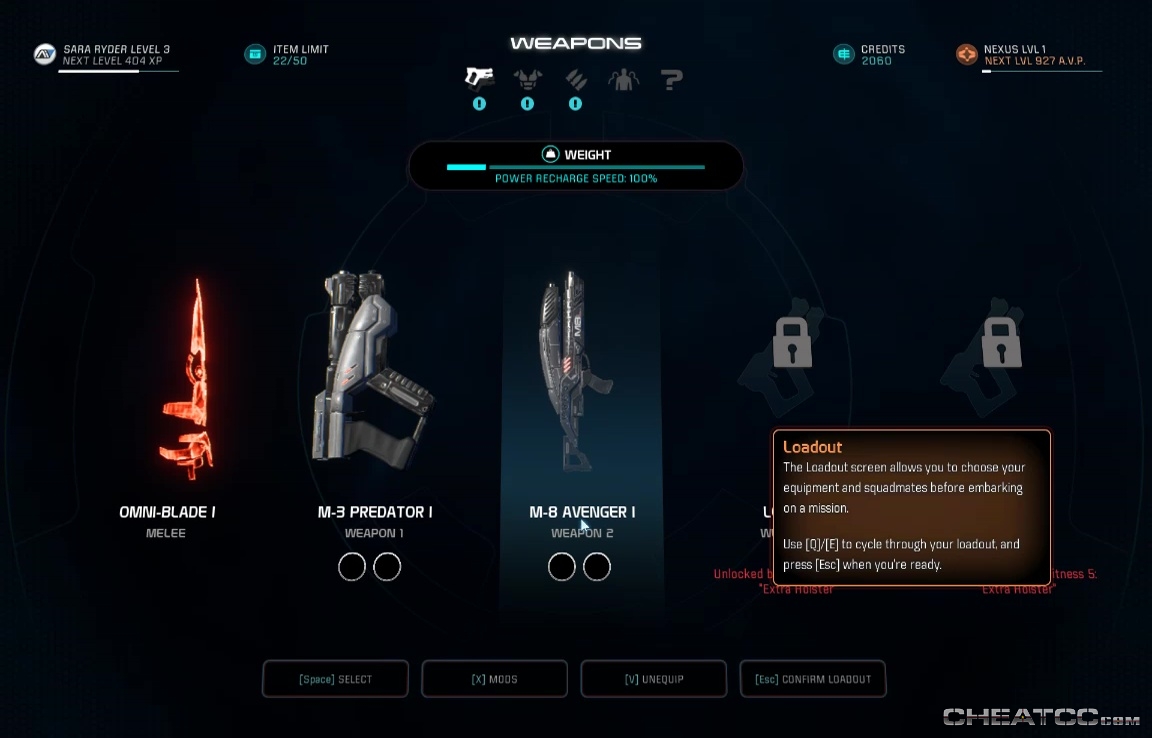
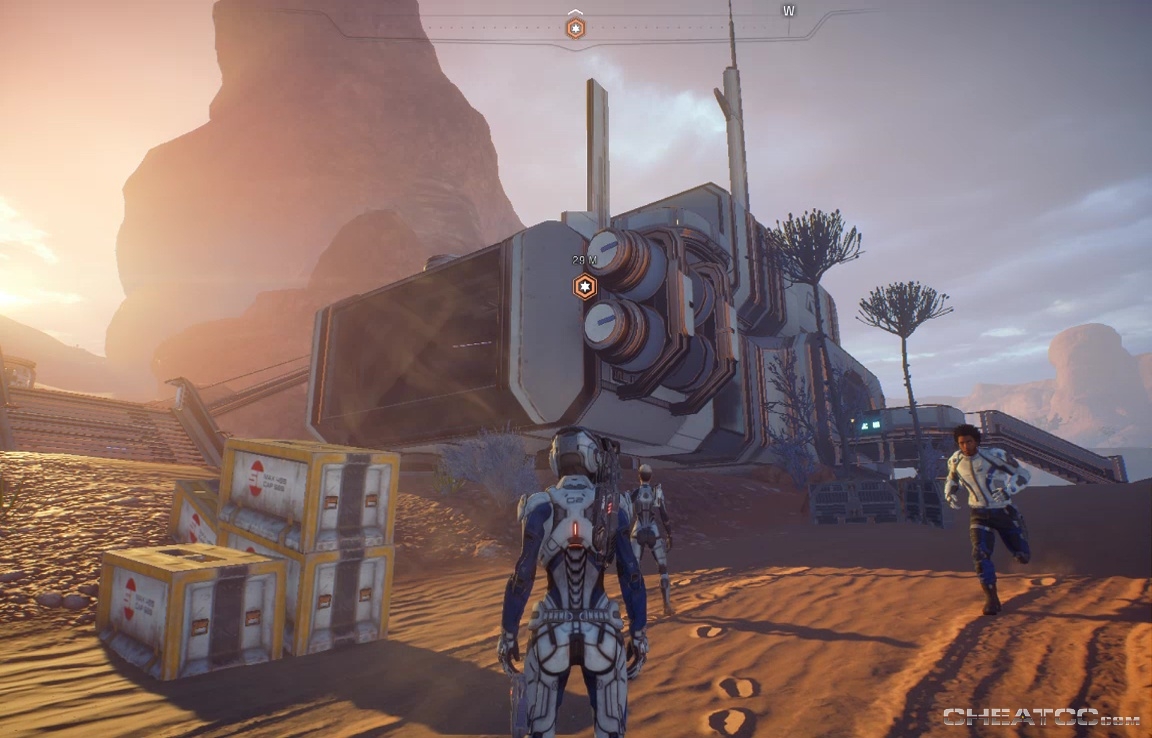
Once you're satisfied with your loadout, you'll have a brief cutscene+dialog, then step out into a ghost town.
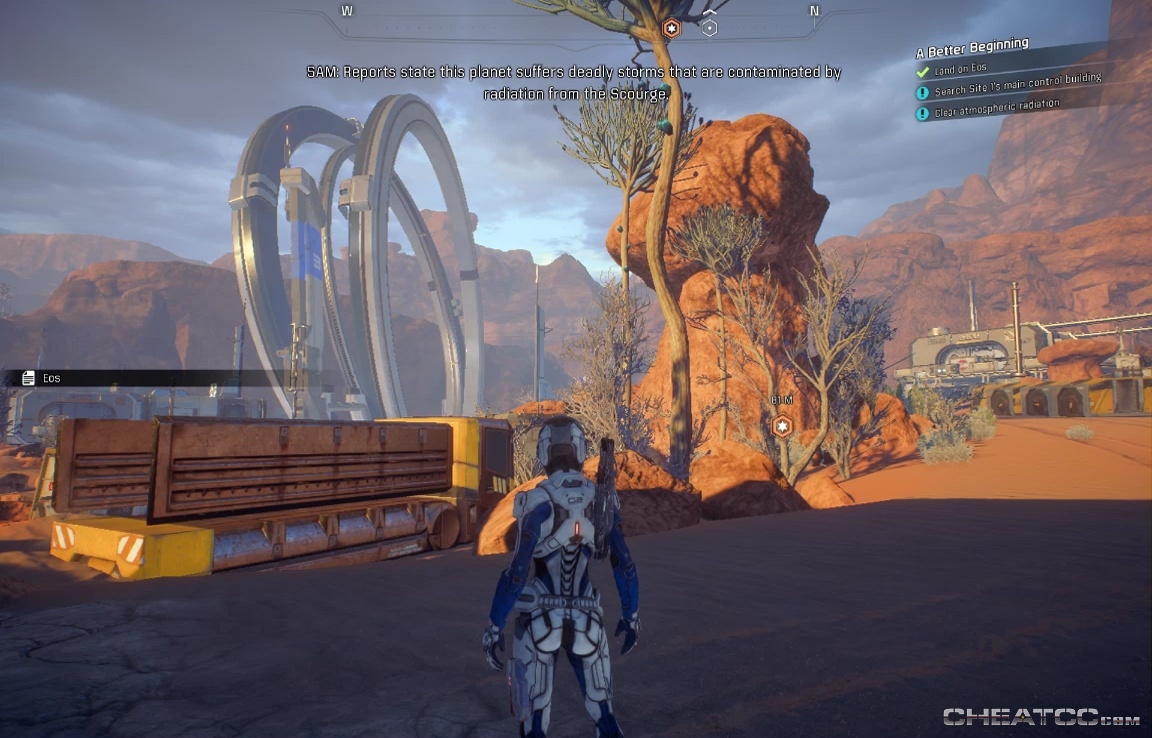
Despite the fact that this is all Initiative tech, you can still earn research points from its analysis, so be sure to deploy your scanner every time you see something new.
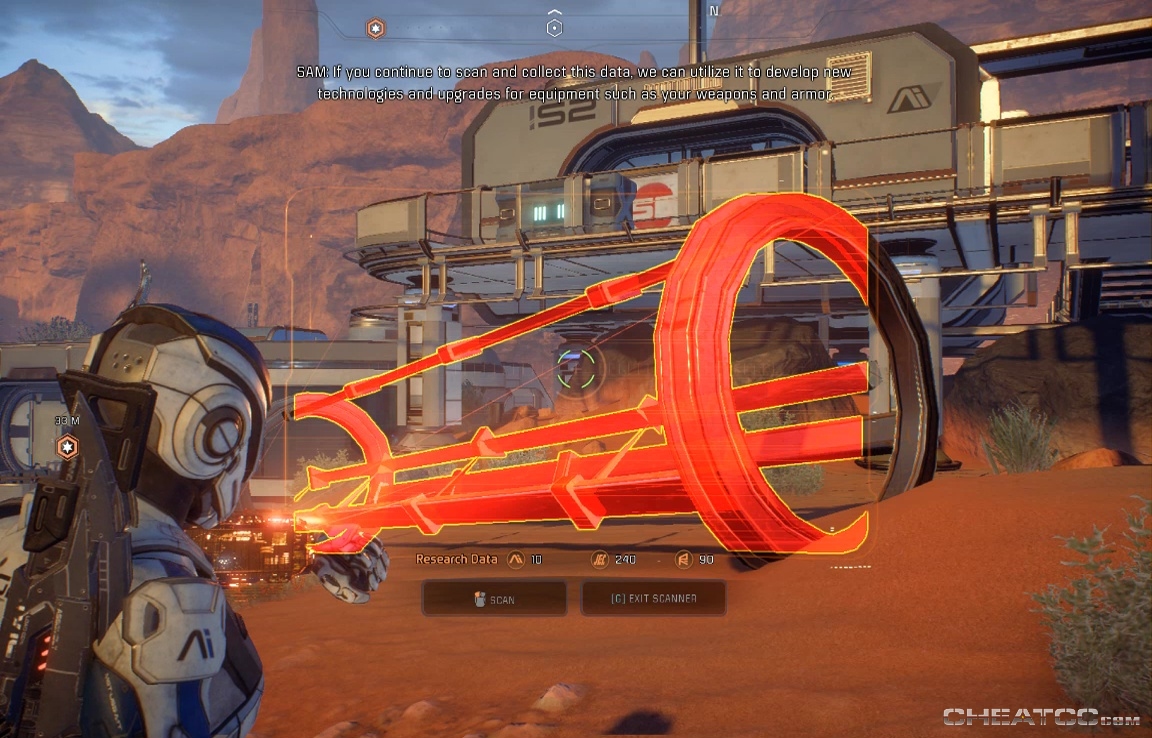
There are also random containers to loot and mineral deposits to gather, but even these can be scanned for precious data.
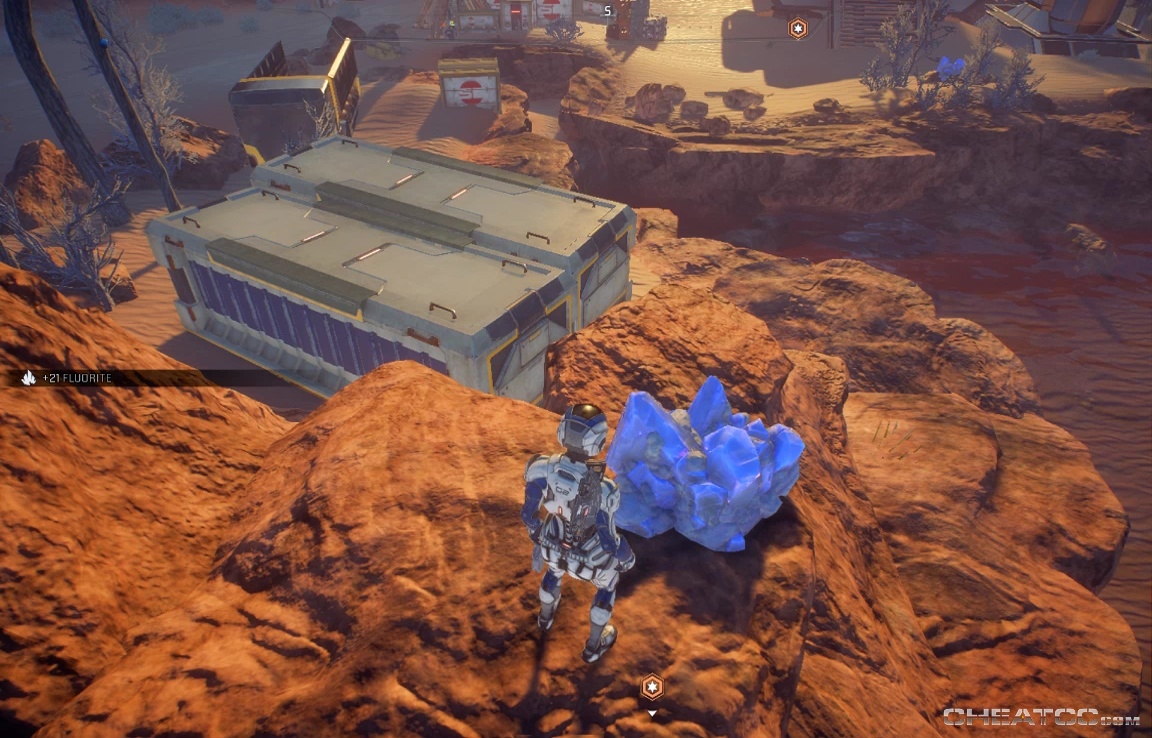
Once you've poked around a bit, follow your objective marker to the main control building. It's code-locked.
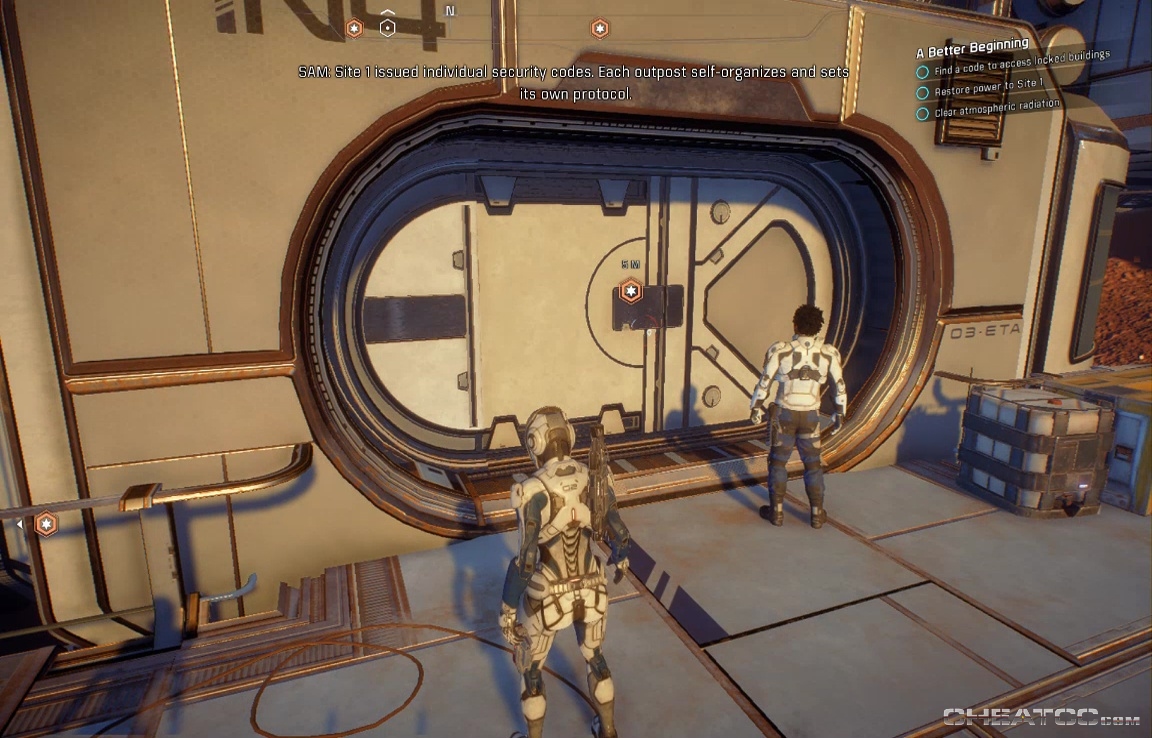
The code can be found in a couple different buildings- follow your objective marker to the nearest and read it off a datapad.
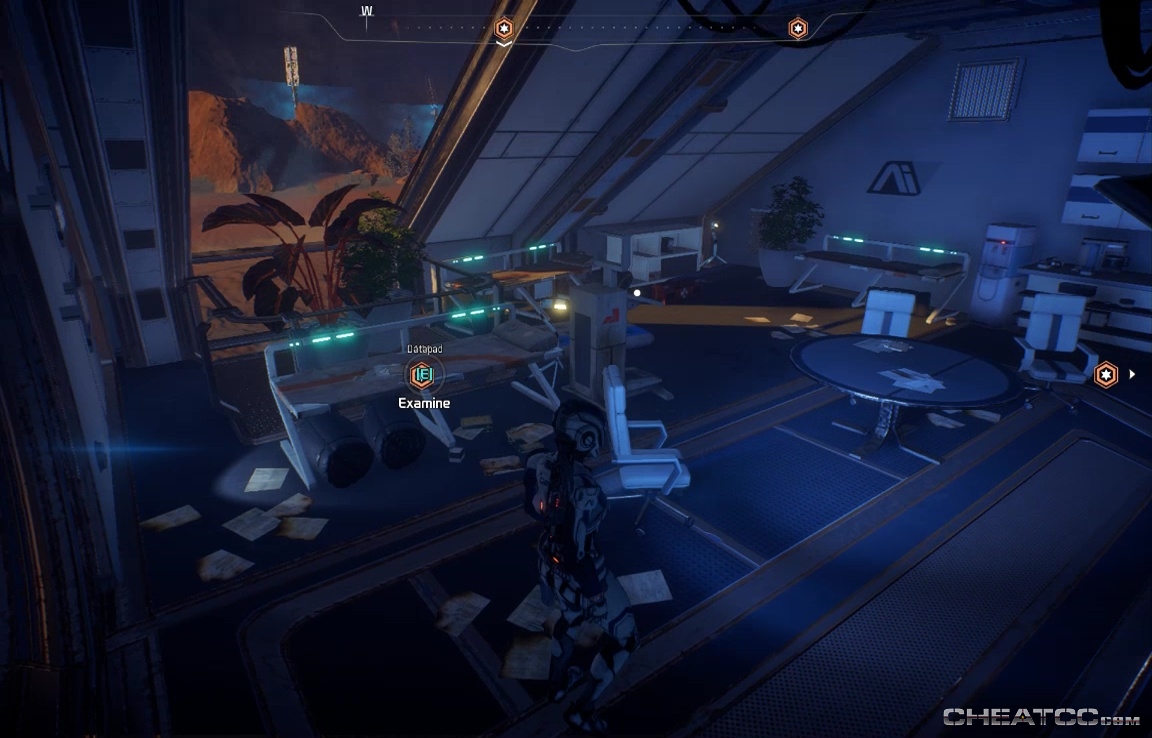
A general note on those search beacons- the objective marker always pinpoints exactly where the desired object is, so if you can remember that point when the marker switches to sonar mode, you can go straight to your objective.
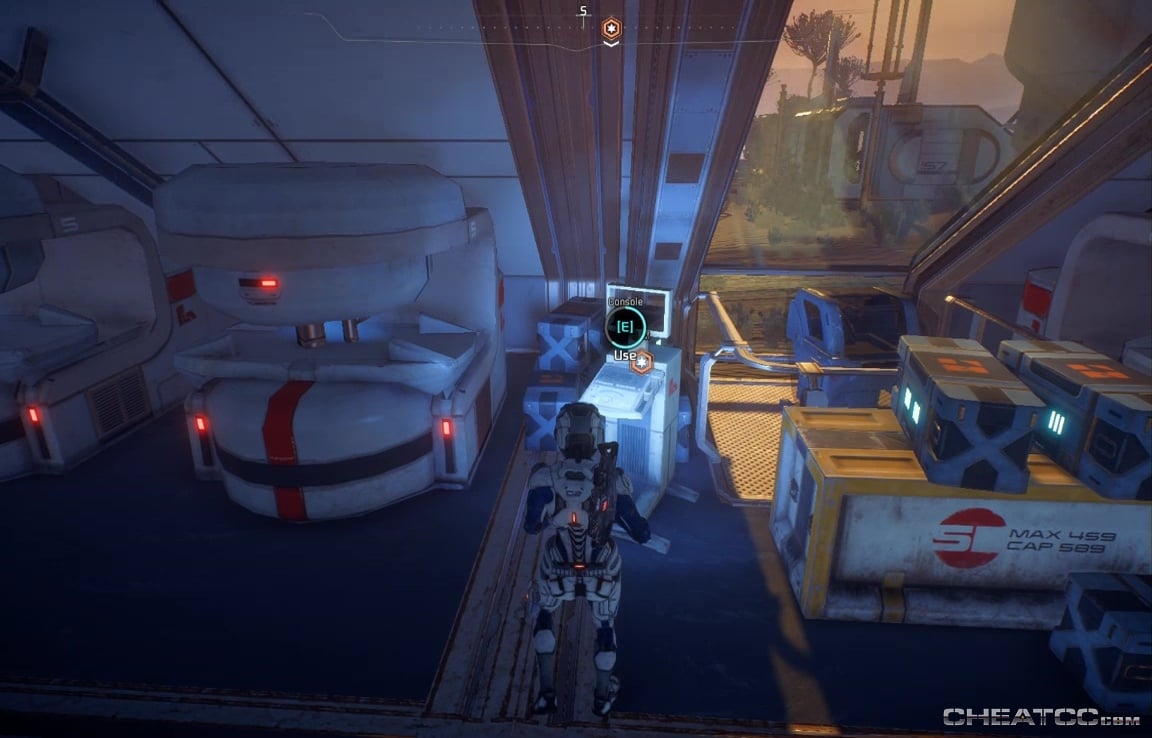
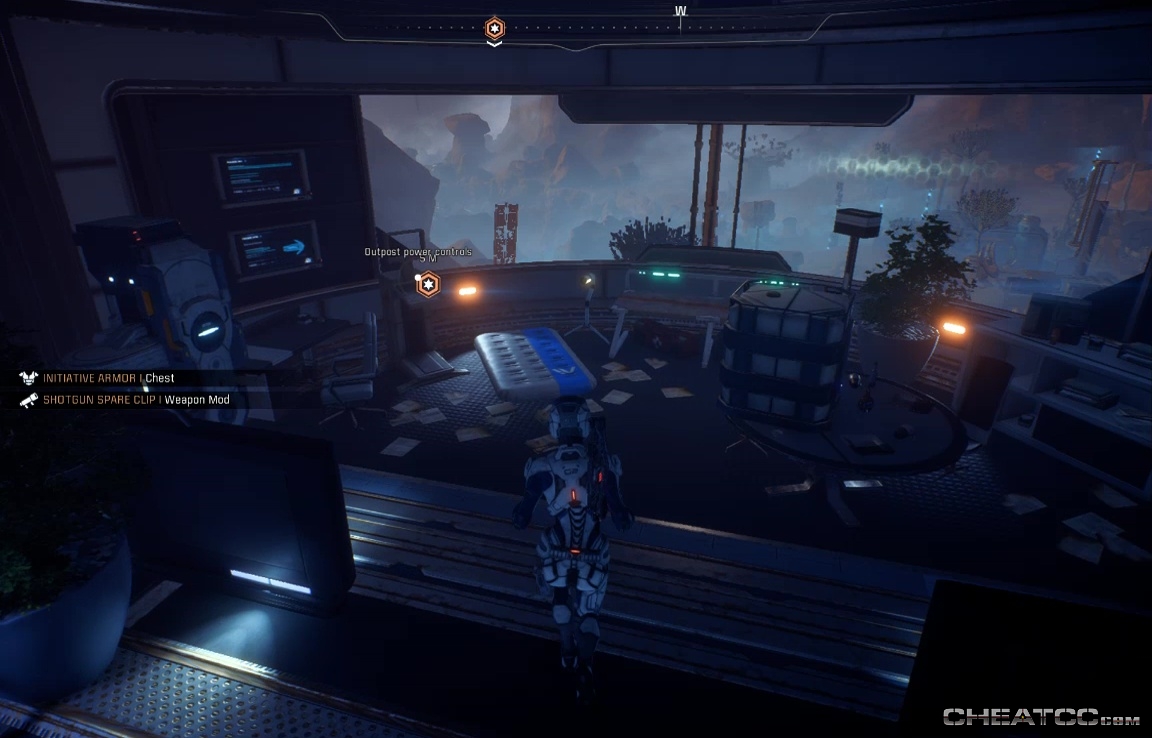
Return the the main building, looting containers and scanning the power display (looks like a transparent whiteboard). Activate a console here to learn that a nearby relay station is the problem.
The relay station is up the hill by the Tempest, with stairs leading to a door on the east side.
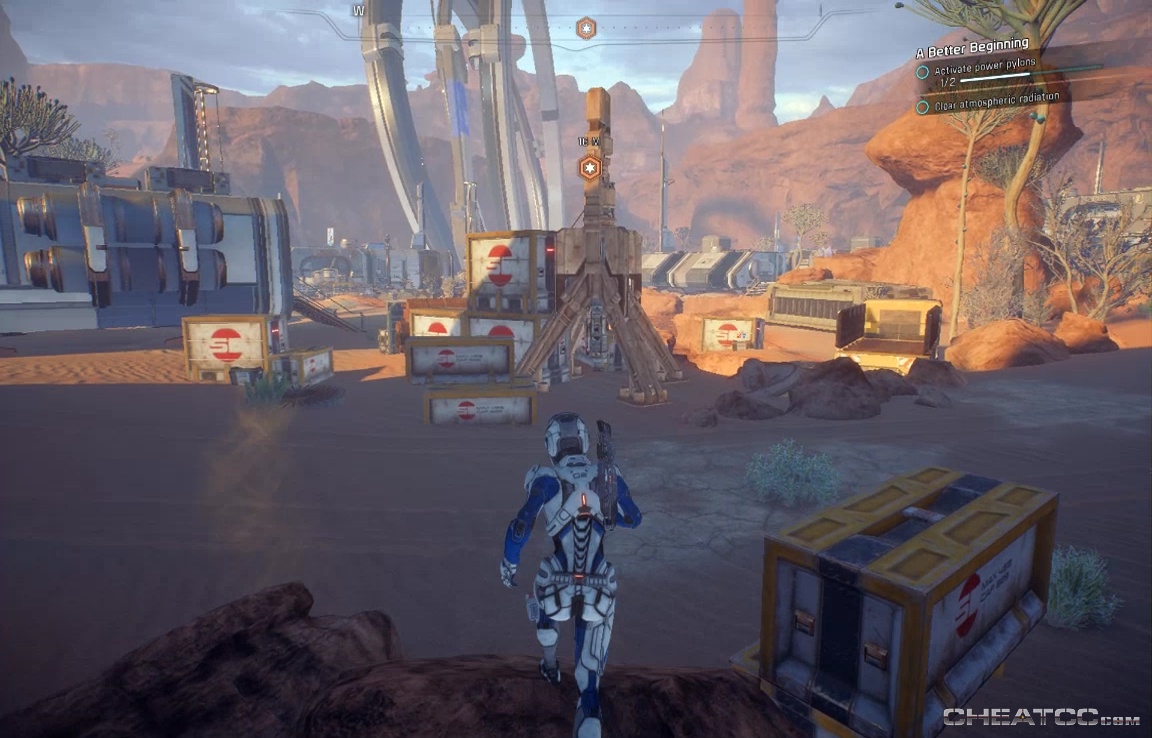
Activate the door console to talk to the people inside. Convince them to turn the power back on, then follow your objective marker to activate the generator just east of the Relay Station. Follow the prompts to scan the pylon, then activate the generator at its pinnacle.
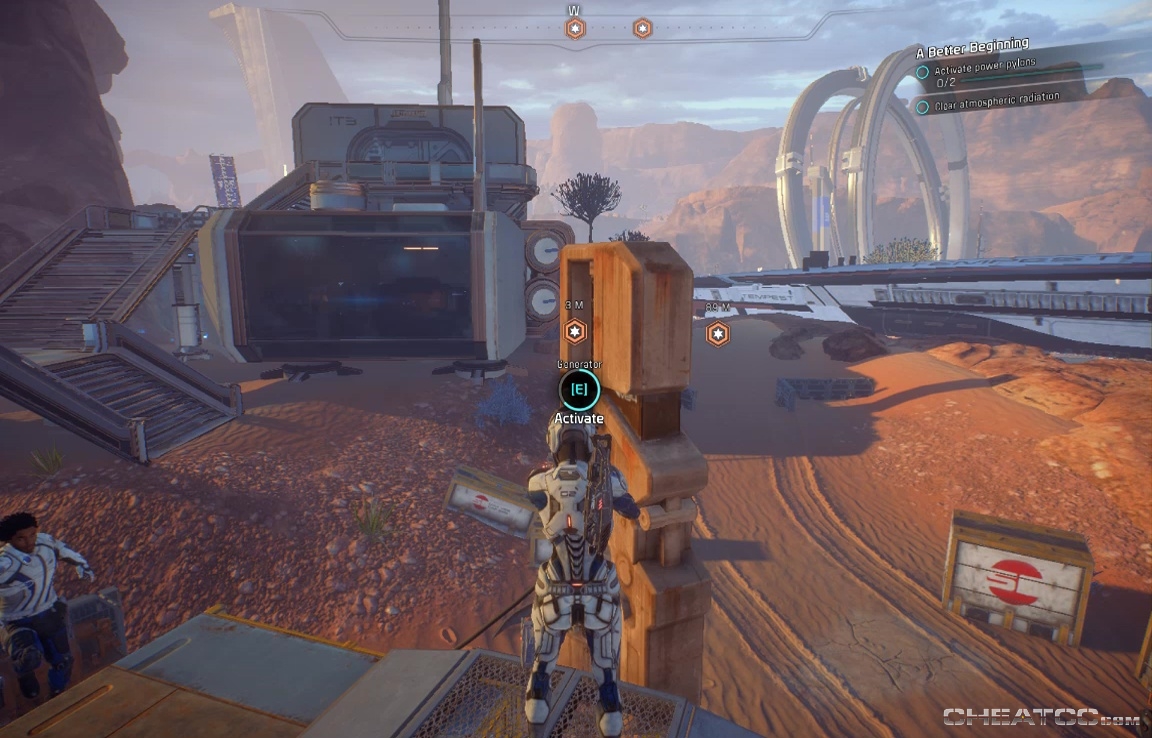
The other pylon is just under the nose of the Tempest.
This triggers a Kett reponse, soldiers deploying back by the relay station.
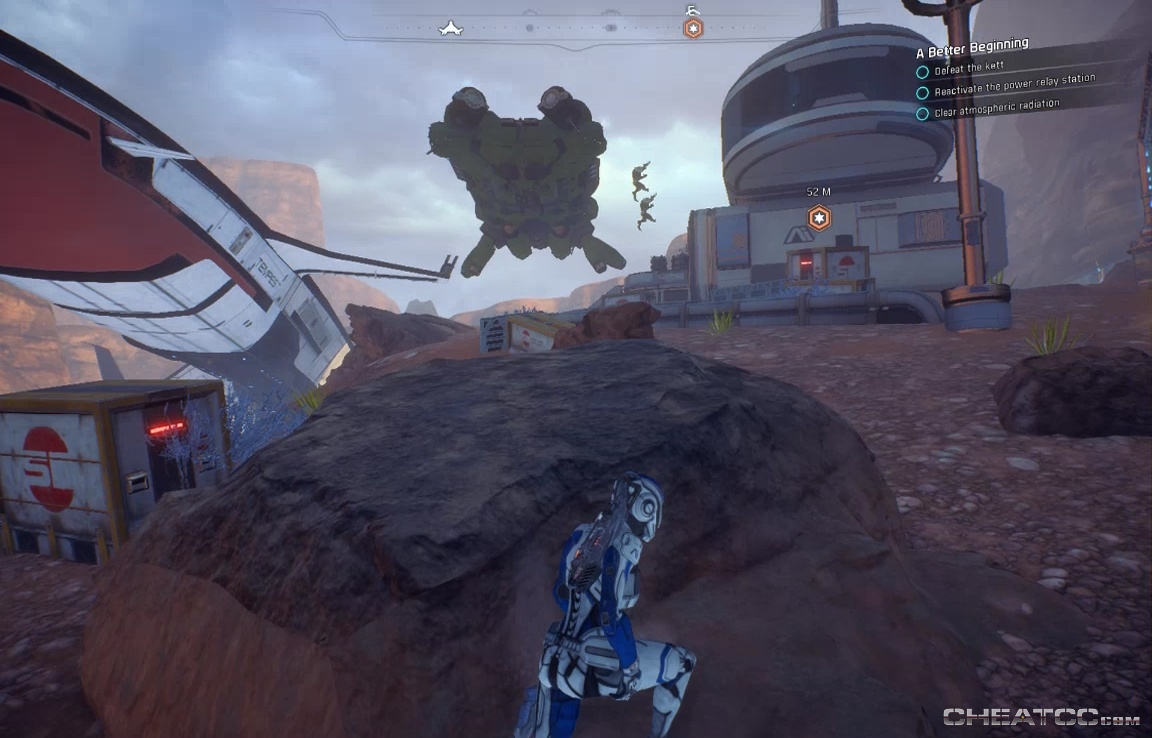
They have names now, but these are all 'Chosen,' soldiers- ie basic grunts with no special weapons or armor. The ship deploys five- take them down, then return to the relay station door. Inside you'll meet Clancy and his salvagers.
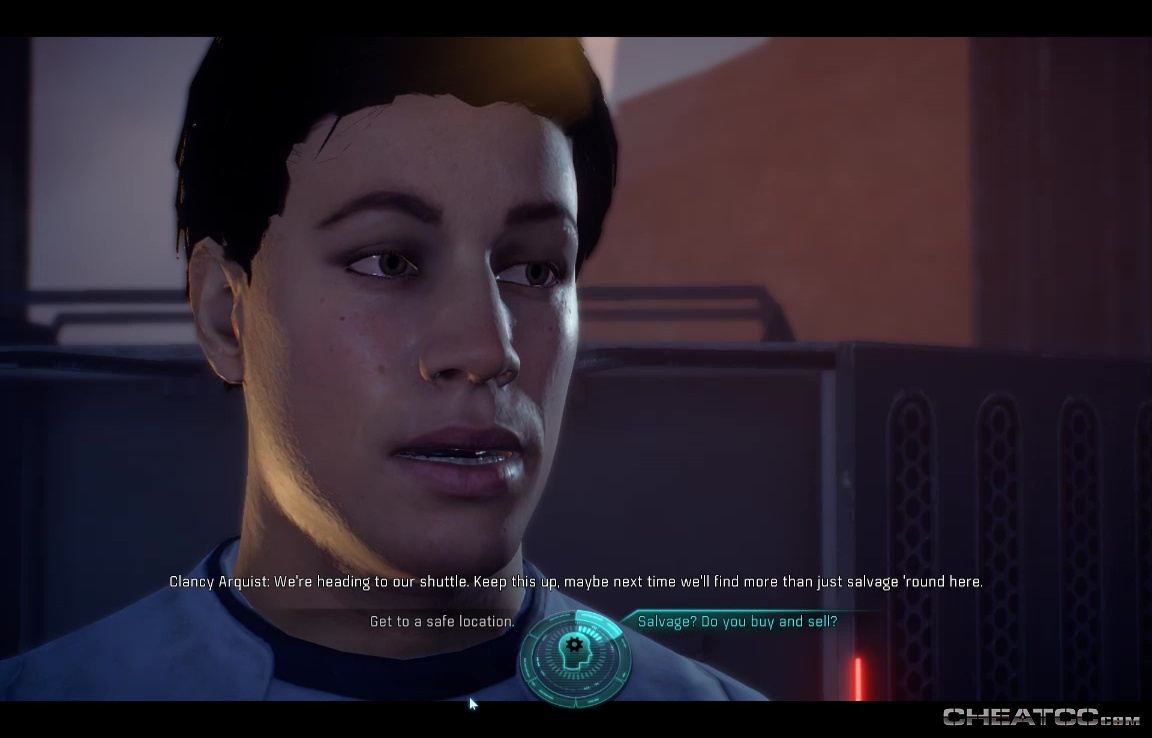
They don't stick around, but you can trade with Clancy himself before he goes, if you pick the "Salvage? Do you buy and sell?' option in dialogue. When they're gone, loot the place, then follow your marker to the controls and restore power.
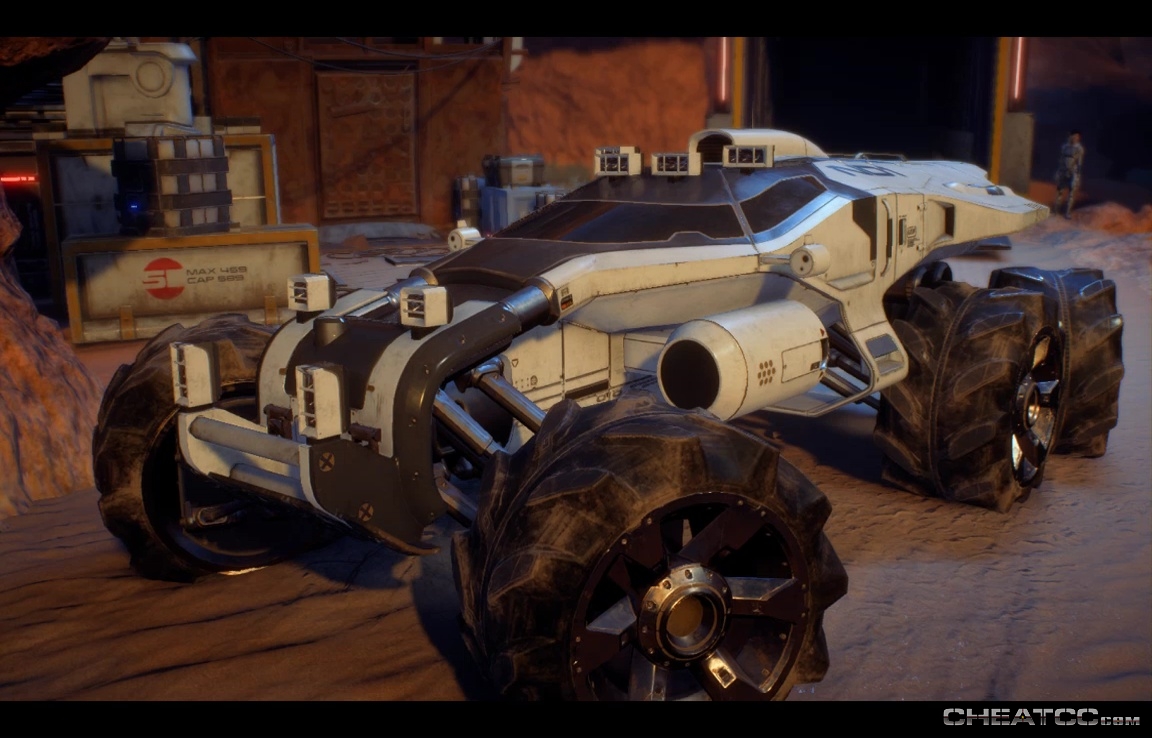
The power unlocks several doors in town, and also activates a Research station here. Your primary objective, however, is to get your hands on the Nomad- the vehicle Clancy was talking about. Follow your marker to the indicated cargo container- a scan will show that it needs a code from a Forward Station. Trot down the road aways to call down an Forward Station from orbit.
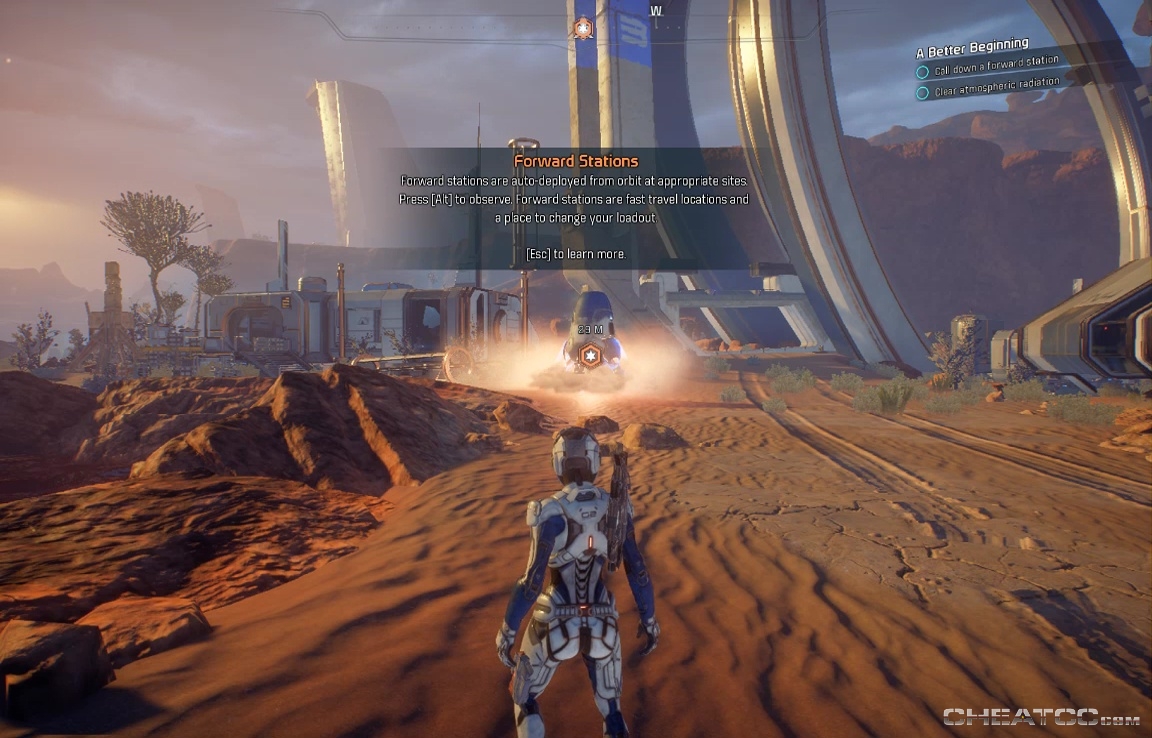
These stations act as resupply points, as well as allowing you to heal and swap out gear and party members (once you have more party members). With your new code, go ahead and unlock the Nomad container to get your signature ground vehicle for the game.