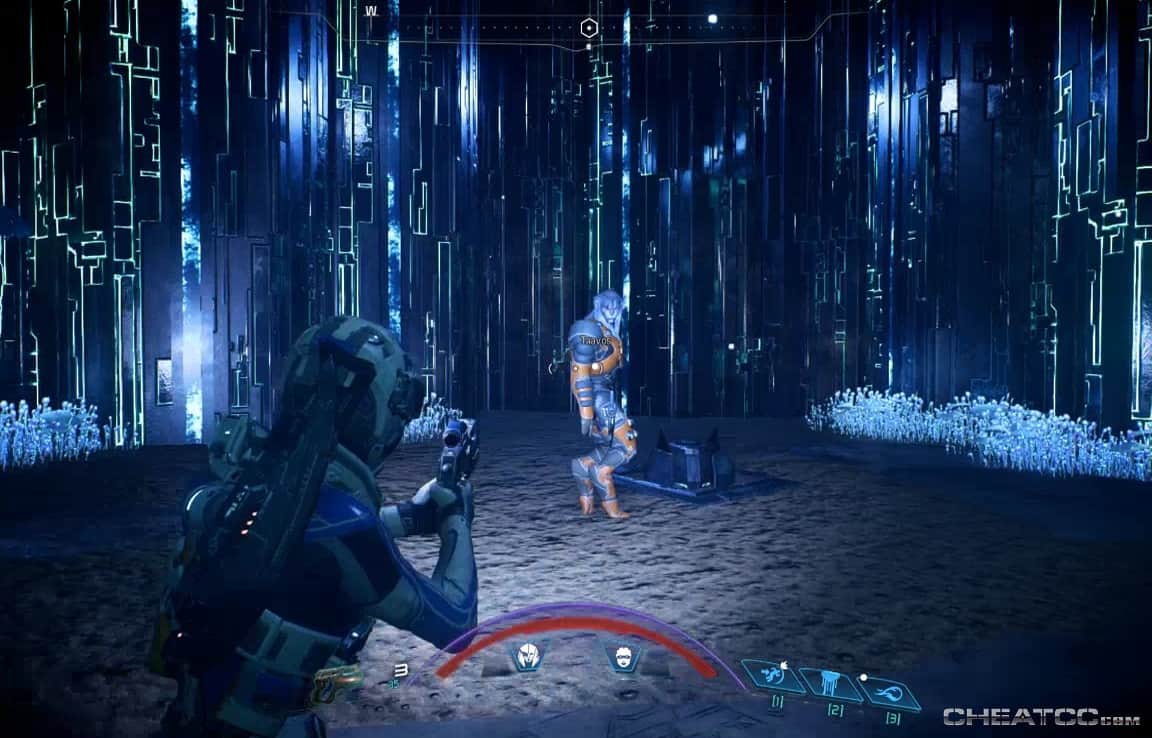
When ready, meet Taavos at the agreed spot- near the north terminus of the chasm.
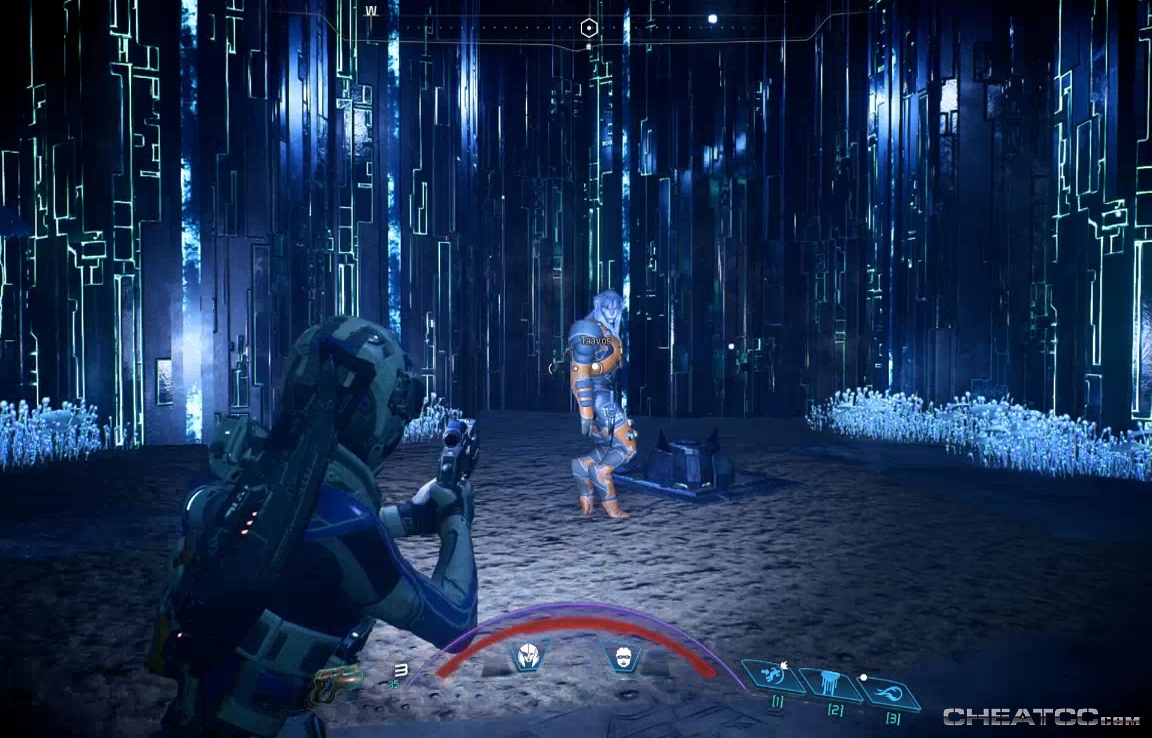
He'll open up a door in the wall. Follow him and listen to his musings (though you can also search the area for stray nickel deposits). Eventually he'll lead you to Zorai's remains.
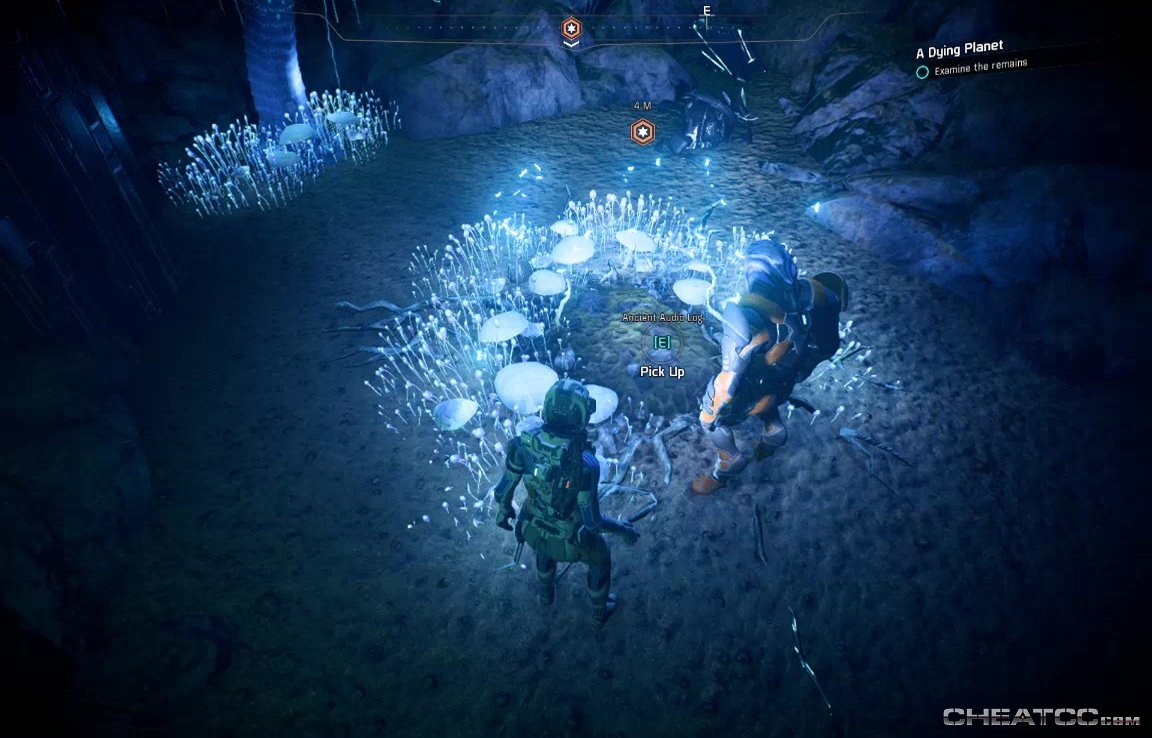
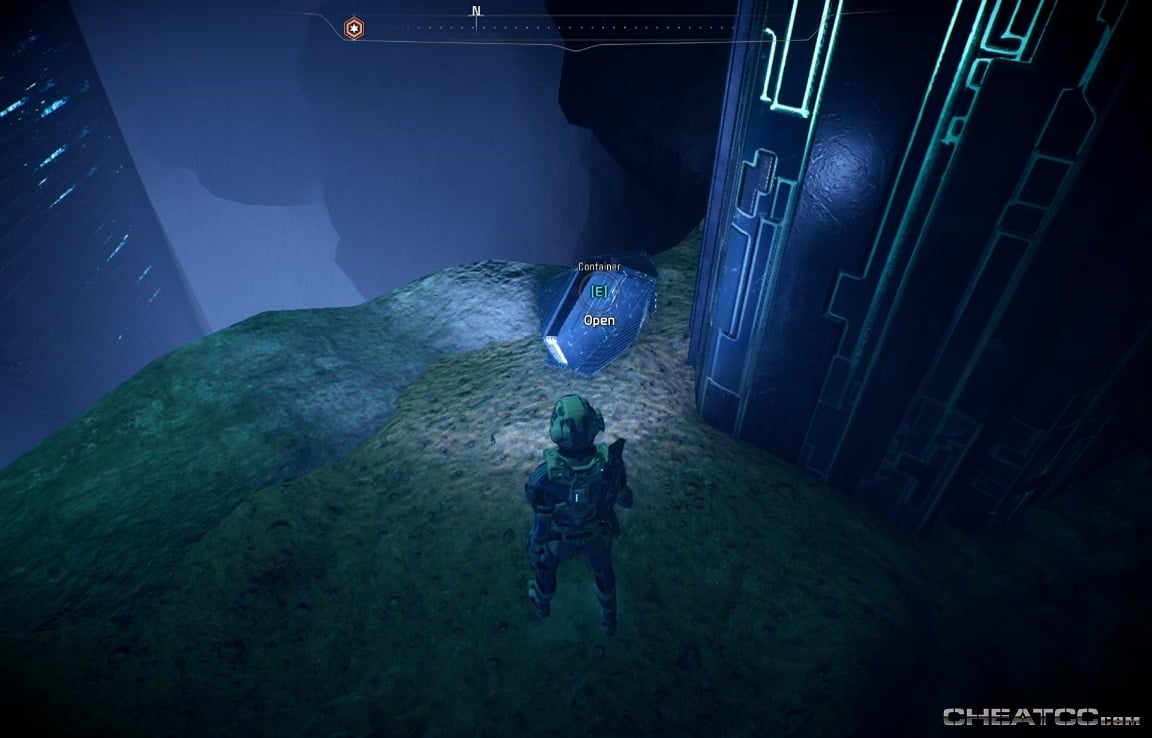
Play the recording, then scan the remains. After some talk, Taavos will open up a new door to a gravity well. Before activating it, loot the container in the north corner (by the cliff's edge)
There's also some nickel behind the hexagonal pillars. There are tons of nickel deposits down here.
When ready, take the well down.
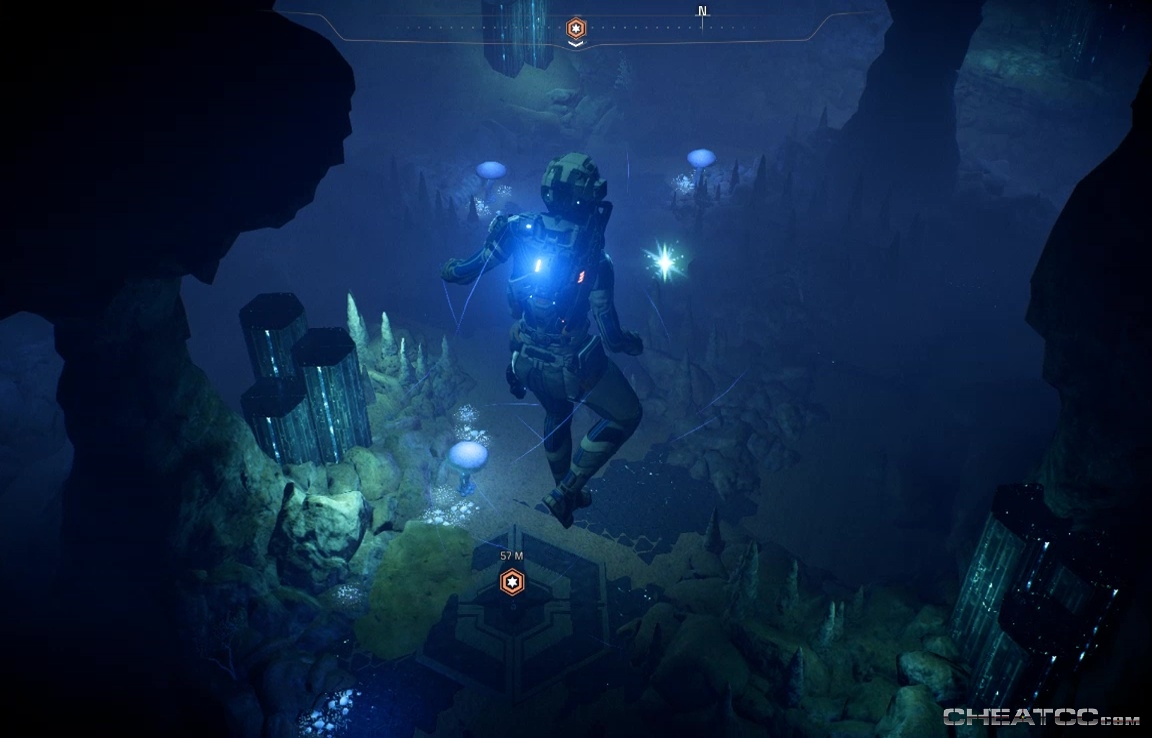
There's a lot of little things to loot here – a Memory Trigger, containers southwest and east of the trigger, and a cache at the extreme hook of the northmost passage. And lots of nickel.
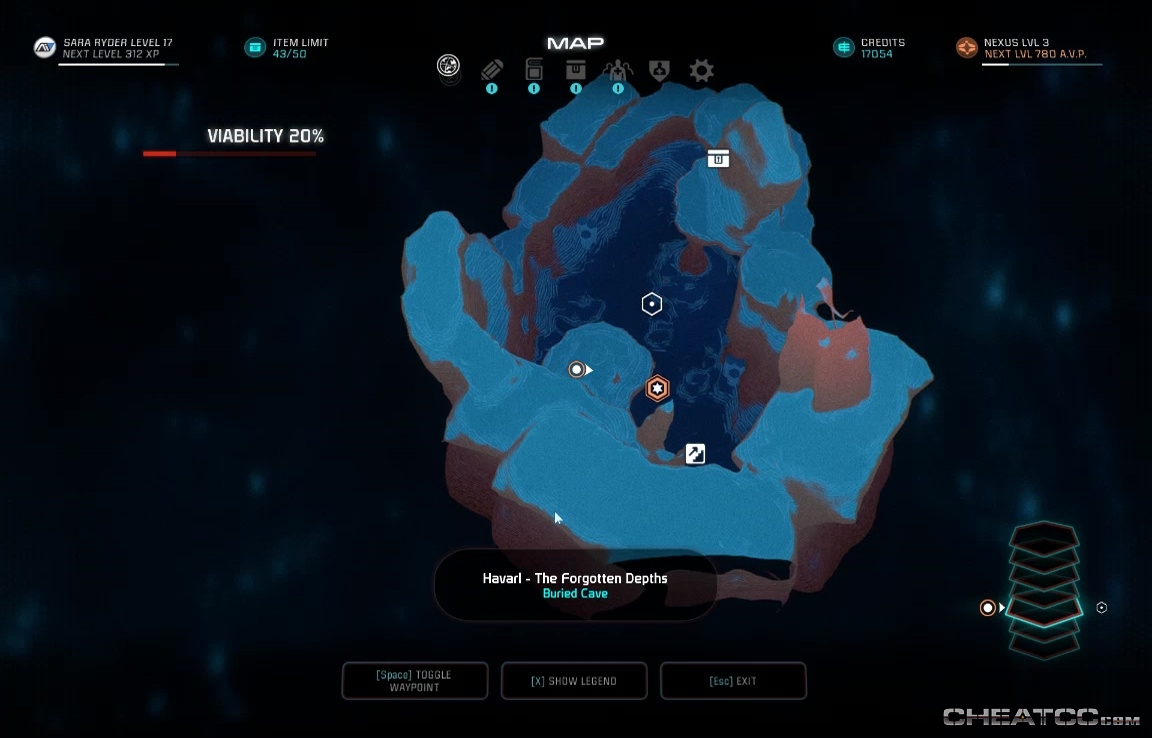
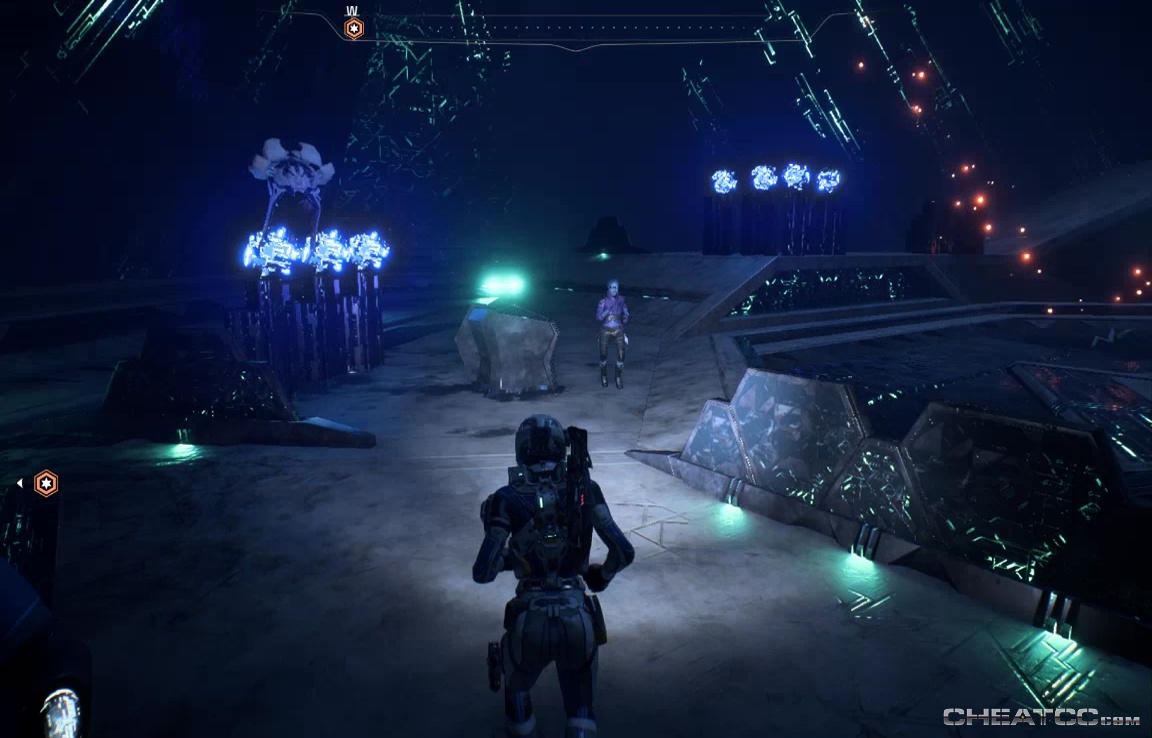
When ready, activate the Remnant Console, waking the third monolith. Taavos will stay to commune with the past, but it's time for you to make tracks to the Vault. The Vault is at the south end of the Ancient Courtyard (the area past the chasm bridge). It should be pretty easy to find, what with the giant glowing beams and all.
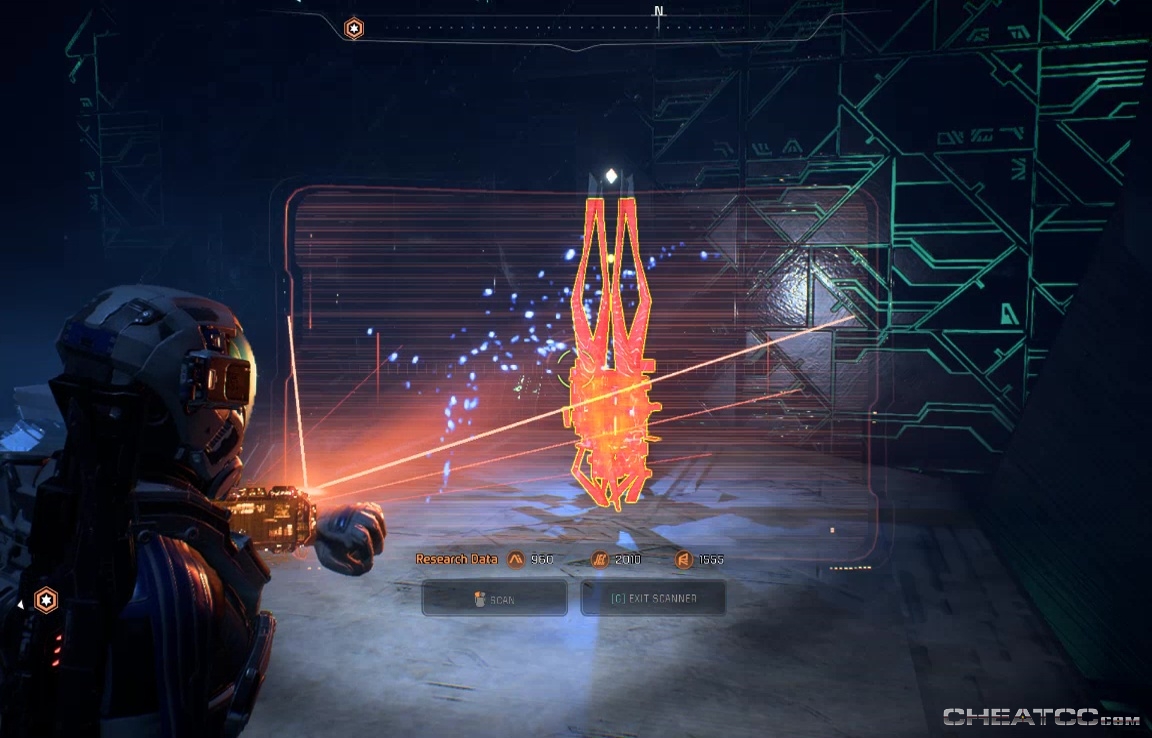
Head inside. No loot in the first corridor, so take the well down. No loot here either, but you can scan the spinny data cores on the platform with the turret.
You'll note a lot of inacessible consoles, and one accessible power console. Activate that to wake up the room, including defenses. Now's a good time to leap over and bring the turret online.
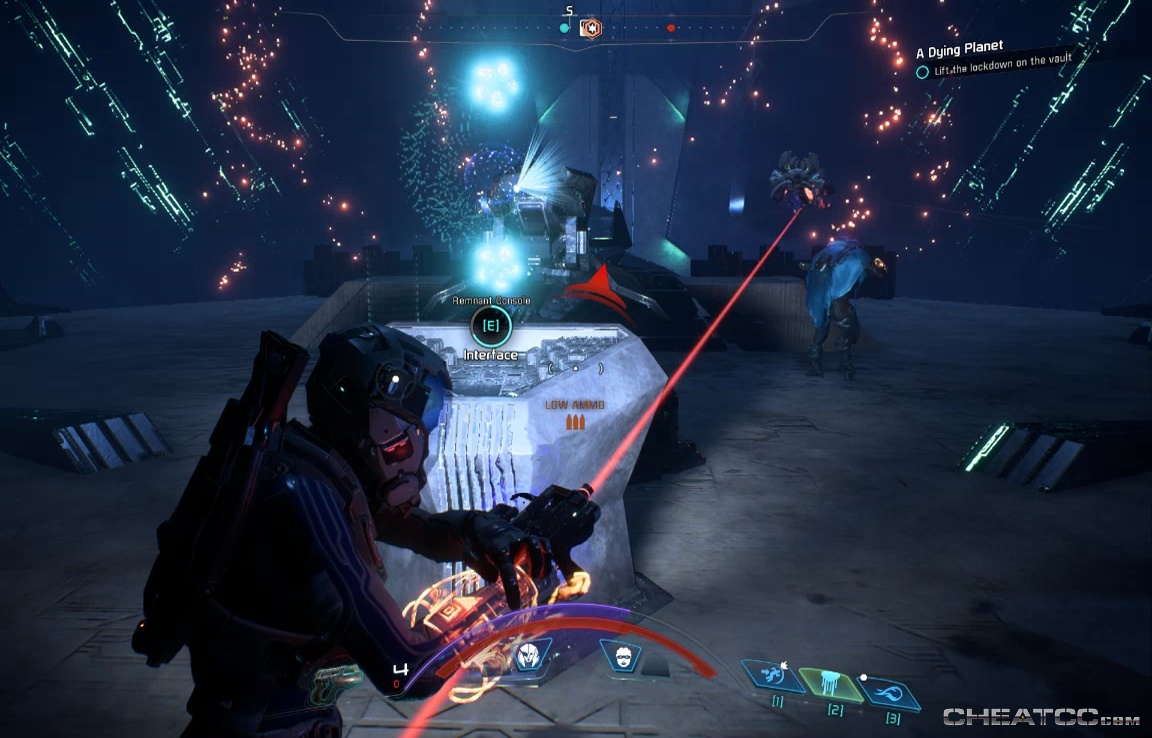
Clear the room of baddies, then turn your attention to the way out. You'll notice there are four consoles around the room that sprout lights when you get near them.

Activate them in numeric order (ie, the one with one light, then the one with two lights, and so on) to open the door.
Before you leave, however, drop down behind the turret platform to note a container behind a forcefield. As in the first vault, you can snag this during the reset.
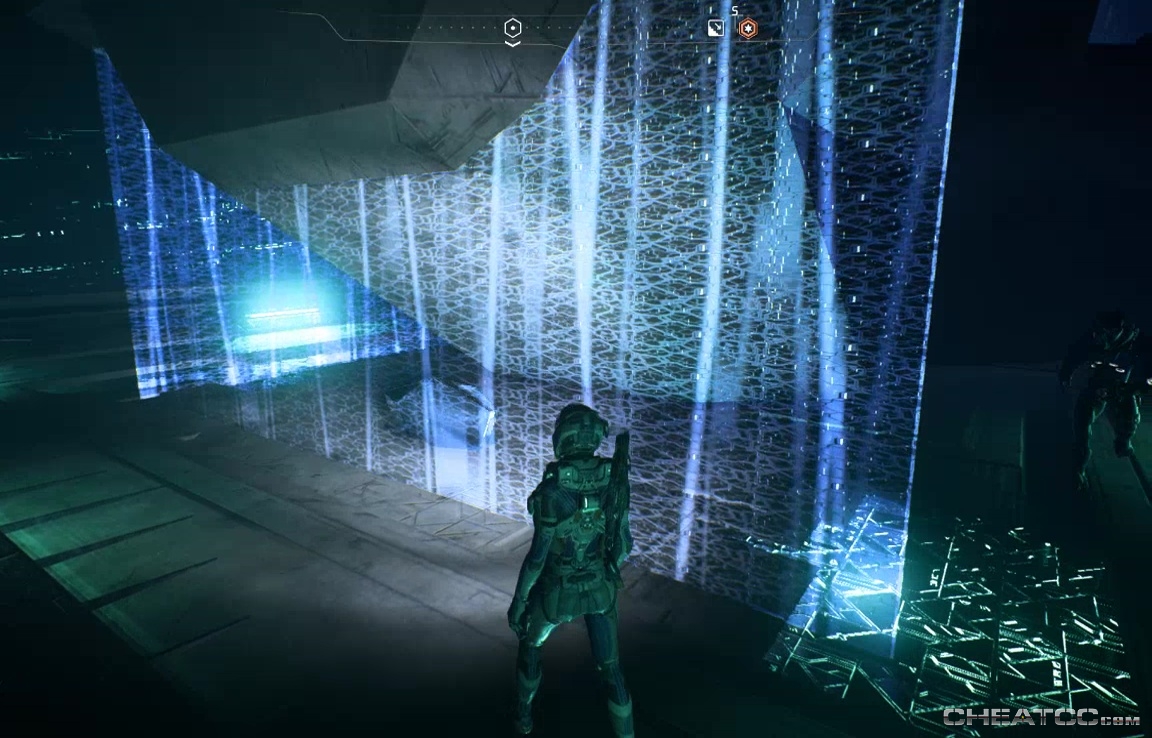
Enter the next and final room (it's a pretty small vault), and solve the far console.
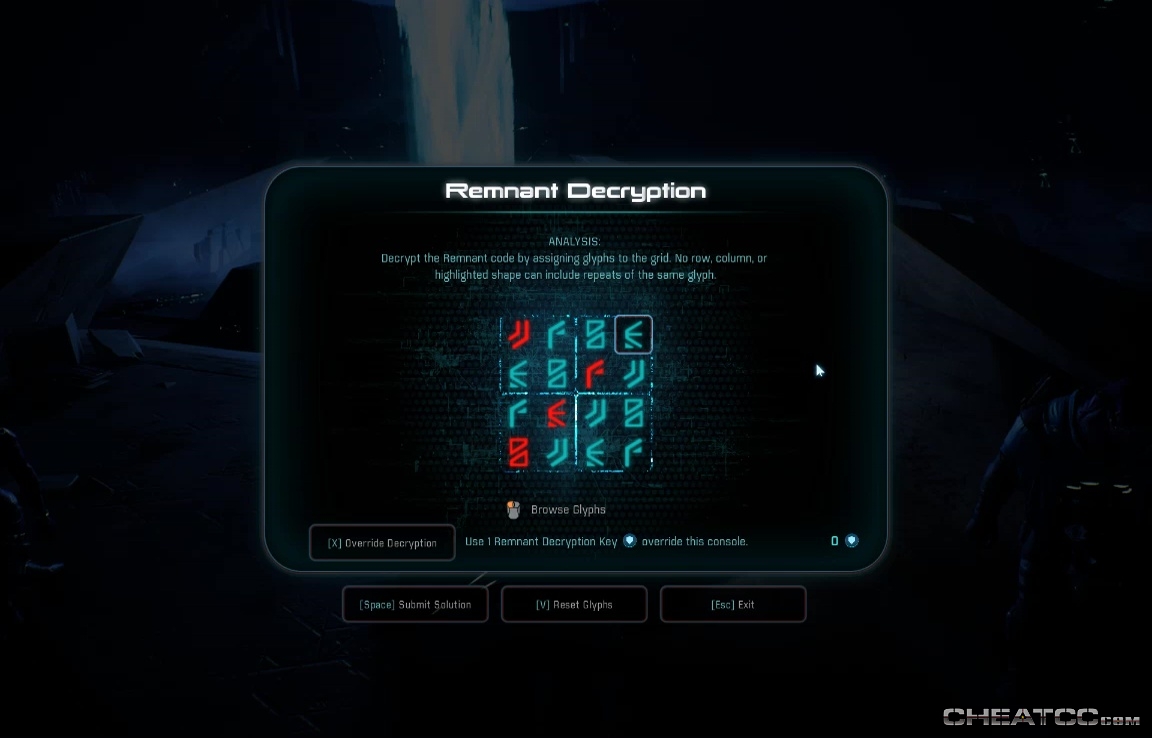
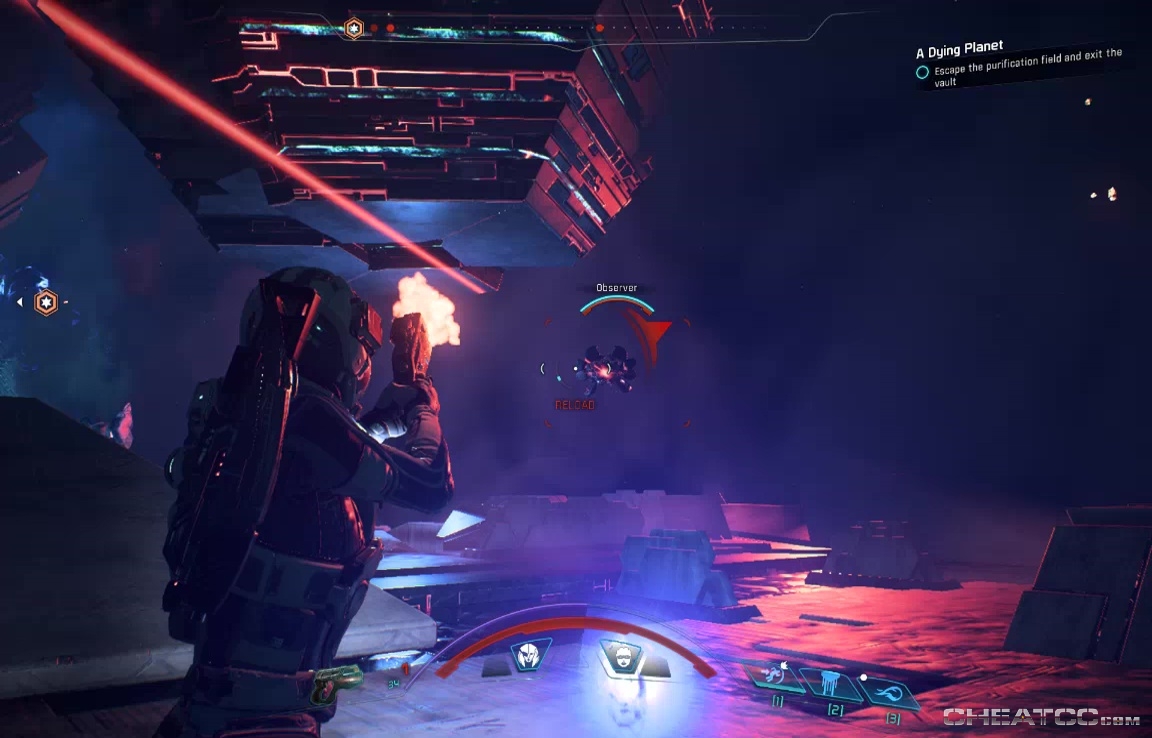
Ready yourself for a fight, then activate the last console to kick things off. The door behind you closes, and you'll have to stave off Observers and Assemblers for a few moments until it reopens.
Ryder will shout out when the door opens, so dash through and make for the shielded container. The treasure isn't nearly as exciting as the cryo-gauntlet we got last time, but loot's loot.
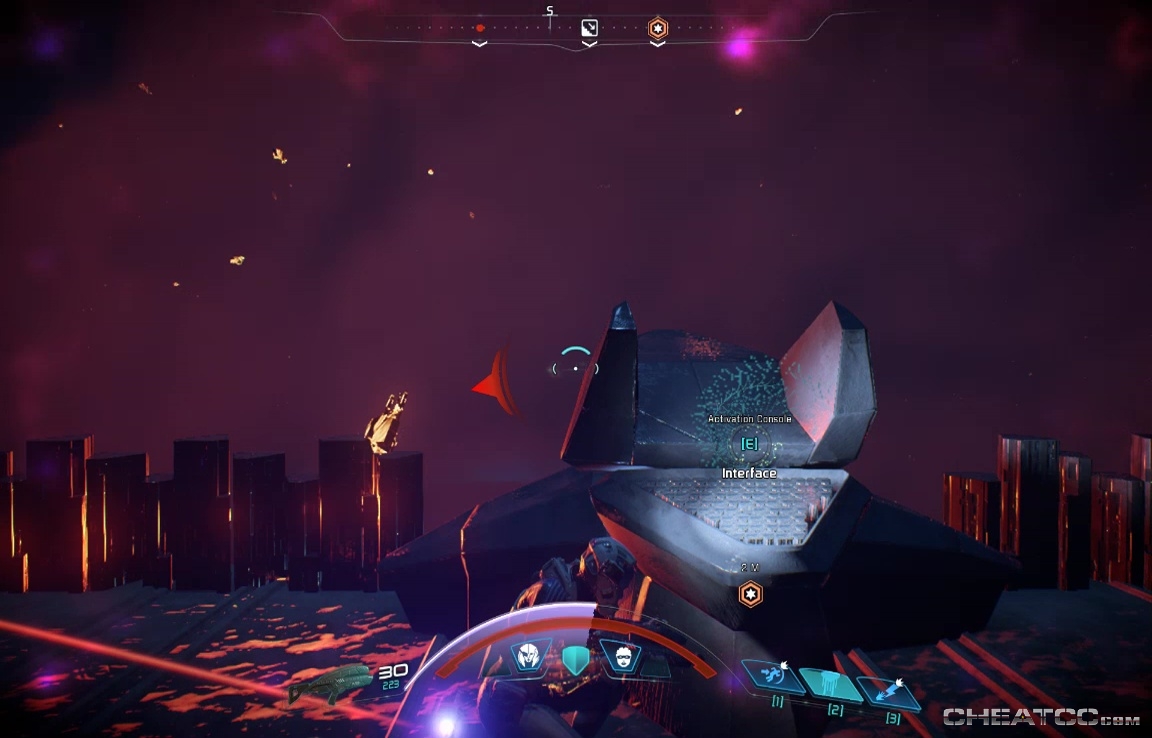
If you activated the turret earlier, it's still fighting on your side. Use its cover to interact with the Activation Console, which shuts down the death cloud.
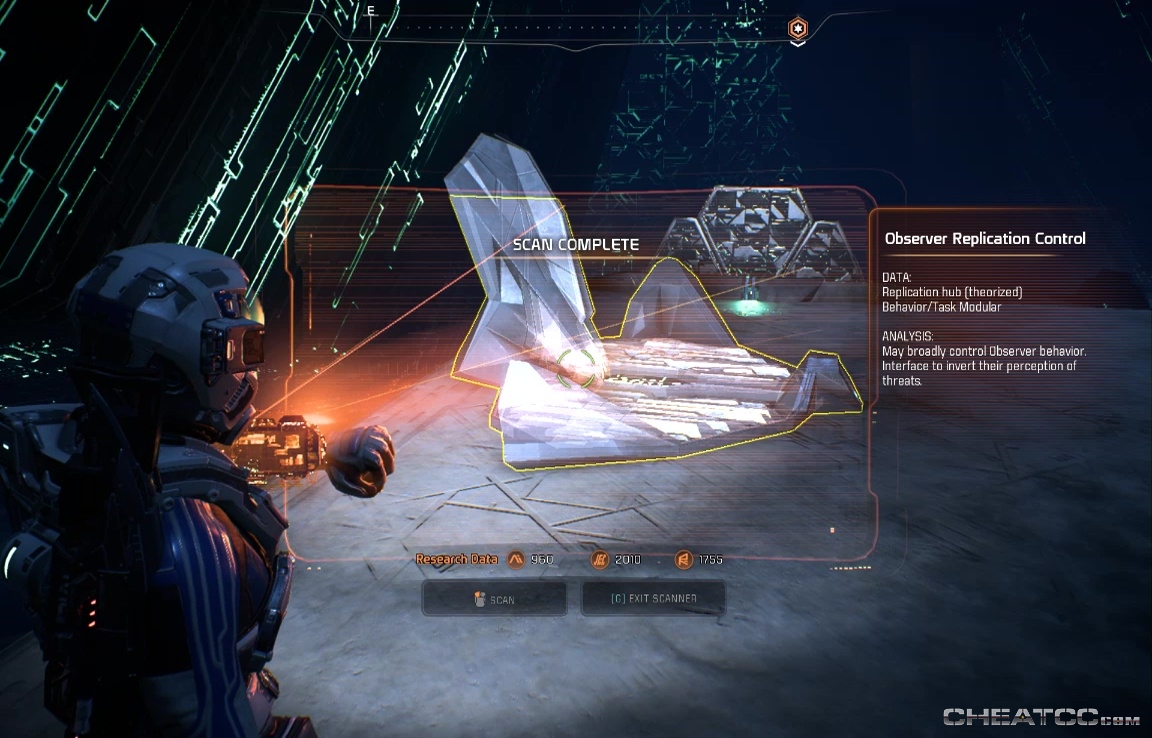
After that, huzzahs all around. Before you head back to the surface, just remember to scan the new enemy-spawning mechanisms.
Return to the Research Station, and you'll find Kiiran, Taavos, and Sage Esmus all waiting for you.
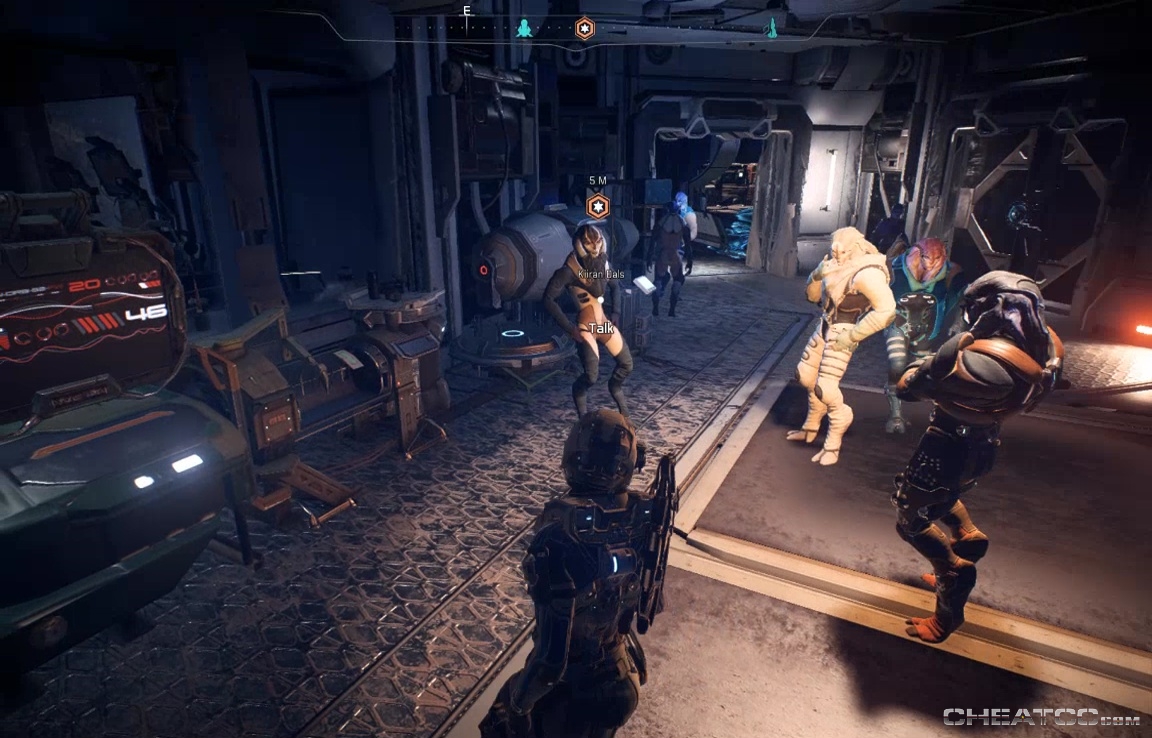
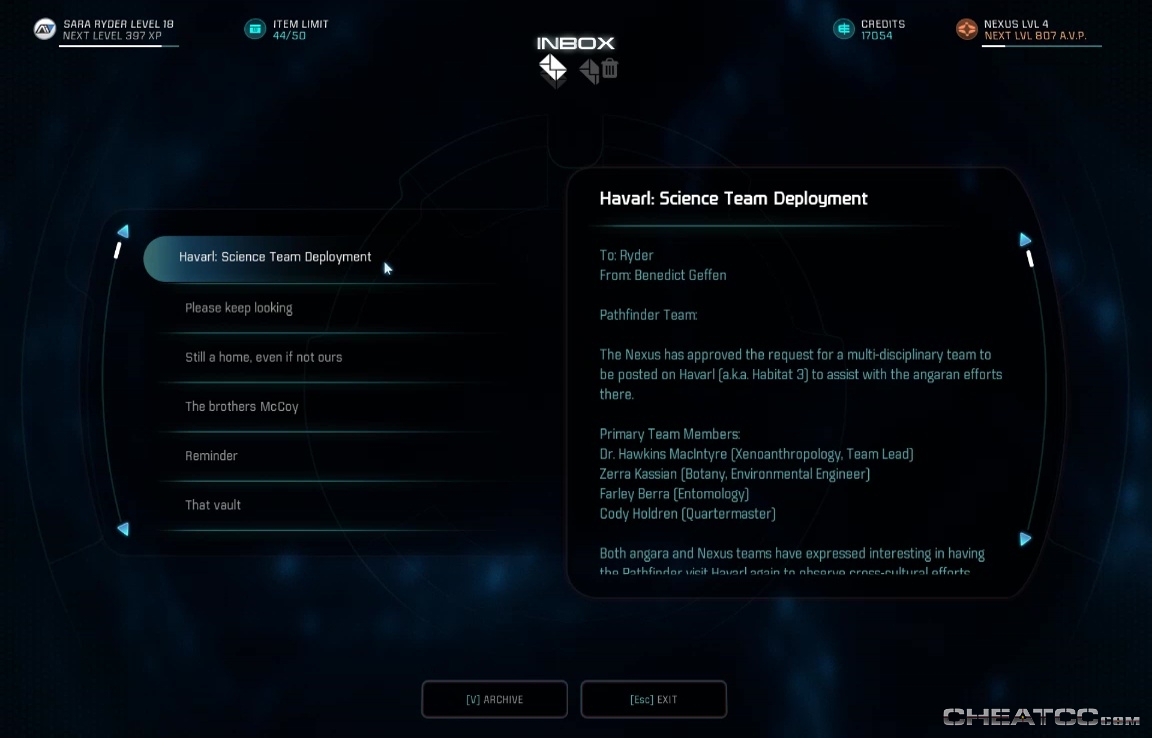
Talk things out for a burst of Viability Points. Dals will also extend an invitation for Nexus scientists to work with her here in Pelaav. It's not an outpost, but it's not a bad offer. Go back to the Tempest, and read your email to seal the deal.
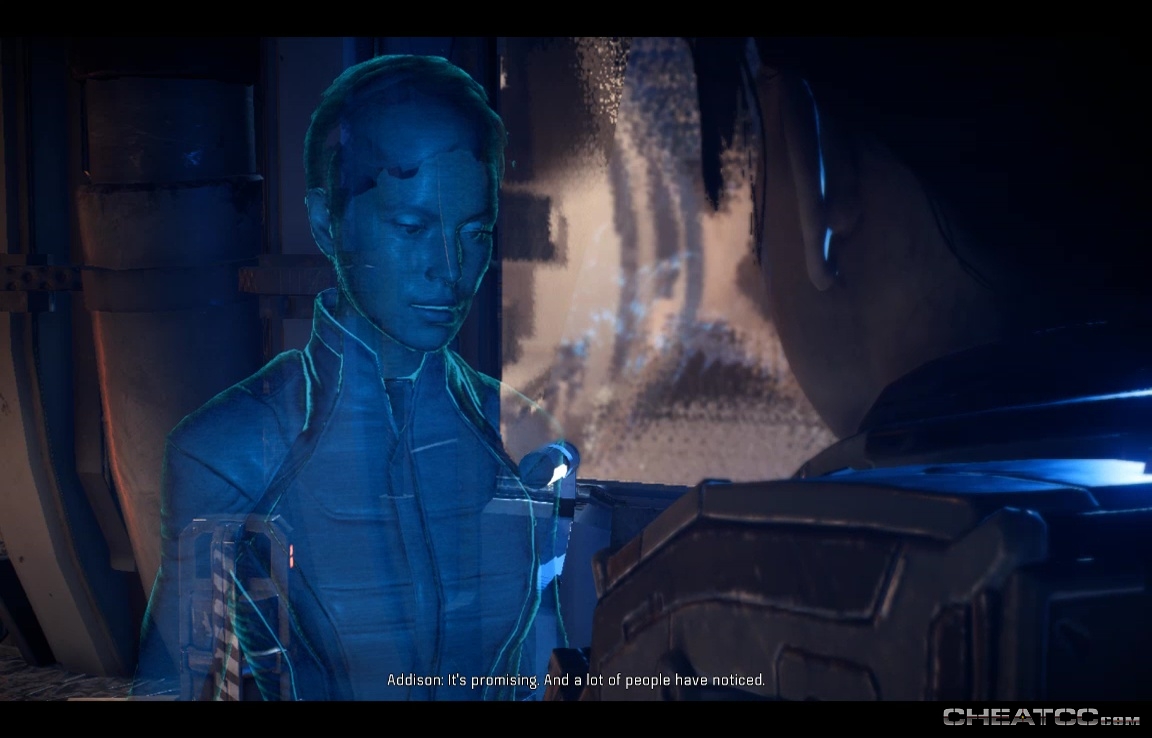
Return to Pelaav and you'll find a lot more Nexus faces. Their command center is on top of the station, go there and activate the Holocommunicator for a chat with Addison, and a statement for the archives about all you've accomplished here.
This will give you a final burst of 20% viability, and wraps up the main quest on Havarl. Next stop: Voeld!