
Healing Kadara's Heart Pt. 2
Locations: Kadara
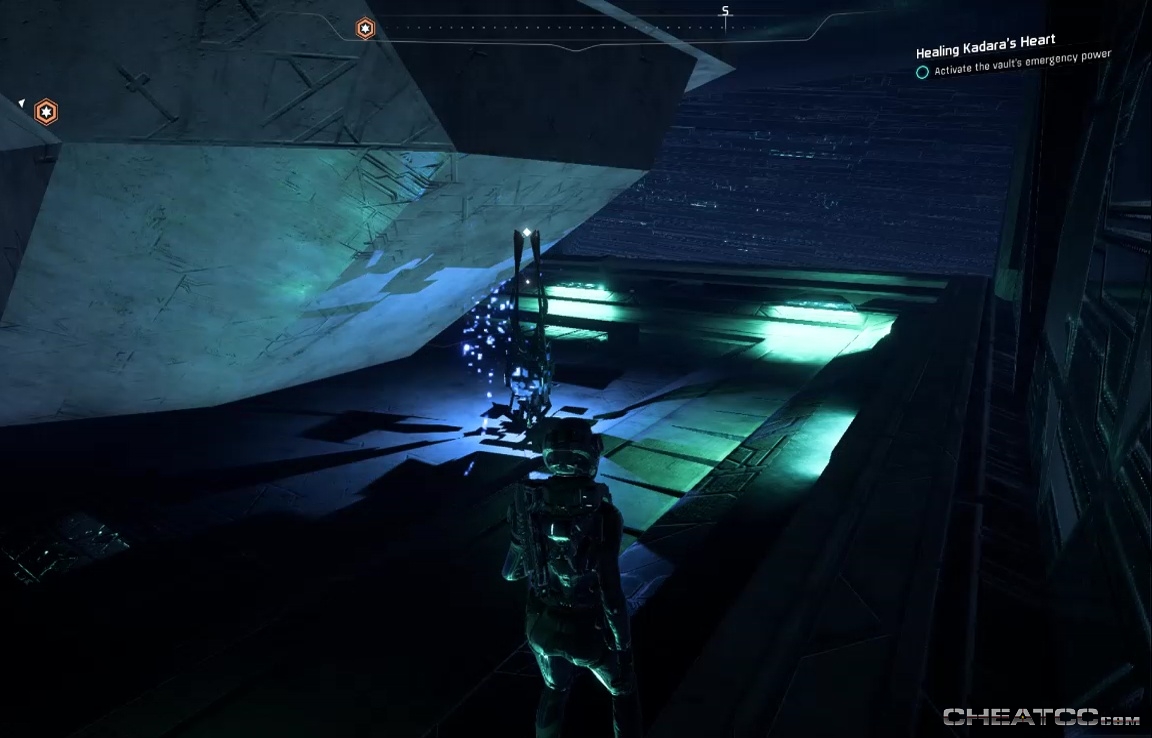
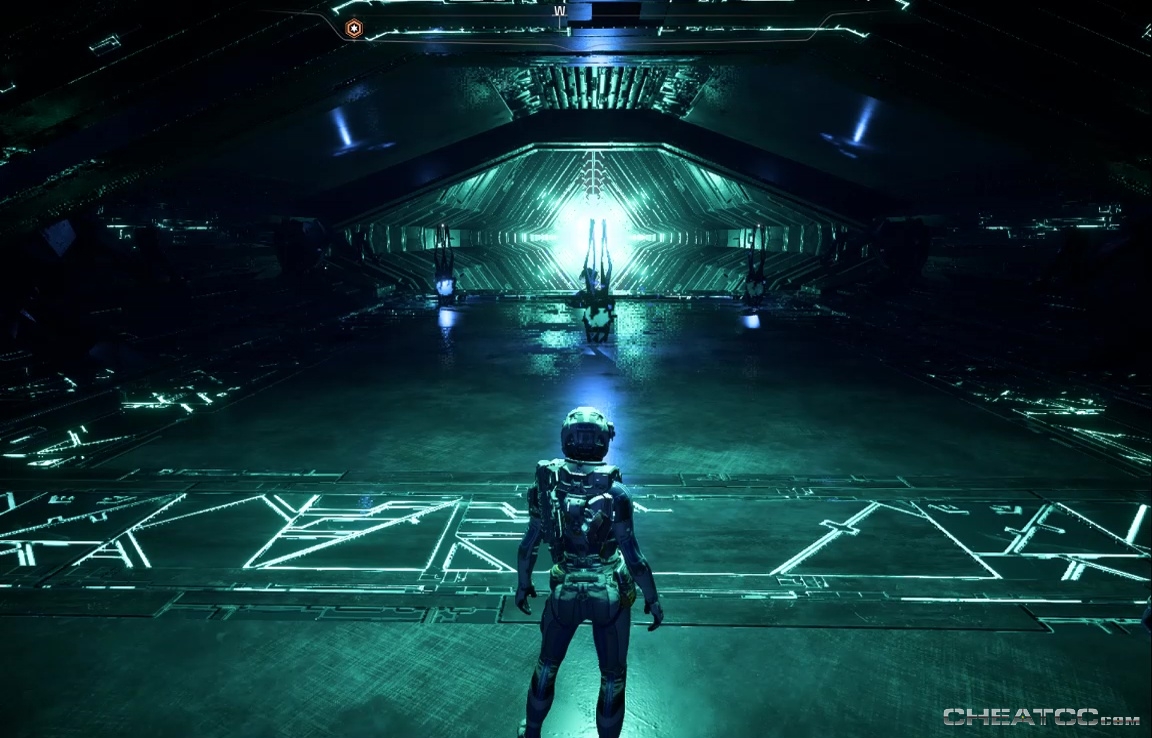
Drop down the vault gravity well, then drop behind the upper platform to find a data core hidden in the usual overhang.
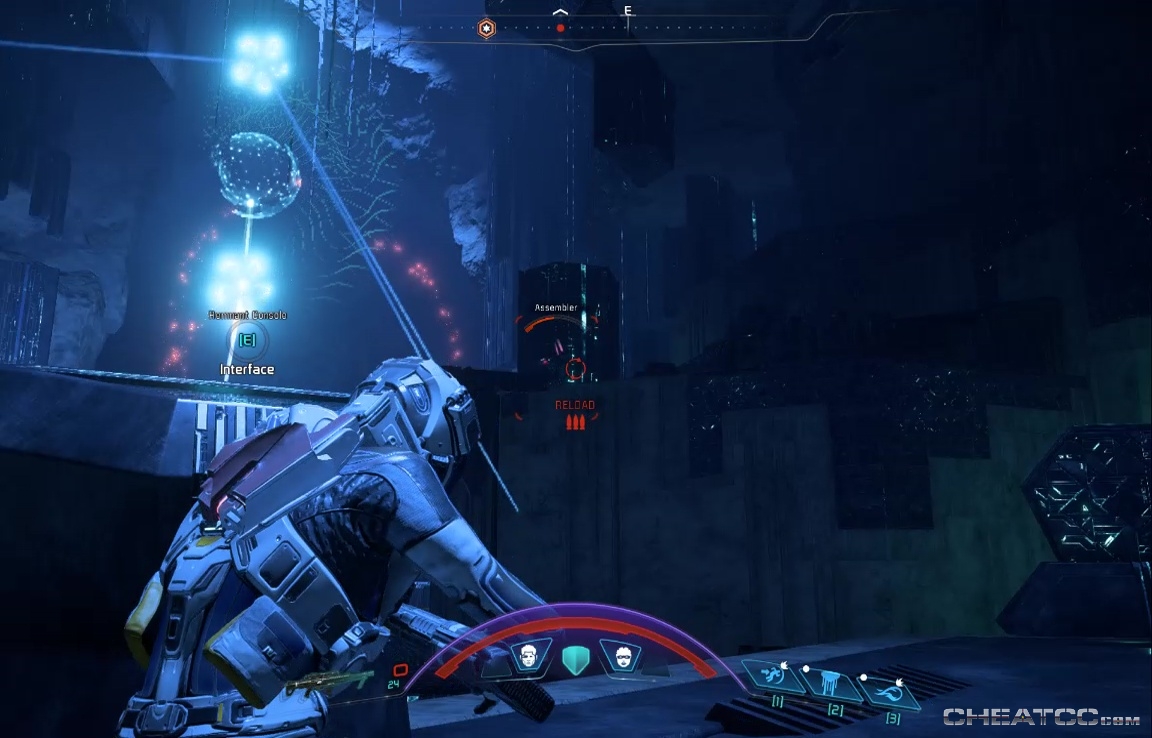
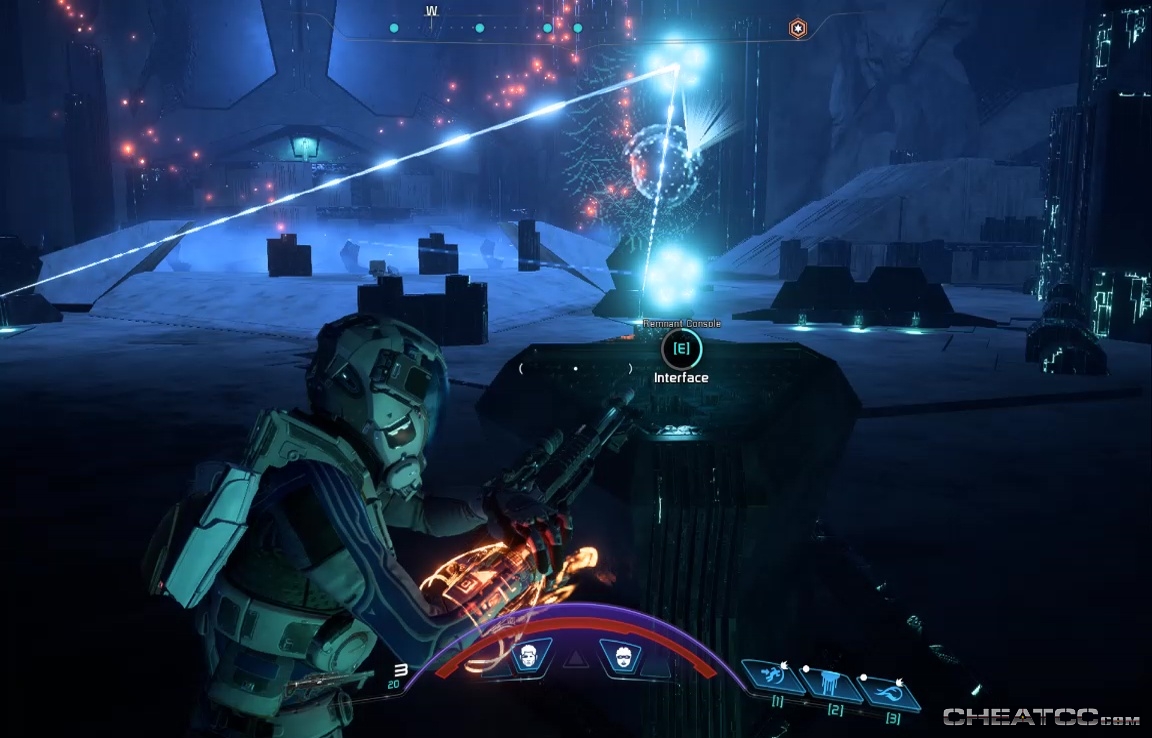
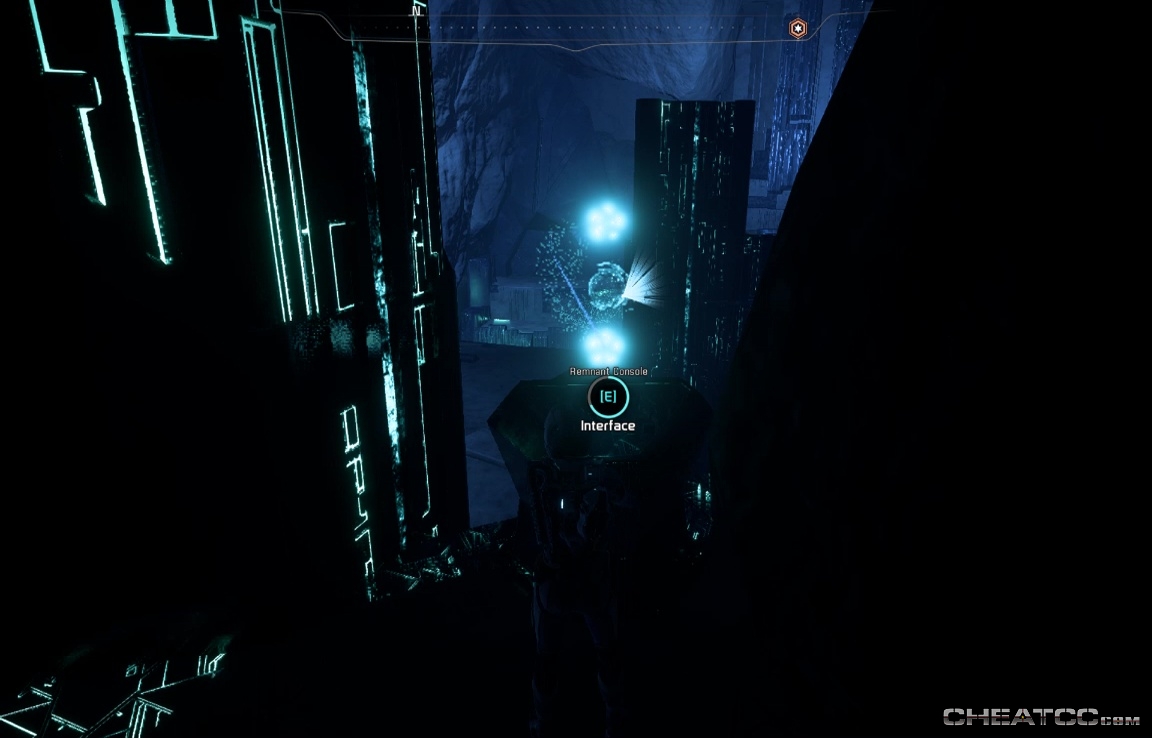
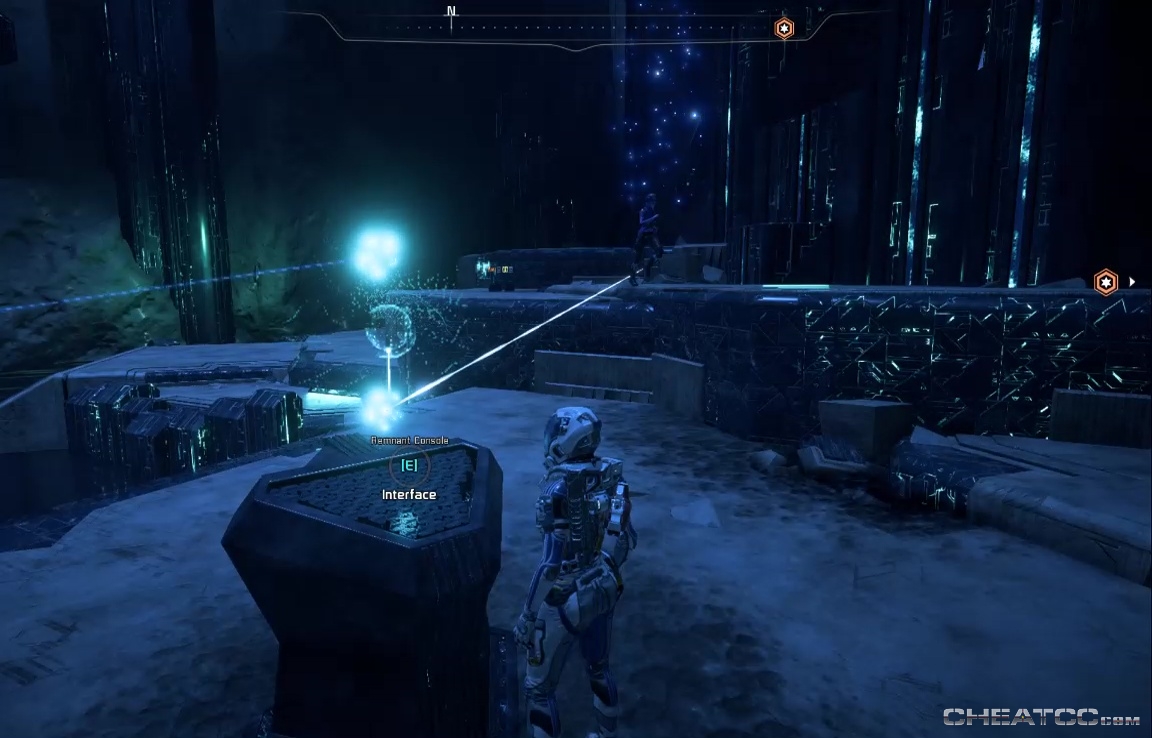
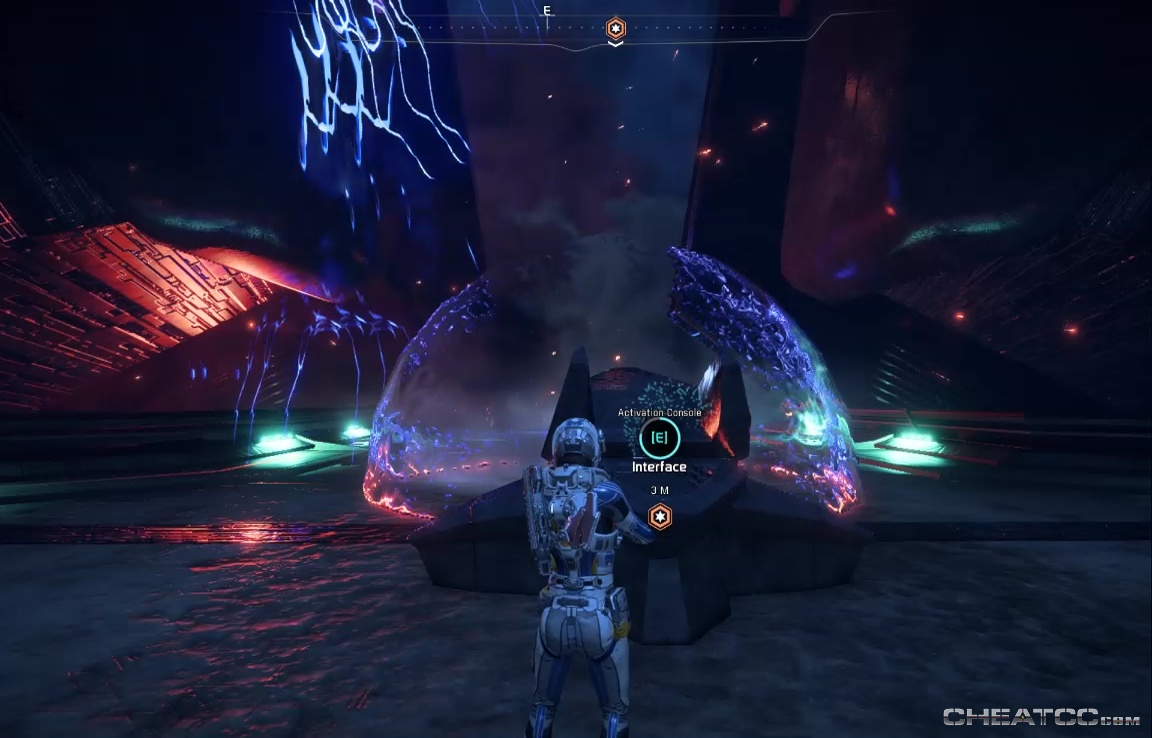
Activate the main console here to reveal the minor theme of this vault. Three consoles surface, surrounded by anti-shield bubbles.
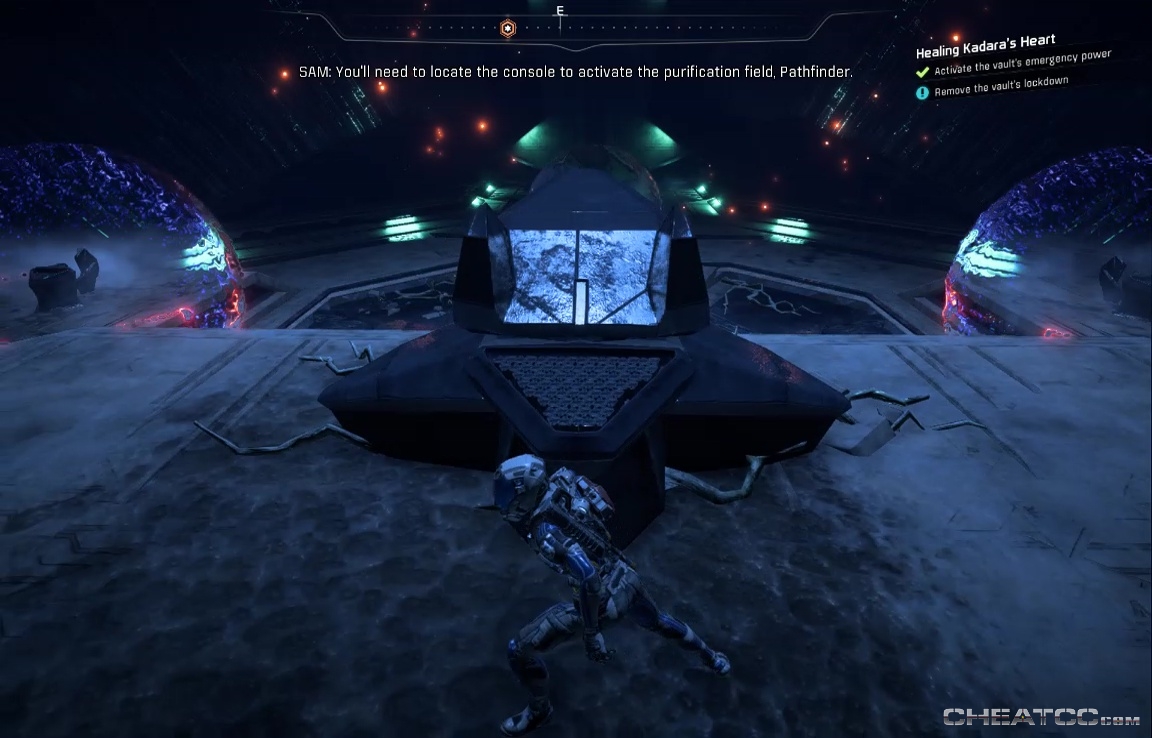
Activate the consoles to turn them into shield-healing bubbles. Activate all three to open the door. You'll be greeted by Breachers and Observers in the next section.
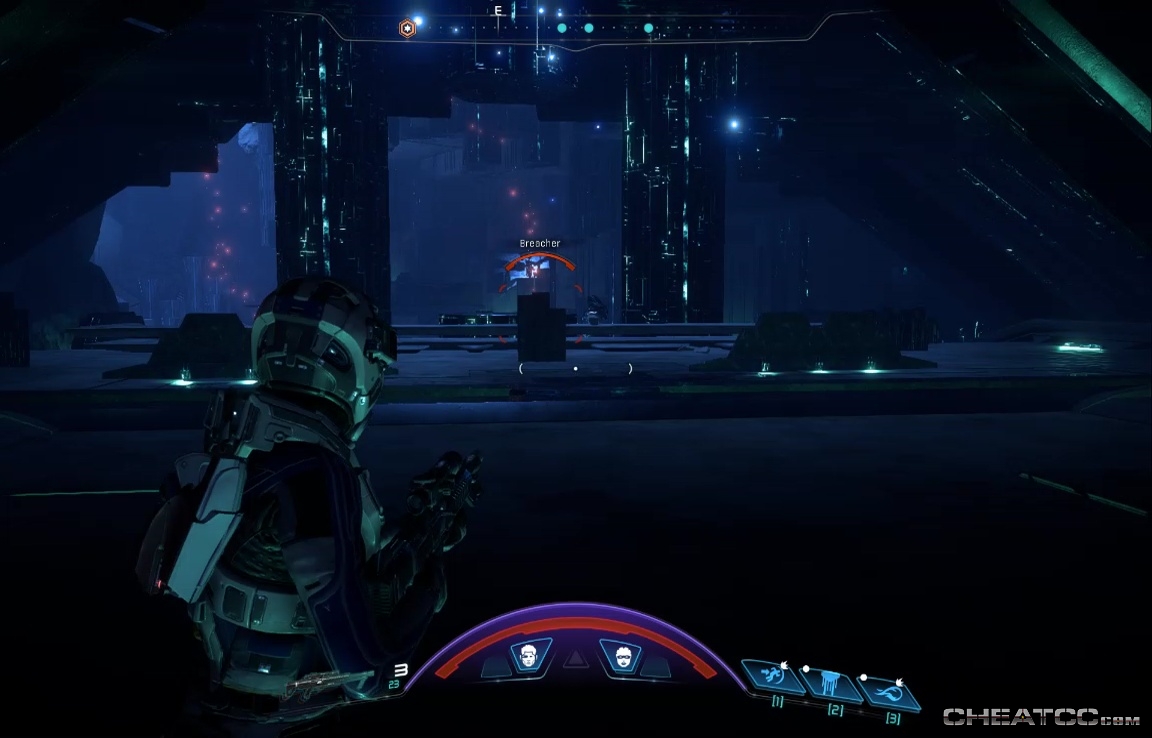
Clear them and jump to the near hexagonal platform.
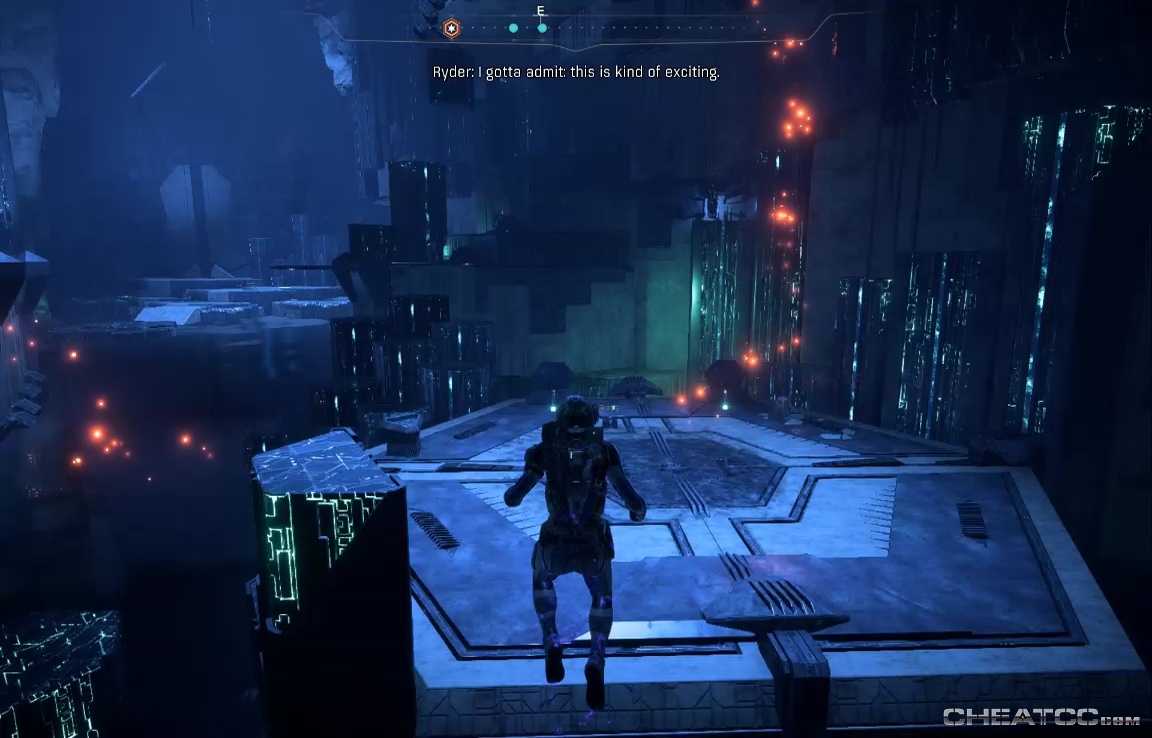
There's a spinning core in the wall above, but you can scan in from here.
There's also a console here, but it's generally more useful in the 'up' position. Flip it down and back to see both configurations. Also note that the fluid here takes two hits to kill you, so you can clear some gaps by taking a single hop in the drink.
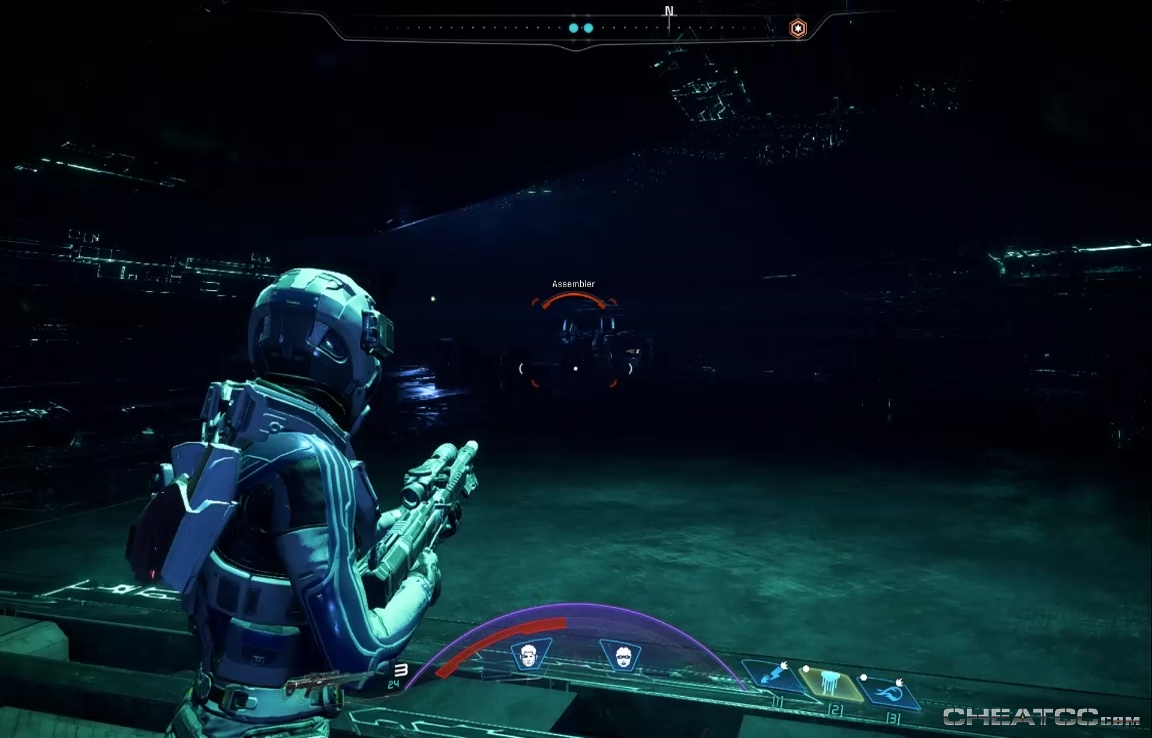
Bear right, taking out the Assemblers lurking there.
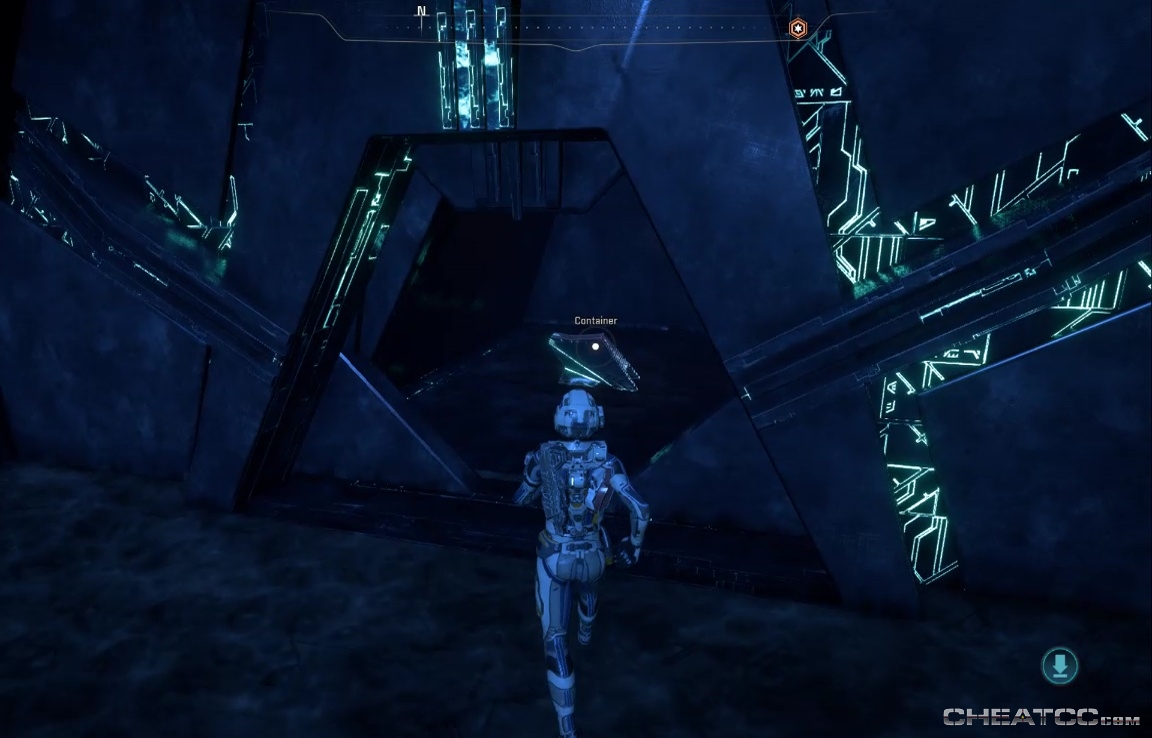
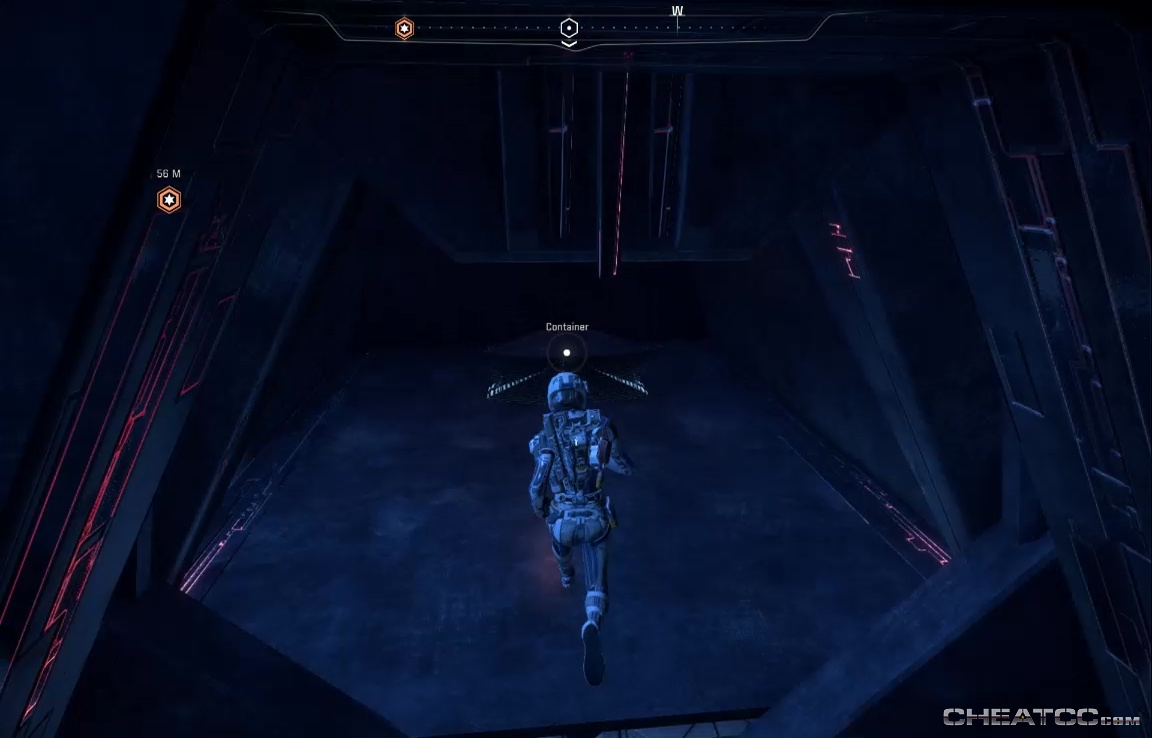
Follow the ledges to its eastern end to find a container.
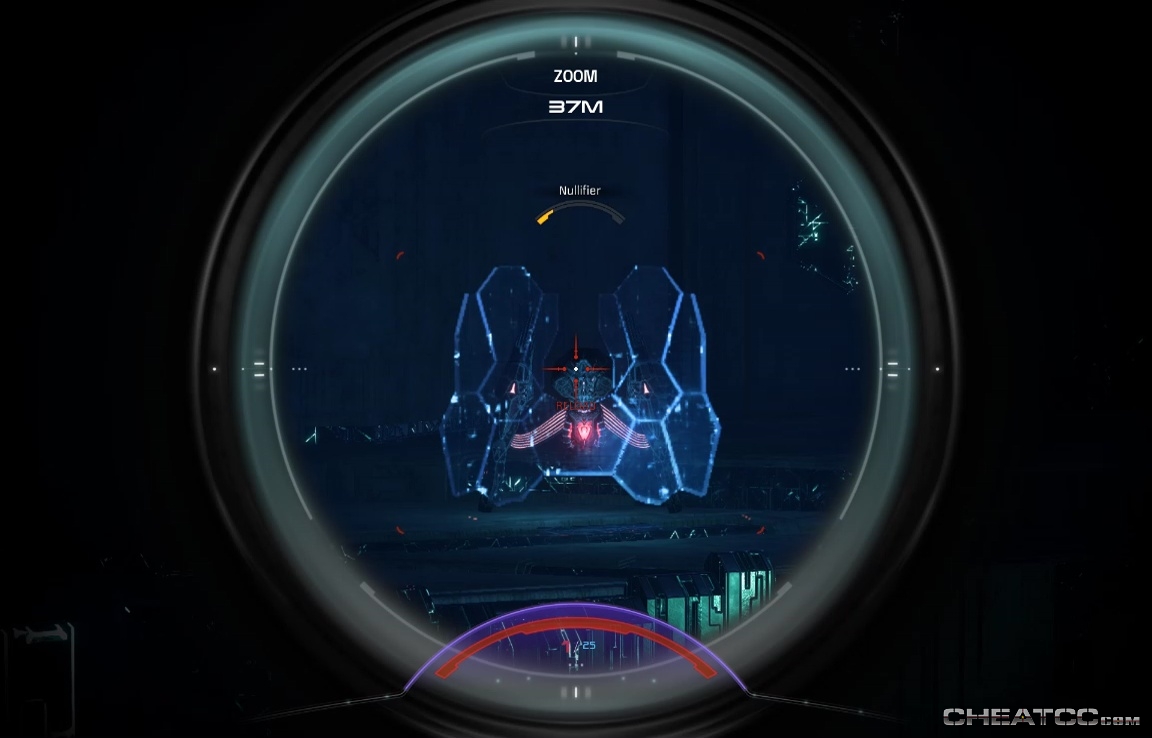
Run across the magical hex bridge here, and take out the nullifiers & breacher on the far (northeast) side of the room.
The platform you're currently on also has the barrier door for this vault. Get a closer look for SAM to mark it on your map.
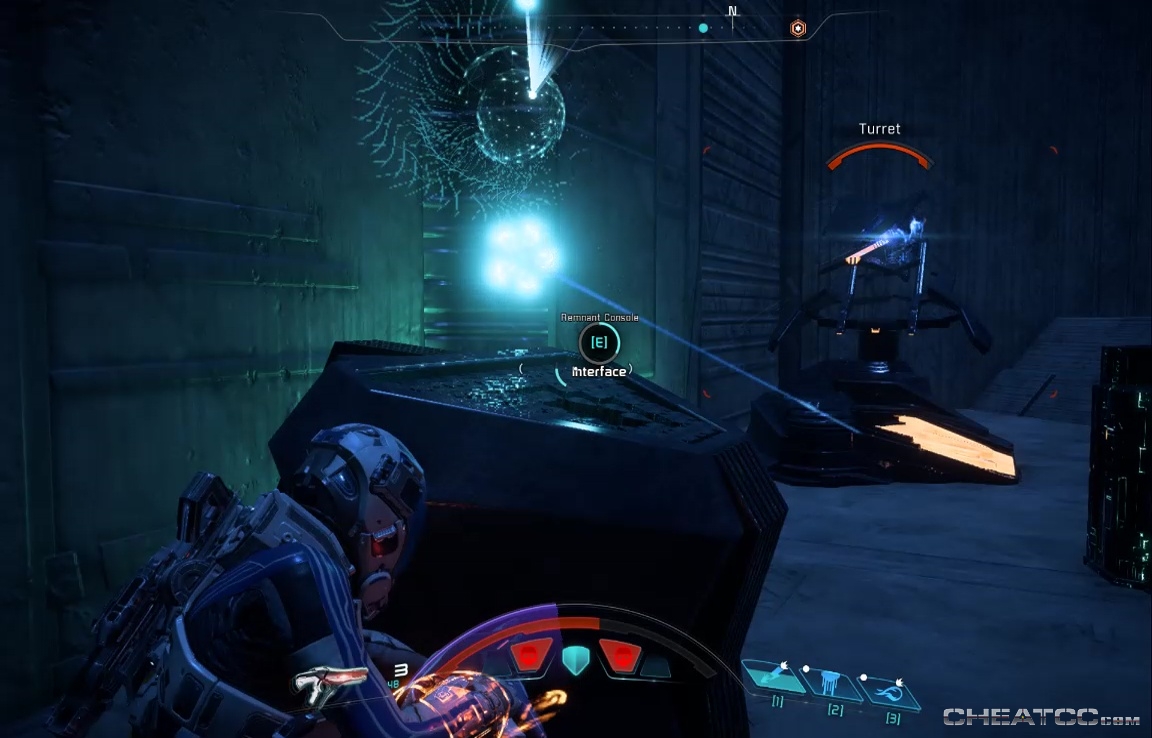
Climb the ramp to larger plaza. The console here switches between small solid barriers, and shield-buff bubbles.
Pick whichever one you'd rather fight through (barriers are more reliable, but bubbles can be handy if you favor mobility), then take out the Assemblers and Nullifier on the far side of the plaza. There's also a hackable turret on that far (westerly) side, but it's almost more trouble than its worth to activate during the fight. Still, worth turning on afterwards for your final sprint out of here.
Climb up the stepped wall to the west to find a large door, and use the console to the right to open it.

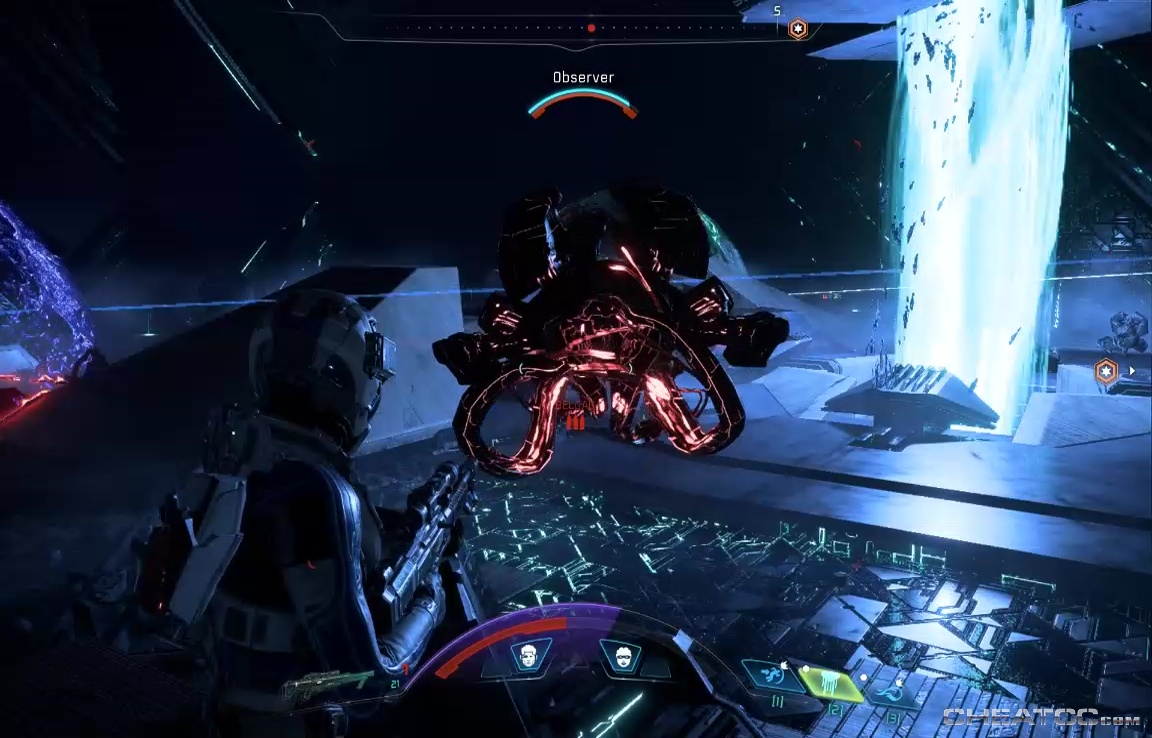
Inside you'll find a Destroyer, backed by Nullifers and Assemblers.
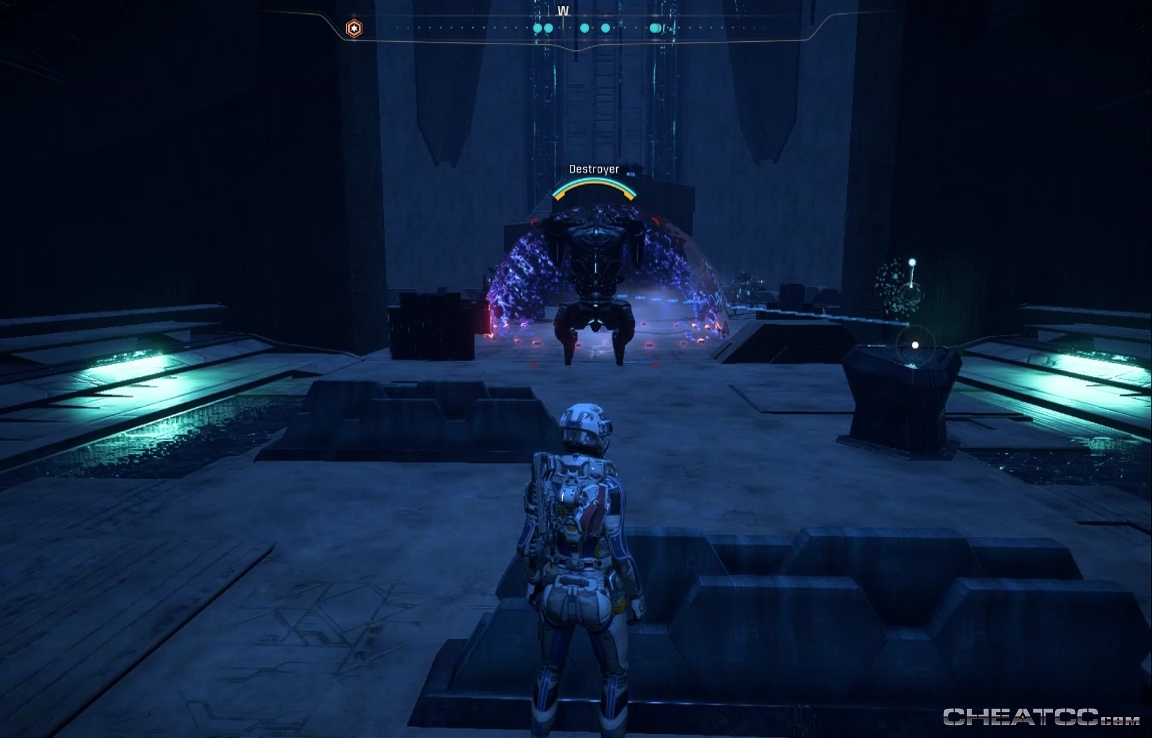
The near console will turn the shield-burn bubble to shield-buff, but the console you really want is on the far side of that big column. It's hooked up to a hostile terminal, but a quick hack will make it yours.
This turret will keep the destroyer occupied while you mop up the lesser baddies, and will still probably be going strong when you return to finish the job.

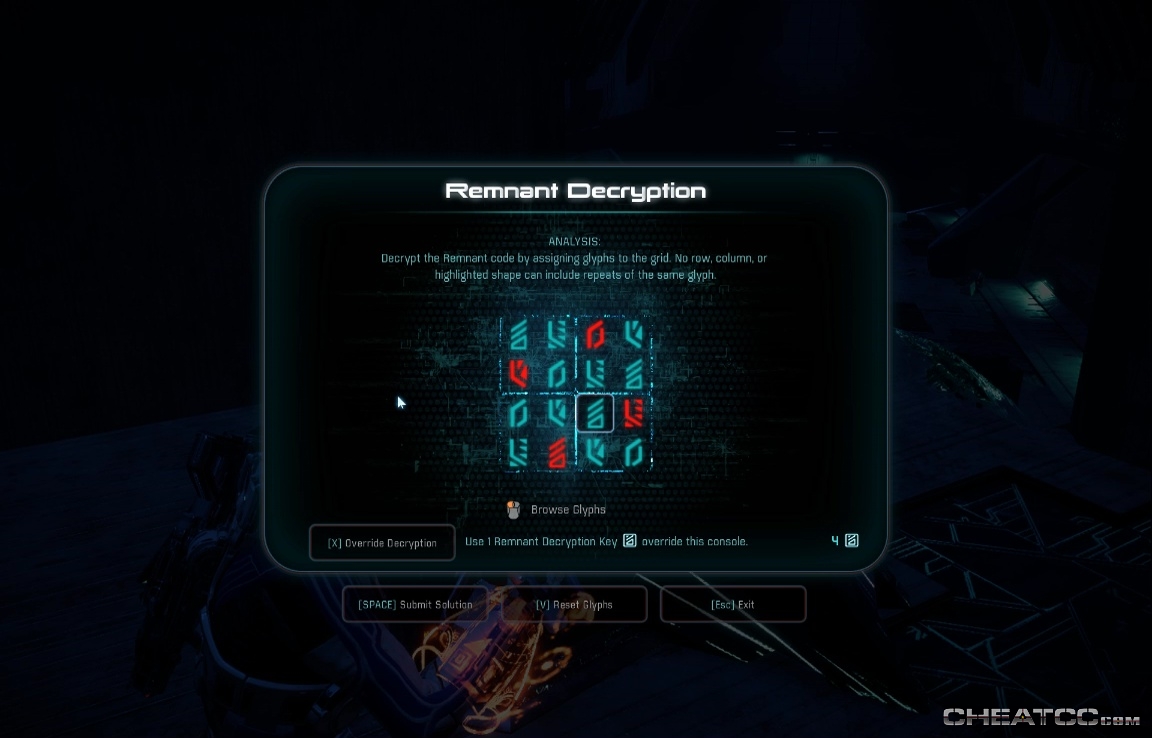
Kill the destroyer, then leap atop that central pillar to find a console.
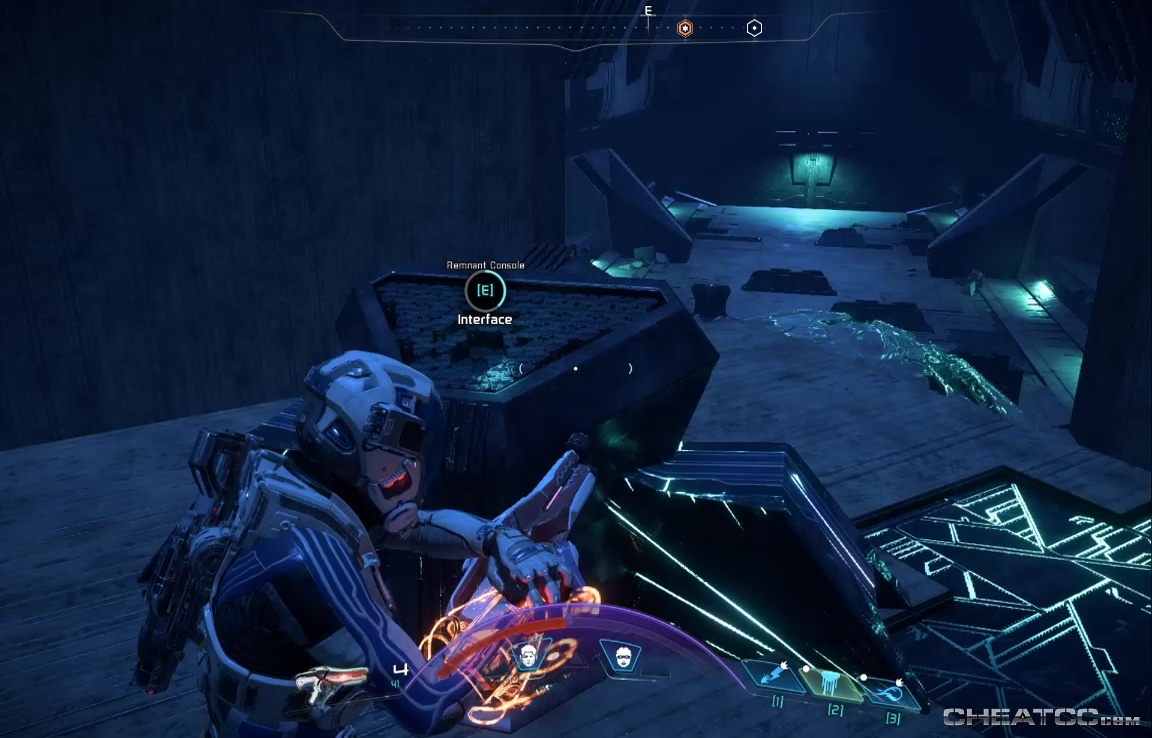
Solve it for 2 bonus skill points.
Exit back to the larger plaza, and this time run up a ramp to the north, and through another large door to a passage with some Assemblers.
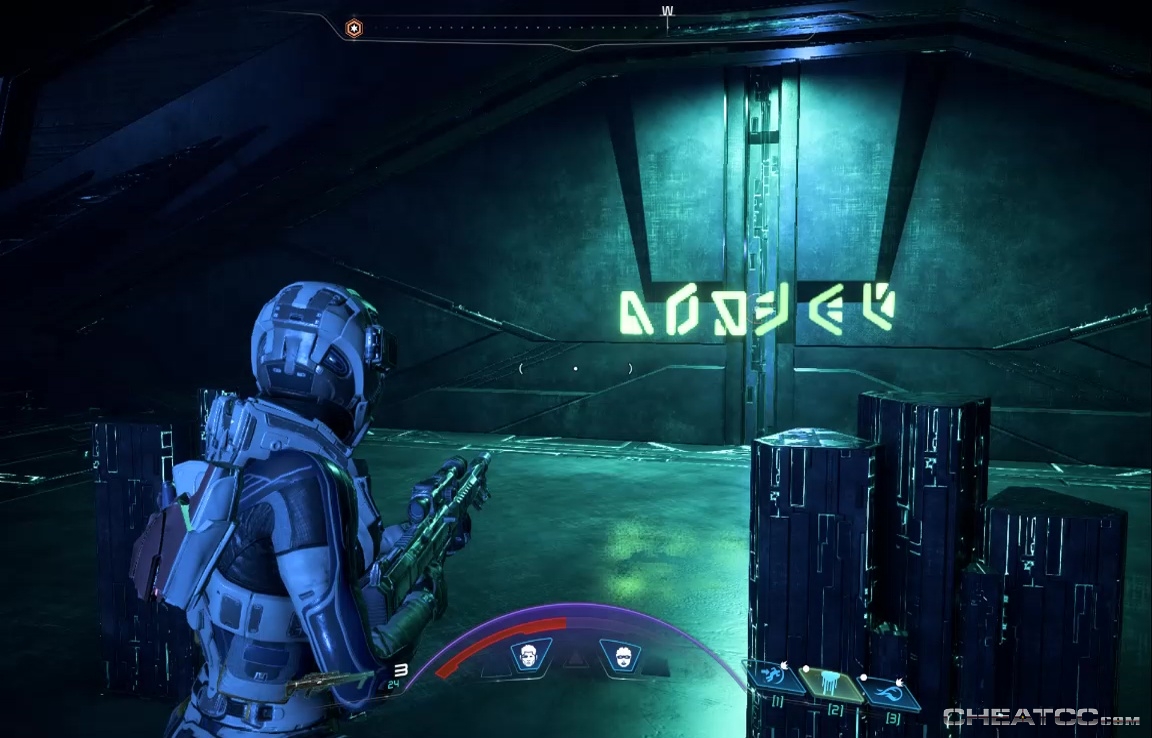
Clear them, and proceed down the passage, which technically ends in a puzzle. The combination for the door is posted on the door. Activate the six consoles here in that sequence to open it.
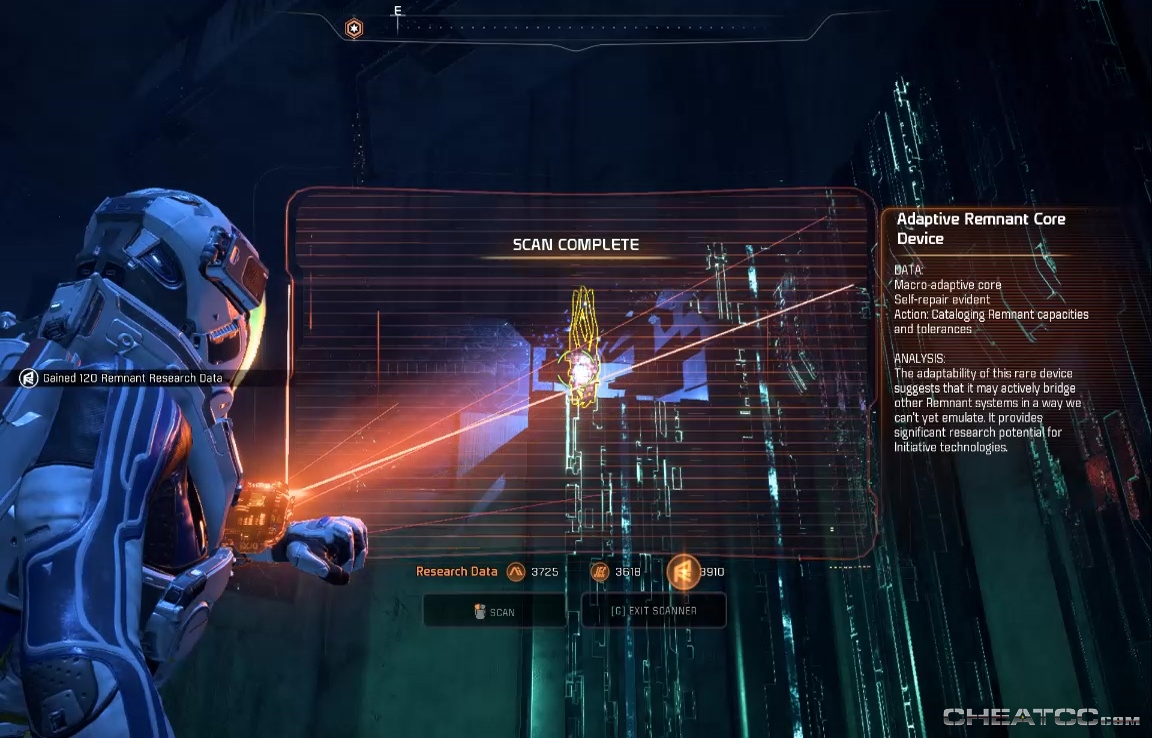
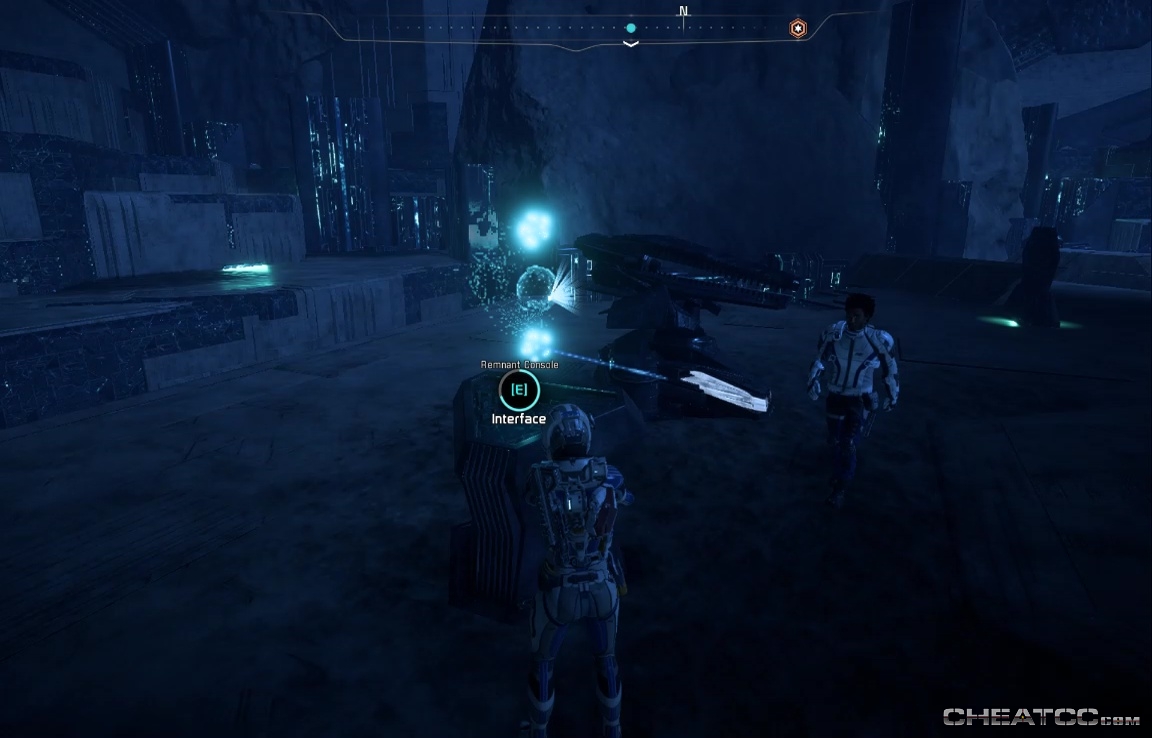
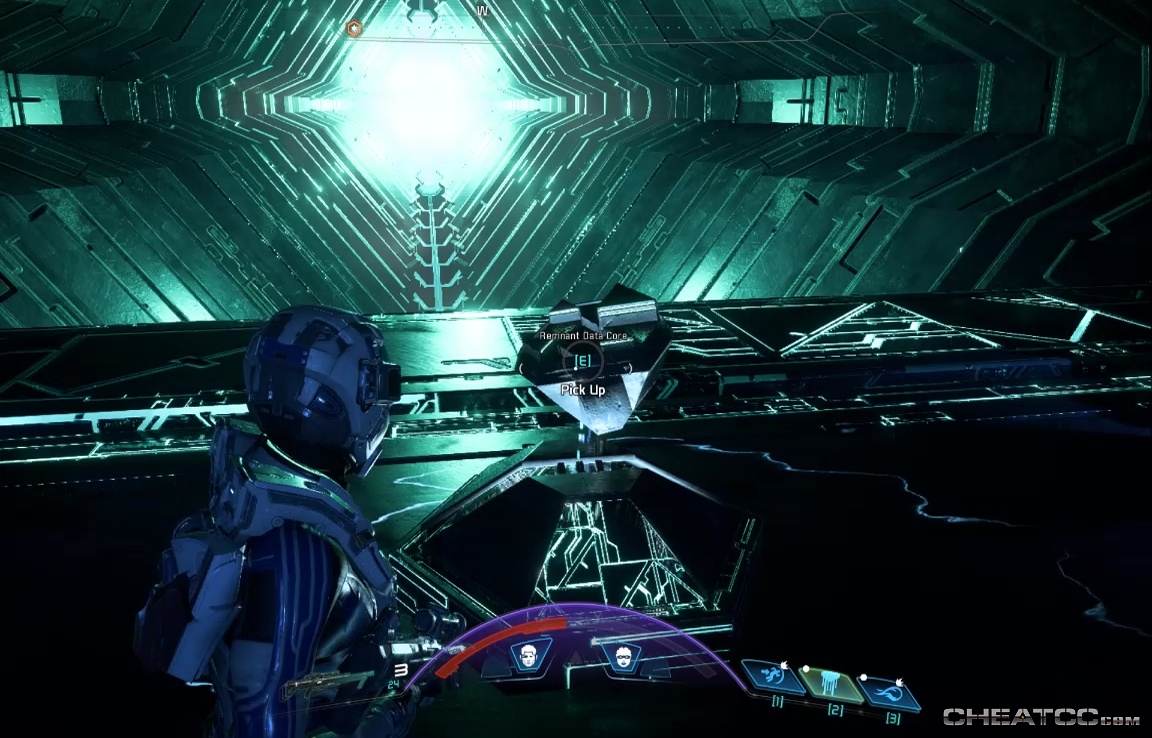
When the door opens, you have three spinny cores to scan.
There's also a Remnant Data Core, now newly quest-trackable since the update.
Return to the main plaza once more, and note a small locked door to the northwest. Scanning will reveal a thin thread connecting it to a console above the south side of the plaza.

Activate that console, then head back to the platform with the barrier door, and jump zip to the northern ledges. Here you'll find a console that will make transit in this corner of the map a little easier.
![]()
Use the new platform to leap down to the previously-locked door for a container.
Now travel along those northern ledge to the east shore. There's a console here that opens the door to the purification room.
Activate the console, scan the spinny core on a high ledge to the southeast, then go through the door into the purification room.
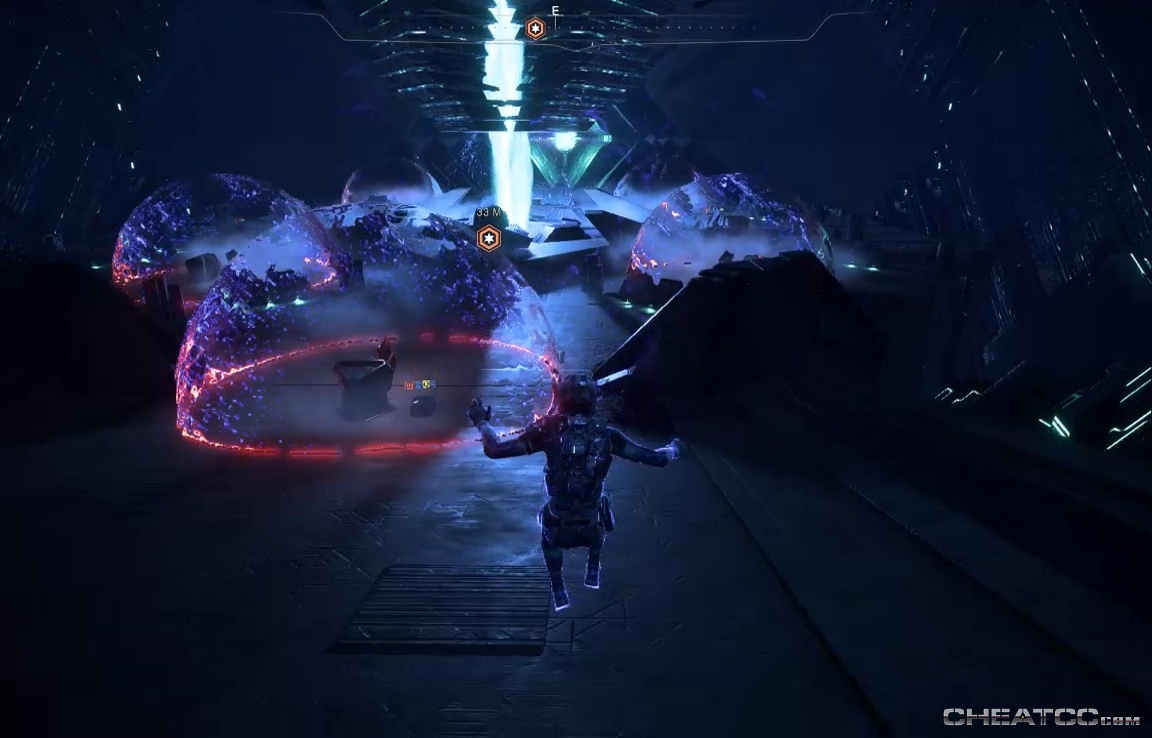
The aim here, like in the elevator room, is turn all the bubbles from burn to buff. Each one you activate, however, summons more Remnant enemies, starting with Observers and Assemblers, but capping with a Nullifier. The fat slabs here don't always make great cover, so keep moving and shooting until you've cleared the area.
When you're ready to be done with this vault, hit the console and run. When you reach the east shore, jump for it. This a makable jump, particularly with bonuses, but even a brief dip in the fluid won't kill you.
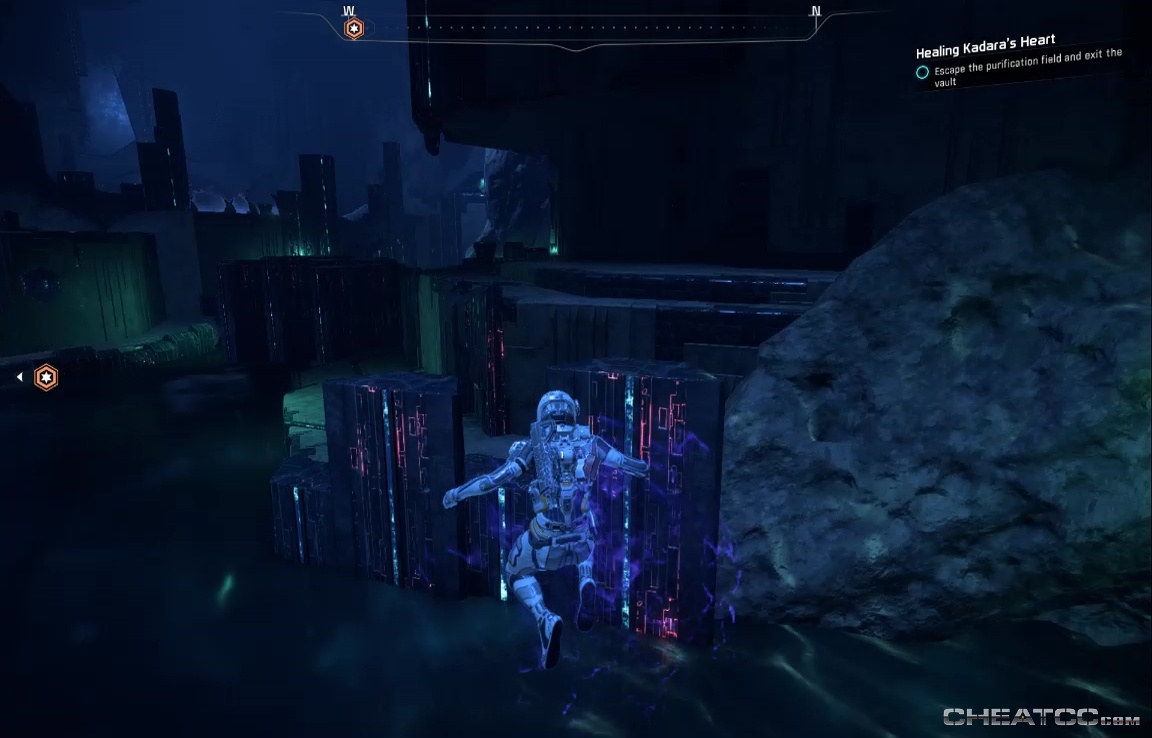
Leap back the way you came, remembering to dash in to grab your remtech from the unbarriered door.
The leap back to the first hex is another makable-but-okay-if-you-don't deal. Get back to the elevator room to shut this one down.
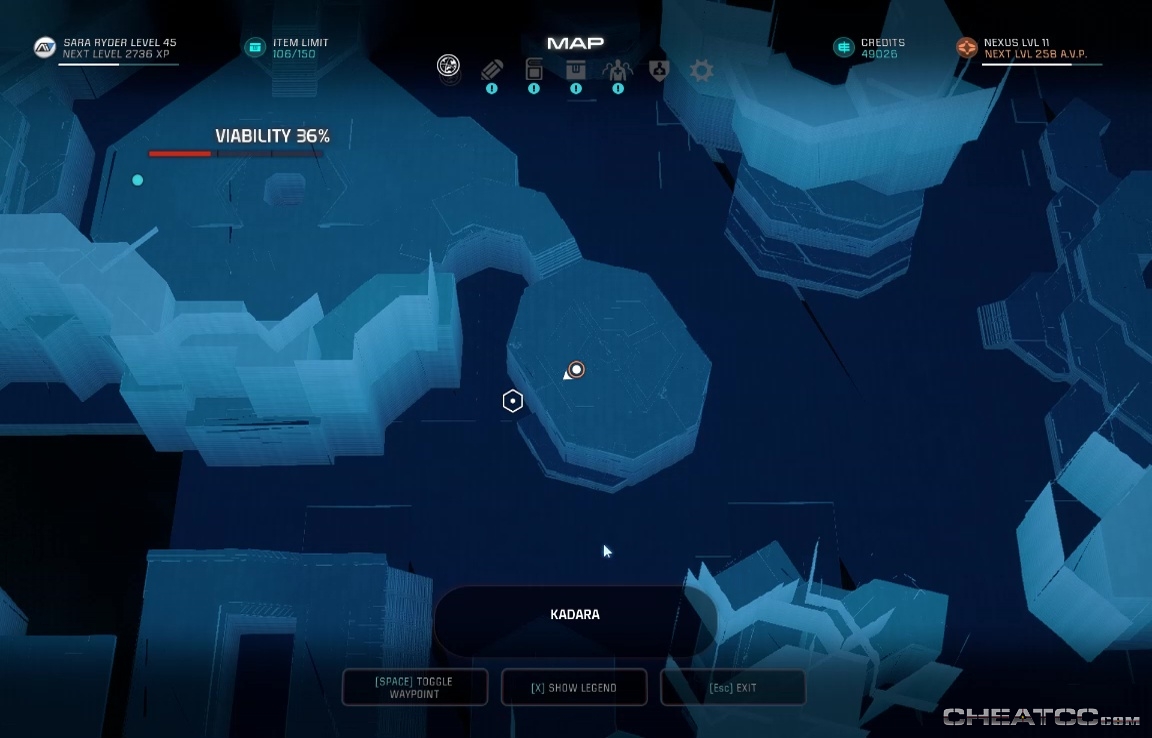
This nets you 900 AVP, and +40% Kadara Viability, plus some XP for your trouble.