
Heirloom and Heir
NOTE: This first dungeon crawl culminates in an enemy with very heavy shields, somewhat heavy armor, and extremely damaging attacks. Prepare your loadout accordingly, and maybe pump a few points into Overload if you haven't already.
Still in the A Dying Planet questline, quick travel off Mithrava, and head to your new objective point.
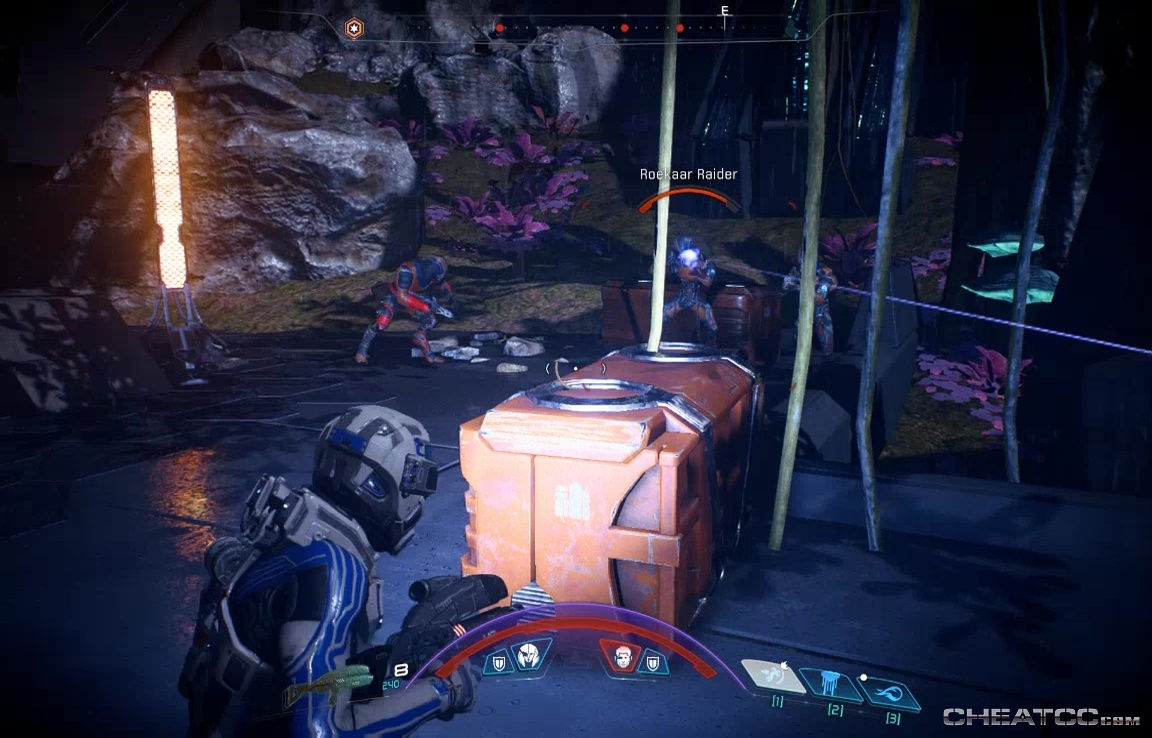
It's on the second level of a Remnant ruin. The first level is occupied by Roekaar, mostly raiders. Try to take them out quickly, or from a distance, before the Remnant come down from the second level to join the fight.
The entrance is up the ramps.
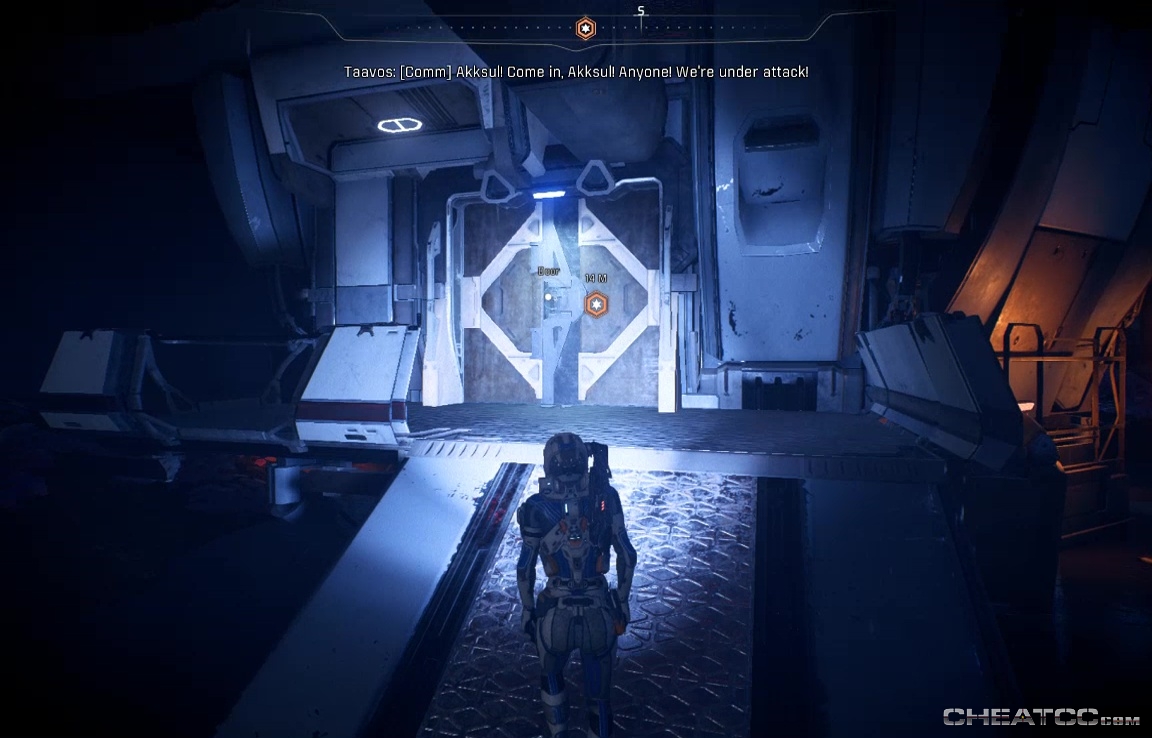
The door structure is just like the one leading into the Eos Vault, so once you've cleared the Observers and Assemblers on the second level, head down the little slope here and open the door. There's a gravity well at the end of the hall, and a container to the right.
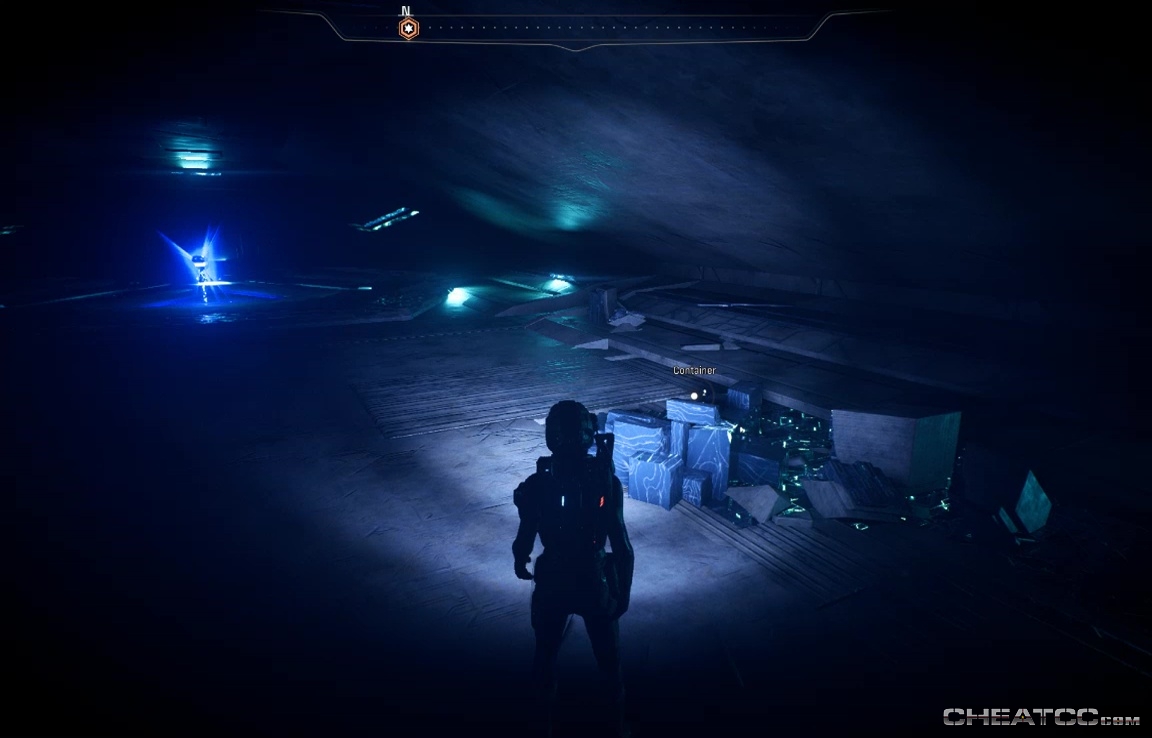
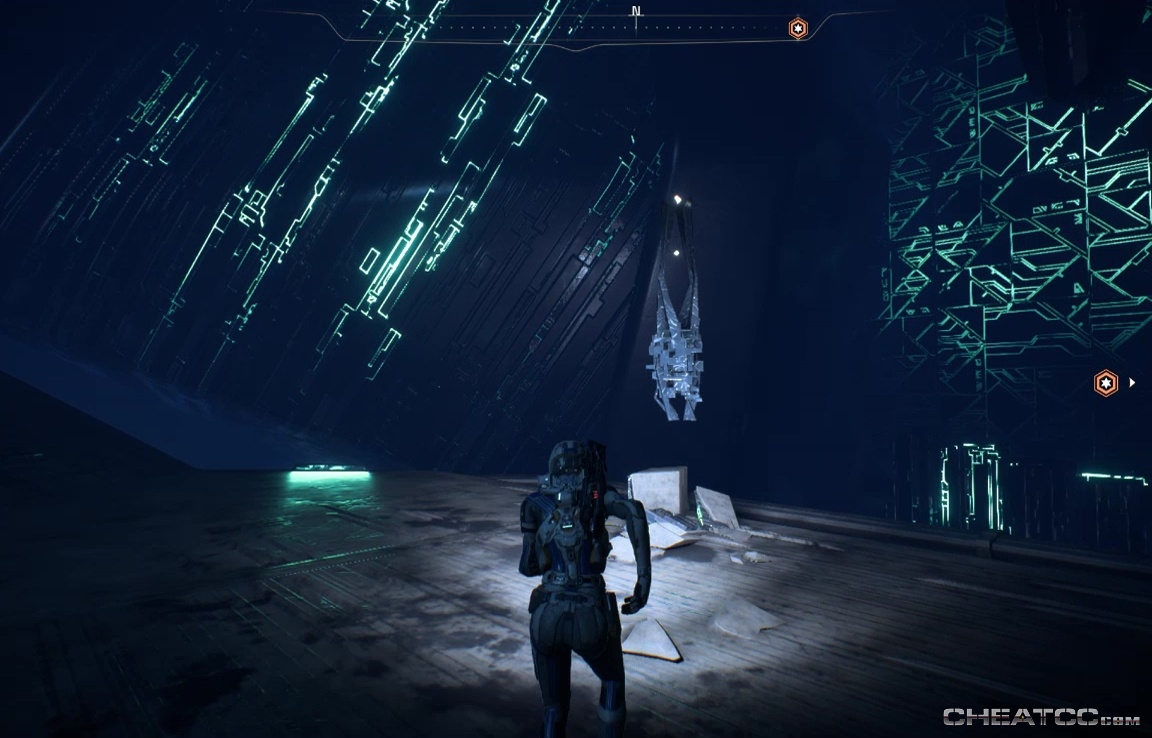
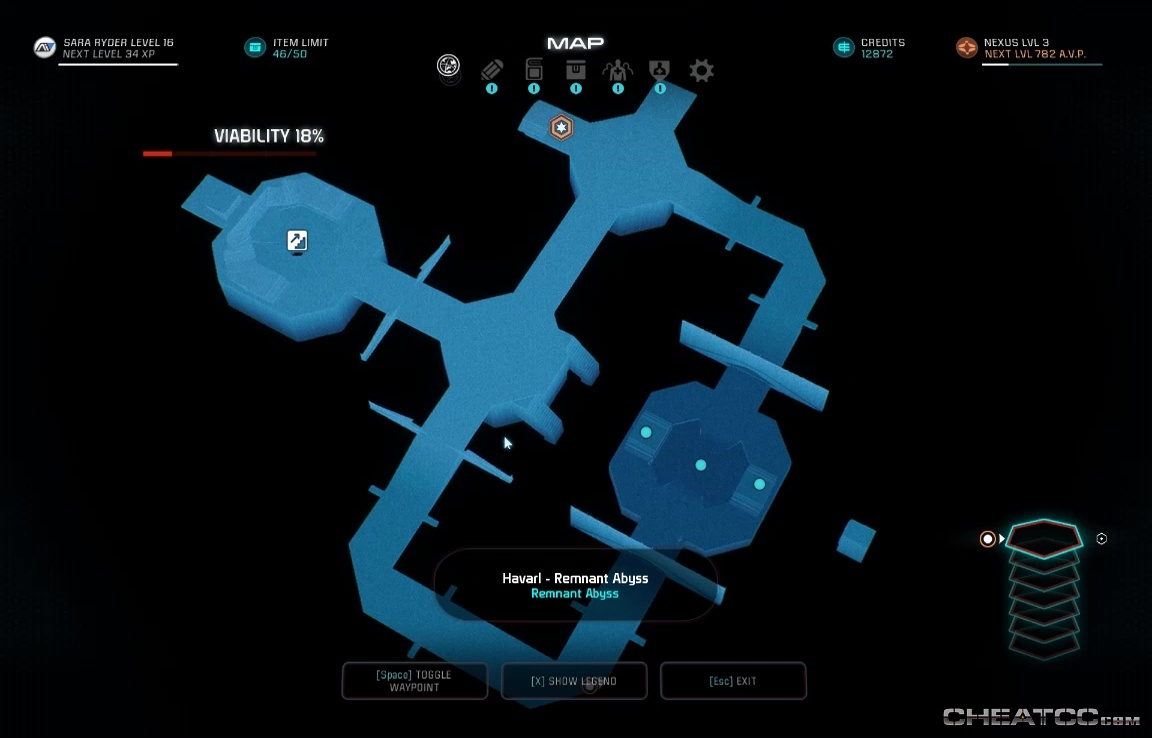
The well takes you a place called the Remnant Abyss, which sounds welcoming. At the bottom, turn left to see a Remnant Core worth scanning.
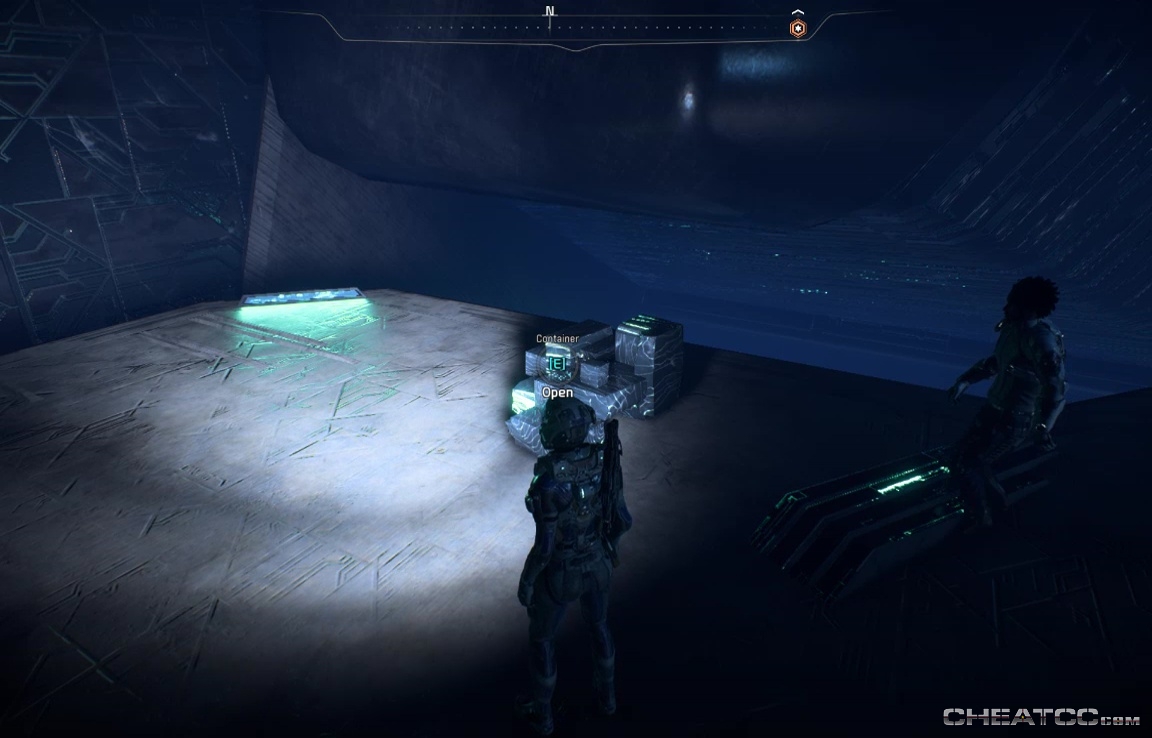
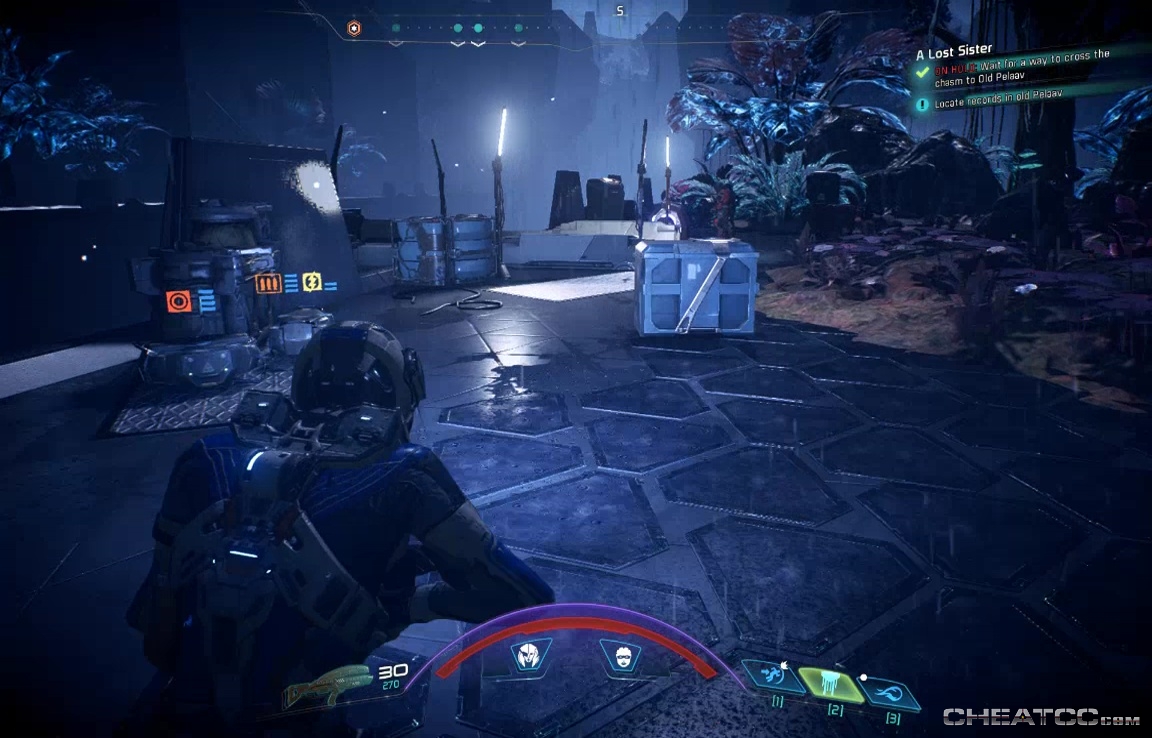
There's also a container in the northwest side of the room.
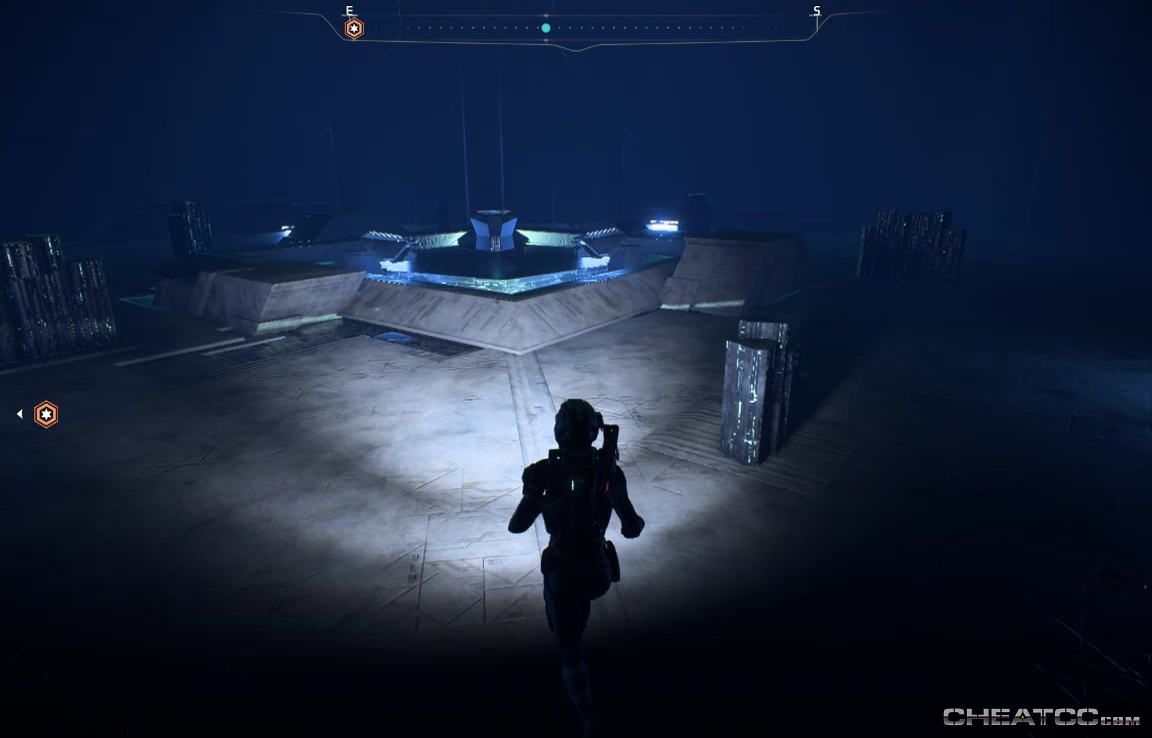
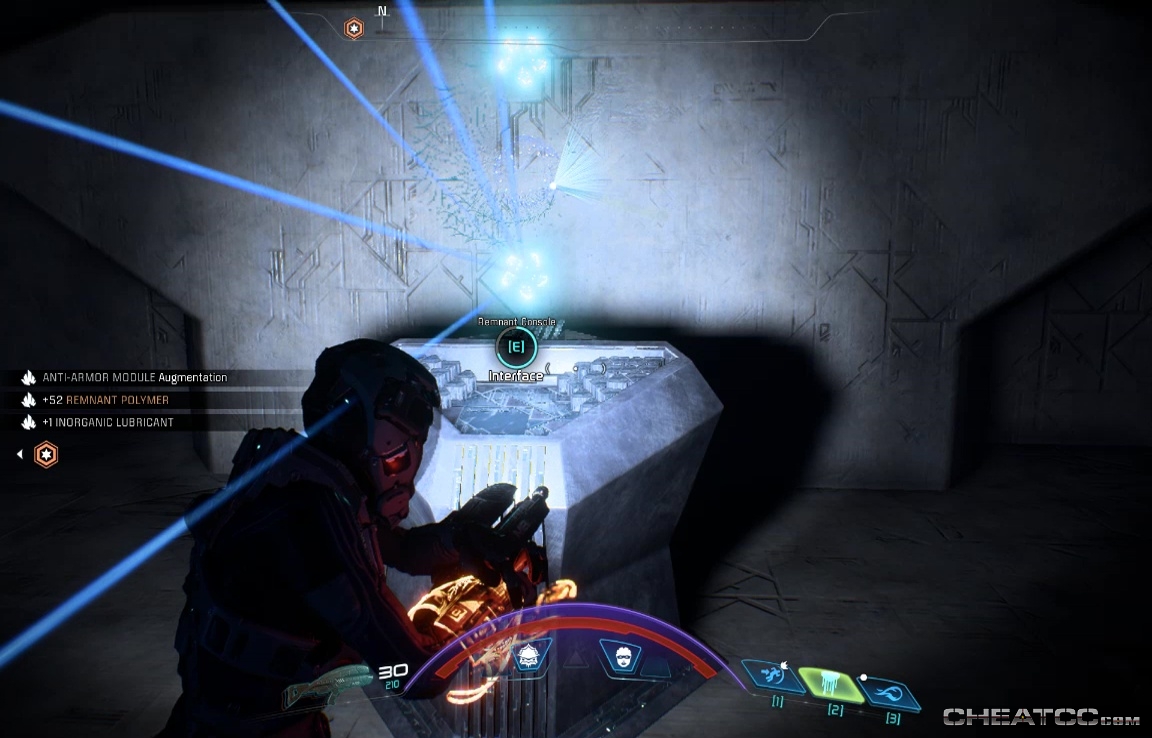
Don't try exploring under the platform here – it's off limits. Instead head down the hall to a Remnant console.
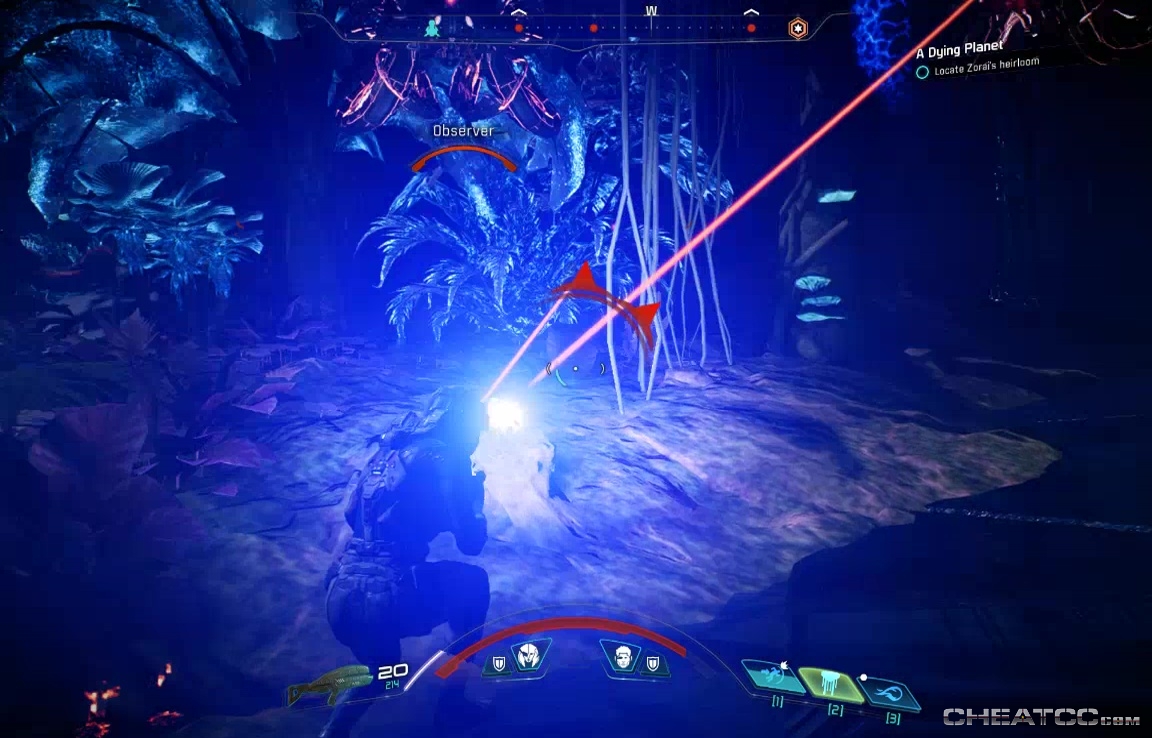
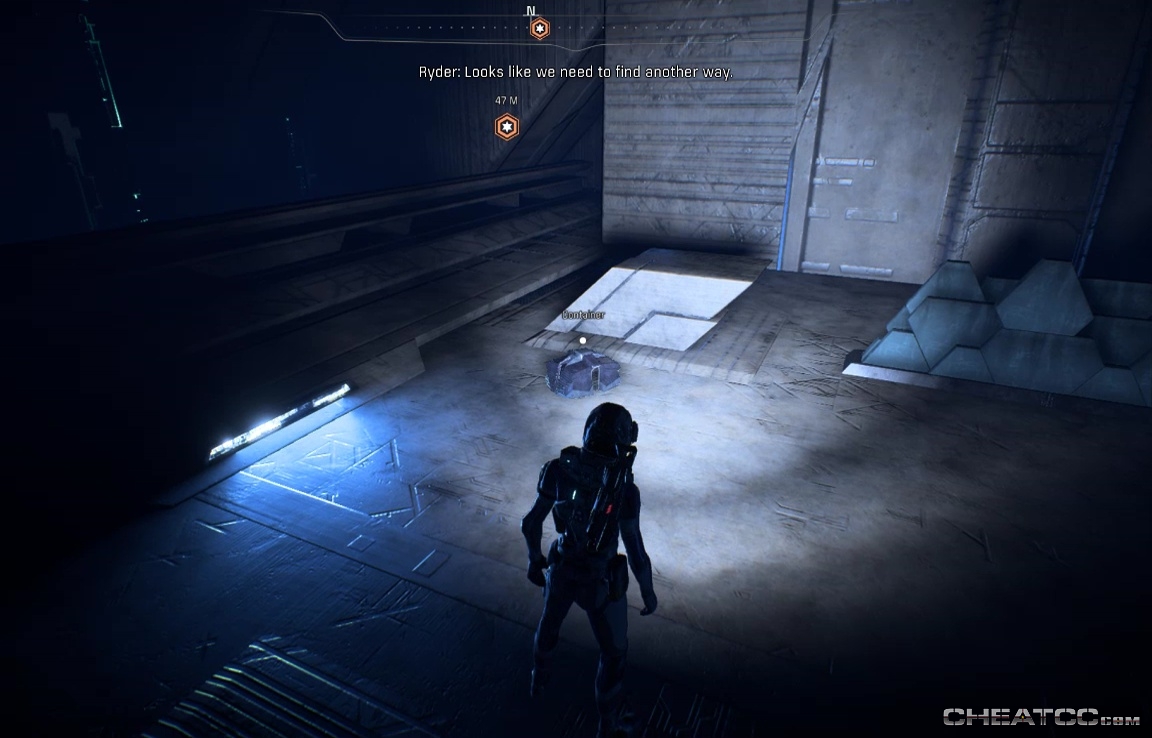
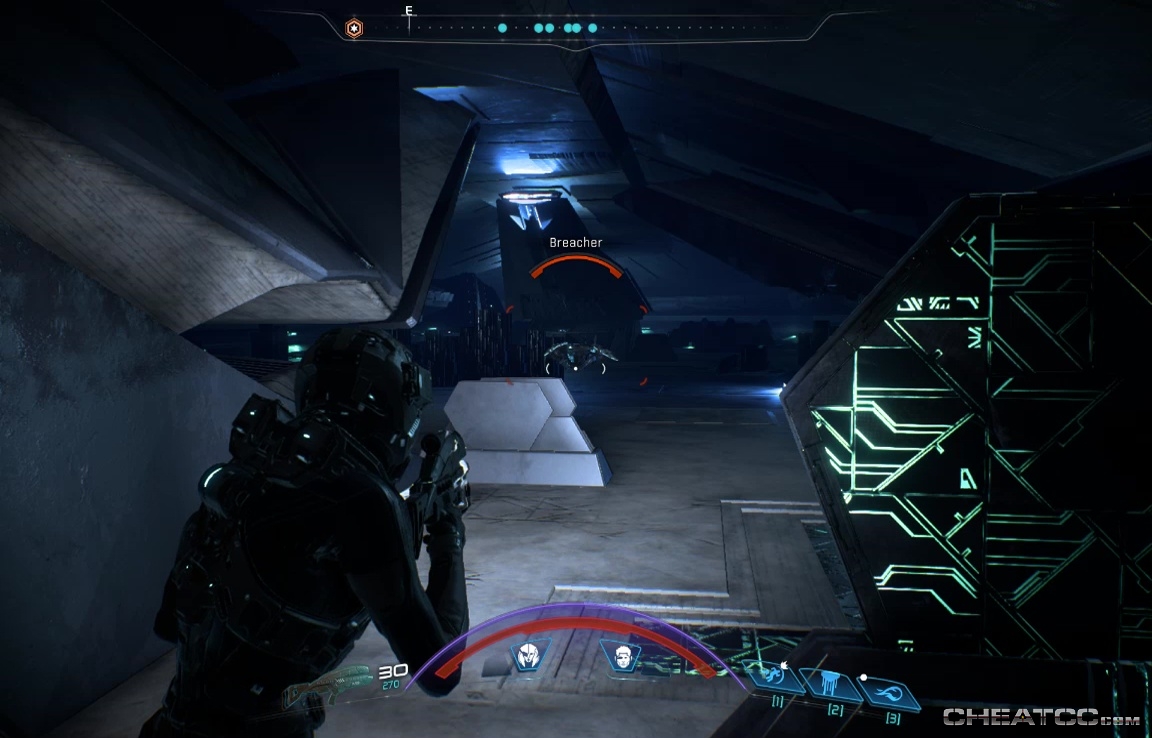
Activating it will open three doors. The one dead ahead is walled off by a force field, so go left, toward your objective marker. This room is filled with randomized Remnant enemies, but also plenty of cover. Fall back to the console room if you have to, but try to make not dying a priority here- there's no saving in this dungeon. When the room's clear, approach the back wall for a container, and to trigger a realization that you'll have to find another way around.
Head back, and now take the other tunnel (the one not forcefielded, and not the way you came in). Remnants are scattered along it- try to take them out before they join forces.
However, be careful about using your Biotic Charge near walls and ceilings. It is possible to charge your way out of bounds, and have to restart the level.
Assuming you don't do that, work your way down the passage to the large hall farther down (you'll find a container in the southmost corner).
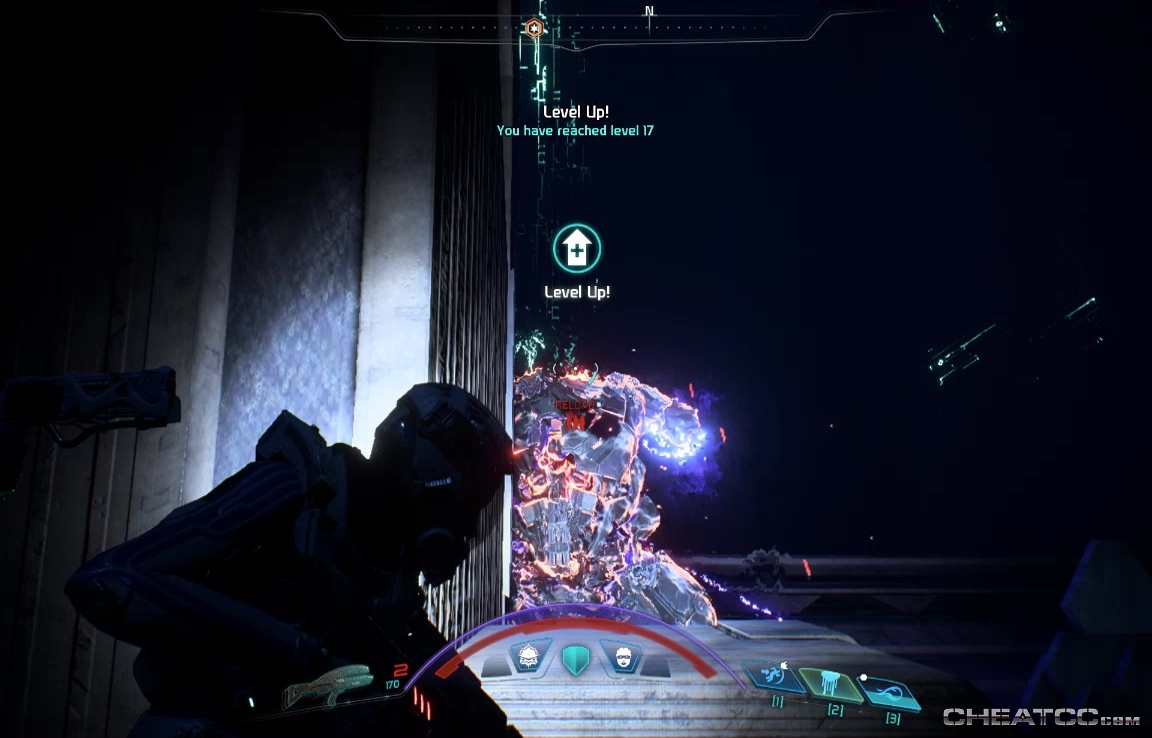
Inside the hall itself is the toughest single enemy you've faced yet- the Destroyer. It's got heavy, quick-regenerating shields, an armor bar, two turrets that can aim independently, and attacks which can penetrate light cover.
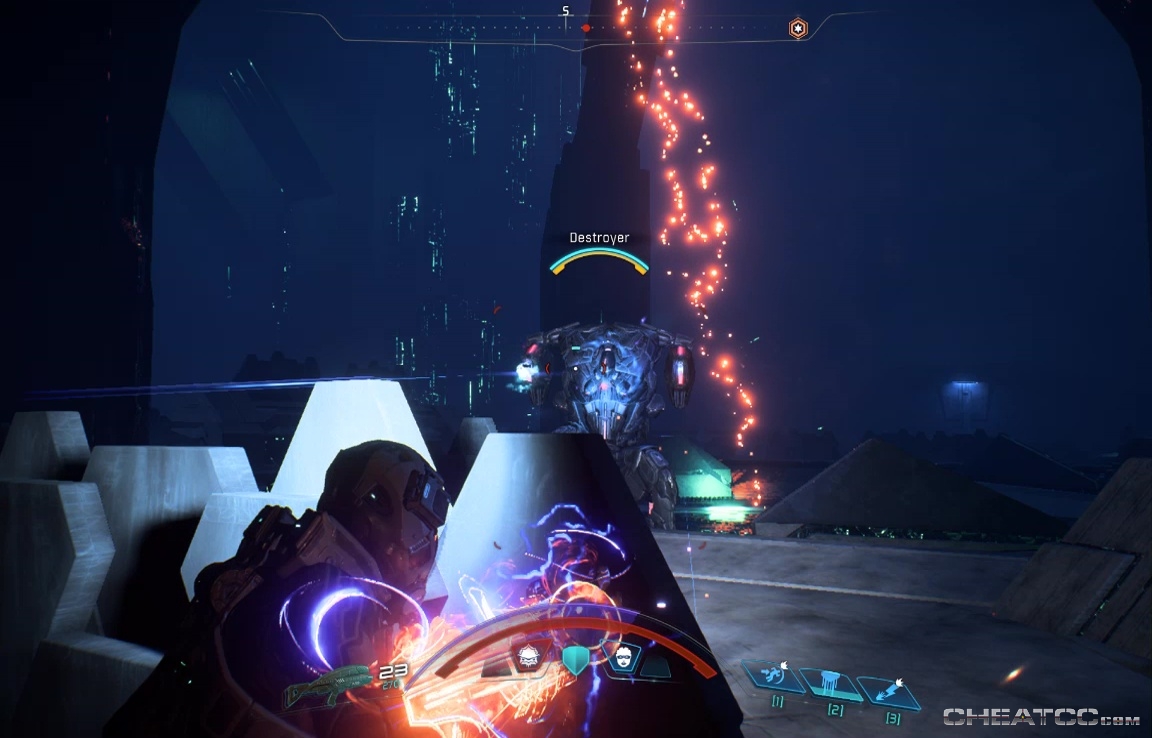
You'll want to give this monster your full attention, so pick off the Assemblers around the room's periphery as quick as you can, using tech constructs or party members to keep the beast occupied. When it's the only bot left, attack from behind pillars and other very hard cover. Do not get caught out in the open- those guns can chew through even tech armor in a few seconds. Instead, keep up a cautious but ceaseless assault, focusing on the turrets first. Taking them out with reduce it's lethality, and force it to rely on a special attack aimed from teh trunk. This attack is powerful, it it alos opens up the Destroyer's weakspot. Keep applying damage from hard cover to methodically take this monstrosity down.
It explodes a few seconds after the killing hit, so try to give it a scan before it's gone.
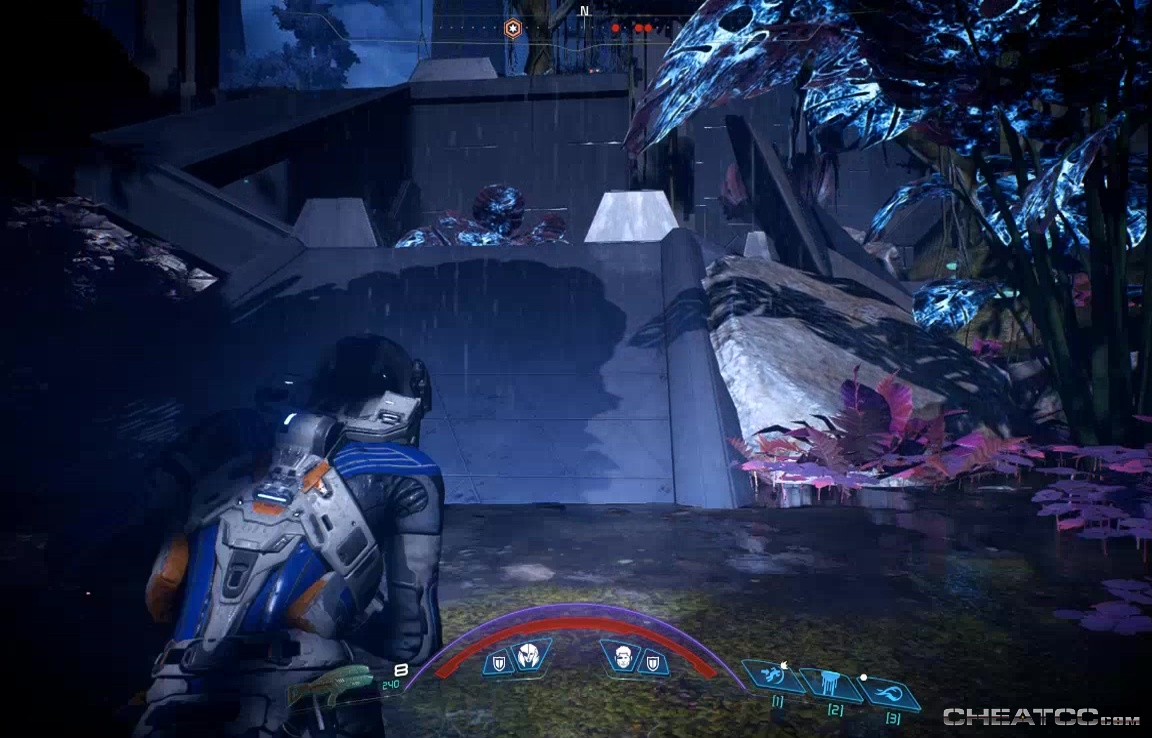
Exit the room through the far passage, and ascend the ramp to a pillar room which faces the energy shield you saw before. Clean out the Assemblers and Observers, then enter the room to the northeast with two Nullifiers on guard.
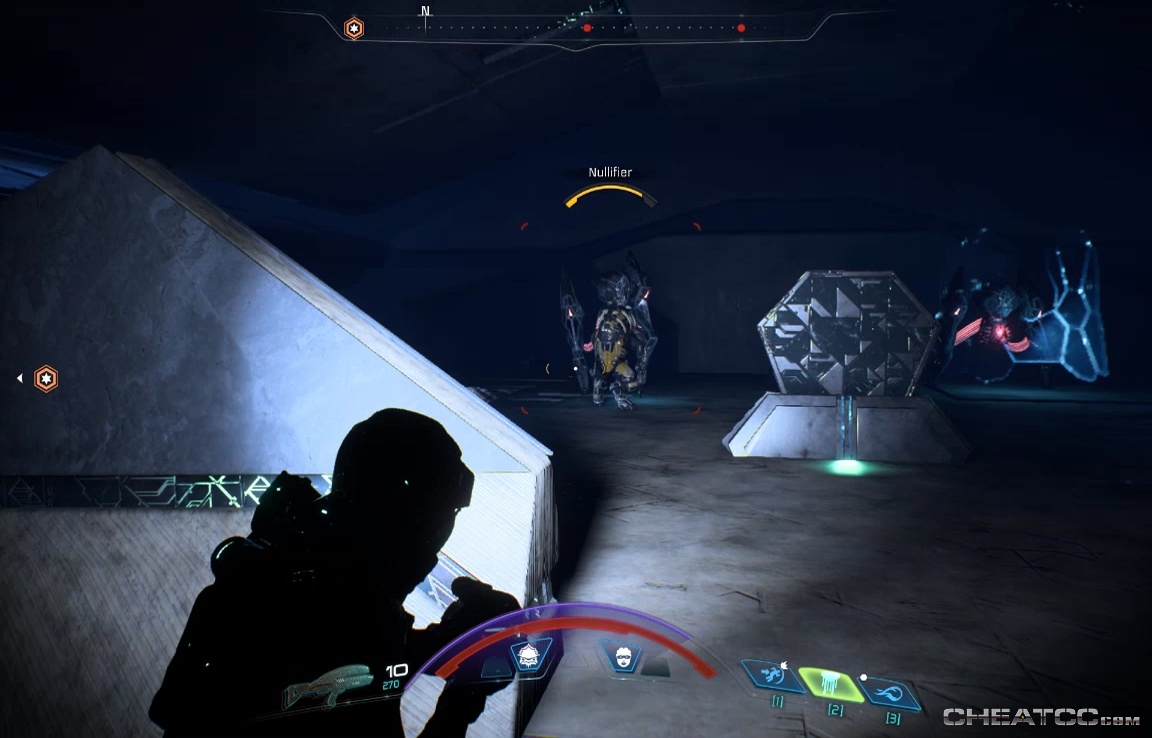
Kill them, then use the console here to unseal the path ahead.
Follow your marker to open the door, and find the last mortal remains of the Zorai's previous heir. Loot them for the heirloom you've been seeking and an explanatory data drive.
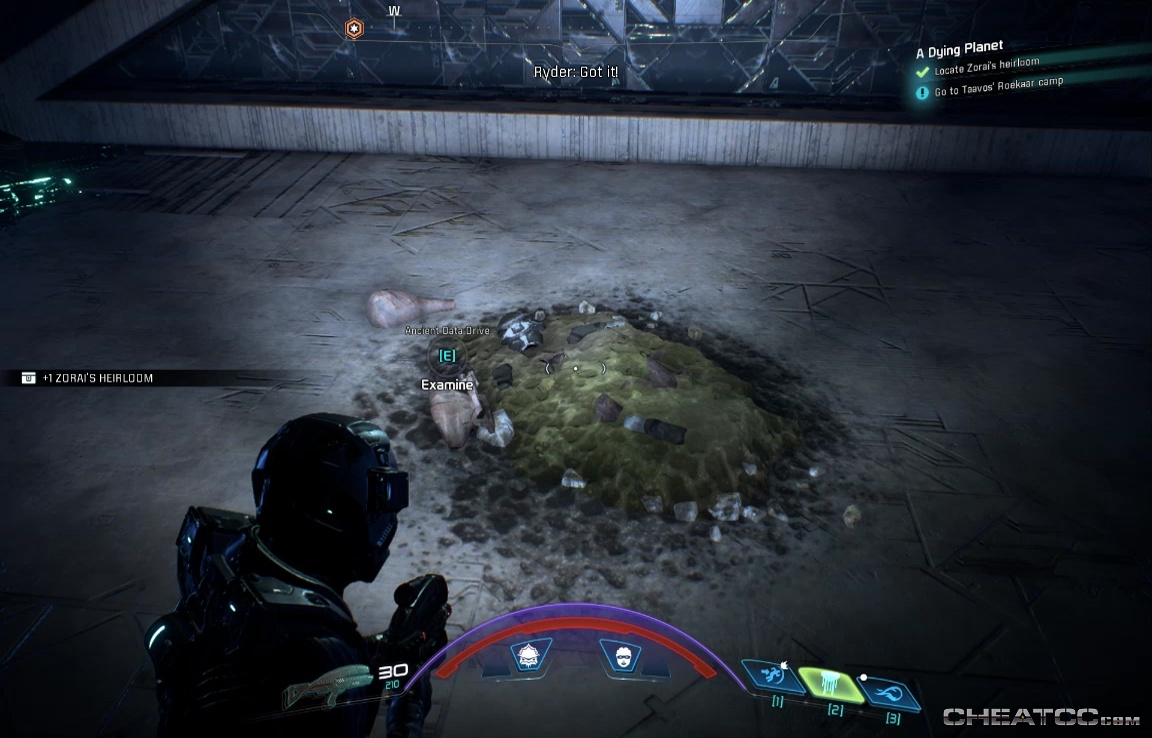
There are also two containers and a Remnant core here. Loot & scan, then head back to the surface to track down the heir himself. Given that he's Roekaar, it's only blind luck you haven't killed him already, but maybe things will go better this time
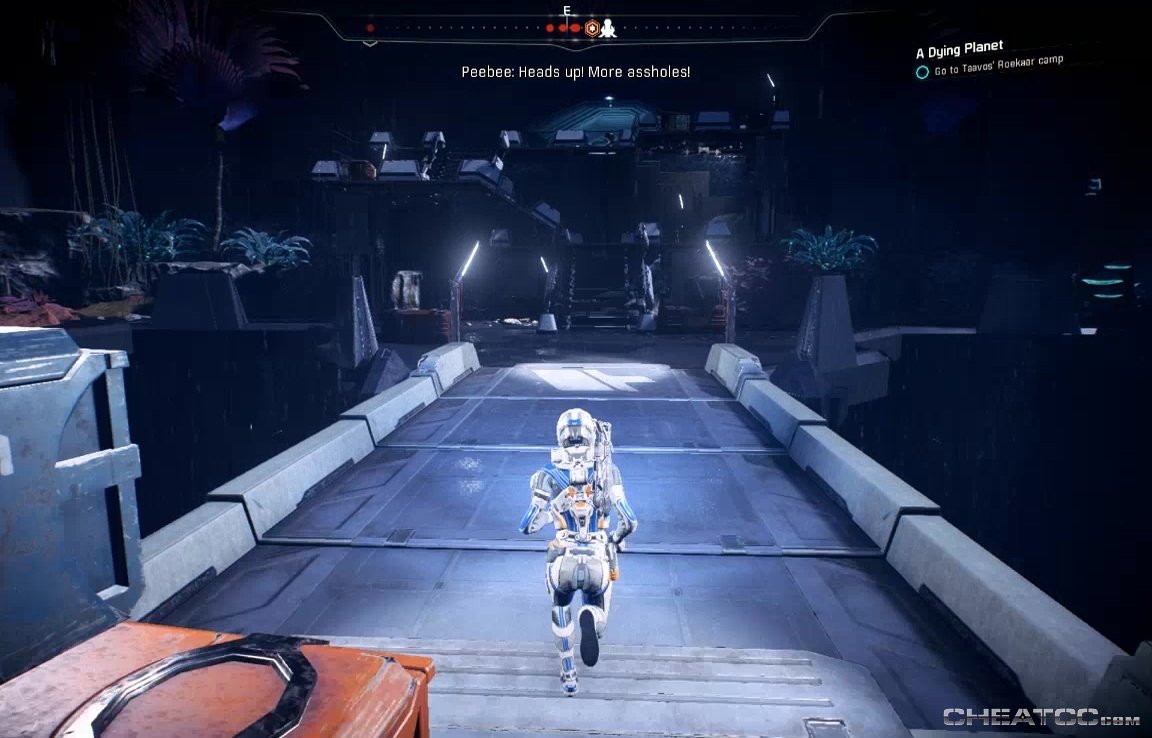
Fast travel to the bridge. It's now manned by Roekaar who extend the bridge, then attack.
Despite the pleas of your teammates, they won't stop until you gun them down, so do that.
Do that also to all the Roekaar in the base on the far side of the bridge. They're a mix of raiders plus a few sharpshooters and saboteurs, so on guard and don't stray far from cover.
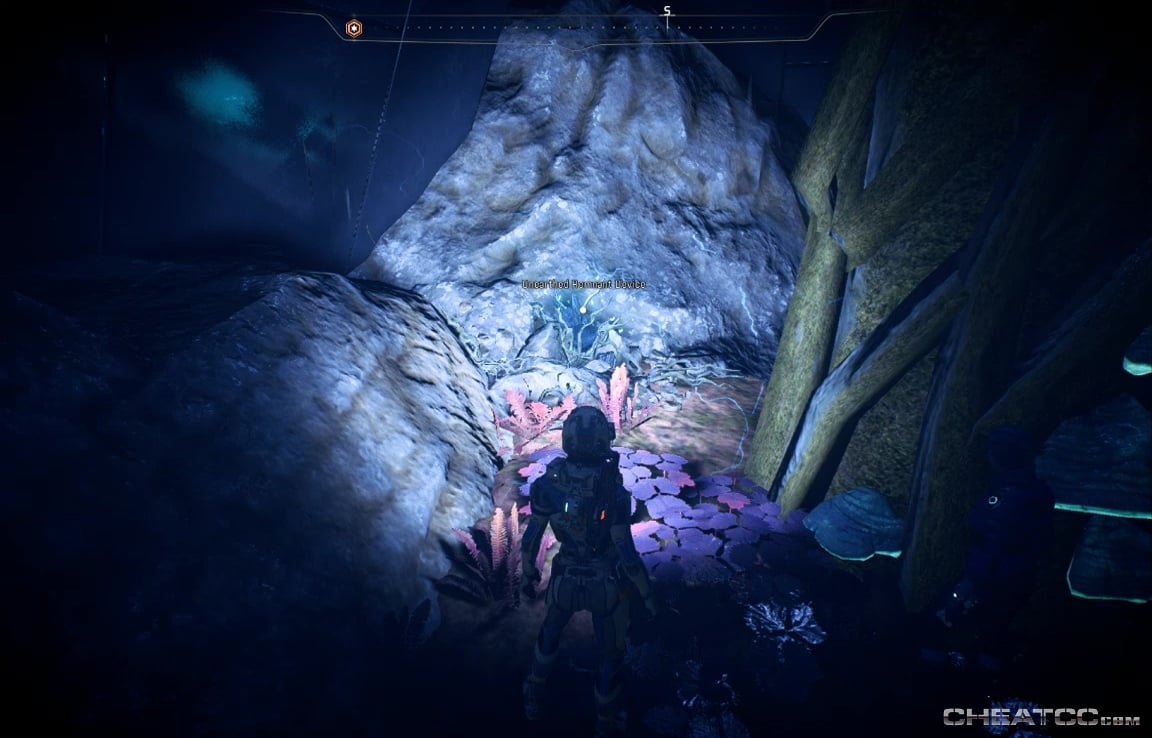
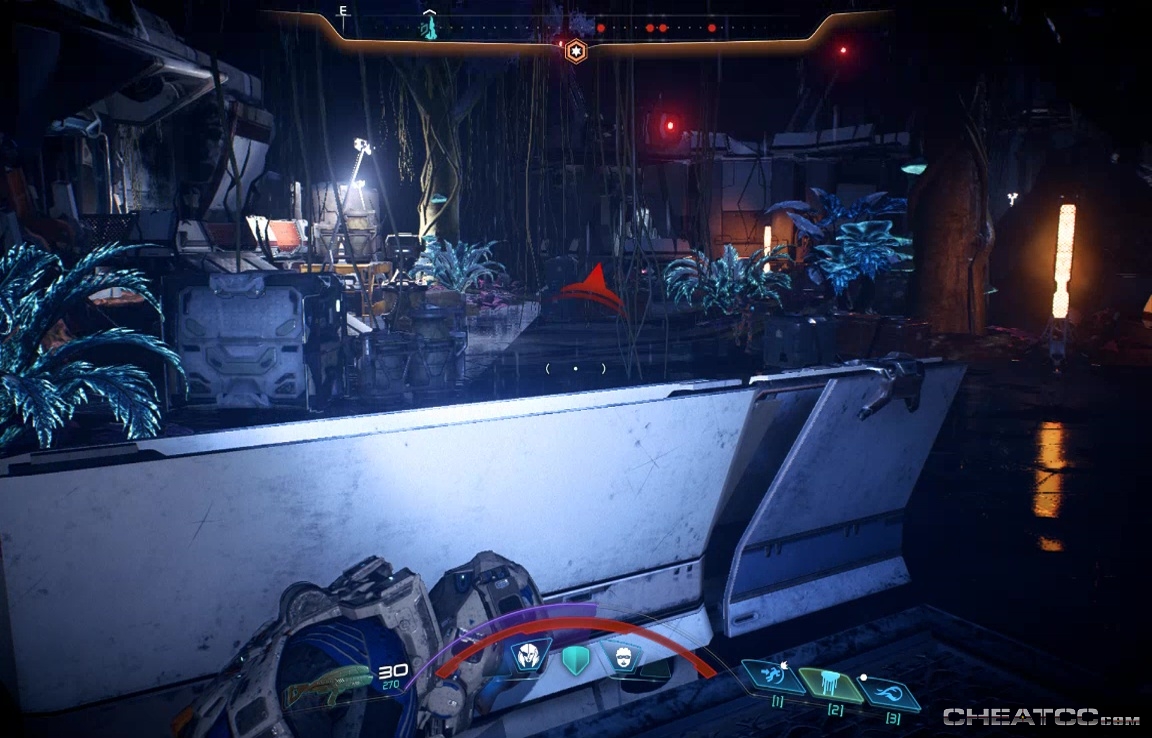
Once the complex is clear there are several containers to loot, as well as one of the Unearthed Remnant Devices- at ground level, toward the south.
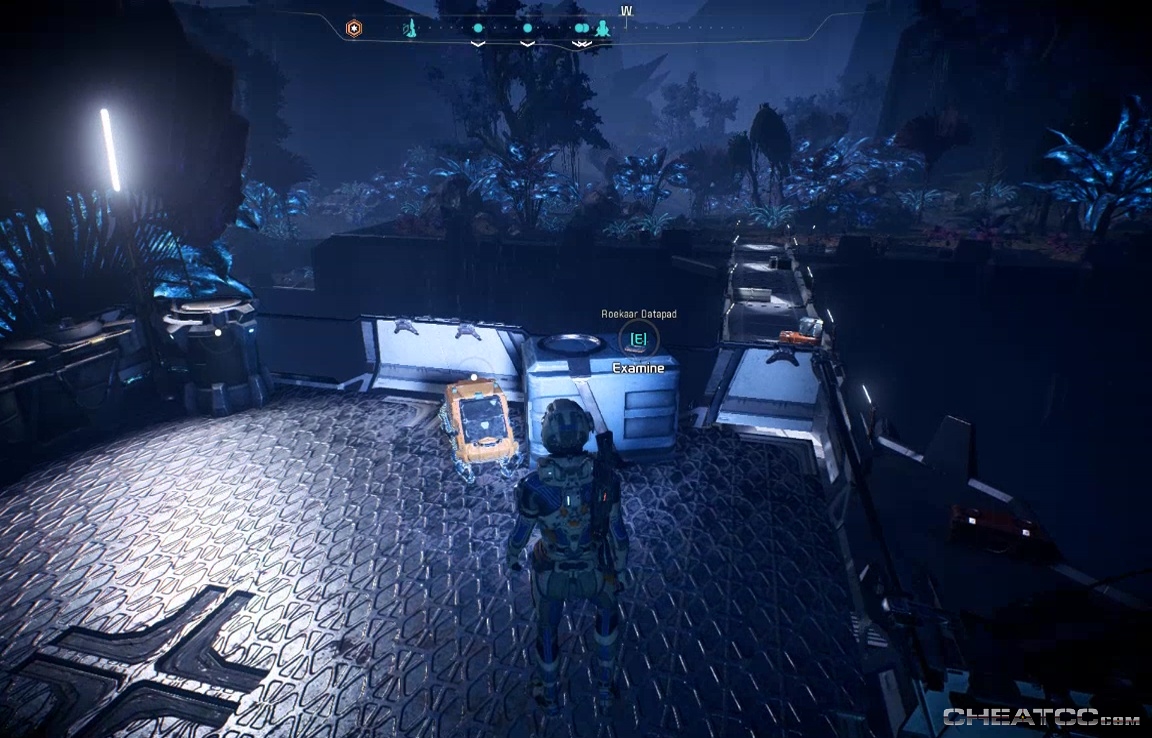
There's also one of the Roekaar manifestos on a data pad at the top level (next to even more containers).
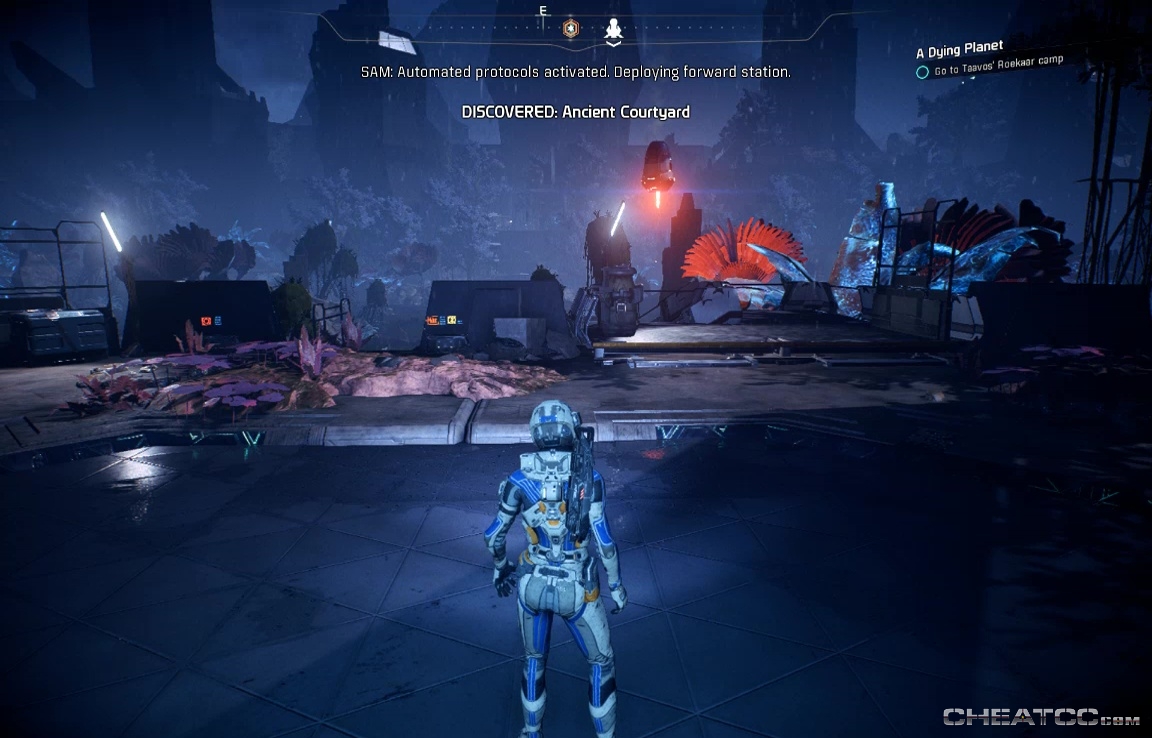
Cross through the Remant hallway into a new area, named Ancient Courtyard. A forward station will land just as you enter.
Despite the flattish terrain, you still can't summon the NOMAD, though you can get ambushed by a shuttle-full of Roekaar as you approach the base.
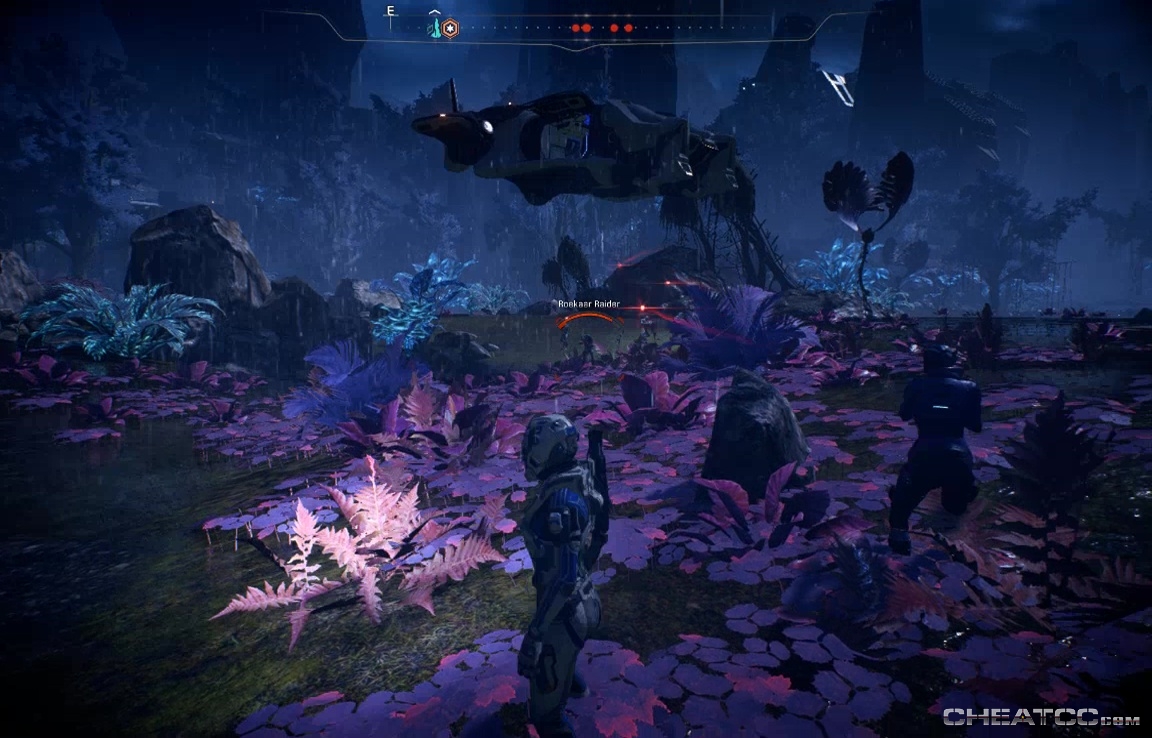
Kill these guys too. It's more important than ever to find good cover, because it's easy to find yourself flanked and sniped to death before you know it. If things get rough, you can always fall back to the Forward Station for a quick pick-me-up.
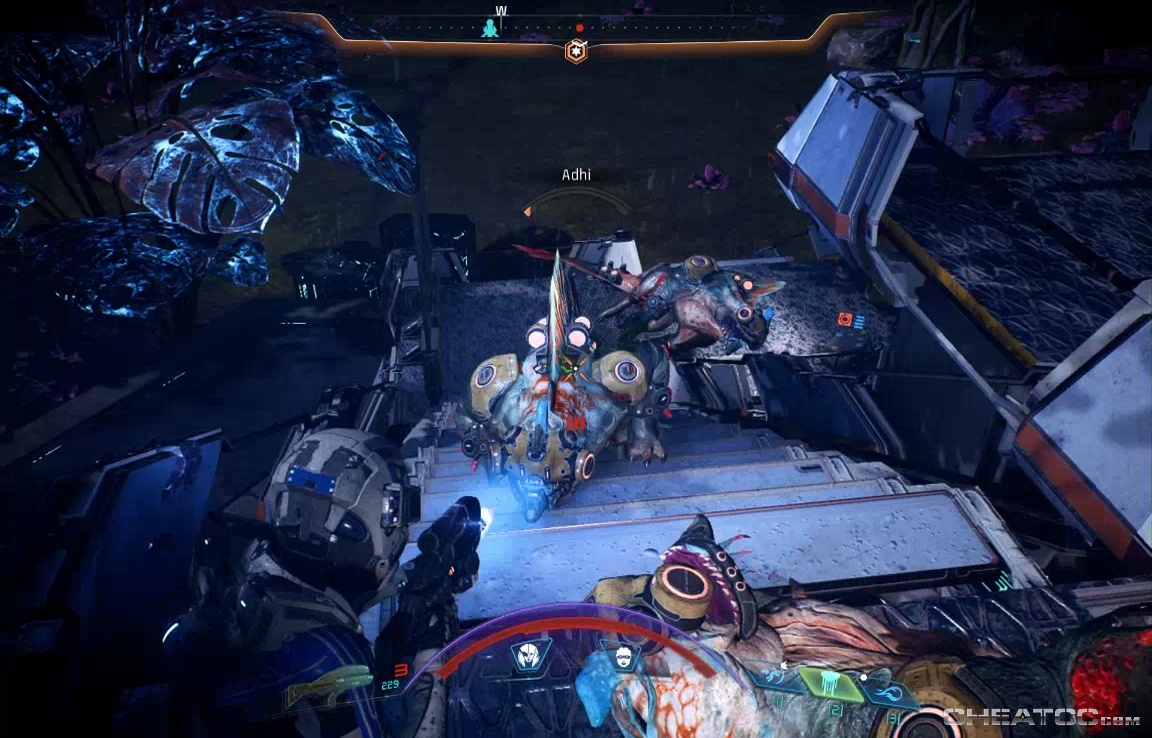
When resistance is gone, press forward to the base. If you can, use a sniper rifle or Biotic charge to pick off the sharpshooters first. Once you're actually on the stairs, keep low for cover, but watch out for the pack of adhi that are there specifically to bite off your legs while you're peering through a scope at something else.
At the top of the stairs is the final fight of this sequence. It's mostly adhi and raiders with a few sharpshooters. You've wiped out at least two dozen Roekaar in the past few minutes, so these are just more of the same.
When they're all comfortably dead, loot the side buildings, then follow your marker to the central building.
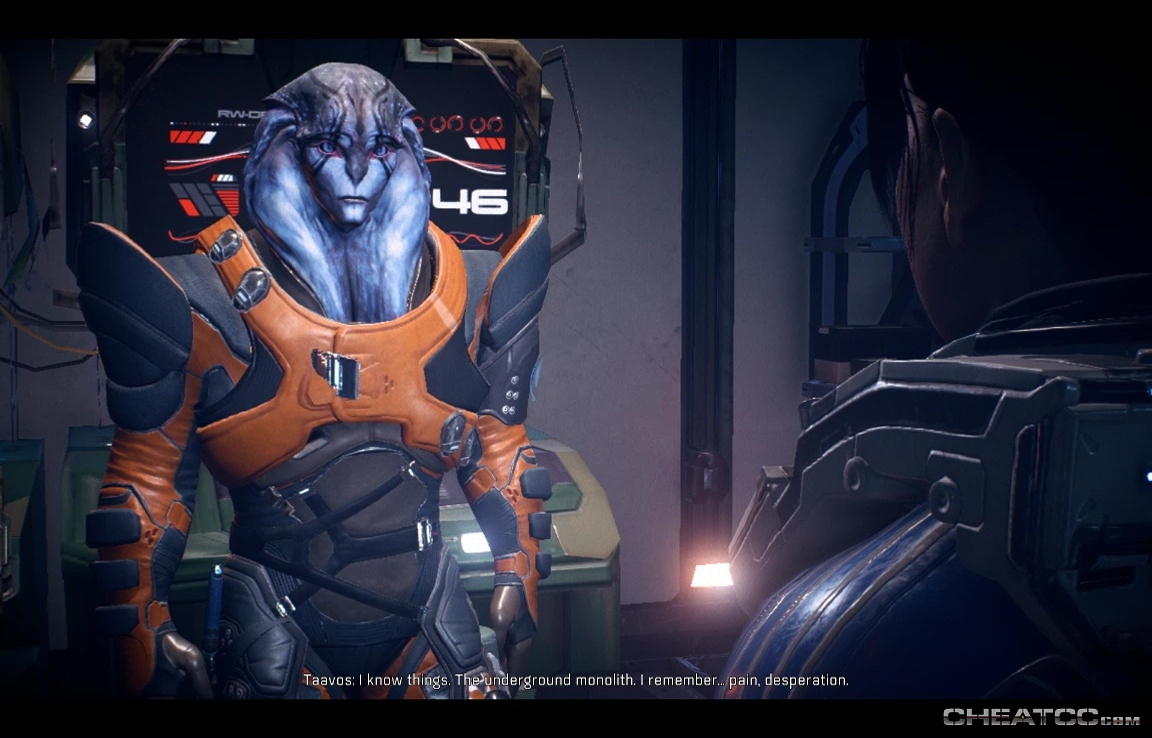
Luckily, it turns out the only guy you didn't kill is precisely the guy you need. How lucky is that? Persuade him to don the heirloom (there's actually no dialogue path that doesn't persuade him ) and he'll have a memory of the last monolith.
Agree to meet him there, for the last leg of this questline and the chance to wake Havarl's vault.