Hunting the Archon
Locations: Kadara, Tafeno
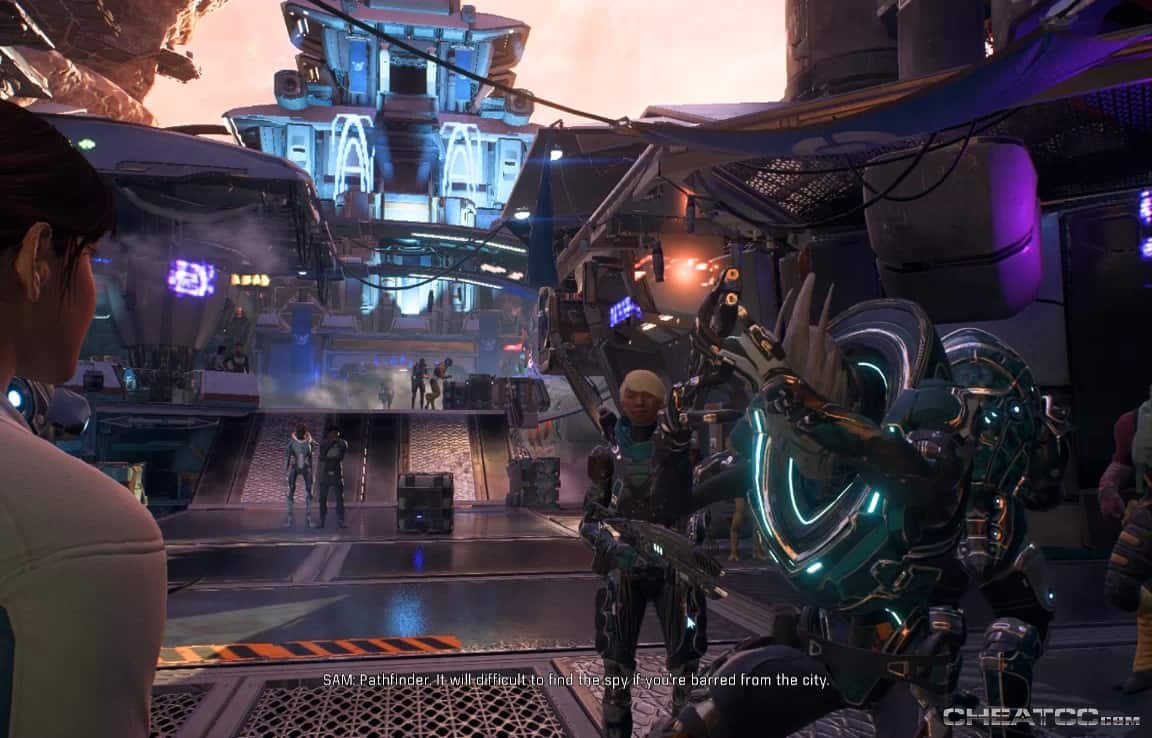
Tracking down the Angaran traitor with a lead on the Archon's position takes you to Kadara- the rough-and-tumble smuggler's port where most of the Exiles wound up. When you walk in, the guards are beating some poor citizen half-to-death, but you can't intervene. It's that sort of town.

There are shops to explore and locals to be sneered at by, but this particular quest leads you to a bar and your contact, one Reyes Vidal.
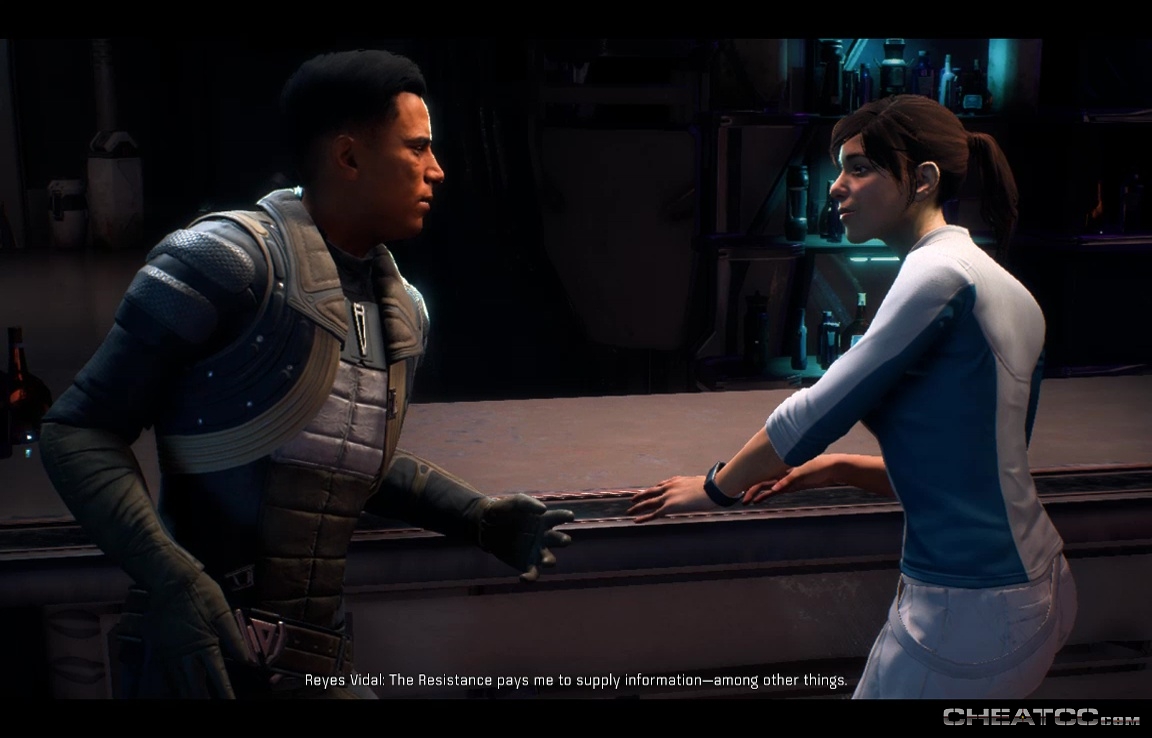
You'll part ways, him to investigate Resistance options, you to chat with the Outcasts. Your marker will lead you their HQ, ruled over by ex-Nexus security chief and die-hard Mad Max fan Sloane Kelly.
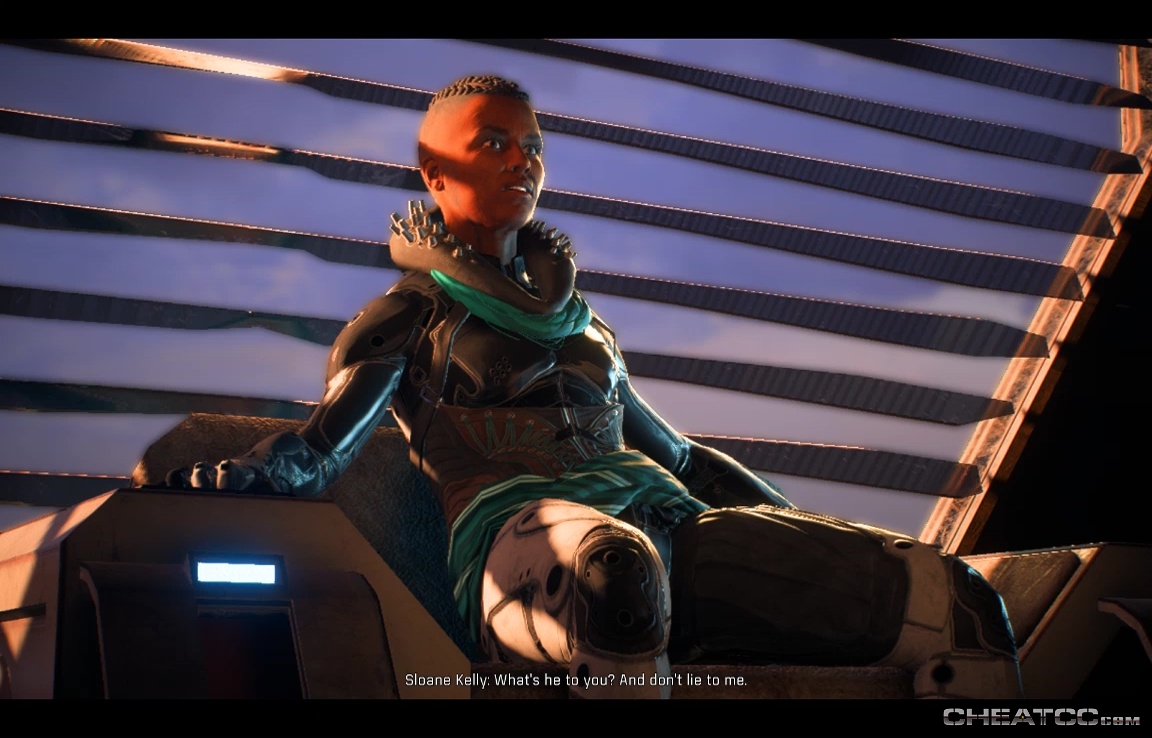
This is one of the rare conversations in ME:A you can actually fail (sort of). If you want to gain access to the traitor and get out, tell Kelly the truth about your mission, and agree that she gets to keep Vehn. Give her too much lip, refuse her terms, or try to pull a gun on her, and you'll wind up barred from HQ.
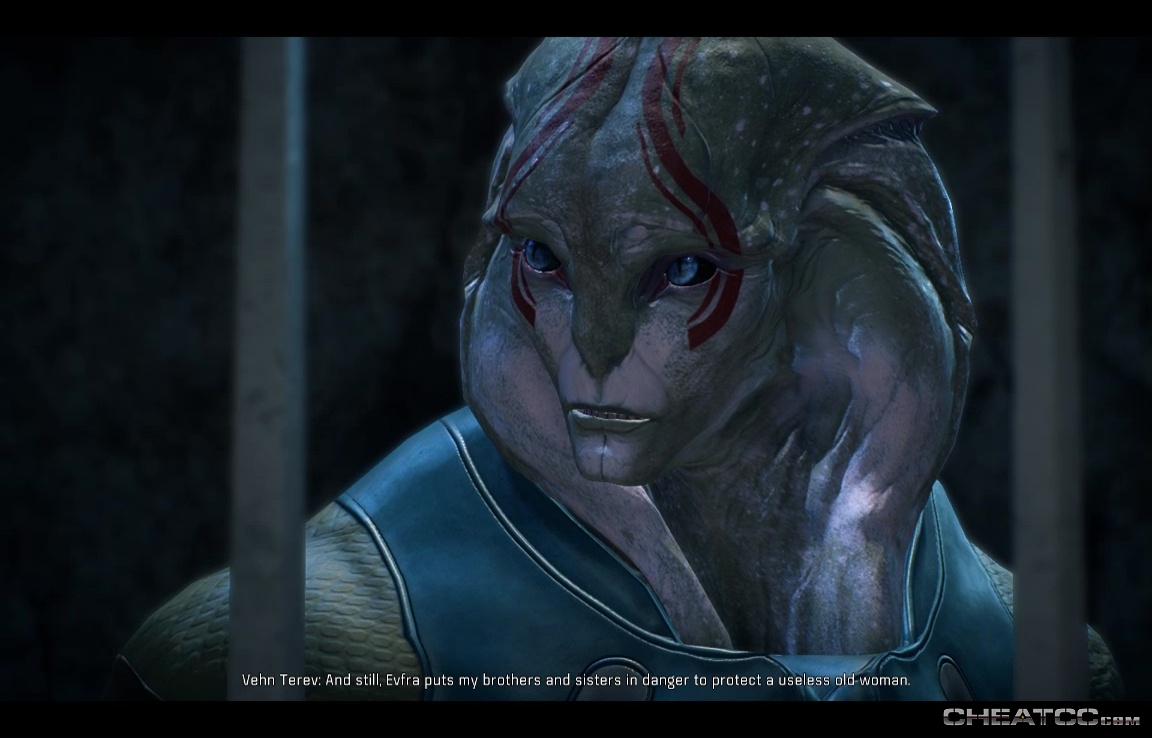
Frankly- it's not a bad deal. She's not asking you for anything she doesn't already have, she is the law here, and Vehn has just committed the single greatest act of treason in the history of his people, which is why the Angarans of Kadara are calling for his execution.
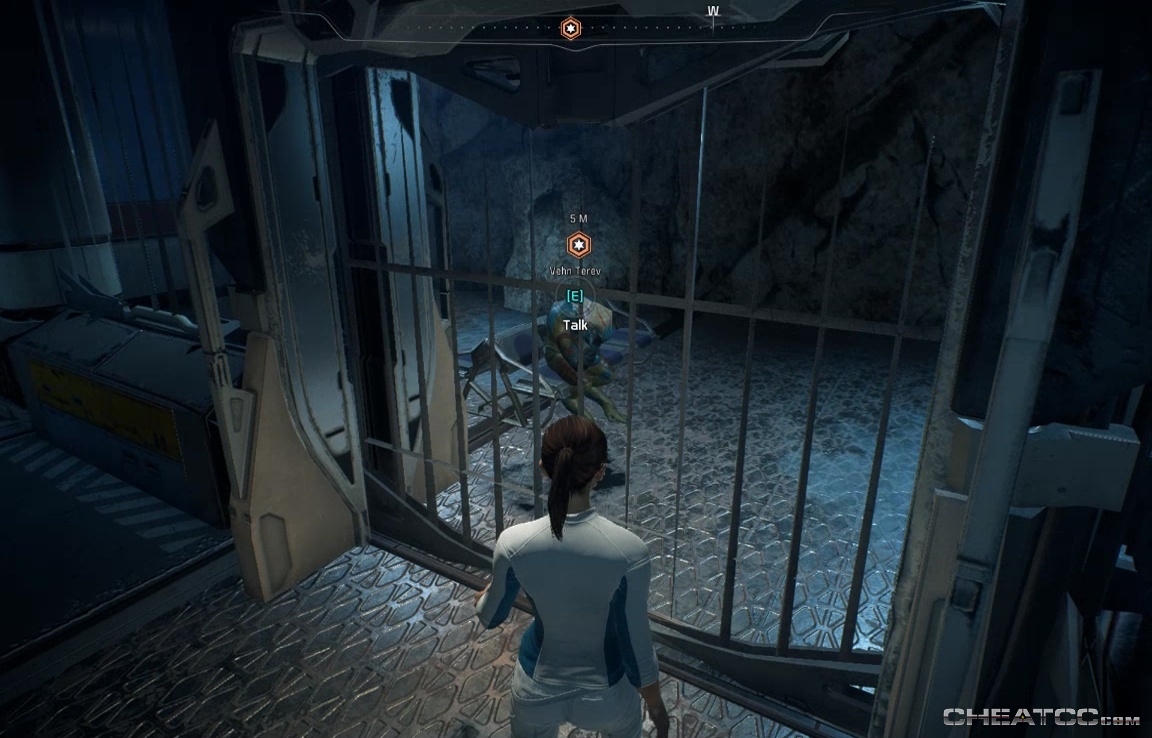
If you're okay with that, go talk to Vehn. You can also get to know the other folks in HQ, which you can now visit on the regular. Otherwise, piss off Kelly, get barred from HQ, and use a tool from Reyes (lurking just outside), to go talk to Vehn.
Either way, he'll give you a code for a kett transponder he buried outside town. Follow your marker to an elevated building- the transponder is buried beneath it, just past some an iridium deposit.
![]()
Pick it up to trigger some conversation, then head back to the Tempest (Note that finding the transponder also unlocks the second stage of Jaal's loyalty quest). Once aboard, chat with Gil about the device.
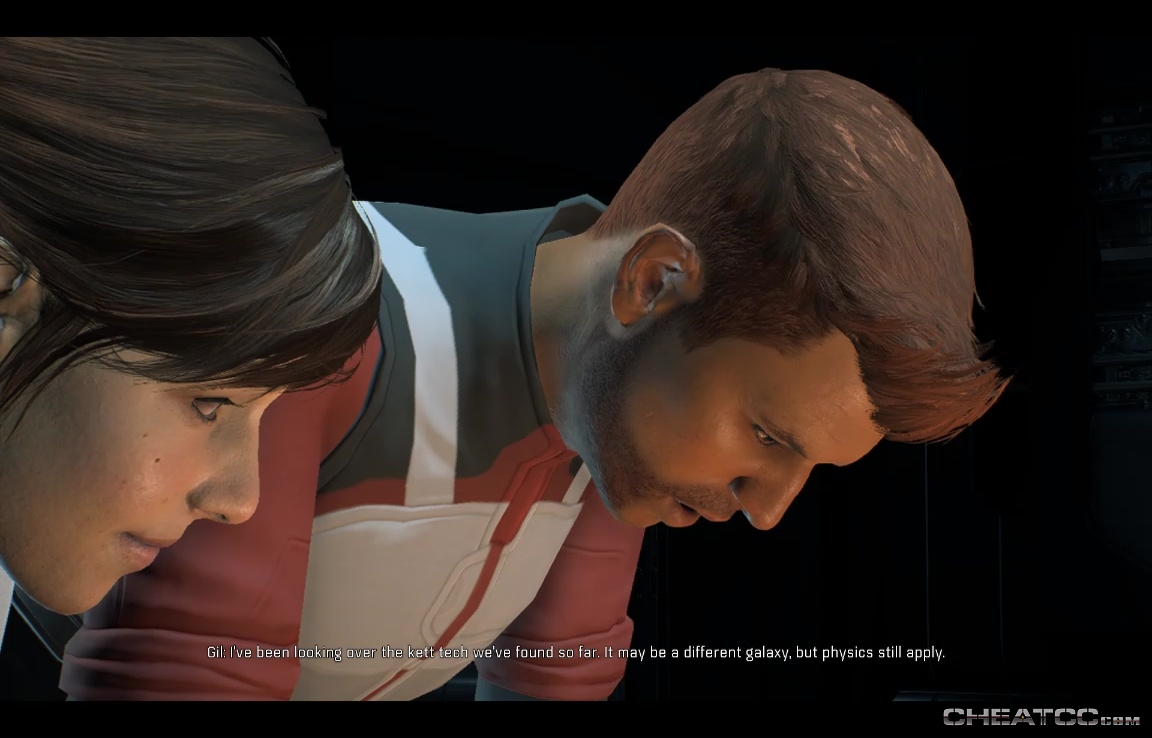
He gets things sorted in about 15 seconds- creating a direct line to the Archon' ship, and establishing a location in the Tafeno system.
This is a big turning-point mission for the game, but it doesn't seem to actually close off any quests. When you're ready to bite off the next big chunk of story, follow your nav to Tafeno.
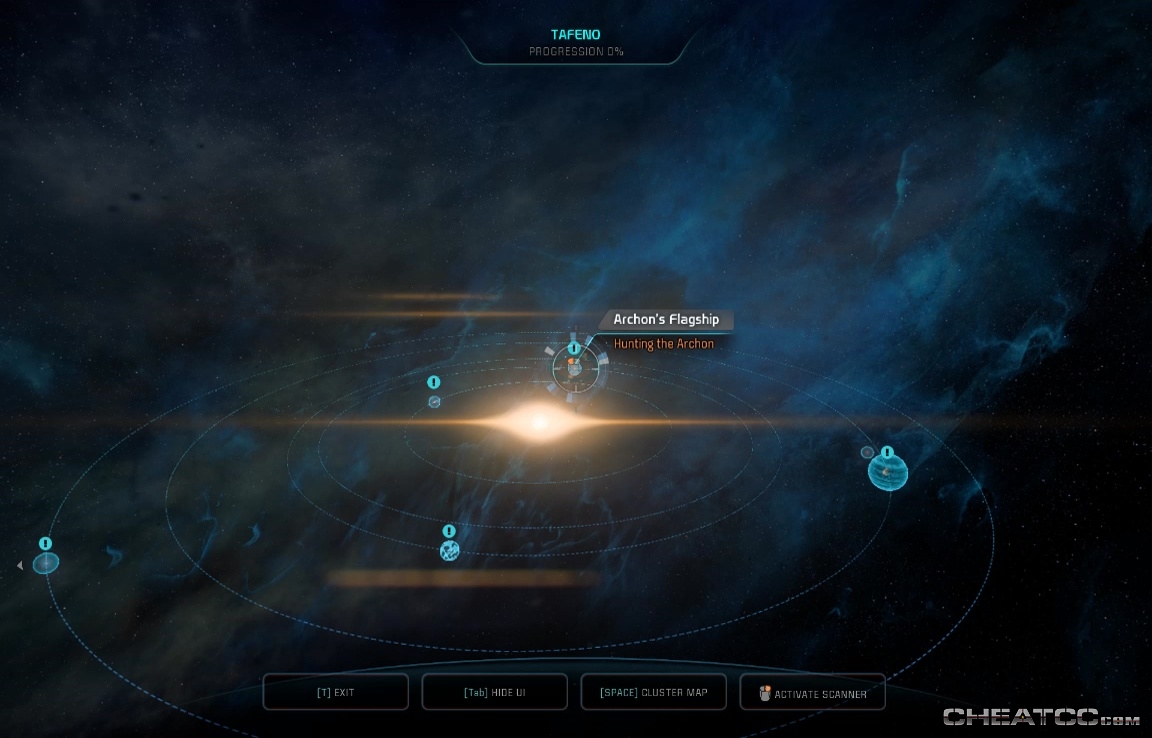
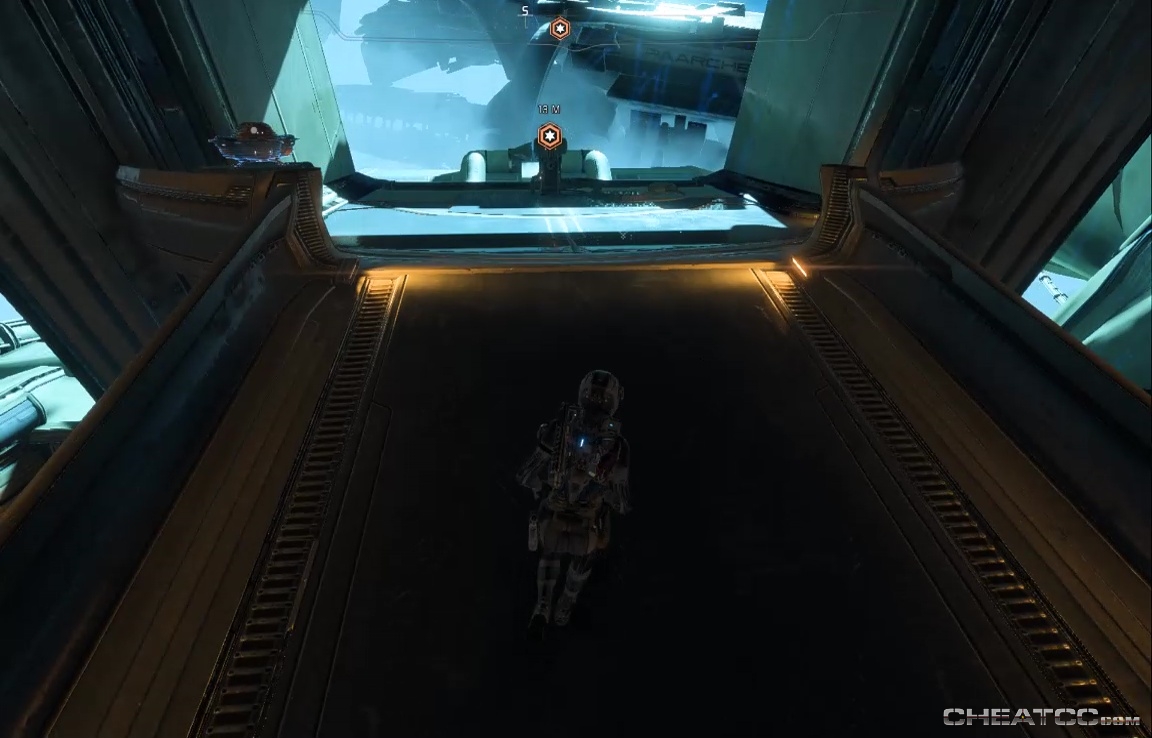
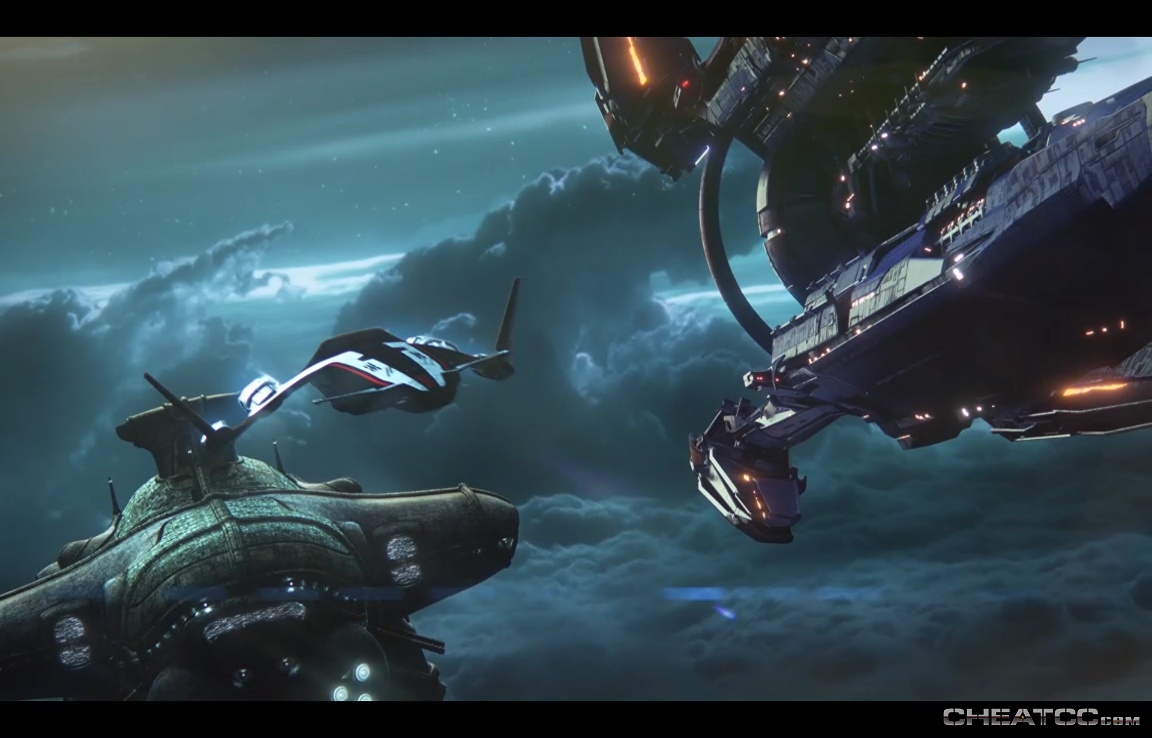
Pull in close to find the flagship tethered to the Salarian Ark. That complicates things.
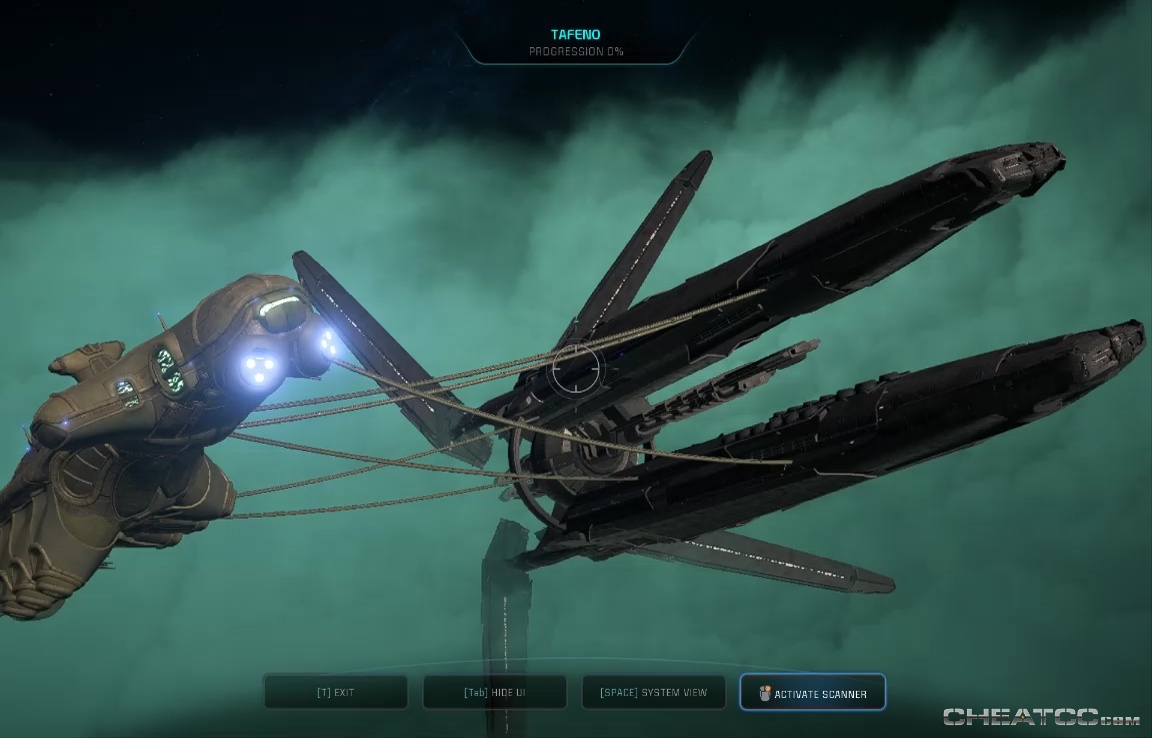
Click to enter the ship, and then gear up. It'll all be indoor battles with extensive cover, as you might expect, but the two Ascendant fights make it worth bringing along a rifle. To get the most out of the story, you'll probably want to bring Drack. His input here doesn't actually change the choices or gameplay, but there is a lot of krogran-centric material near the end. A heavier-than-usual emphasis on explosives can also be handy- the Scorpion pistol or Naladen rifle, for example, though it's more for fun than combat effectiveness.
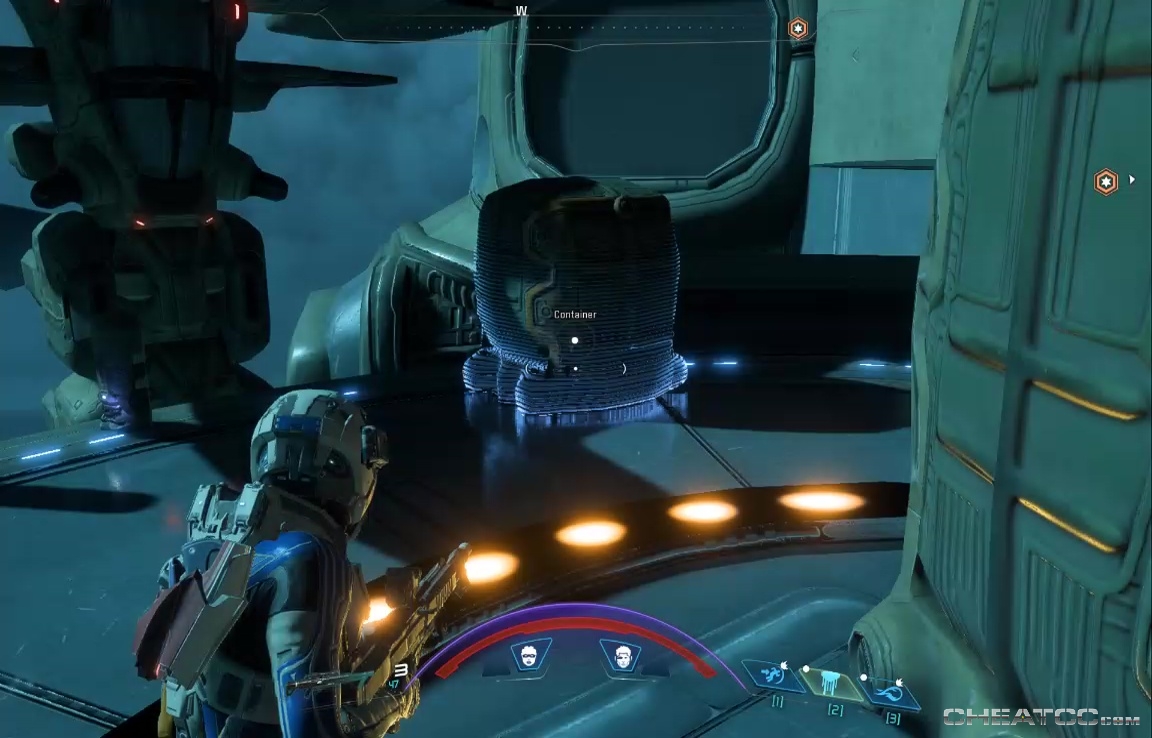
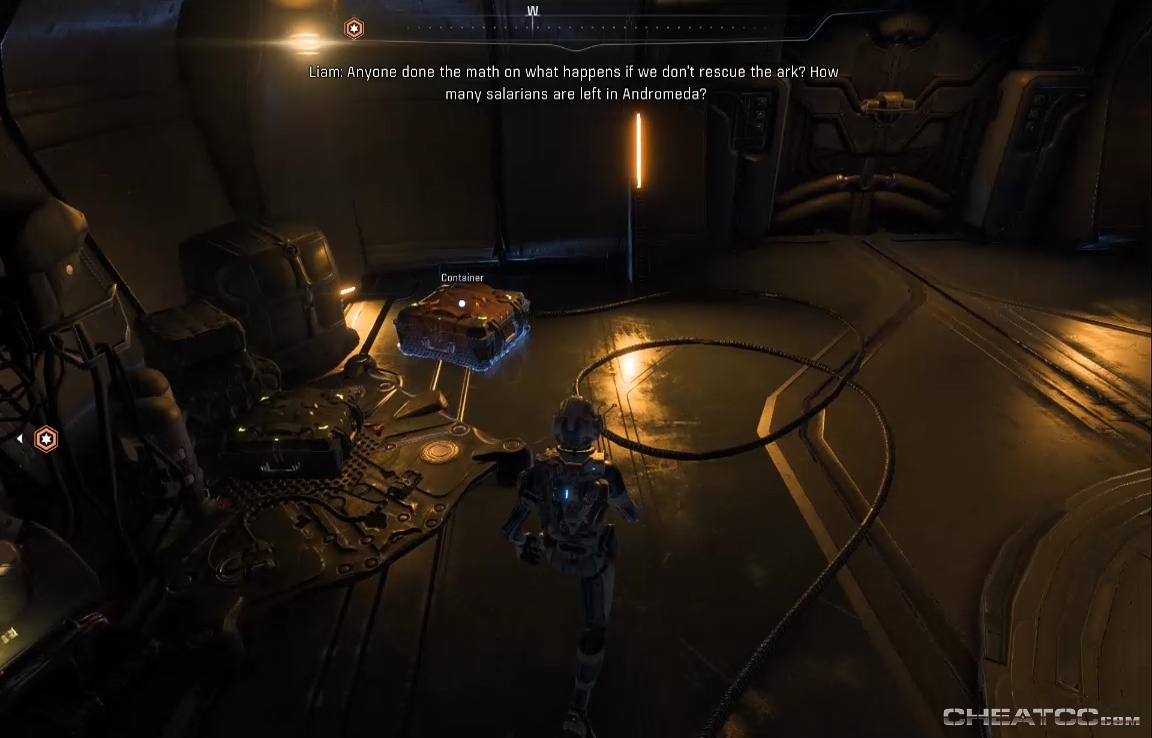
Once equipped, enter the Salarian ark. There are datapads and a container in this first room, but the first plot point comes from the data wall.
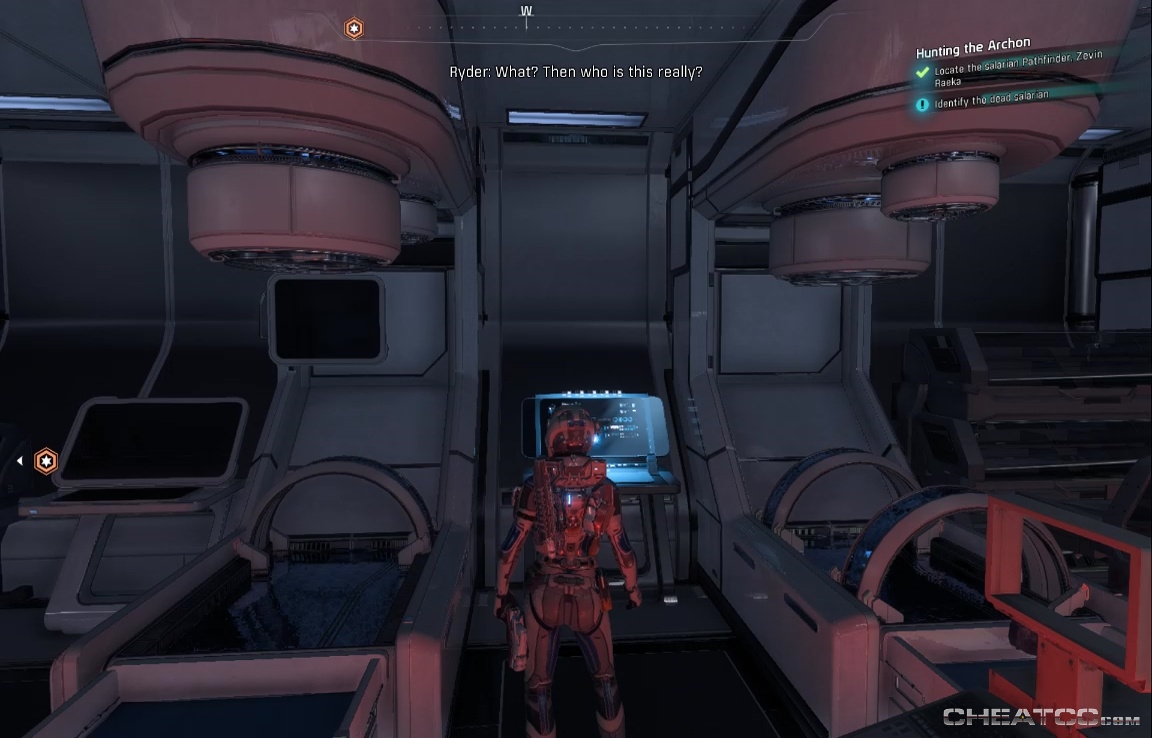
Interact with it to find an encrypted message from the captain, and your next objective. You can scan the kett forklift in the corridor for some data, then it's on to Medical Bay A13, where you'll find an Inititave core to scan, datapads to read, and a few bodies. The one on the west side seems to be the Salarian Pathfinder, but checking the console will reveal this to be a ruse.
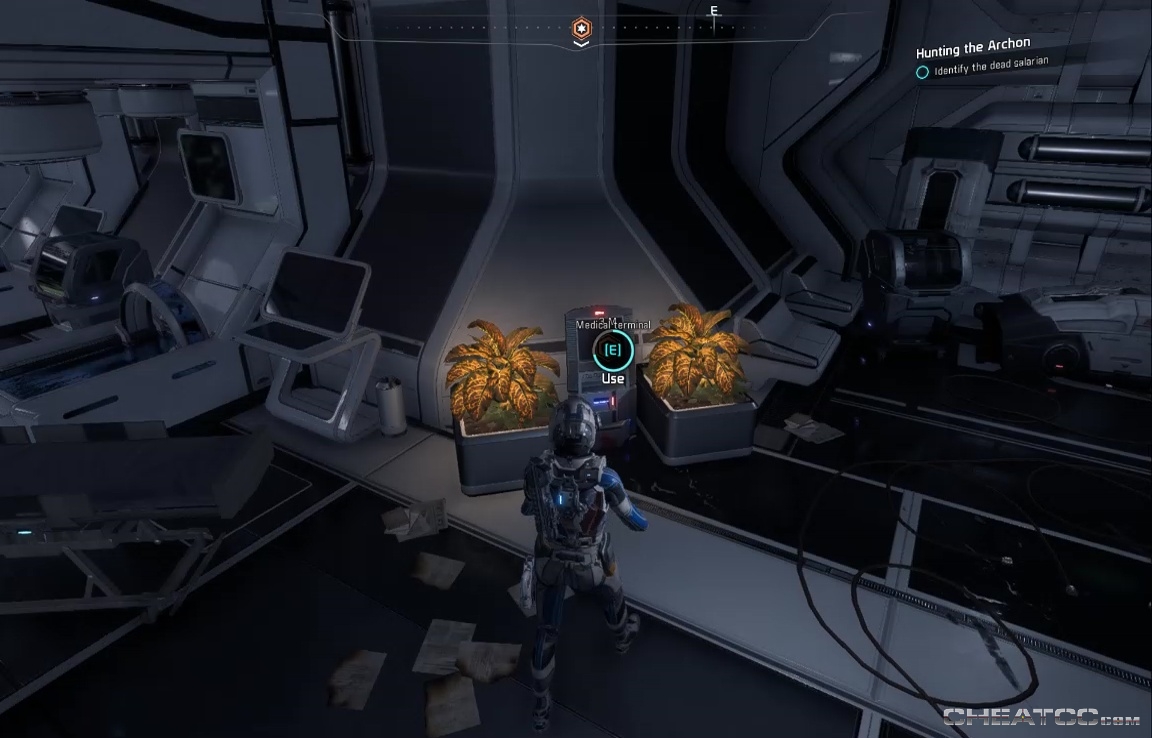
Use the medical terminal back by the Initiative Core to learn more.
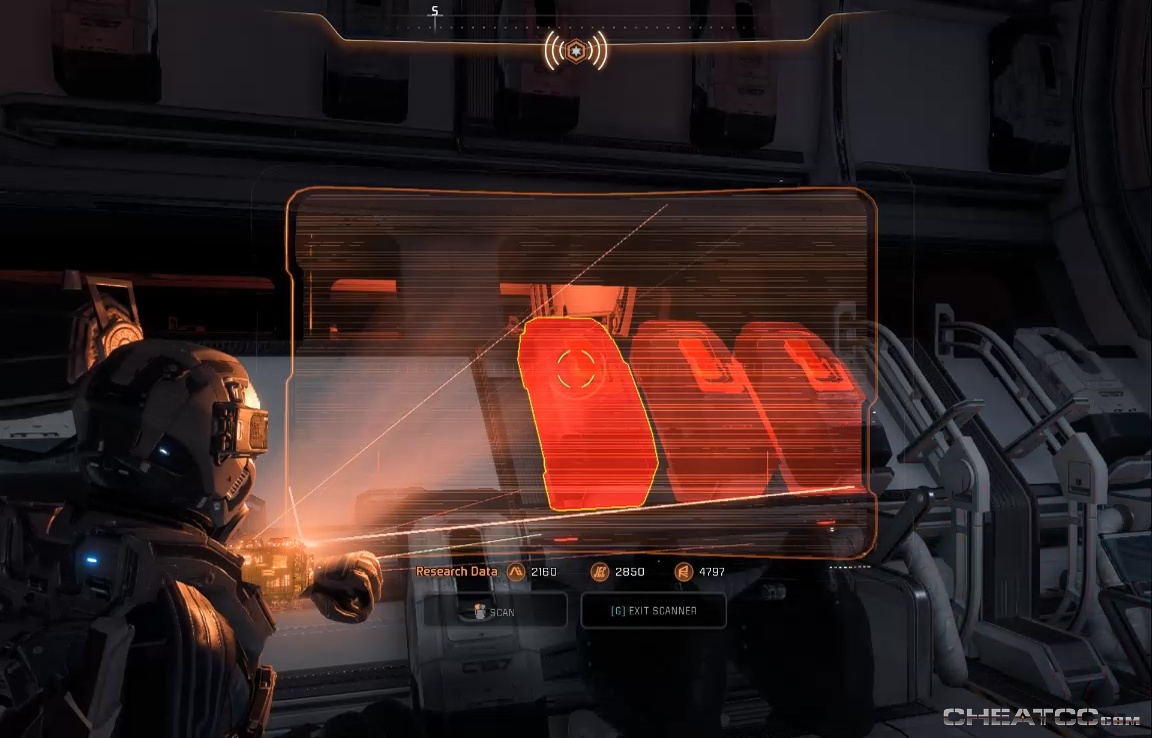
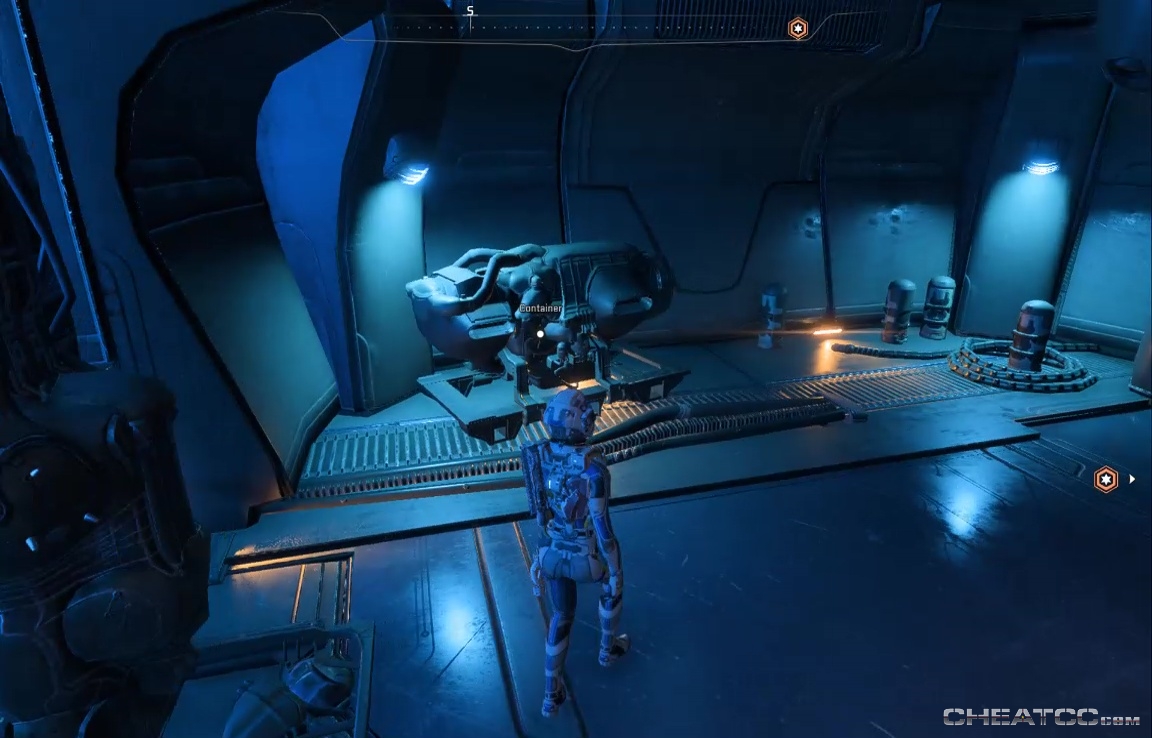
Loot the container to the left of the north door, then head back to the cryopods. Scan the section indicated by your sonar to locate the Pathfinder.
Use the console to reactivate her. Note that this will result in a scene-change, so if there's anything else in these few rooms you still wanted to investigate, do so now.
Talk to the pathfinder for a cutscene (your responses set the tone but don't have any story or game effect), and regain control on the Kett flagship. The first door you walk through triggers a fight.
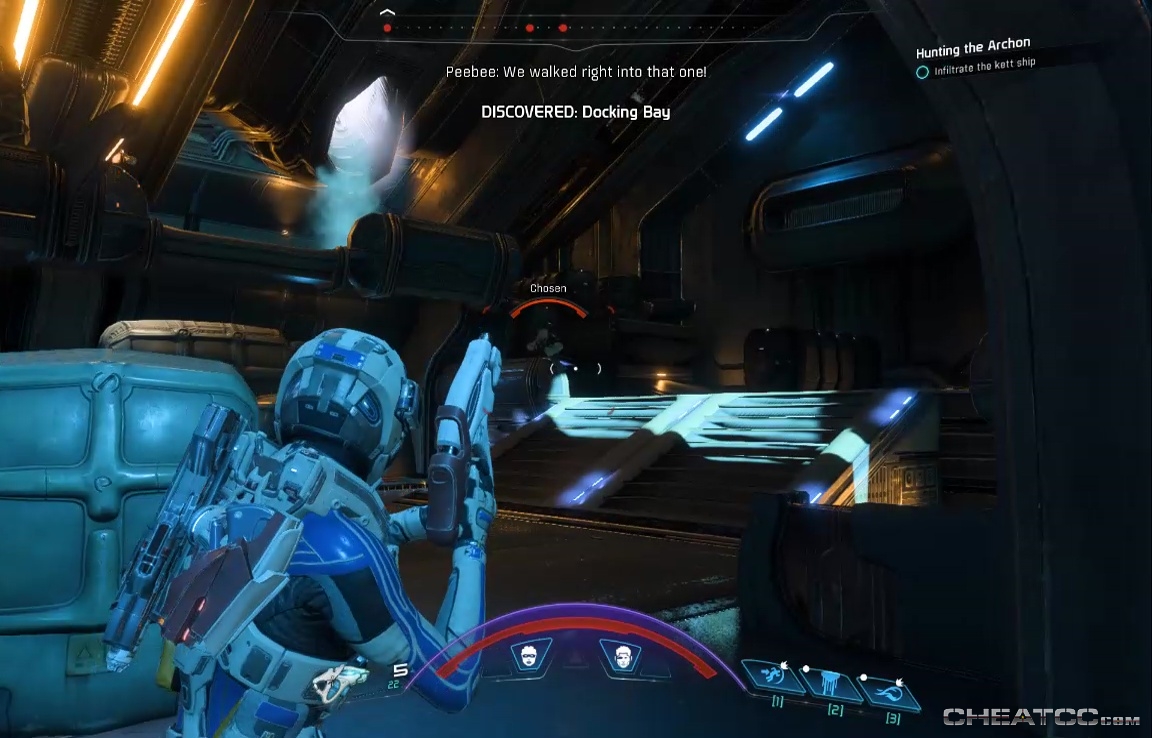
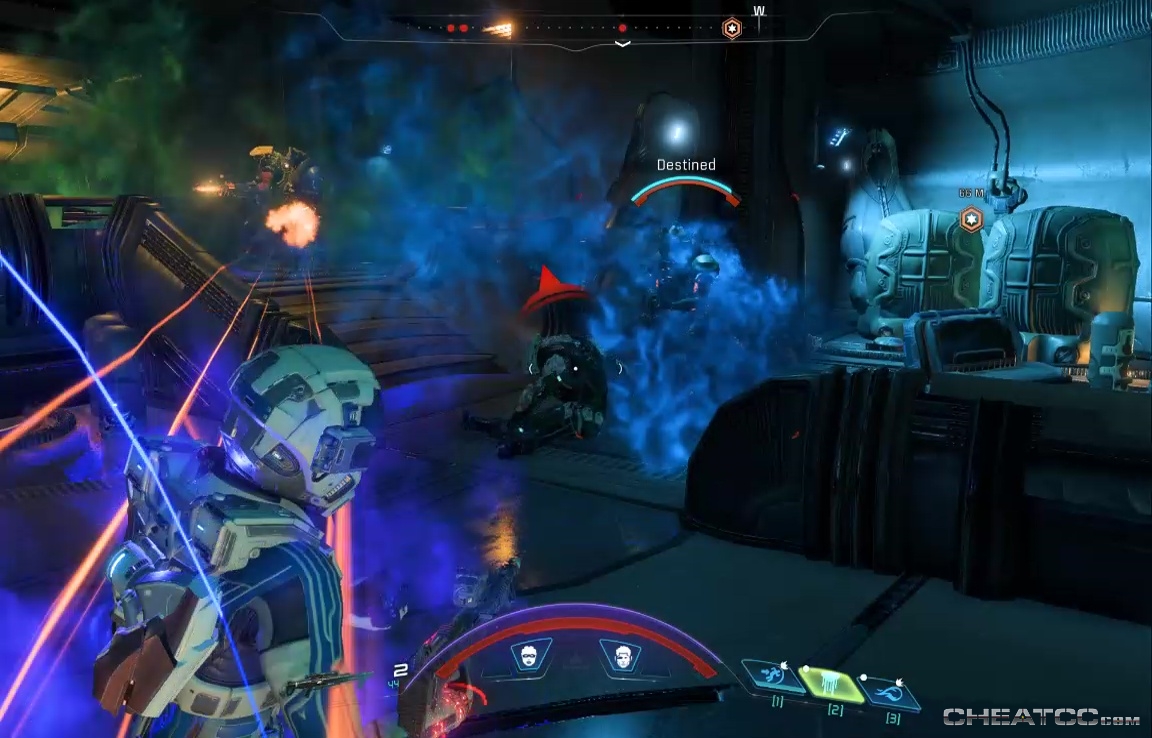
The room is a little bigger and better-defended than it first appears. In particular, watch out for multiple Destined on the upper levels, who may have cloaked before you get to them. When the room's clear, head up to the console platform marked by your nav. Loot the container to the left, then activate the console.
The Salarians will join you aboard ship. As in the Moshae rescue, your groups will split up- activate the objective console to get them on their way.
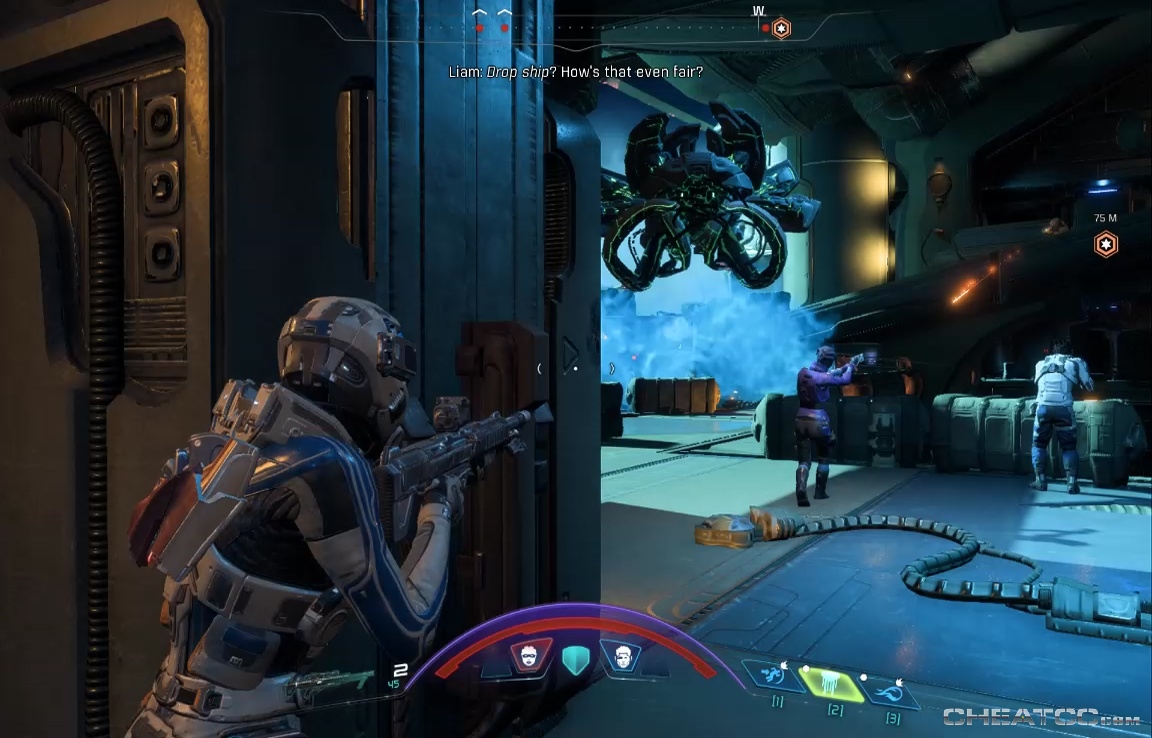
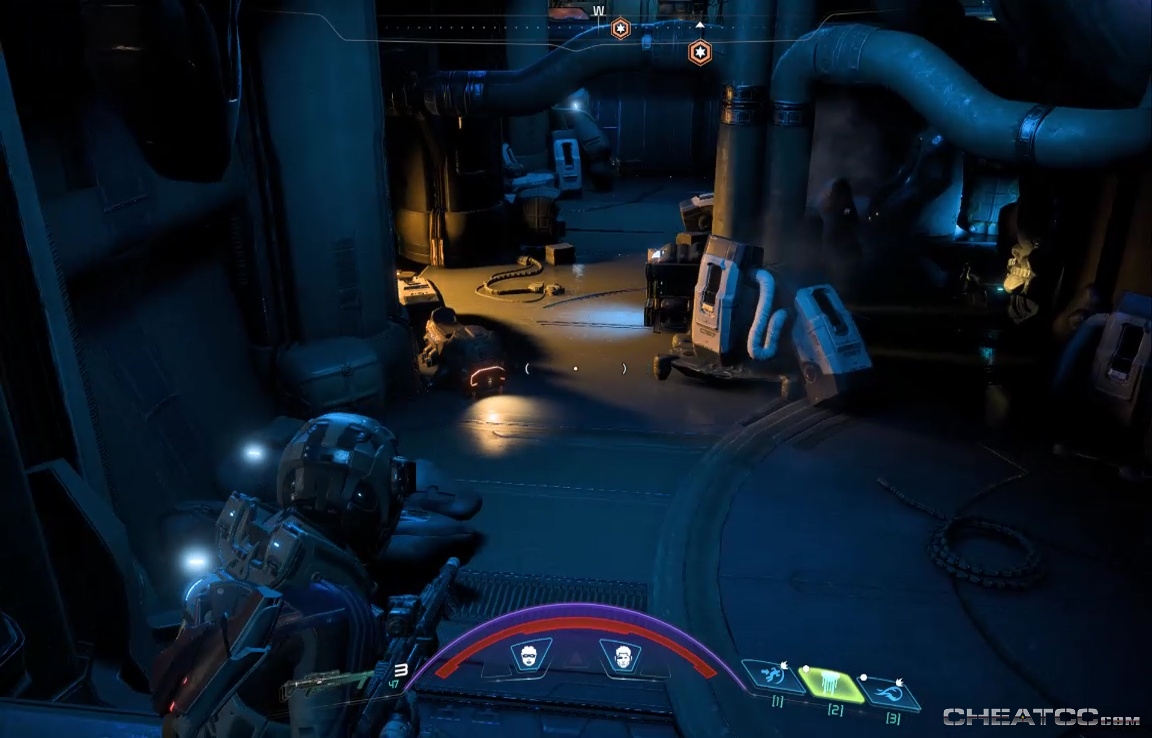
Head through the west door yourself. You can loot a few minor containers in this room, then advance to a hangar. If you did bring a rifle, you can play this entire fight from the doorway, even as a dropship lands troops to your left. Just remember that cloaked kett may not show up on your radar.
When they're all sufficiently dead, loot the room. In particular, there's a high-value container on a round platform in the southwest 'corner' of the map.
You can also read some data pads on the lowermost level for background. Two doors lead west from this room, but they wind up in the same place. You can loot an unorthodox container from the south end of the upper level (it looks like a re-purposed shield generator?).
There's also a kett core to scan on the lower level. Follow your navpoint past a spooked kett worker into the Gun Battery.
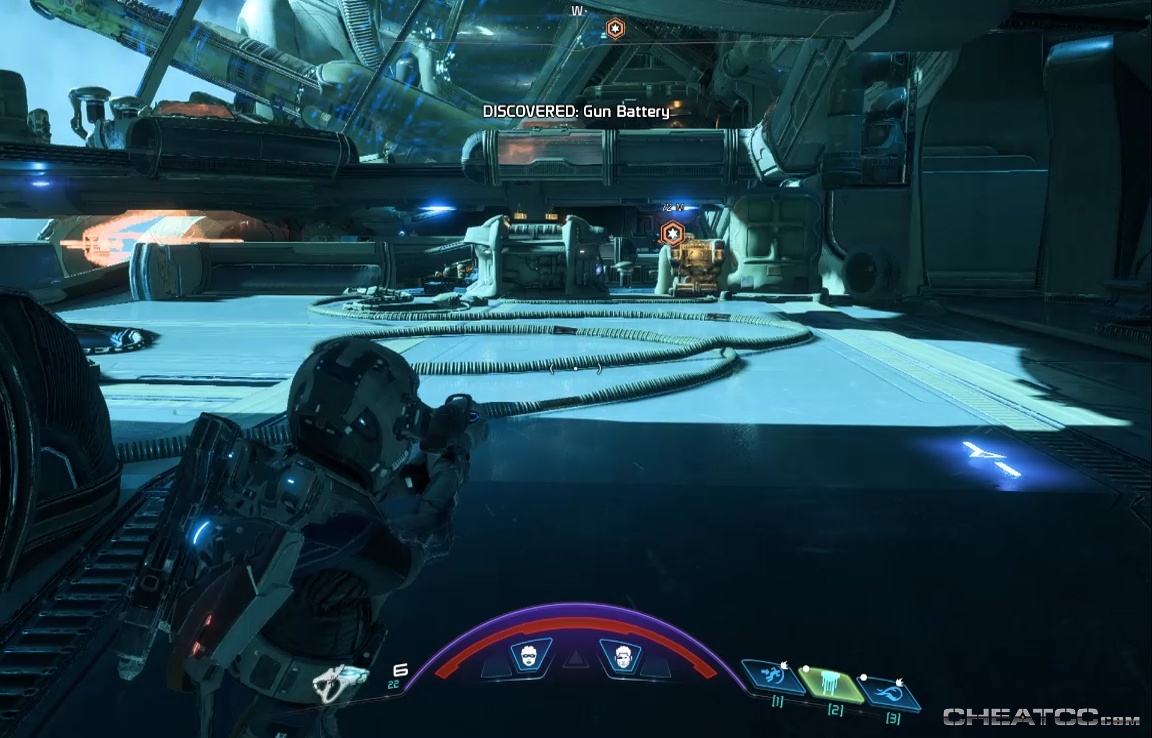
It's a giant, empty room, so you know you're going to be ambushed. Interact with one of the consoles to confirm that you can't shut down the guns from here, and scan the Ark hologram. When you're ready to fight, try the west objective'd door.
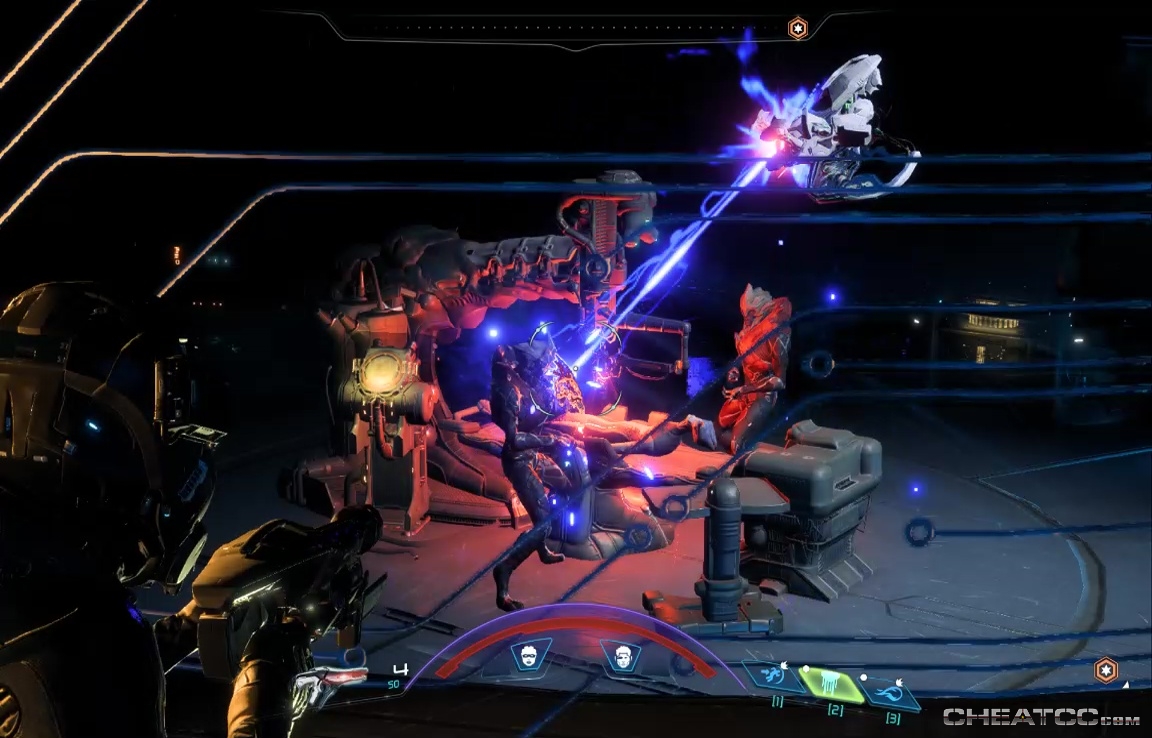
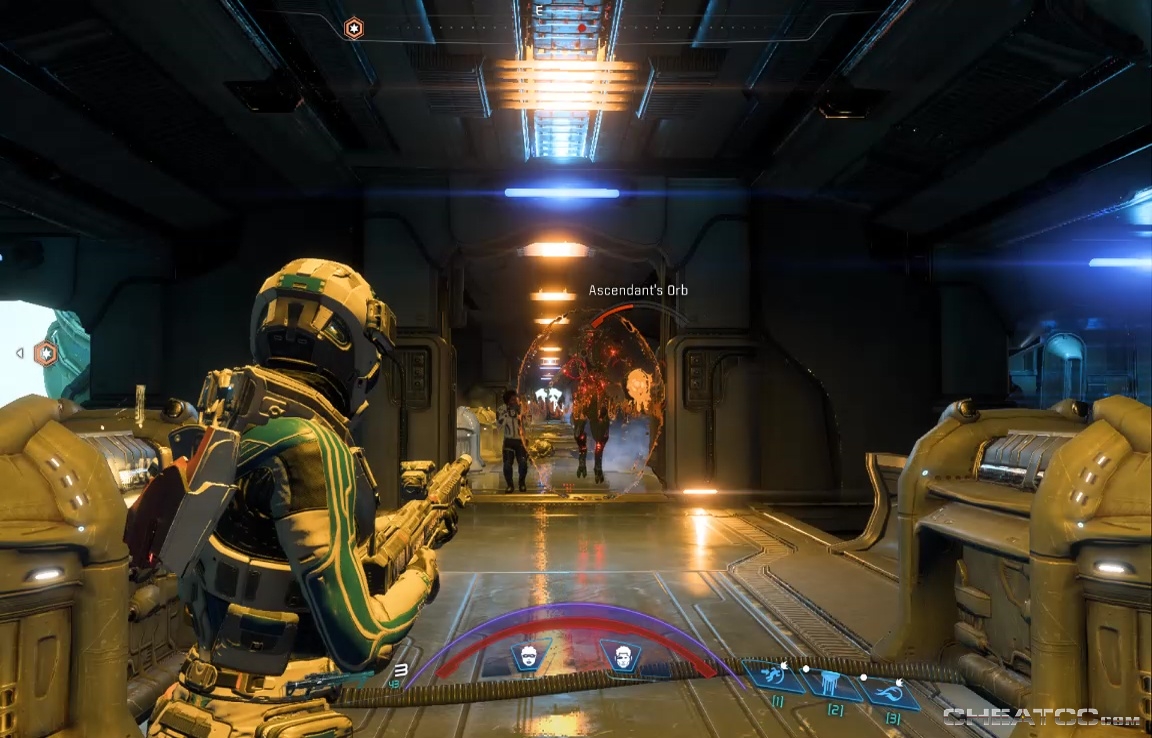
Enemies will pour in from all sides. Explosives, combos, and other area-effect attacks can be handy here.
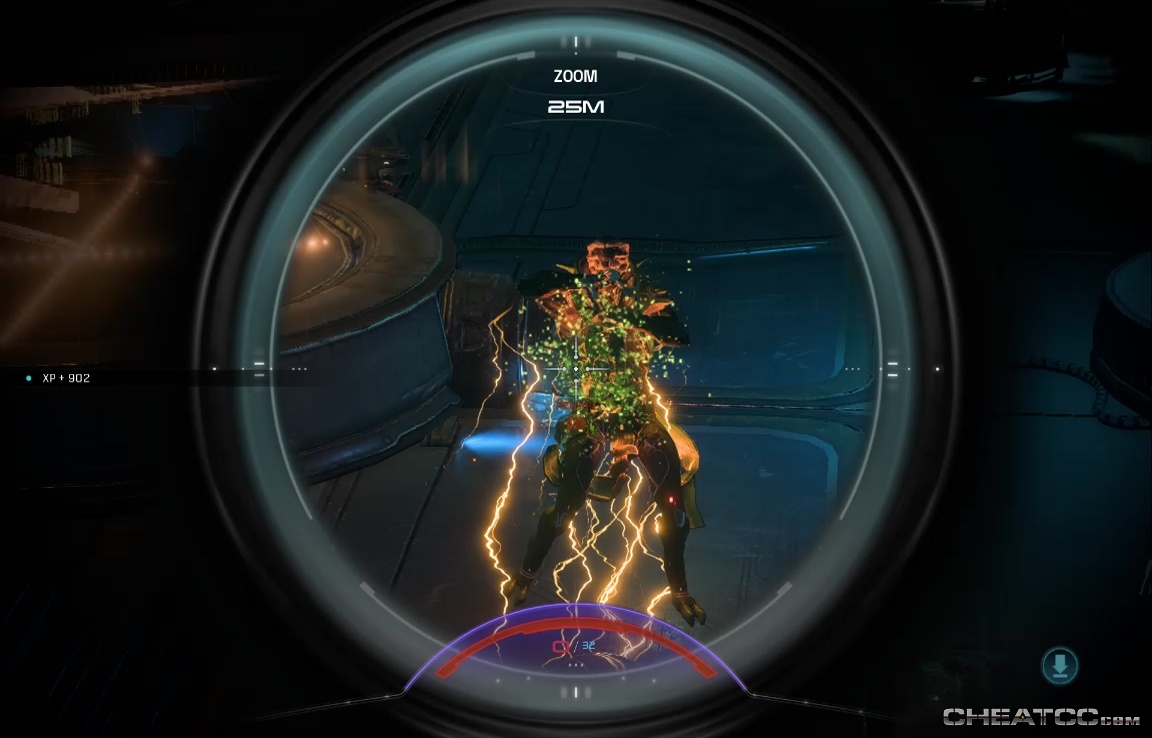
Still, while the characters panic, this isn't really anything you haven't seen before. Just keep mowing down the enemy until the Salarians arrive to back you up, then withdraw. You'll now have to exterminate the final wave on your own, including an Ascendant. Luckily it's a big room, so you've got space to mop up all the little guys first before taking down the globe-shotter with standard tactics.
Loot the bodies, then leave the bay to enter a vague waiting-roomish sort of space. Snag a container from the northeast vestibule.
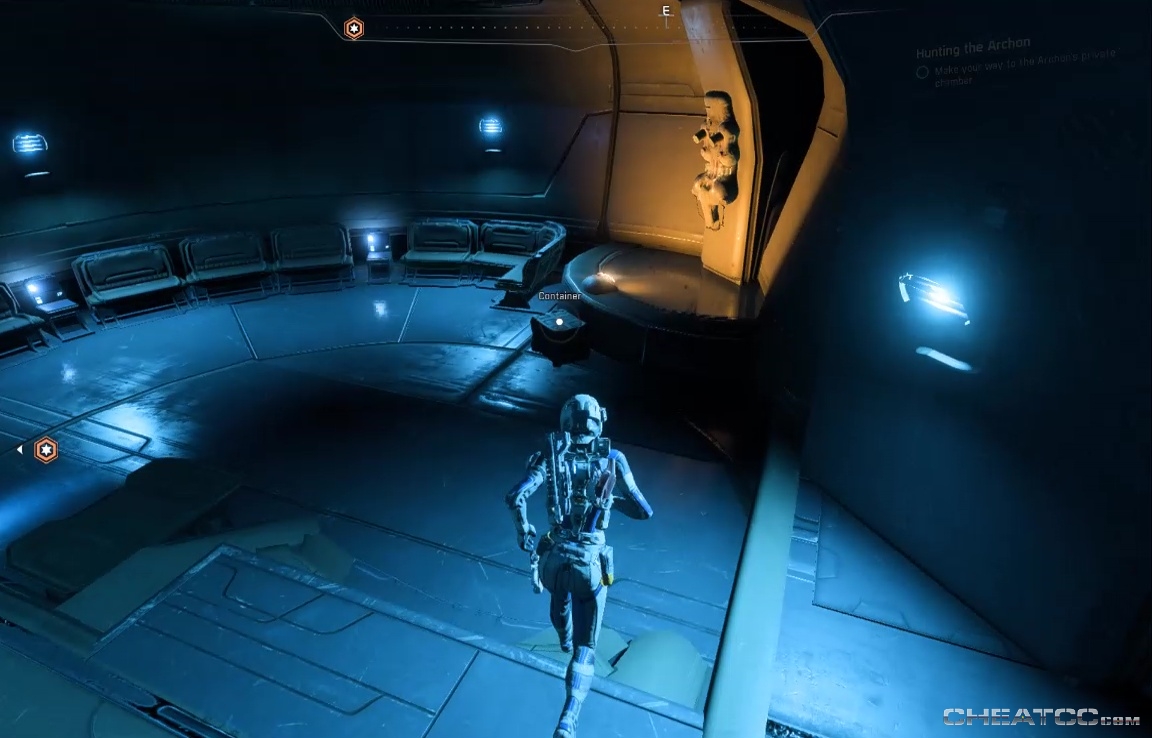
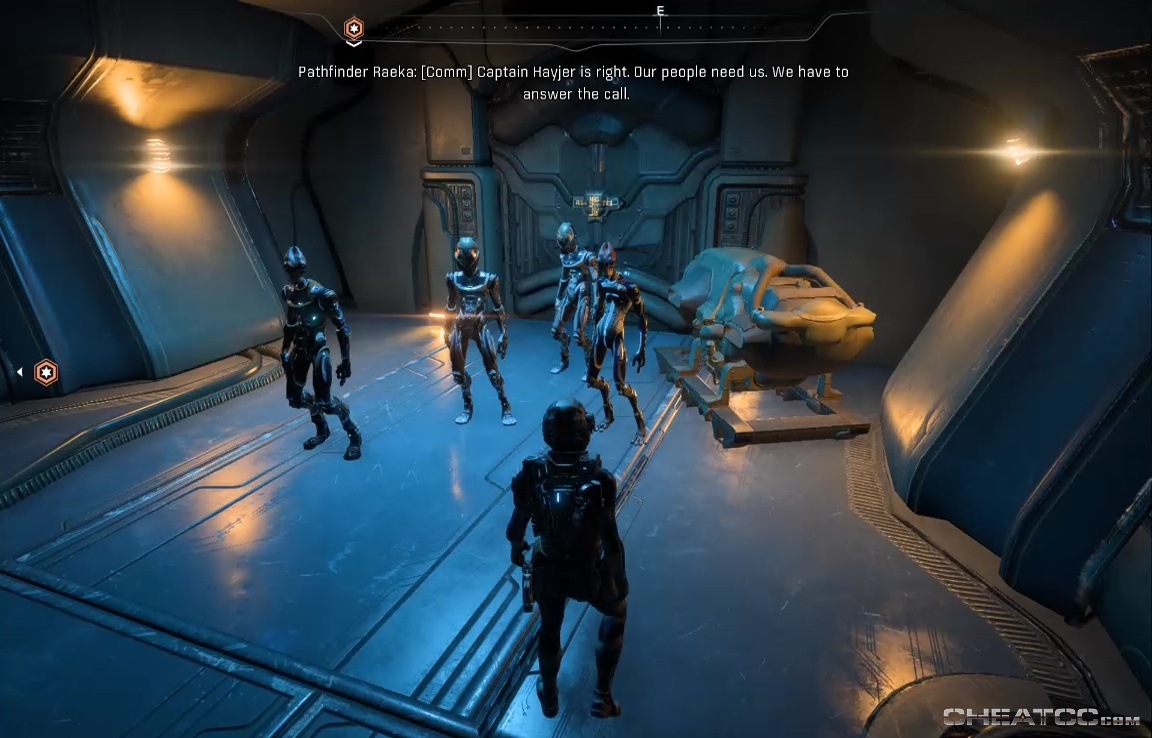
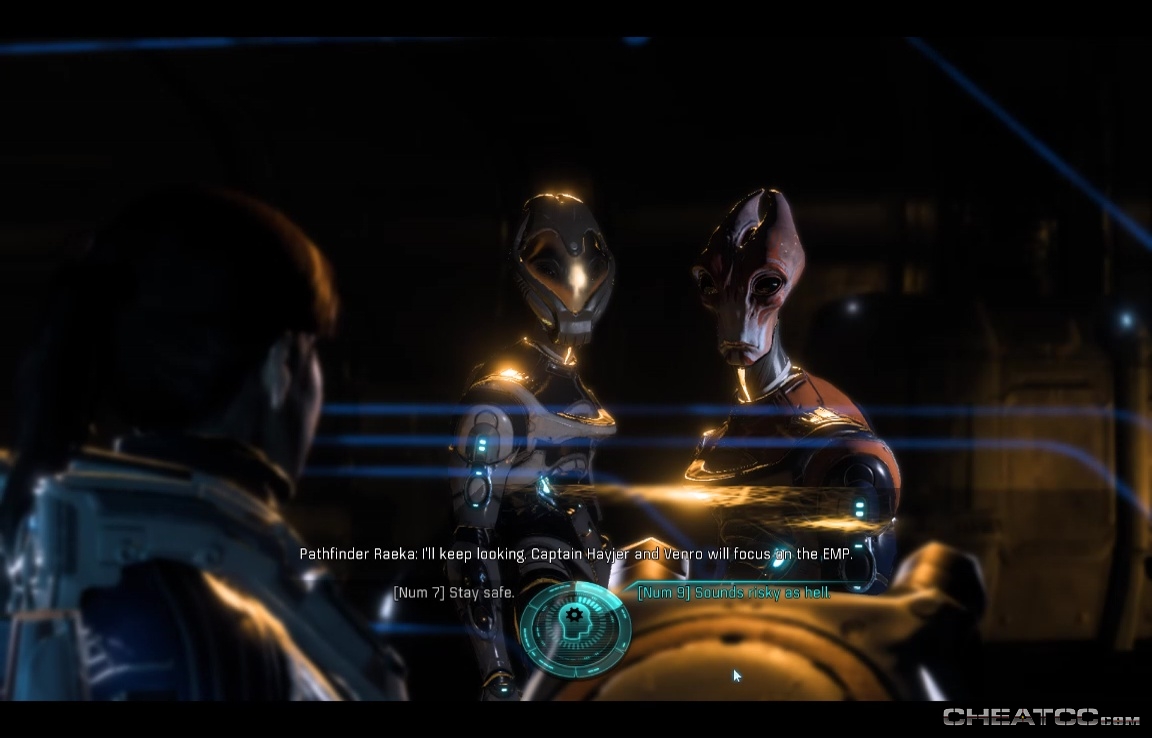
In the next room, you'll find Raeka waiting for you. Activate the console to trigger a conversation, though your responses are for tone only.
Continue forward through another waiting room (container in right vestibule). In the next room, your objective to to the left, so explore the right side of the room for another container
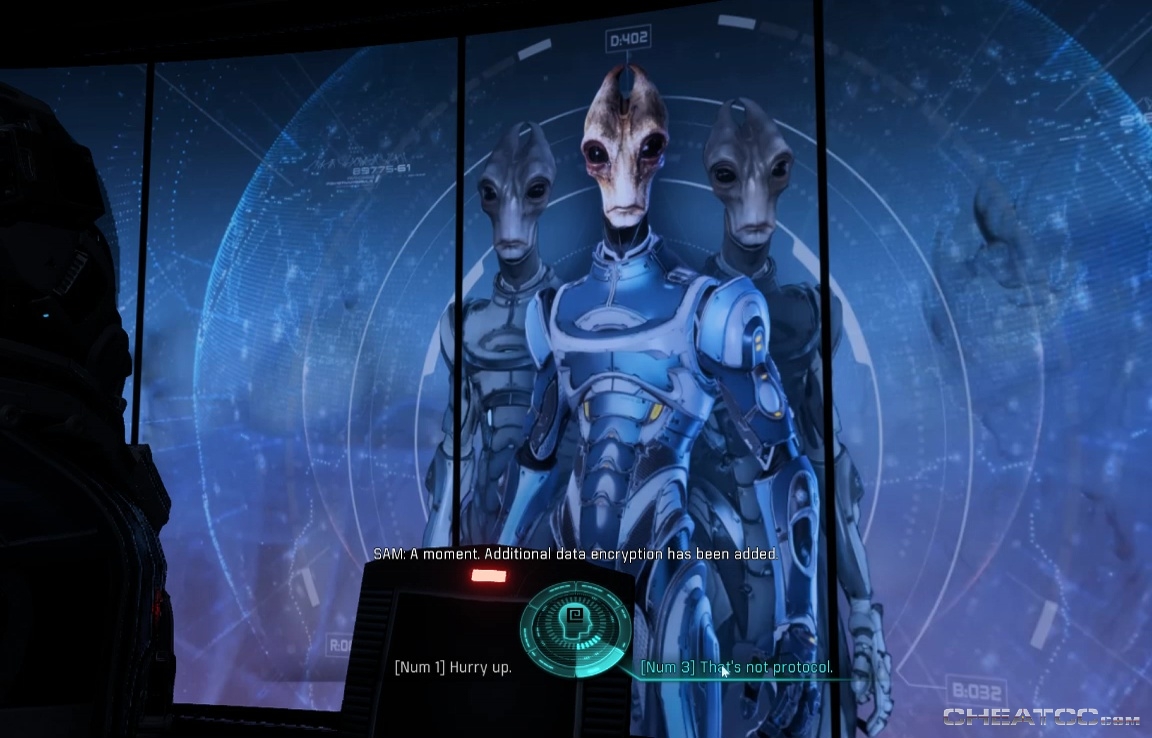
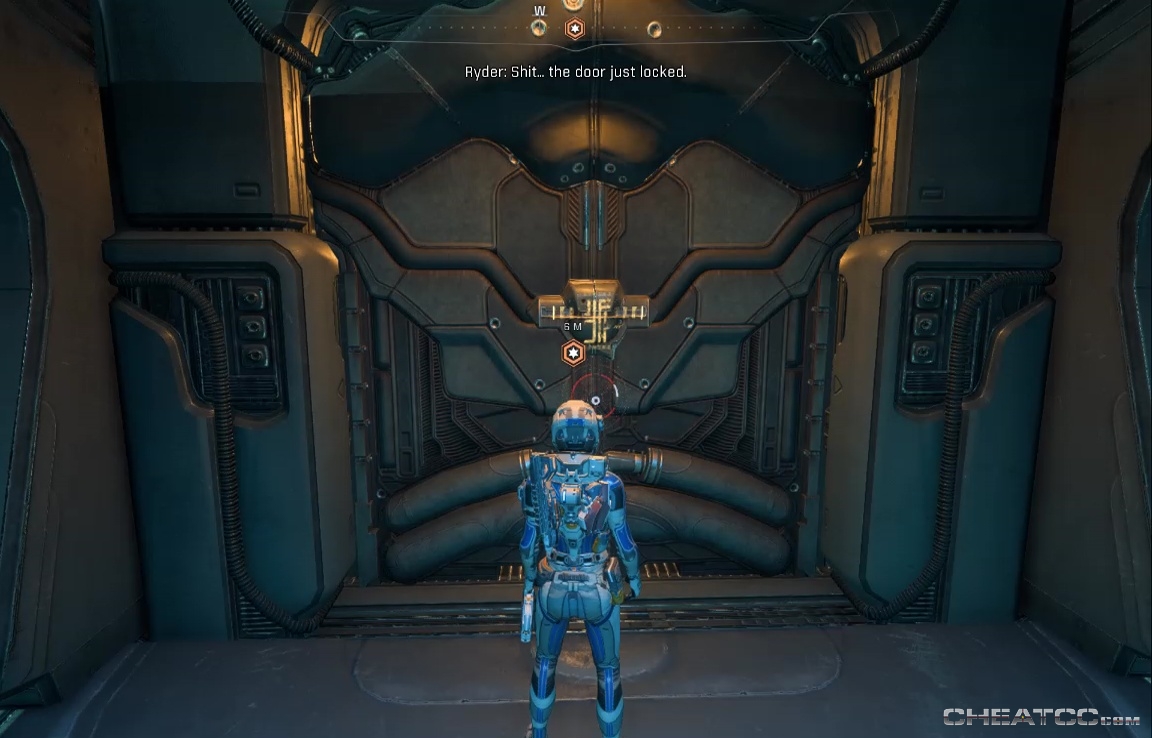
You find yet another container as you make your way to the objective door. This one locks, SAM attempts an override at another, and you'll have to try and bluff your way past a vocal recognition lock.
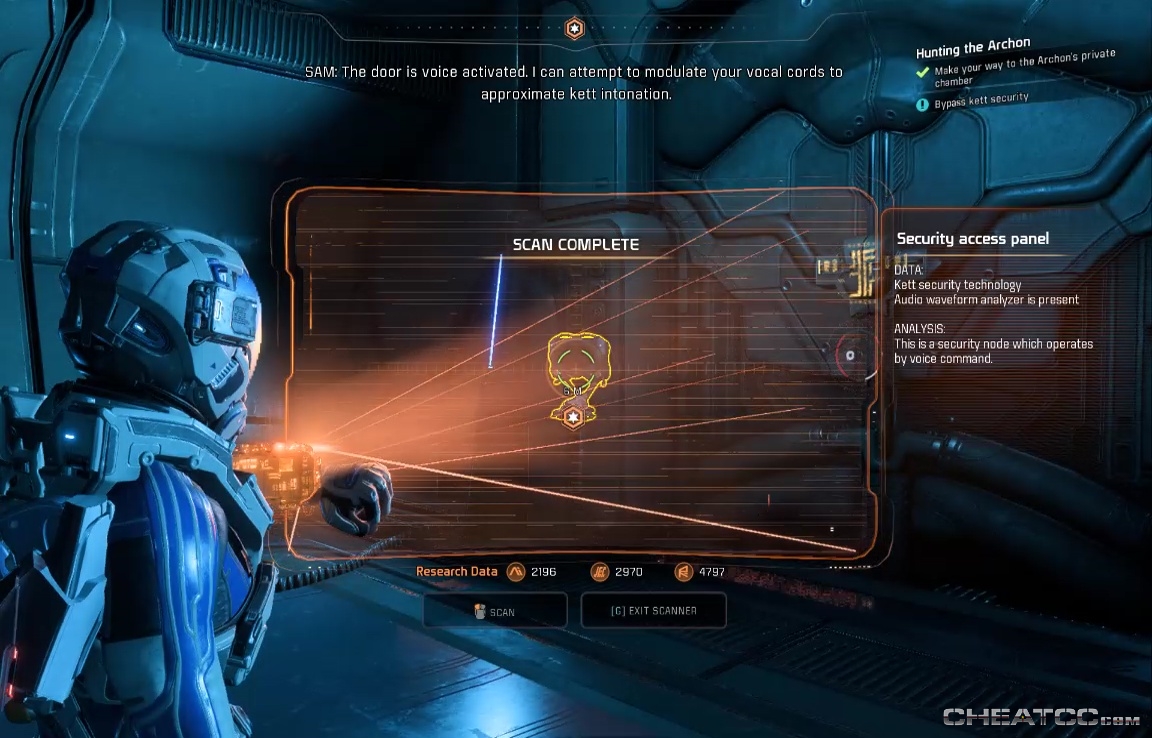
Pick the 'We're extra security' option to bypass the door. The next section is a lab- don't worry about the unkillable scientists who flee immediately.
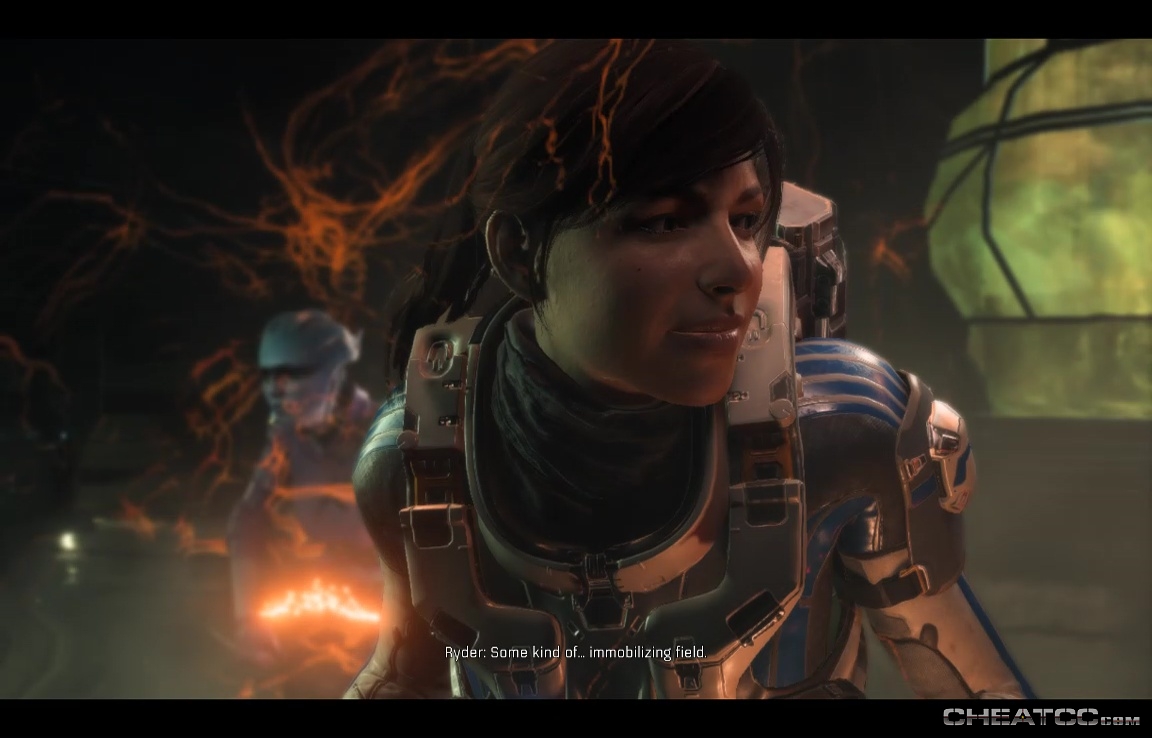
There are a number of things to scan here, and a number of consoles to play with. Some of the consoles blank out the lab observation windows, one set will release the Kaerkyn from its immobilization field (foreshadowing), and one opens a round door in the wall.

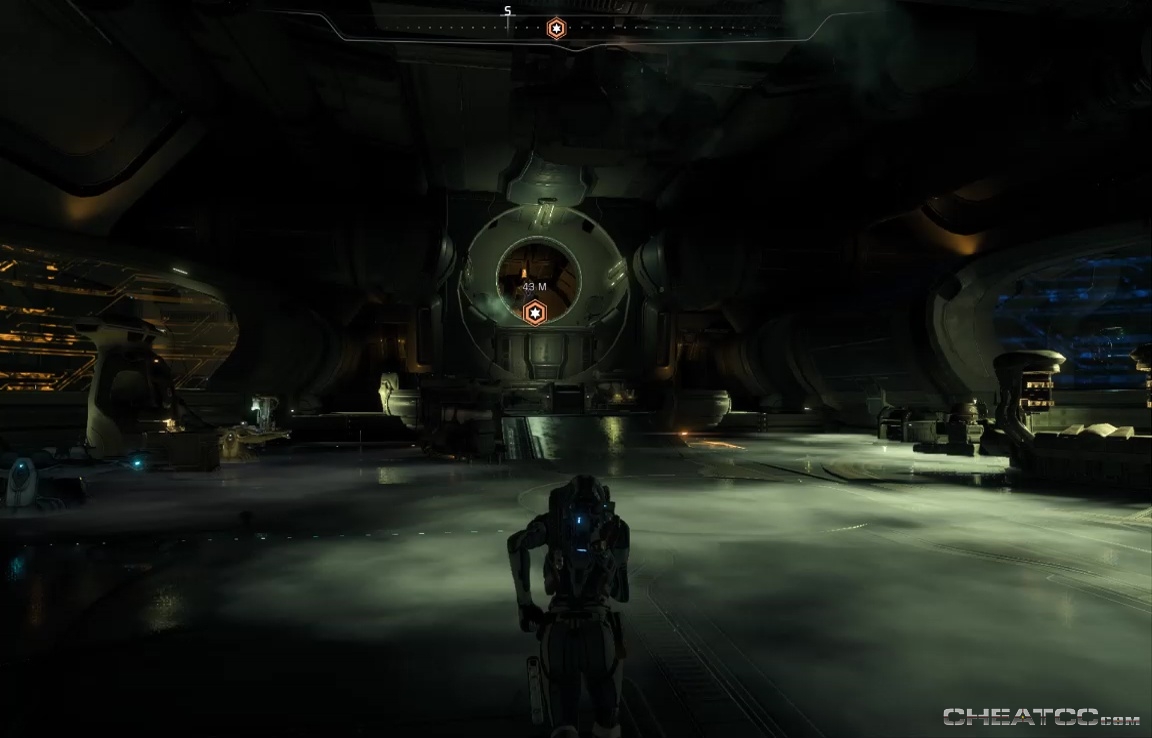
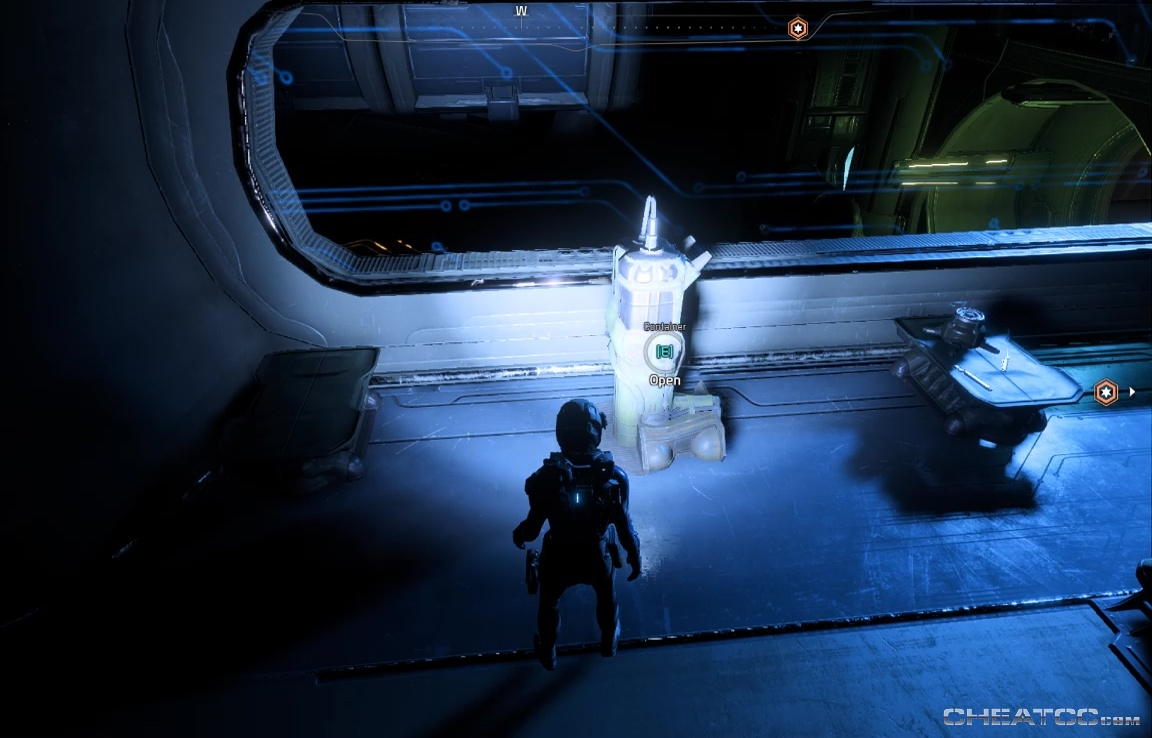
Pay special attention to that last configuration- you'll see it repeated a lot, and often (as in this case), there's a container in the small room beyond. When you're done here, follow your nav to an upper hallway west to trigger an Destined-led attack.
Clear them and proceed. You'll pass another of those small round-door rooms with a container in it, then enter a storage bay full of discarded Salarian pods.
They're empty. Keep after your navpoint, and you'll find out why.

Scan the bodies and read the datapad for more. You can't do anything to halt the torture-in-progress (you can materialize Zap inside the room, but his attacks are useless).
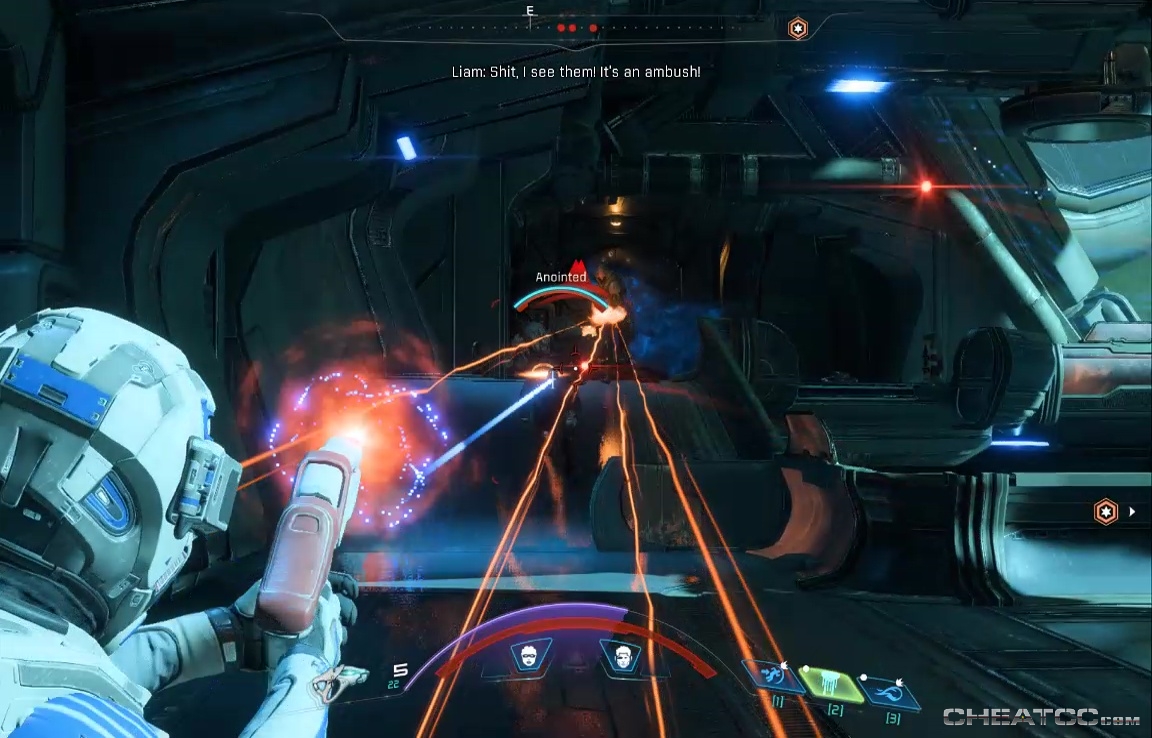
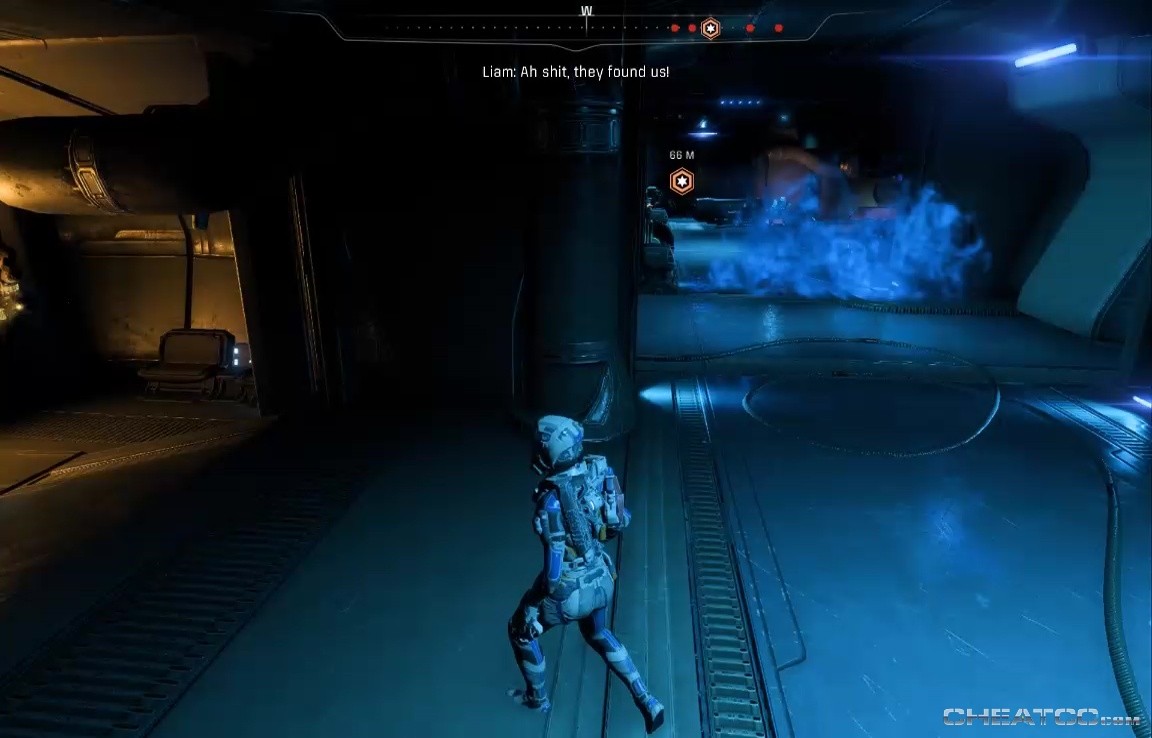
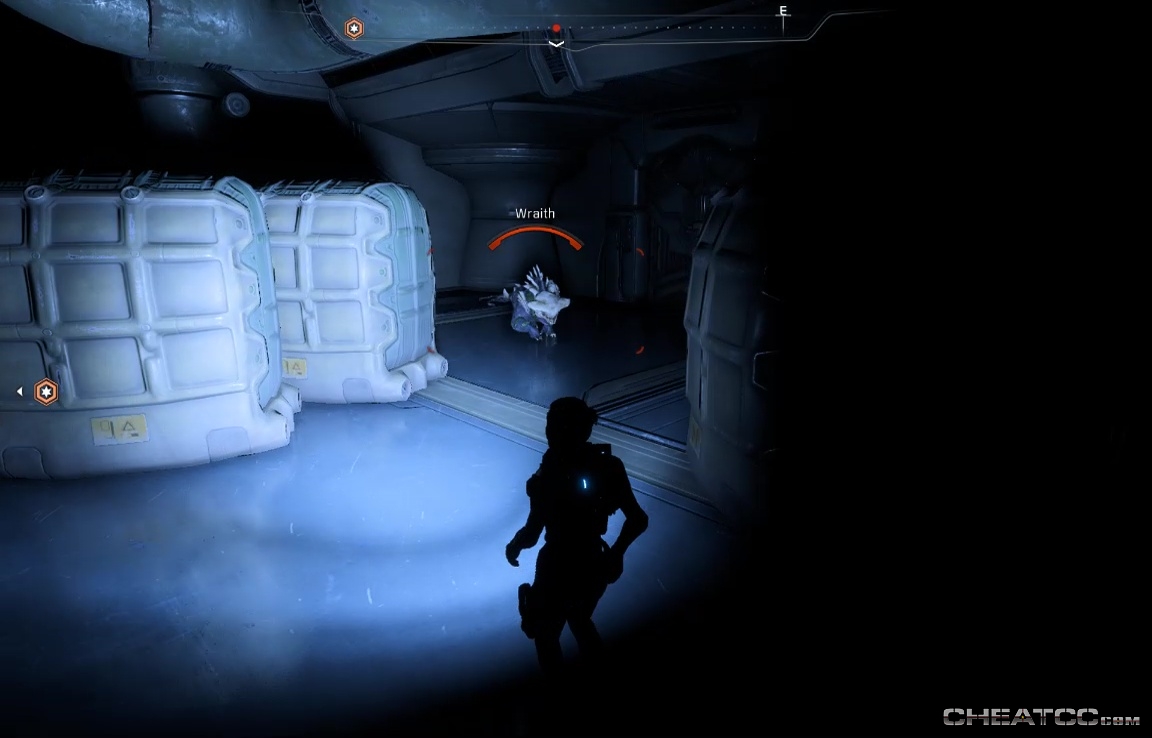
Move on to another corridor fight (Chosen, Anointed, and Wraiths), and then straight into an unmissable trap.
Your dialogue choices are all tone-only. When you're back on your feet, there are many audiologs to listen to, and datapads to read, and two minor containers to loot. You can also scan the giant green holding tank for data. When you feel you've learned enough, follow you nav to another round console, and then exit through the high round door.
Drop down and head through the maintenance tunnel. There are some discarded cryopods, but scanning them doesn't yield any research data. If you still have room in your inventory, you can loot a few minor containers along the way, including this oddity.
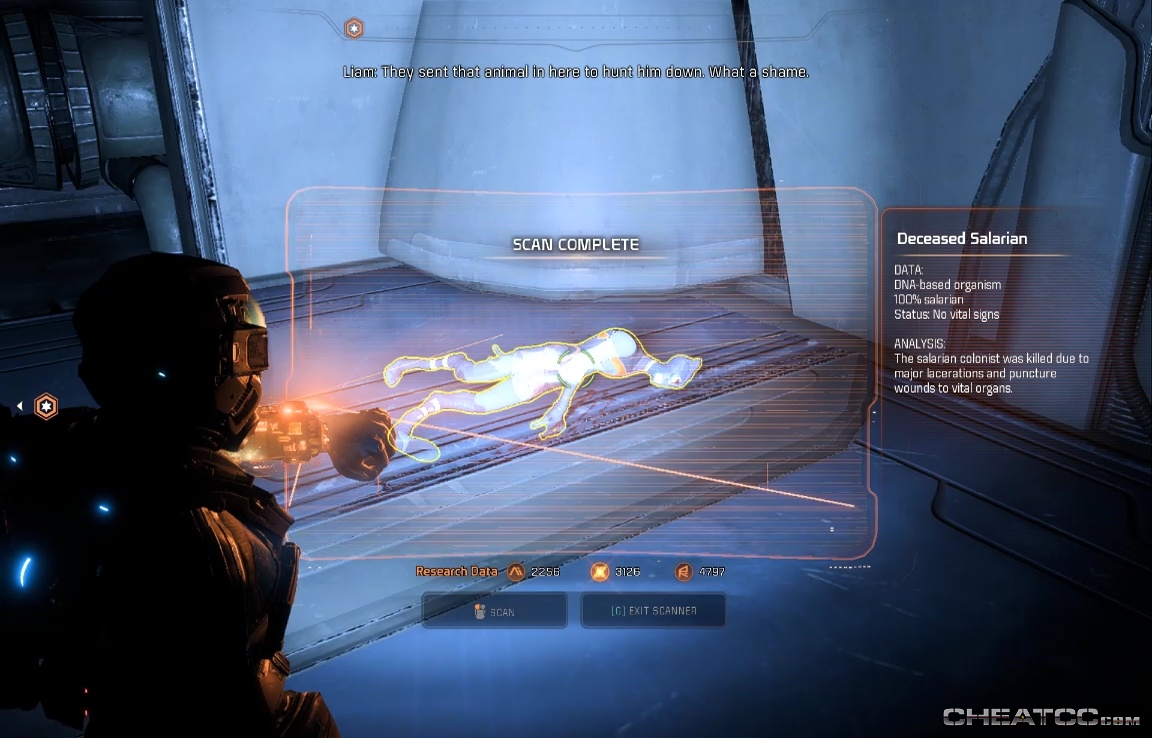
At the end of the corridor, your mysterious enemy is revealed as a single Wraith, easily dispatched.
You can scan the Deceased Salarian for data.
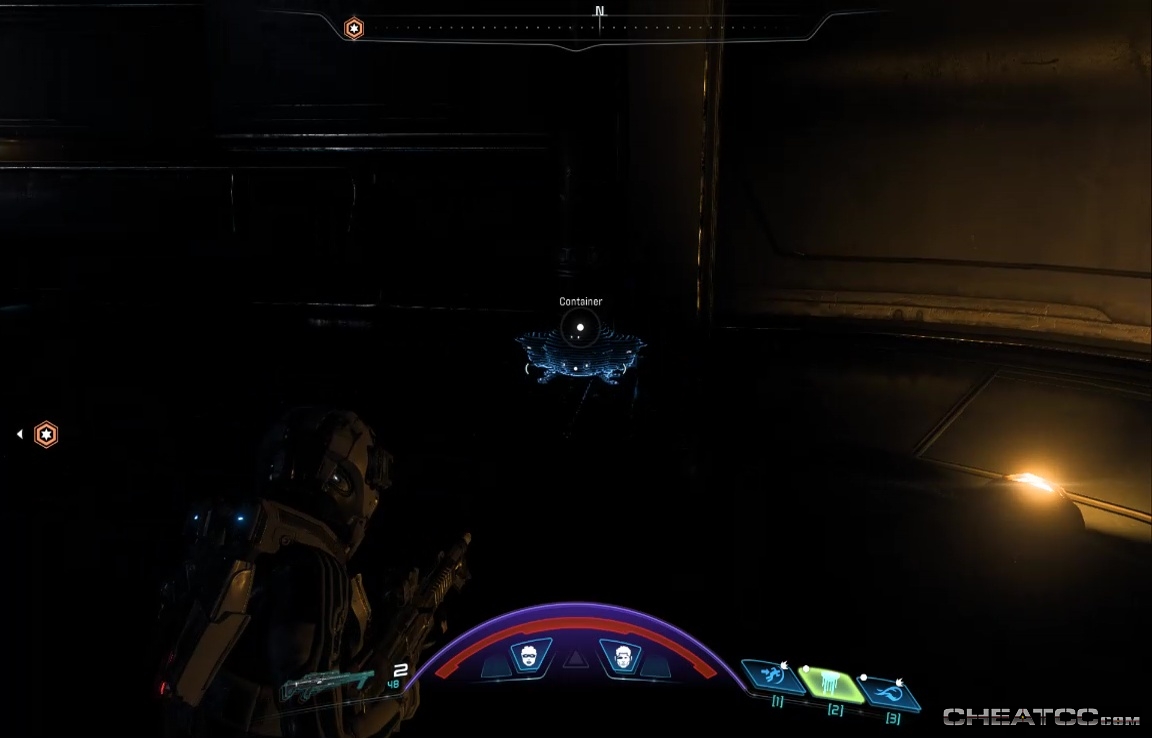
Follow the navpoint until you reach the Antechamber. There are two containers here, but it's dark, so keep an eye out for the coruscating scanlines.
Stroll through the next room and cutscene into the Archon's Chamber. Scan all the floaty things- they're all useless, but they do provide data. There's also a Kett Core to scan on the north side of the room, and a container on the south. When you're ready for the next phase, activate the Remnant Relic to the extreme west.
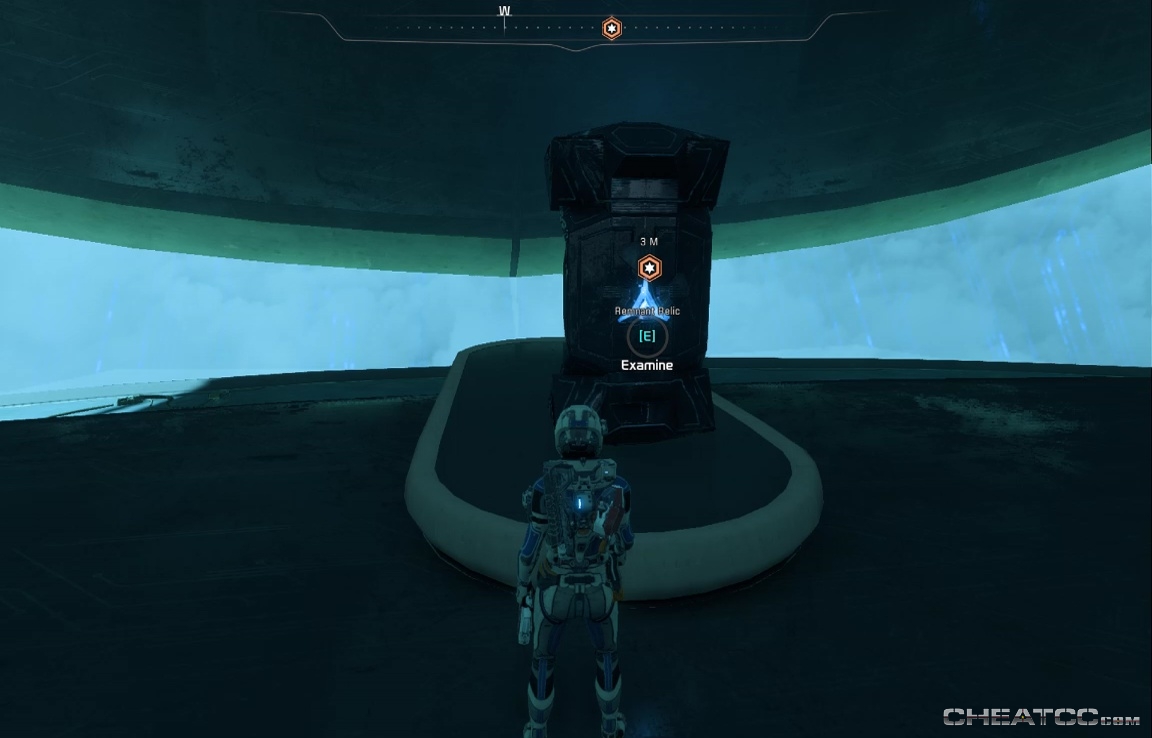
Maybe it would have been wise to save the decryption bit here until after you've escaped the ship, but I suppose we'll never know. The Archon has the location now, and sics the first kett-krogan on you.
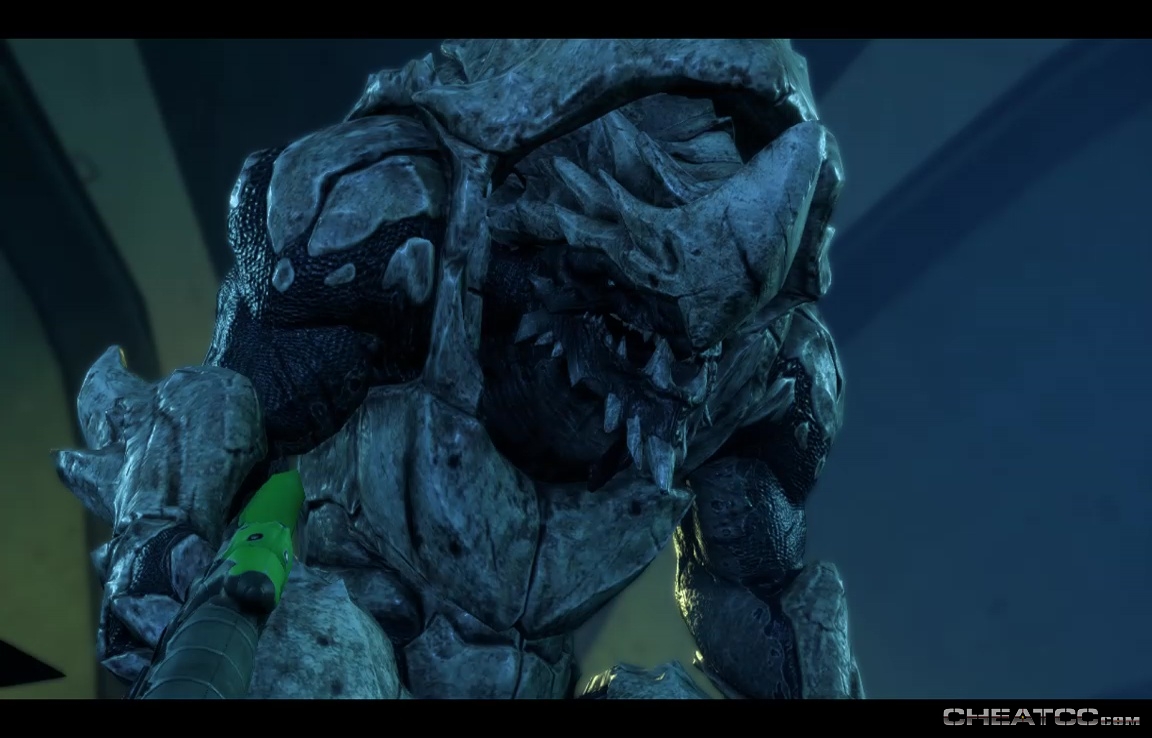
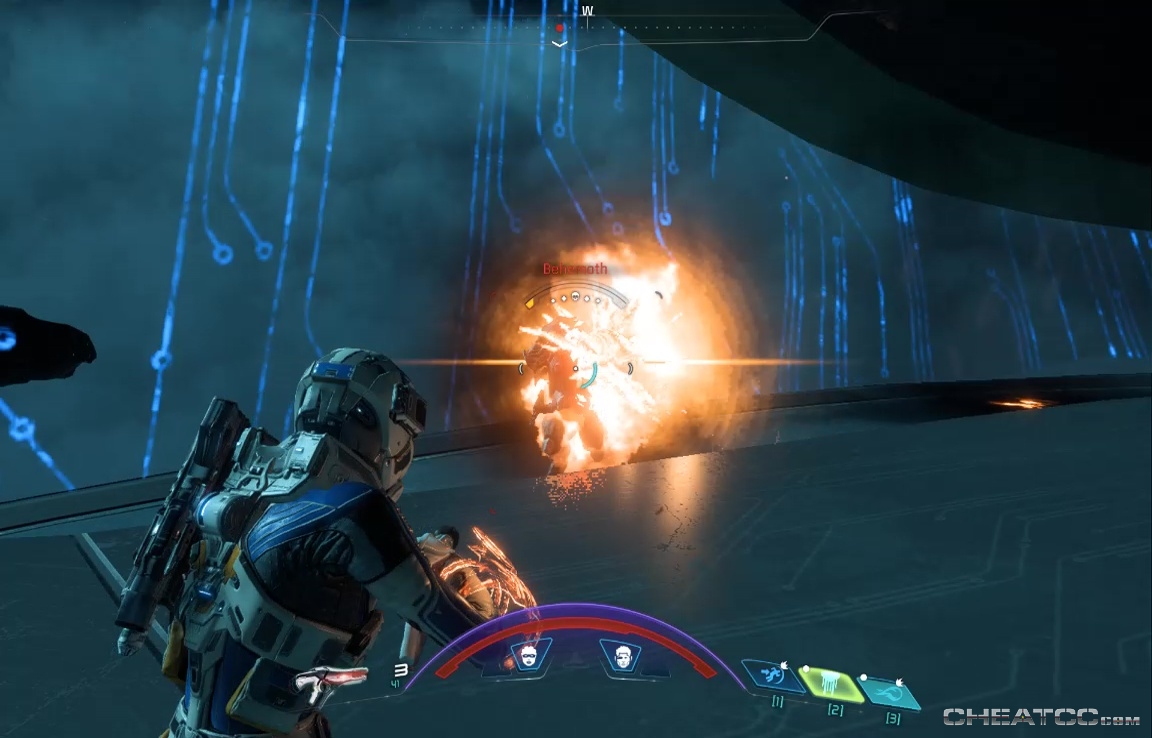
Try to deal as much damage in the first few moments as possible, before all the backup arrives. There's nothing tougher than a Destined, but they can distract you at a critical moment. Either way, the basic gameplan is kill them all, and stay out of range of the Behemoth's charge. As with all armored enemies, fire attacks deal the most damage here.
When they're all down and you've looted the room, head out for what probably the game's single most impactful choice.
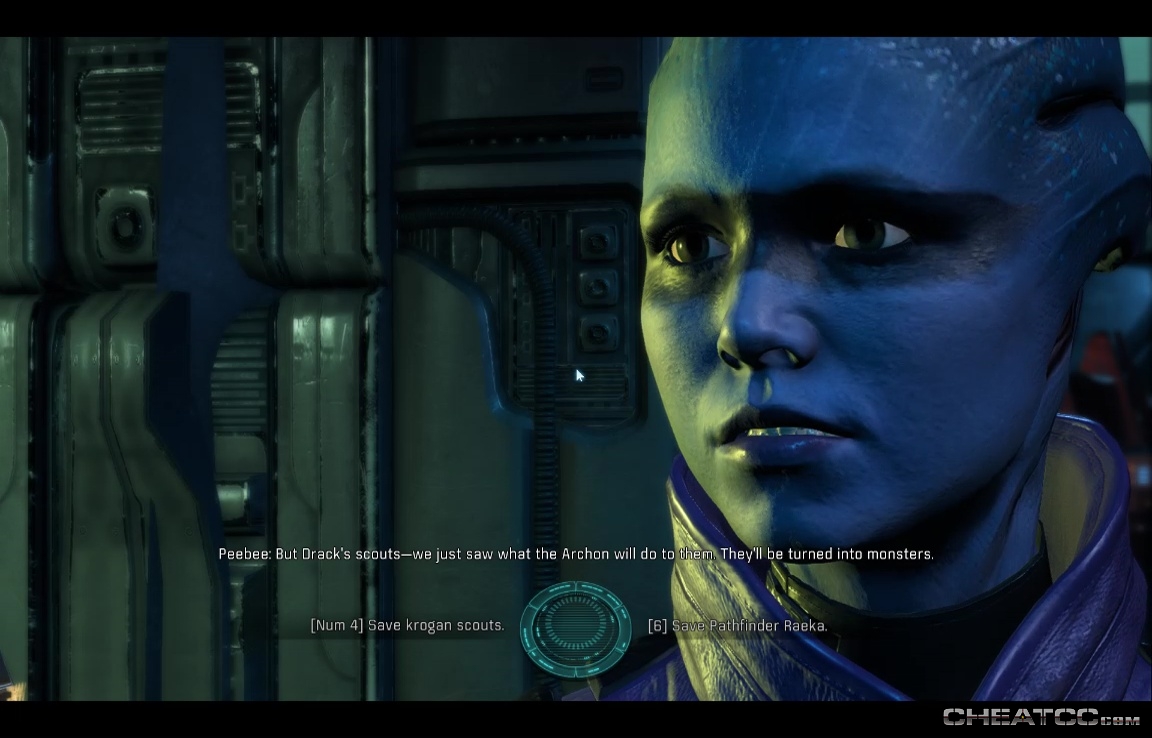
Raeka is the last surviving Pathfinder of the original four, and the only one to have actually undergone complete Pathfinder training. She's also a hero to the Salarians, a strong fighter, and someone who came to your rescue (however unnecessarily) just a few minutes ago. You've never met the krogan scouts (though Drack has), and while they are low-rank soldiers, there are a lot of them, and they face not just death but Exaltation.
There is also a gameplay component- if you leave the krogan scouts behind, you'll be facing them as Behemoths for the rest of the game.
Lastly (though it's mostly an RP concern), there's the diplomatic angle. No matter how you choose, the Salarians will generally be thrilled that you rescued the Ark at all. But if you leave the krogan to die, it just confirms their long-held and not-unmerited view that the other Milky Way sentients view them as disposable cannon fodder. Drack will certainly become a bit chilly to you (though it will not affect your romance prospects). Either way, you'll still wind up in one last big fight before the escape.
This one caps with an Ascendant fight in relatively close quarters, so be sure to stay mobile, and keep track of the enemy position so you don't get trapped in a corner.
When you're done, hit the door console to escape with whoever you decided to save, and let the cutscene carry you away.
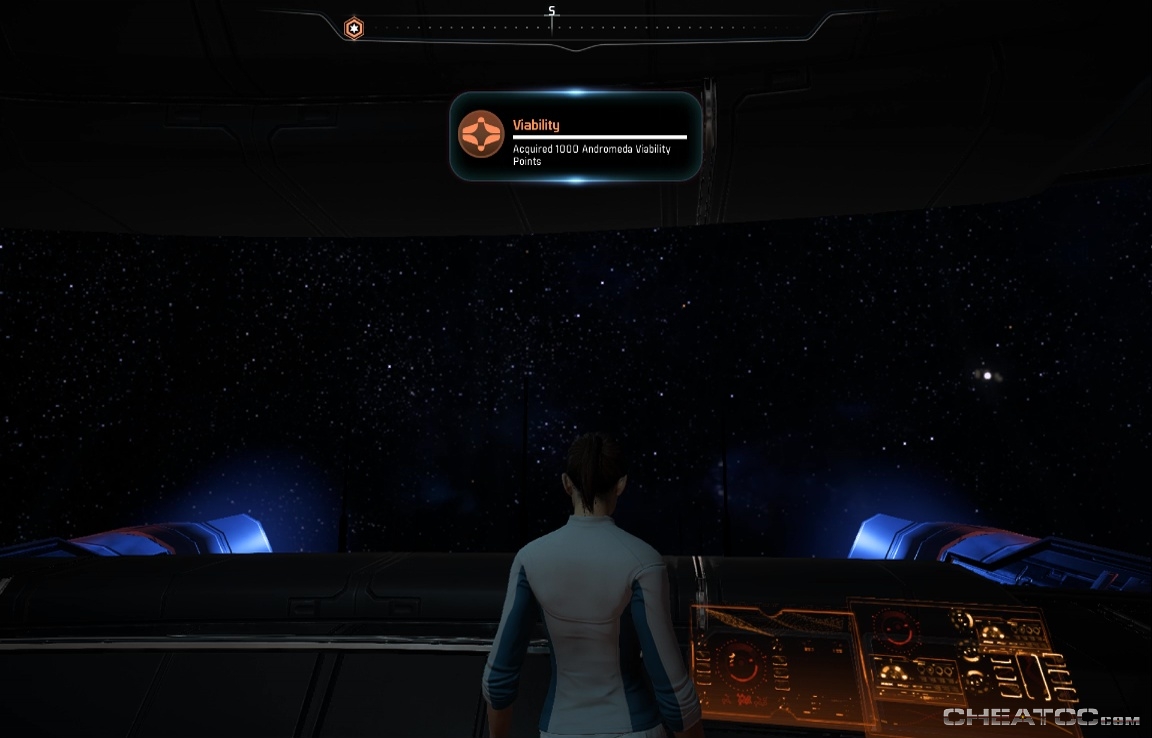
You'll have some dialogue aboard the Tempest with either the old or new Salarian Pathfinder, and with Drack, and Suvi will share some disconcerting facts about your kett injection. You'll also see a scene from Archon HQ, indicating some leadership friction, before you regain control in the vidcon room, with a final 1000 AVP reward.
Completing this mission unlocks and unblocks progression on many other fronts, so be sure to check your email, chat with your crew, and review your journal to see what you want to do next.