
Journey to Meridian
After successfully hunting the Archon, return to Tann's office on the Nexus. This triggers a meeting with Nexus leadership, discussing your choice aboard the Archon's ship, and what you intend to next.
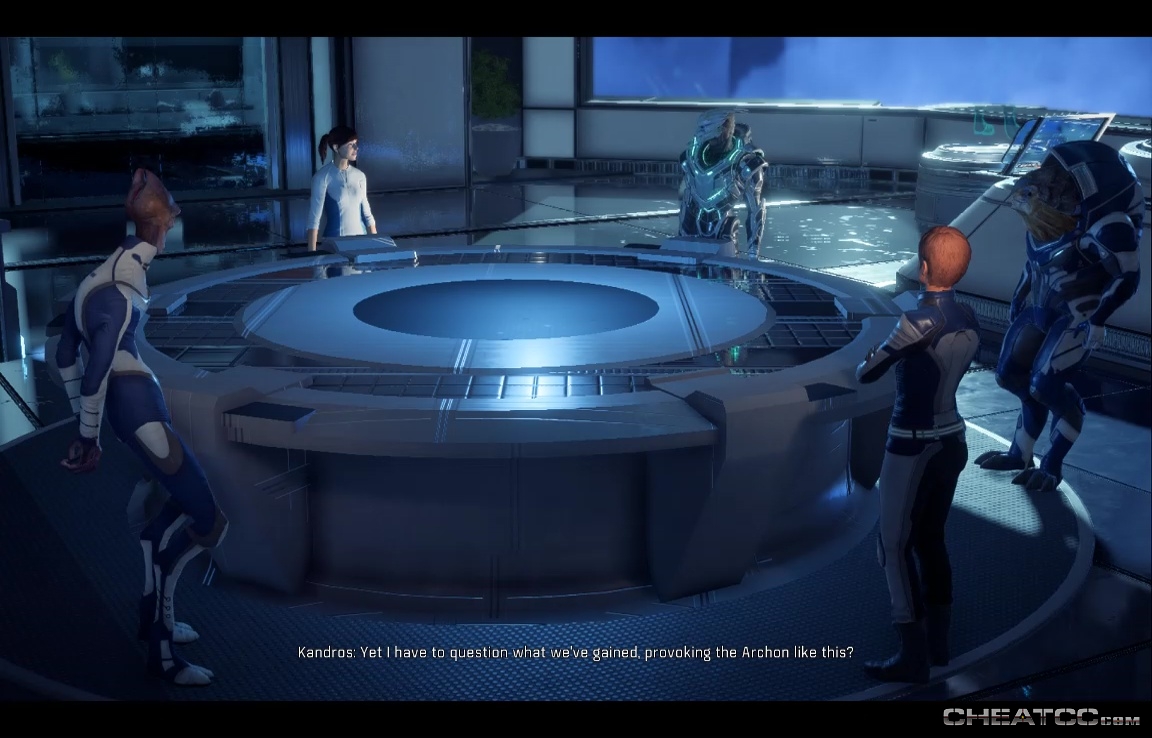
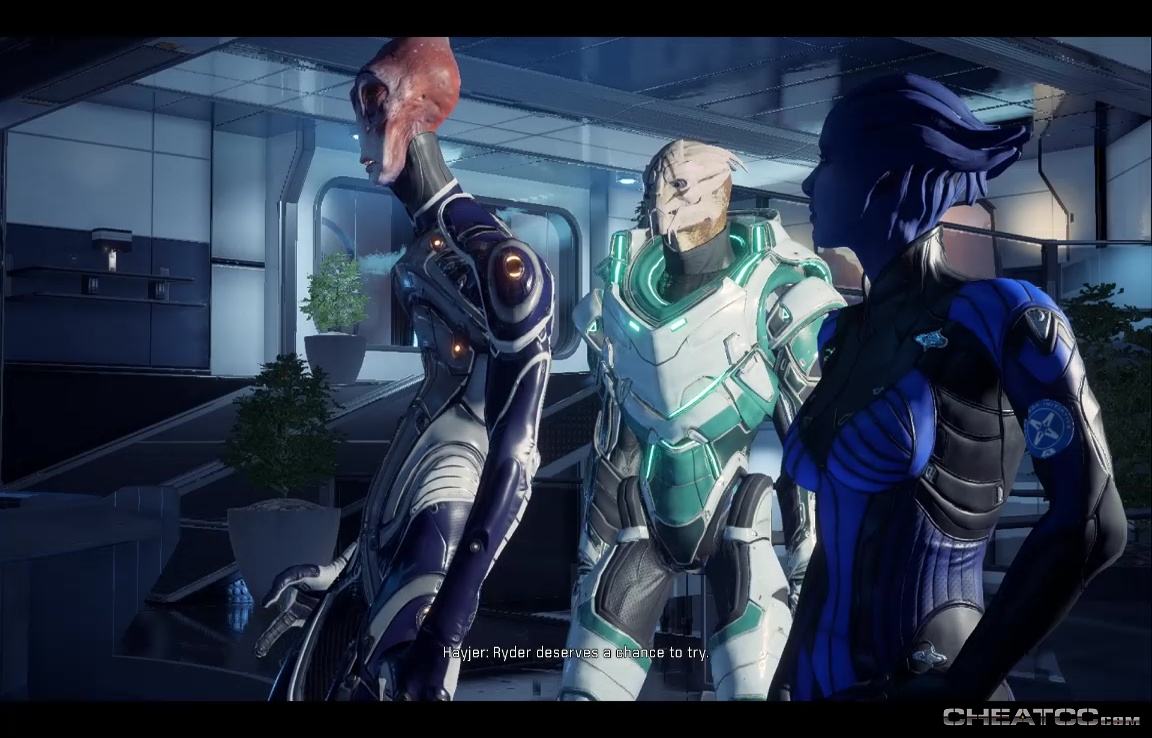
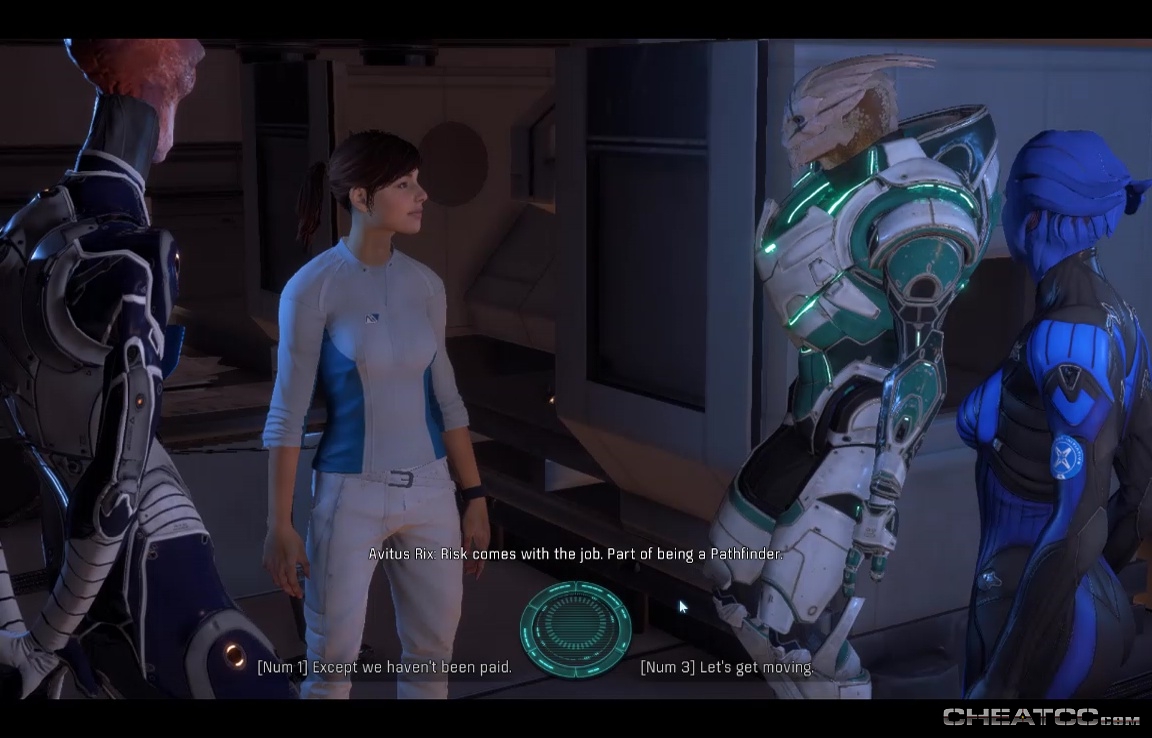
No matter what choices you've made throughout the game, your plan for an assault on Meridia will be overruled. At this point, every other Pathfinder you've helped so far will show up to have your back (Note that if you disgraced Sarissa but kept her as Pathfinder, you'll need to have had a talk with her in Tann's office before this, for her to be considered on-side).
Tann overrules the lot of you, and just as you've just begun to plot a way around him, you get a call that your twin has woken up. You'll automatically rush over to cryo. Your twin will react to whether you visited them previously, and what you told them if you did, but you'll still also have a quicktime event to hug them as they talk.
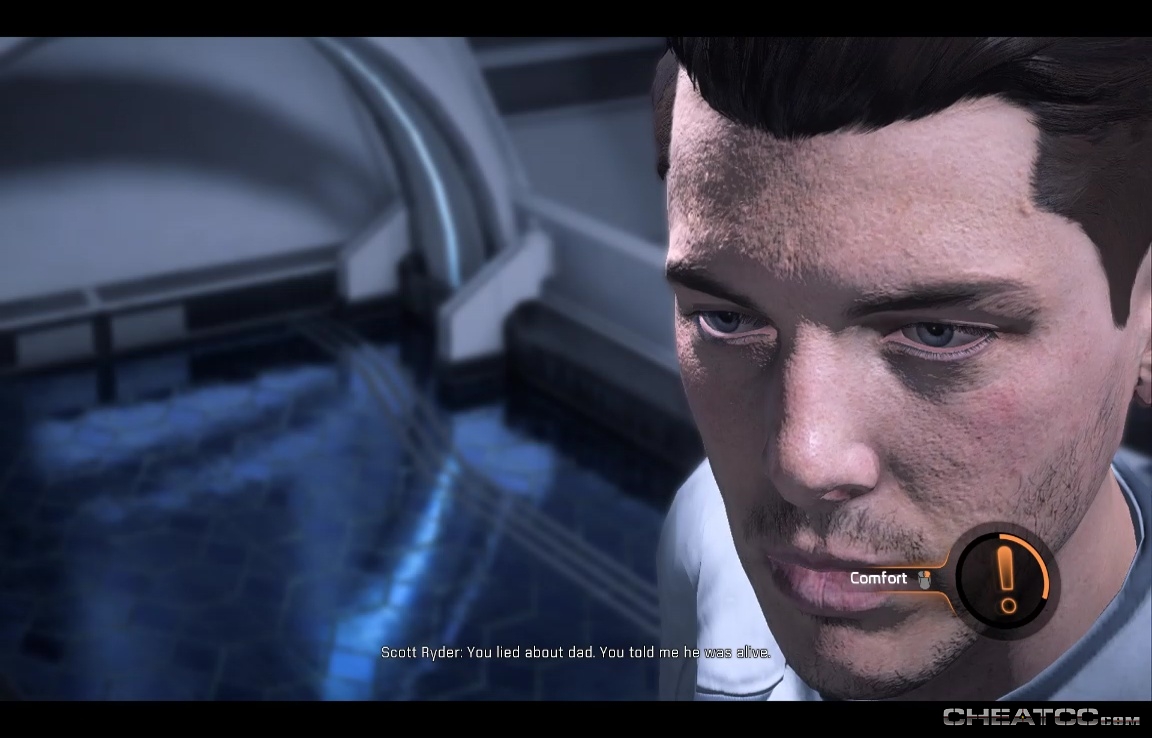
No matter your transgressions, they'll relent and forgive you. The cutscene ends, but you can speak to them again about your shared past, and the Memory Triggers you've uncovered.
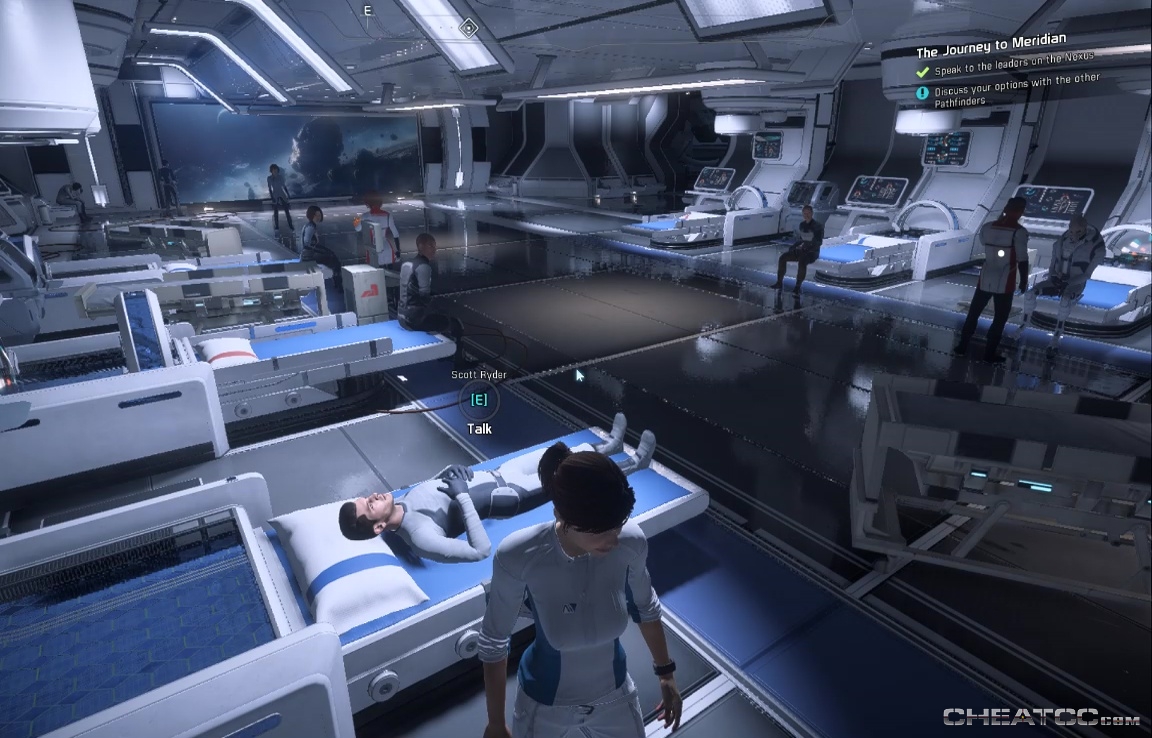
Now's a good time to finish up the Ryder Family Secrets quest if you haven't yet, but when you're ready to move on, meet the other Pathfinders in the Docking Bay Tech Lab for the next step of your plan.
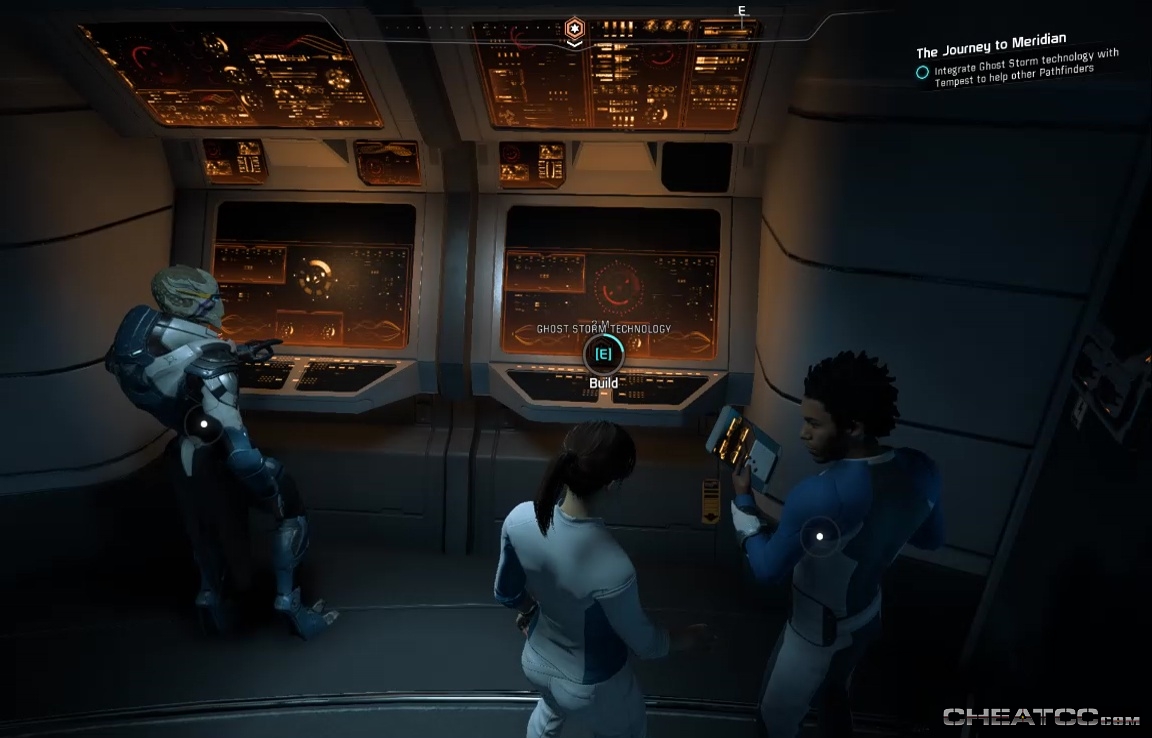
They'll give you some untested tech to research, but this is as simple as using a console aboard the Tempest (not the usual R&D terminal- follow your objective to a side panel in the same room).
Go the the vidcon to call a meeting of the full crew.
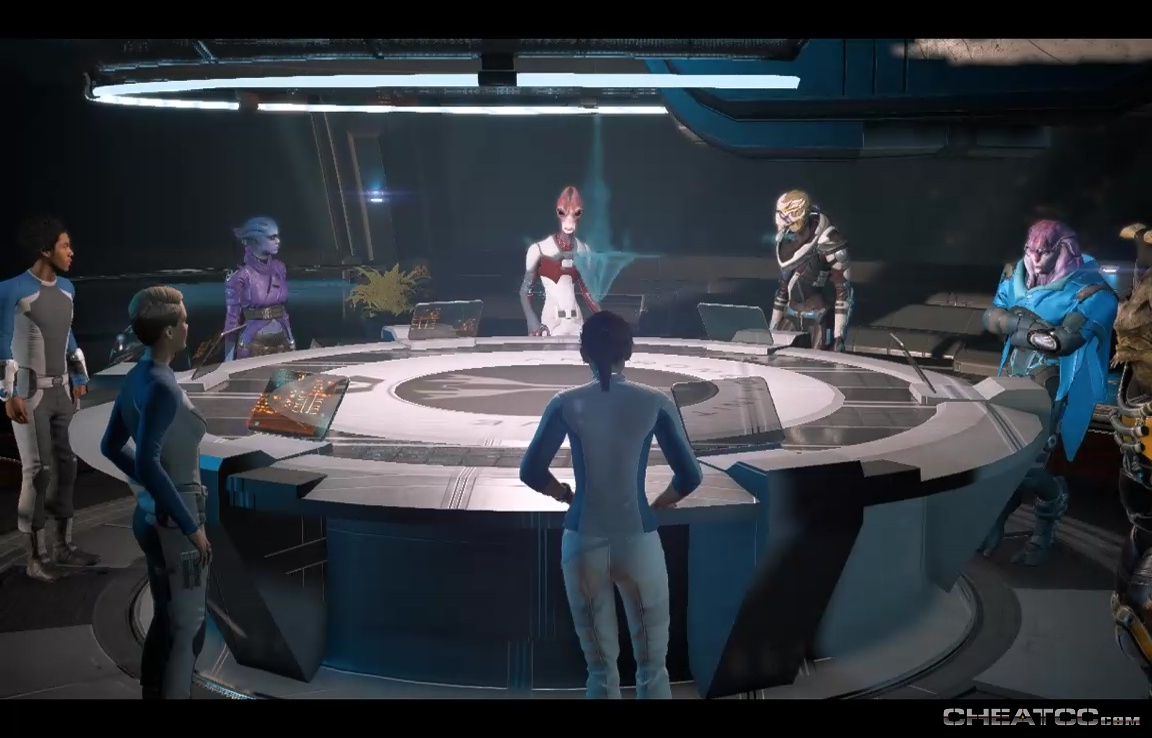
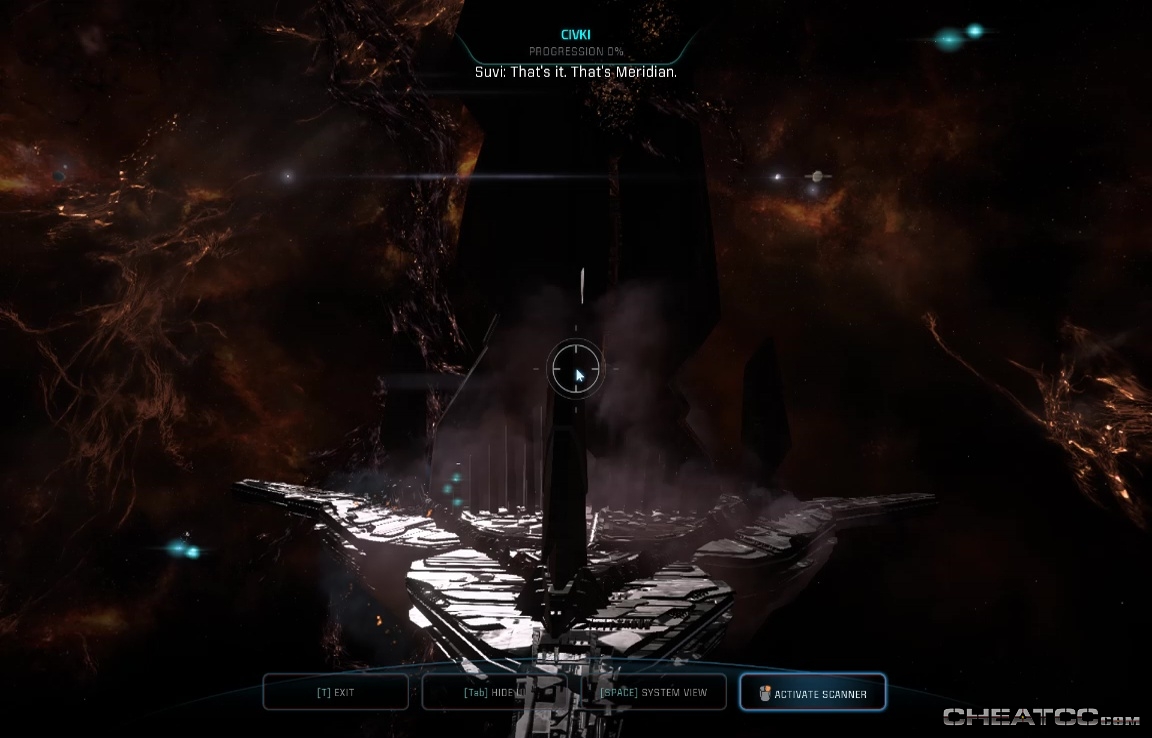
Unlike the Nexus leadership, everyone here is on your side, and you leave the meeting with a navpoint in Civki System. Journey there to come face-to-face with Meridian.
This is going to be one of the most combat intensive sequences of the game, against all levels of Kett and Remnant enemies, so gear up accordingly. Storywise, it's recommended to bring Jaal, which means your second should probably be Drack. He's not the most scintillating conversationalist, but he's good at armor and close-range while Jaal handles shields and sniping. And Drack does have one pretty great line as you approach the final tower.
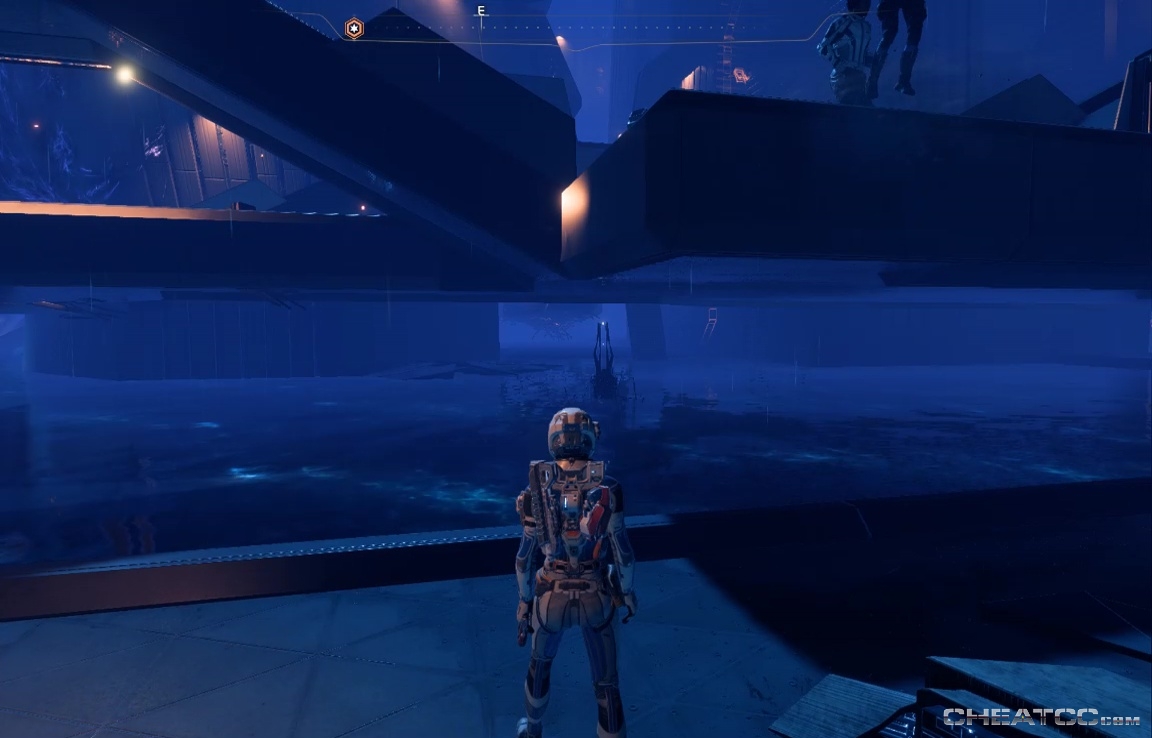
Land on Meridian. There's no loot in the initial drop zone, so head east for the Remnant Console.

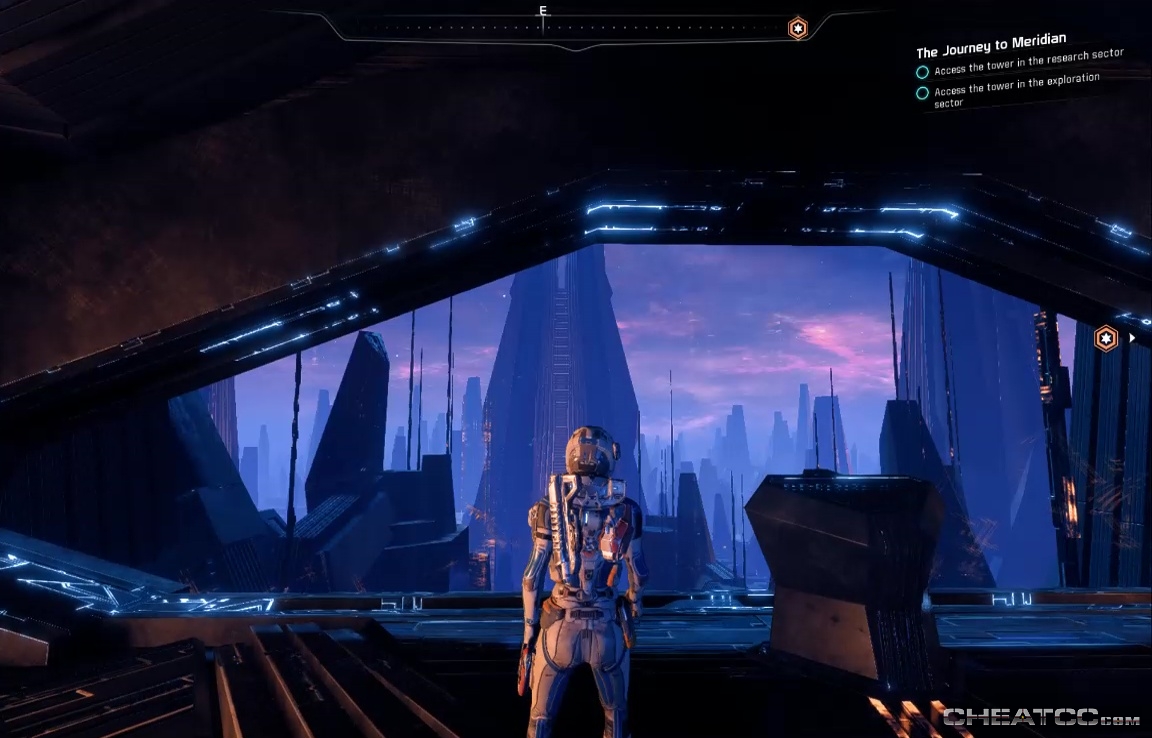
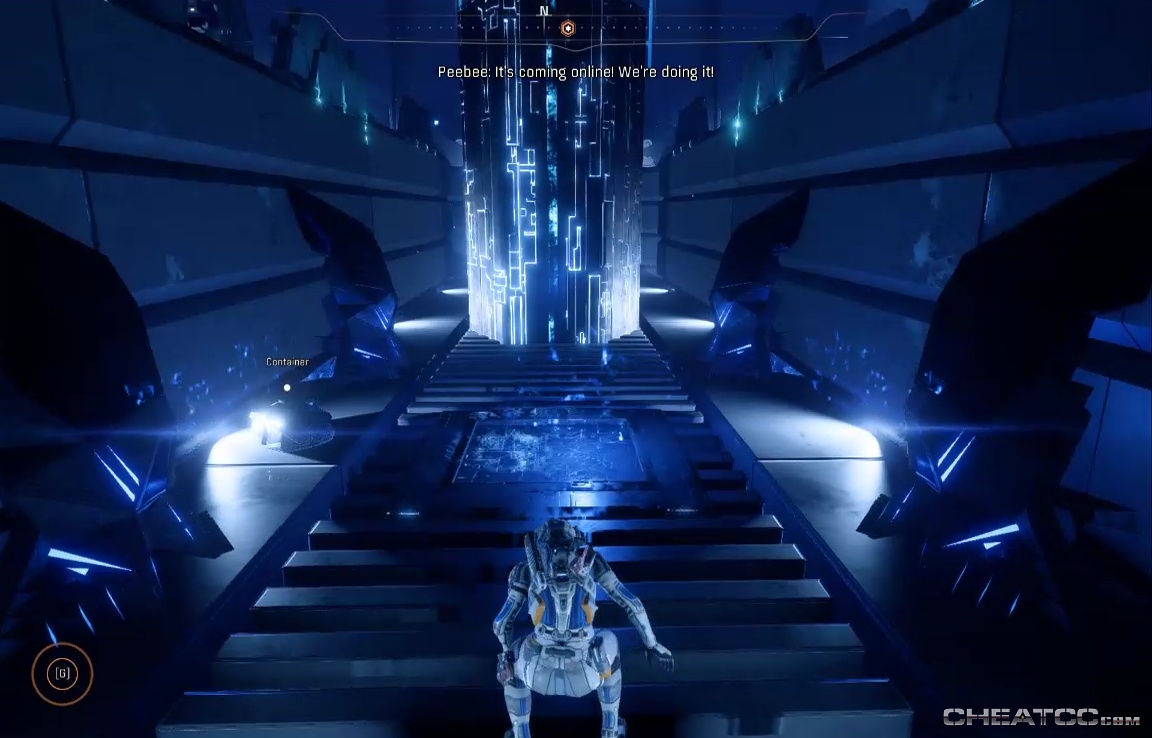
Cross the bridge, and activate another console for a view of the city.
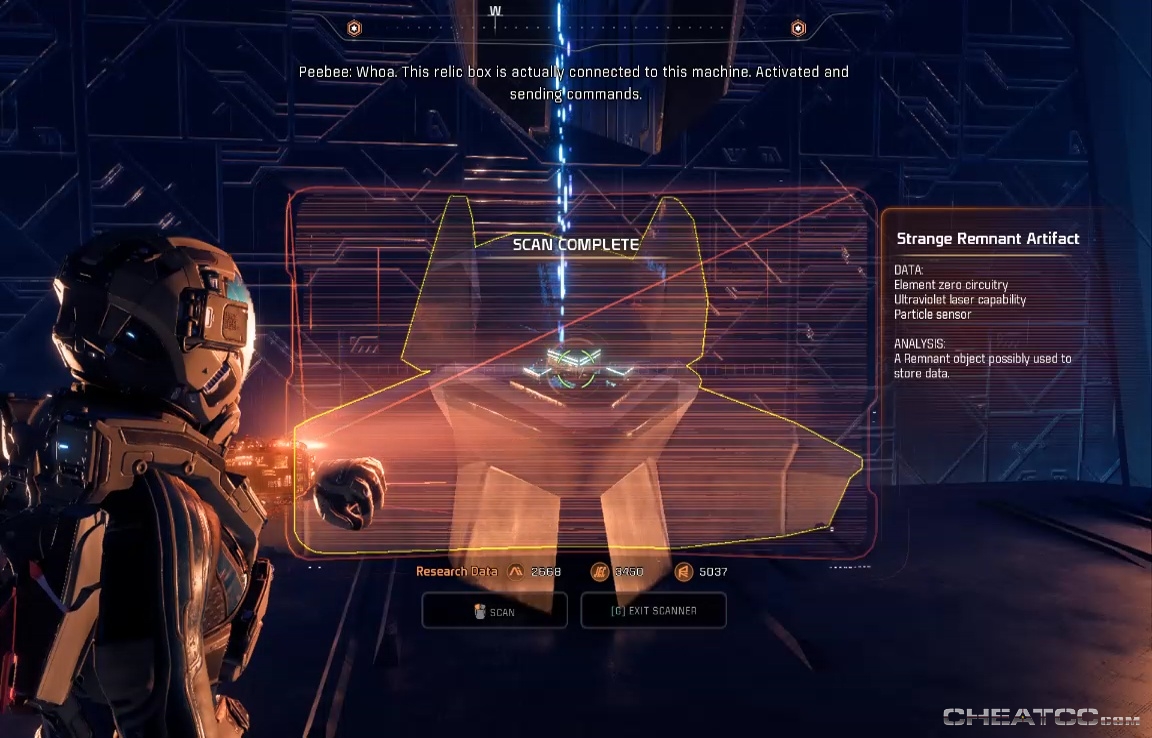
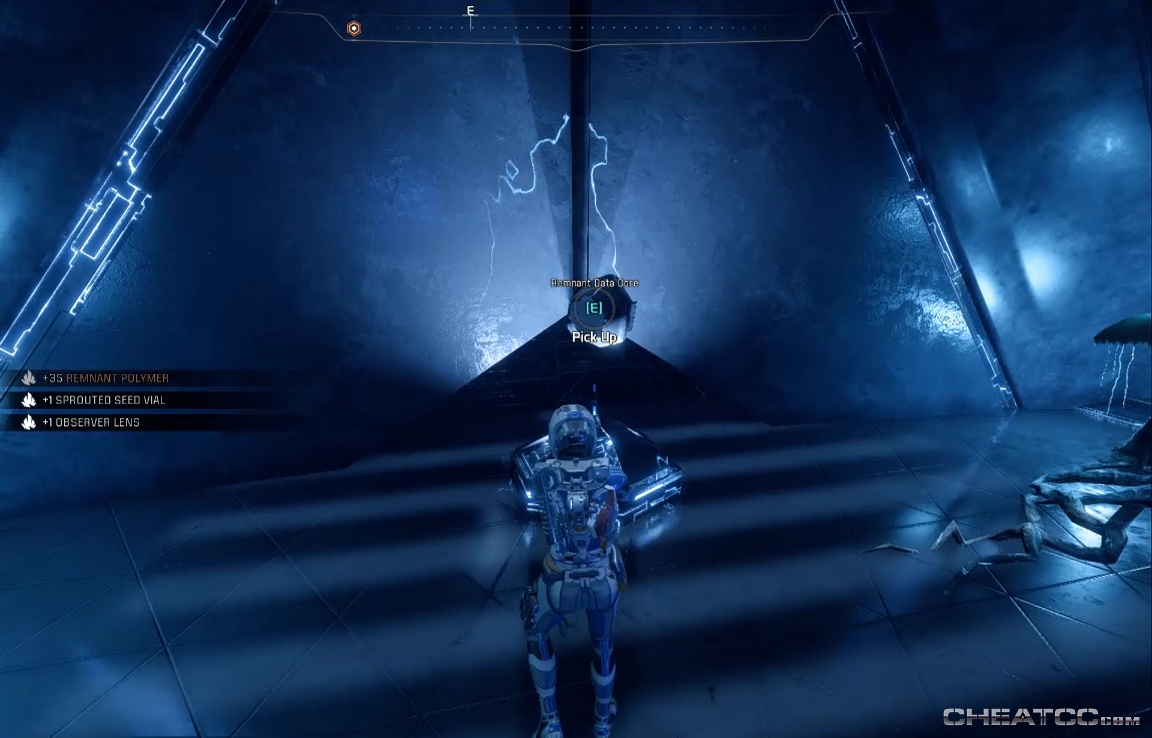
Take the gravity well down. On the west side of this chamber is a Strange Remnant Artifact you can't do anything with [Updated: This could be related to the Remnant Data Core quest, which was added back into the game during the first bug patch, but still appears incomplete].
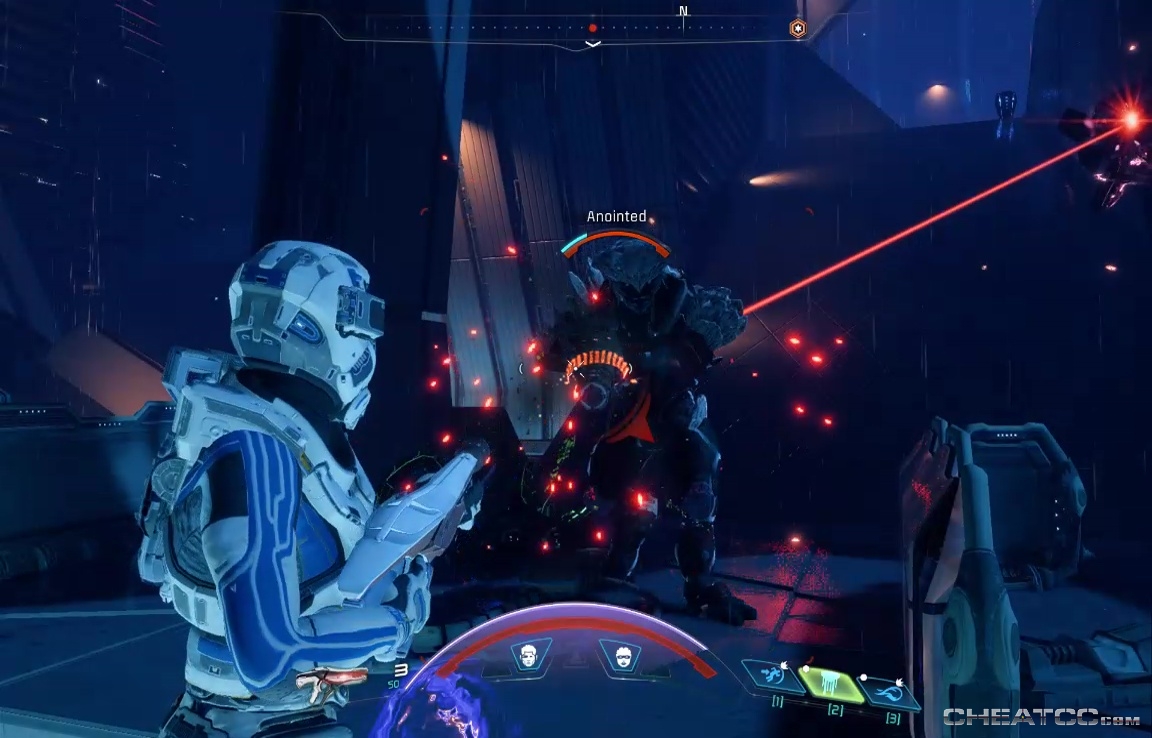
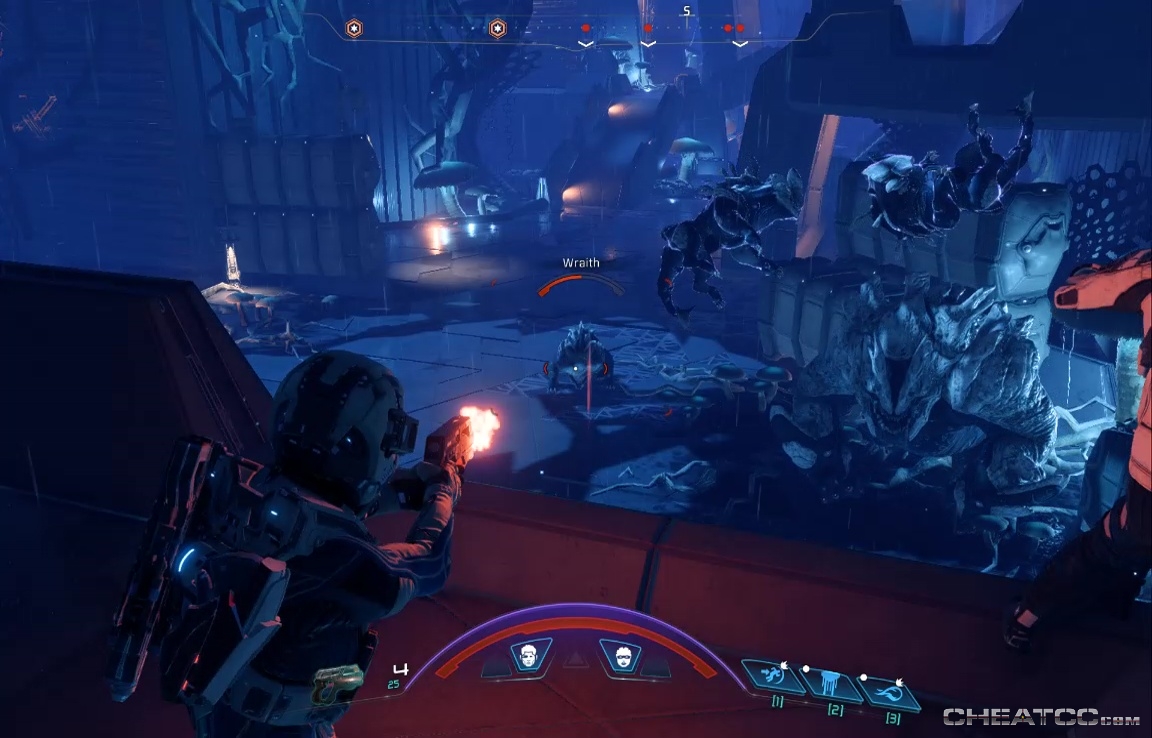
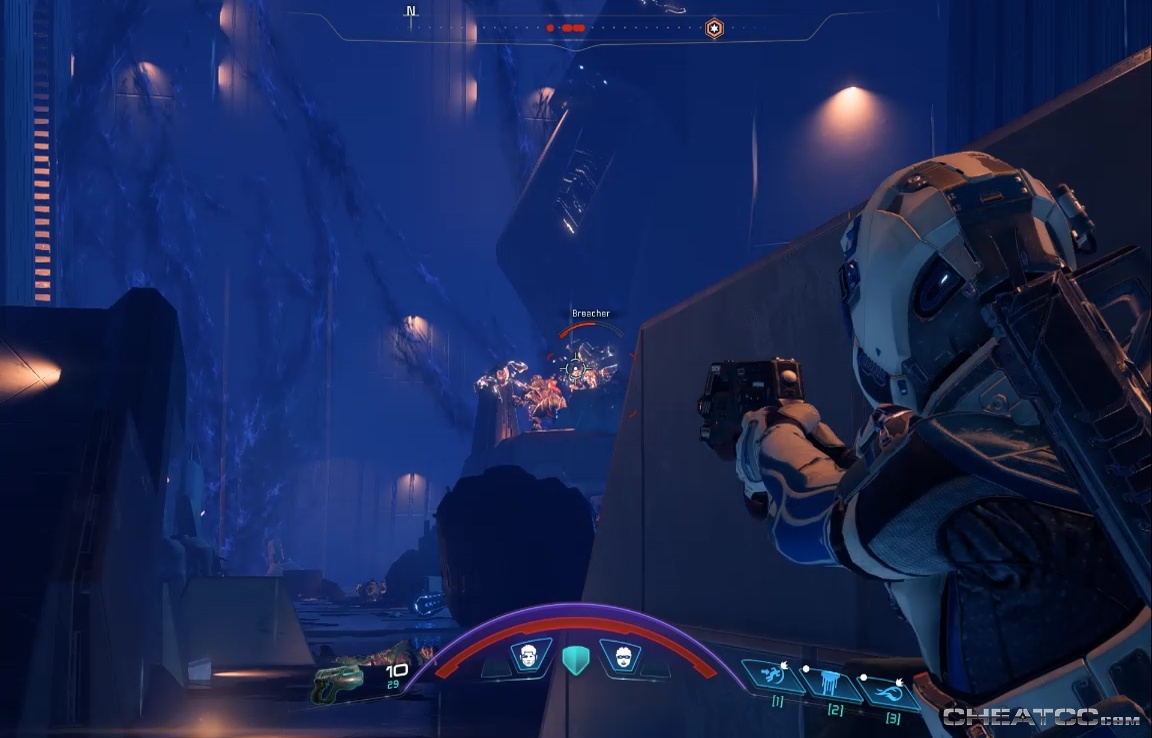
Leave the room to encounter your first enemies aboard Meridian- a smattering of Wraiths and Anointed.
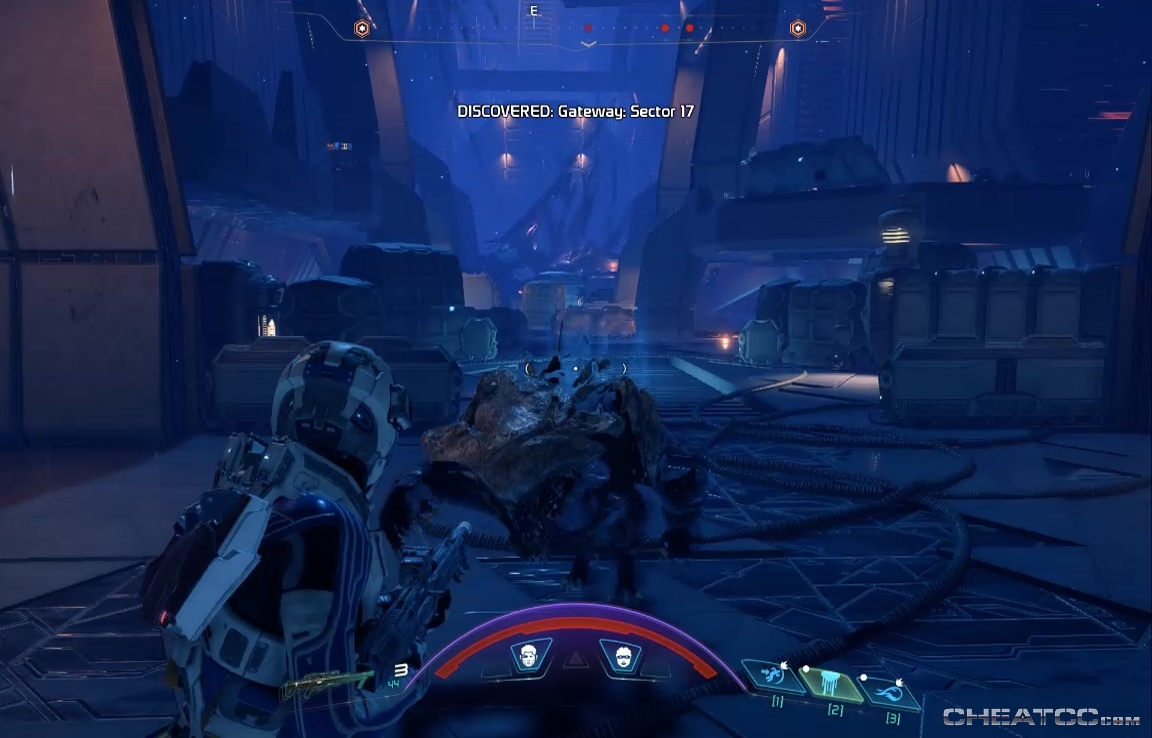
Clear them and advance a few yards for a dropship of reinforcements.
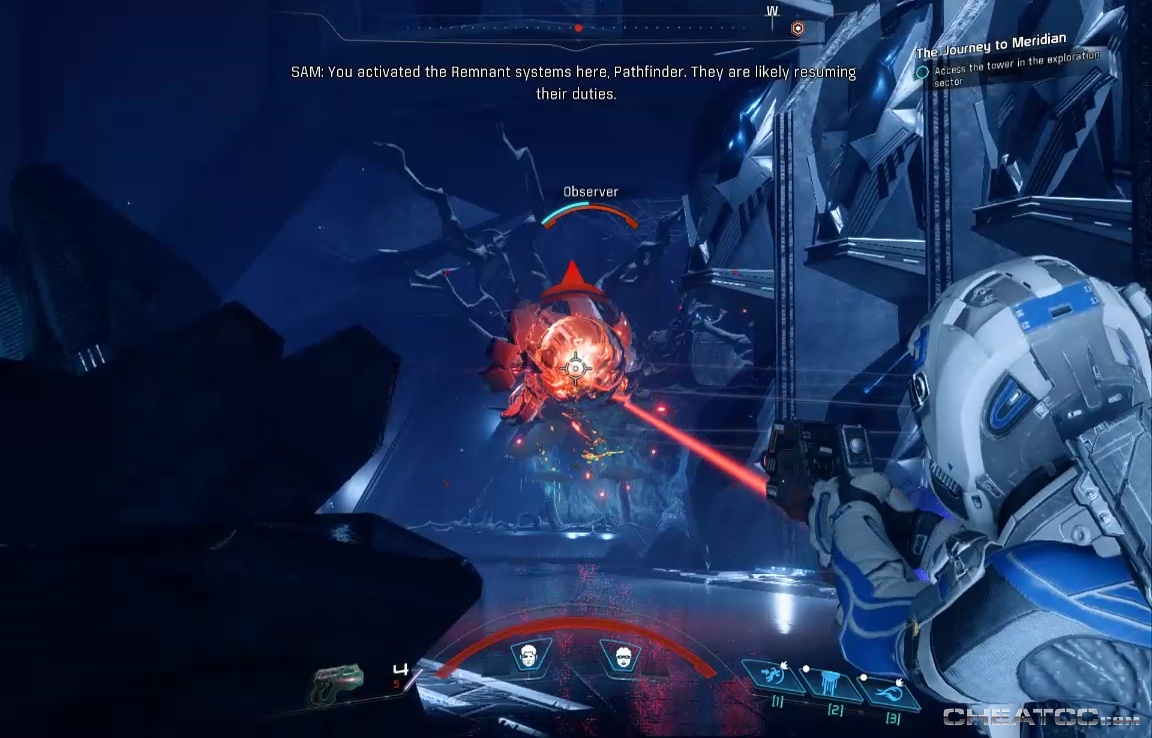
These will be Chosen and Anointed. Their arrival will also wake up some Observers, who join the fray.
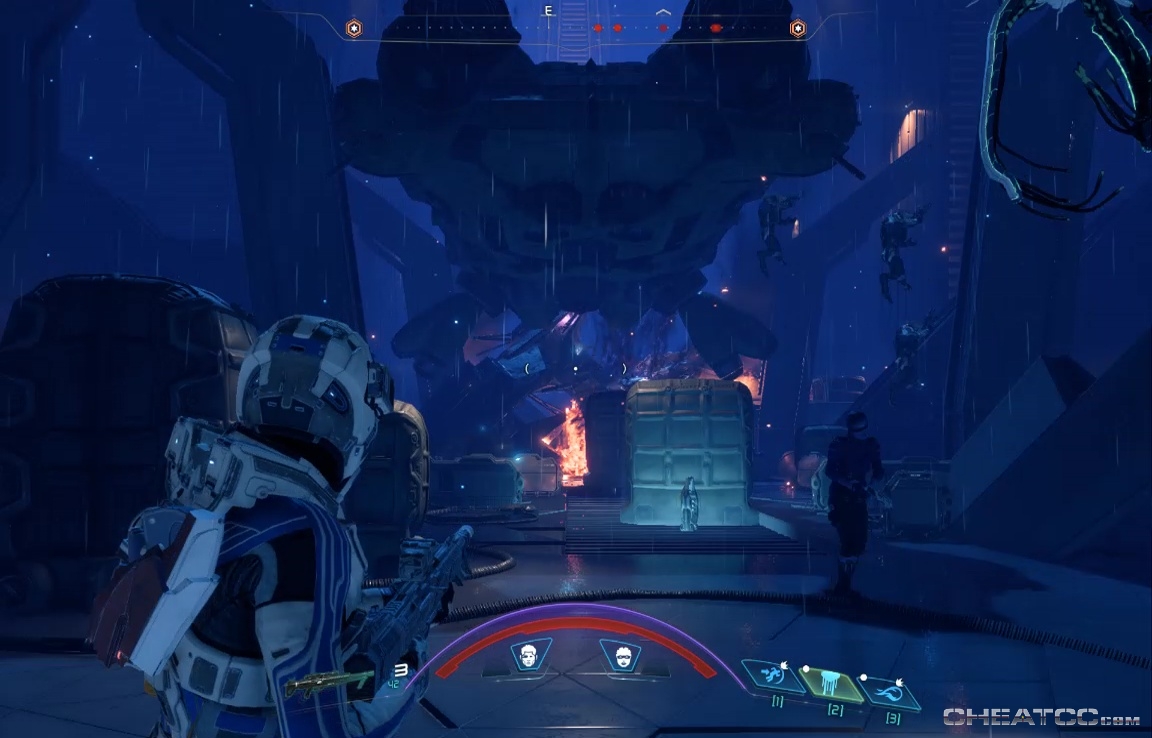
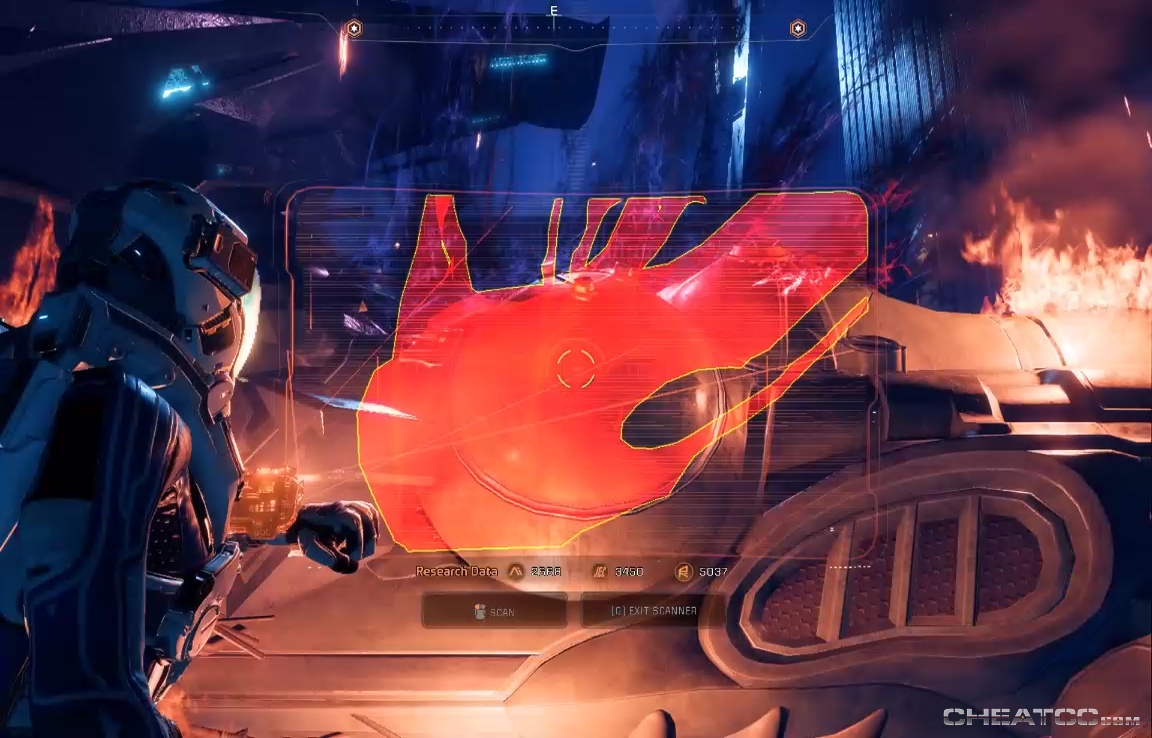
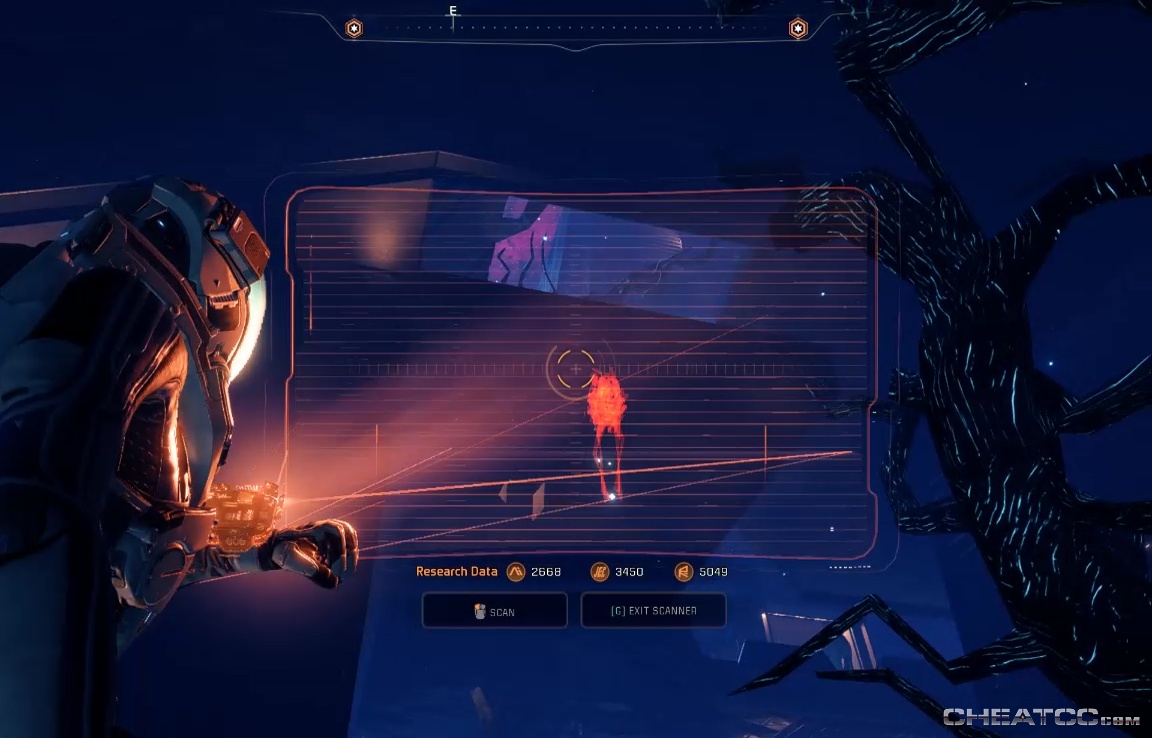
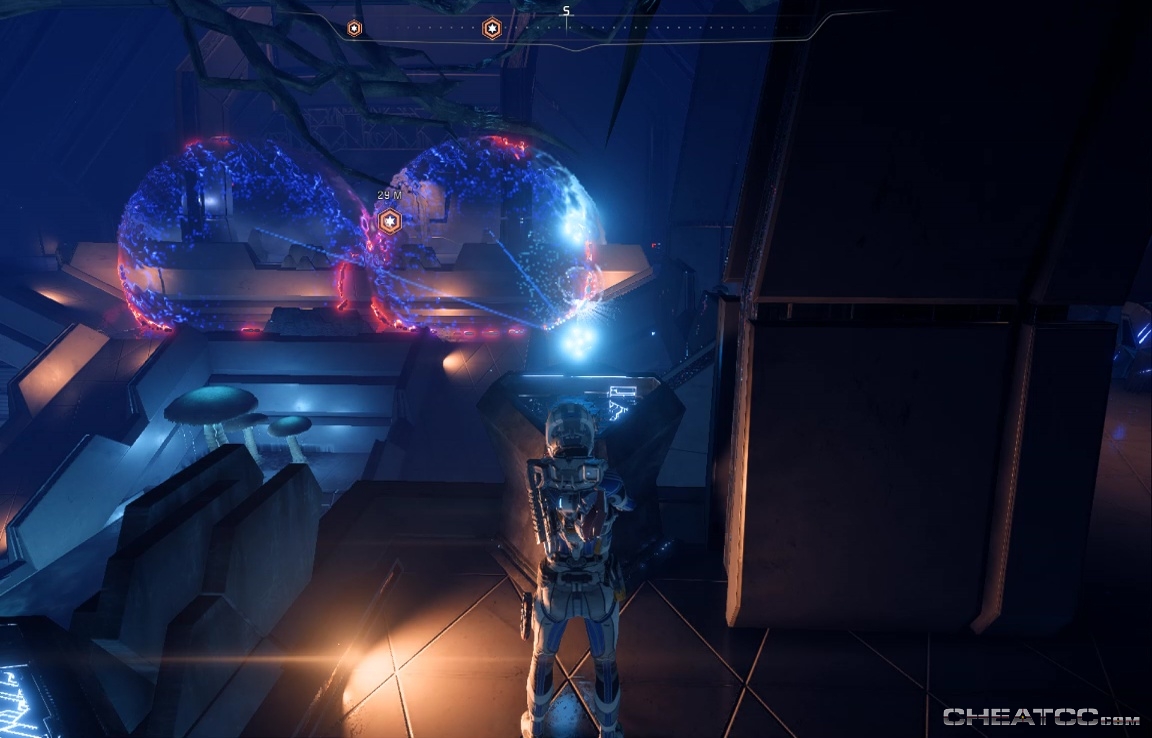
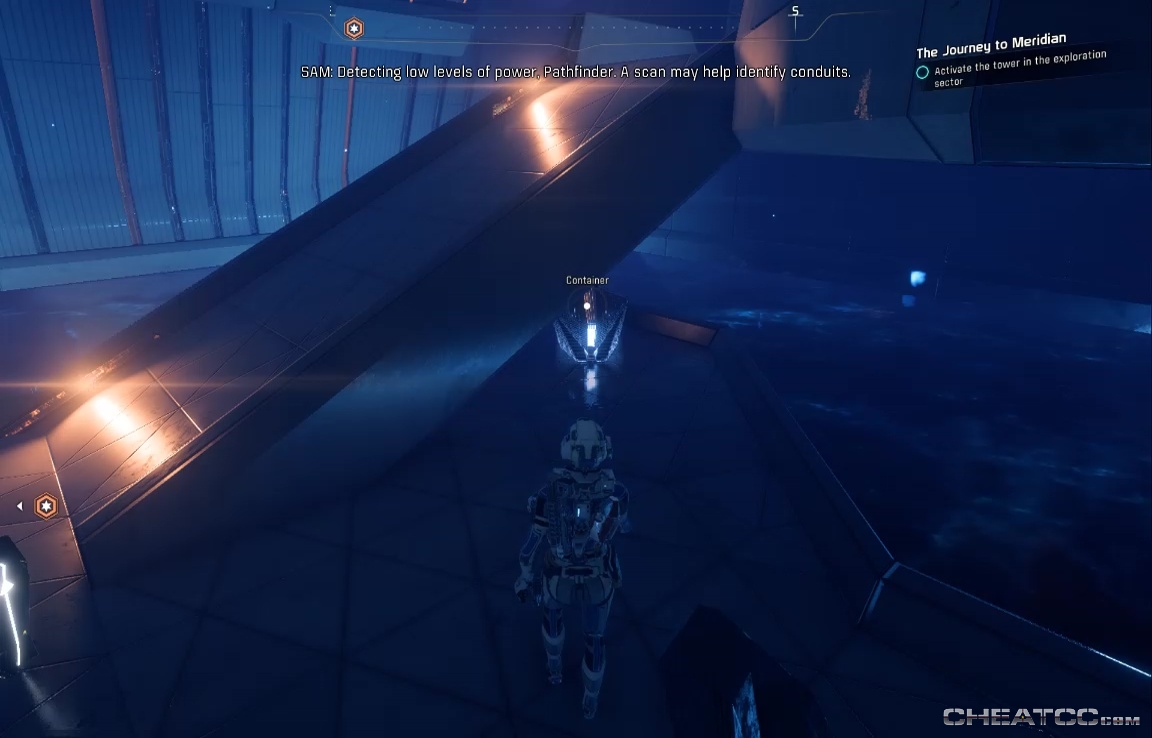
This is a good arena for the pistol, as you'll have the opportunity to head shot many already-wounded opponents. When only the Tempesteers are left standing, gather up remains and scan the Scourge Energy Pocket behind the crashed ship.
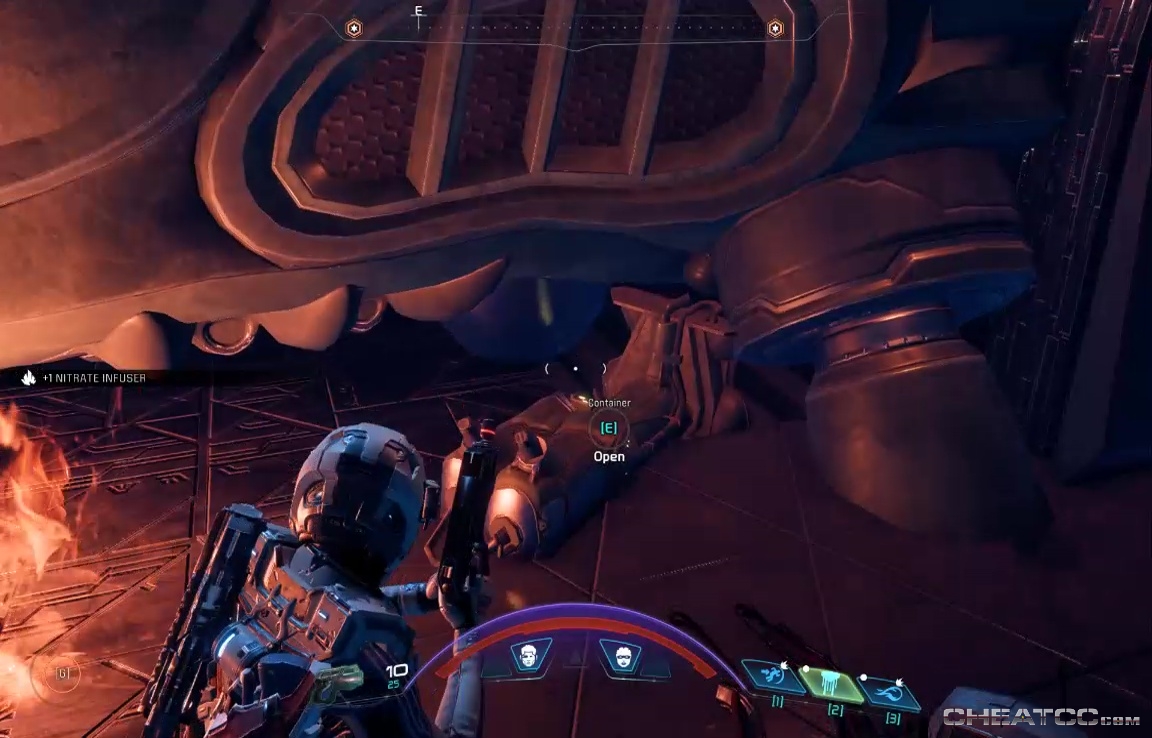
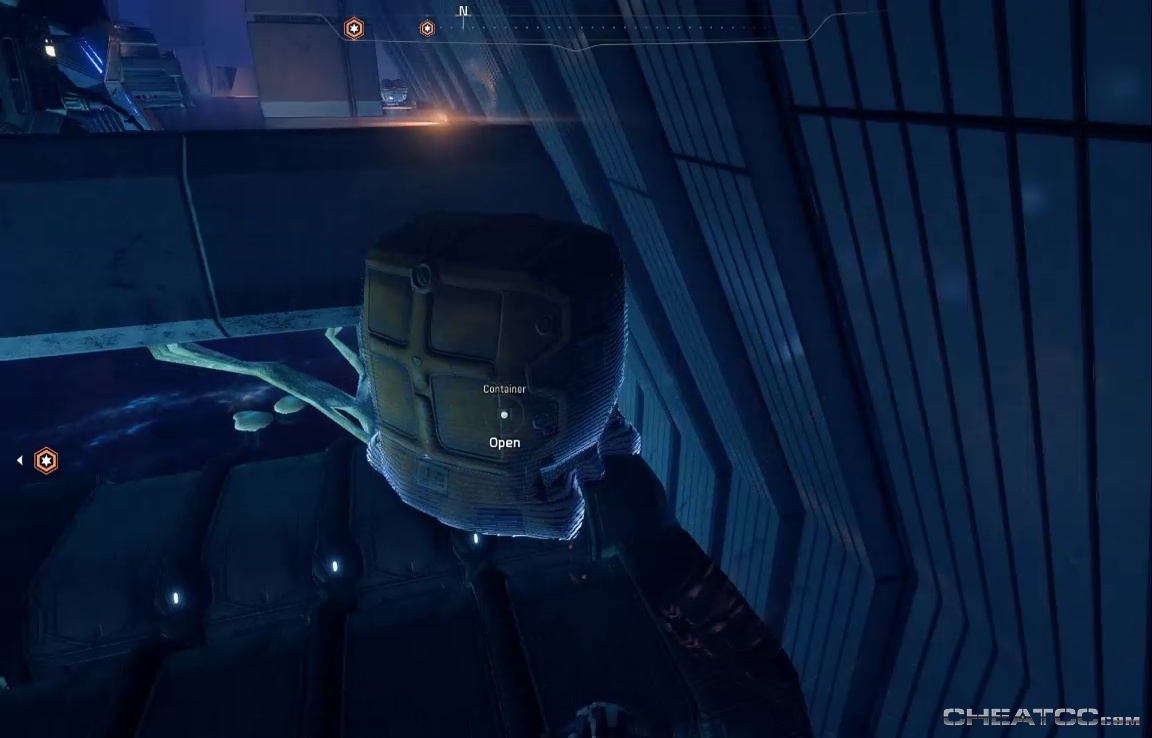
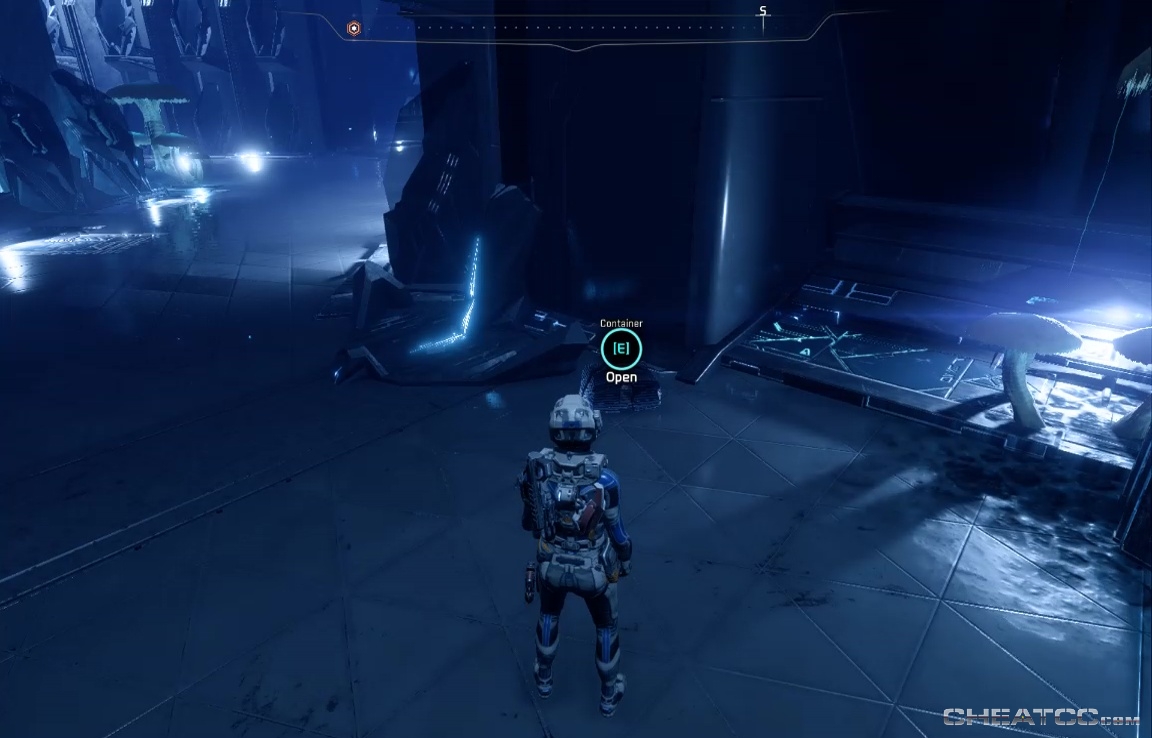
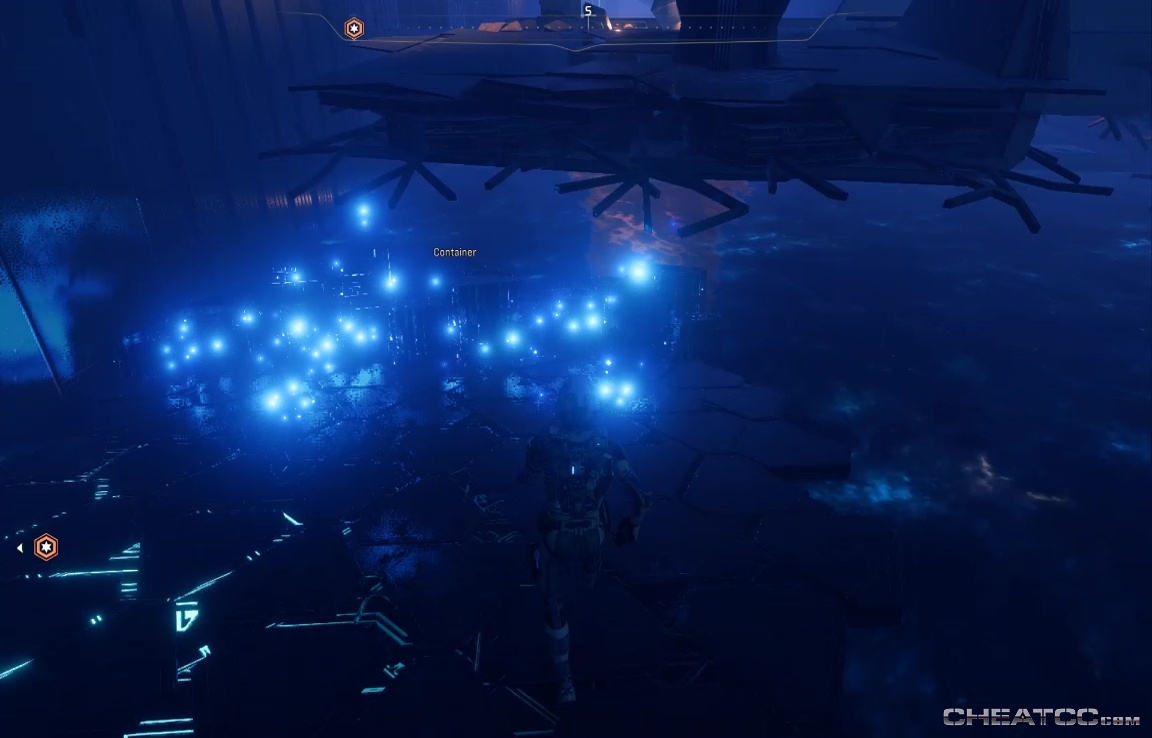
There's a container in the wreckage as well.
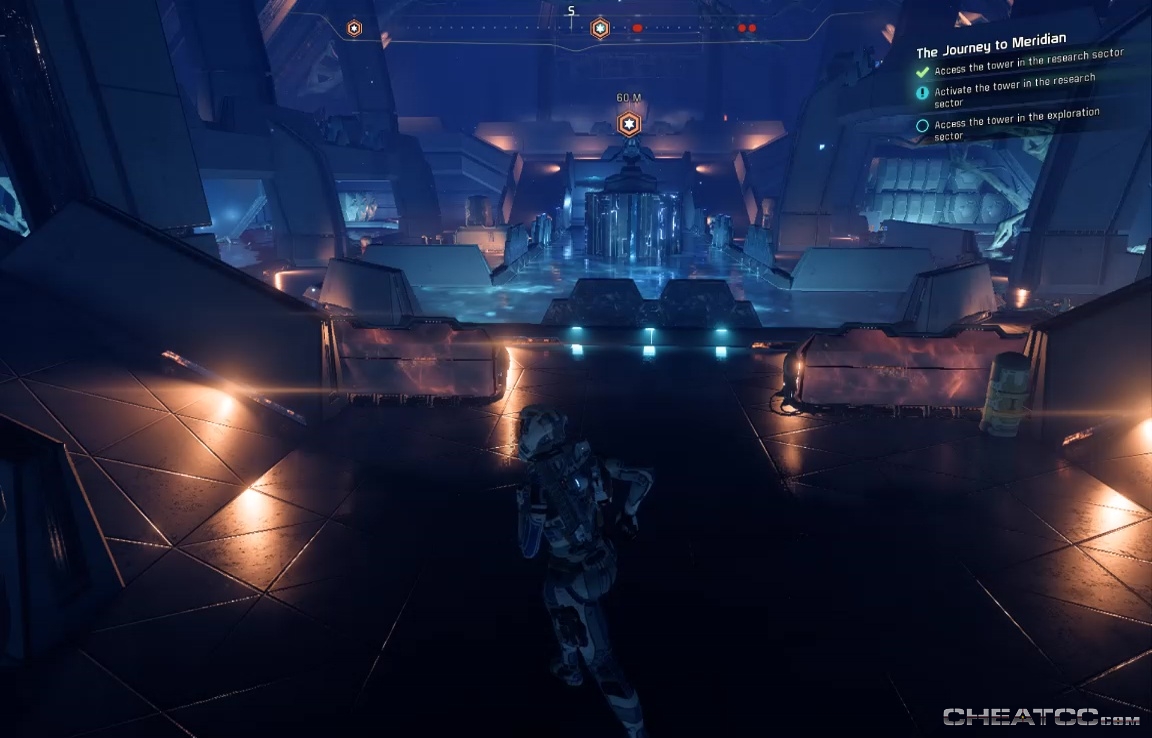
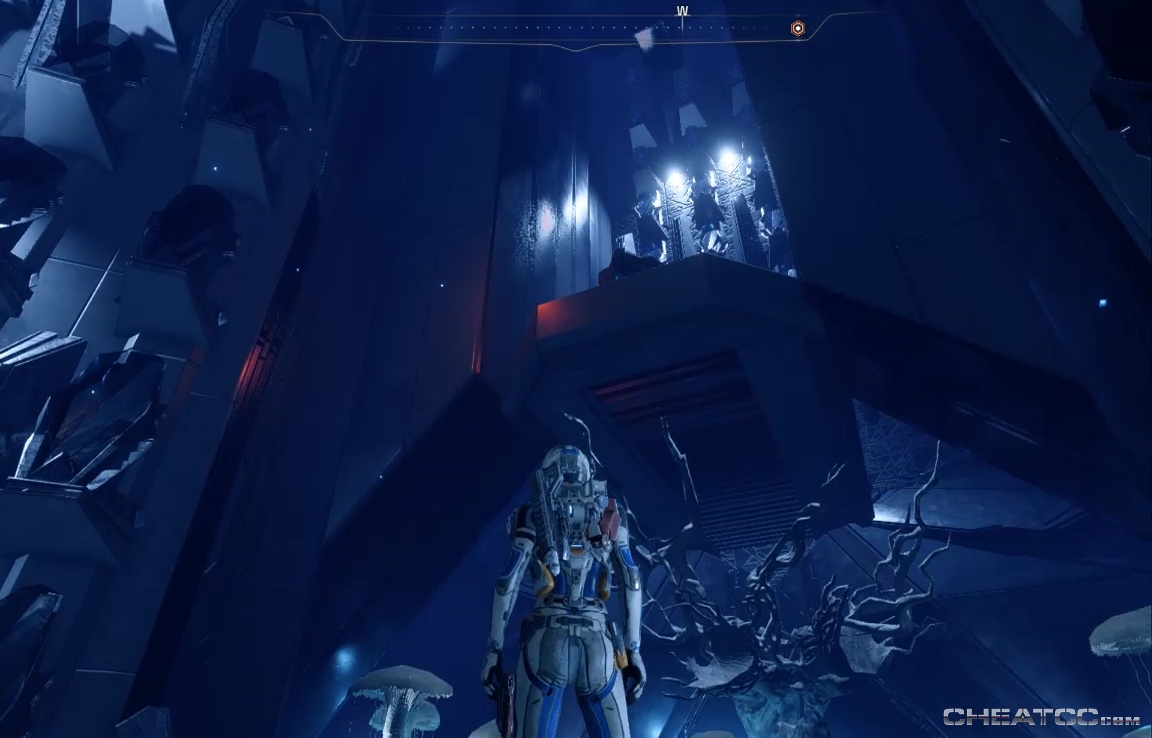
You now have to conquer the two towers that guard the hub. You can attempt either one first, but we'll arbitrarily chose to go right here, to Cirith Ungol the ResearchTower.
This section is something of a maze. There are containers and Uranium deposits scattered throughout, and a console where you can summon friendly Observers.
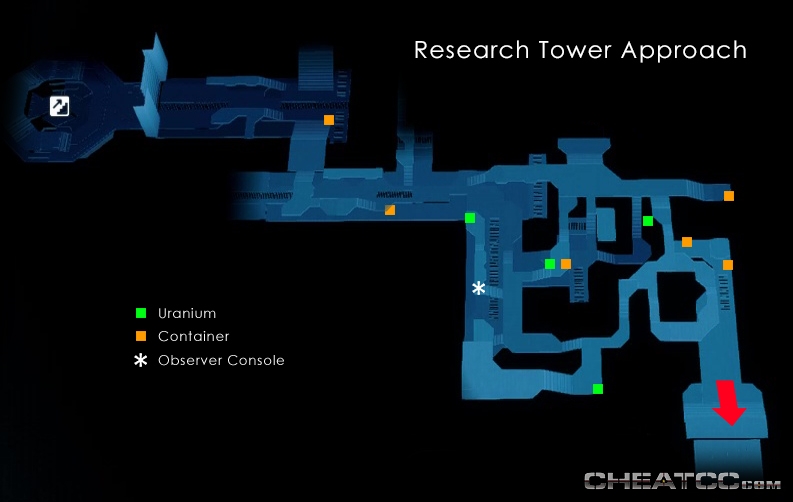
You can also expect heavy Kett reistance, including a Fiend in the central plaza, but the maze-like structure prevents them from flanking you effectively, and makes it easy to find cover.
Note also that if your scanner is beeping and you can't find the data source, it may be underneath your current platform.
Loot as much as you like, but nothing here is unmissable- as Liam points out, the cheese in a maze is seldom worth the running. When you're ready for the next step, enter the tower door.
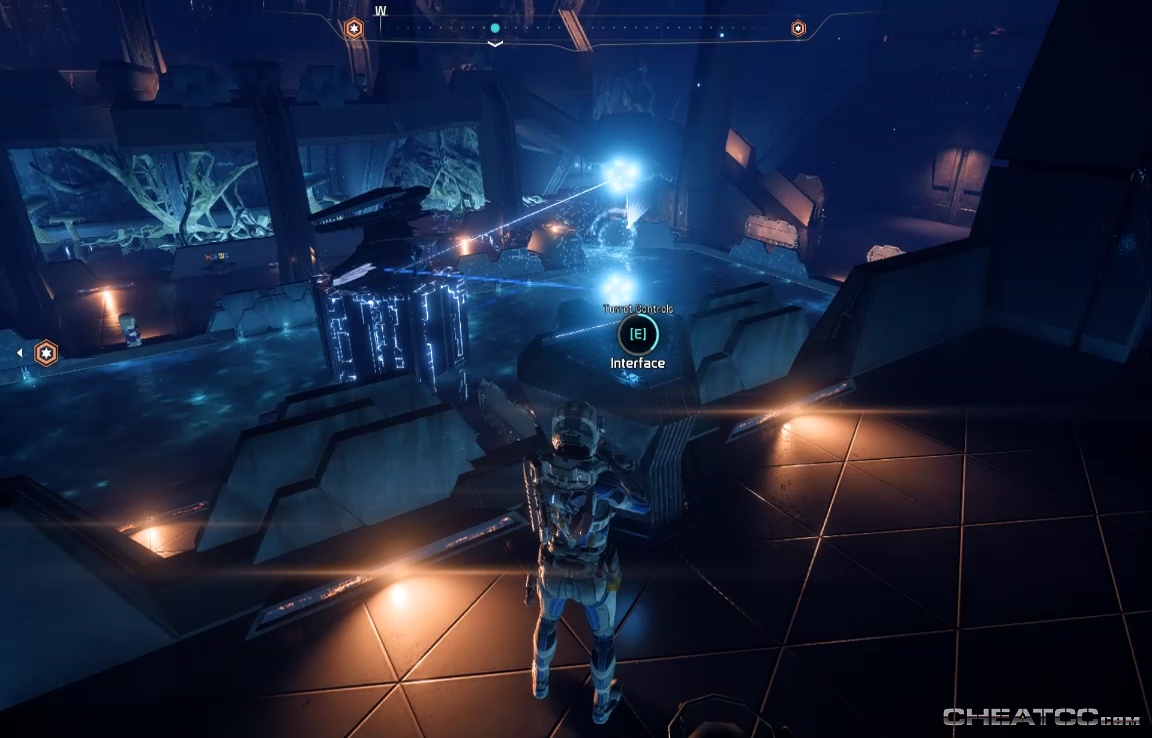
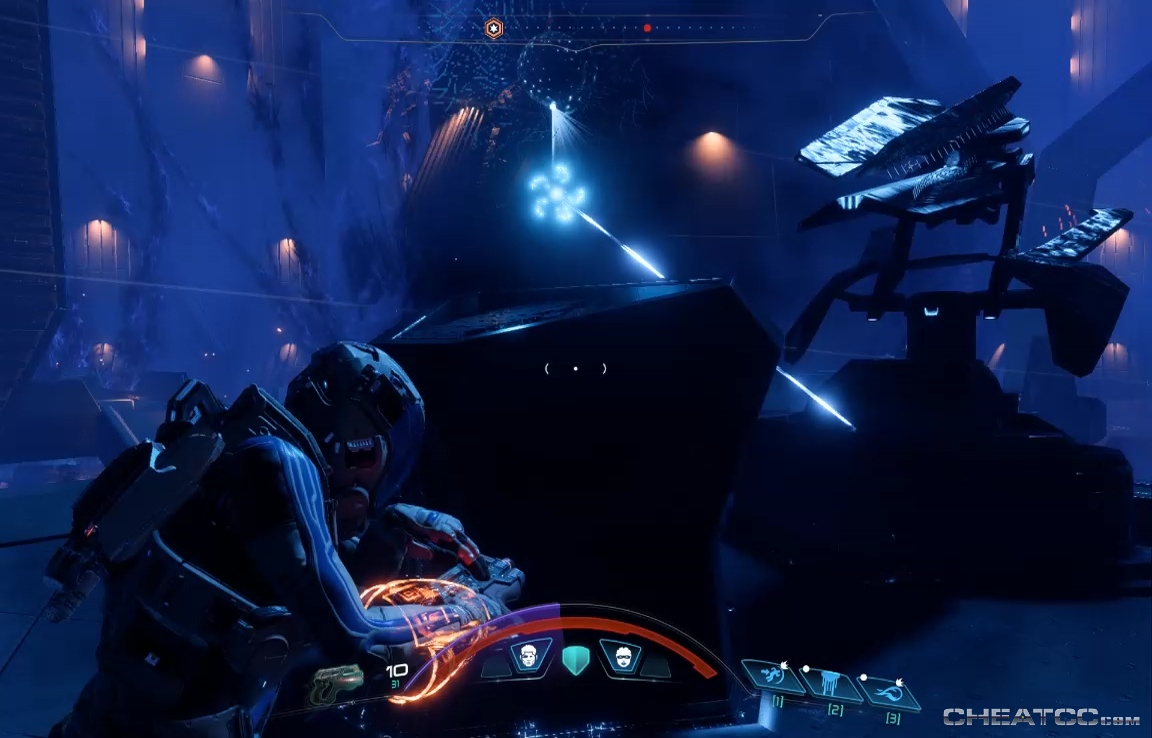
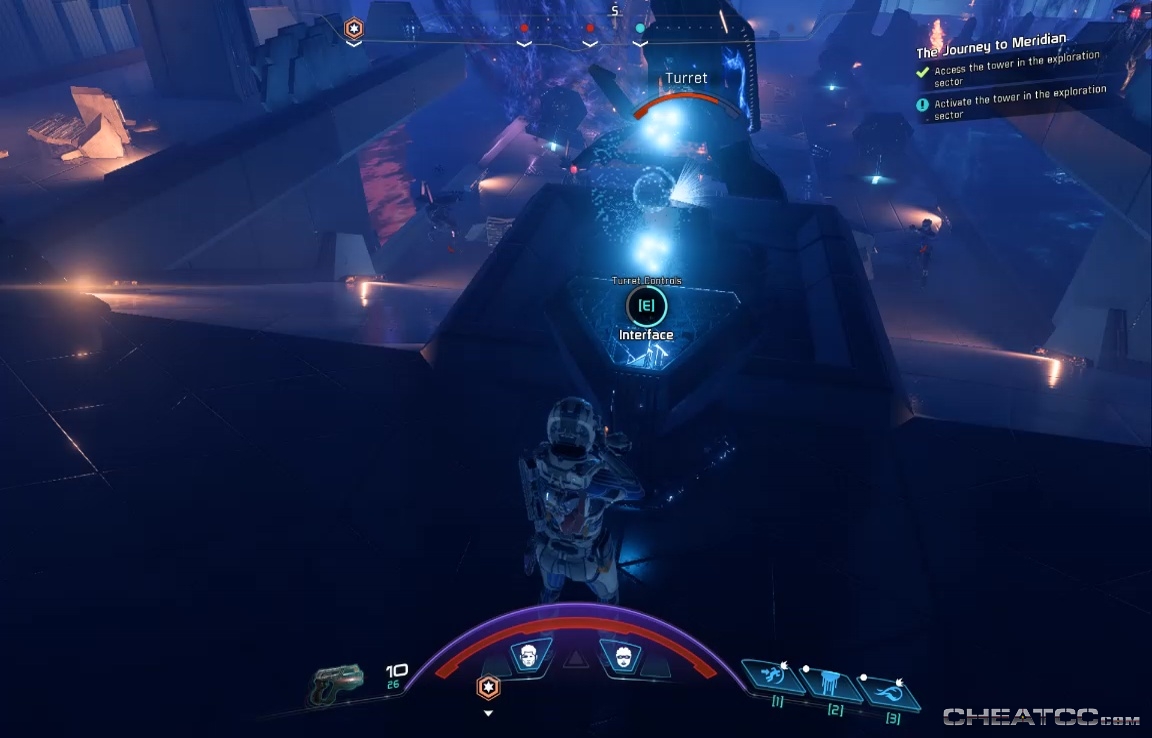
This room is a killzone overseen by a central turret, and approximately eighty-thousand Destined, plus a handful of Wraiths.
You can take over the turret, but for the first time this is a tricky operation- the Destined are relentless, and there are a few dummy turrets to throw you off the scent. The one you want is on the upper level of the room, east side.
You may still want to huddle in cover and thin the enemies a bit before making your move- those shotgun blasts add up quickly. There is also console on the west balcony, south end, that creates some burn bubbles, but it's hardly worth the effort when you could just be shooting people.
When everyone's dead, gather up their loot, if any, and open the container on small pile of crates, lower level, west wall, at the south end of the pond (the same pond has a Uranium deposit you can reach if you stand just so).
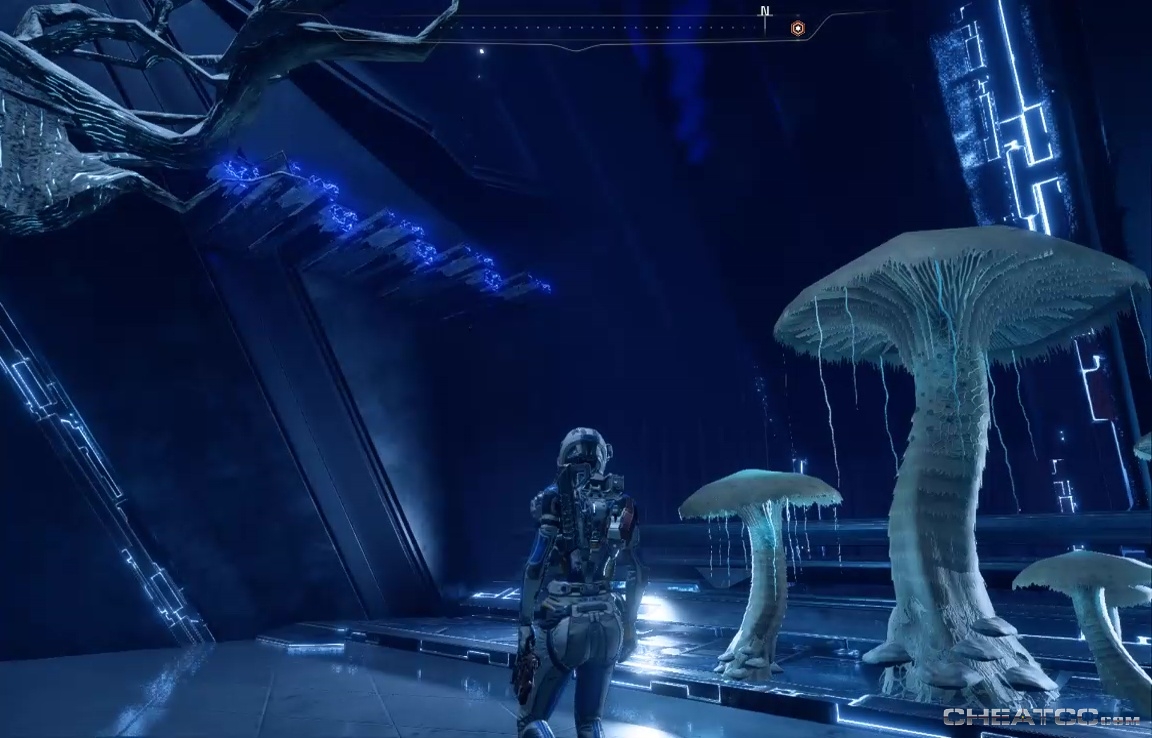
Exit the room, into the Archive (yes, you can scan the mushrooms for data).
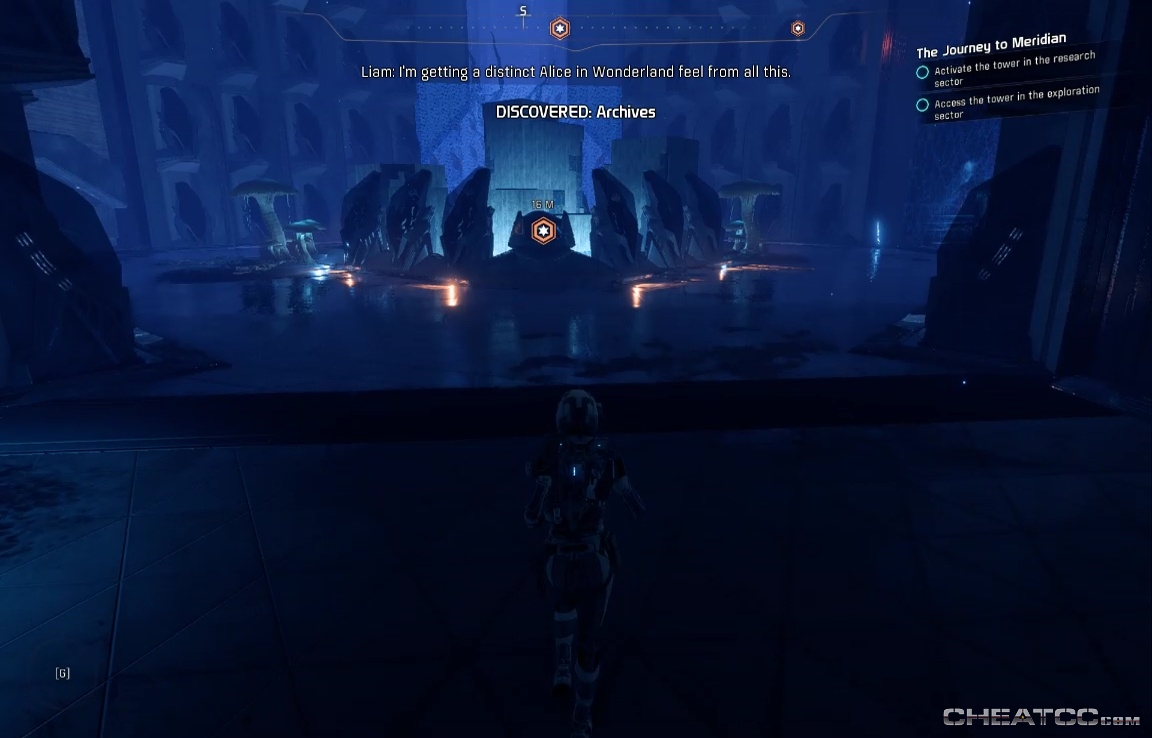
Activate the console to learn something about the Angarans and the Remnant alike. If Jaal is in your party, he'll have something of a Moment. Then, Observers attack.
Not very many, more a symbolic attack than anything. Take them down, then explore the areas now available since the Remnant Barrier dropped. In the western alcove, you can find both a container and uranium.
To the north you can scan the Gnarled Tree for research data (same goes for the podlike Remnant Consoles in the center). To the east is a locked door, but you can open it using the console above the west alcove.
Enter the west alcove again and move toward the back wall- you'll see little remnant ledge come into being.
Jump up and use the console to activate the far door. Inside you can find a container, a scannable data pattern, and one more Remnant Data Core.
Return through the tower. When you reach the turret room again, you'll find that the fluid has drained, revealed a little mini-ravine to explore.
There's a data pattern and few containers. The turret pillar is also scannable, if you haven't gotten it already. Outside the tower drop is a fresh shipfull of kett, backing up an Ascendant.
This generic Ascendant is a little weaker than others we've seen, but if you're feeling pressed, try making a dash into the maze for some better positioning before wiping these guys out. When such an outwiping has occurred, head north into the newly available section. Here you can use the Bridge Controls to open path to the other tower.

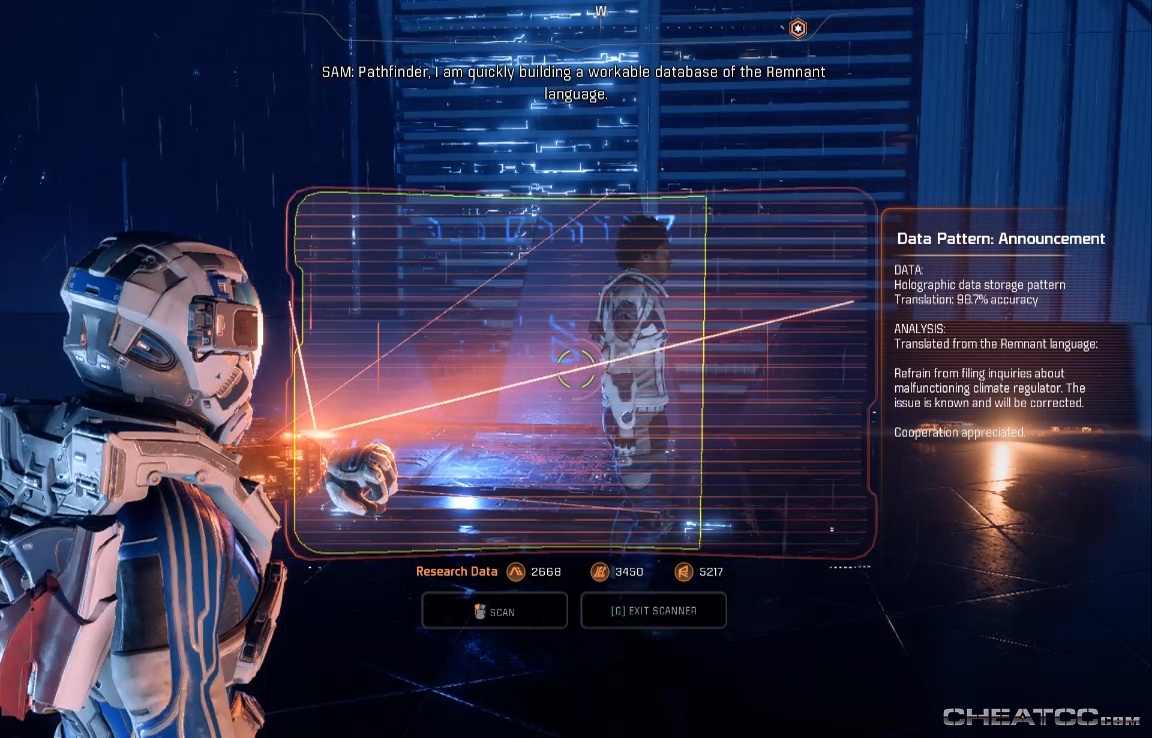
There are some data patterns here as well, and as SAM comes to grips with the Remnant language, you start to to learn that they were… really mundane.
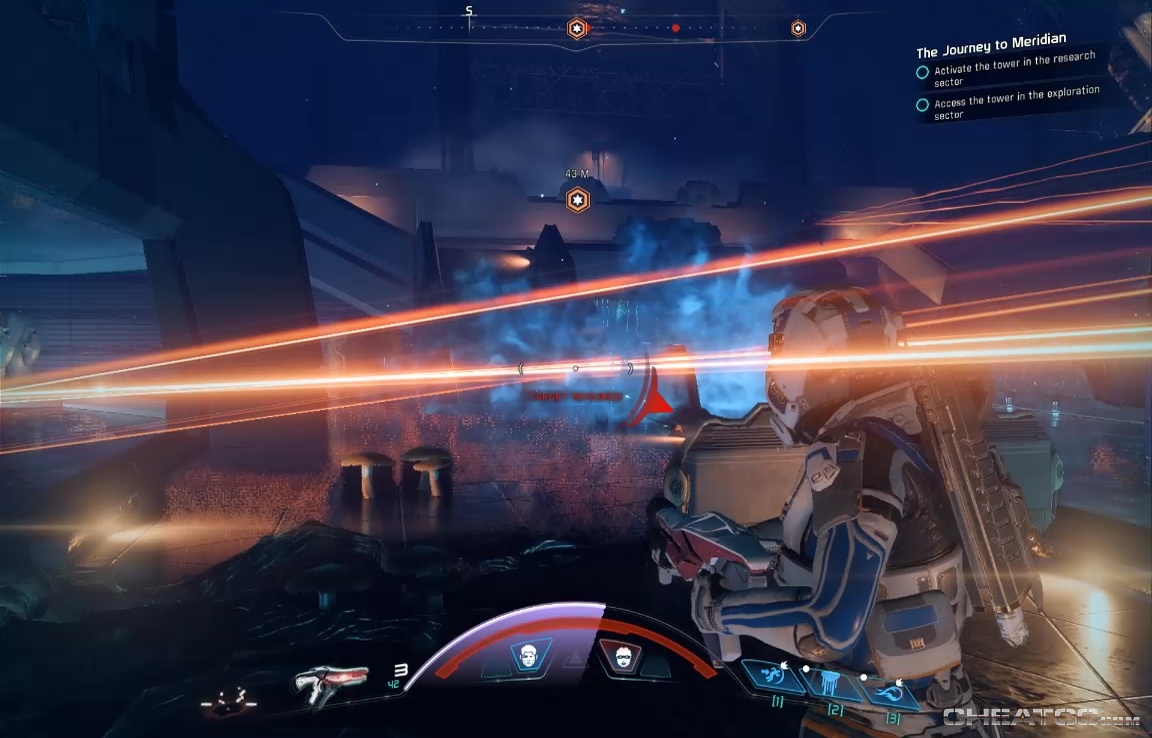
As you advance, you'll start to encounter Remant fighting Kett.
You can hang back and let them destroy each other but once you're close, both factions will turn on you. You can use the turret here to even the odds- its control console is right next to it, in a welcome reversion to form.
Fight forward, scanning data panels, and a spinny core underneath the central platform.
There's also a container to the south west corner, ground level. On the west side you can find a broken bridge that leads south, into the water. There's a partially submerged container that nigh impossible to reach, so you might just grab the container on the raised platform instead.
The final approach to the tower door has more Remnant and another turret, but this too can be hacked.
Use the console to enter the tower. There's a high-level container under the near ramp to your right (east).
Scan the data patterns and the spinny core in the pond to the north. Ignore the yellow conduits- they don't really help. Instead, activate the objective'd console.
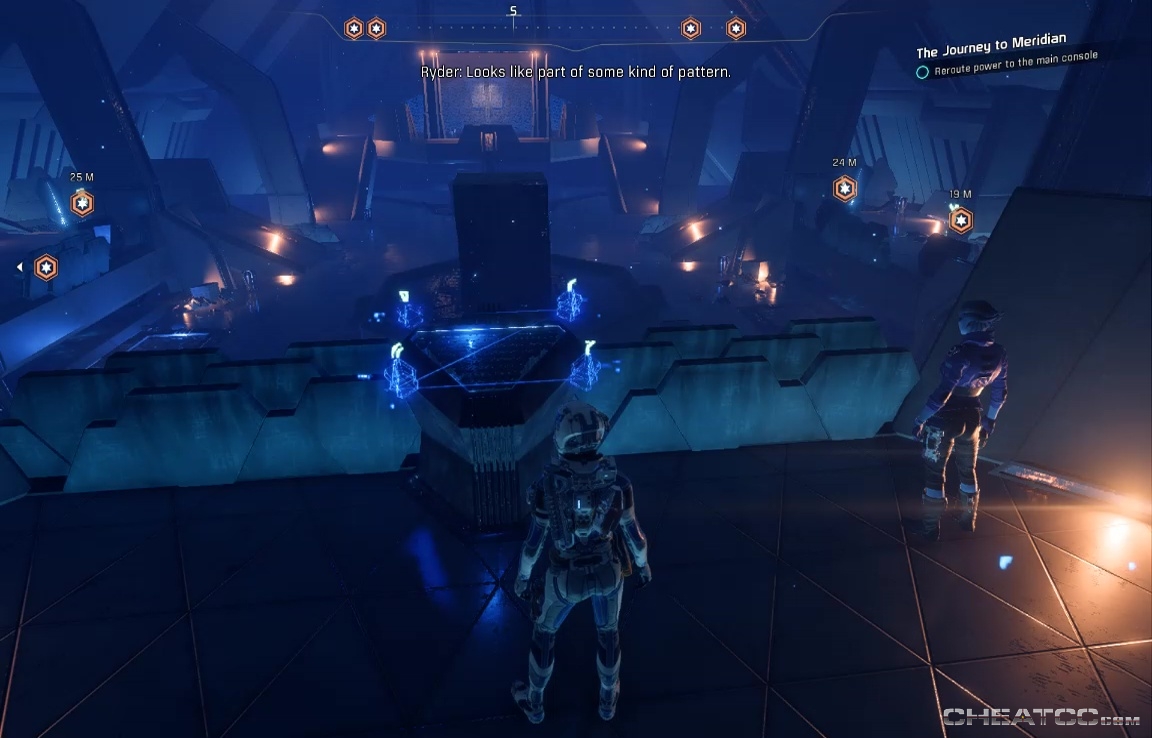
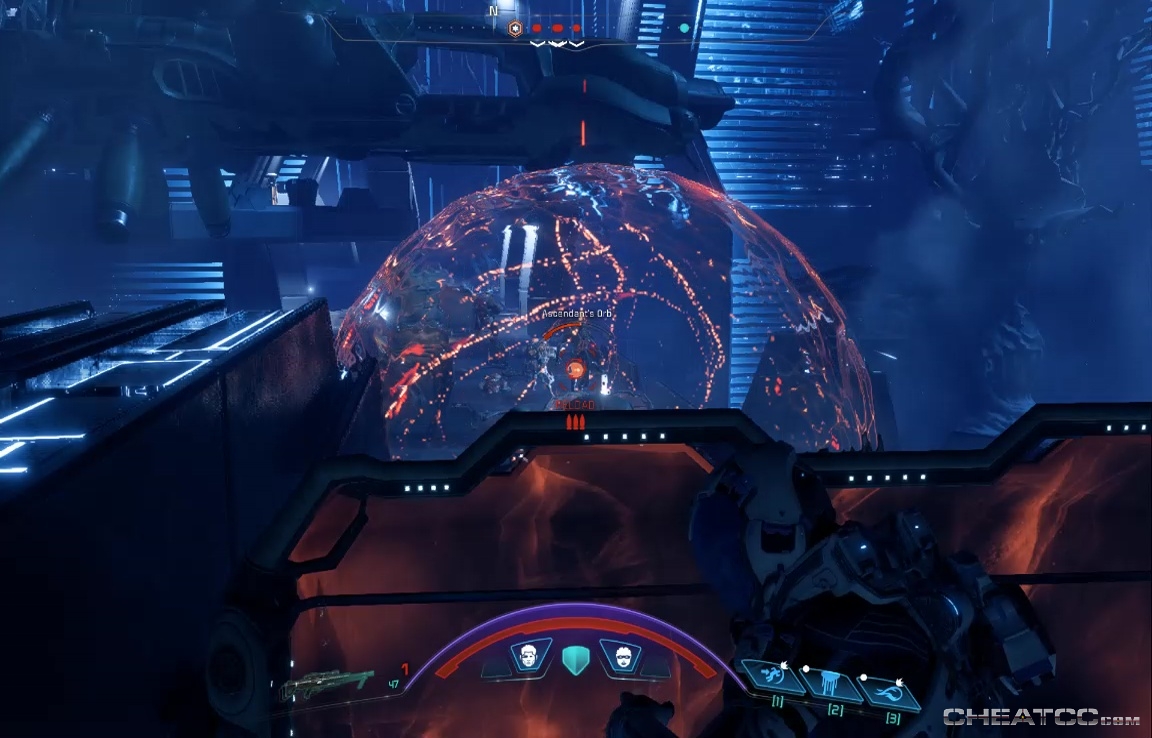
The hologram shows you how to reroute the grid, but activating the four terminals in a 'Z' pattern. Start with the one in the top left (southeast), then southwest, northeast, and northwest. This wakes up the Remnant fleet, but also the local defenses, including some Assemblers, a few Nullifiers, and a Destroyer.
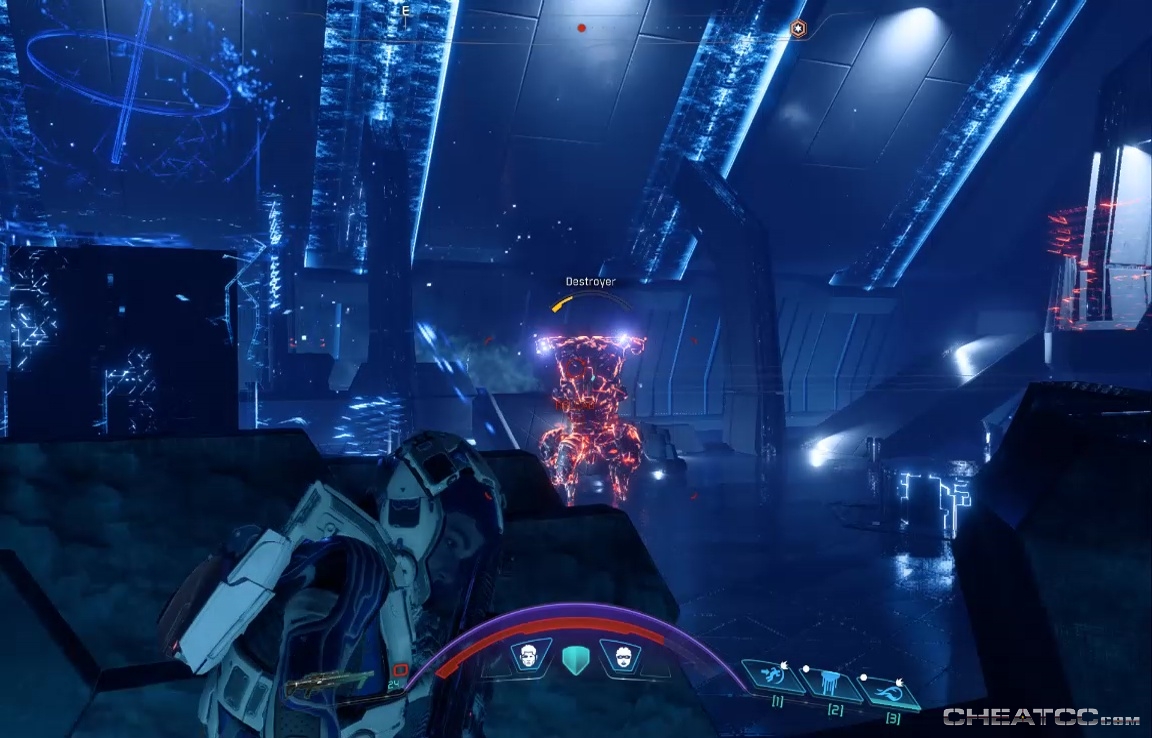
As ever, clear the lesser Remant from the field before taking apart the Destroyer. There's some light Remnant resistance as you exit the tower, but nothing like last time. Pop them and follow your marker to the central hub. You'll see a parade of Kett entering- pick off a few Chosen if you like, but don't shoot the Fiend. There's a Desroyer just inside, and if you're patient the two will tear each other apart.
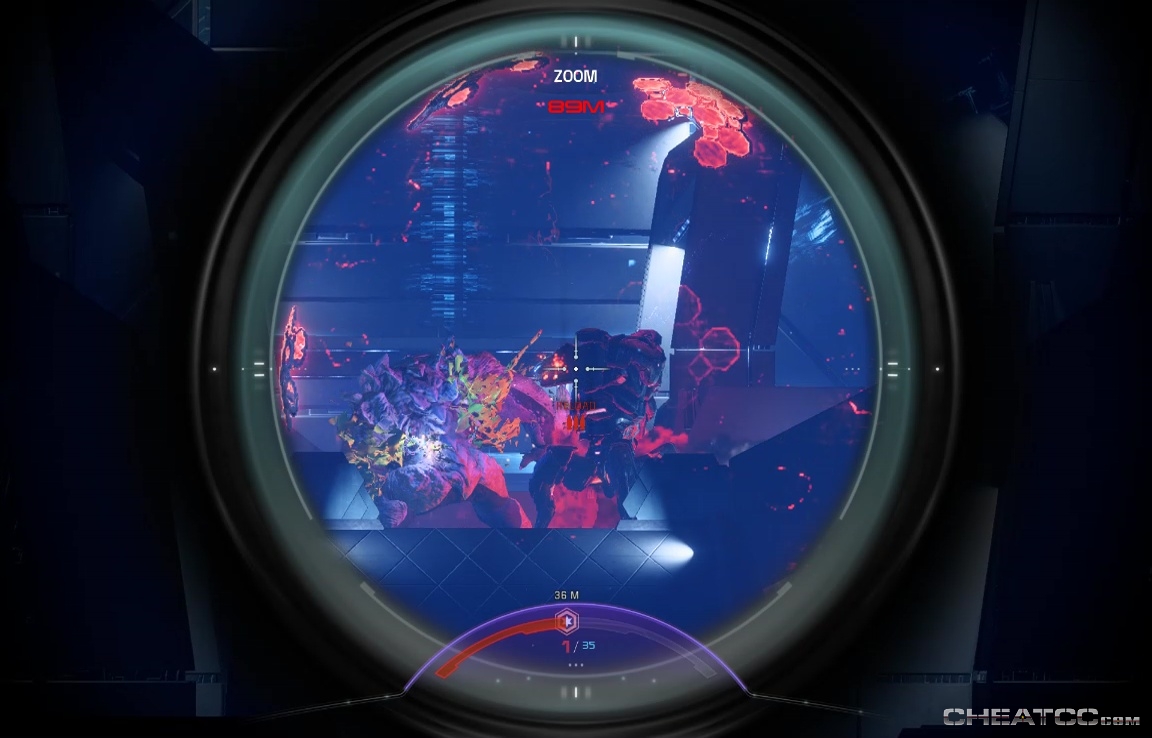
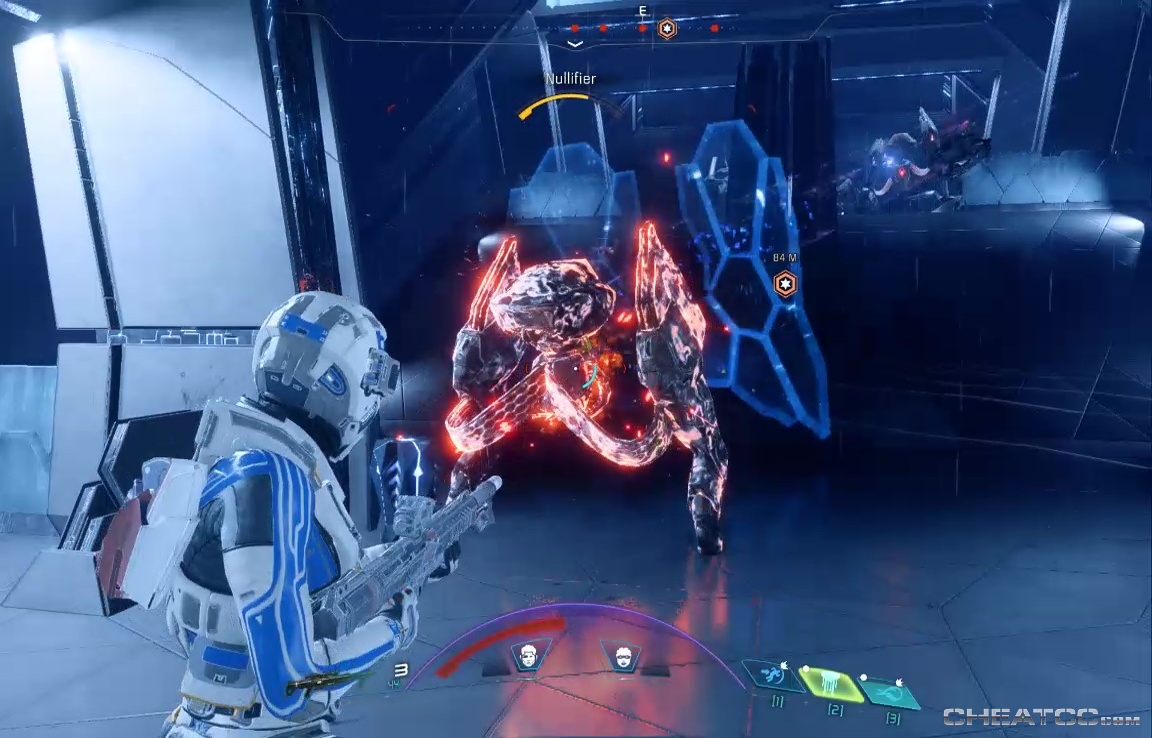
Clear the minor Kett, then the survivor of the duel. After that, you're pretty much just facing wave after wave of Nullifiers, with a few Assemblers thrown in for flavor. Remember to keep mobile to avoid their cover-penetrating attacks, and use constructs or teammates to get their shield facing the wrong way.
When they're finally gone, enter the objective'd room, and loot & scan the container & data pattern on the high, west platform. Ride the gravity well up , and spot an even larger container to the northeast.
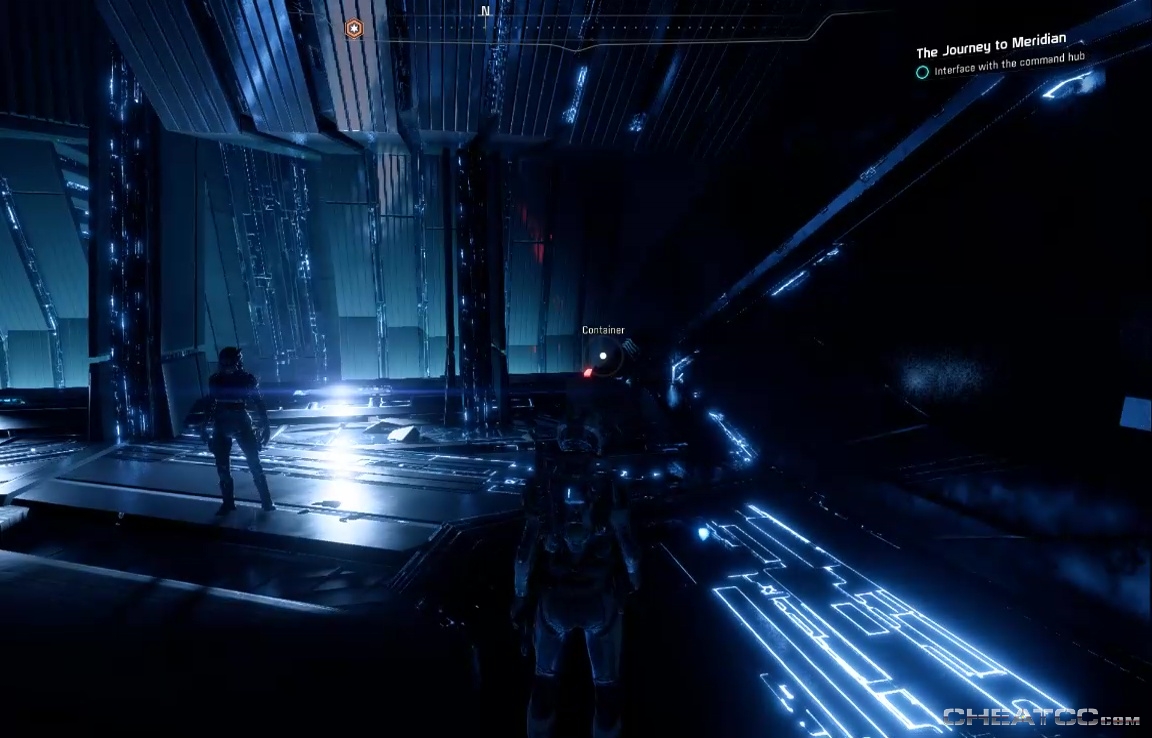
Now you can enter the Command Hub. Activating the command console triggers a battle royale, so take a moment to learn the layout and scan the spinny cores on the lower level. When ready, use the console, get some info, watch a very pretty cutscene, then fend off the Kett horde.
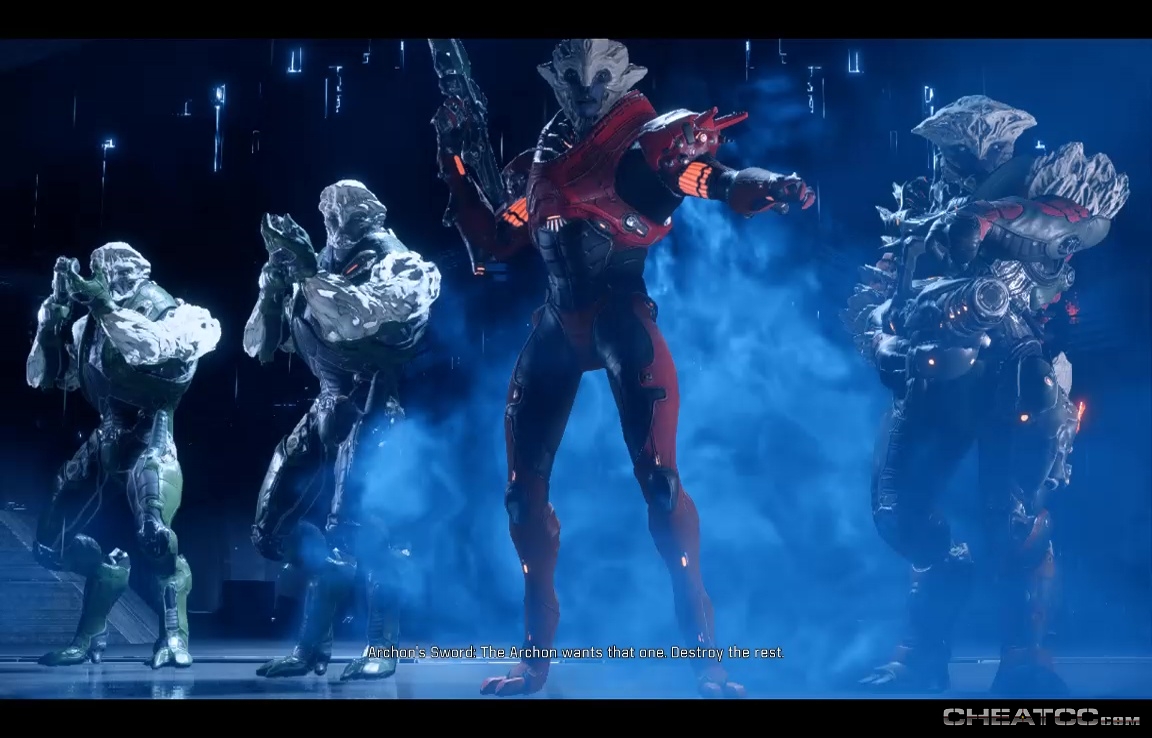
The boss enemy is a promoted Destined, rather than an Ascendant, which is nice change of pace. Note that (unlike regular Destined), when they go invisible, they literally disappear, and cannot be attacked. So don't spend too much time on them at first. If they do become a pain, attack them until they disappear again.
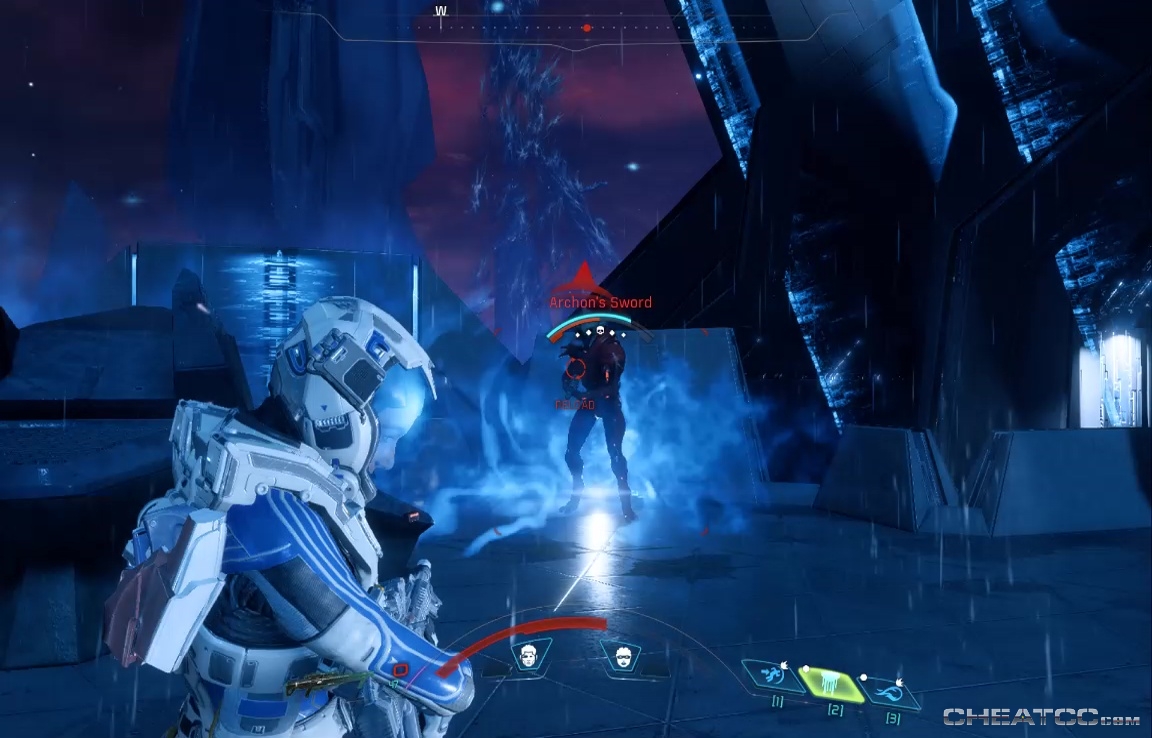
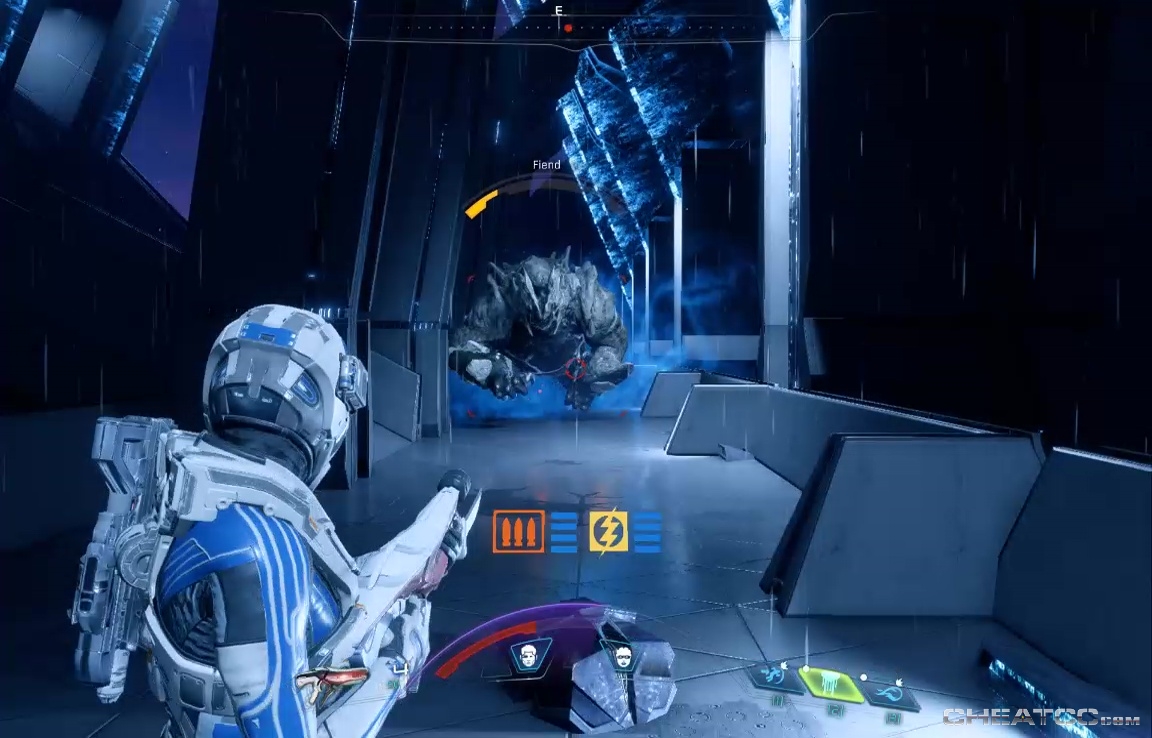
Your focus should be clearing out the low-level mooks underfoot, while dodging and evading the Fiend.
When those threats can no longer distract you, play whack-a-mole with the Archon's Sword . They're really not so tough on their own.

Killing them immediately launches you into a cutscene which eventually bounces you back to the Tempest, and a conversation with Tann. Despite his ominous glowing eyes, he's here to say you were right, he was wrong, and he fully backs your future endeavors. Leave the conversation to end the mission, leaving only the final story task Meridian: The Way Home.
Note: Killing the Archon's Sword also nets you the Fusion Mod of Health.