Liam Kosta: All In
Location: Debris Field
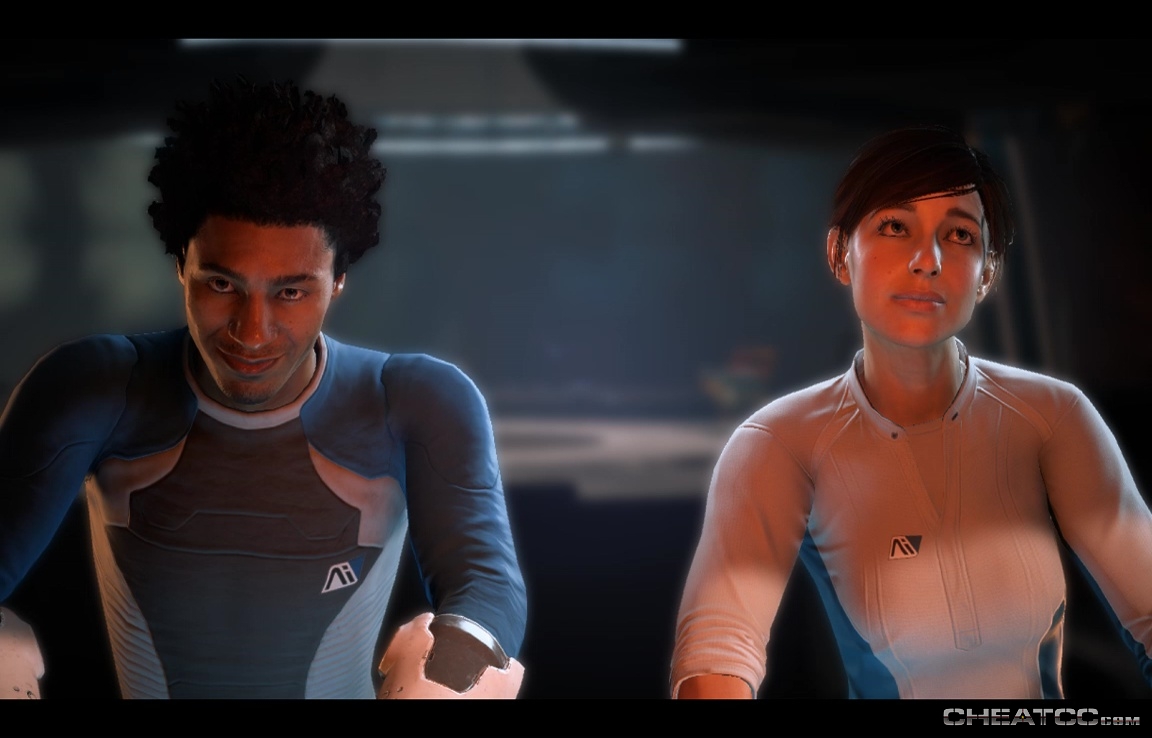
Shortly after completing Liam Kosta: A Day Out, you'll get a conflicted email from old LK. Meet him in his quarters aboard the Tempest to find out that his back-channel shenanigans have endangered Initiative interests once again. This guy.

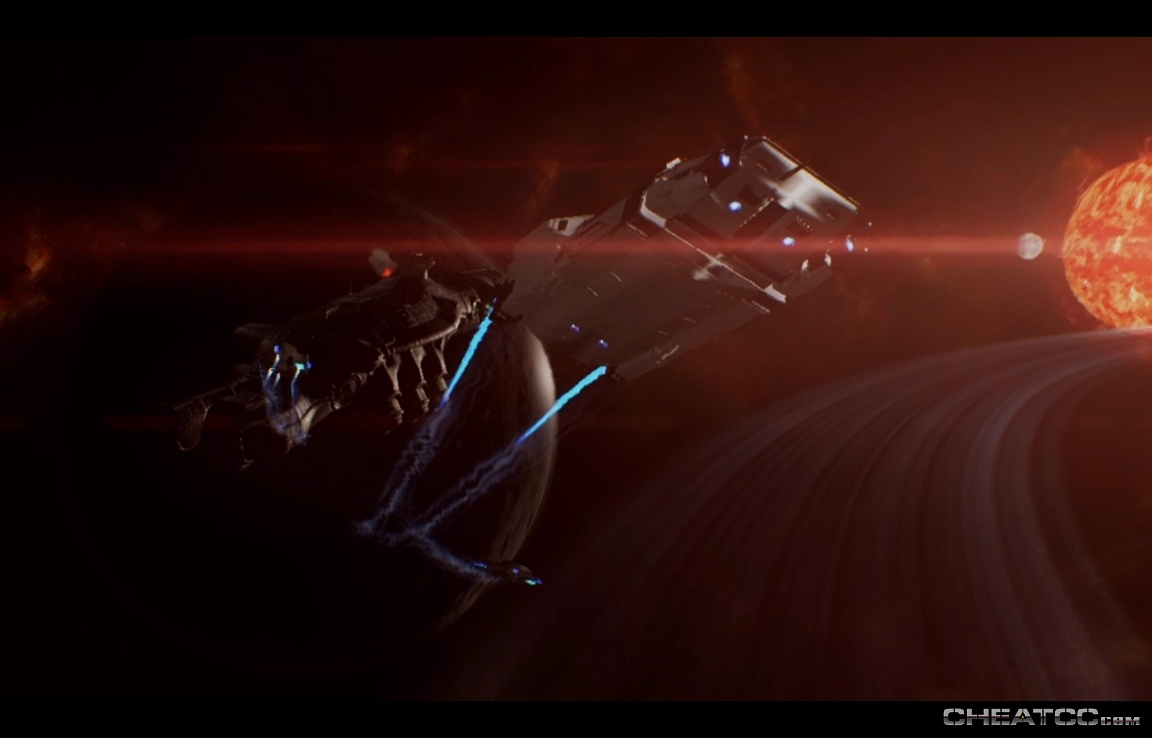
Travel to the Sephesa system, and locate the debris field.
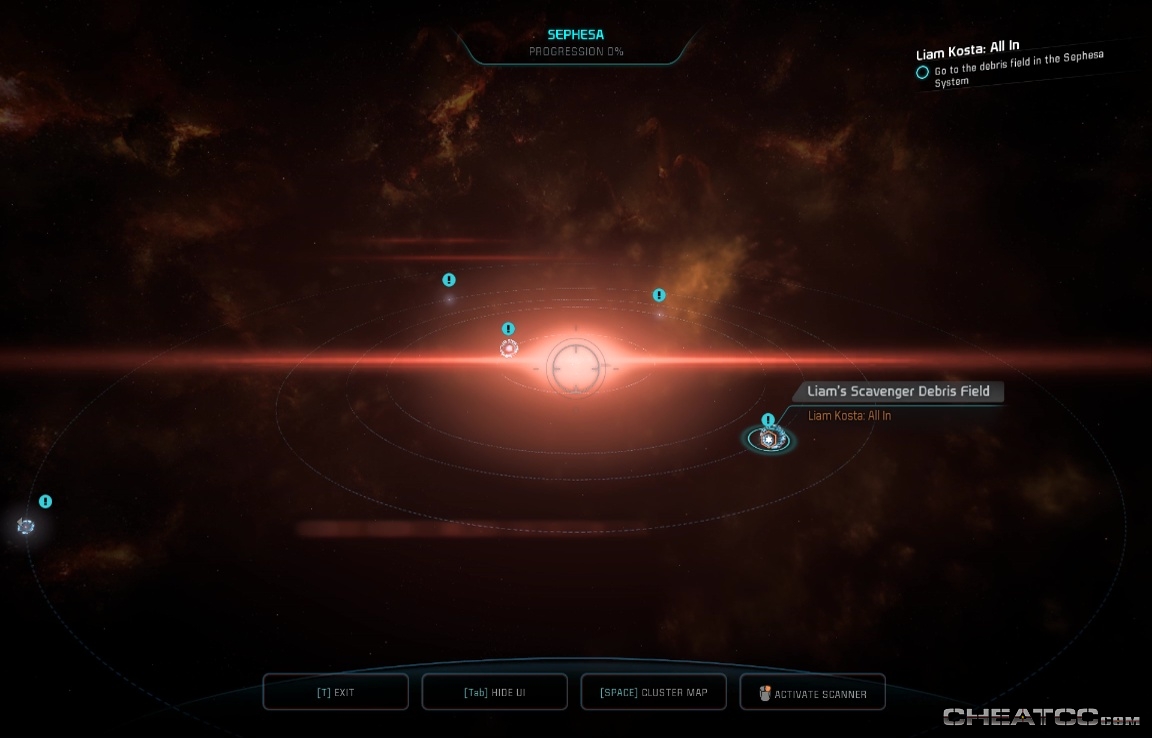
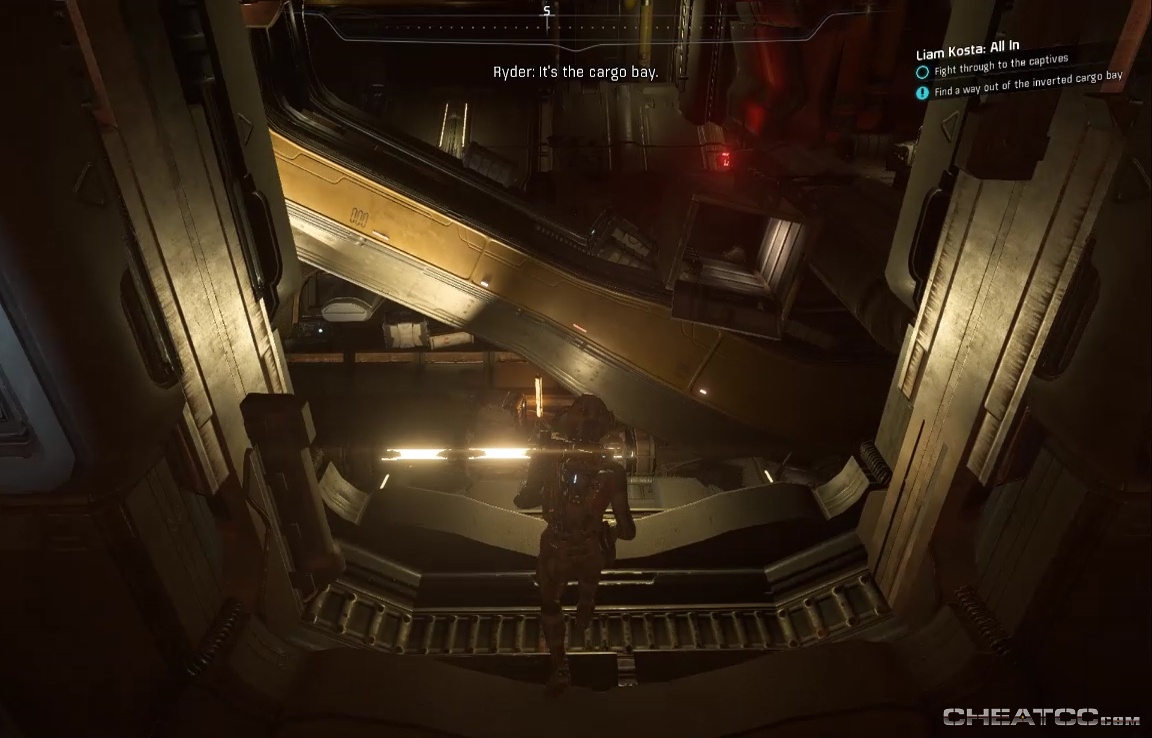
Scan it to initiate the mission. You got through a cutscene detailing Liam's plan (and lack thereof). Regain control in the cargo bay of a giant Kett vessel.
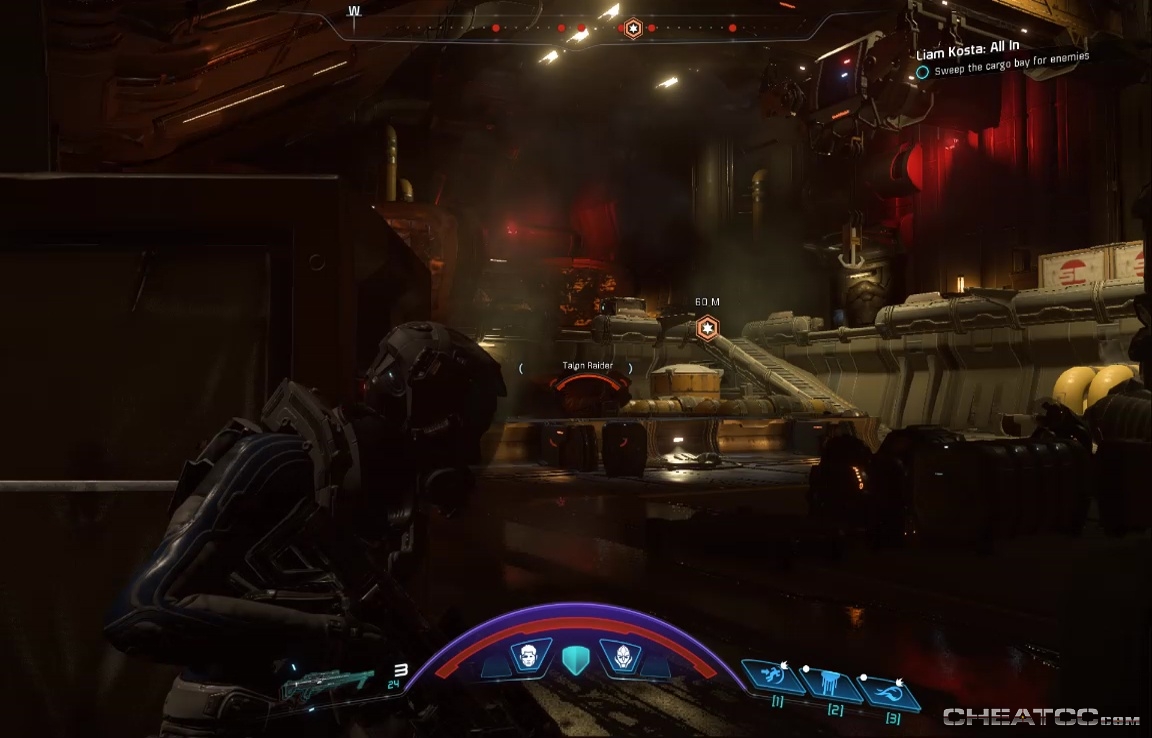
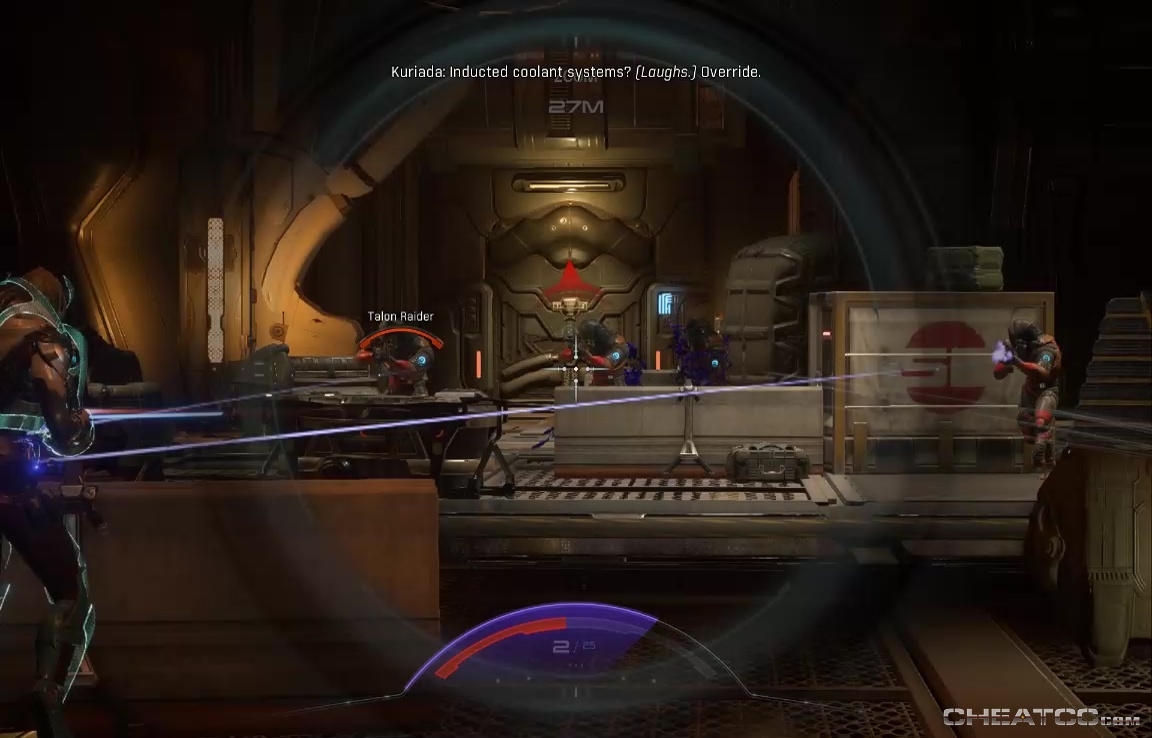
The enemies are actually raiders, and the bay is big enough for you pursue any strategy you wish, from cover sniping to full-on brawl. While enemy forces are too scattered to really overwhelm, note that their guns do pack a little more punch than the average raider.
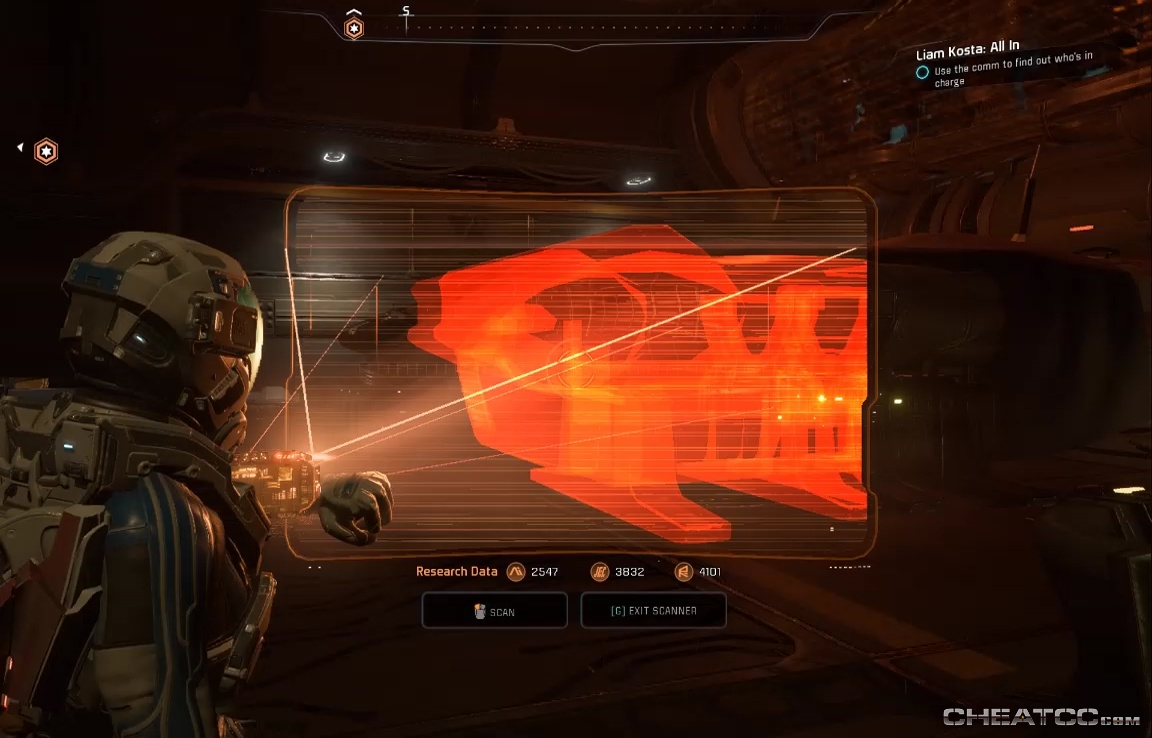
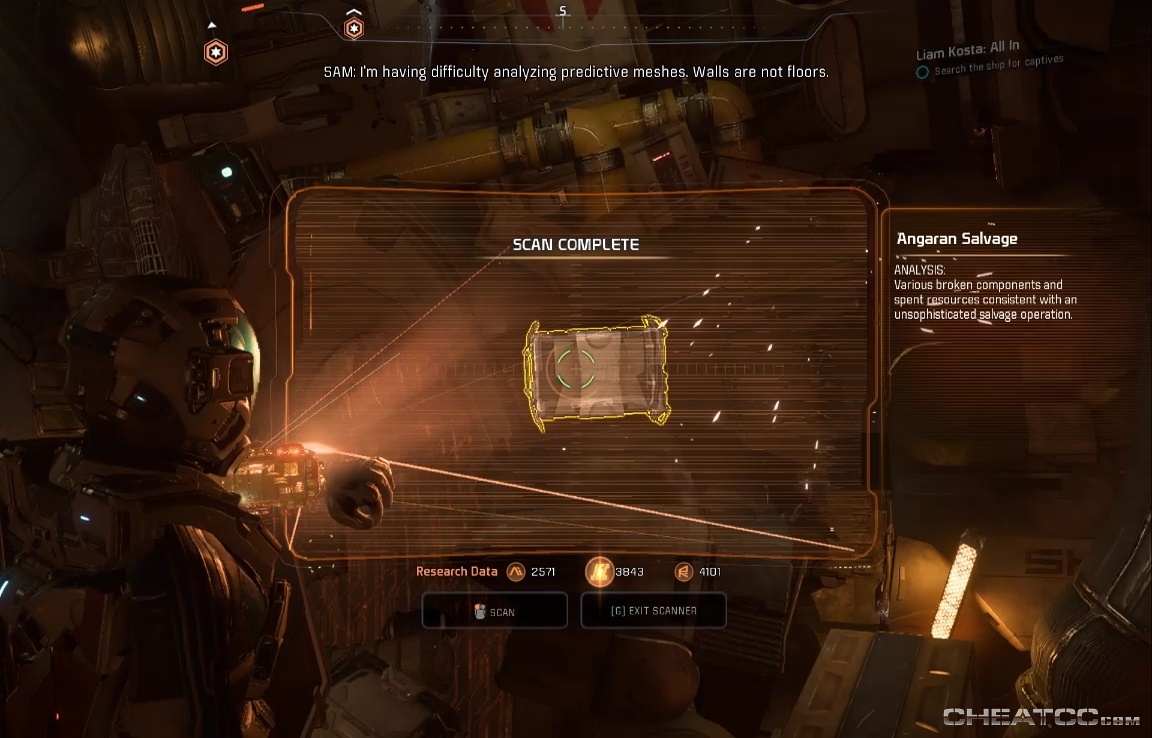
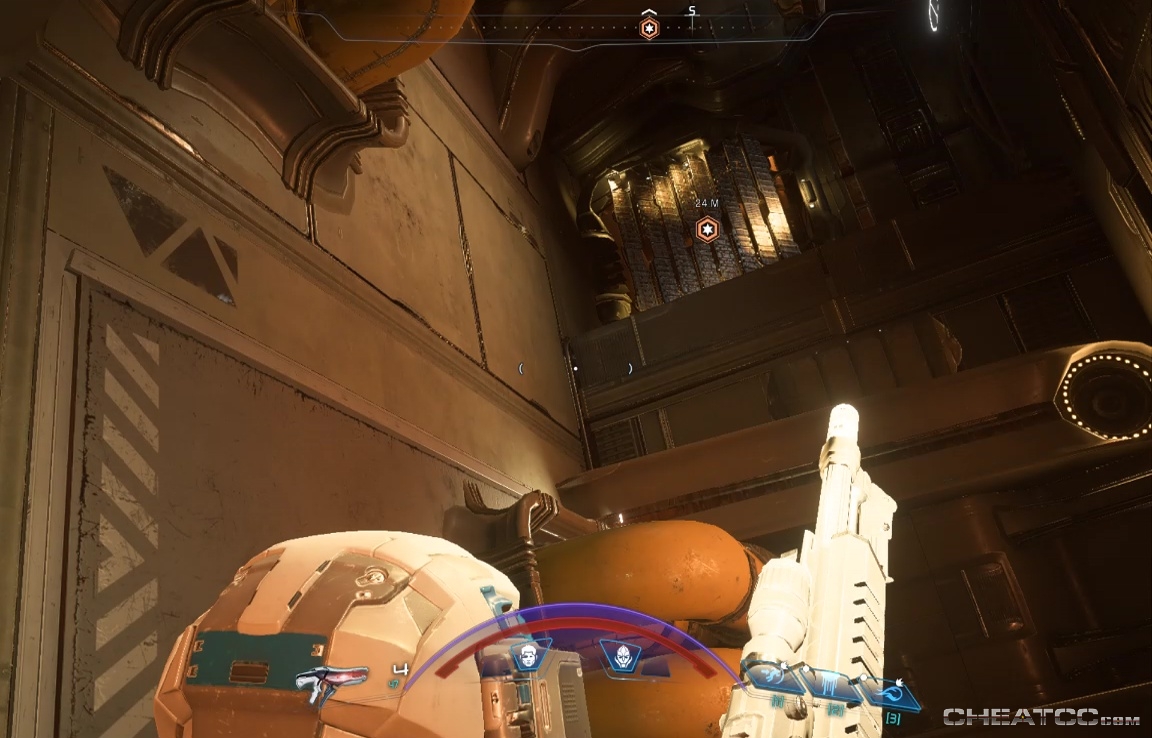
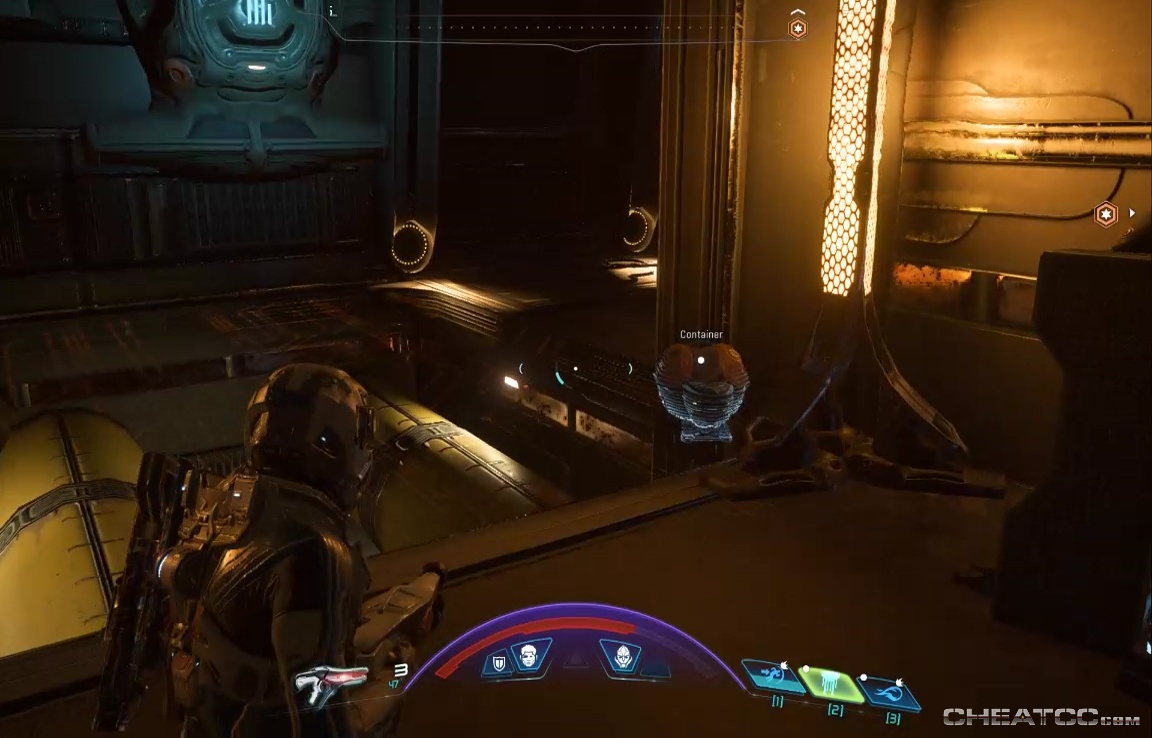
When they're all down, you'll a comm crying out for attention. There's no penalty for ignoring it, so scan the machines down here and, if you like, check the shipping containers for moderate-to-low-level loot.
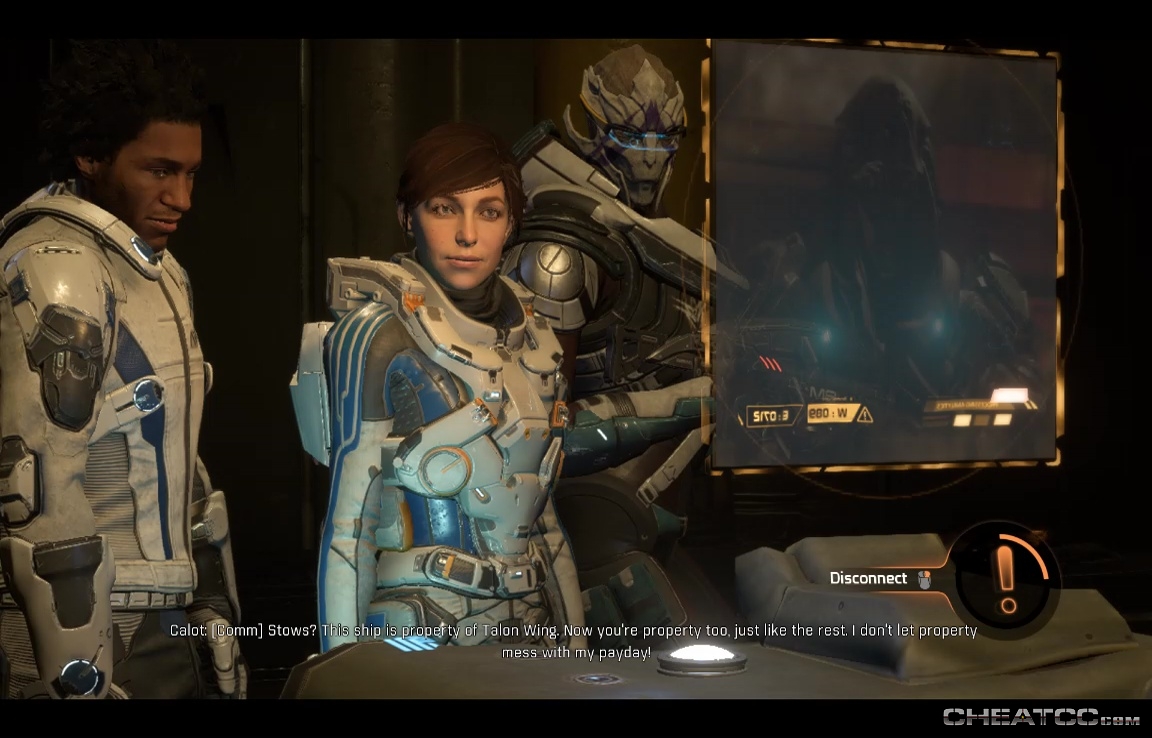
When you're ready, activate the console for a chat with the local big bad. There's quicktime event to disconnect the feed, but whatever you do, you'll have another wave of enemies to mow down.
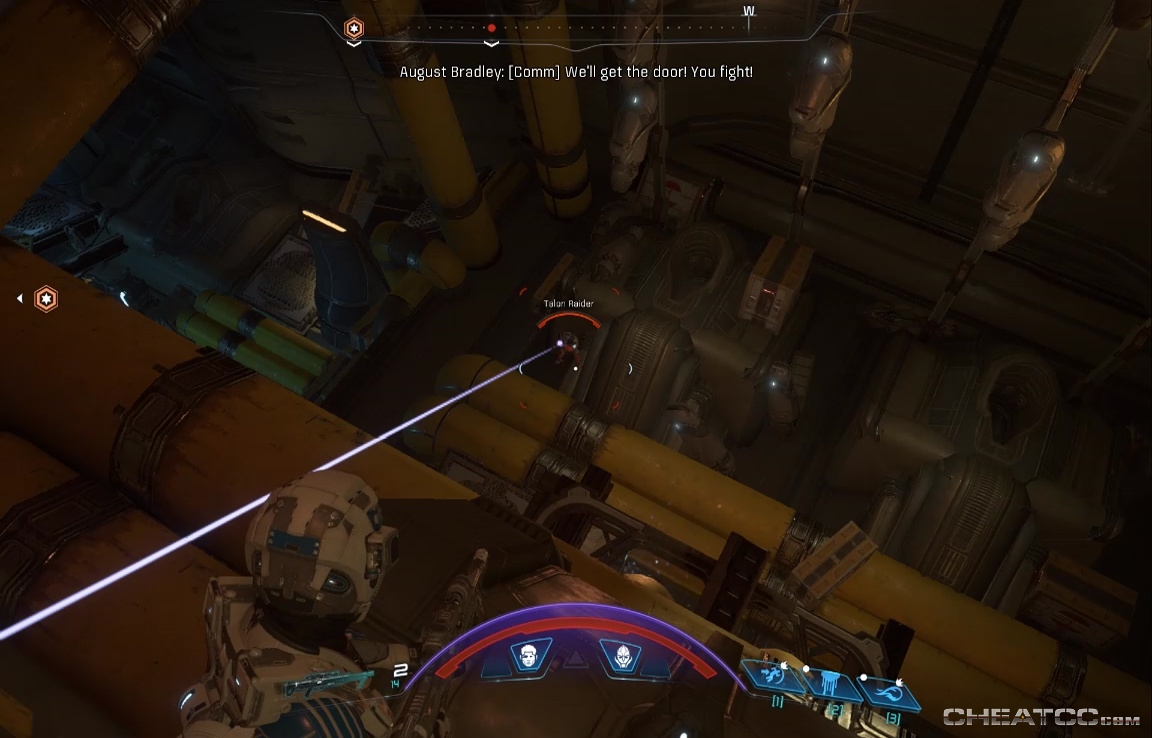
It's mostly adhi, raiders, and sharpshooters. Clear them out like you did the last wave, then activate the objective console for a cutscene, some jokes, and being blown out into space.

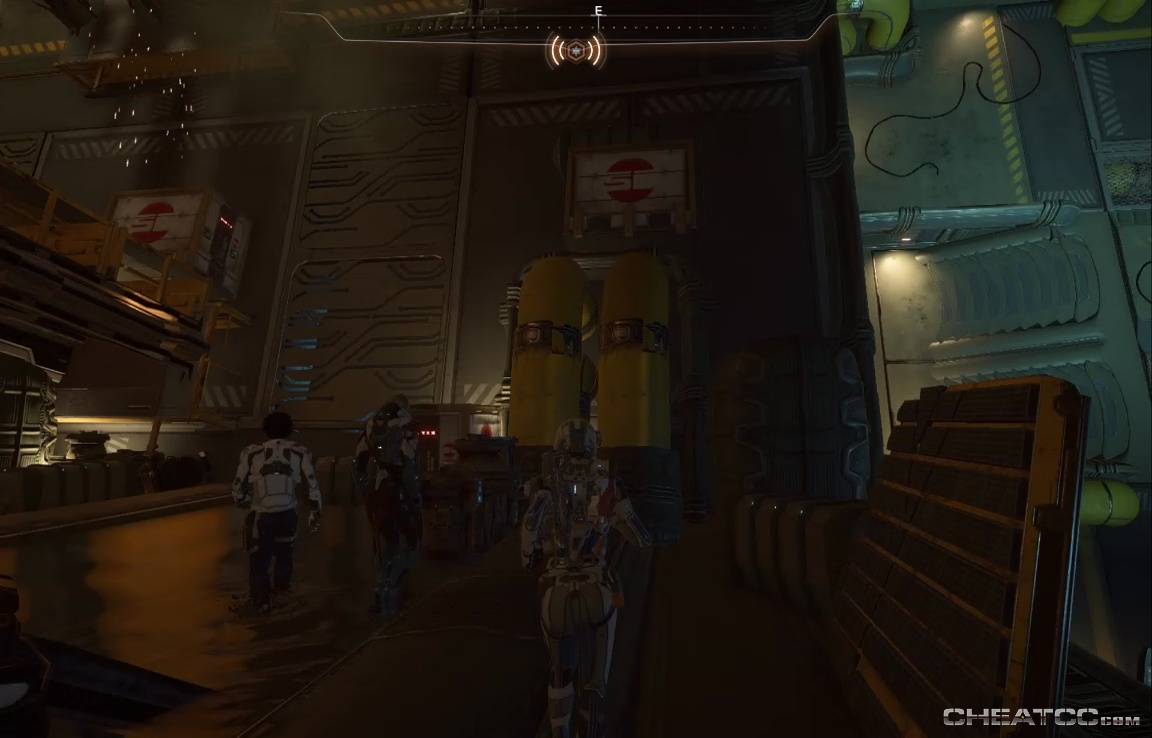
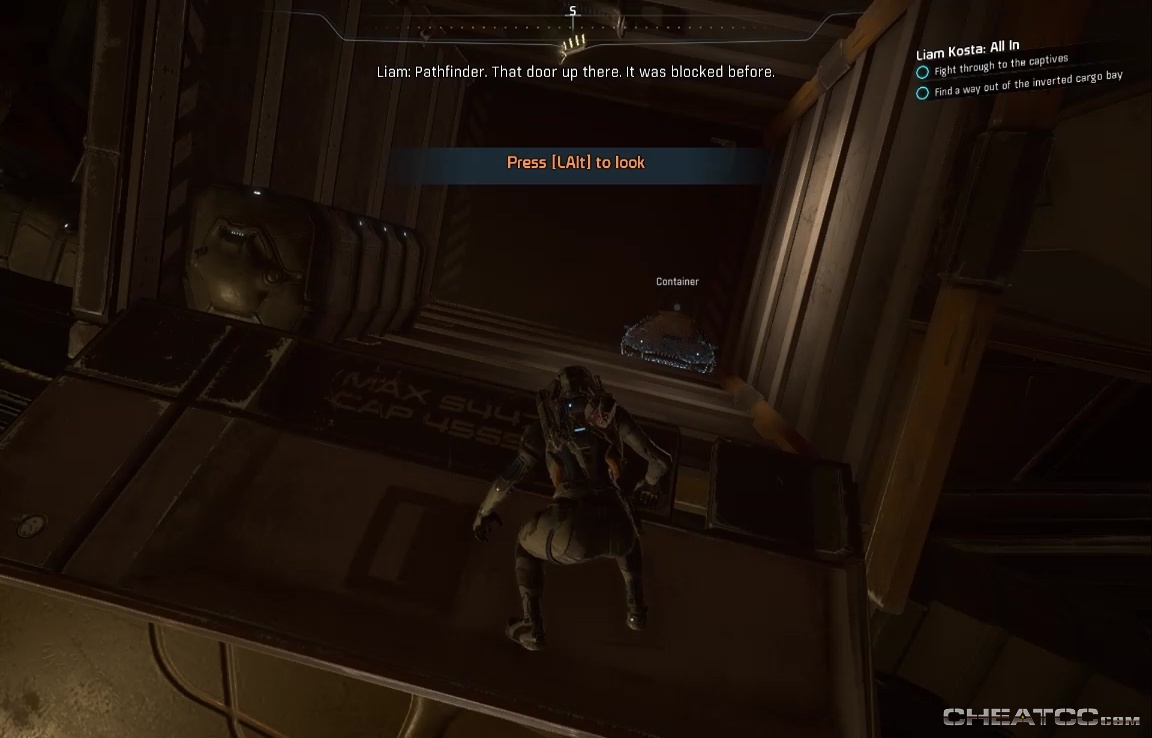
Luckily the crew from Prodromos rides to the rescue (including Grace, if you woke her from cryo). When you regain control, you're back in the cargo bay, but gravity's taken a ninety degree twist. You'll have to do some garbage jumping to reach te objective door, but you may stop to scan some salvage along the way.
Through the door you'll meet two Raiders. Easy kills, but things will get tougher.
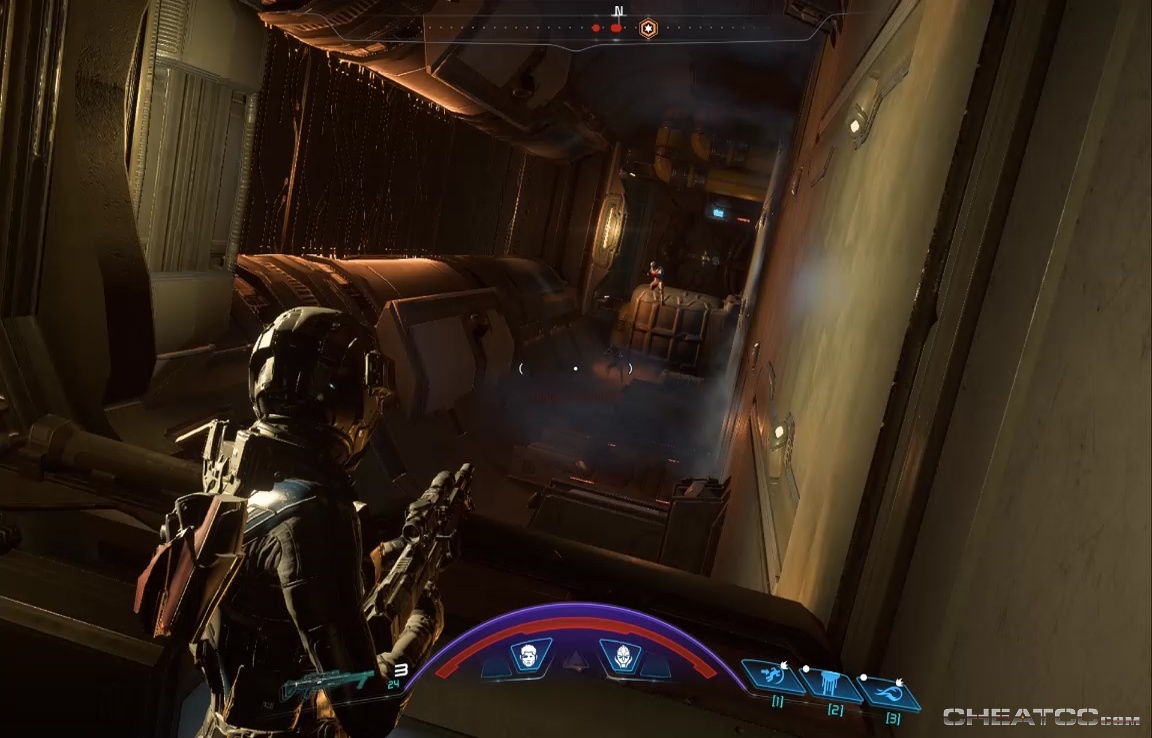
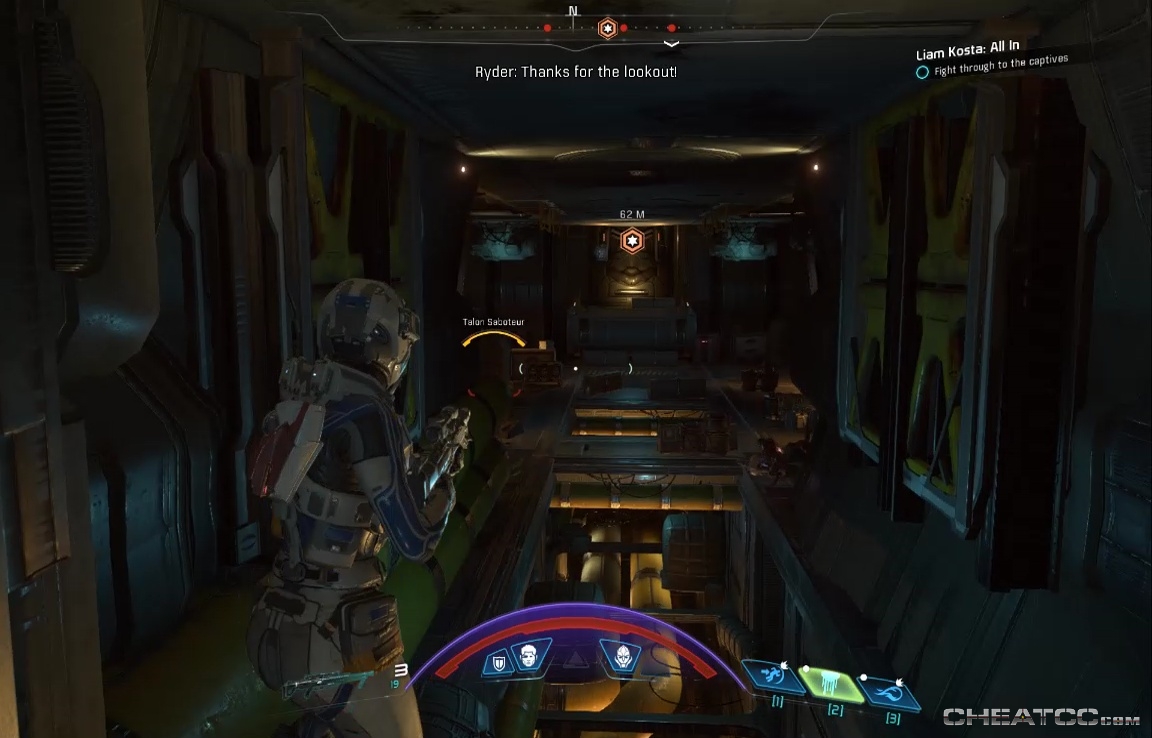
The next section has Raiders, a Saboteur, and a lot of things that look like containers, but which aren't containers. When you reach the end of the passage, it will collapse before you, and the objective door turns out to be a dead end.
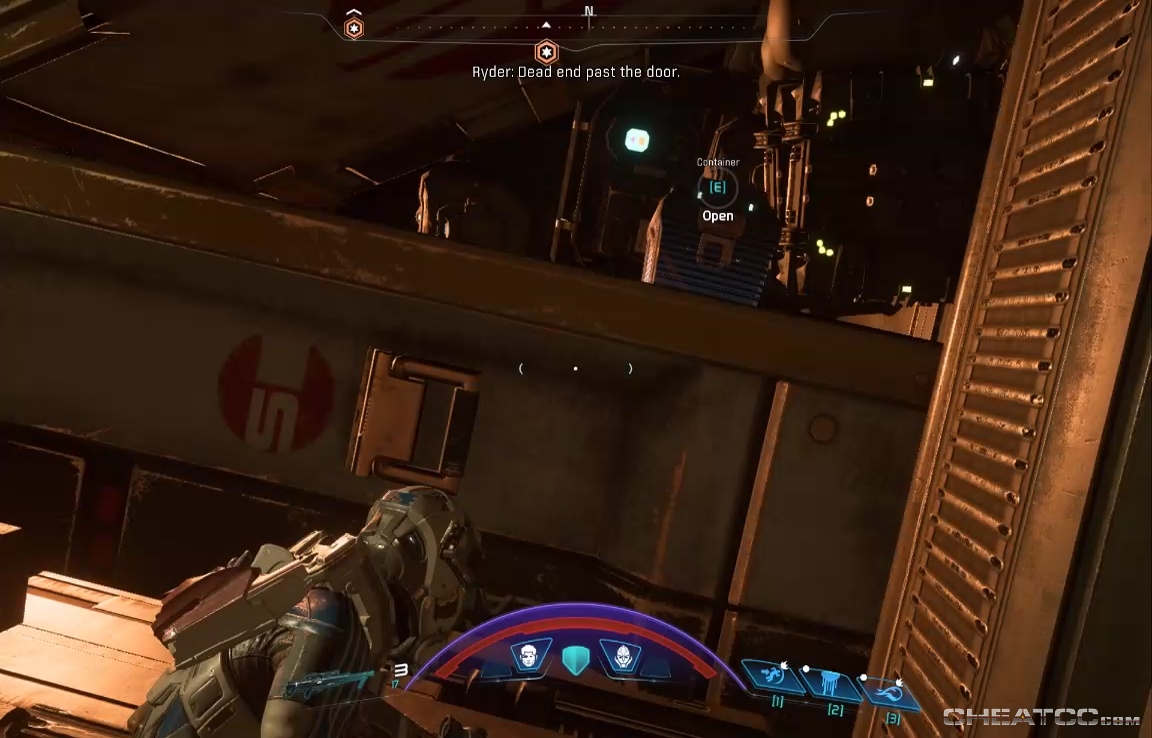
Loot the container in the dead end, then turn back and look up to see some breakable vent slats.
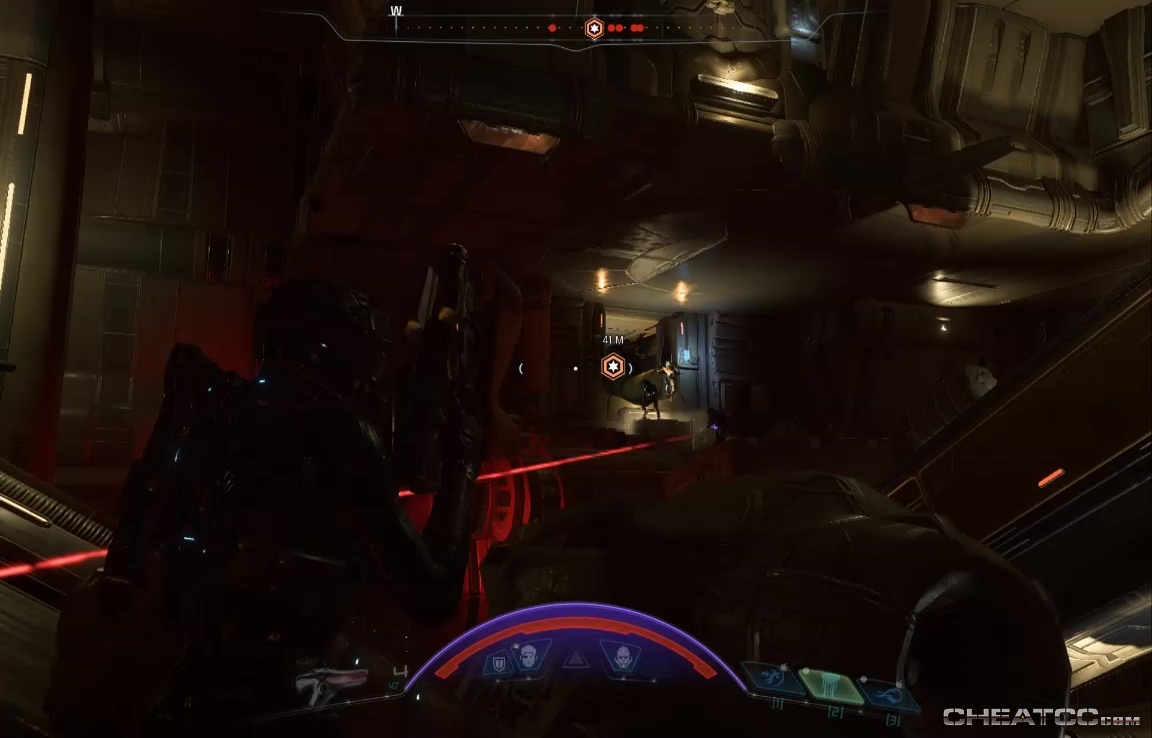
Shoot them out, then jump up, and then ascend through the vent. Shoot another set of slats to exit into a larger bay. Raiders, Sharpshooters, and Saboteurs will attack from the 'ground.'
There are a few low-to-moderate containers mixed in with the debris, but your goal here is find the control hub. Your radar can be misleading here, drawing you the center of the room- you can even see its blue glow behind what looks like a detachable panel.
The panel doesn't detach (or shatter, or explode). Instead break right, around the enclosure wall, to access the hub.
Now you need activate two consoles, one almost outside the hub area, and one back in the northeast corner of the bay. Both will shed a little light on the local backstory.

A little exposition, a little cutsceneing, and we'll wind up back in the cargo bay.
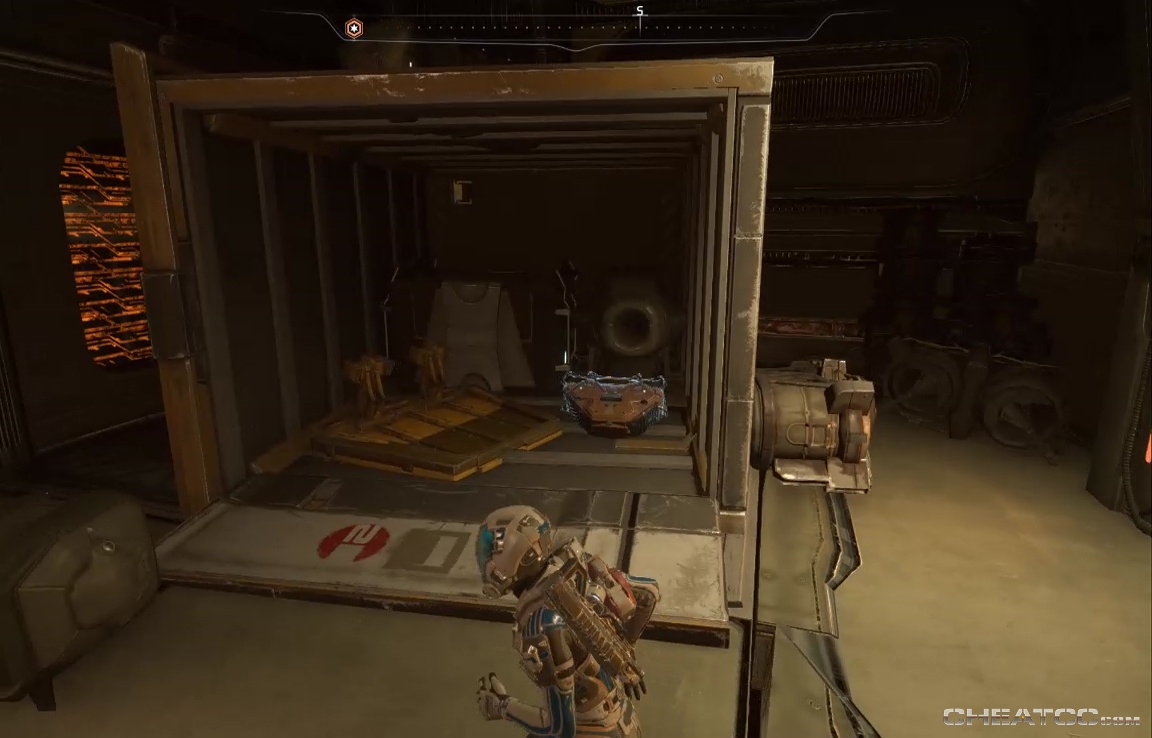
The gravity shenanigans have made more containers accessible, including on in a shipping container just right of dead ahead.
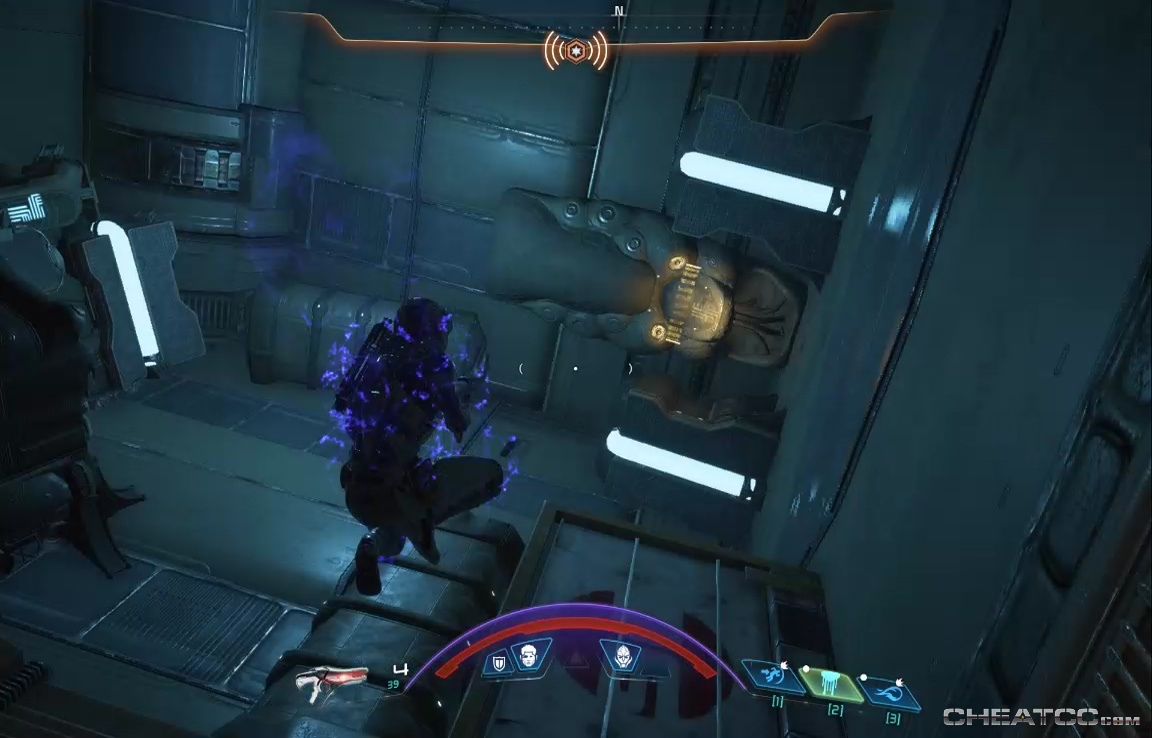
You'll need the crane here to reach the next door, and you'll need to jump up to the control room to activate the crane.

The moment the door opens, enemies of all sorts will start spilling out (but no Hydras. Yet).
Exterminate them, enter the door and make you way along the passage (nothing worth scanning or looting), until you reach a little ambush nook with Saboteurs and Sharpshooters, plus a few adhi to knock you out of cover.
Sniping works well here- killing the adhi, then the Sharpshooters, and then the Saboteurs who tend to take position down below. There's also a moderate-low container on the east loop of the underlevel.
Clear this passage for a view of hostages and Hydras. The former seal themsselves away, the latter try to kill you.
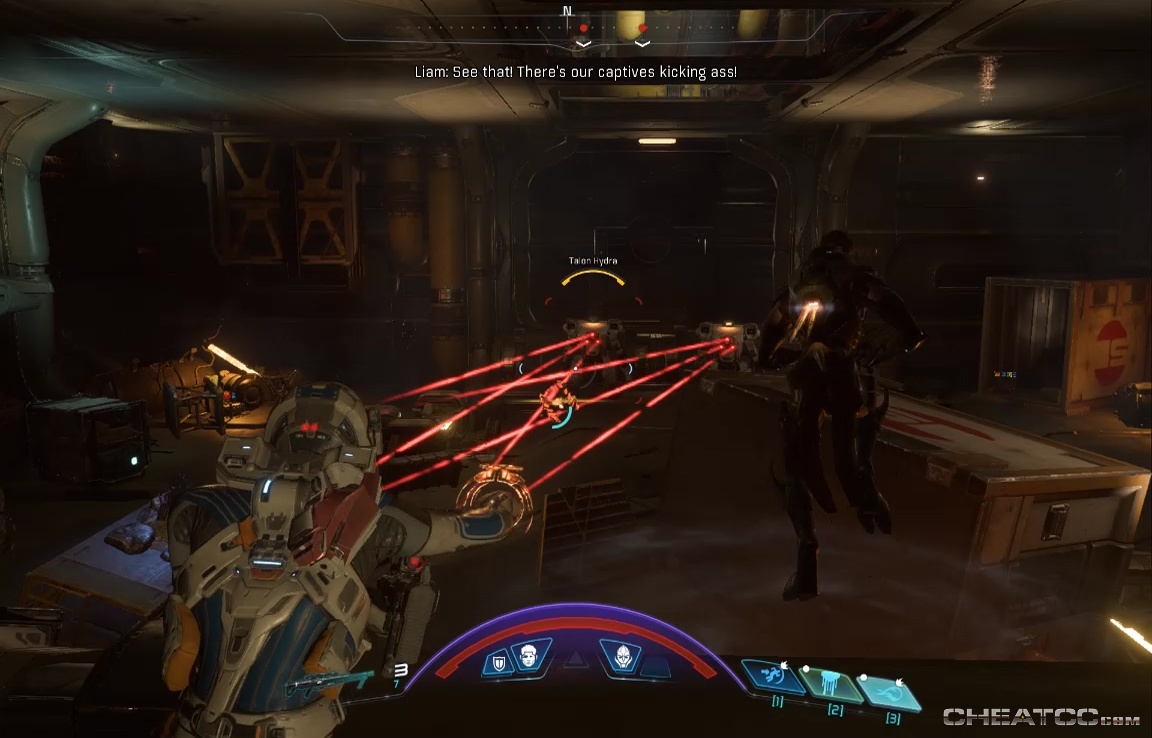
Use the ground cover here to keep them from ganging up on you. As always, fire attacks and sniper shots to their tri-eyes work well. You might also try deploying you team to occupy one will you tear up the other. When you're done, loot the remains, then scan the room for some unique mineral formations. With your geologic data safely cached, activate the console to speak to the captives.

There's a container in the lower dead end to the north, but the path to your objective will take you up a level, to the Bulkhead Door Console.
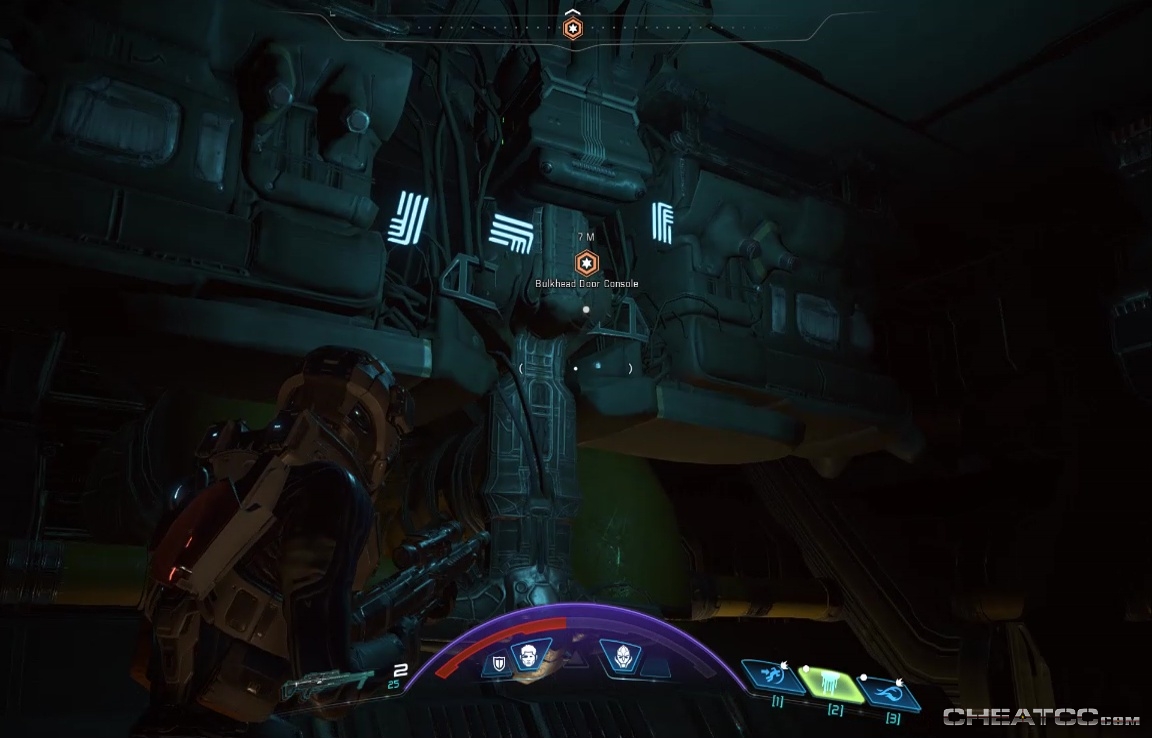
Activate it, then retrace your steps (sort of) to the room where you fought the Hydras. Just outside that is another container inside a busted shipping container.
Follow your objective, looting stray containers as you go, until you reach a minor ambush corridor.
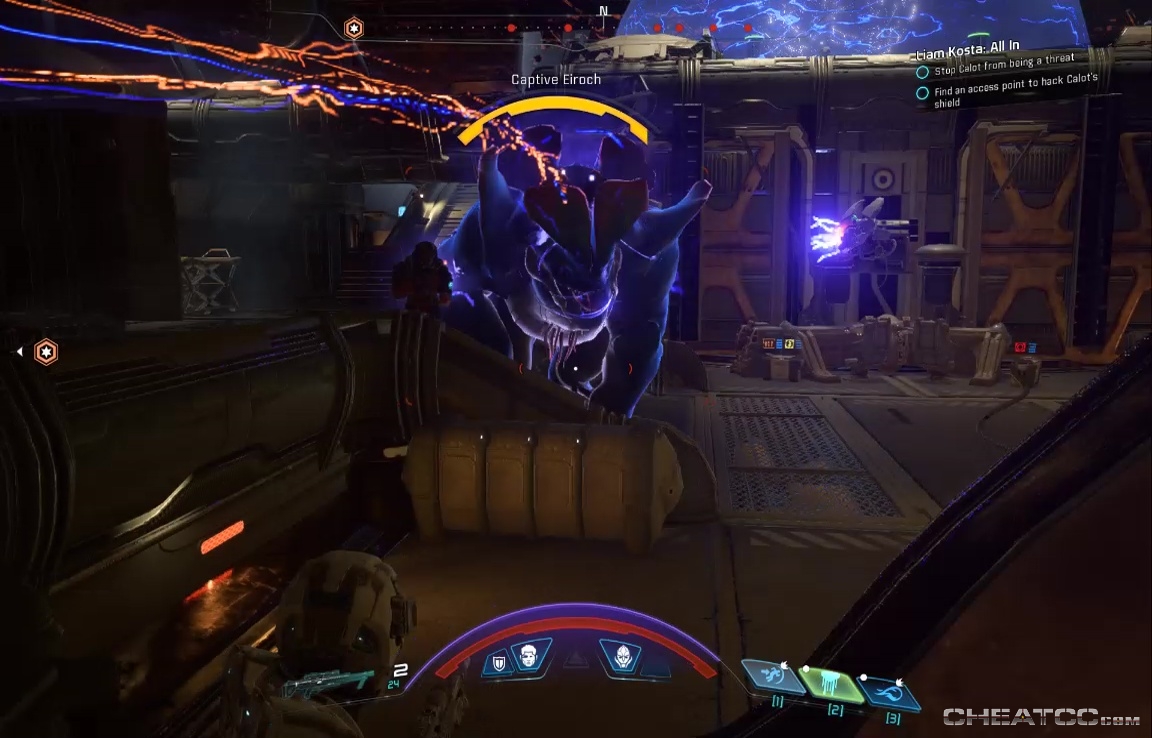
Just raiders here, so dispose of them in whatever way you find most pleasing. There's a terminal near the far door that fills in a sliver of backstory, then an antechamber where you can restock your ammo. After that, a big, big room fight. You first priority is taking down the Captive Eiroch. Captivity hasn't dulled its instakill any, and since your next objective is going to be a hack-the-point challenge, you want this grabby monstrosity dead asap.
After that, you'll have two hack-the-point challenges to take down Calot's shield. Prioritize the adhi- if they goose you out of cover, the Saboteurs and Sharpshooters will be all over you. With the quadrapeds dead, the humanoids will be a standard shooting gallery.
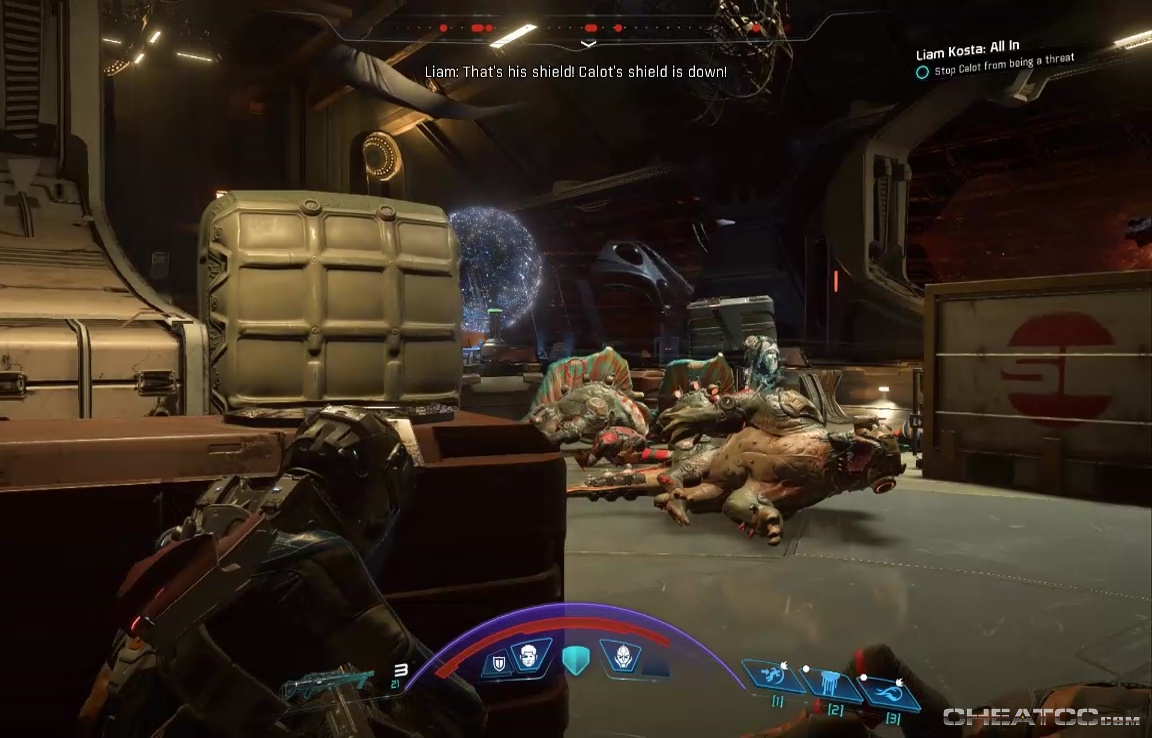
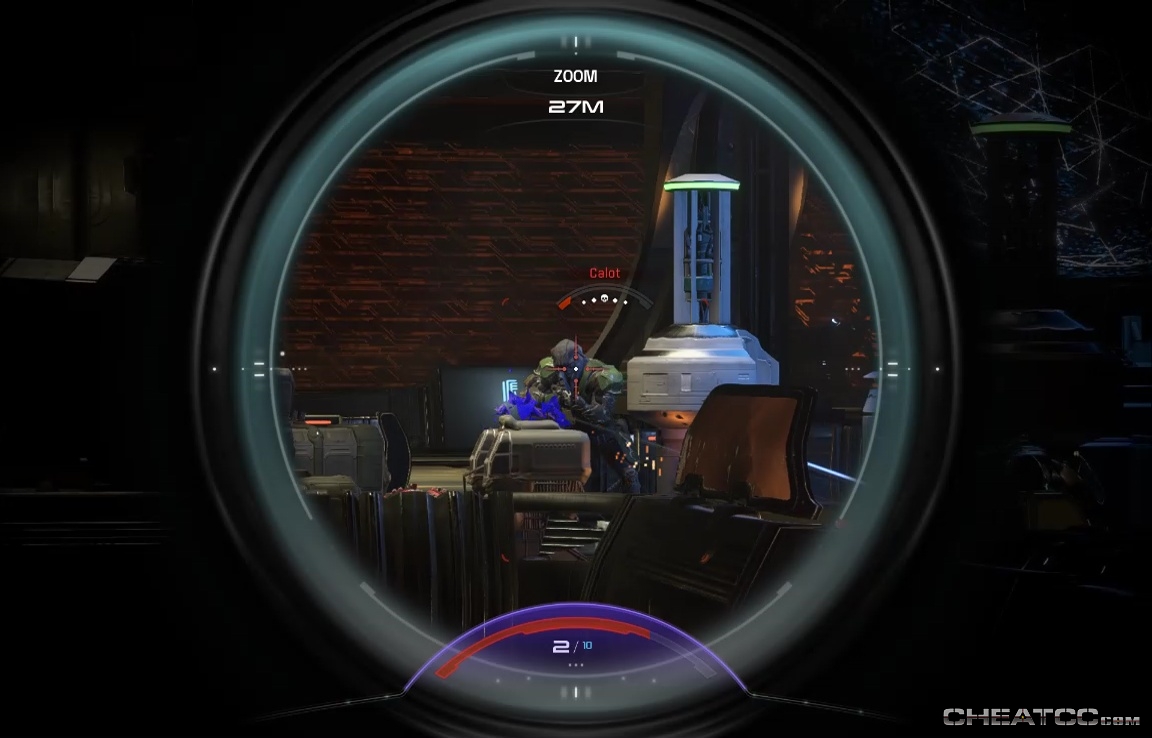
A final wave of reinforcements pours in when Calot's shield goes down. There really are a lot of them, and they tend to stick together on the upper platform. It's recommended to clear a few away from cover before advancing for the kill. When you can finally pop your head up with out being hit by three different raiders, take out Calot.
There's no decent loot in this room, but there are likely to be plenty of Remains. Loot what you like, then activate the central console to summon your ride home.
You'll have some epilogue-style conversation with Liam back aboard the Tempest. Whether you choose to berate him or accept his goofy brand of do-goodery, it won't affect your romance and you'll still unlock his loyalty.