
Meridian: The Way Home
So begins the final chapter of the Andromeda storyline. Note that you will still be able to complete other quests when this one is over, and you will retain all your current teammates and grear (though shops may stop working- this is a bug rather than a design choice).
Start things off by scanning three Scourge samples in the cluster. There are many more than three to choose from, so just pick the systems you like.
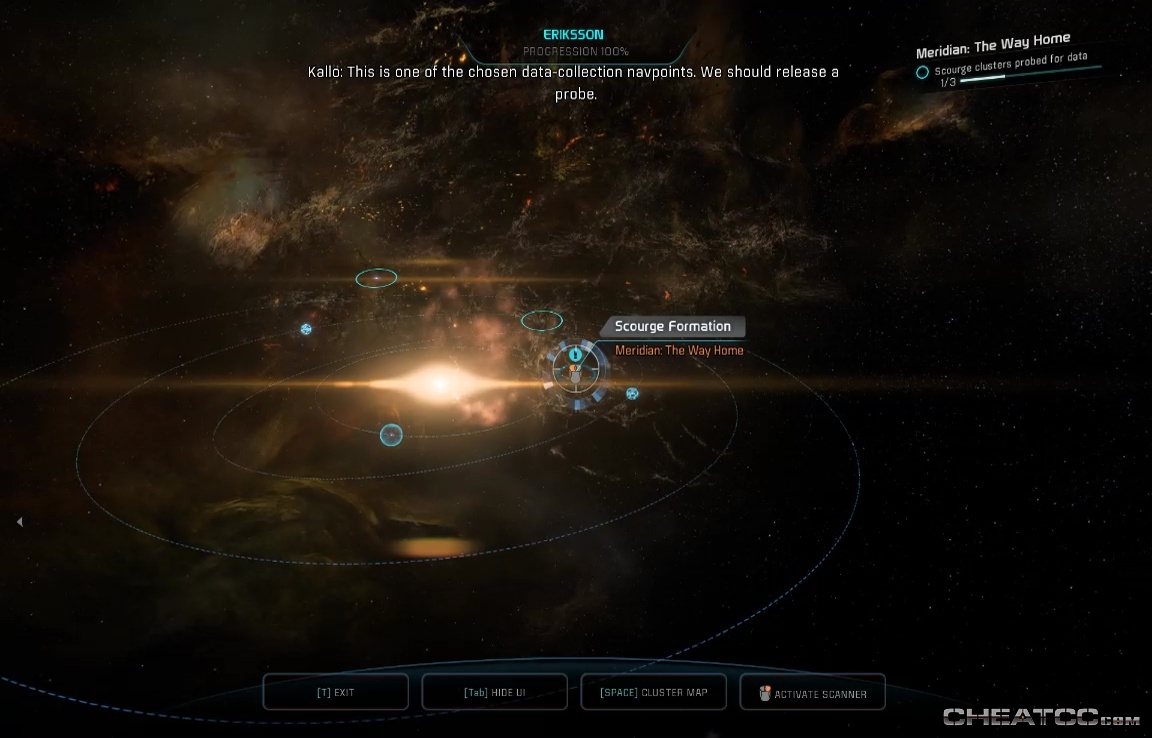
If you're really light on XP, note that you get XP for each sample scanned, even after the required three (and even after this quest is over). Once you've filled your quota, activate the objective'd terminal on the bridge of the Tempest to discuss tracking down Meridian.
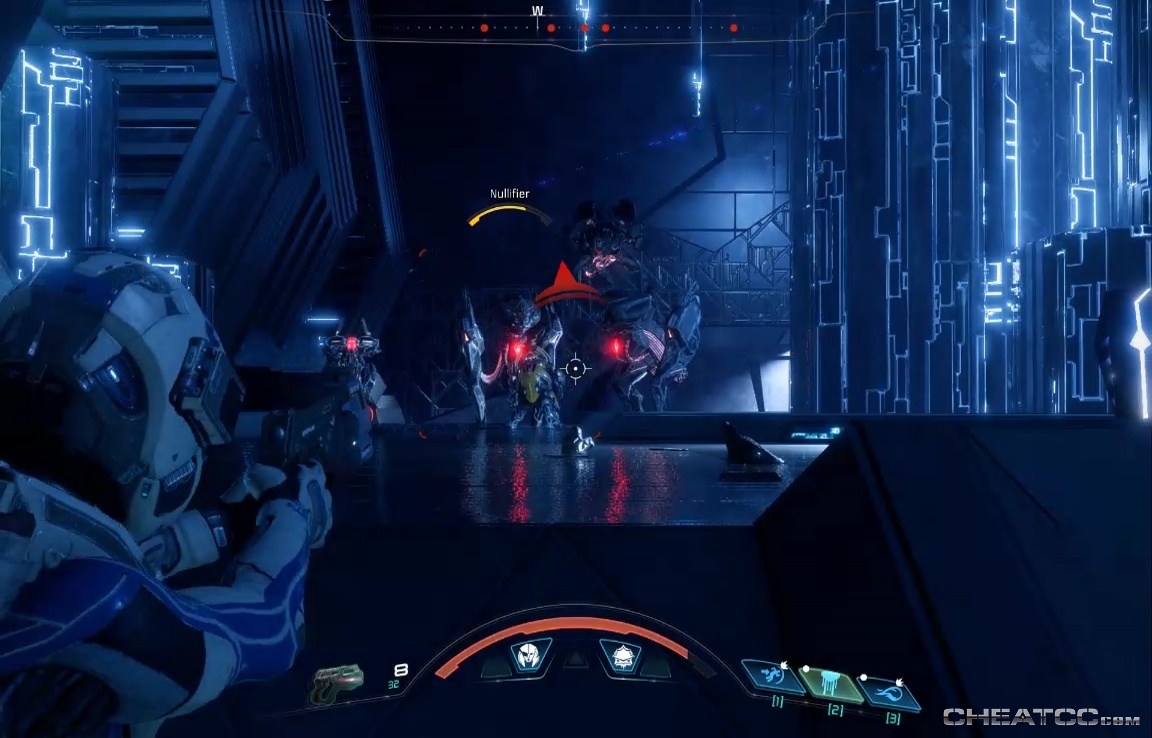
Return to Khi Tasira (which we first thought was Meridian). You'll land outside the command center- enter to face a large wave of Nullifiers, Observers, and Assemblers (and thus Breachers as well, if you're not quick).
The ramps here can be used effectively as cover. When the enemies are down, activate the console for an intense cutscene that leavess you half-dead and powerless. Stumble to the door as best you can.
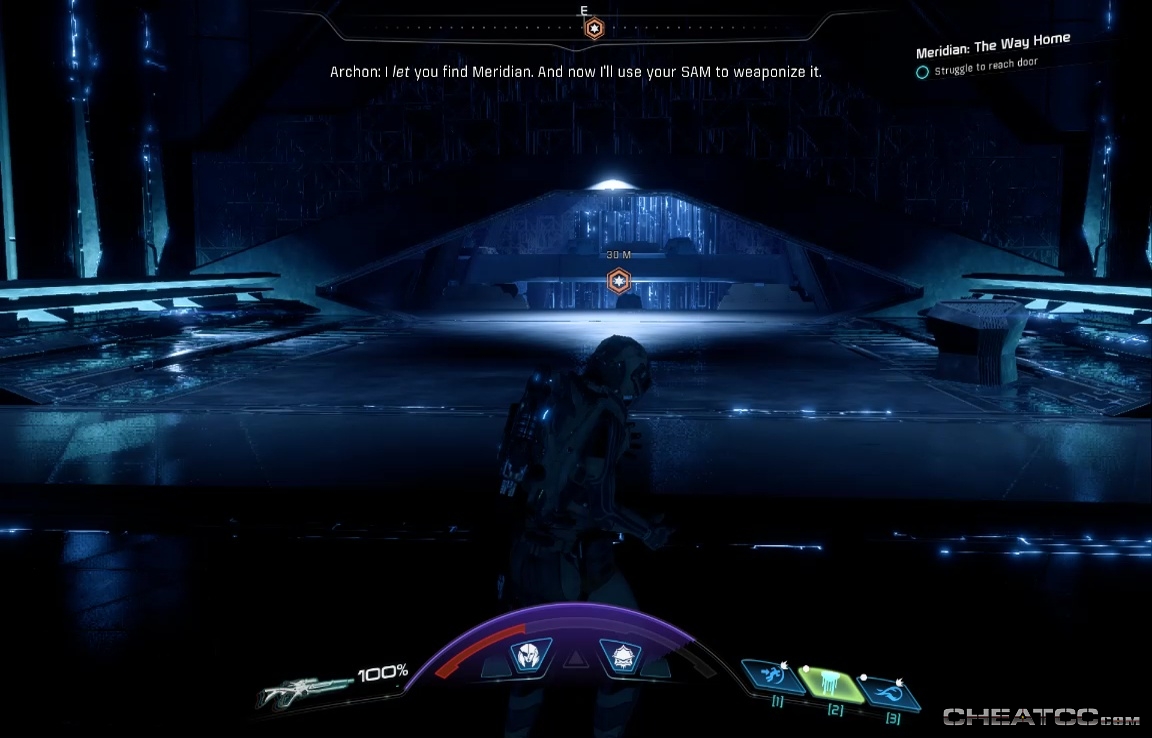
You'll black out, and the narrative will pass to the other Ryder twin.
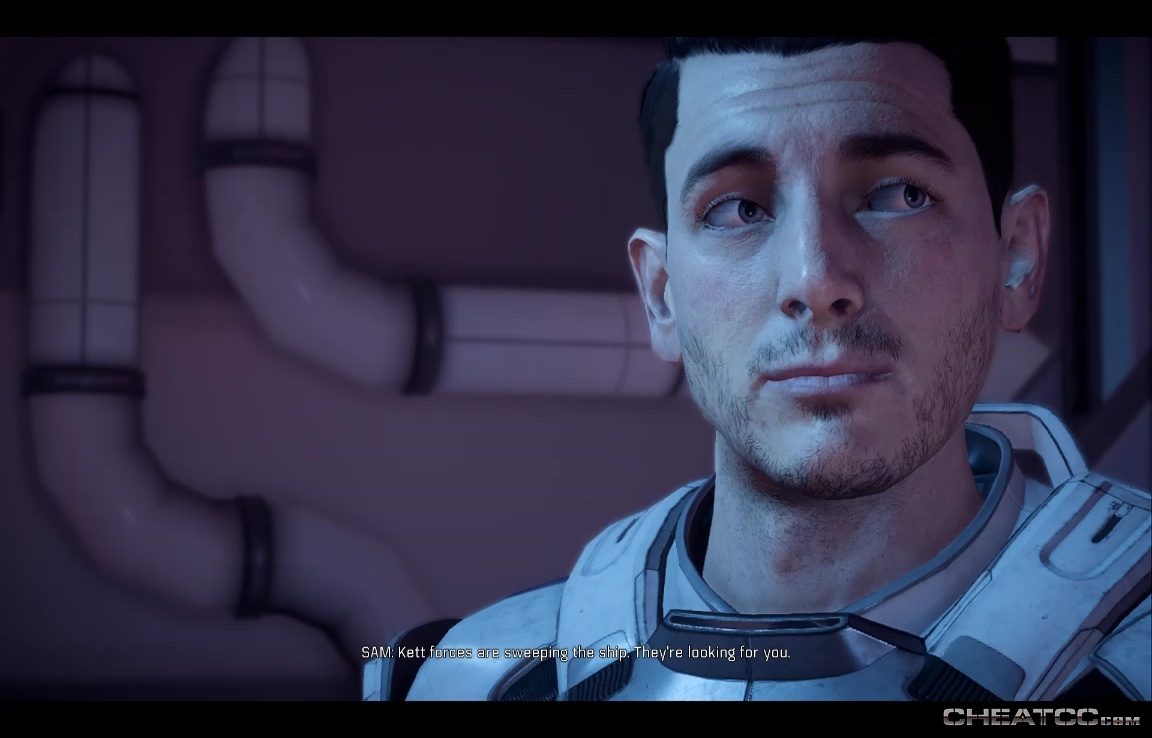
Follow your navpoint to a Phalanx pistol. You can read the nearby email terminal for a bit of backstory on the hijacking.

Move forward, and face your first enemies on the atrium stairs.
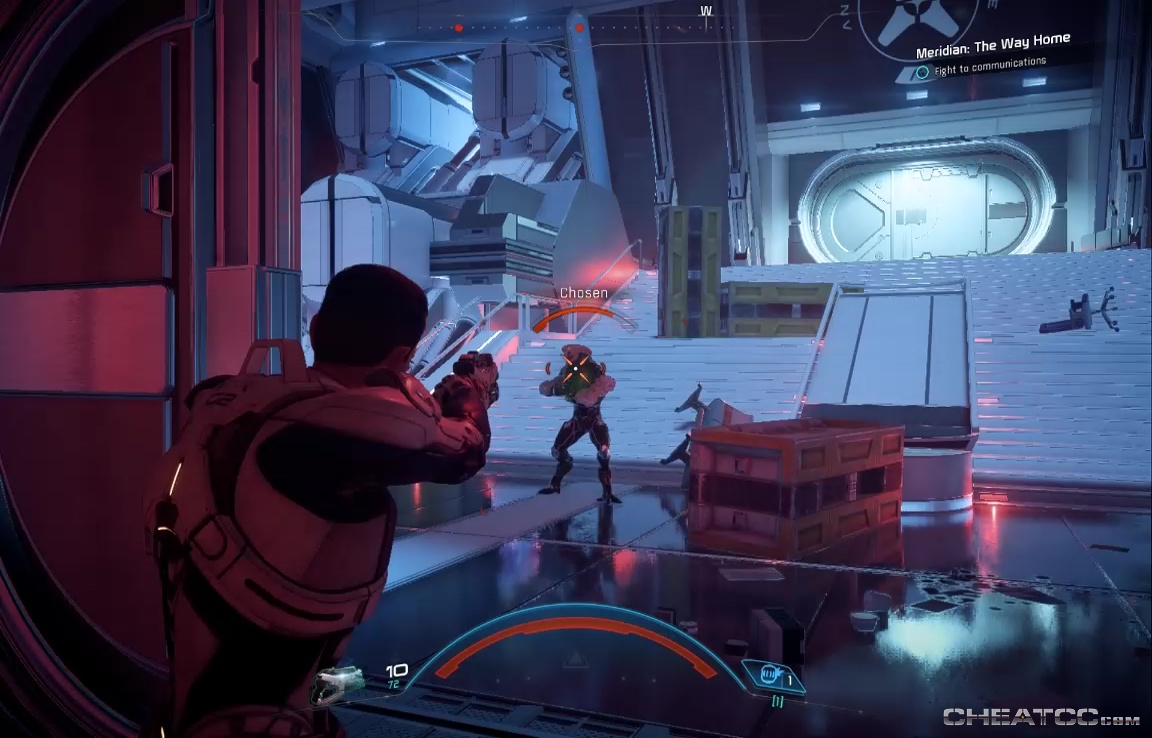
They'll take a lot of shots to put down, now that you're merely human again, so focus on headshots if you can, though your omniblade is also very effective.

Your next enemies will be in cover. Here you can use the explosive containers to even the odds, as Dunn cheers you on.
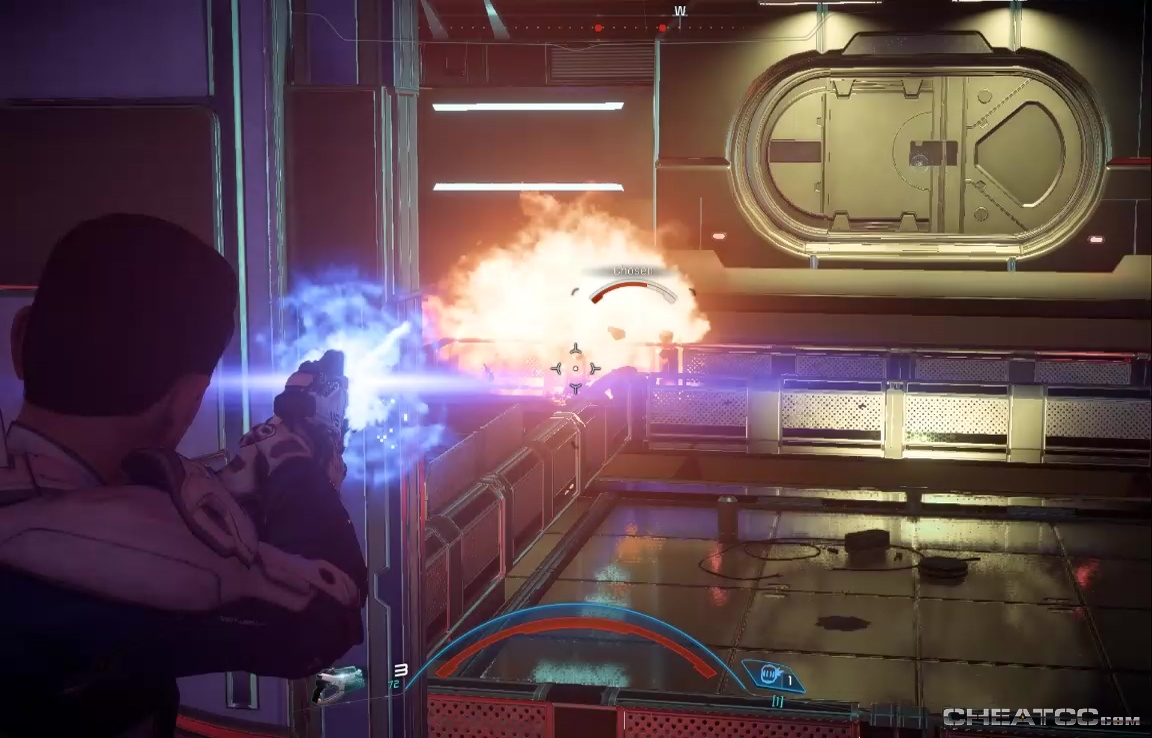
And that's the last fighting you'll do. There are other enemies, but ignore them. Instead sprint to your objective, and activate the relay.
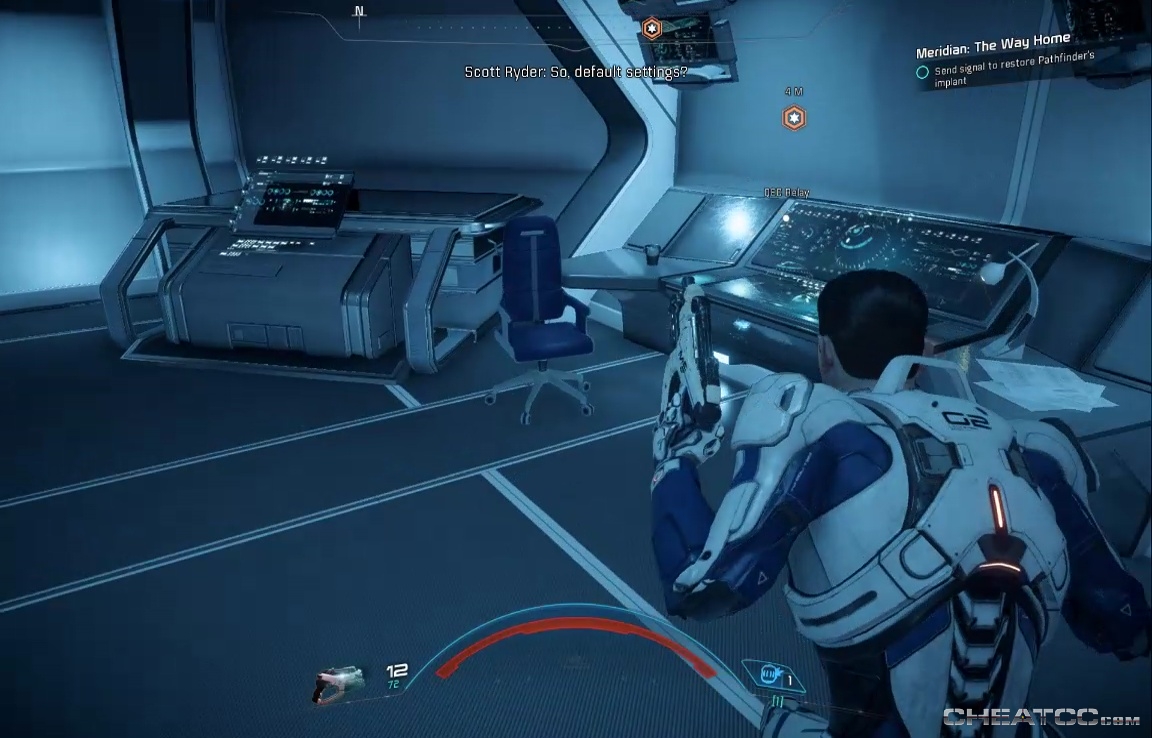
The story will shift back to the Pathfinder. Use the console again and again until it finally works.
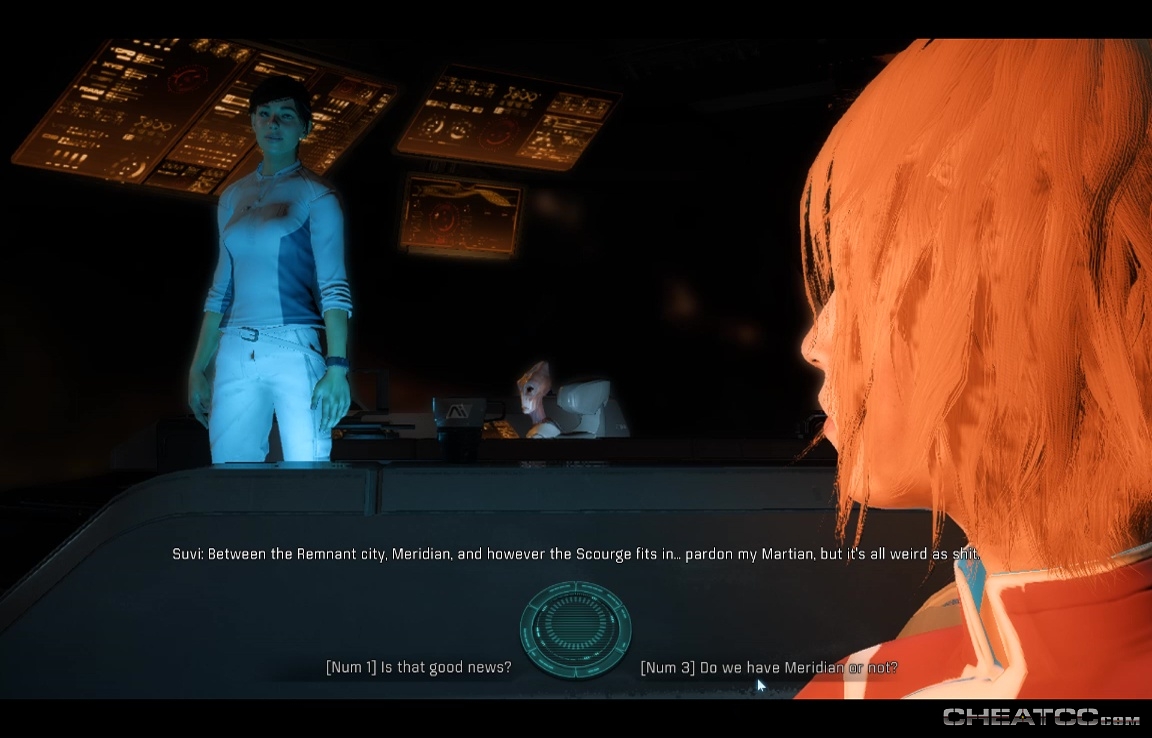
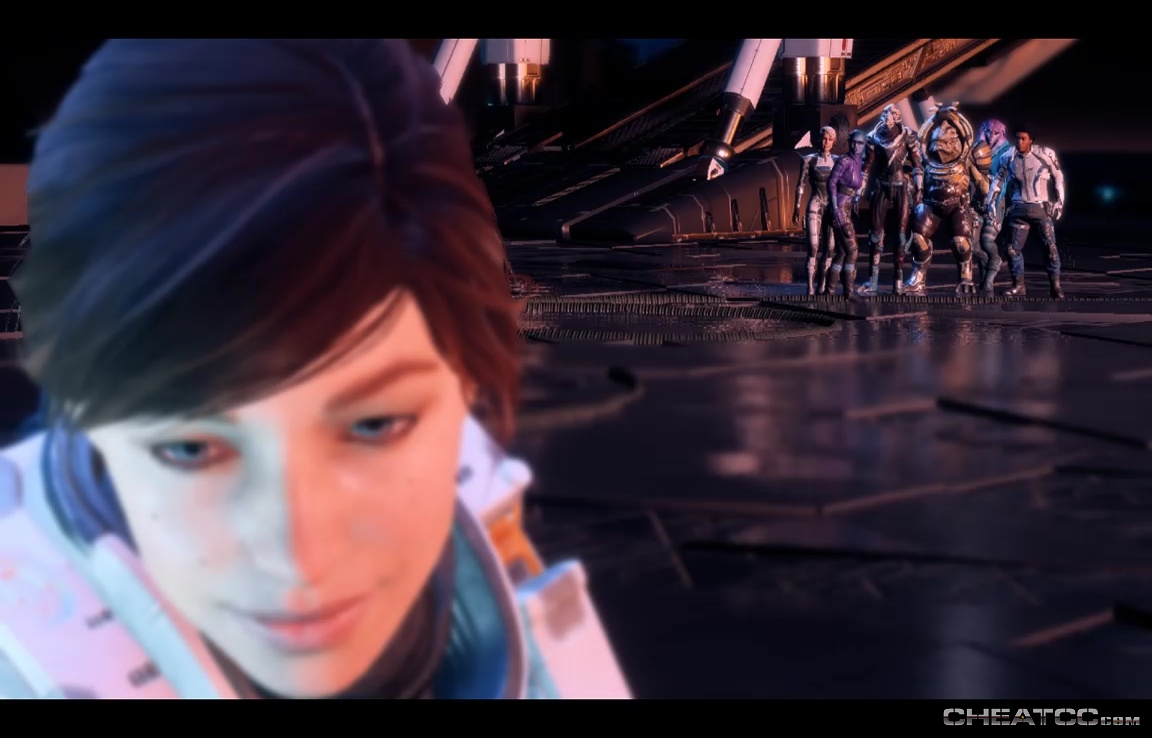
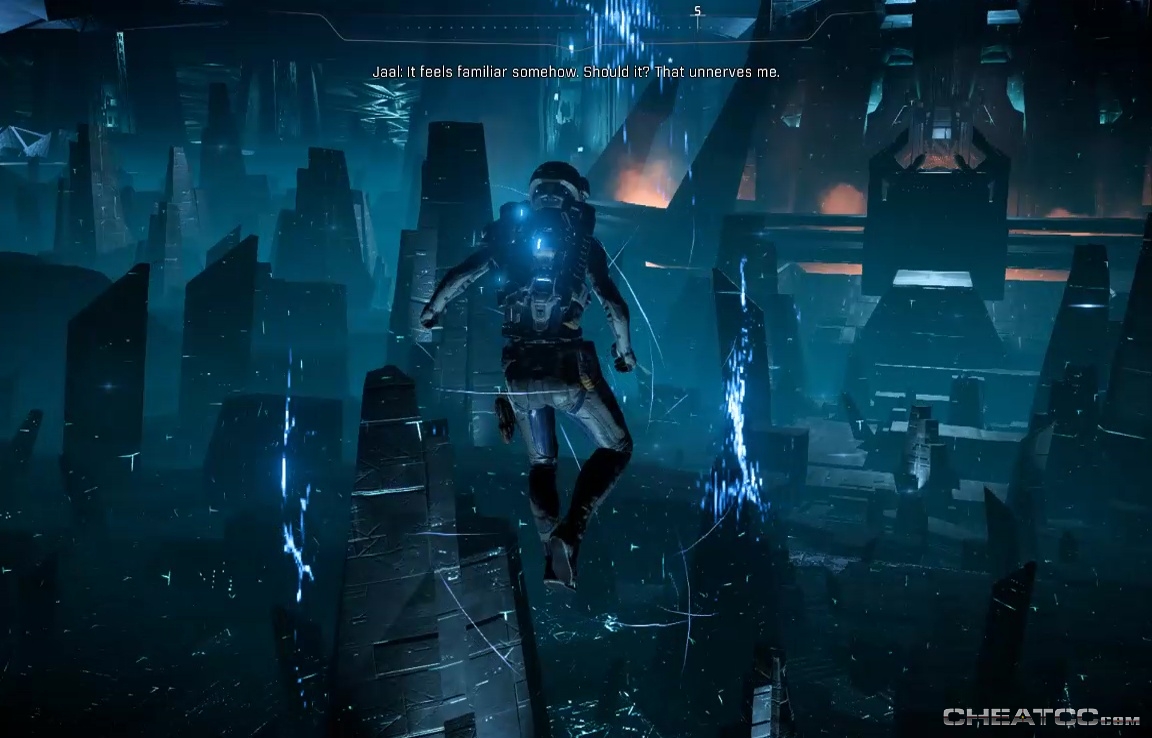
Follow your nav point to the grav well. Things look dark, but Suvi knows just what to say to lift your spirits. Exit the building into a cutscene, where everyone is waiting for you. Either dialogue choice will cause you to work some Pathfinder magic that puts you back in the fight.
Narrative shifts to the Tempest. You can craft, adjust your loadout, and go hear all the cheery things your crew has to say.
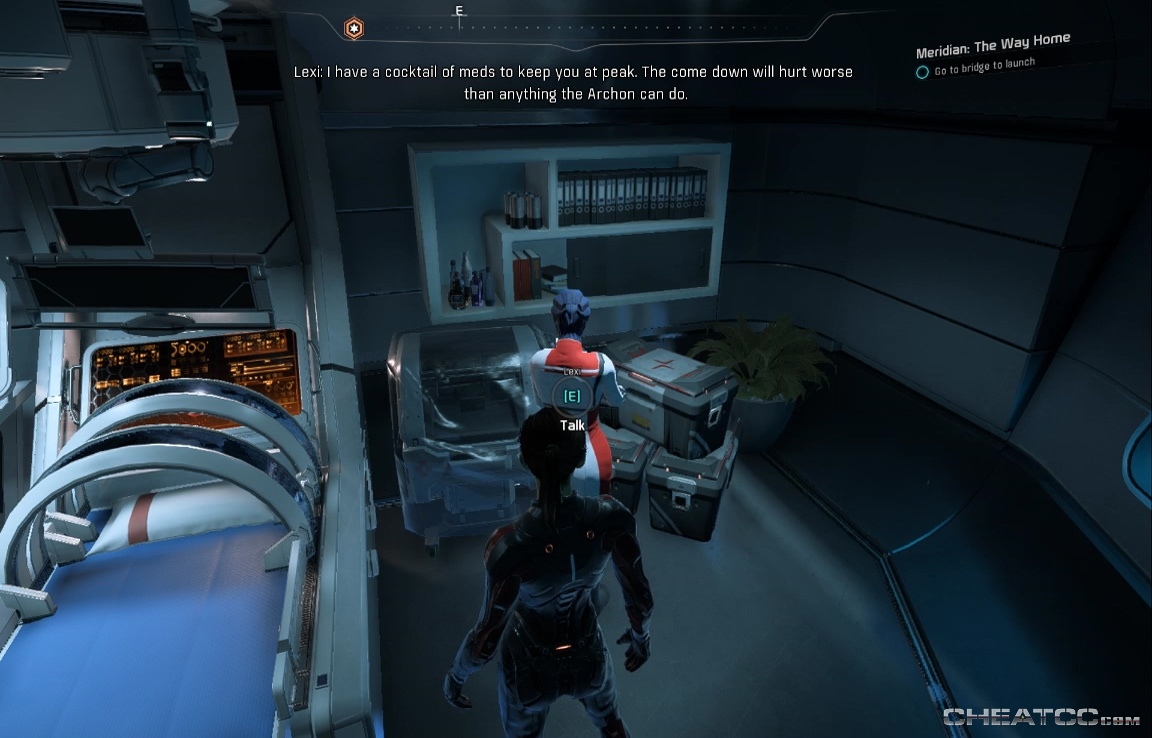
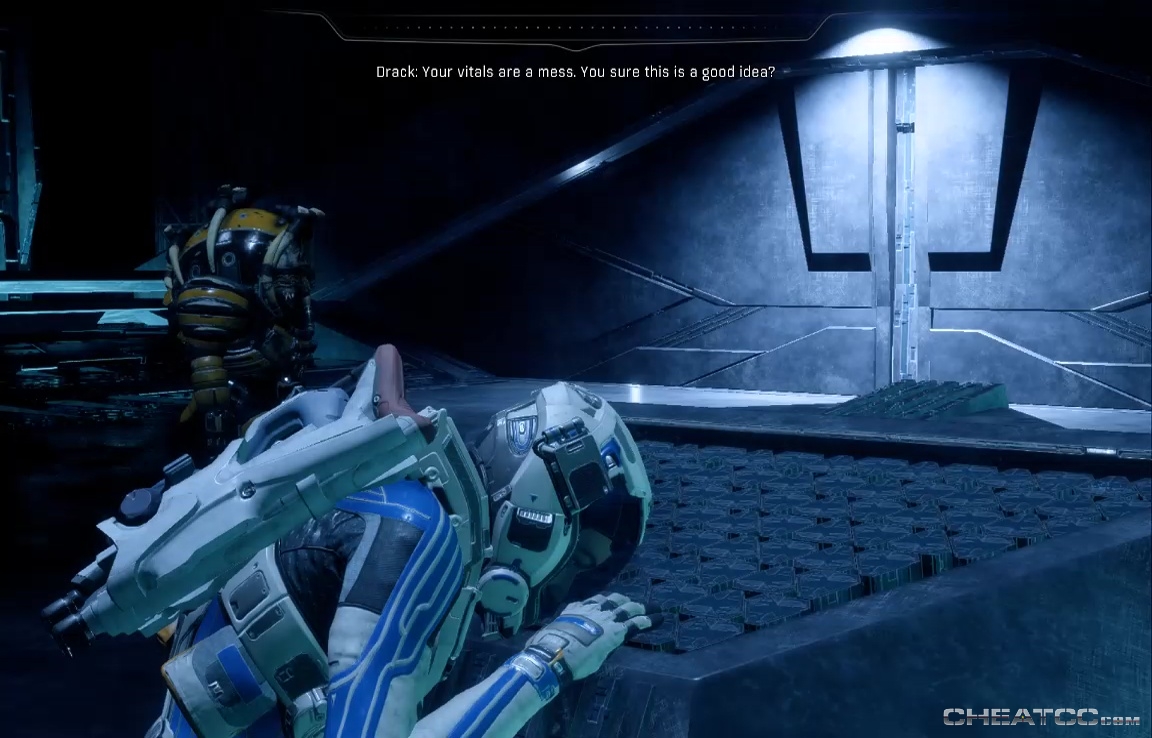
Entering the bridge launches the next stage of the mission. I highly recommend taking Drack with you on the final run, especially if you've unlocked his level 6 Unstoppable skill. Fighting is going to be heavy, and a teammate who won't stay down can be invaluable. On the bridge you'll have a conversation with your lover (if you have one), then zoom through some relatively intense cutscenery, in which your dialogue options don't really affect anything.
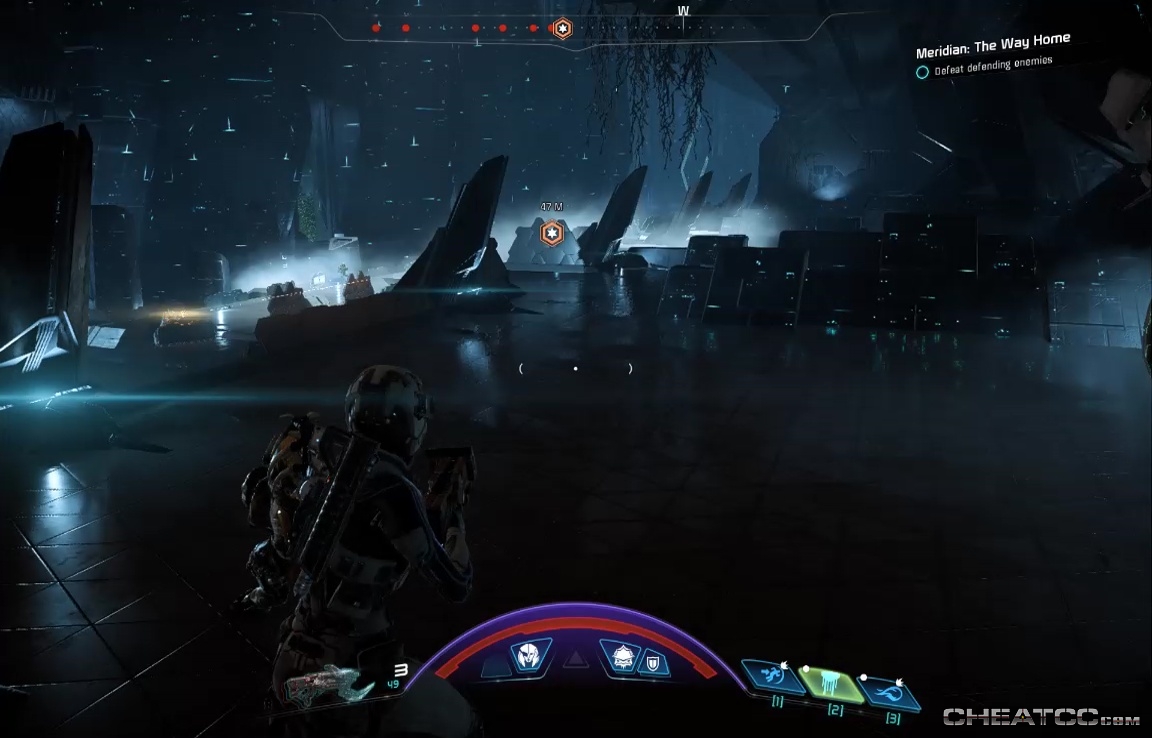
When you regain control, you'll be in the NOMAD. Go hell-for-leather to the navpoint, keeping an eye on the skies.
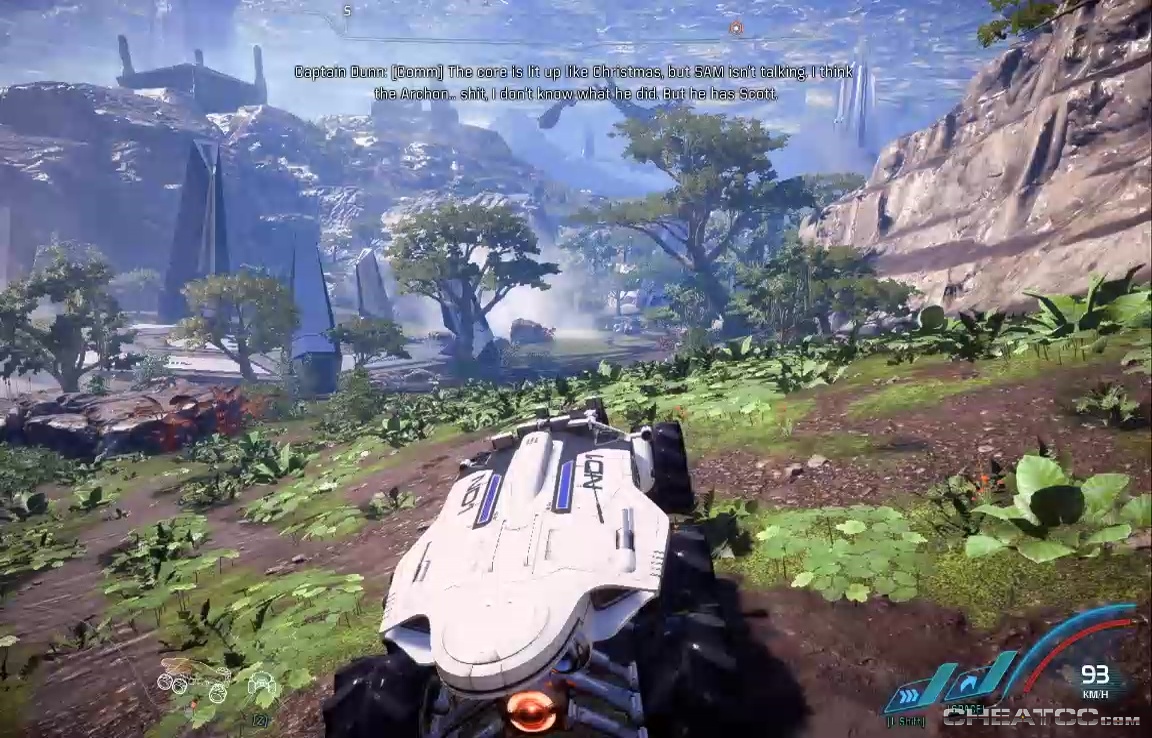
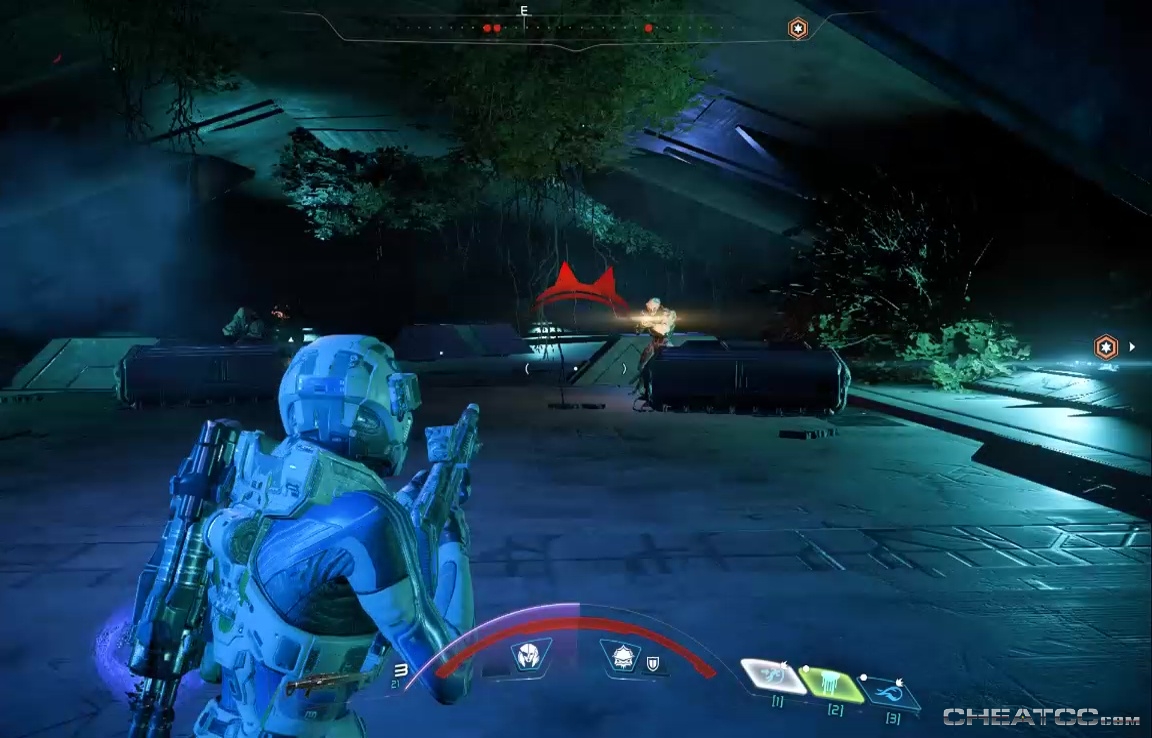
At the navpoint you'll disembark and start fighting Kett. They're relatively spread out here, so sniping or vanguarding helps clear the field quickly.

It'll be just Chosen and Anointed until you reach the control center doors, at which point your allies join the fray.
I mean, you've heard some them over the comms earlier, but now you see them. This round of cavalry is the Moshae, plus all active Pathfinders (There will always be a Salarian pathfinder, There will only be a Turian pathfinder if your convinced Avitus to take the job, and either Asari Pathfinder can appear, but Sarissa won't unless you talked to her in Pathfinder HQ after the Asari ark mission.
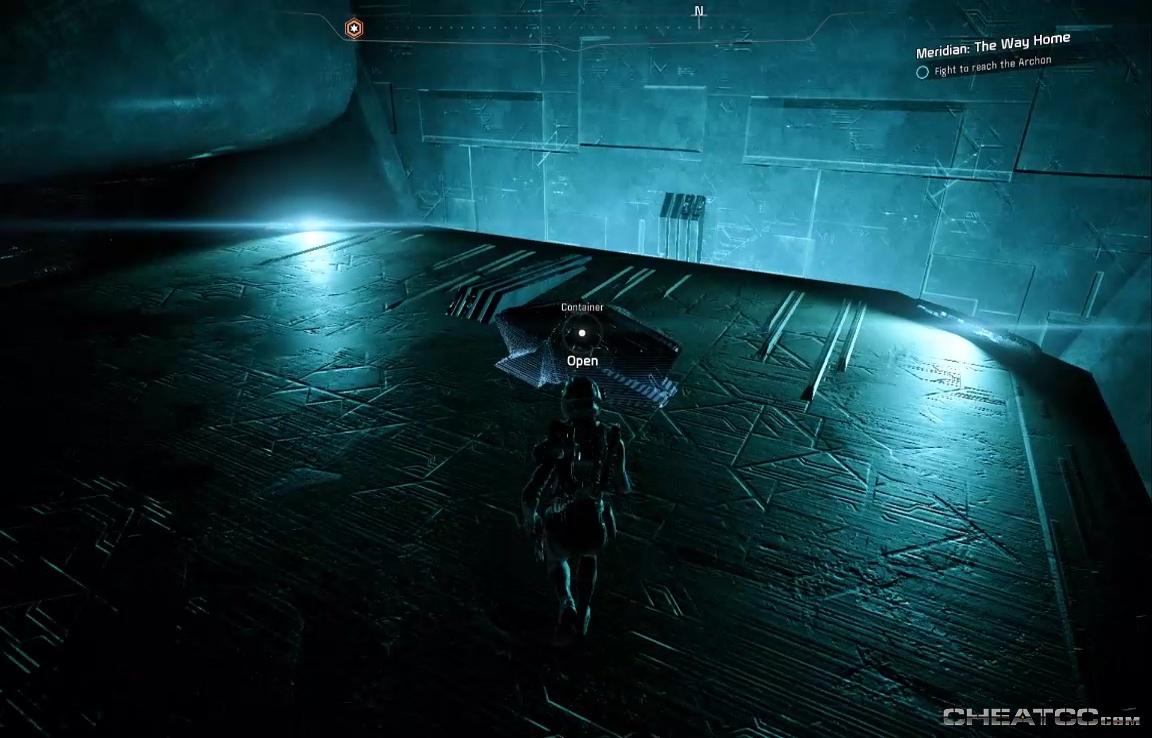
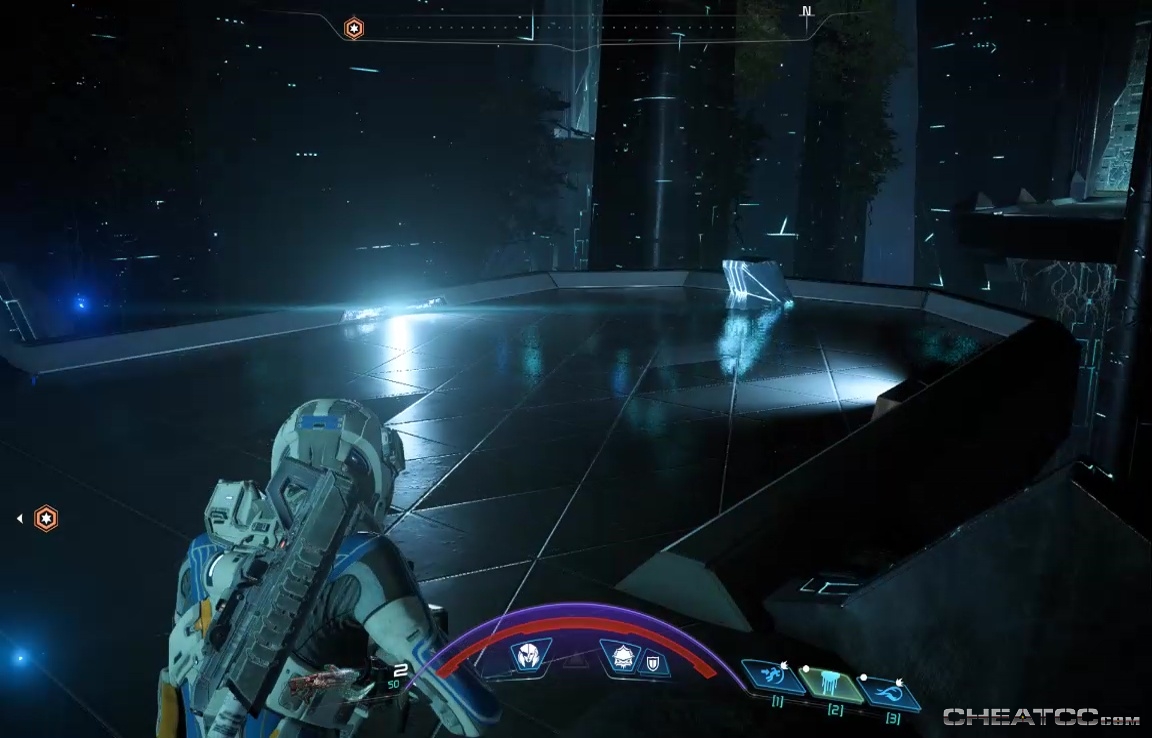
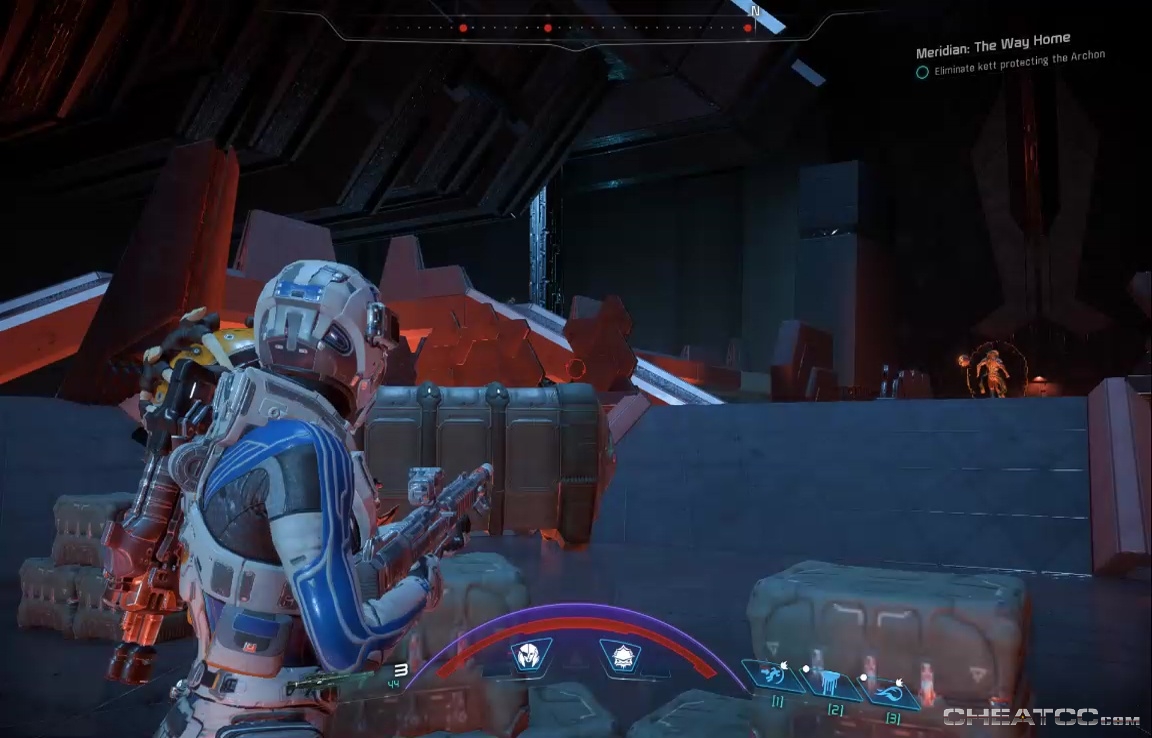
The plan is that they'll safeguard the Hyperion- you go after the Archon. Once inside, use the console to activate a gravity well. There's a container on the high platform north.
About hafway down the corridor outside, you'll be ambushed by Chosen, backed by Anointed
Mow them down, then move carefully into the next large area.
This becomes an involved, multilevel brawl, with plenty of enemies on all sides. Keep your wits about you, and avoid blind biotic charges that might hurtle you off a bridge (Note: if you're in a really tight spot, death by falling is less damaging than death by enemy fire, which causes you to start the fight over. Think about it).

Here you'll also get aid from the Angarans (the Resistance if you rescued them from the chapel, rather than blowing it up, and some Roekaar, if you let Aksuul live during Jaal's loyalty mission), Vorn (if you completed Drack's loyalty mission), and APEX (If you leveled up your strike teams).
When enemy forces are finally dead, move into the next, more peaceful section. Use the consoles to activate bridges. If you're still into looting at this point in the game, there is a container on the dead-end opposite the navpoint.
Enter the objective for another sprawling fight, this time against an Ascendant and Destined (with a few Anointed)
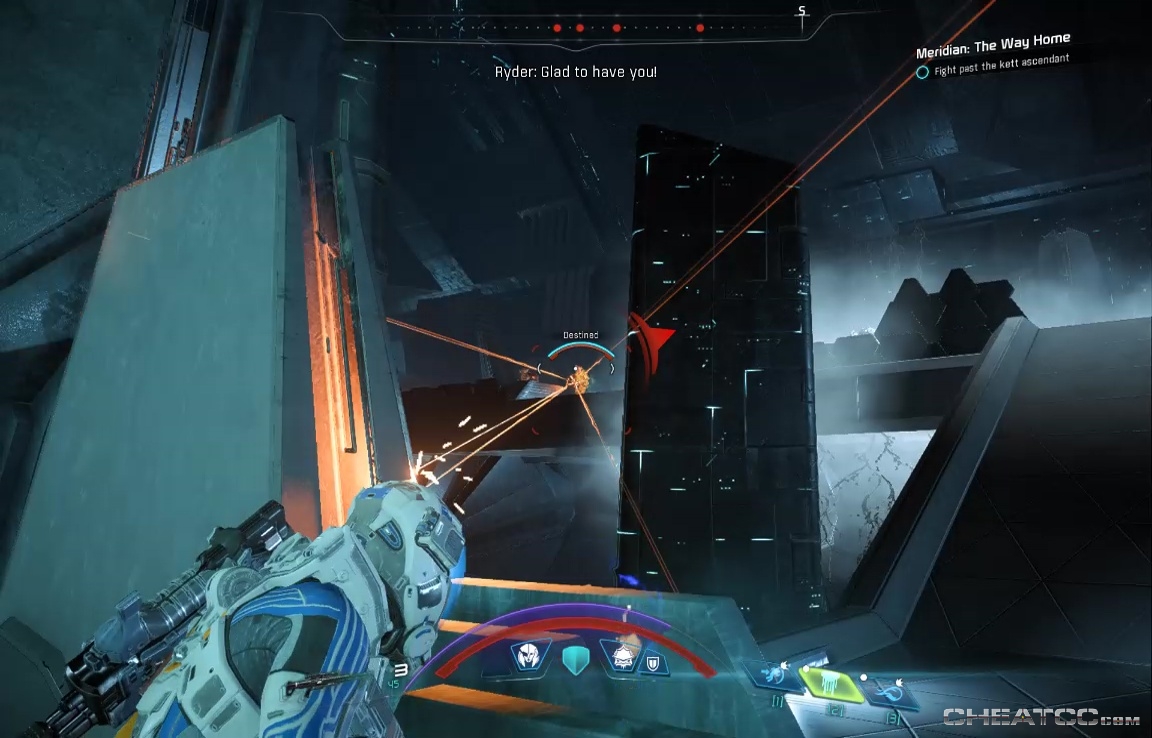
This section has fewer enemies than the previous, so you can elimate them pretty methodically. Like the Ascendant outside the Research tower in the previous mission, this one is a generic no-name, and far easier to kill than the usual bosses. This also the fight where the krogan scouts lend a hand, if you rescued them aboard the Archon's ship.
Finish this fight for a cutscene which reveals the fate of the Hyperion, and Captain Dunn. If you have three functional Pathfinders to help her out, she survives, otherwise she dies saving the sleepers.

The next fight is a relatively small room with a ton of enemies. Keep moving around the central pillar to save yourself from having to take them on all at once, and try to lure the fiend and destroyer into fighting each other, rather than you (this isn't so hard, since their shared desire to chase you will naturally lead to collisions).
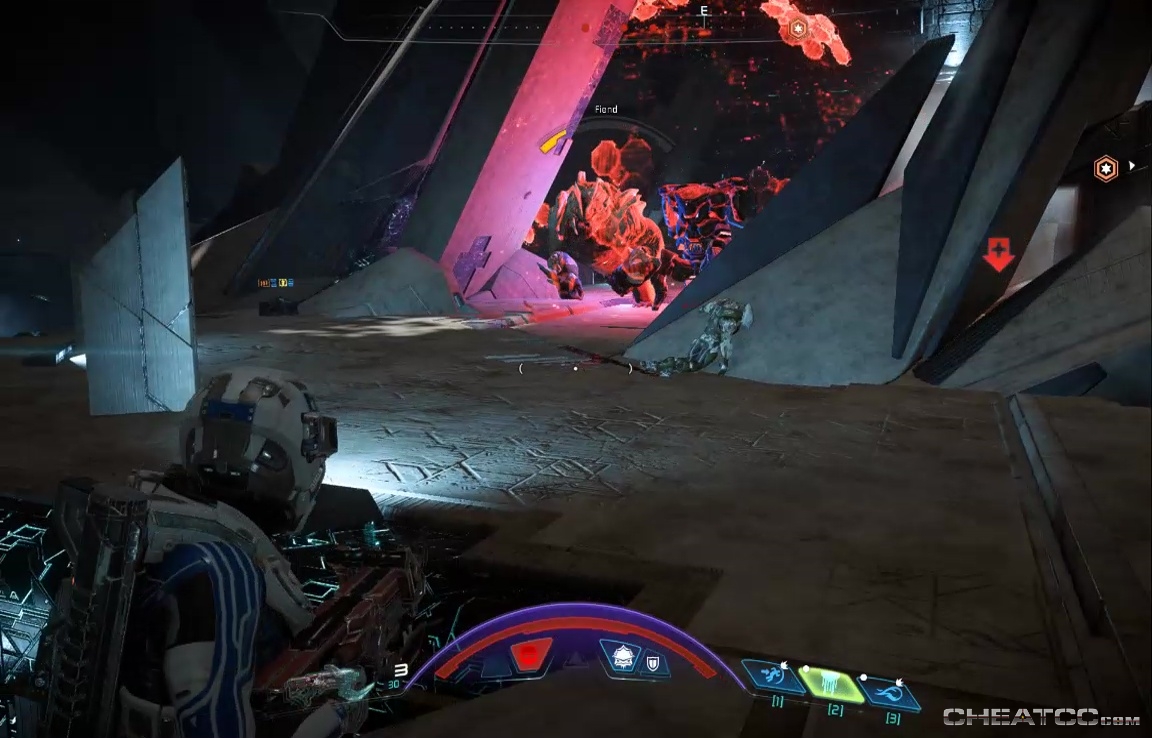
Once they're clear, loot a container at the southmost platform, then ride the gravity well on down.
The next section has a number of Observers, but they're passive, and don't need killing. Instead, follow the path of opening doors to a horizontal gravity well, and the final tower.
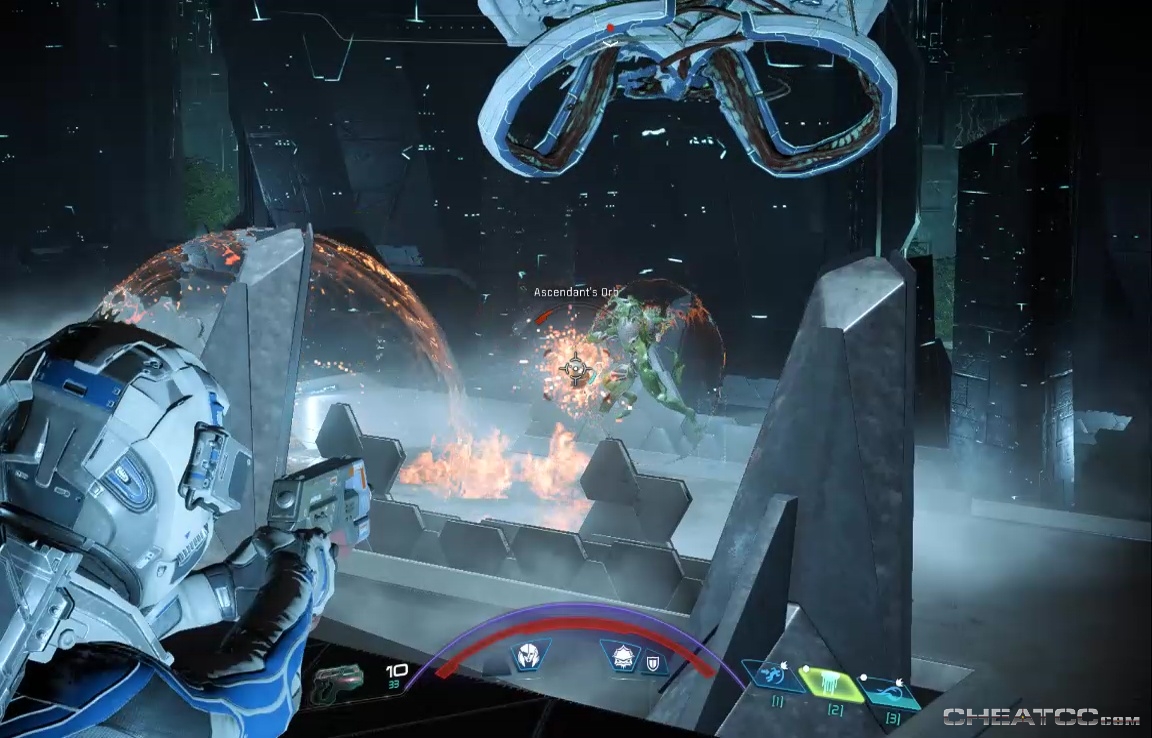
Enter the tower and exit the cutscene for an Ascendant fight. The Kett do not attack immediately, so you can get in a few free sniper shots before they respond.
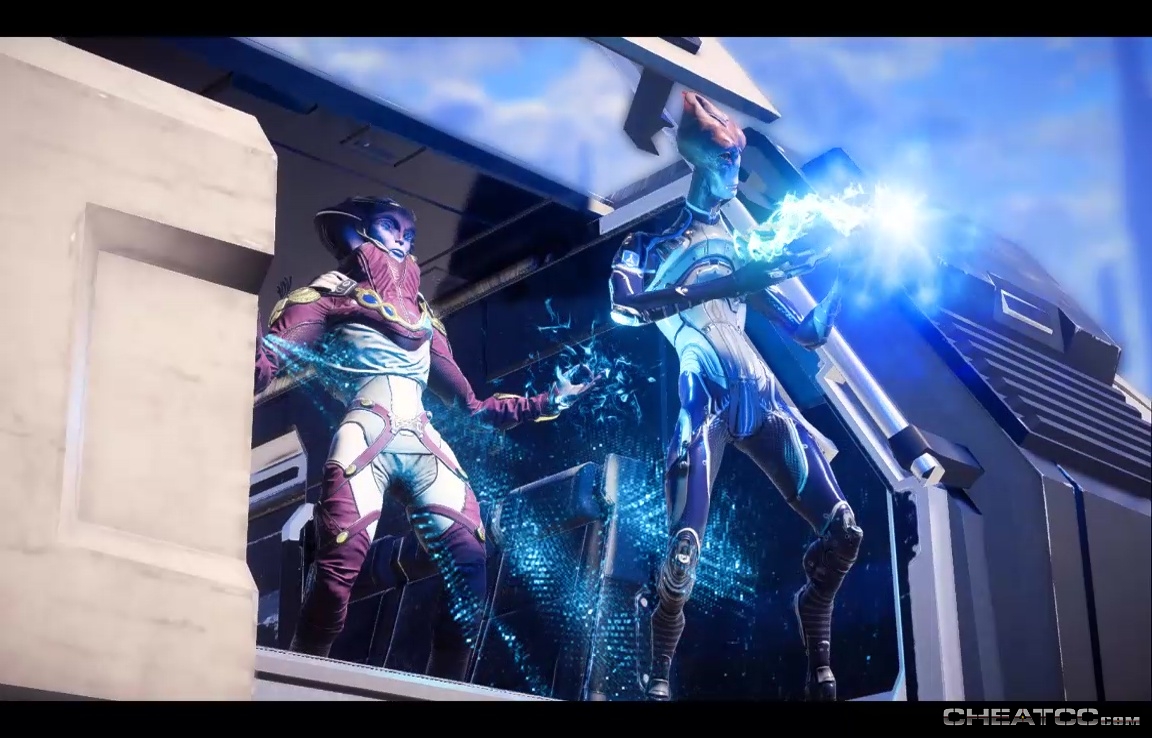
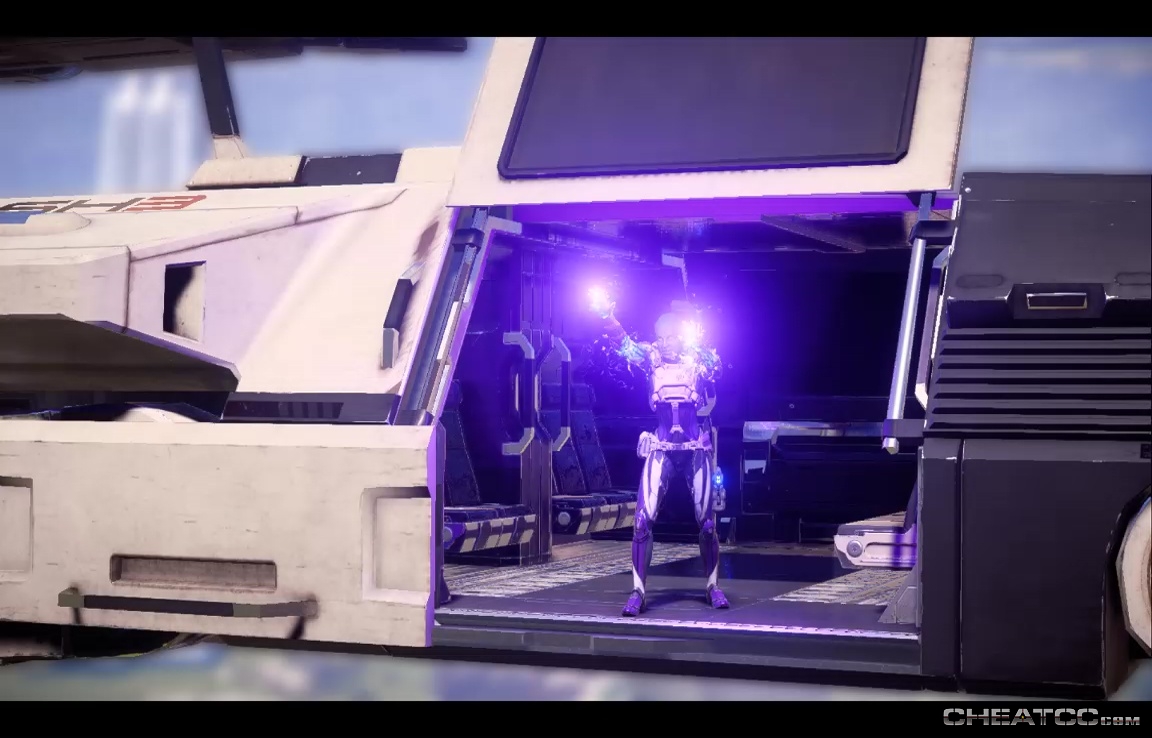
Clear the Destined from the sides, then take out the last Ascendant of the mission easy peasy. The moment they die, you're launched in cutscene, and things become complicated.
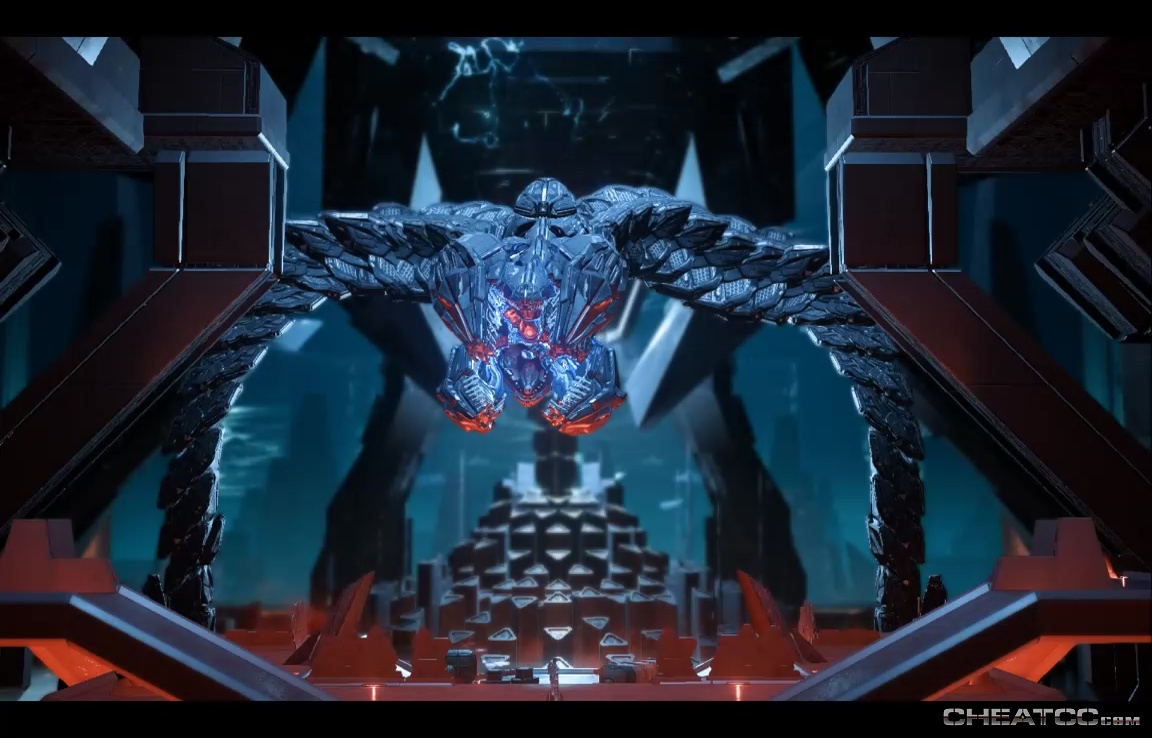
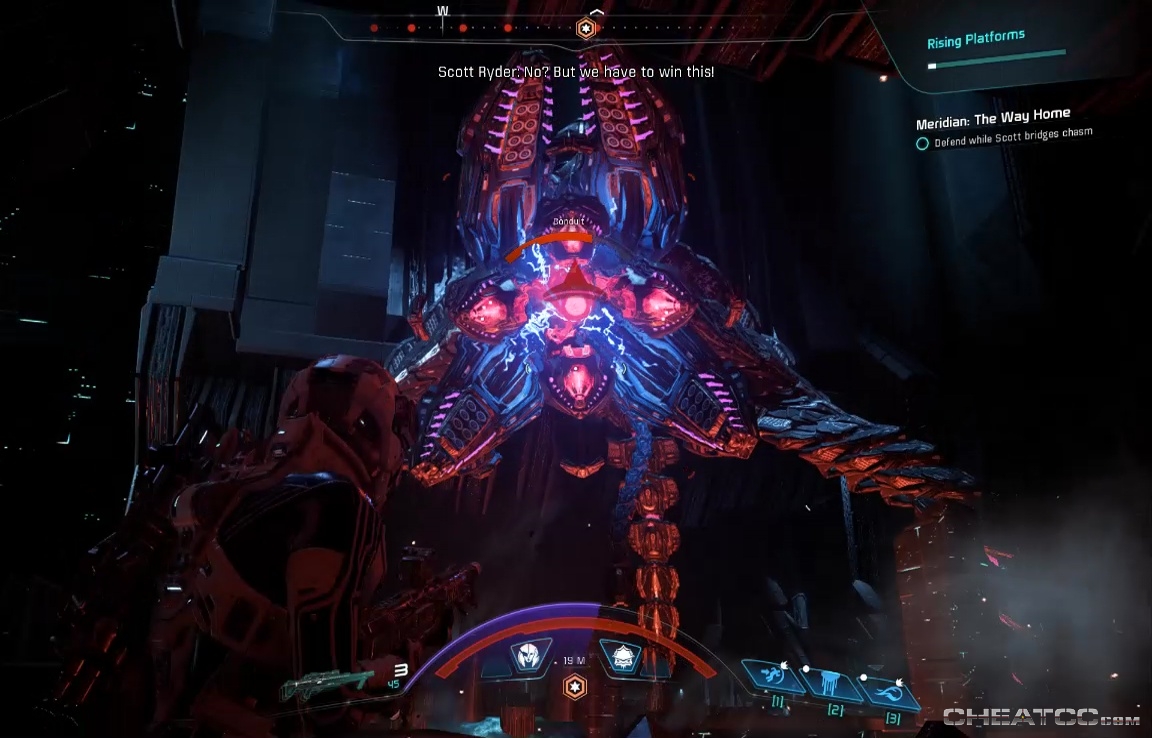
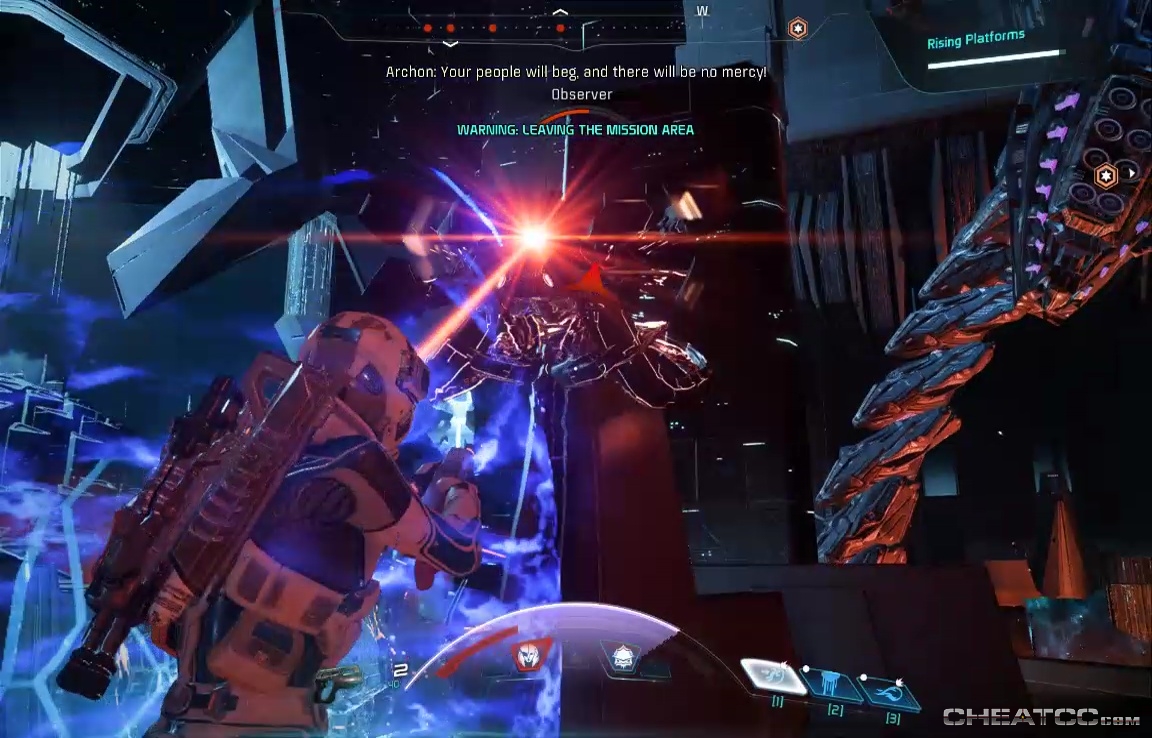
Okay, here's what's happening. First, the Archon has summoned an Architect, but this isn't a full Architect battle (you don't shoot it's legs, you don't interface with it, etc). You can, however, shoot out its head conduits to win a reprieve from its attacks. You'll hear your twin open up the armored head of the beast over your comm. When this happens, every shot that's not fired an immediate threat should go to the head conduits.
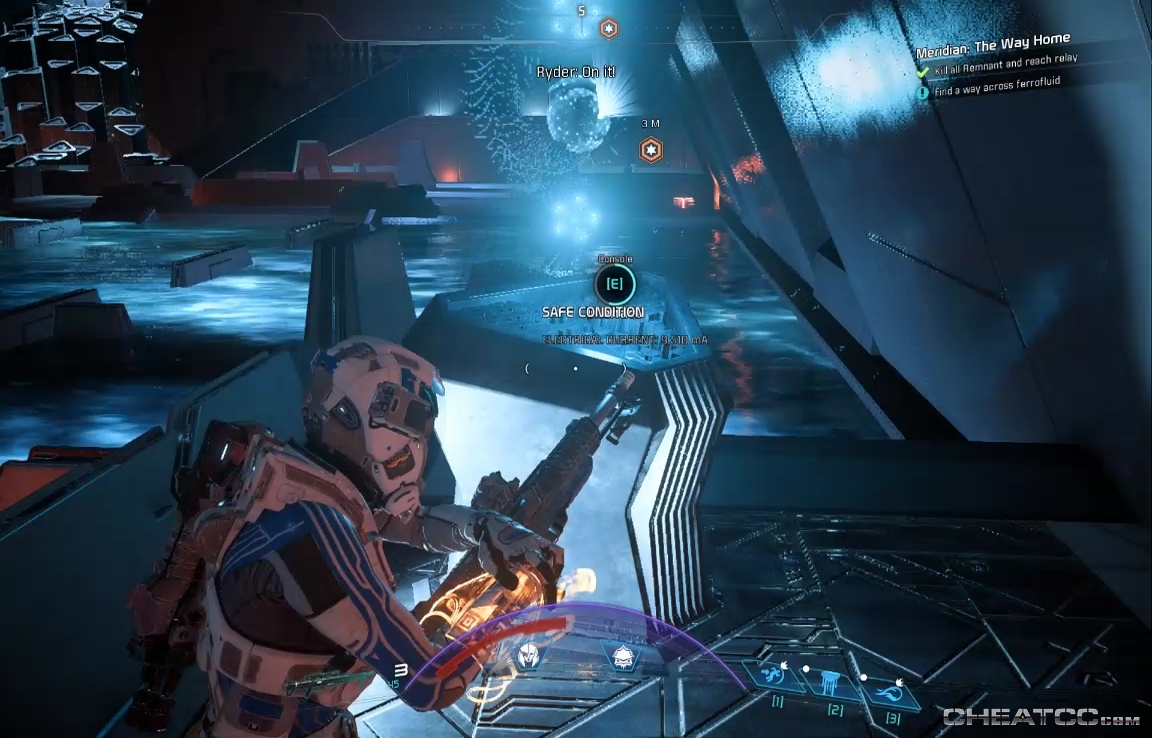
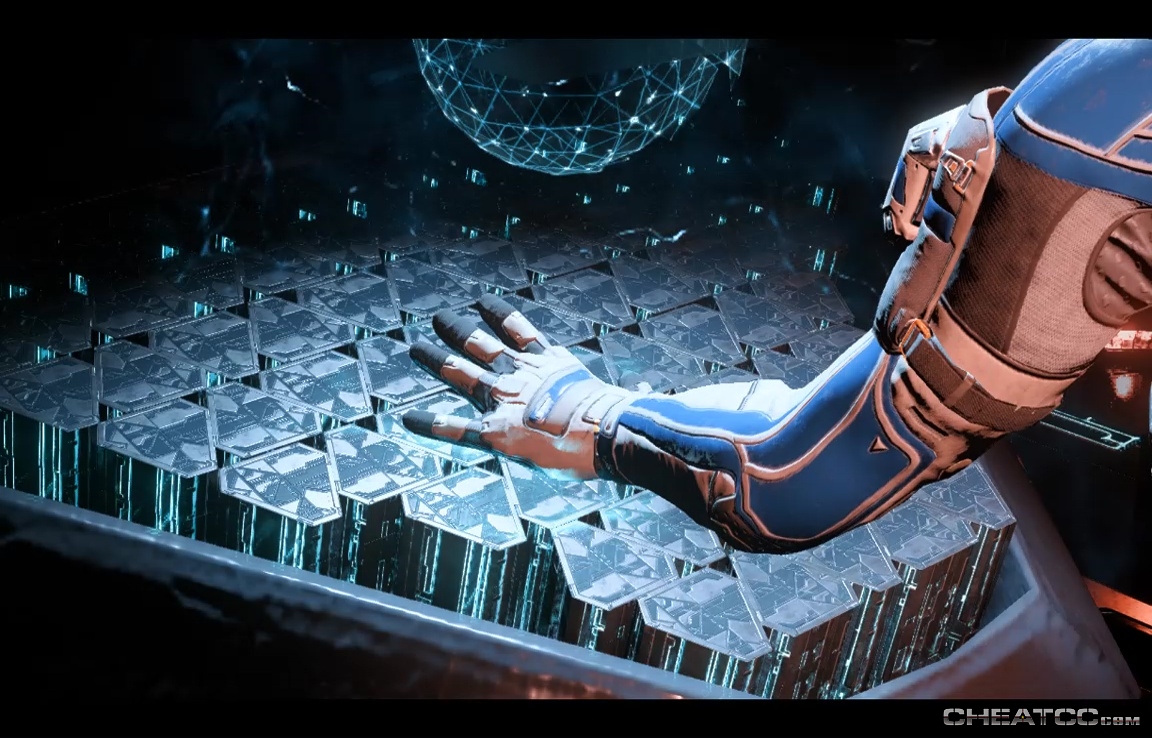
To help rejigger the relays you have to-
- Get to the objective point
- Clear out all the Remnant
- Stay in range (ie hack the point)
- Activate the console
The order is important, because even though the console will have an objective marker, it can't be activated until the previous conditions are met. The fighting here as thick as anywhere in the game, but shuttles from the Tempest will occasionally drop off party members not in your current squad to assist.
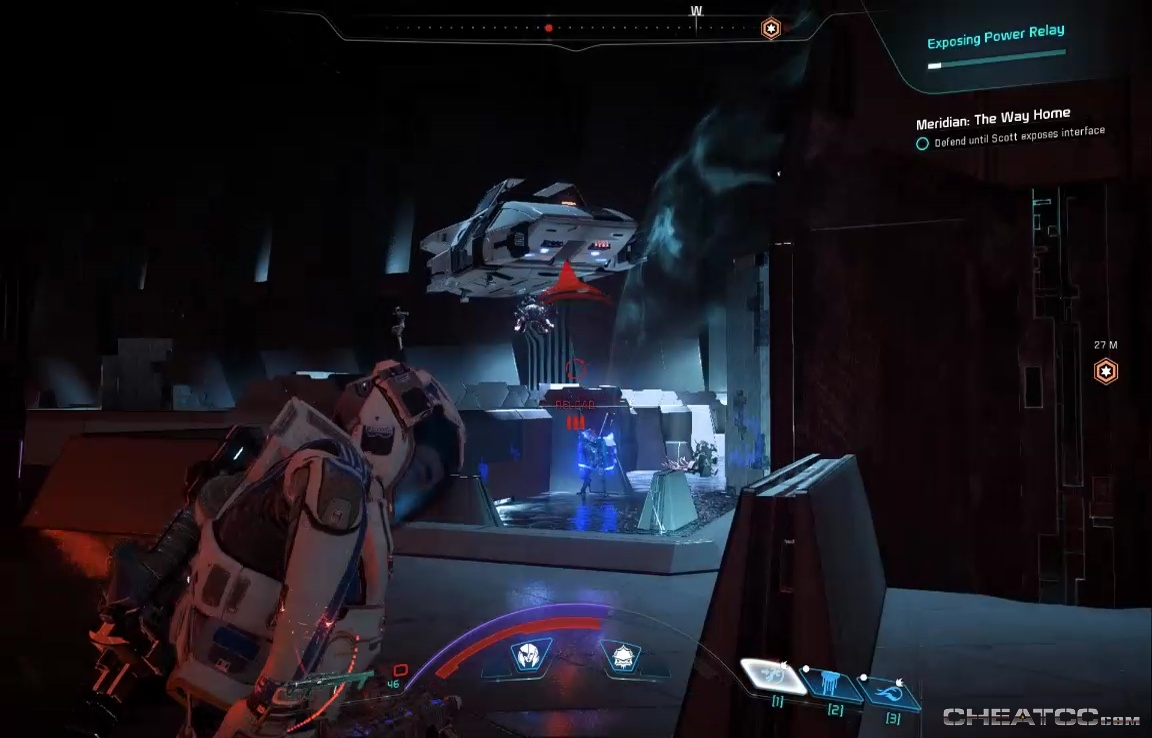
When the Tempest got a shuttle, or why we've never used it before (say, for infiltrating volcanoes) is unexplained.
After you complete the first relay, you'll need to use another console to cross a sudden river.
Do so, and press forward until you reach an unbridgeable chasm. You have to hold while your twin creates a bridge. Stay mobile and aware here- between the Architect, the Nullifers, and the high-angle Observers, cover isn't as useful as normal.
Persist and take down the second relay the same way you did the first. There's one final relay, back the way you came, but there's no fight for this one. Just activate it for the finale.
This will take you all the way to credits, though the storyline continues, after a fashion, in Epilogue: Home and Away.