Peebee: A Mysterious Remnant Signal
Locations: Tempest, Pas-10
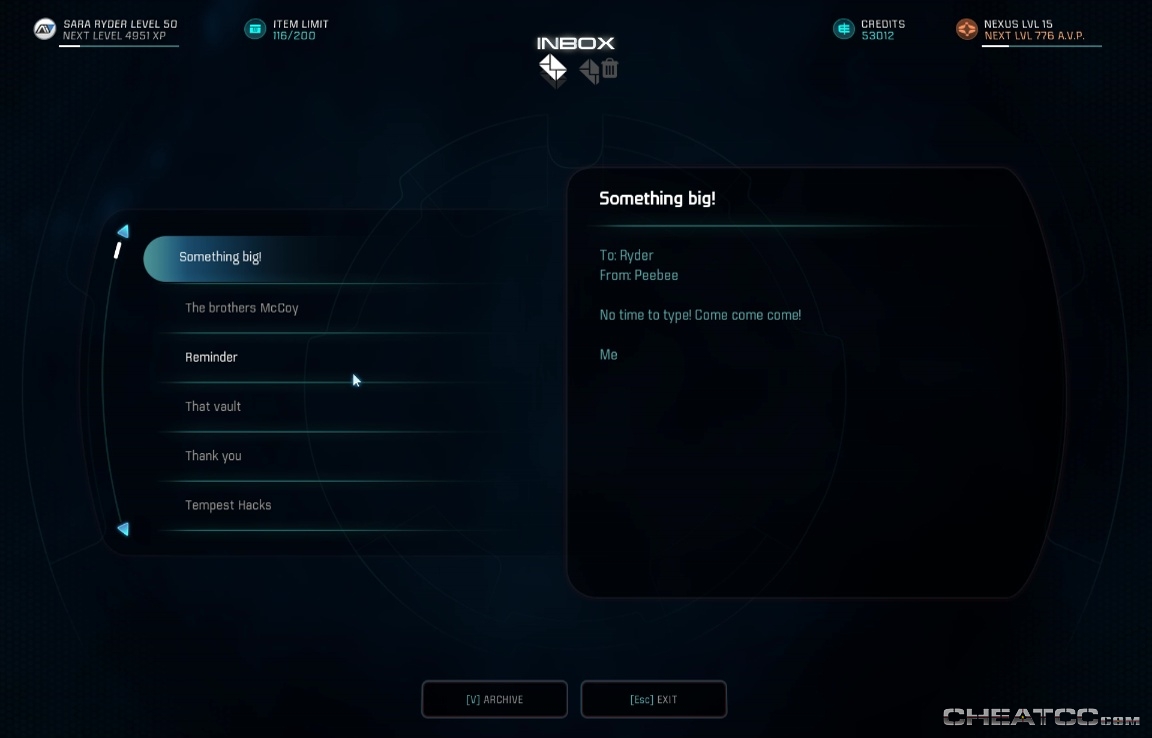
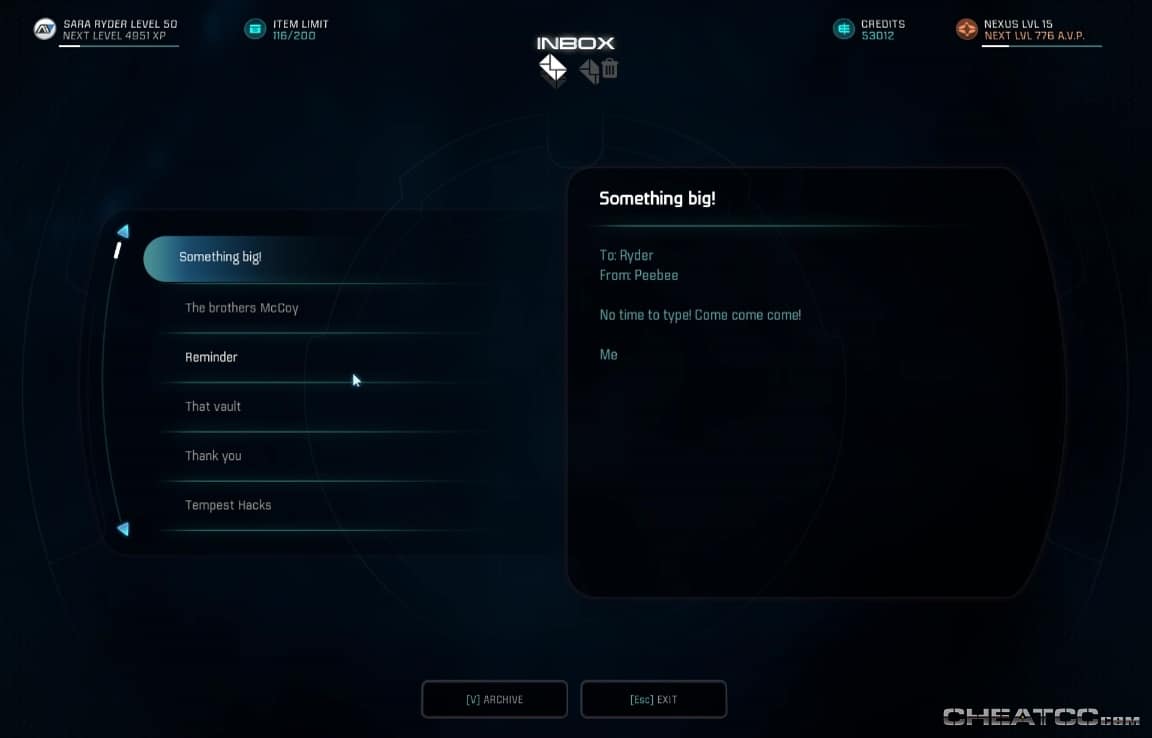
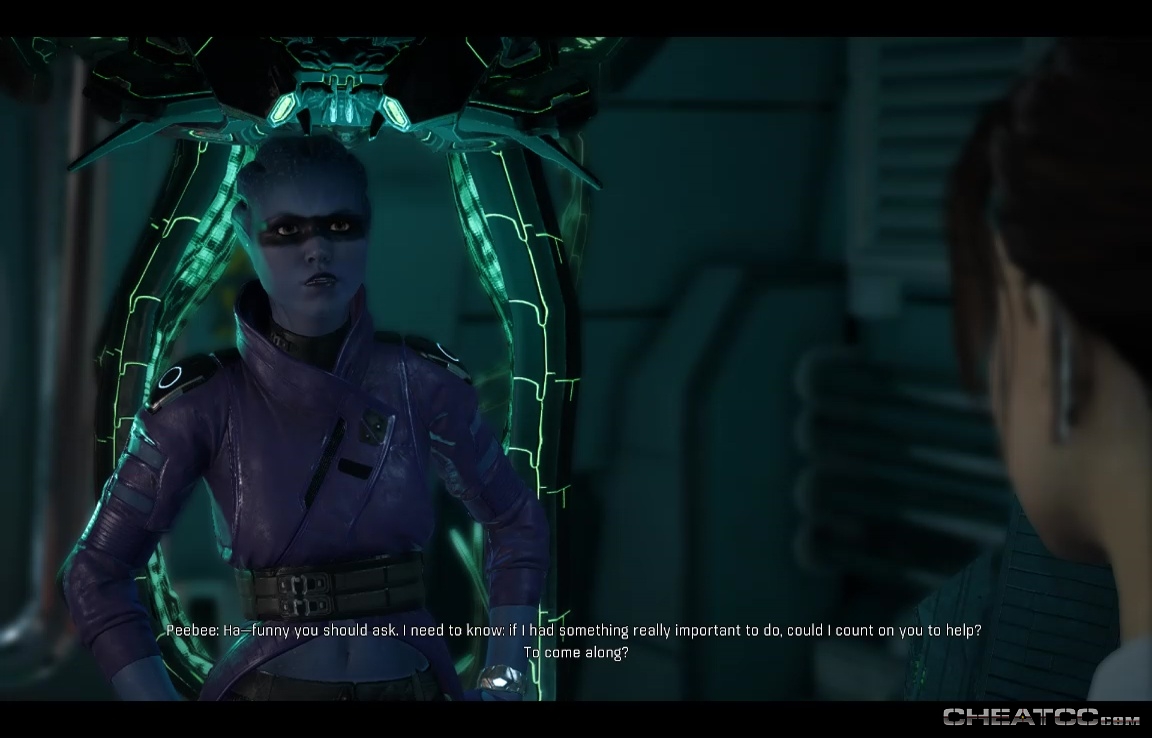
Get another email from Peebee (Something Big!), and talk to her aboard the Tempest. Agree to help her out, and you'll coordinates for Pas-10, in the Inalaara system.
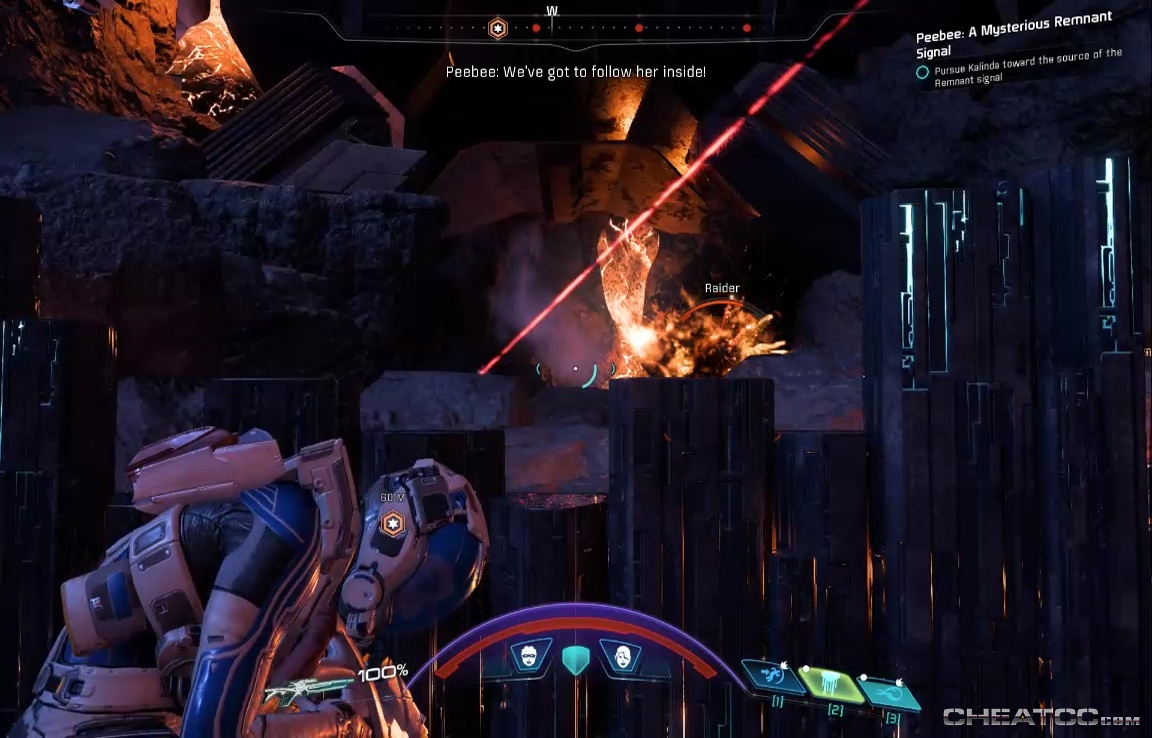
You'll be going up Raiders & Remant here, generally at short to mid range. Gear up appropriately, then let the cutscene play to see Peebee's unique problem-solving abilities in action. You'll regain control in a volcanic crater.

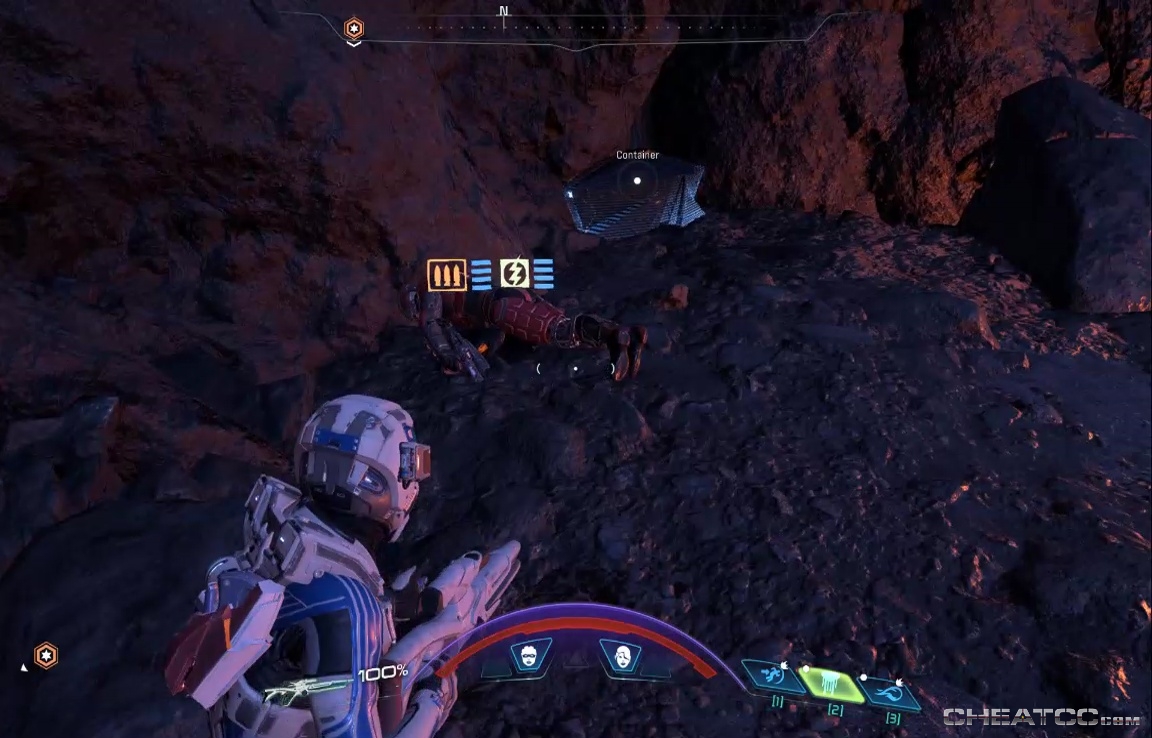
As you head to the navpoint, you'll notice big scannable chunks of rock marked 'Brittle Obsidian,' It's good practice to shoot these on sight- there tends to be either a container or a quest objective hidden behind them.
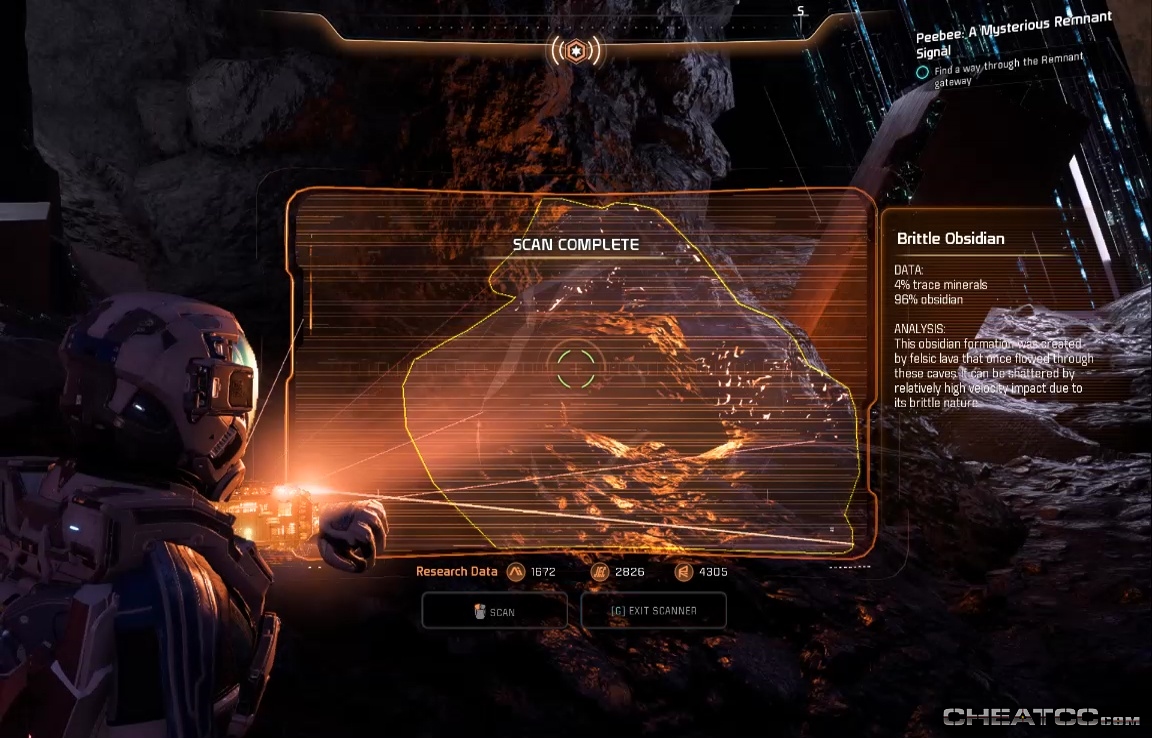
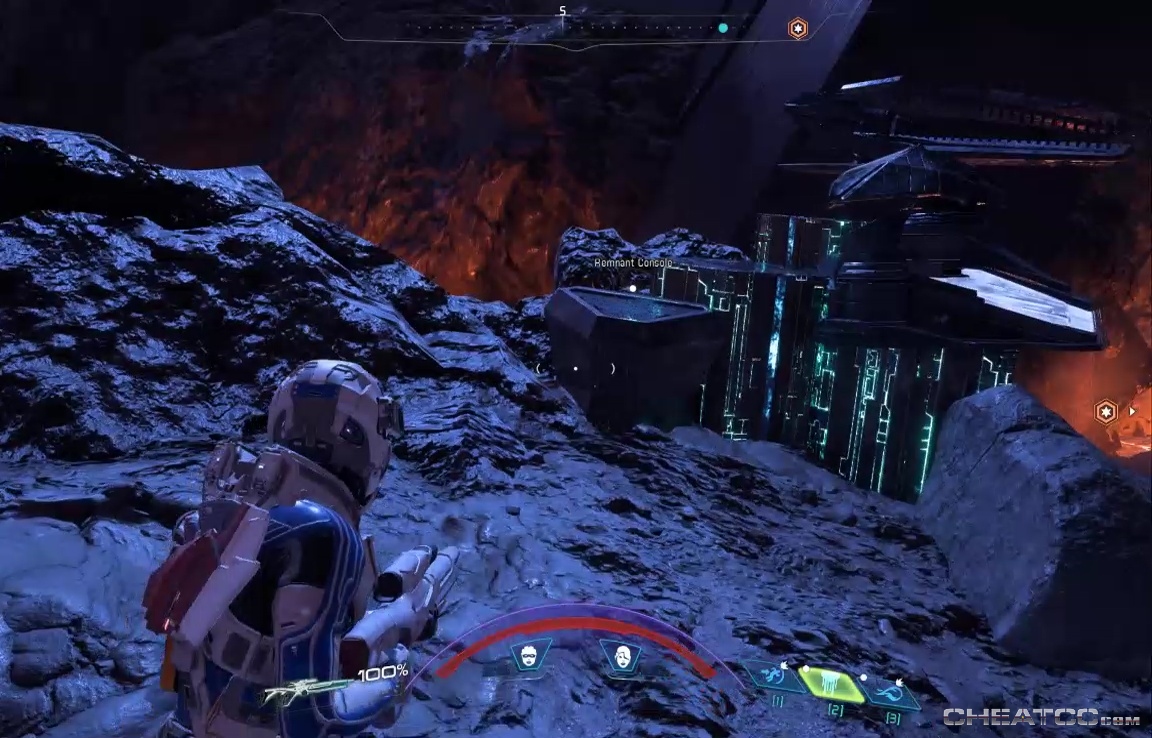
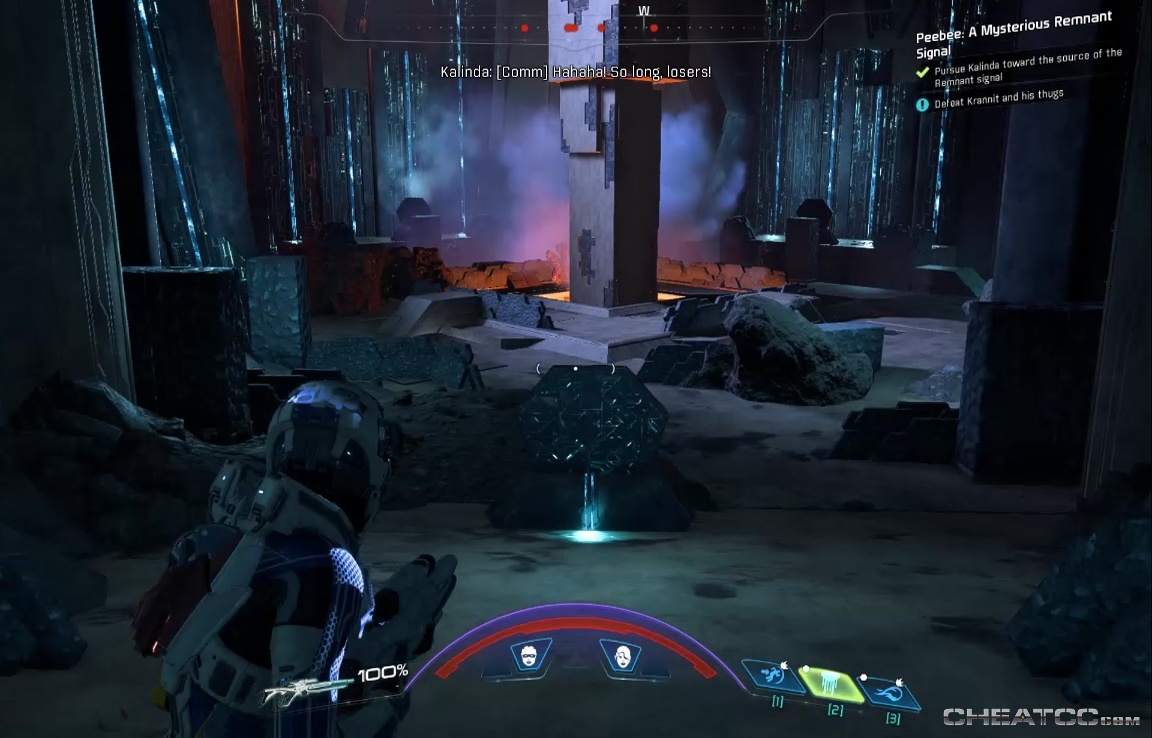
Case in point- your nav point leads to console behind some Brittle Obsidian. Blast it and use the console to open up the Remnant facility here. Note that the Observer ahead is effectively braindead- there's no need to kill it.
The Remnant corpses here look scannable, but yield no data. The Dispenser (giant squared column) does. Use the Console here to create a docile Observer ally, just like in the Remnant Tiller vault.
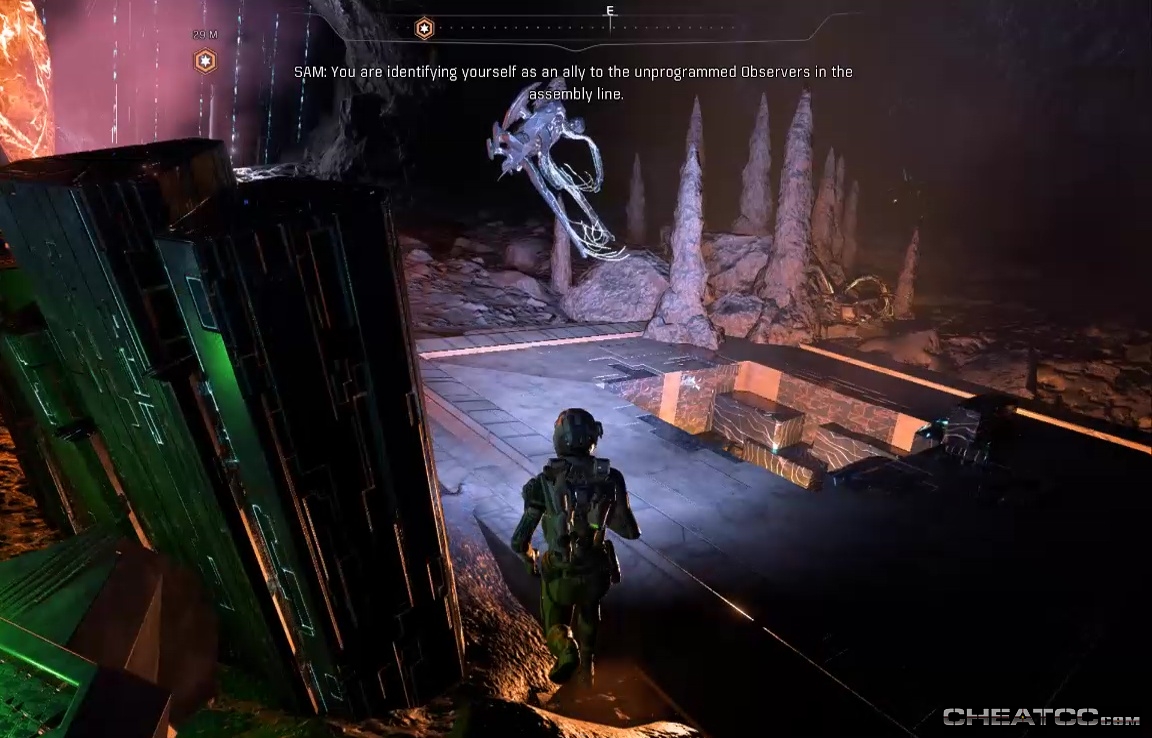
Scan the console ahead to get the Observer to open it (again like the Tiller vault). Be sure to blast away the Obsidian to the left of the door before going through- each chunk hides a container.
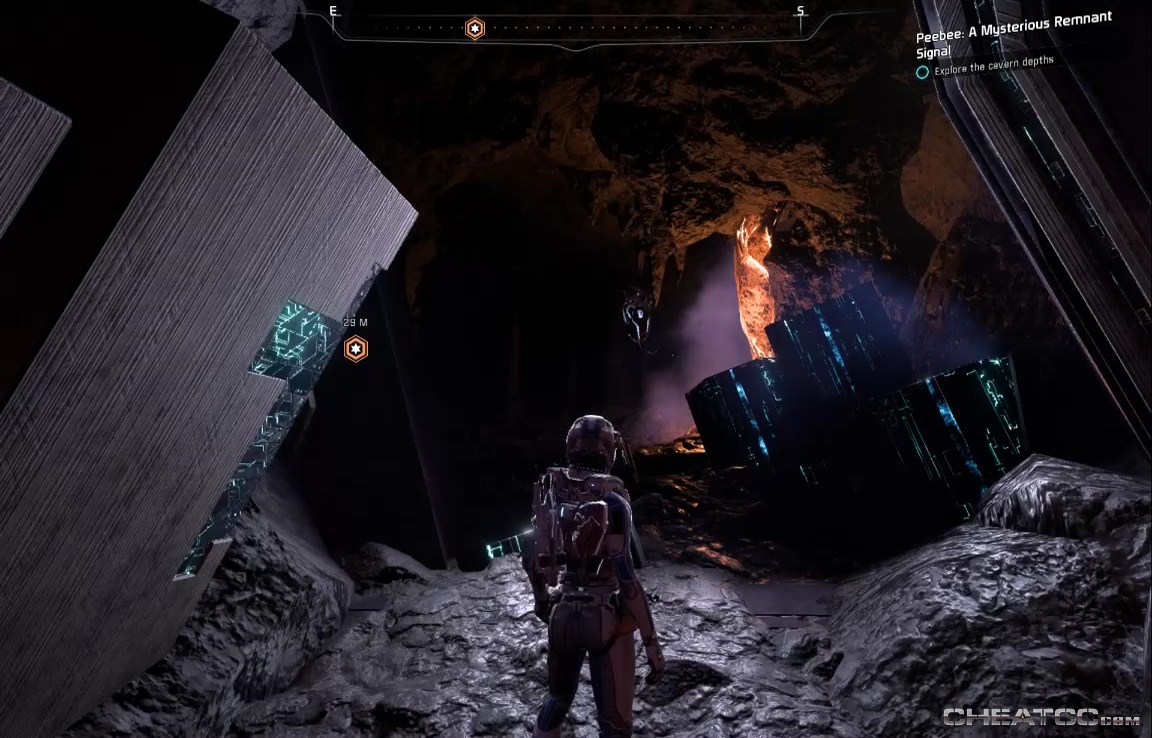
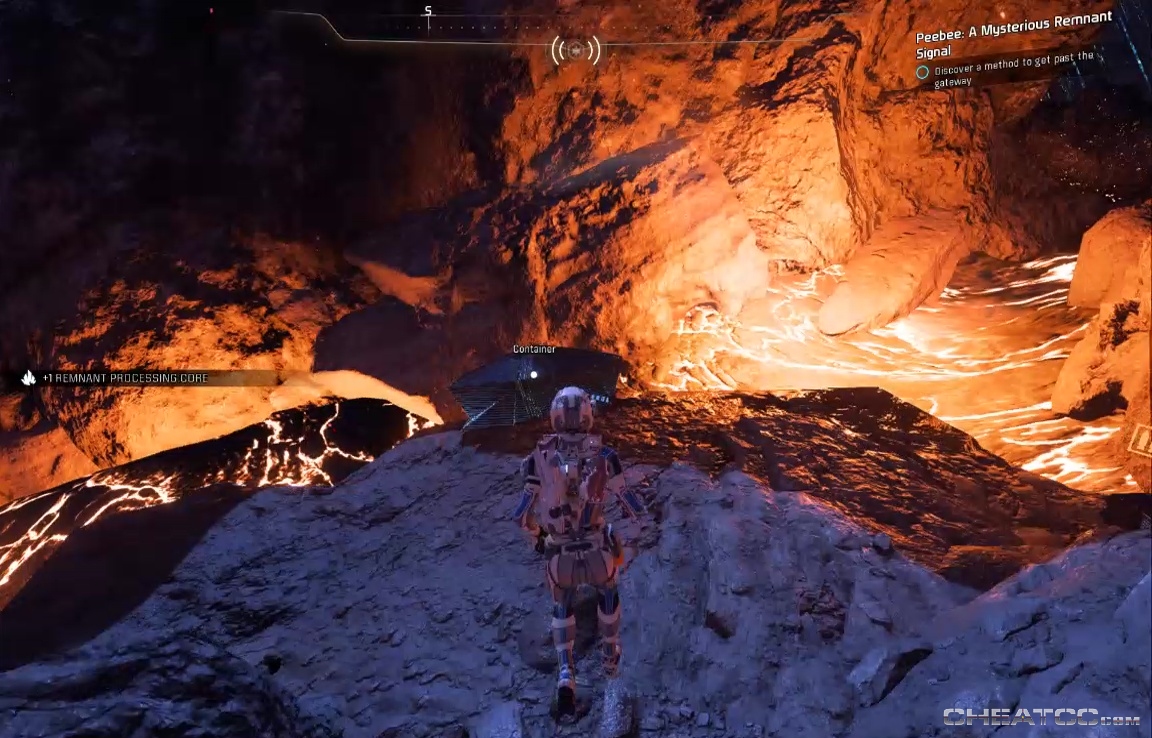
Follow the nav outside, to find that Kalinda has (sort of) beat you here. Jump down the escarpment to find a path filled with dormant-but-ready-to-be-hostile Remnant.
You could sneak around, but best not to leave enemies at your back. Even if you do decide to wipe them out, you should still check out the sneaky-path down by the lava for more containers.
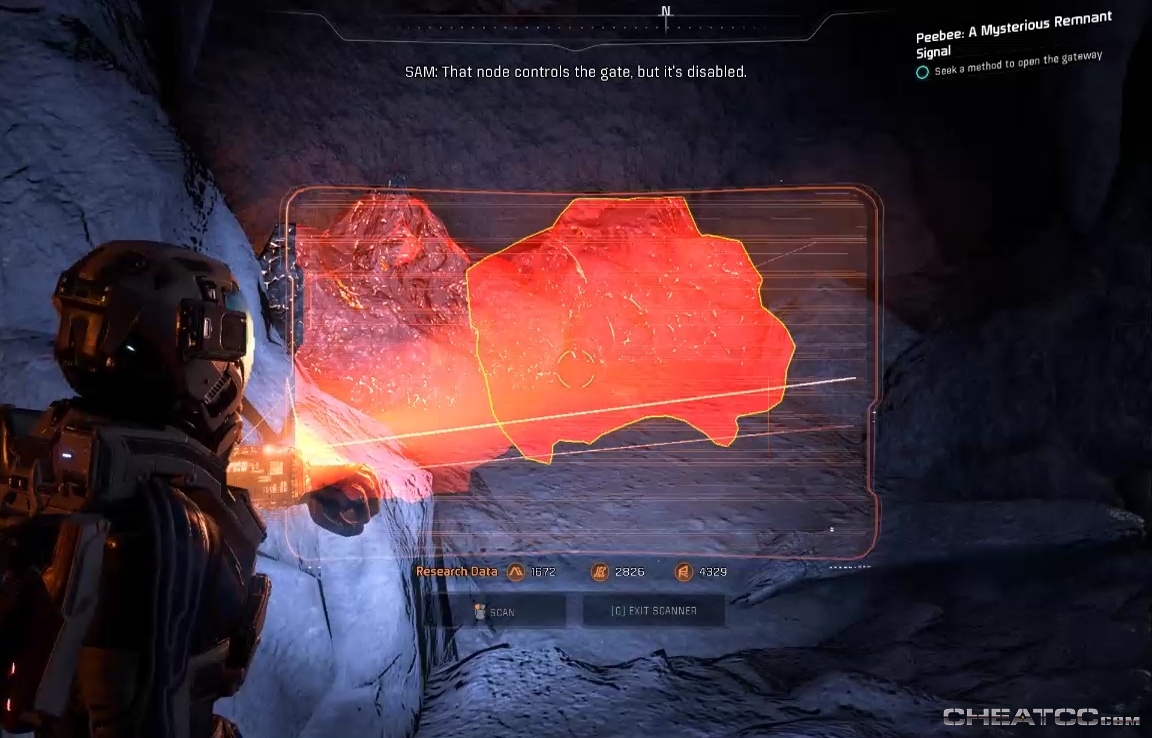
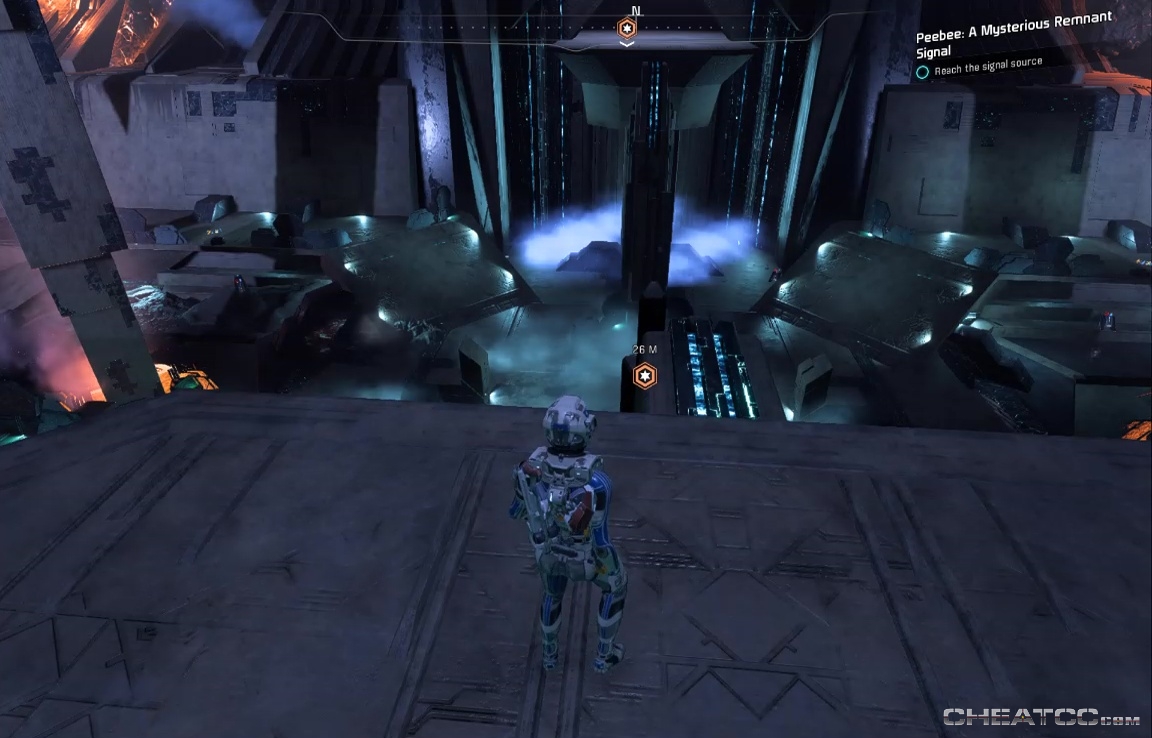
Follow your navpoint to a console on a higher platform that opens the way forward.
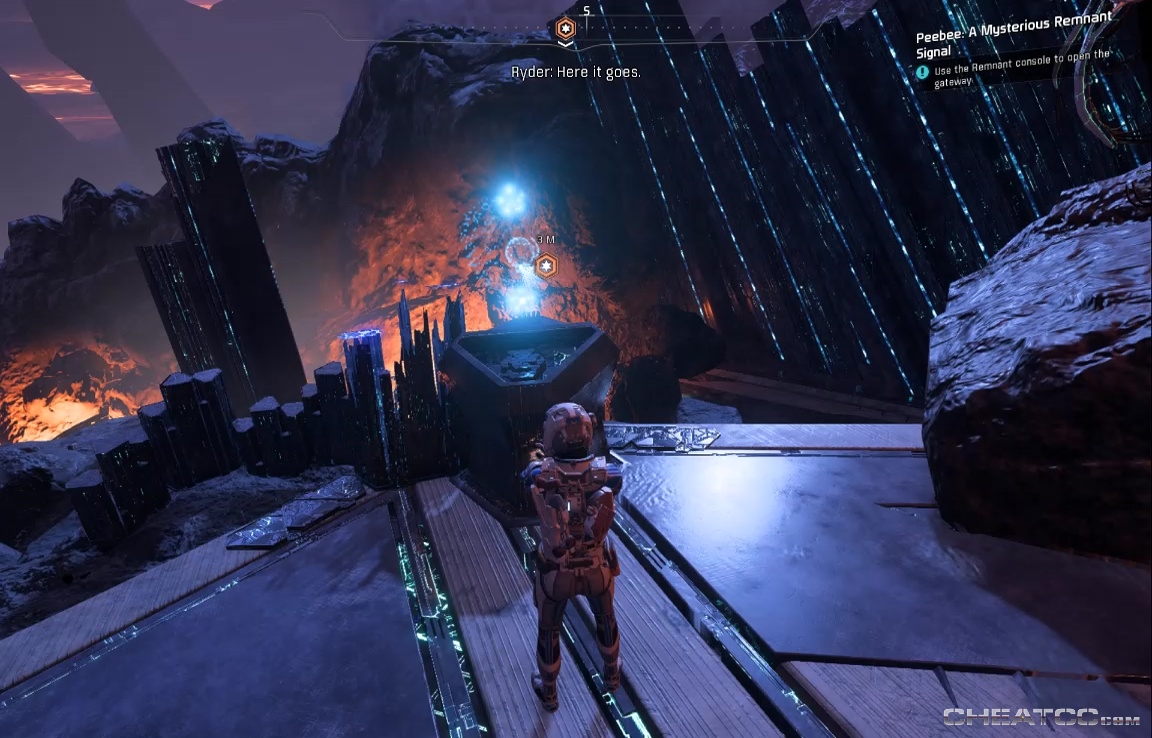
Press forward to the next hexagonal platform. Here, blast the Obsidian chunk to reveal a console for the nearby turret.
Activating the central console here will activate a hack-the-point sequence, but the perimeter circle doesn't always show up on the tilted platform. Just hang close- as long the Hack Progress meter is moving, you're close enough.
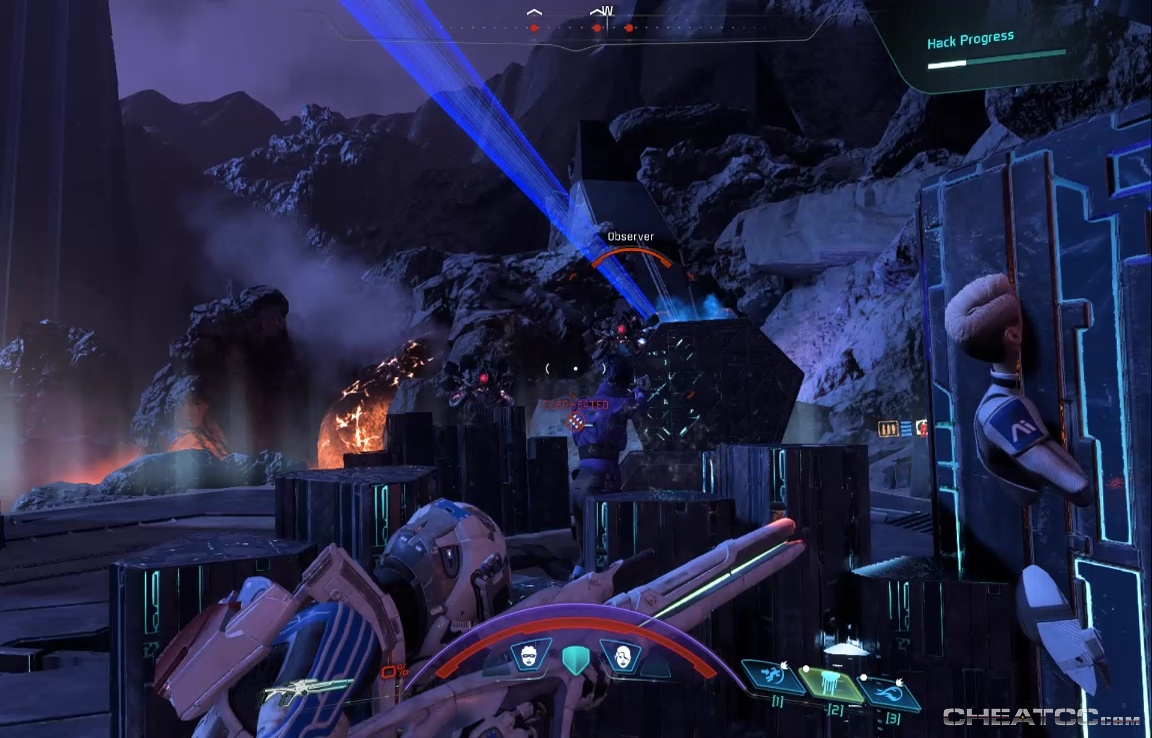
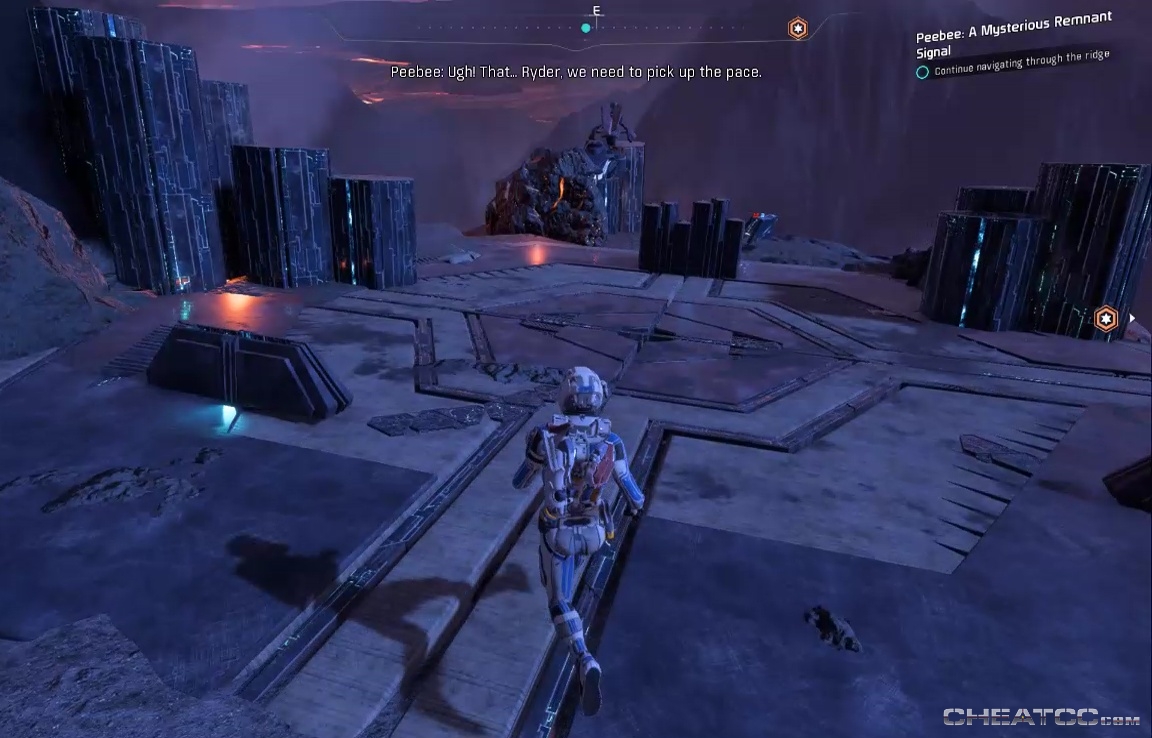
This is a pretty strong wave of Remnant for such a confined space, but between the turret and cover you should be fine. Do prioritize the Nullifiers, which have attacks that can penetrate cover. When the hack is complete, and your enemies shattered, jump across the antennae bridge, then along the path and down into an arena-like area.

There's a turret on the south side (upper level), and as before you'd be well-advised to activate it before the shooting starts.
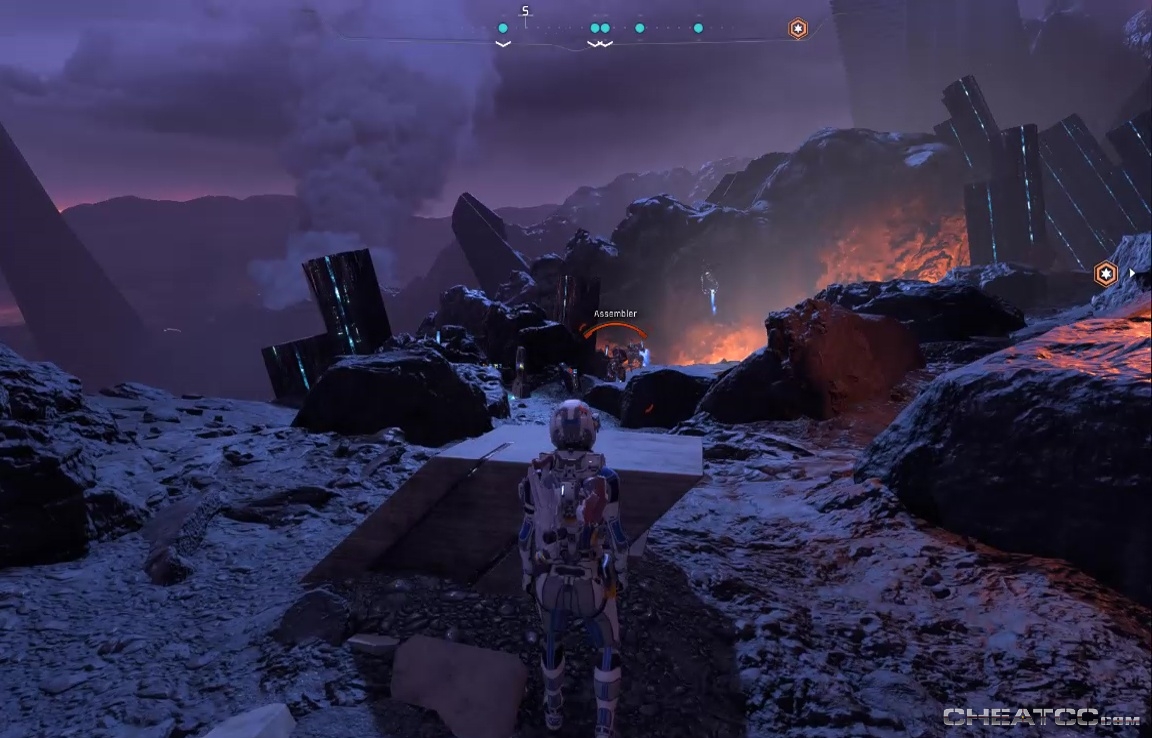
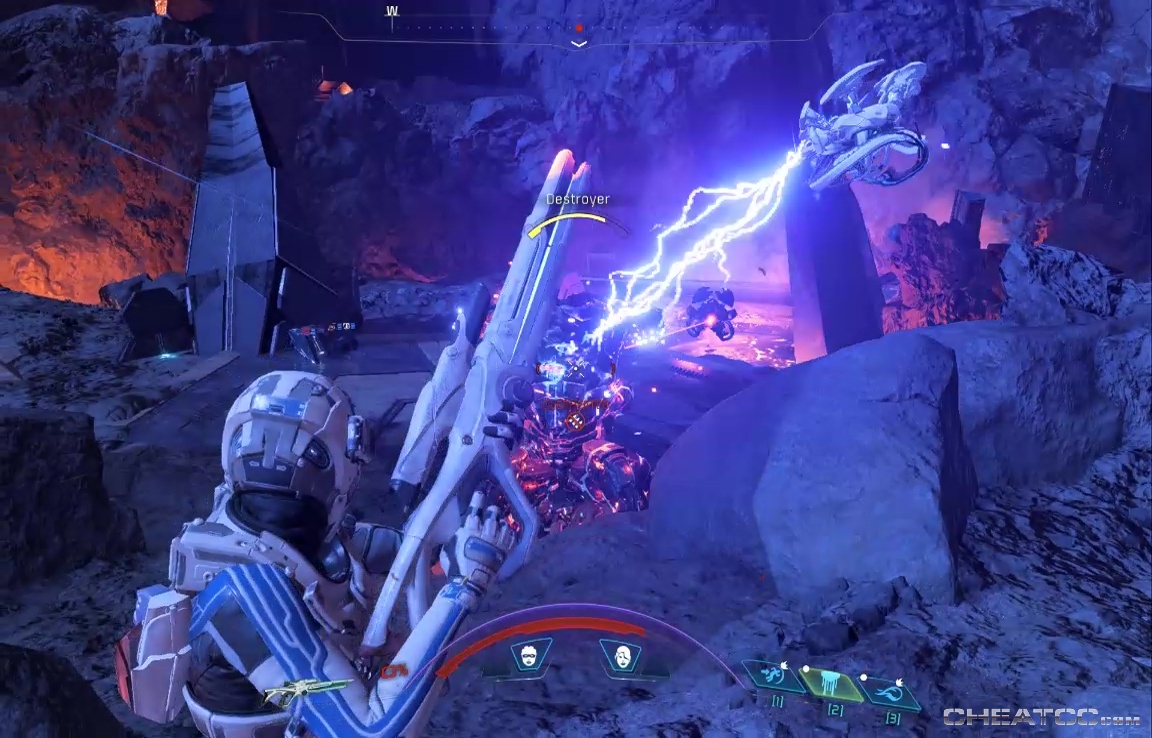
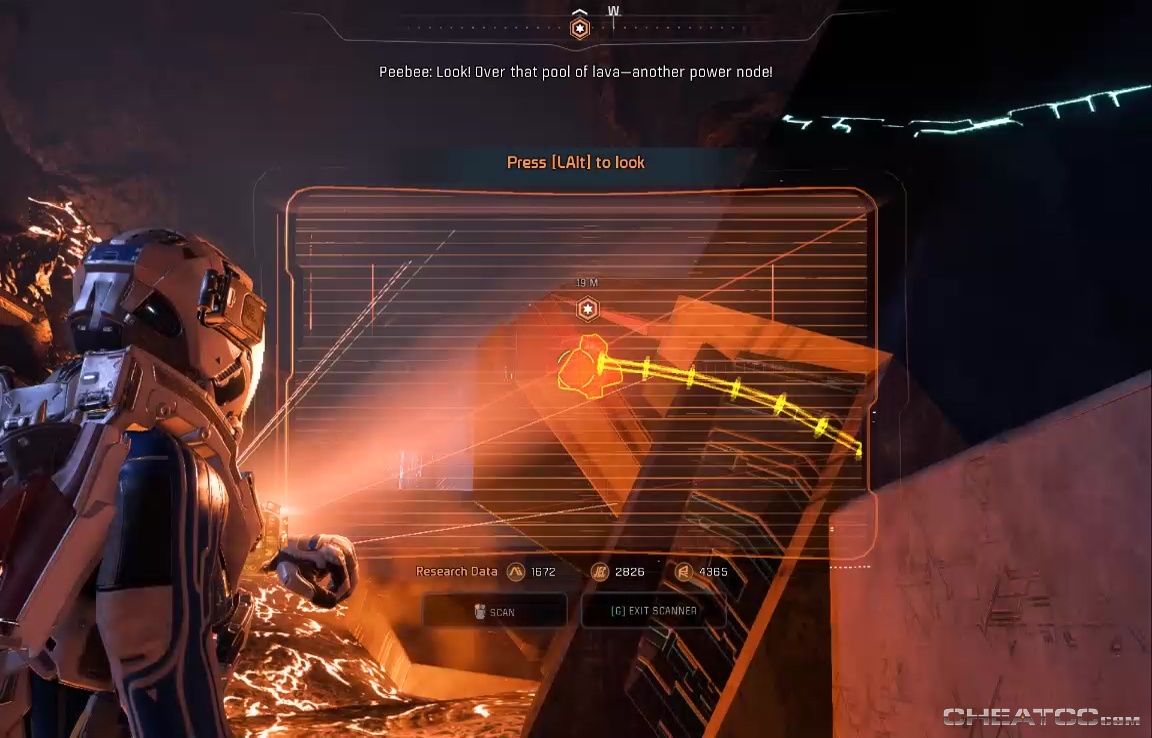
Scan the fissure at your navpoint, then scan the newly navpoint'd console to kick things off. And kick they do, with a wave of Observers, Nullifiers, Assemblers, and a Destroyer.
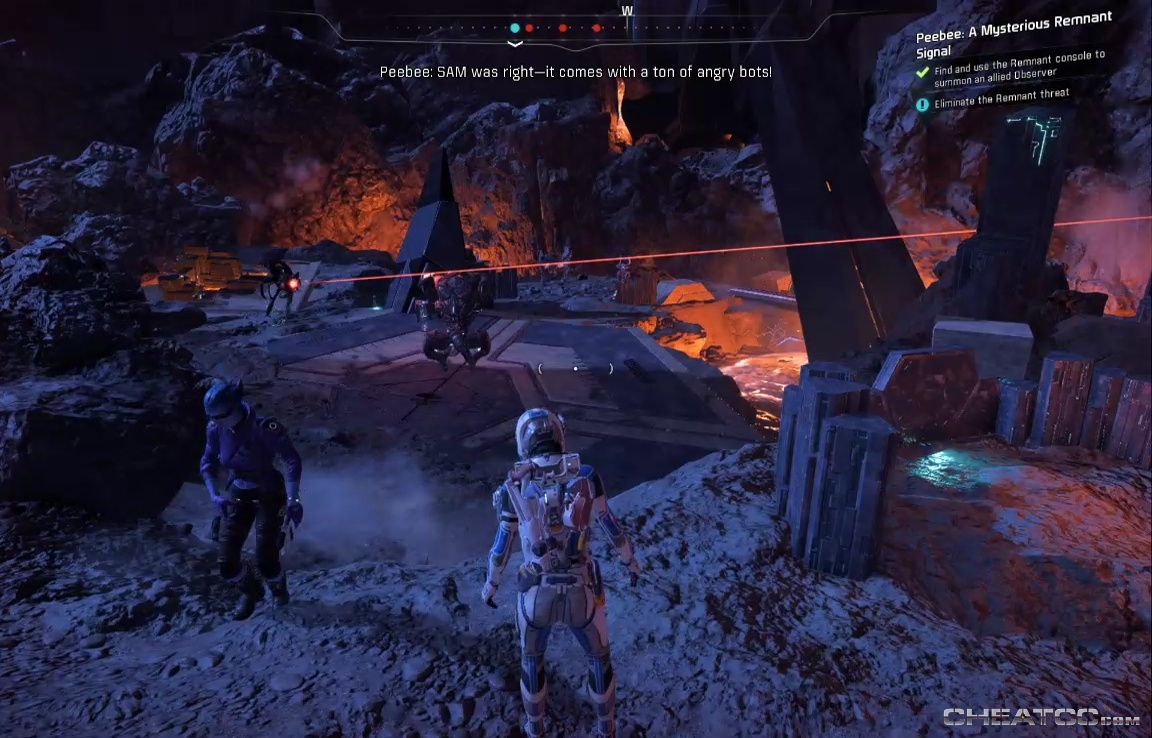
The main rule is to keep moving, and don't let yourelf get cornered by the Destroyer. If you can, lure it over to the friendly turret. The two are natural enemies, and will keep each other occupied while you take out the lesser Remnant in relative safety. When they're clear, focus fire on the Destroyer to complete this section.
Scan the fissure to prompt your friendly Observer to split it open, then jump up to the cave mouth where Kalinda sics her army on you. After the Remnant horde, however, these guys are nothing.
Clear them out, and snag the container to the north of the cave mouth.
Venture inside. The passageway will open up into a large, squarish room where you'll face off against more raiders, and the named berserker Krannit.
There are a few specialists in the mix, and Krannit packs a punch if you ever let him connect, but stay mobile and these guys will go down awfully fast (though you should still prioritize the Saboteur to prevent unexpected shield failure). When they're all dead, activate the console south of the Dispenser to summon a friend, and scan the high console above the door to open it.

Note that you can also scan Krannit's body, but it yields no Research data. The next section is large, sunken room, where you will have to find a ton of Raiders.
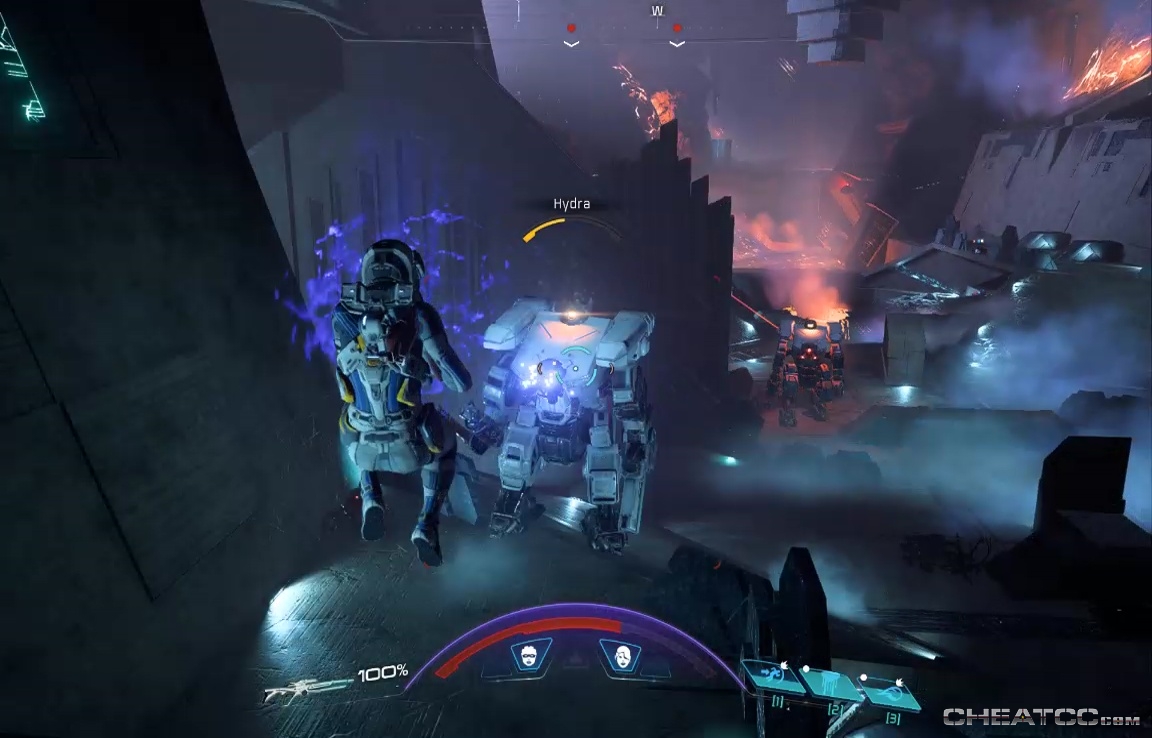
There are Dispensers at either end, and SAM will strongly encourage you to activate these to aid in the fight. It certainly doesn't hurt. Kalinda will swamp you with raider types, and cap things off with a quickly-becoming-cliche double Hydra team-up.
When you've routed the louts, head to the west end of the chamber and scan the console for your Observers to activate a bridge extension.
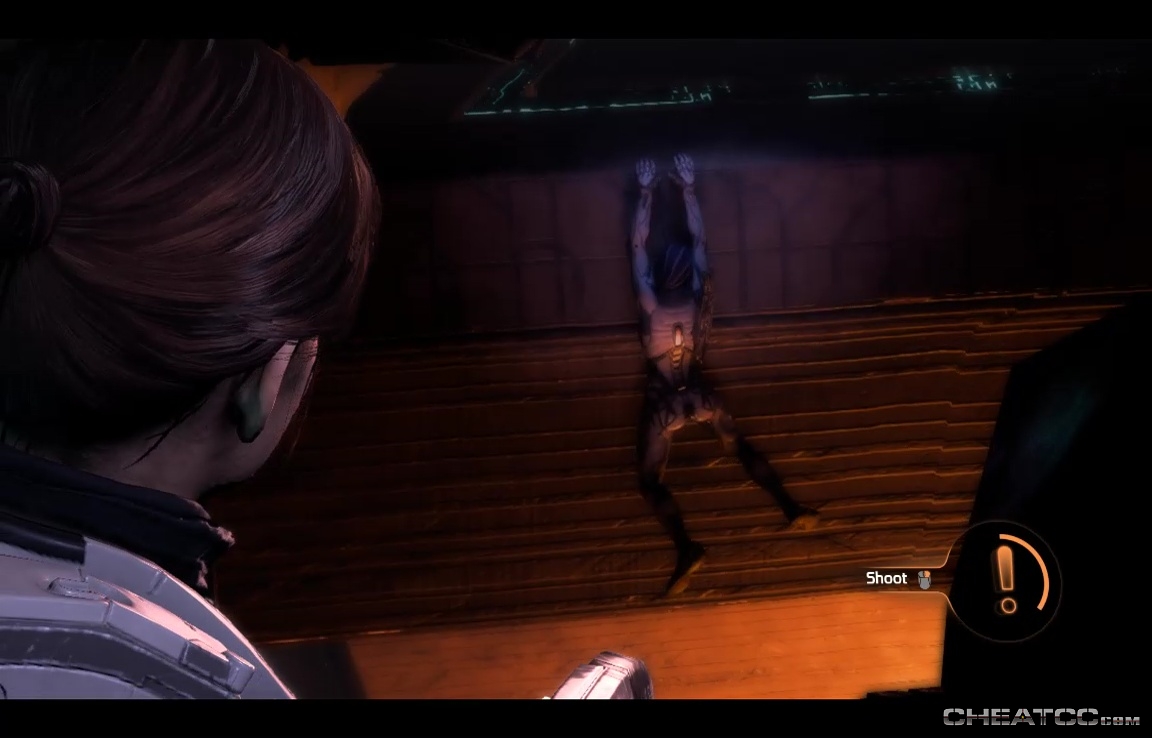
Hop across and you'll wind up in a cutscene where Peebee and Kalinda race for the artifact, then wind up in a situation where Peebee can save one or the other, but has decided on Kalinda. You have a quicktime event to kill Kalinda first, so as to save the artifact.
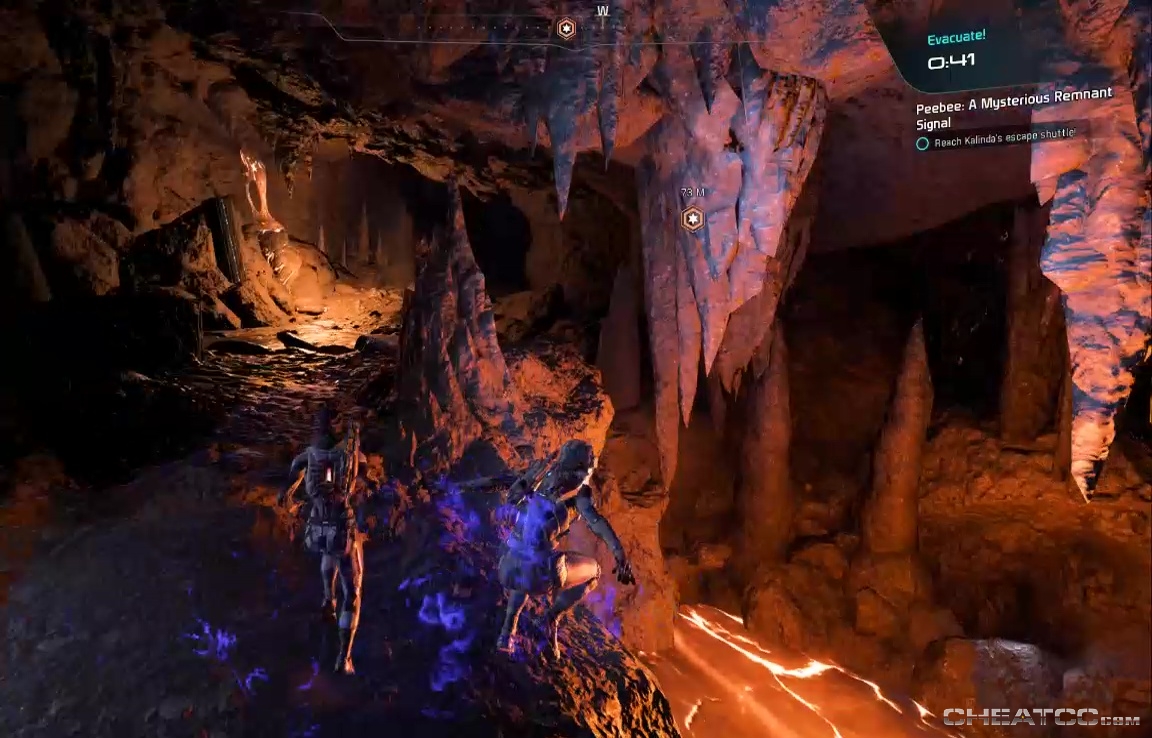
There are few lasting ramifactions for this choice- if Kalinda lives she sends you a virtual boatload of stuff and aids you in the final fight- if she doesn't Peebee should be able to get the Remnant machines manufacturing Initiative designs in the very near (but not in this game) future. Peebee is a little perturbed if you kill her, but she gets over it quite quickly, and it doesn't affect your romance prospects. Once you've made your choice, it's dash for the shuttle. Kalinda will lead the way if she's still alive, otherwise you're on your own. Either way you have a generous amount of time, so don't go crazy with the dashes- you can easily overshoot and wind up in the lava.
Grab the shuttle home, then convo with Peebee in her (slightly smaller now) room.
This a good chance for a clinching flirt if you're looking for a long-term relationship with ol' Peanut-Butter, but no matter what you say the conversation ends with Peebee's loyalty unlocked.