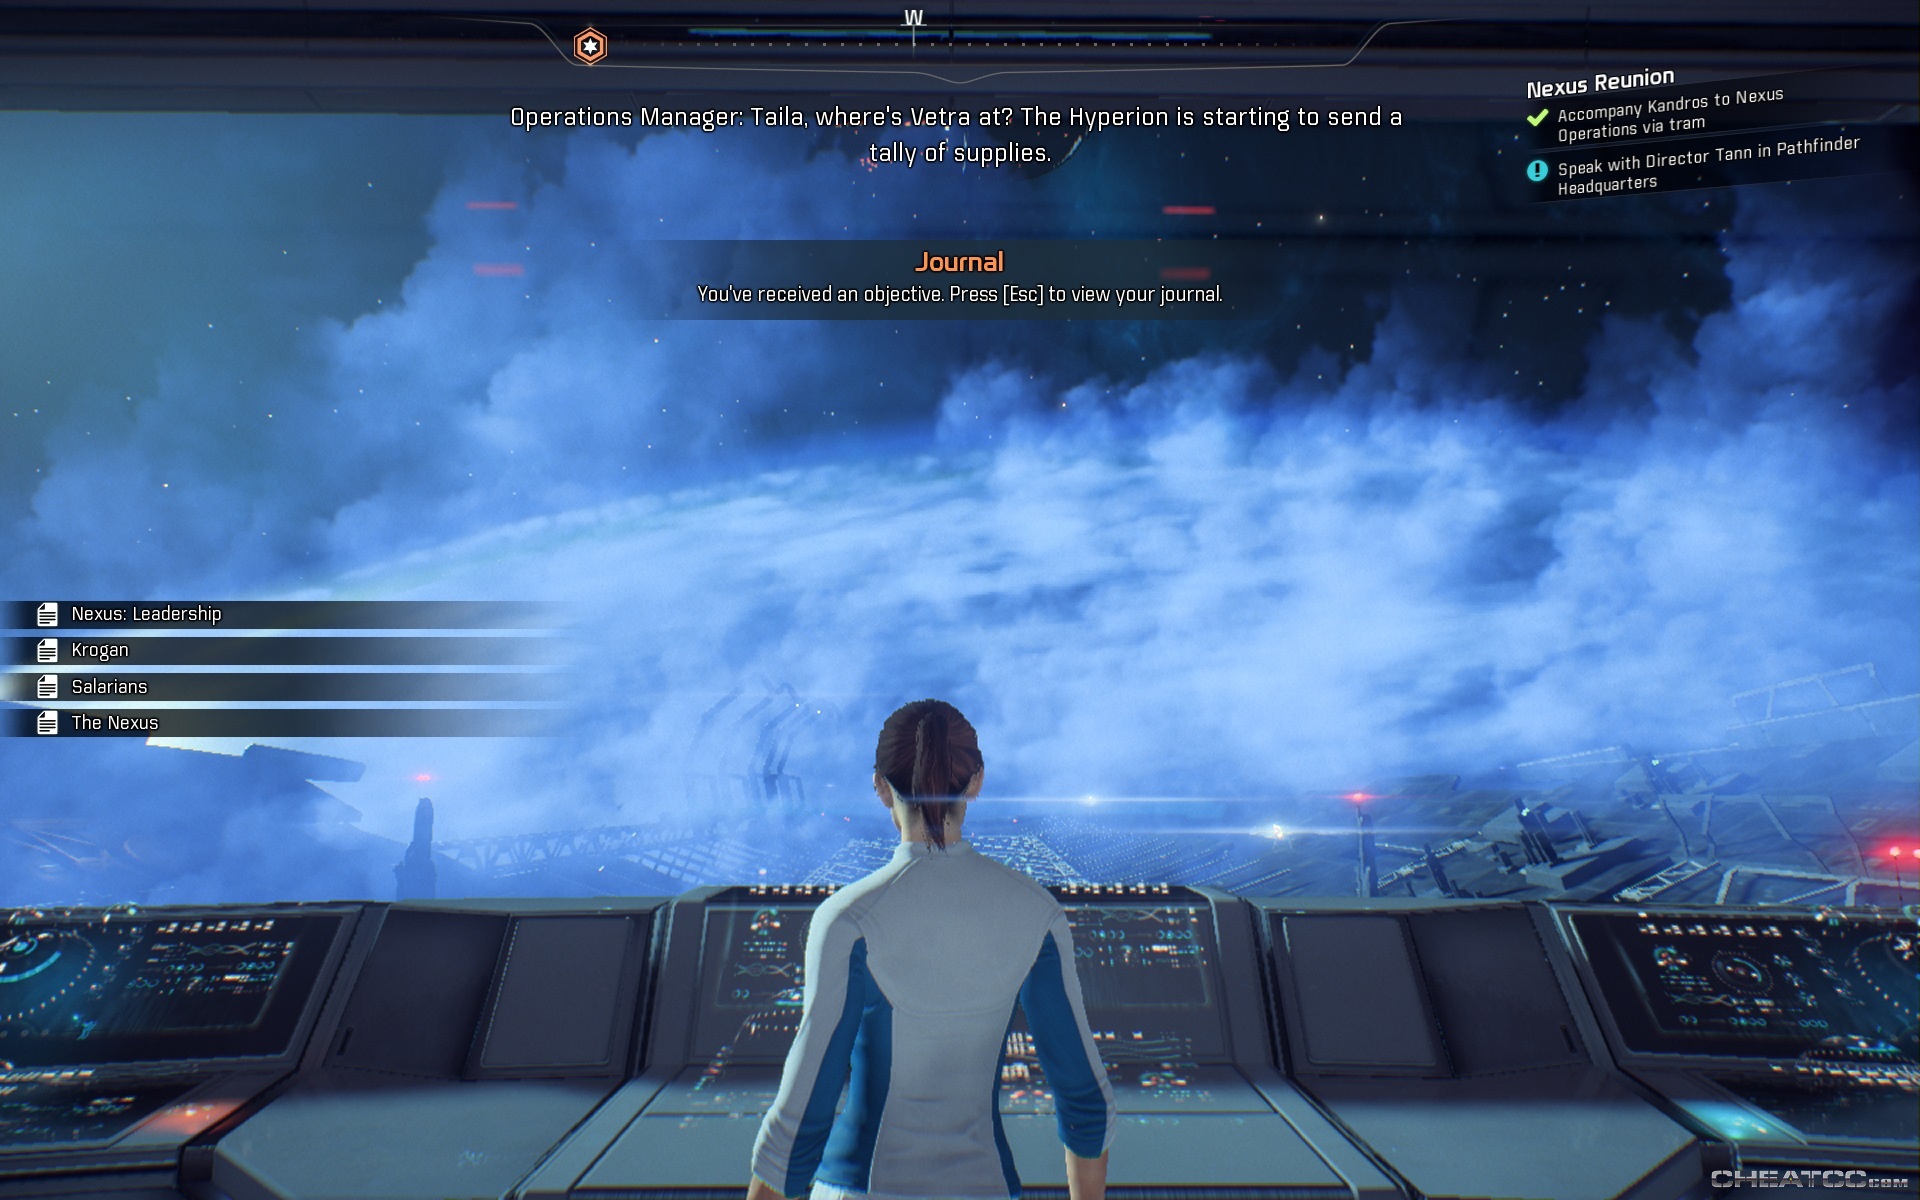
Planetside & Nexus Reunion
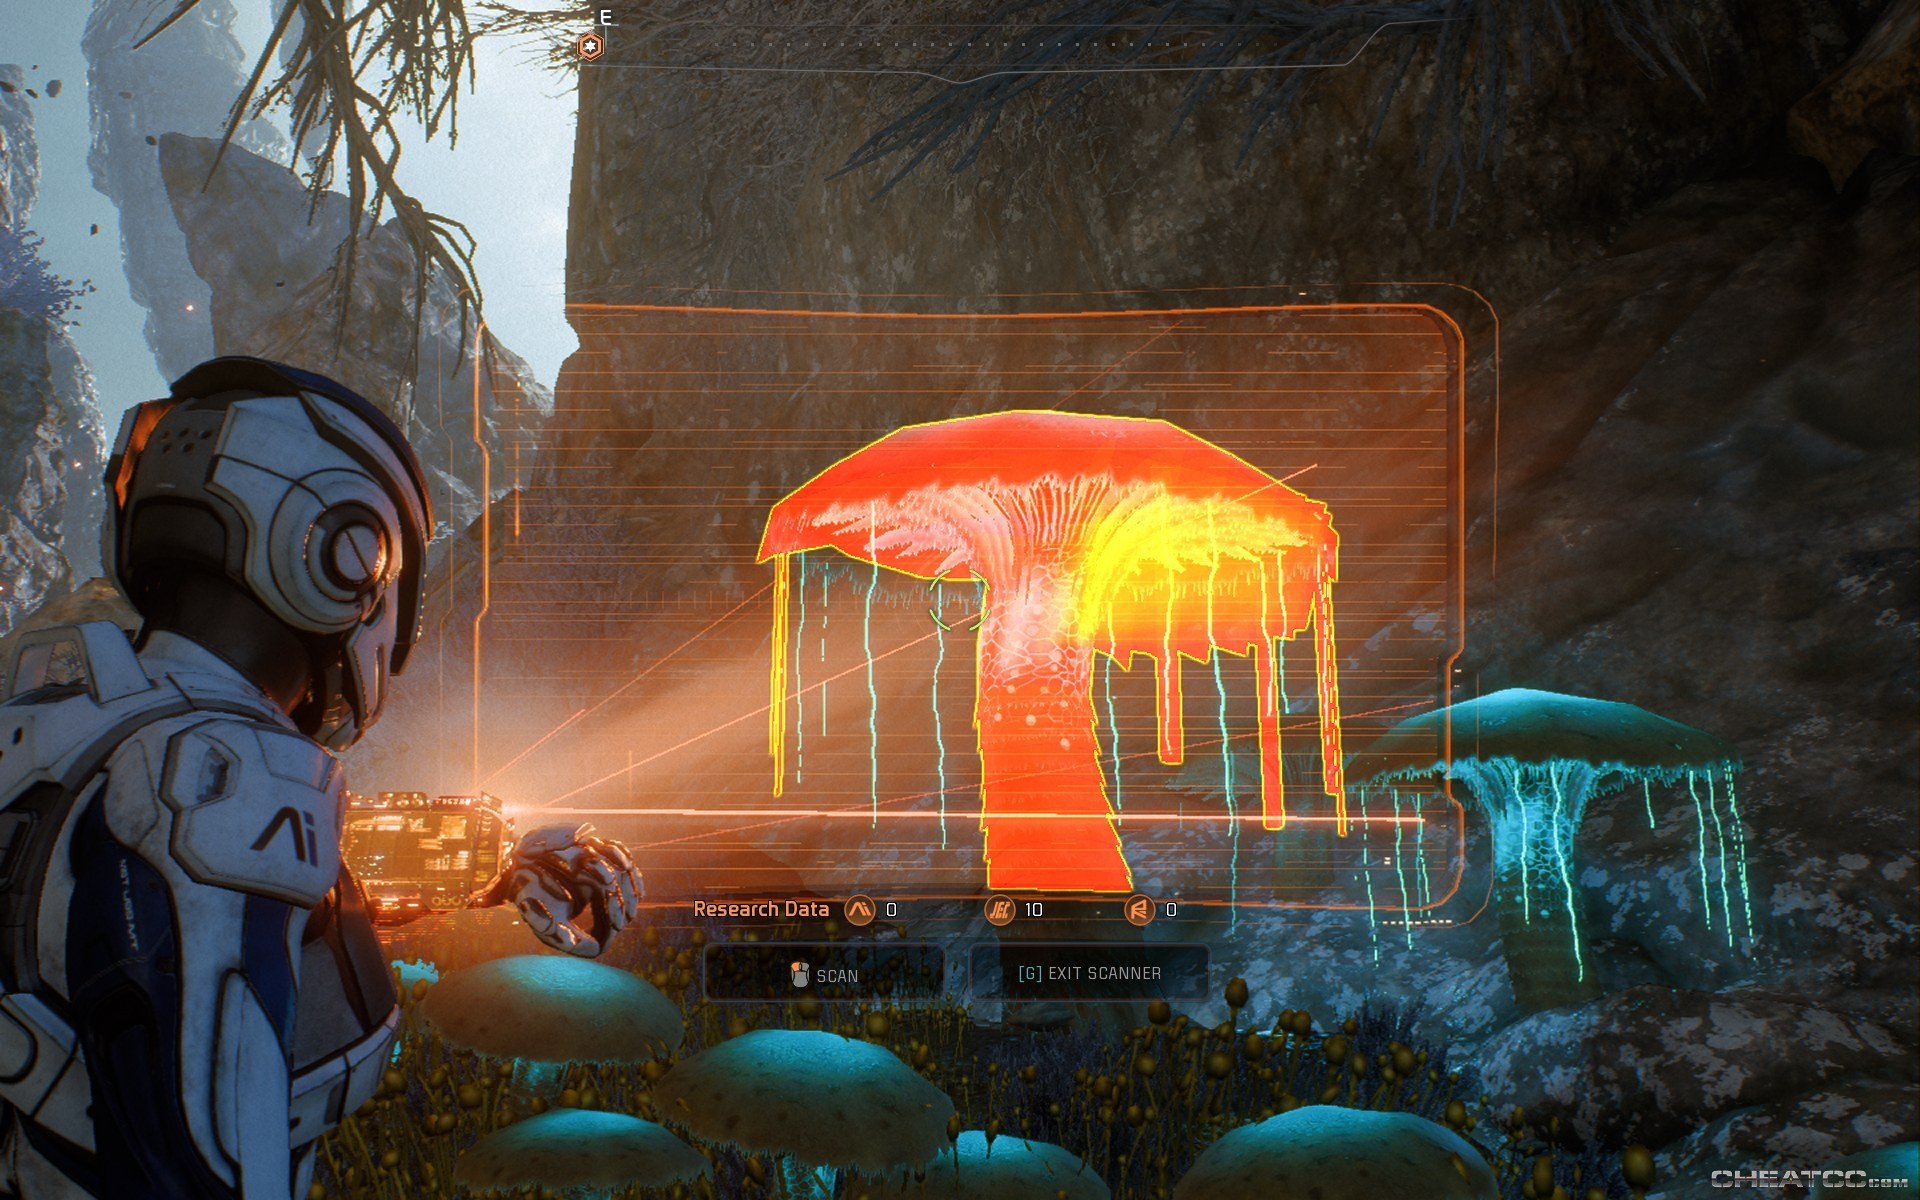
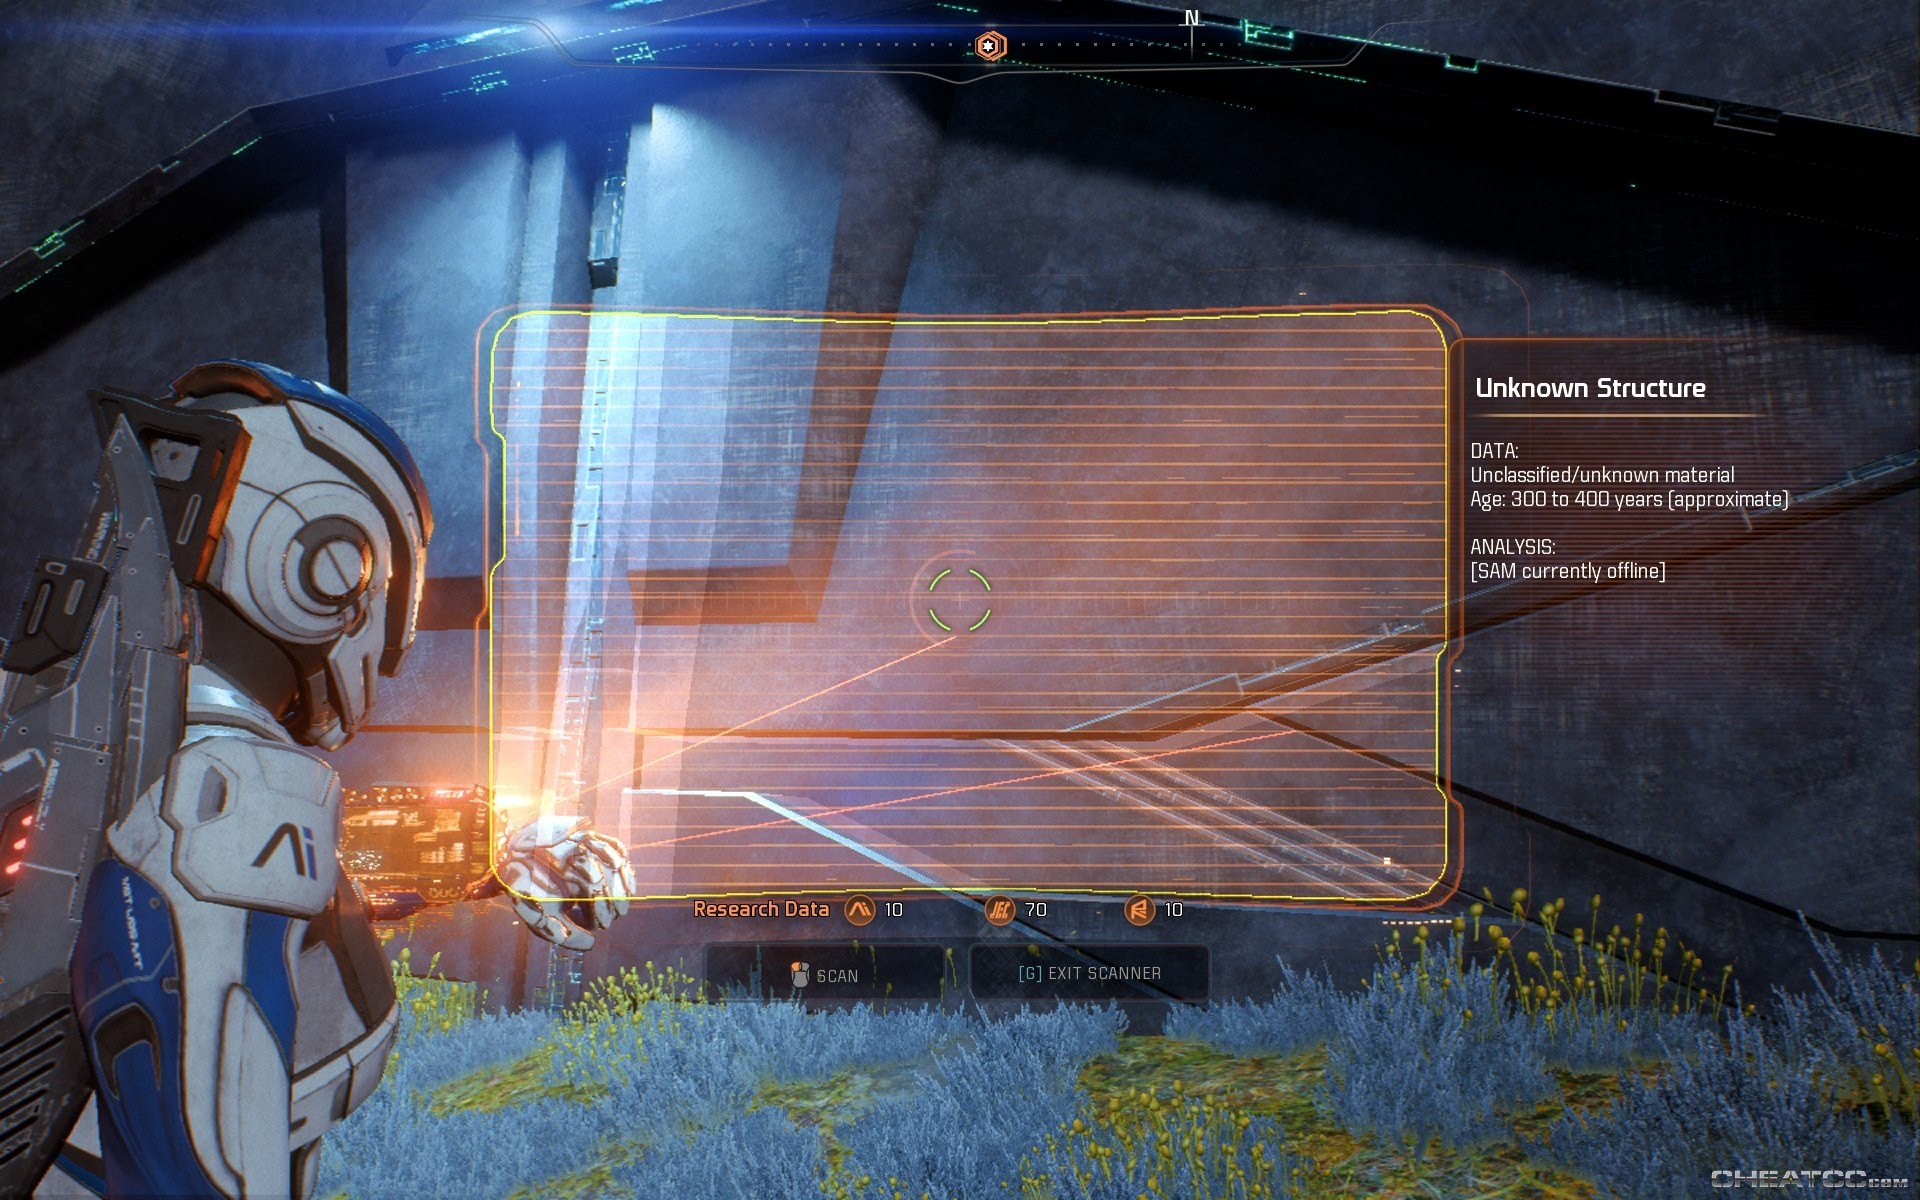
Now's a good time to get in the habit of scanning pretty much everything you come across. In this case, the furled plant clusters all around you.
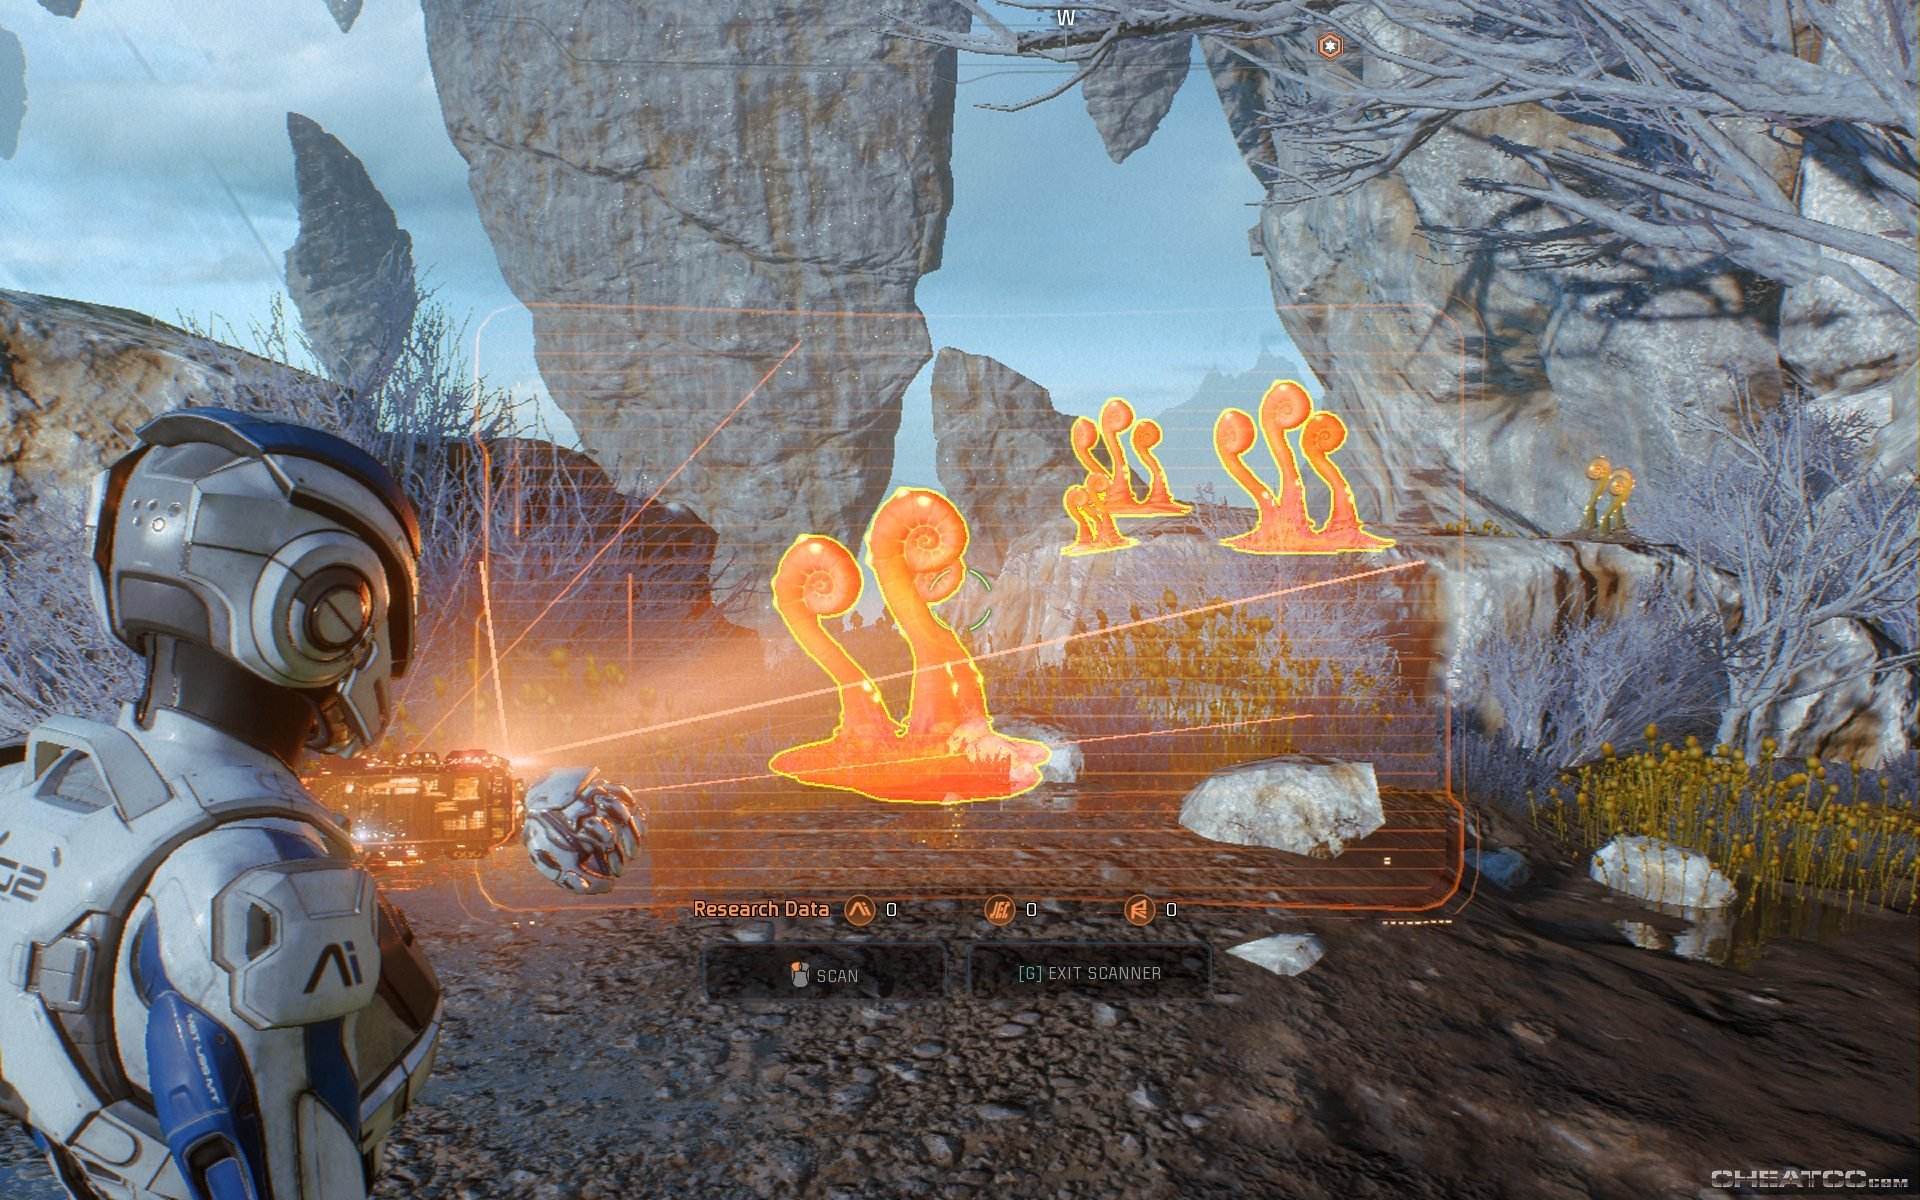
These scans furnish you with valuable research data, which need later for mods, upgrades, and other bonuses. You can only scan each item type once (so you never need to rescan these crinoidals anywhere else), but there are a surpisingly large number of scannables on your journey. It's good practice to just scan any new item you come across. You'll be able to recognize things you haven't scanned yetm because they'll be an angry red-orange in your overlay.
There's only one real path here, so follow along, scanning as you go. You will encounter a sprinting tutorial, which also sort of doubles as a lightning tutorial (there is also a small crack in the rockwall to your left, with a scannable at the end).
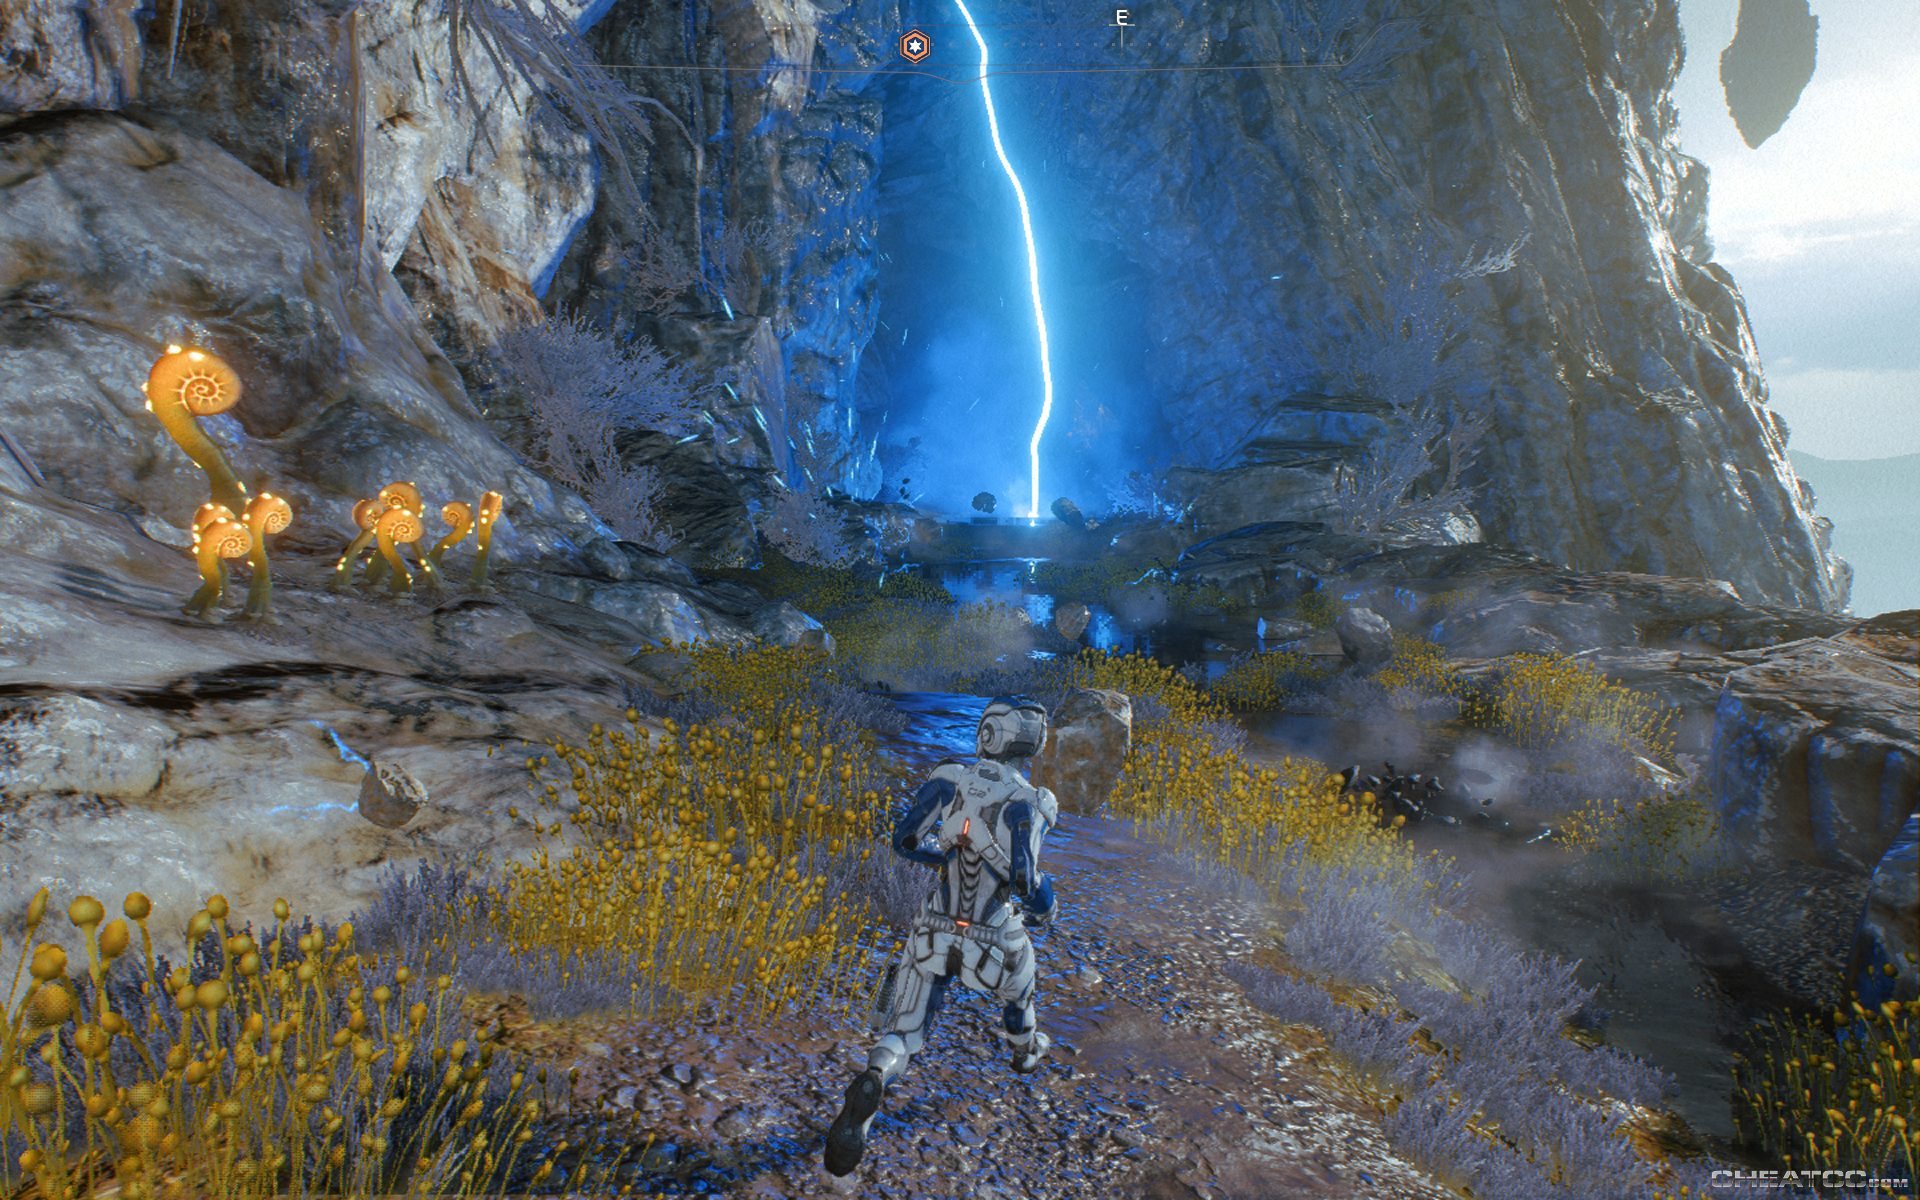
There's a lot of lightning on this planet, but you can avoid the worst of it by stricking close to tall objects and rock walls. You can also predict where strikes will land becuse there tends to be a small antigravity effect beforehand- little rocks and pebbles wobbling skyward before the blast hits. You can't scan the sky creatures, alas (too far away), but you can scan and then shoot the arcing powermodule blocking the path a little further down. Just past that is the first ammo crate of the game.
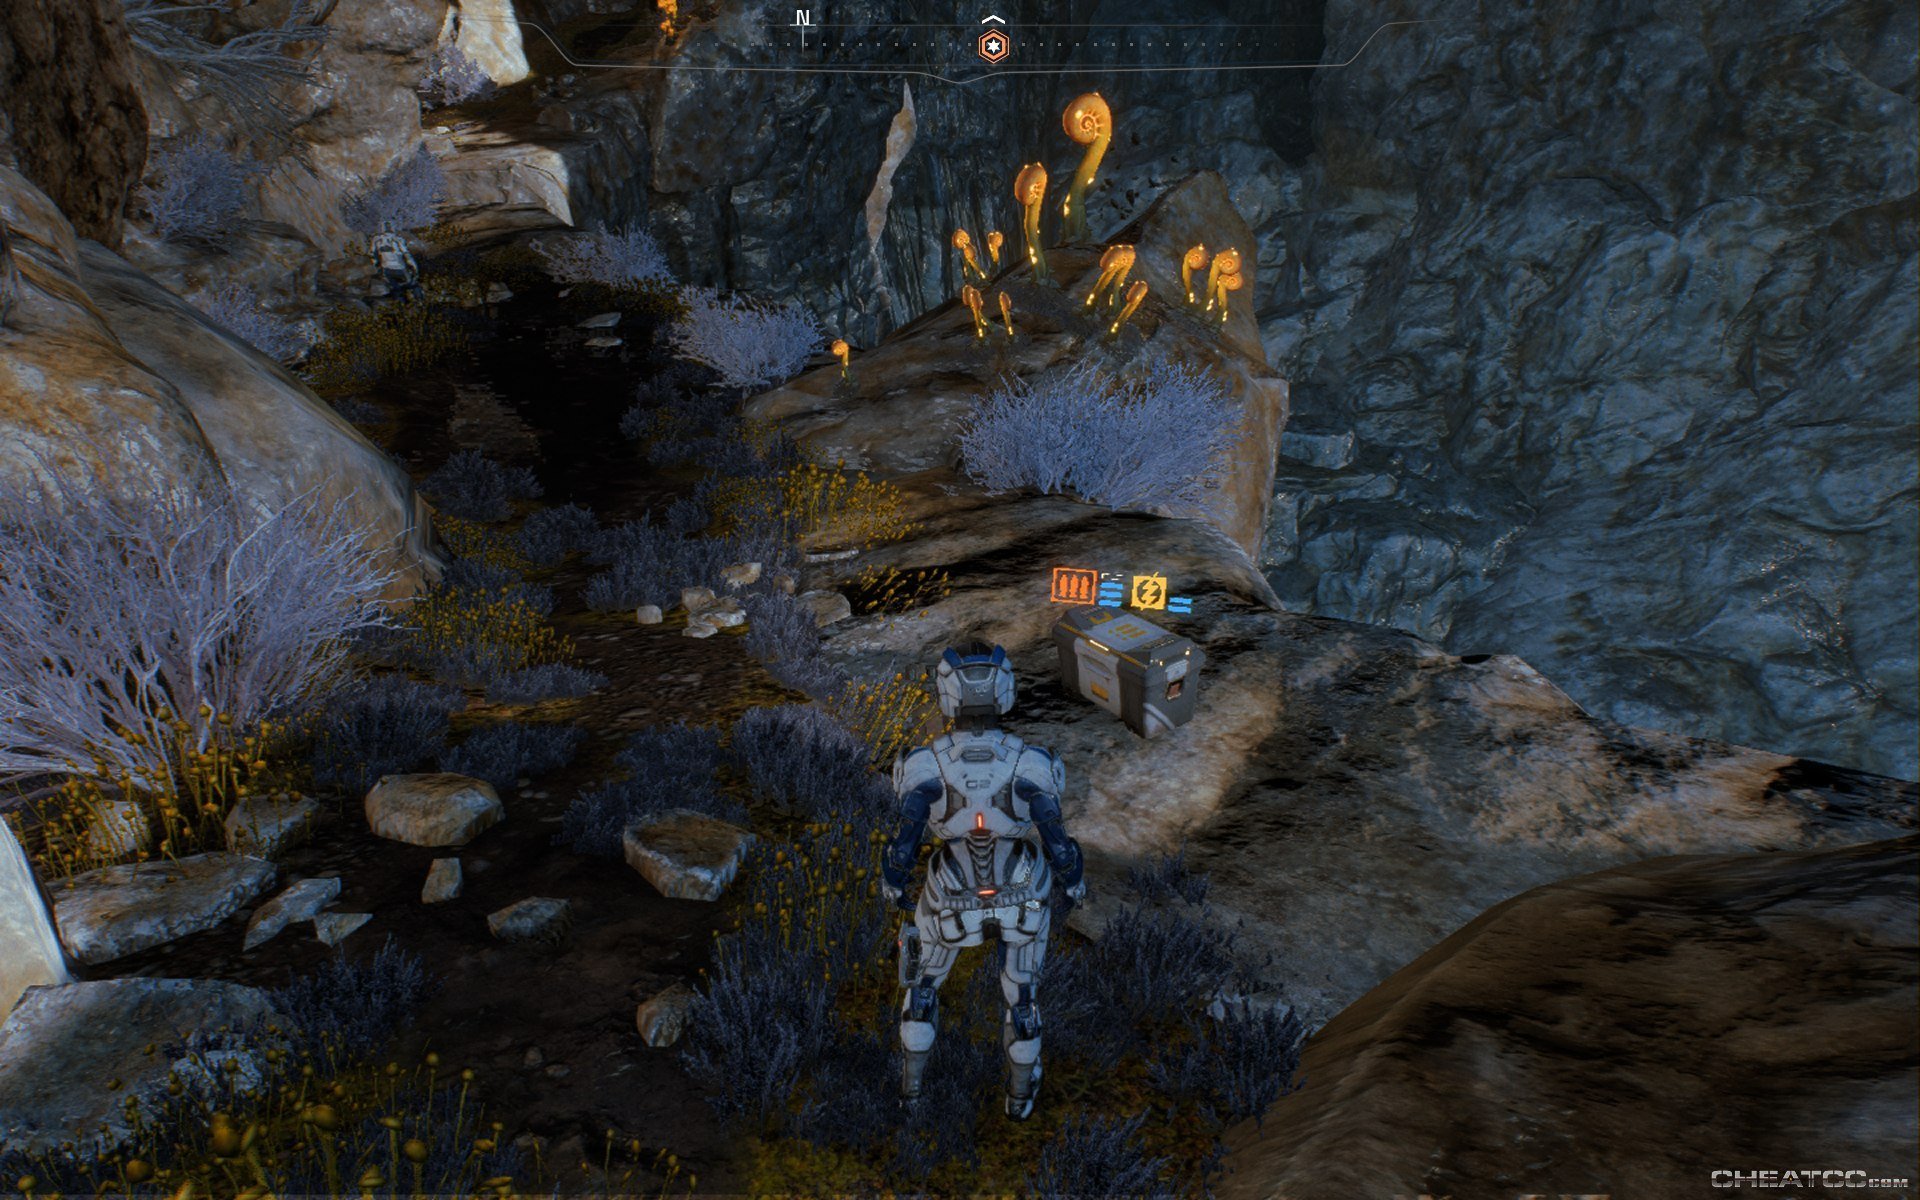
In ME:A, you don't need to activate these crates to use them, just brush against them for a refill. The floating hologram above it will tell you how much ammo remains.
The next section has a brief intro to mantling and jumping.
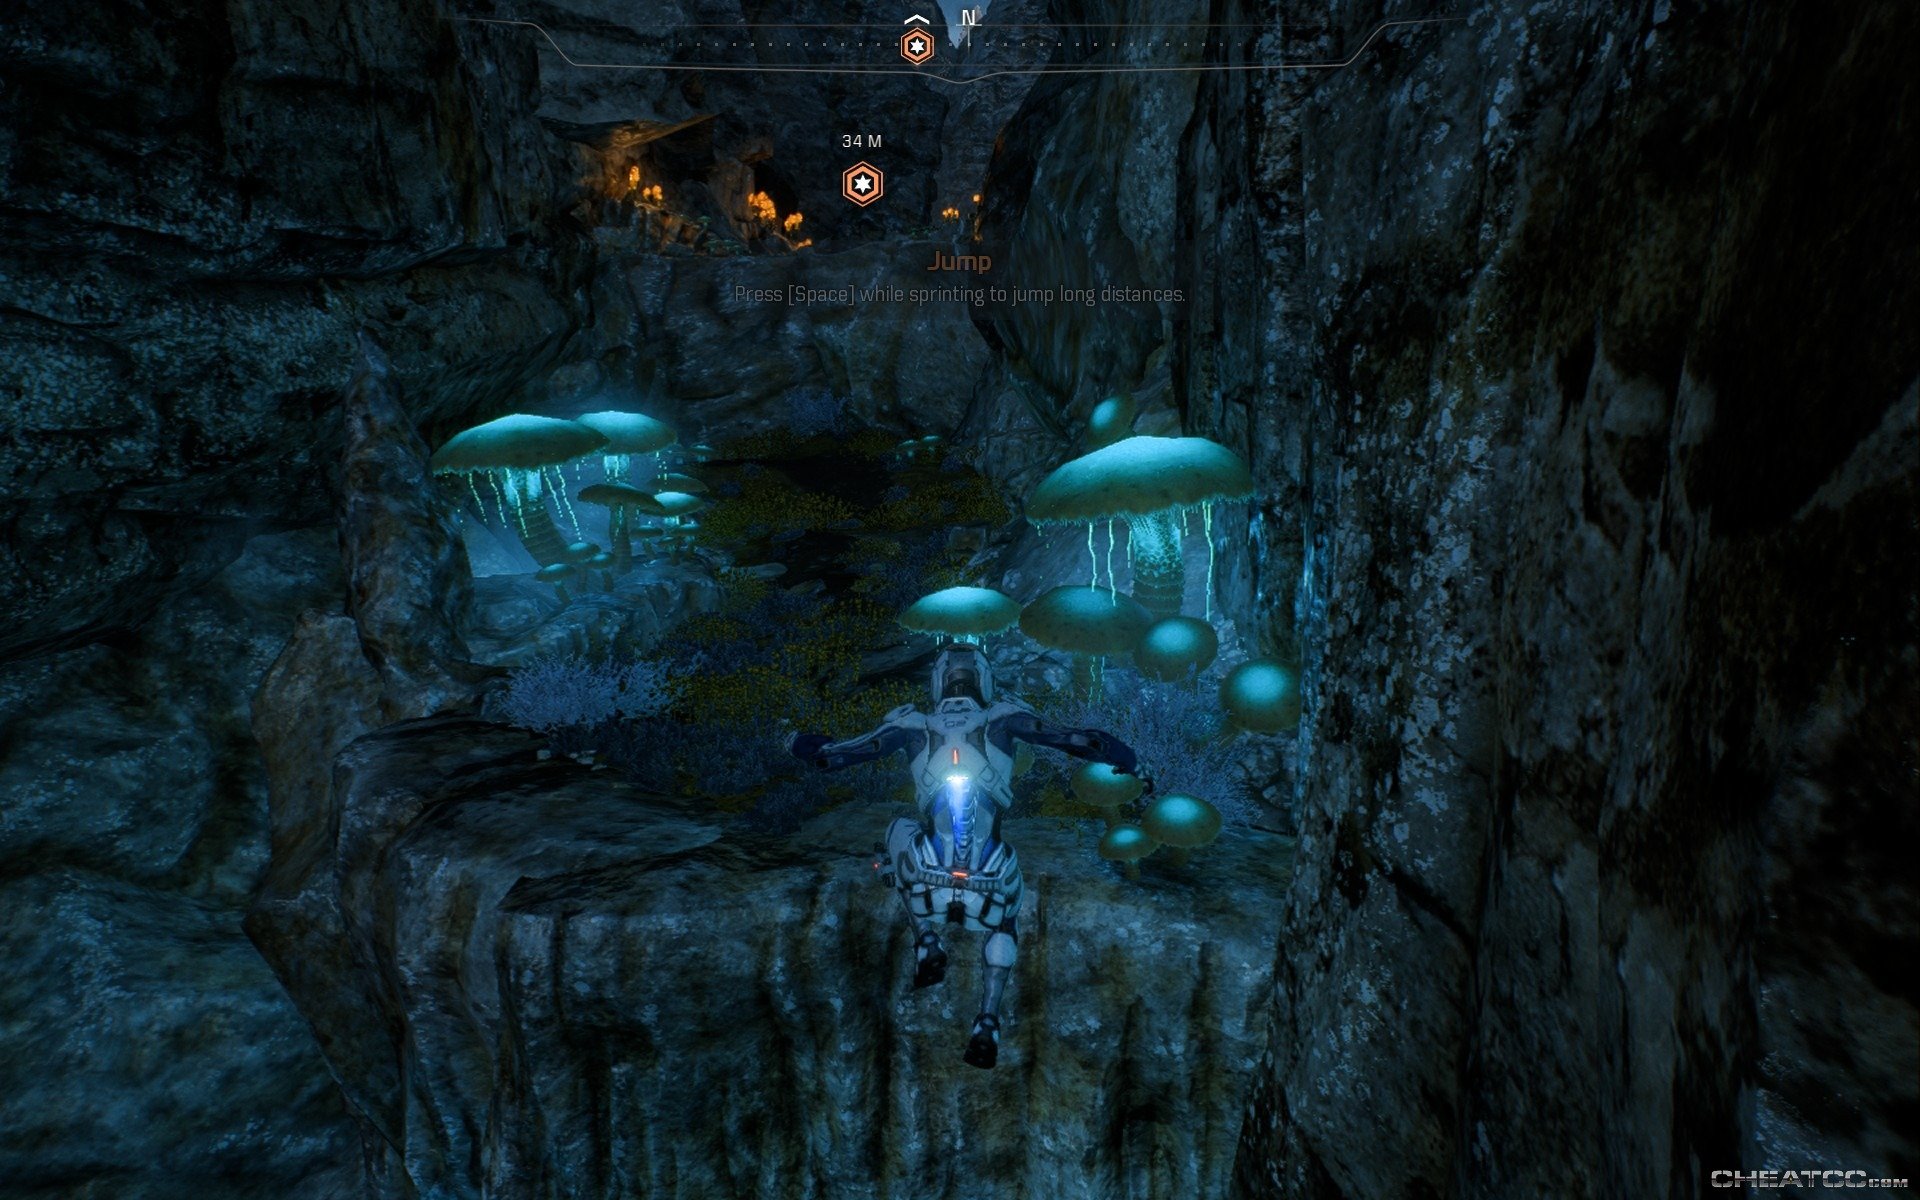
One thing to keep in mind is that you can use your evasive jets (activated with the scroll button) while jumping, giving you some extra distance and maneuverability. This is technique is remains useful throughout the entire game, so spend some time playing with it here.
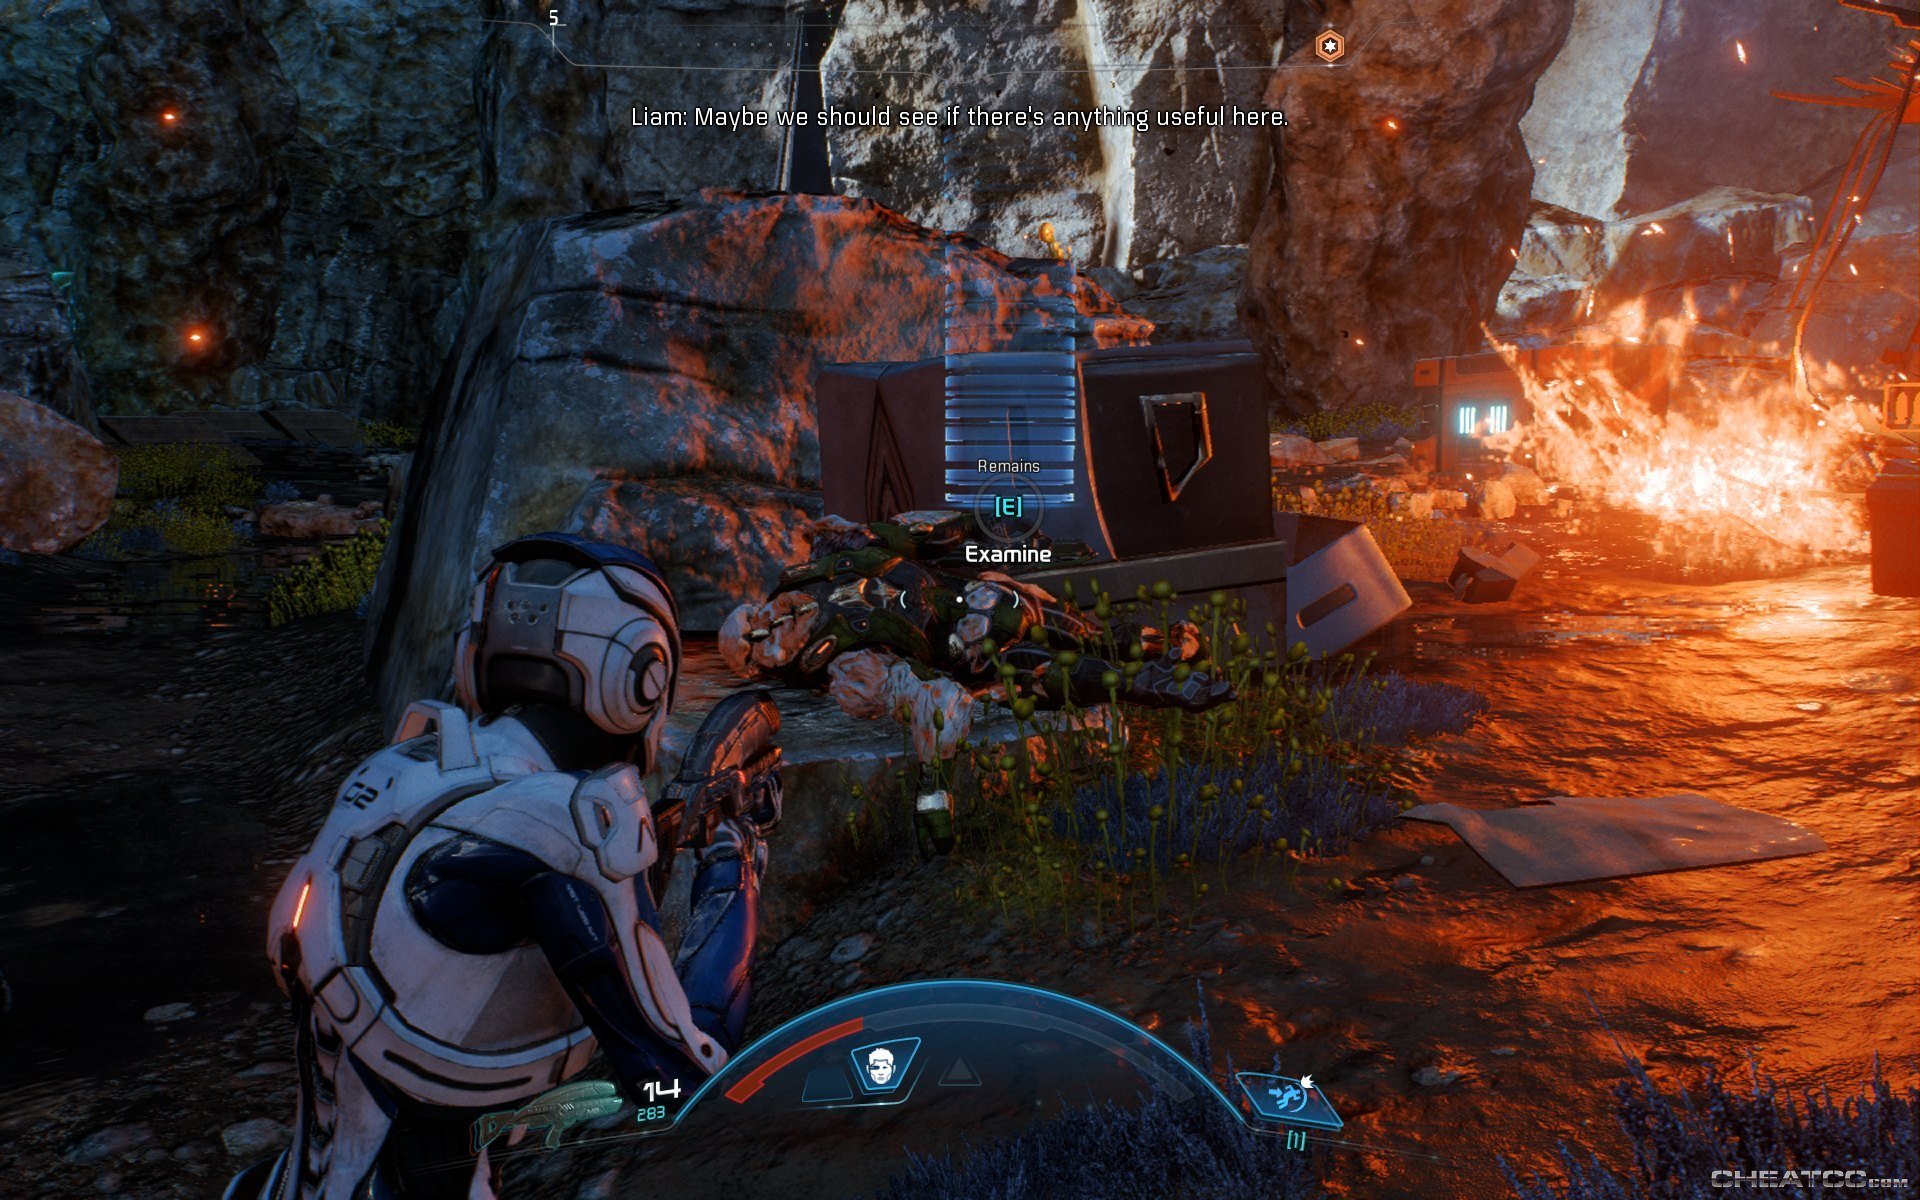
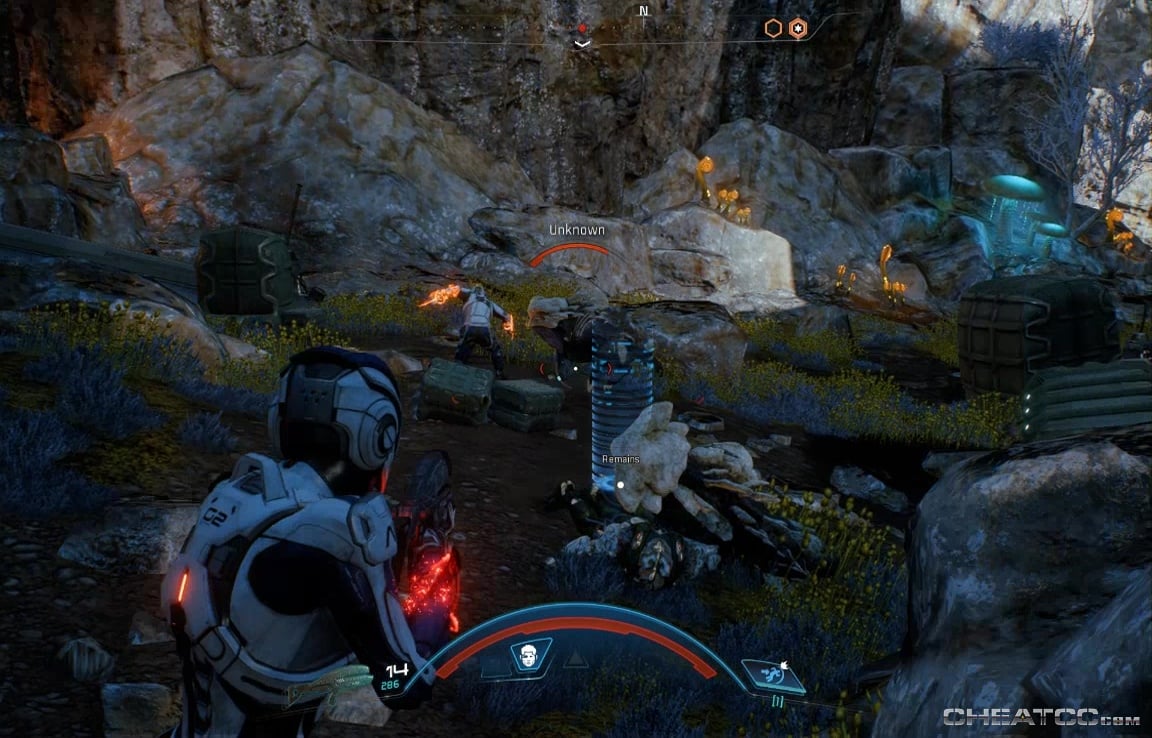
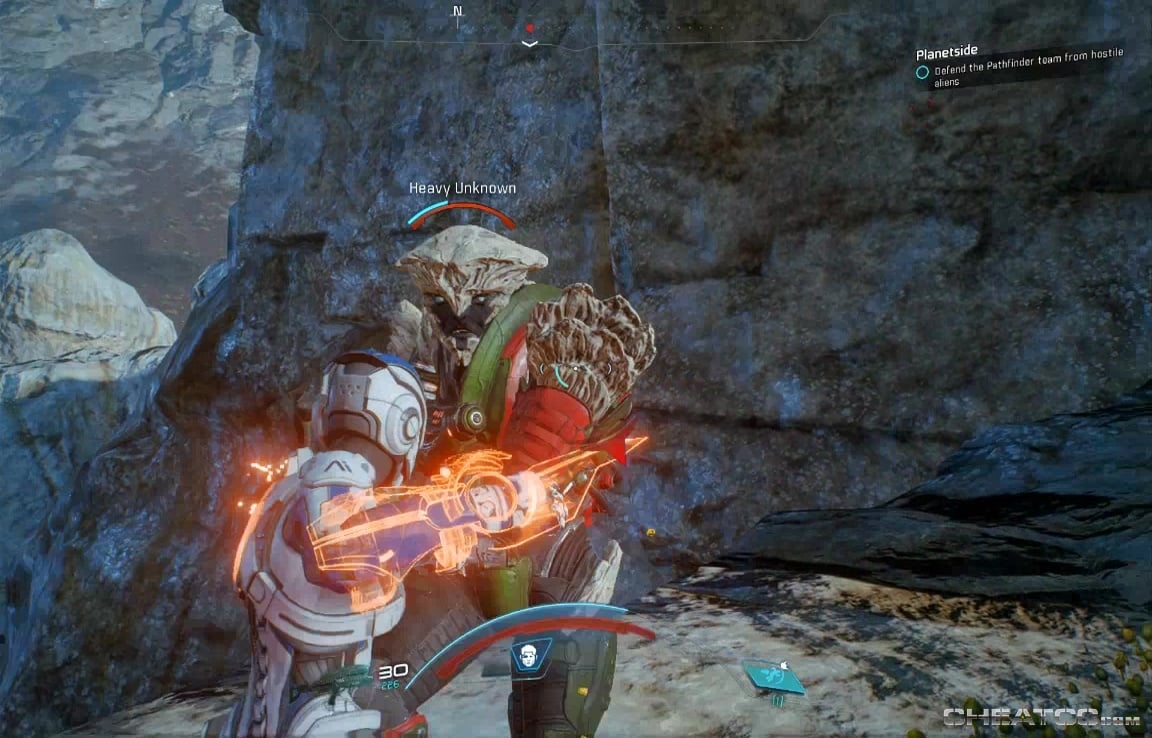
After you reach the top, you'll have your first alien encounter of the the game, near a downed shuttle fragment. While Liam will ask you how you want to play things, this scenario will always end in a fight. It's an easy and straight forward one, though, so just remember to scan the fallen when you're done.
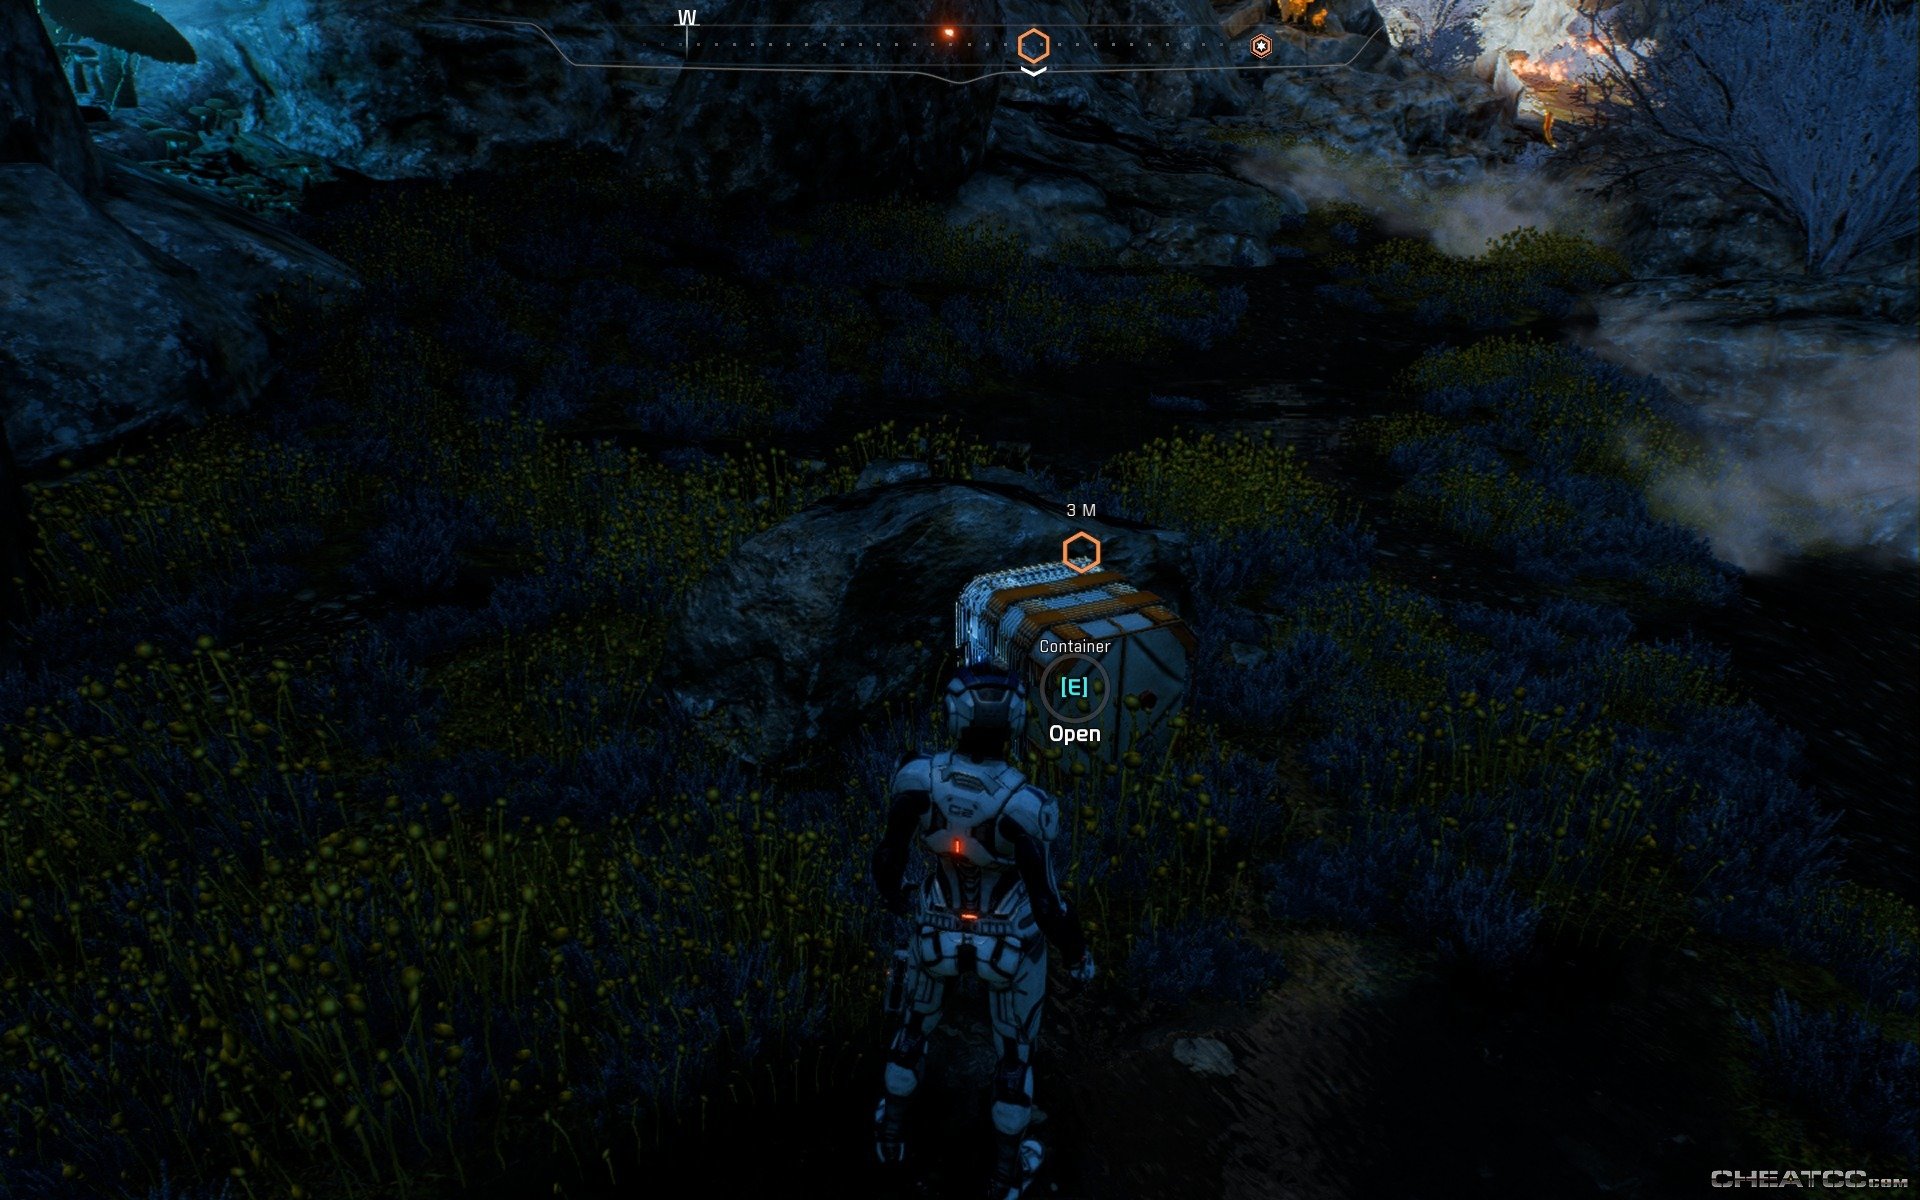
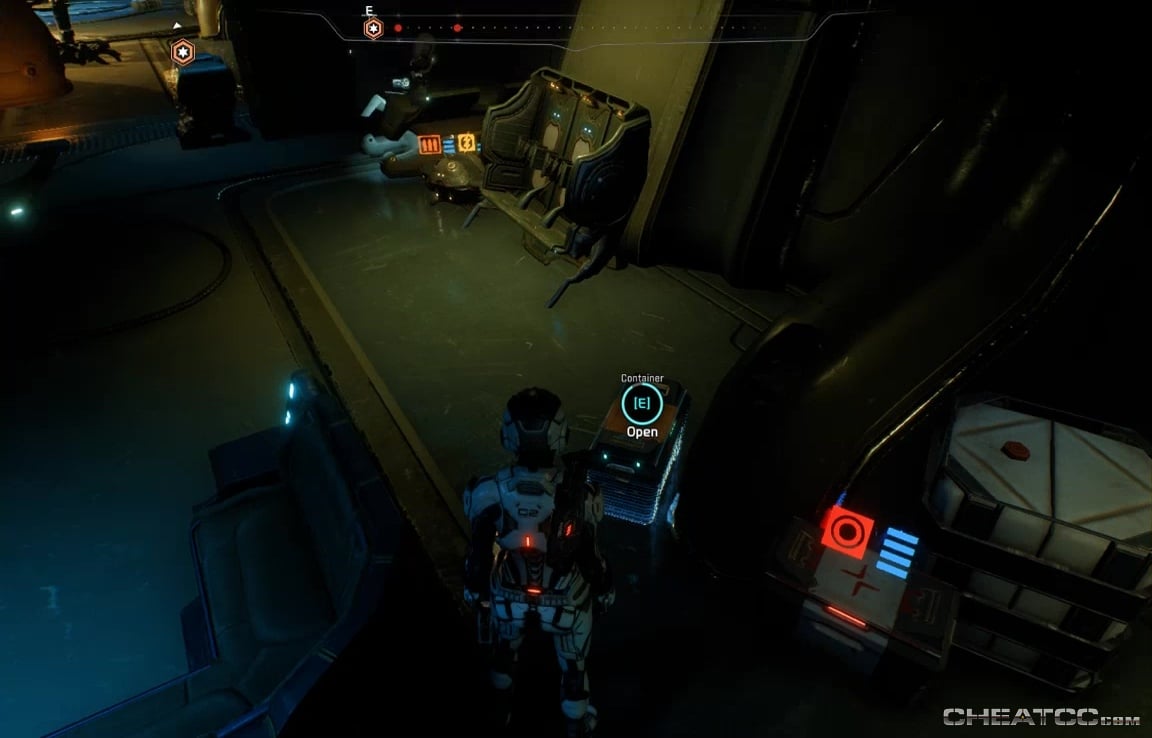
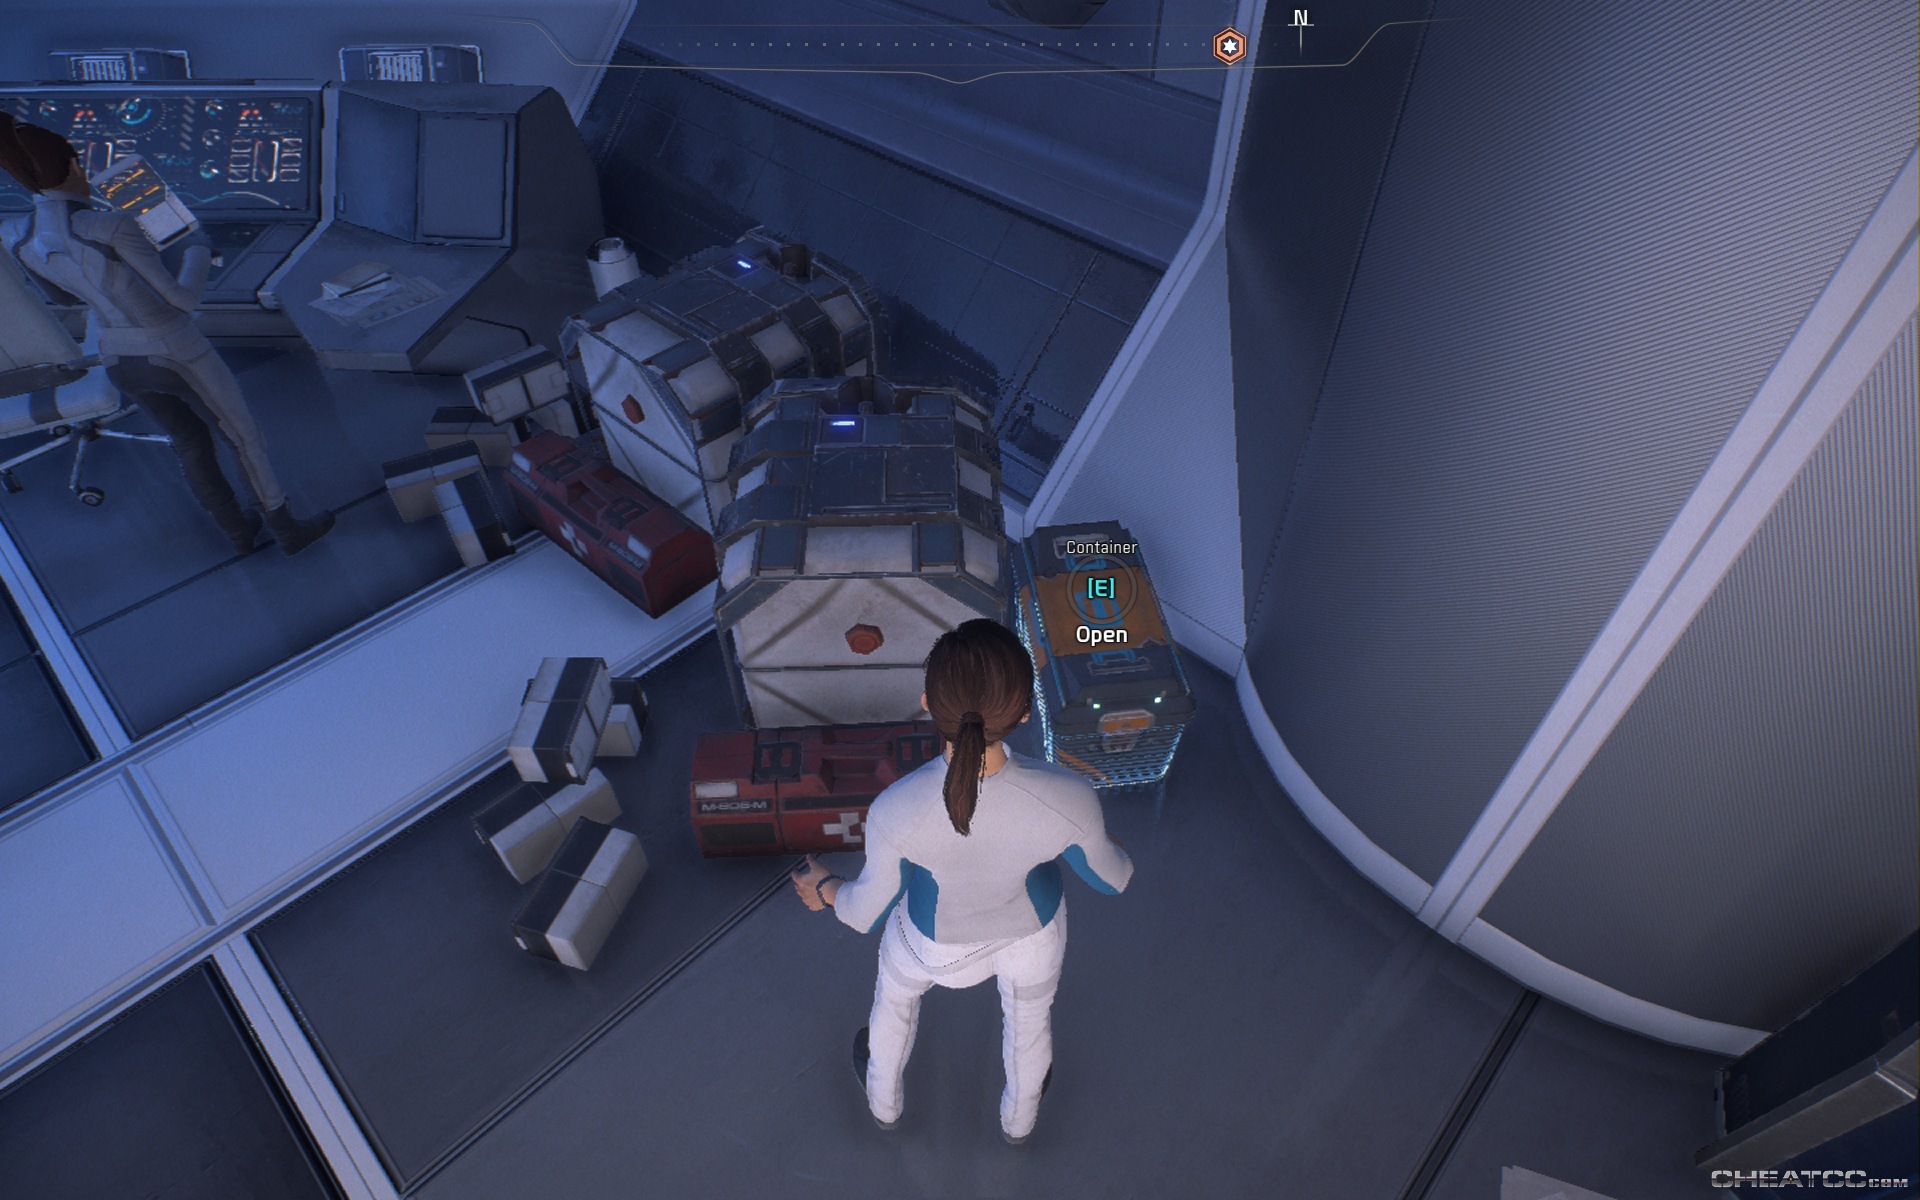
Now is also the time to start keeping an eye out for loose containers from the crash. Most of them have only low-level items, but there's not nearly enough to overload your inventory, so loot away.
Head north, where you'll encounter the aliens again,this time in the middle of executing your squadmate Kirkland. His death is hardwired into the script, but you can still avenge him. There's more cover here, and in general Ryder will automatically enter cover as soon as they're next to a suitable item (you can easily check whether you're in cover or not by looking for the shield icon at the bottom-center of the screen.
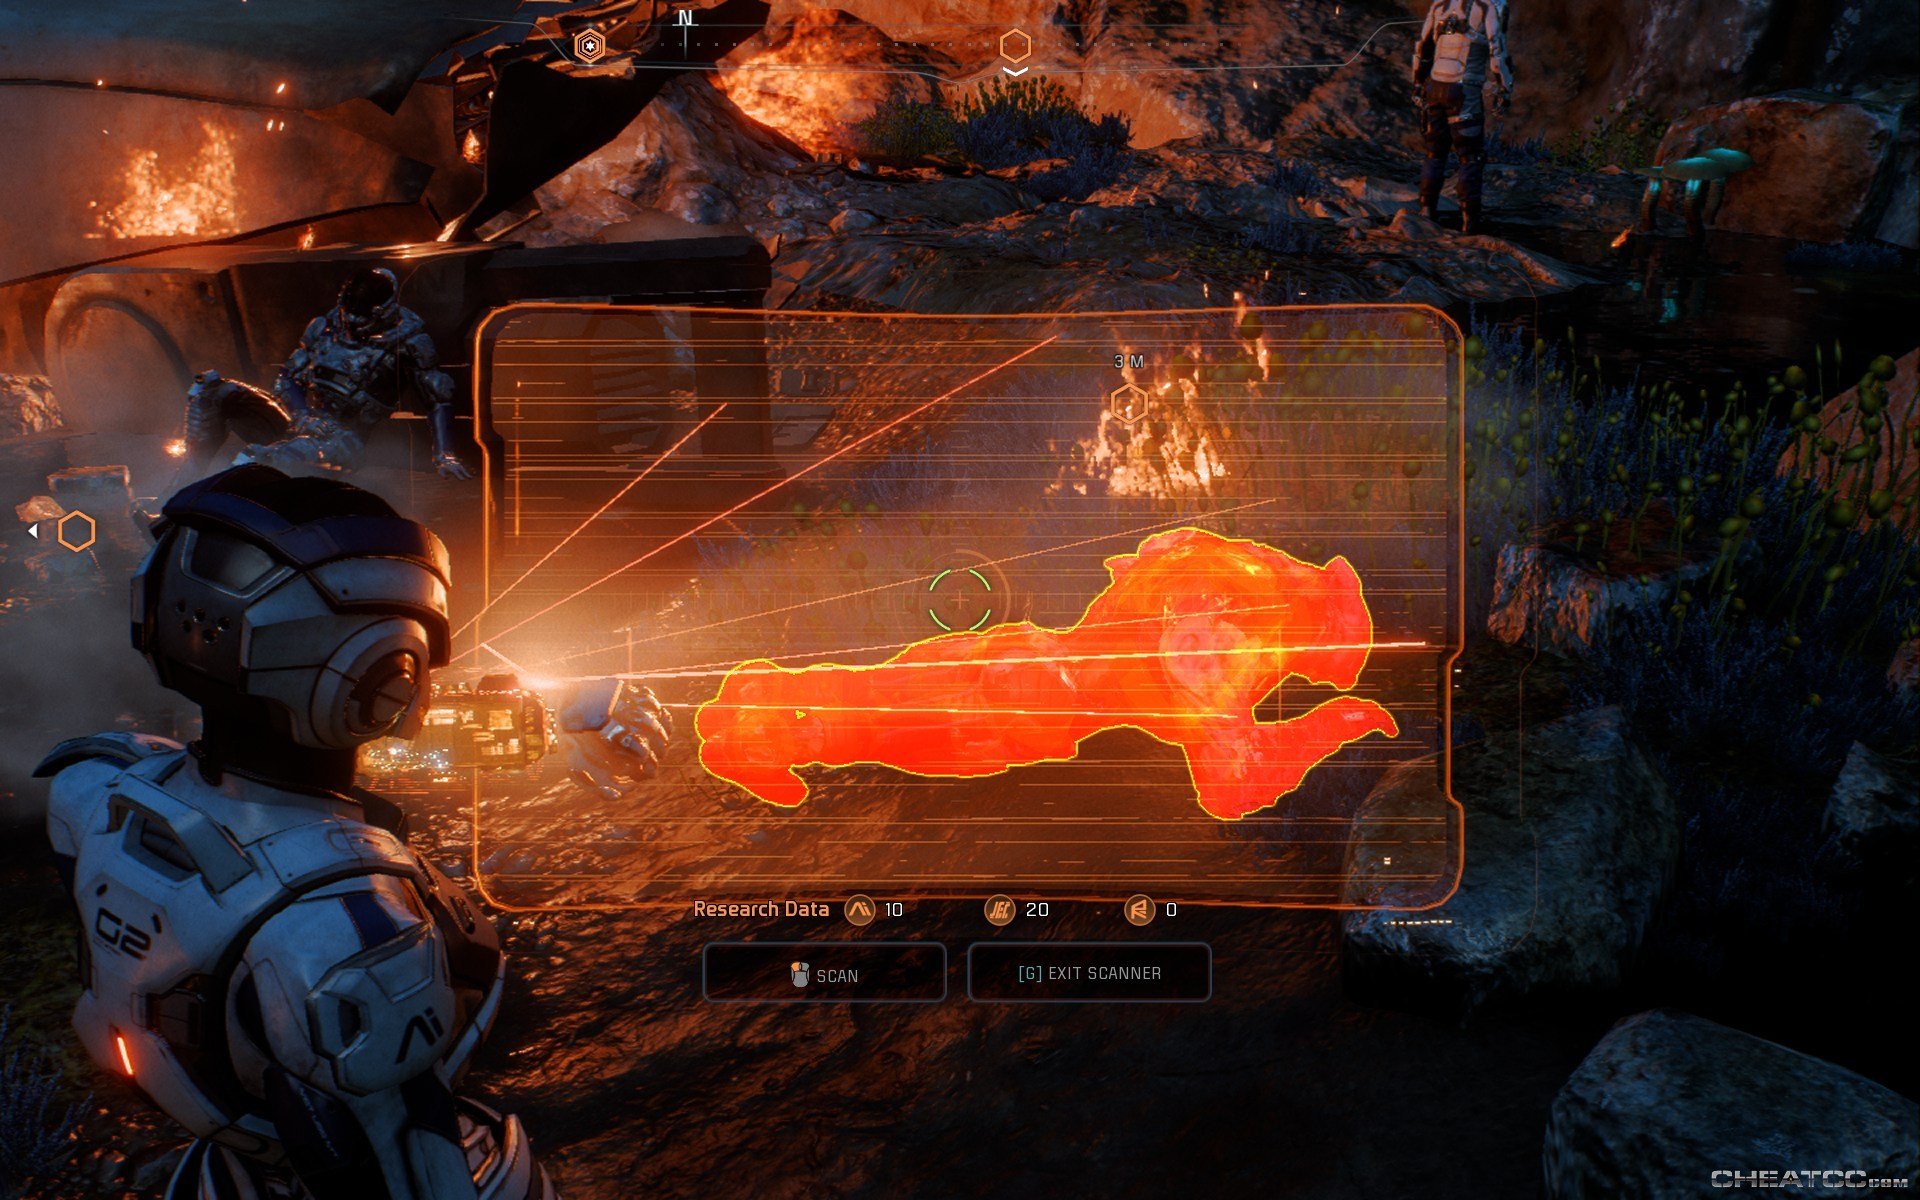
Dispose of these killers, then carefully scan everything in the area. Even items too big to fit in the scan window (such as the building itself) can be profitably analyzed.
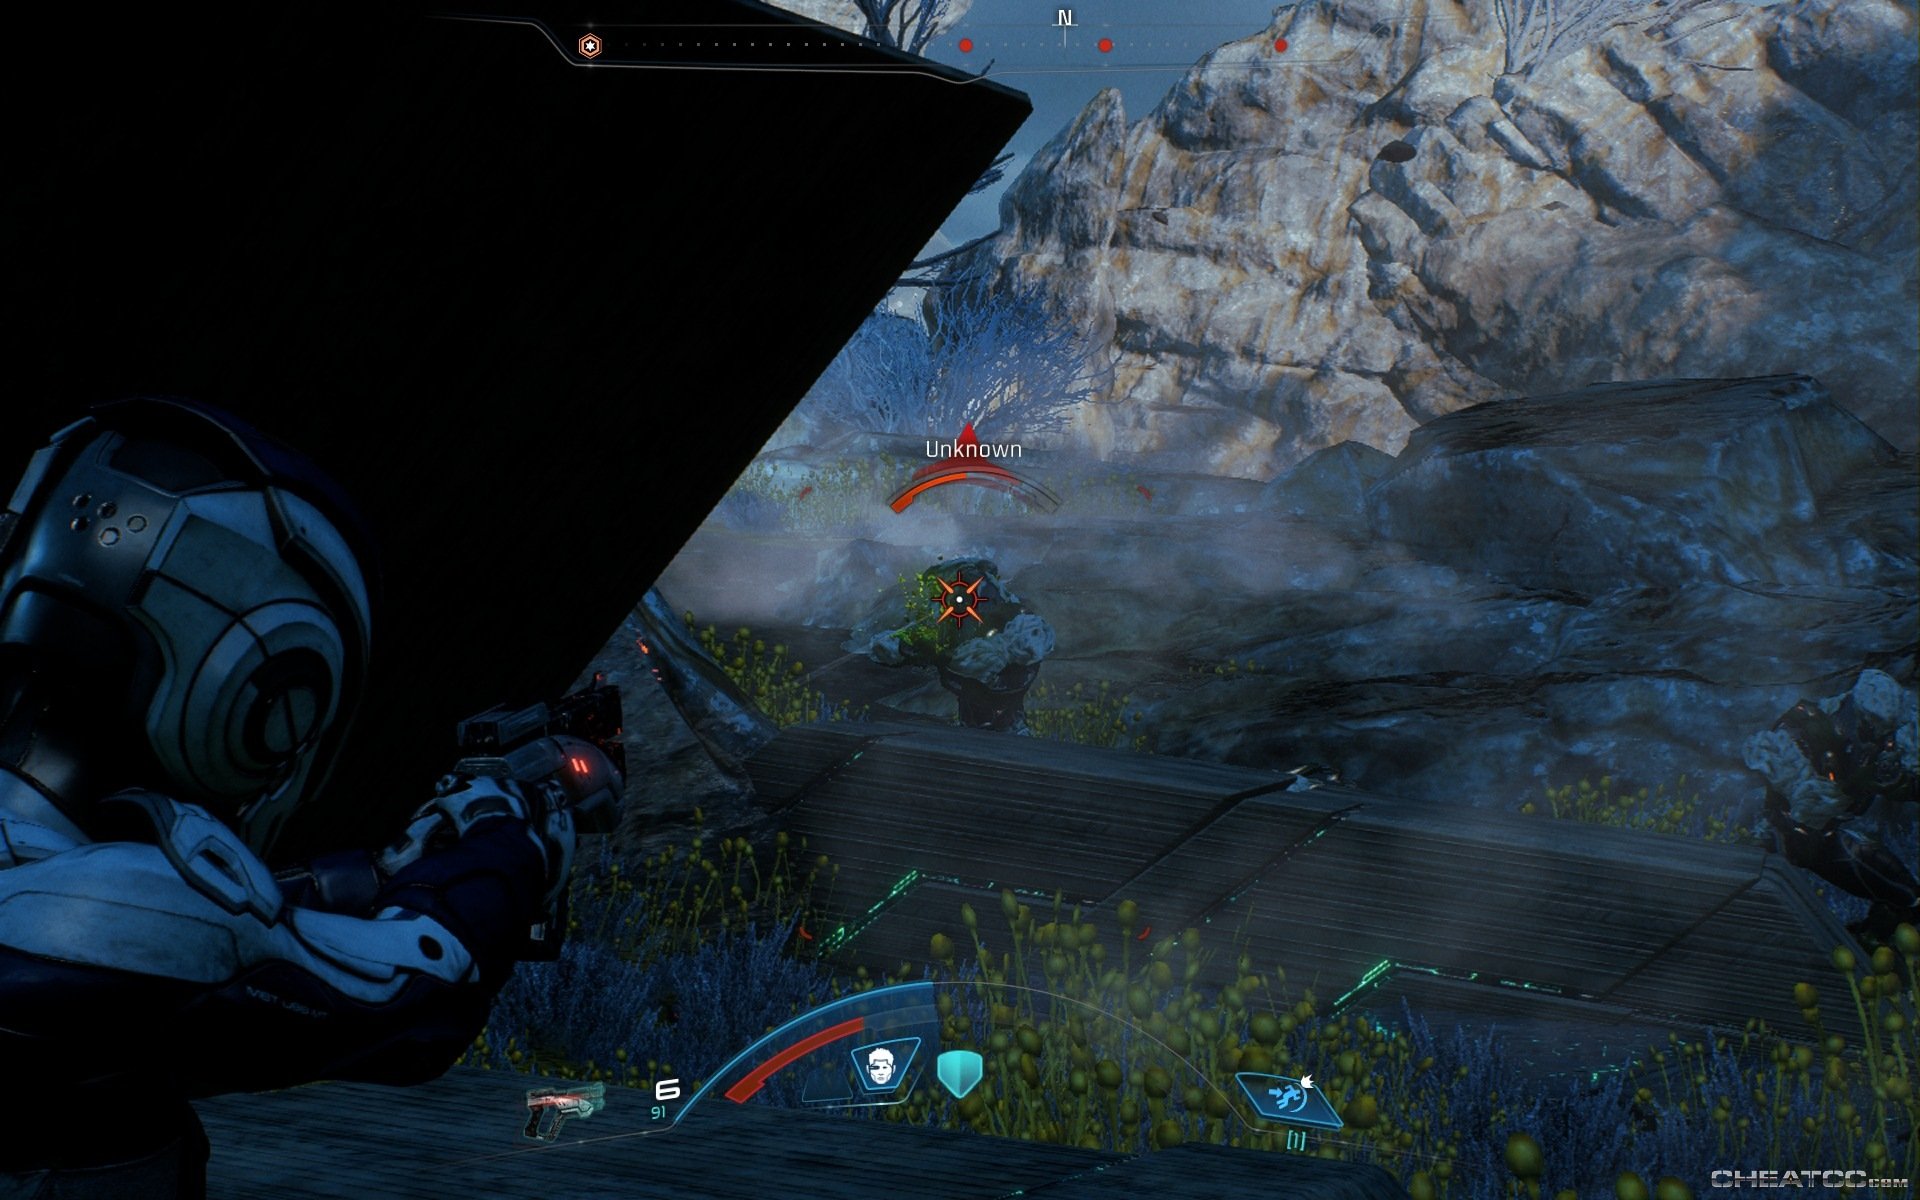
Bear west for more enemies and more scanning. In particular, scan any machine you don't recognize. As the path narrows you'll encounter a new enemy type- a bony shark-dog with cloaking capabilities.
They're not so tough, particularly in packs of one, but they can be fast. Don't worry if it goes down too quickly to really study- you'll see a lot more later. Do remember to scan its body before proceeding.
The next clearing has another burning shuttle fragment, as well as loot, ammo and an ambush. Happily, you can turn the lastmost there into the firstmost- this is the start of lootable enemy corpses in the game.
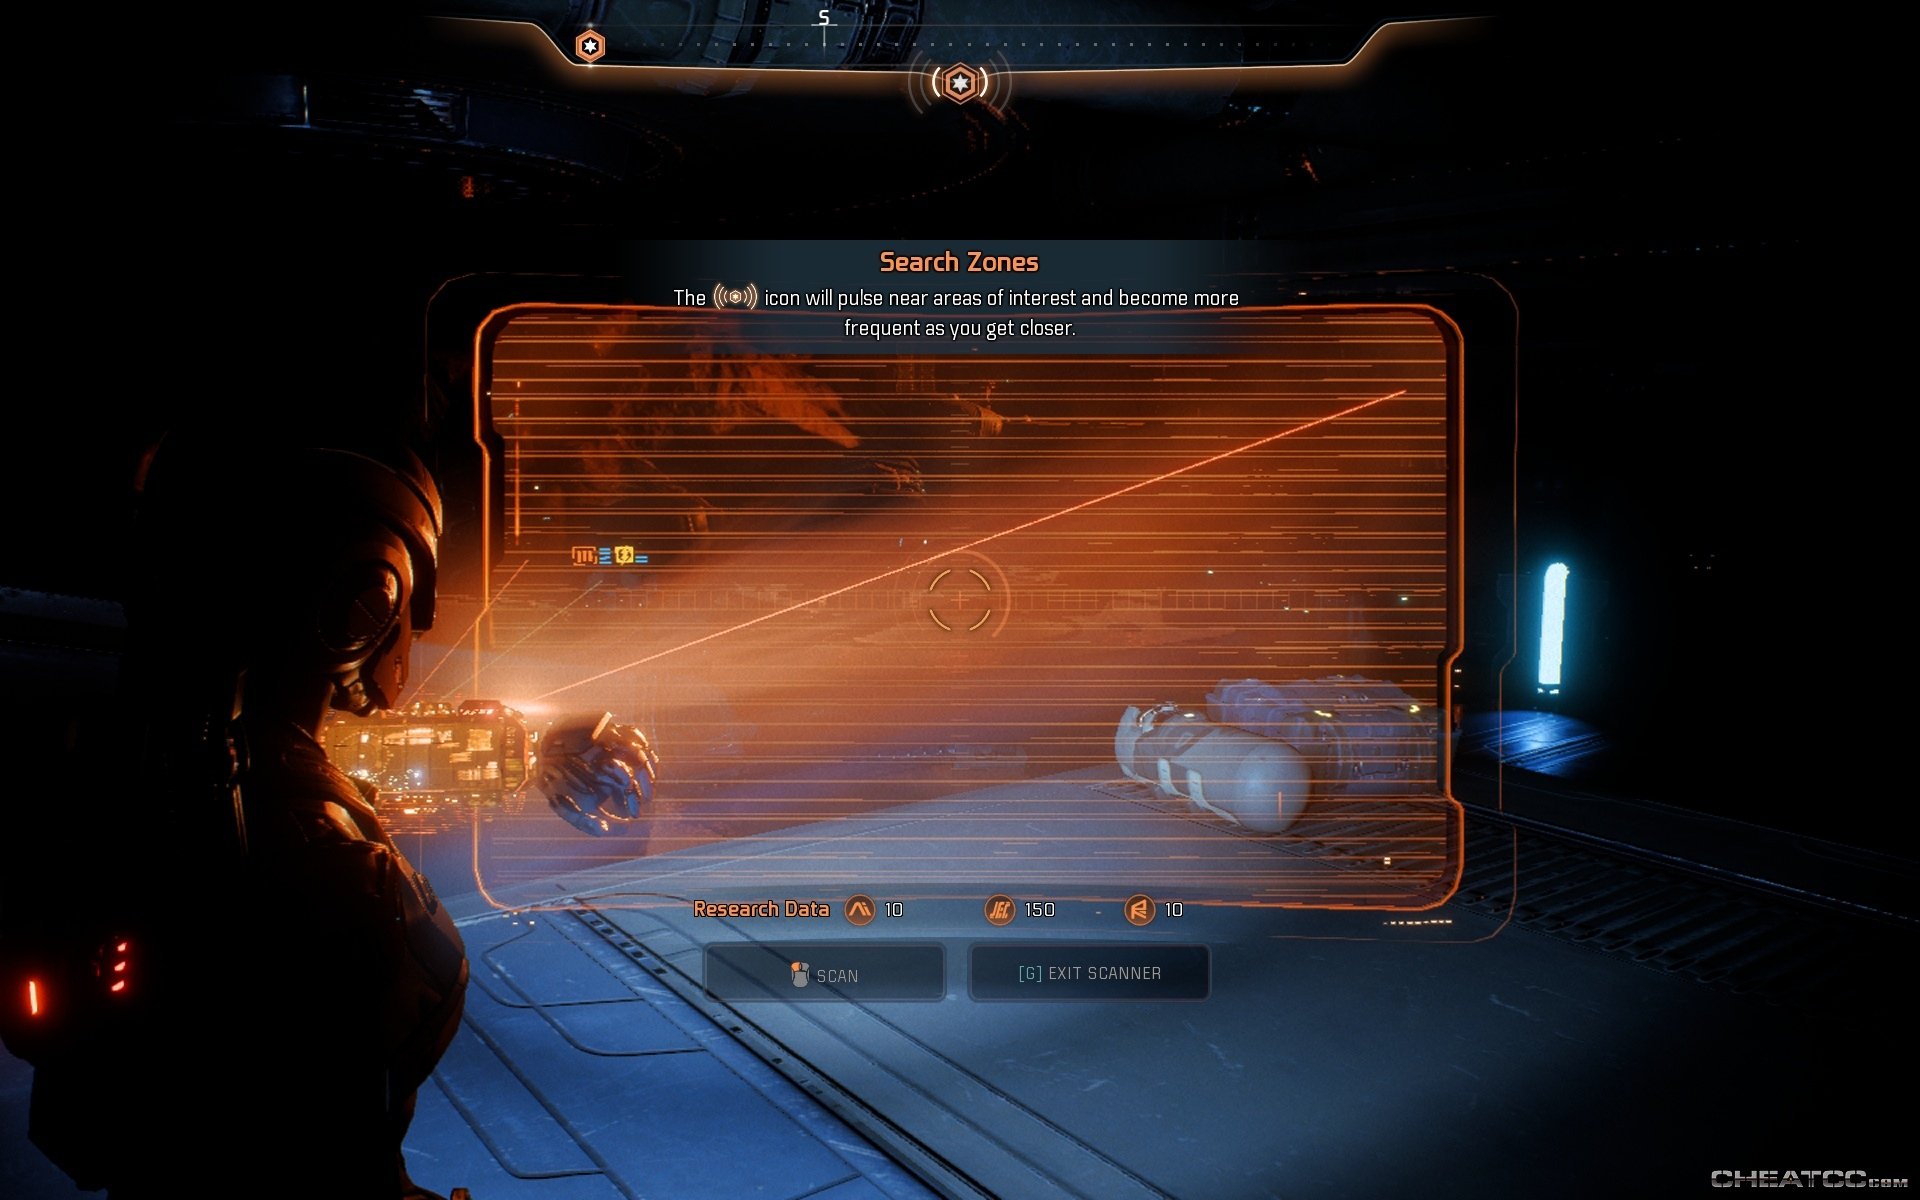
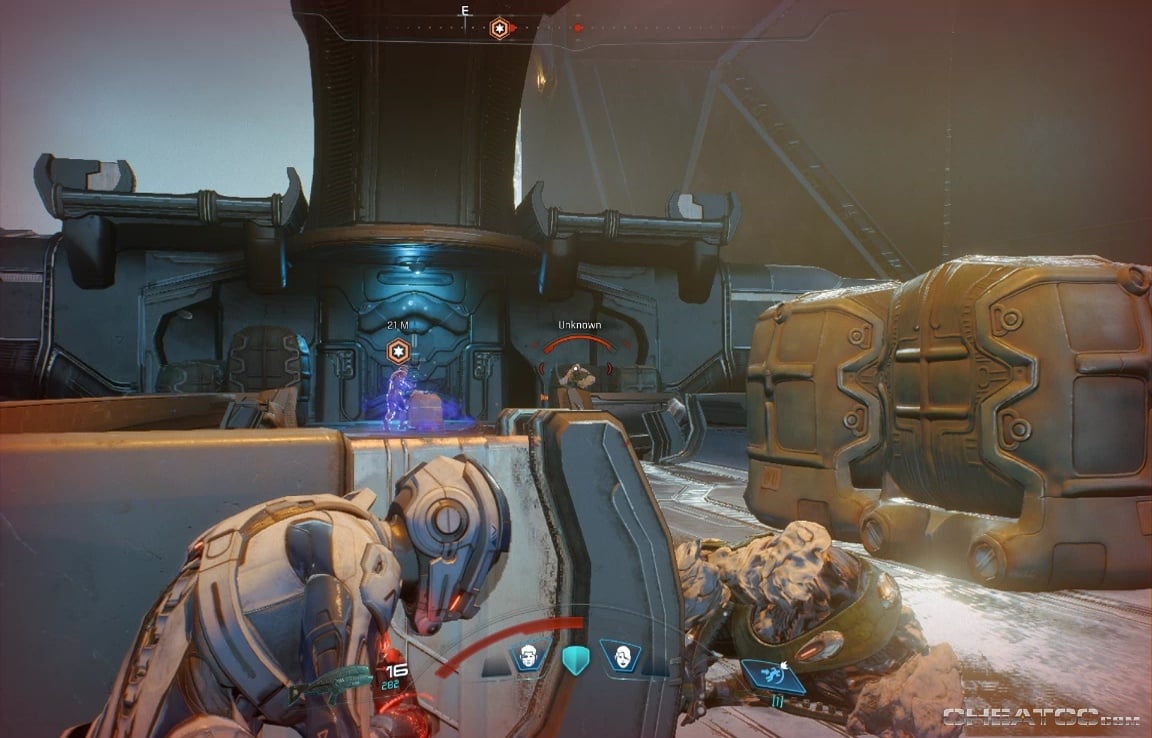
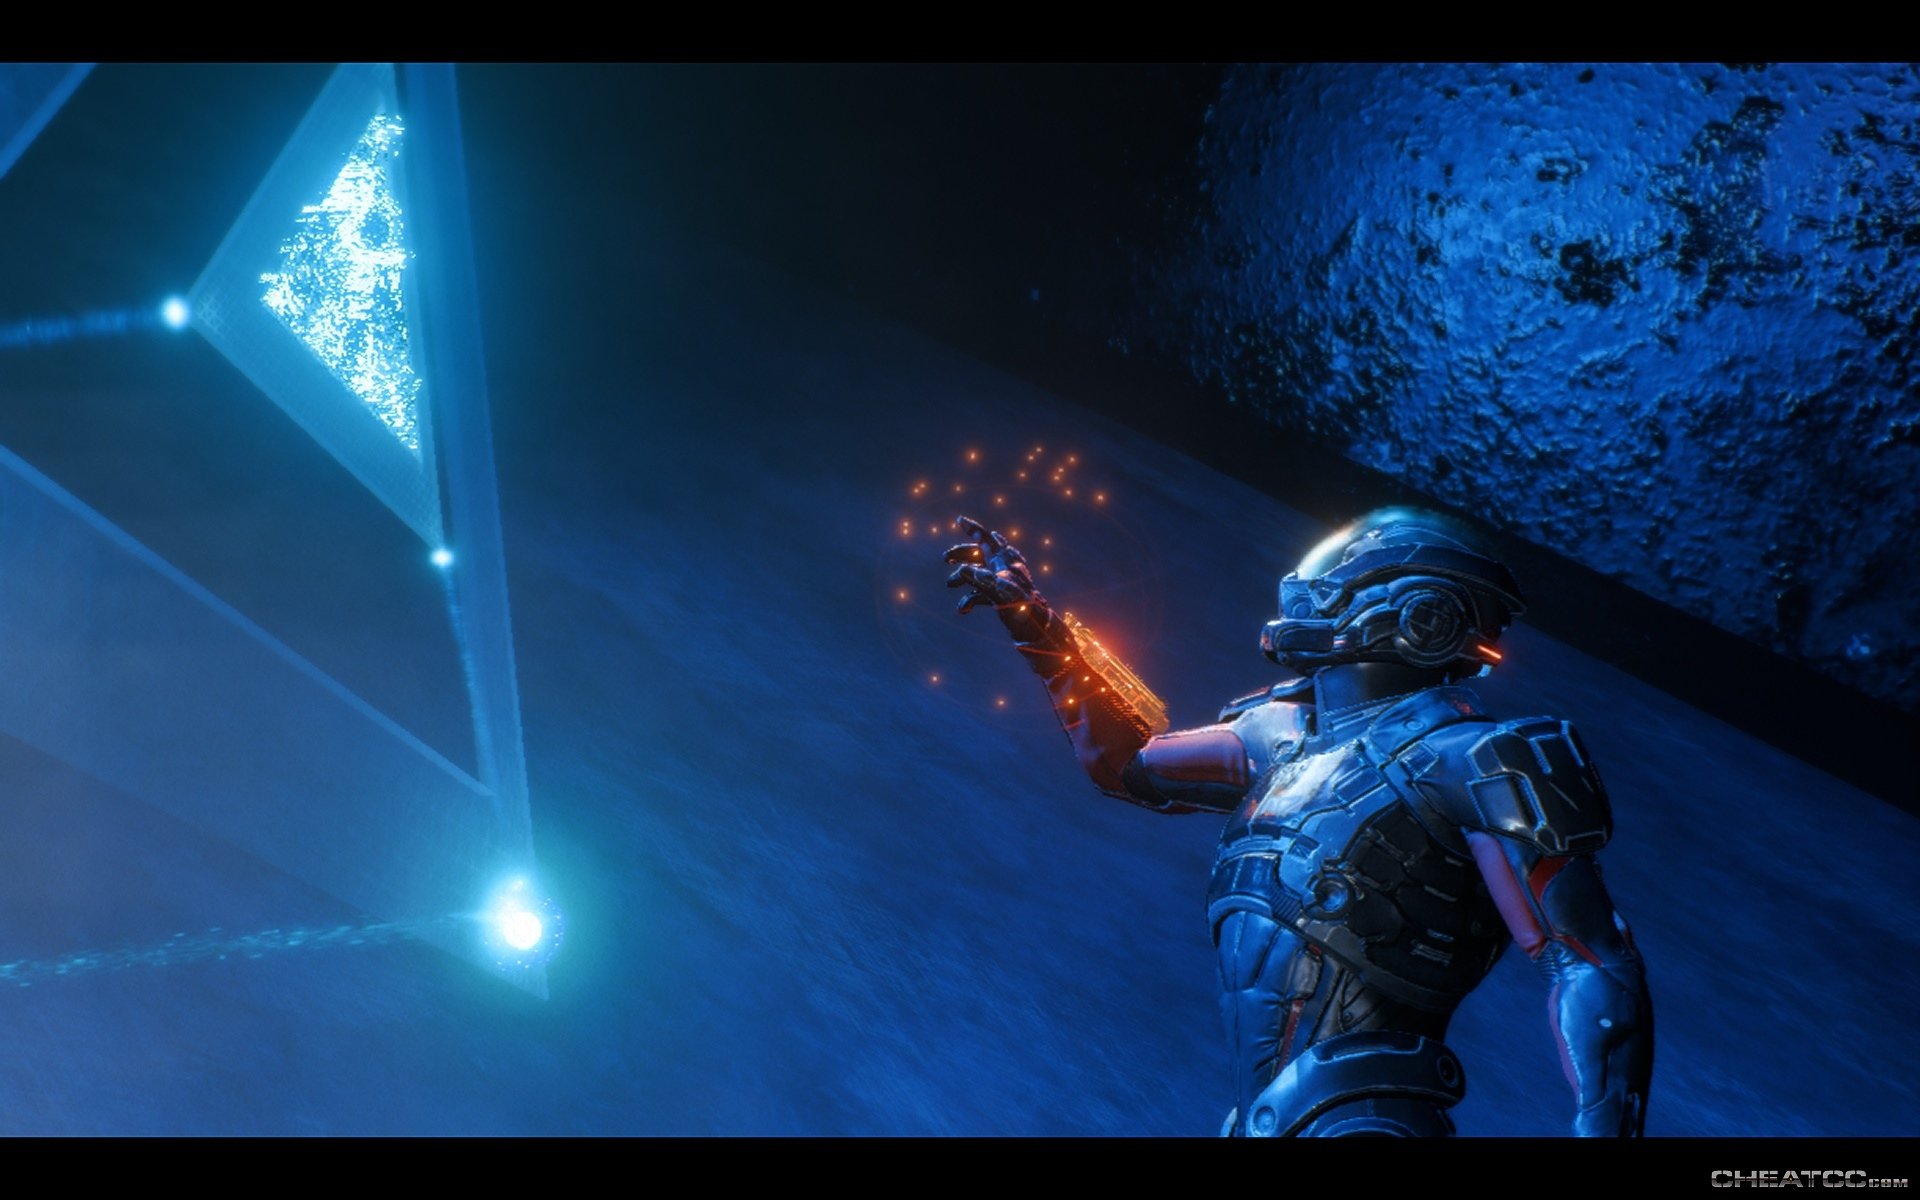
Continue to bear west and you'll encounter some alien ruins. Technically the rest of your team is still waiting for rescue, but you should never pass up alien ruins. It's probably a space law. This section introduces you to Search Zones- places of interest where an audible homing beacon will lead you to the crucial spot or item.
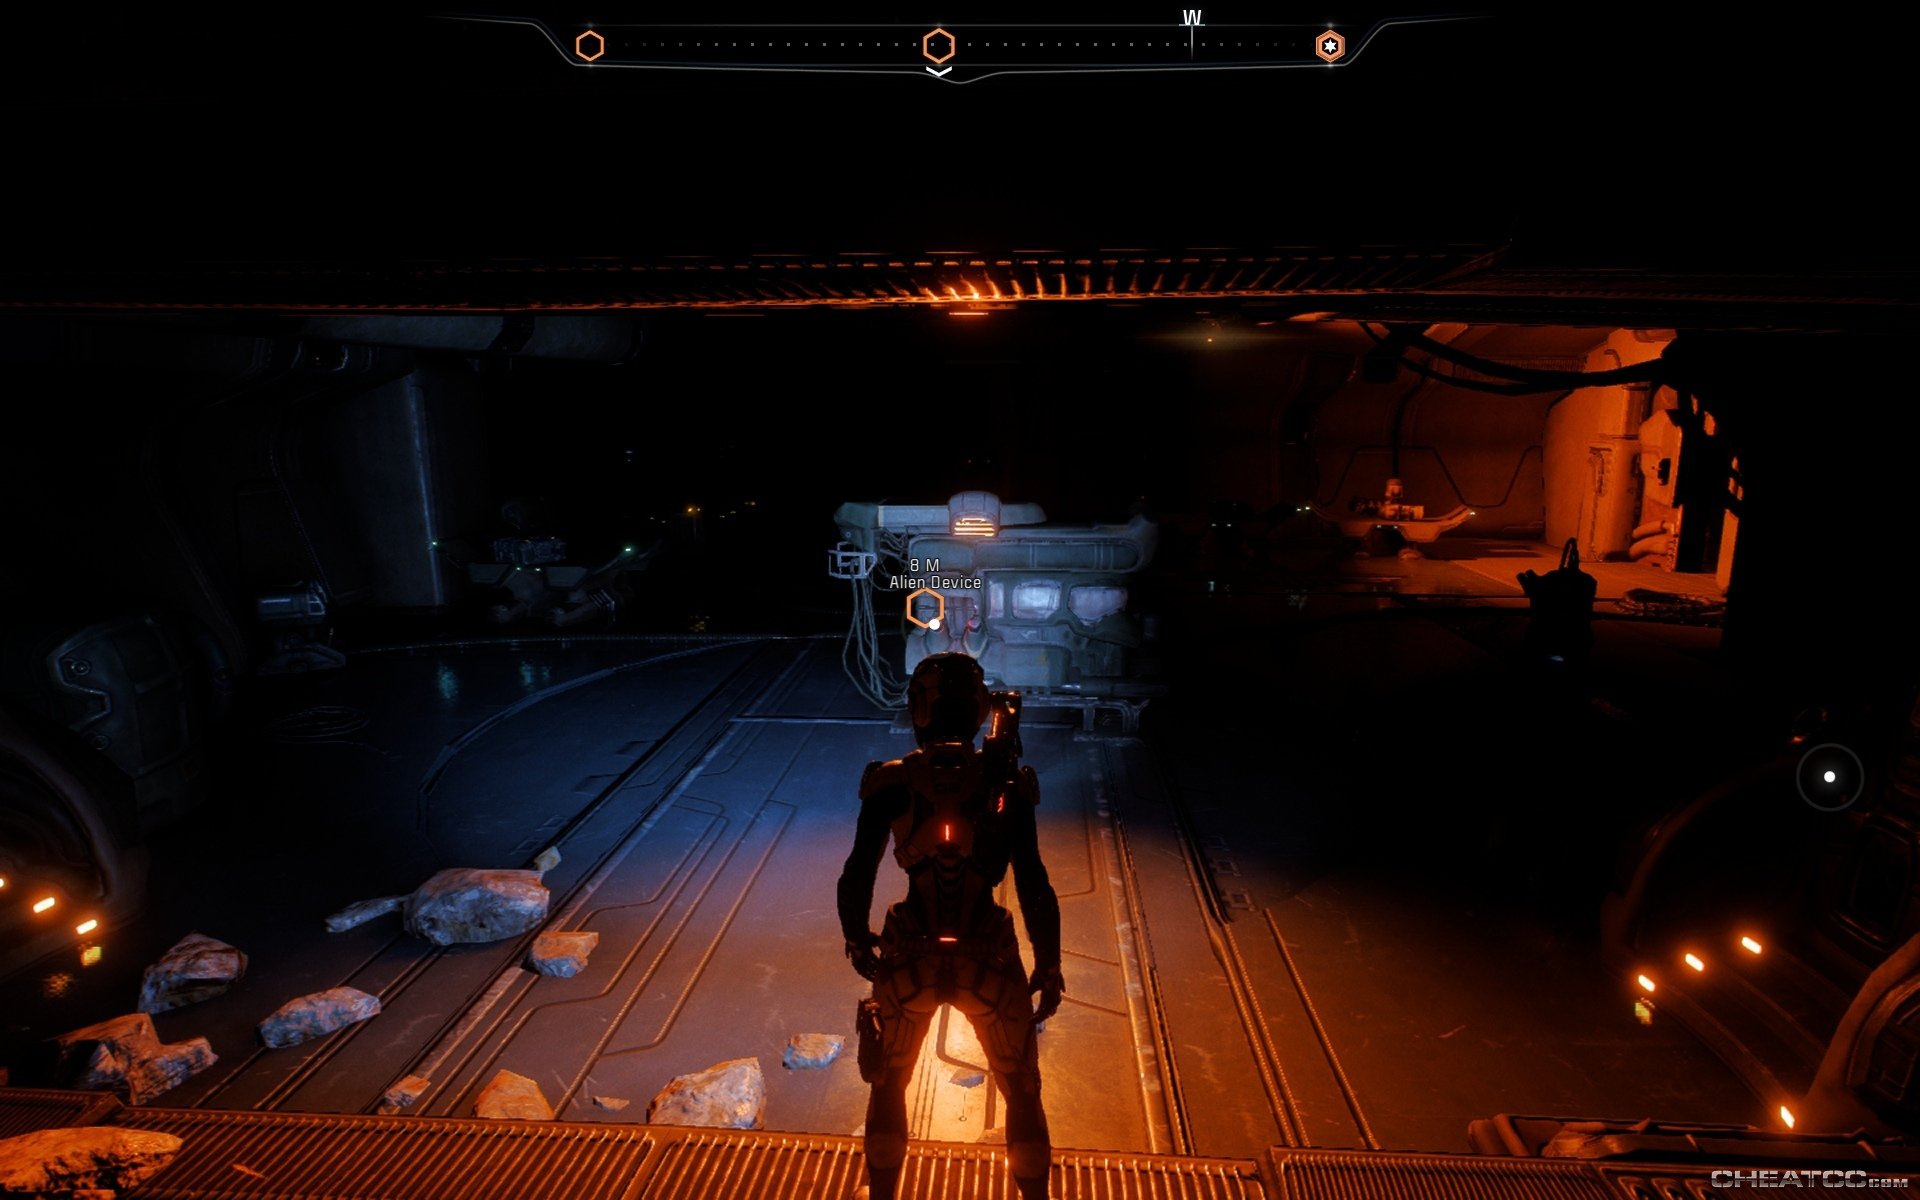
None of the containers here are trapped, so open any you come across. The beacon will eventually lead you to the second level of the structure, with a weird alien device.
Turn it on to restore power to the complex. There are many other alien machines here, and while you can (and should) scan them, they don't serve any function yet. The power surge did open up door on the first level, however, so trot back down there.
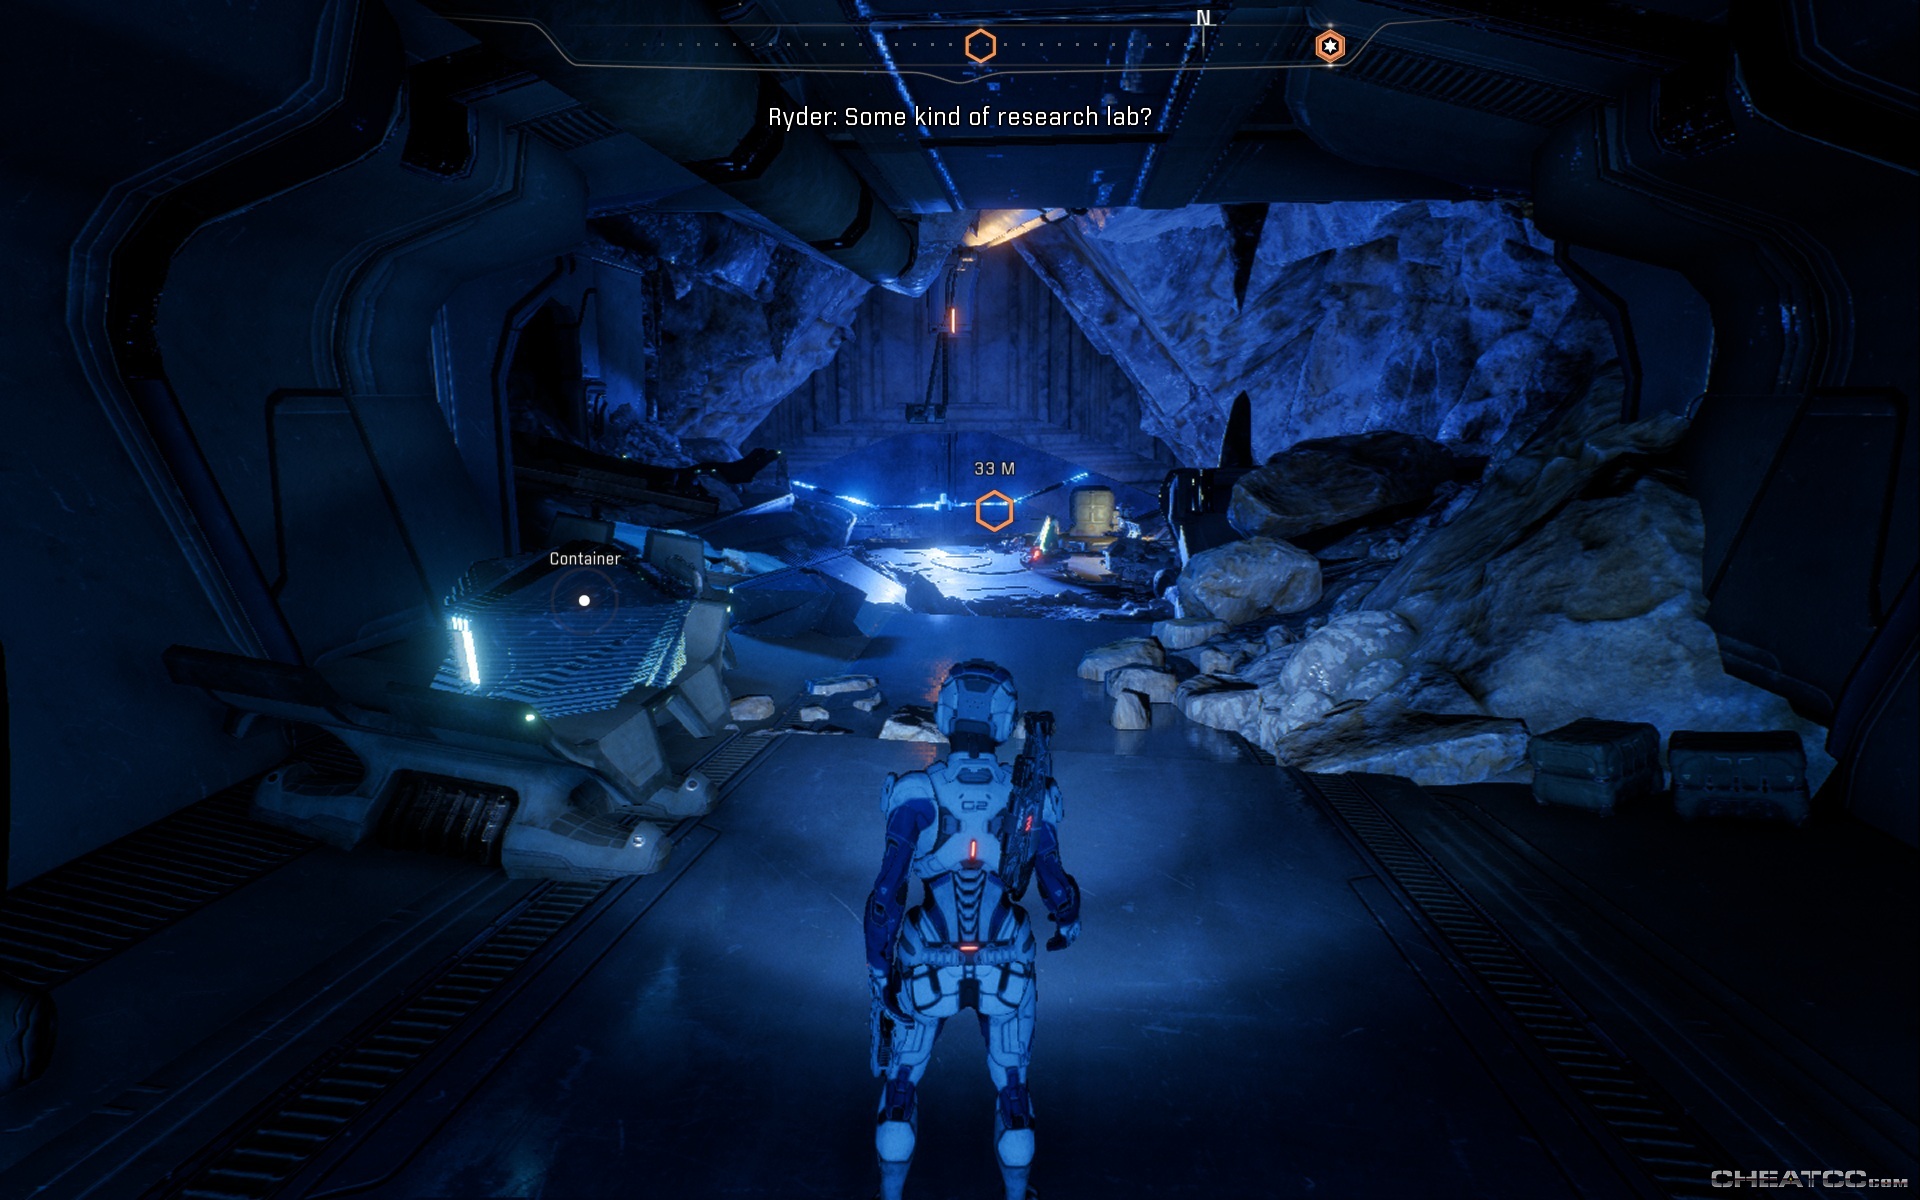
This tunnel has a few containers on the left, and some damaged alien machines at the bottom, one of which becomes a functional alien machine when you get too close. Gun it down and scan everything.
Take a last pass through for containers you might have missed when it was dark, then exit the complex, and clear the ambush of bonemen and sharkdogs just outside.
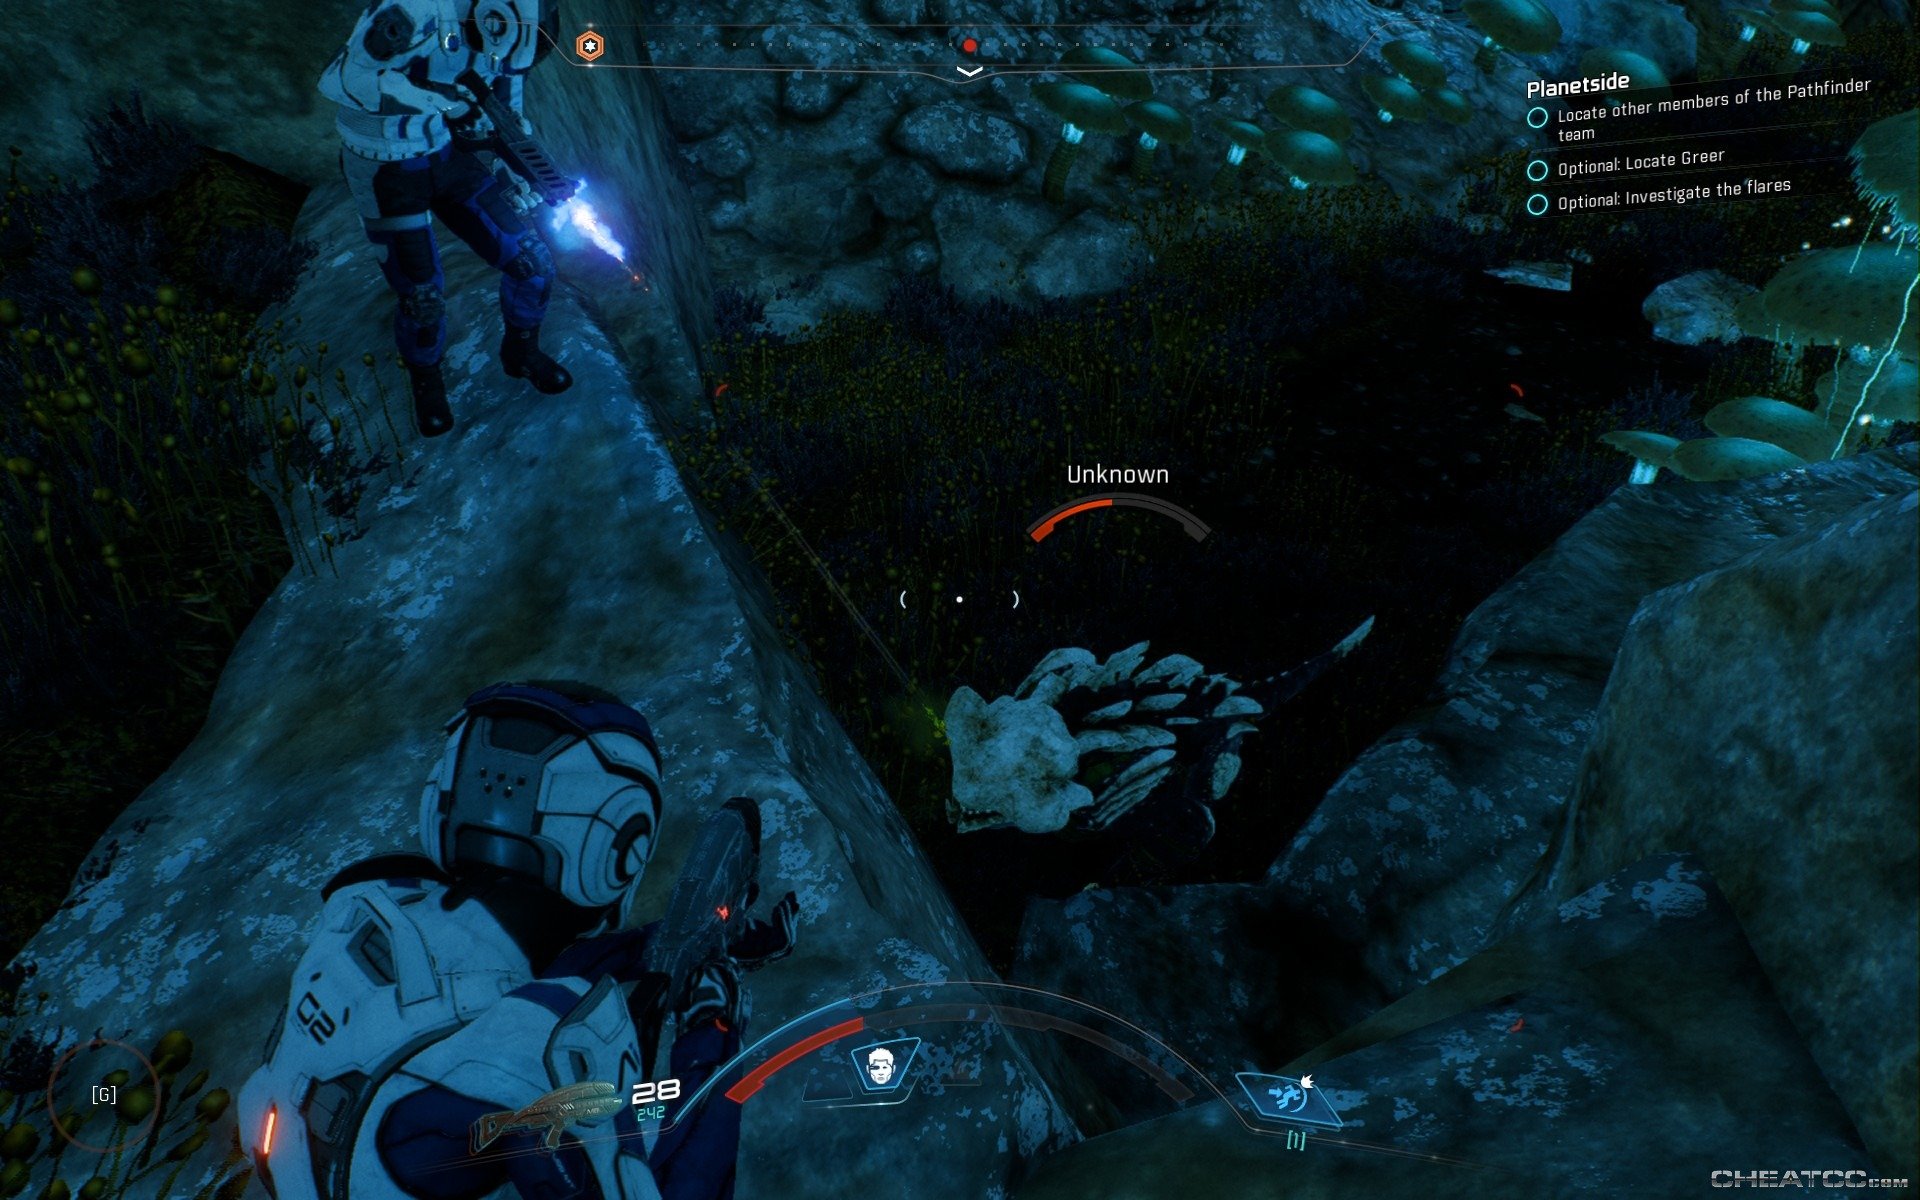
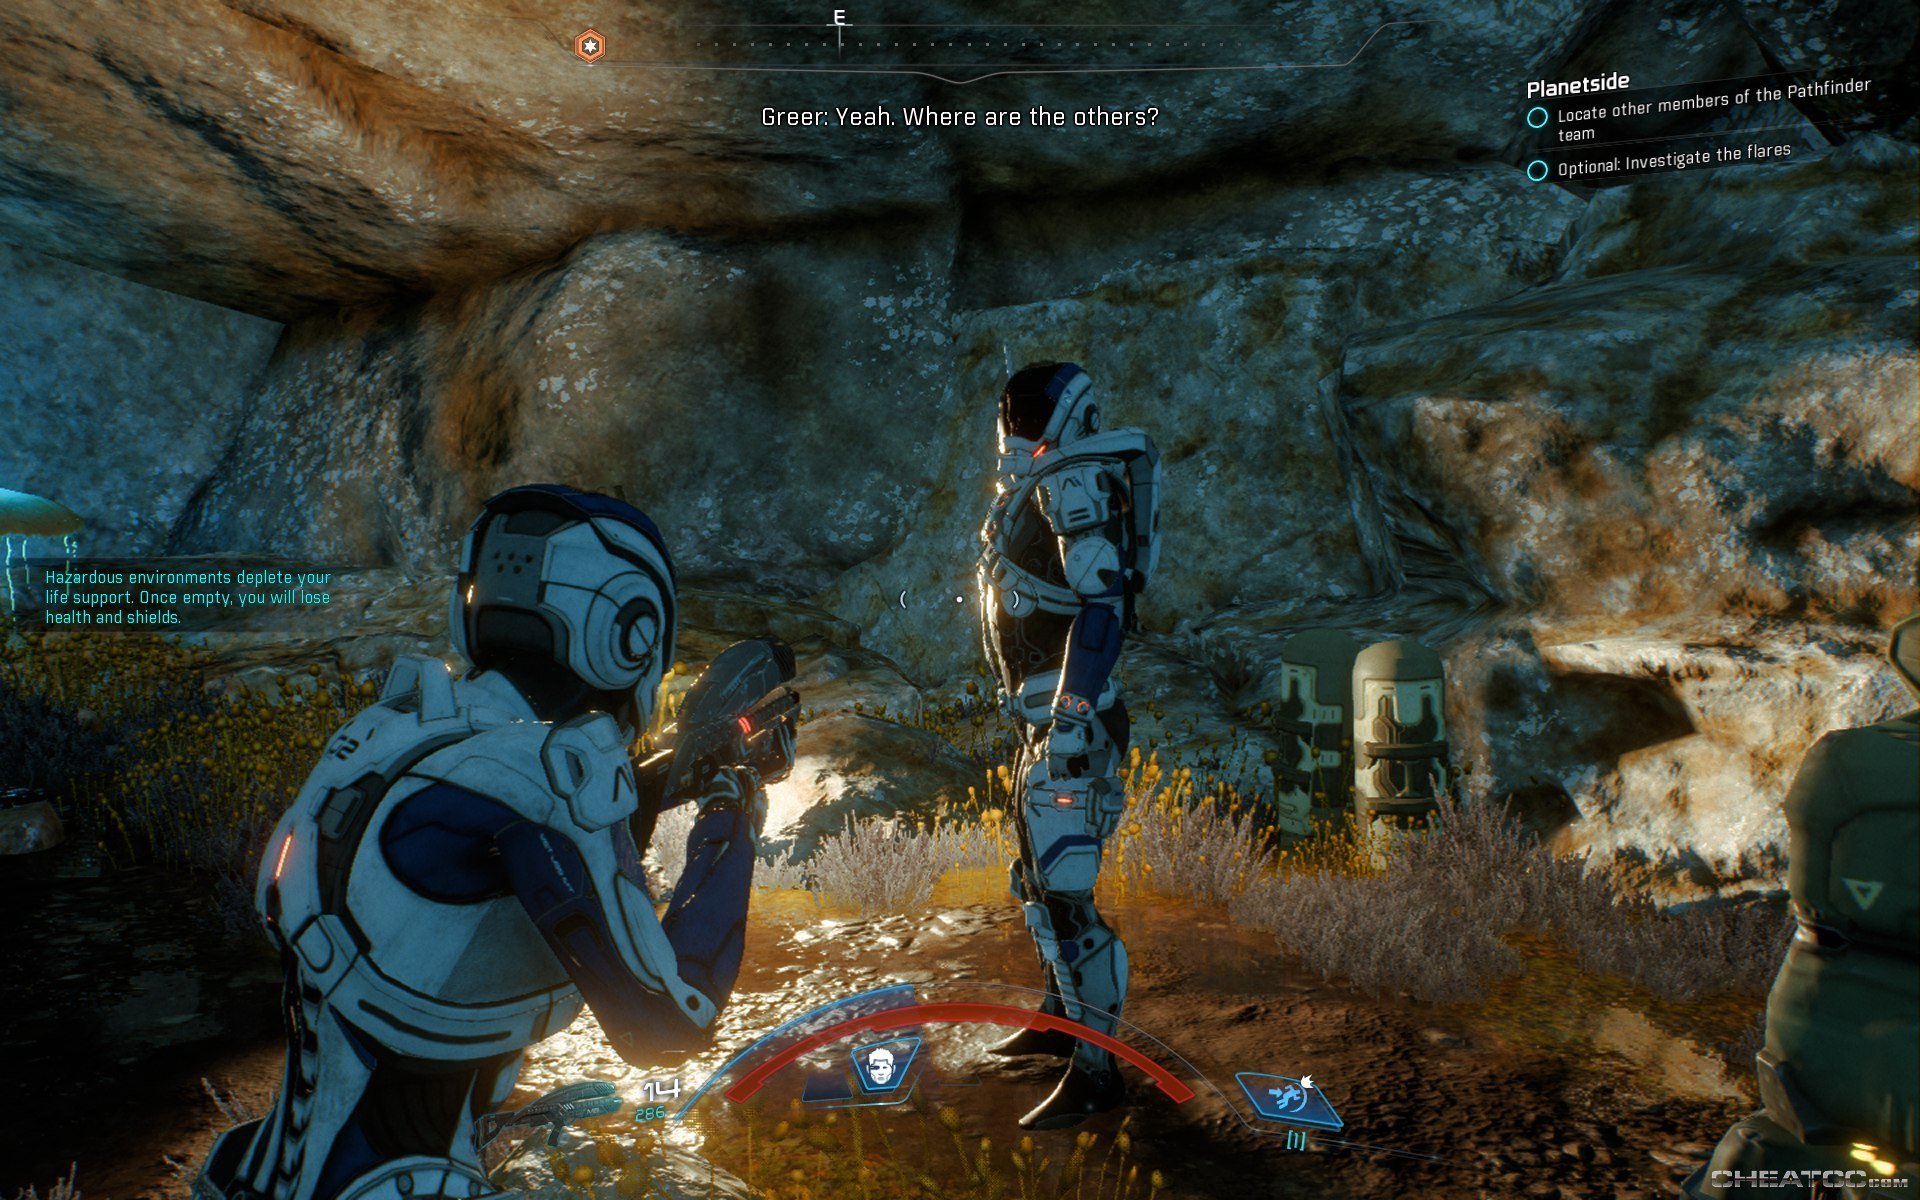
Follow the path just slightly north, then turn sharply east into a cave to rescue Greer.
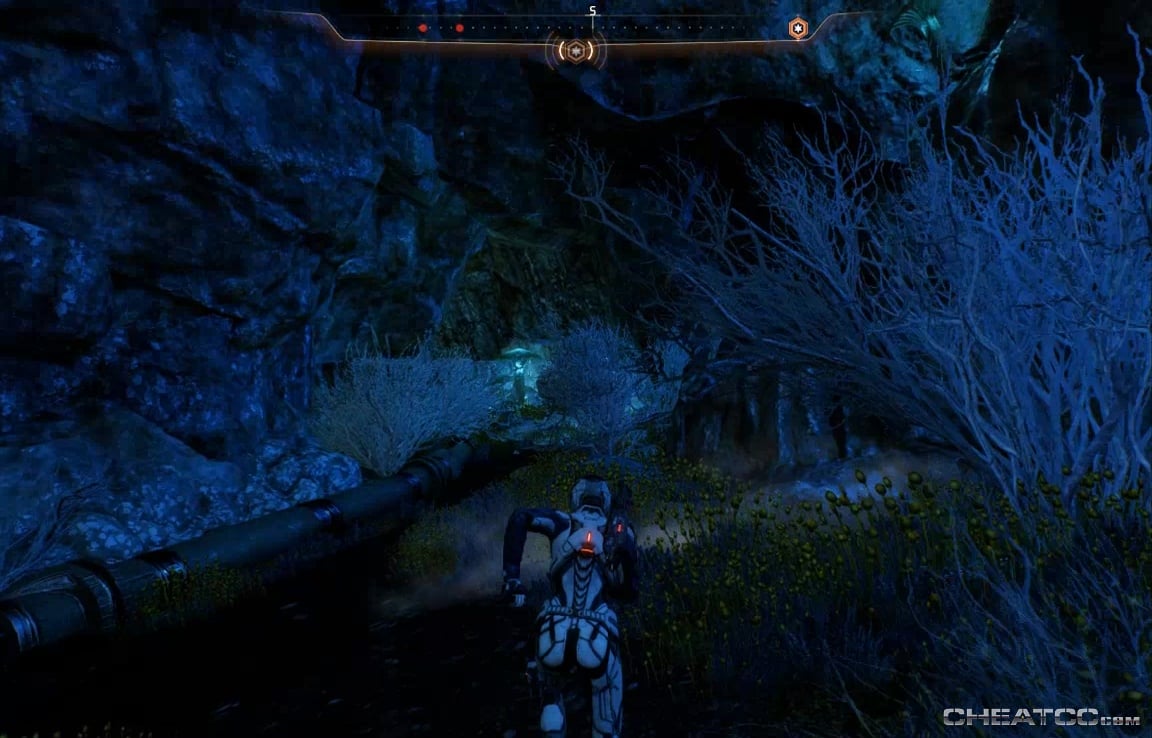
This cave also serves as into to hazardous environments- every second you spend in a hazard zone degrades your life support- once that runs out you start taking shield and health damage. Not good places to linger in.
There's an alien base entrance to the north of the valley where you can ambush/be ambushed by a patrol, but after the fun's done, make west for the double objective markers at the surviving shuttle. You'll have to jump a bit to get there, and when you do, your reward is fending off a few waves of bone aliens and sharkdogs, emerging from army-green dropships to the north.
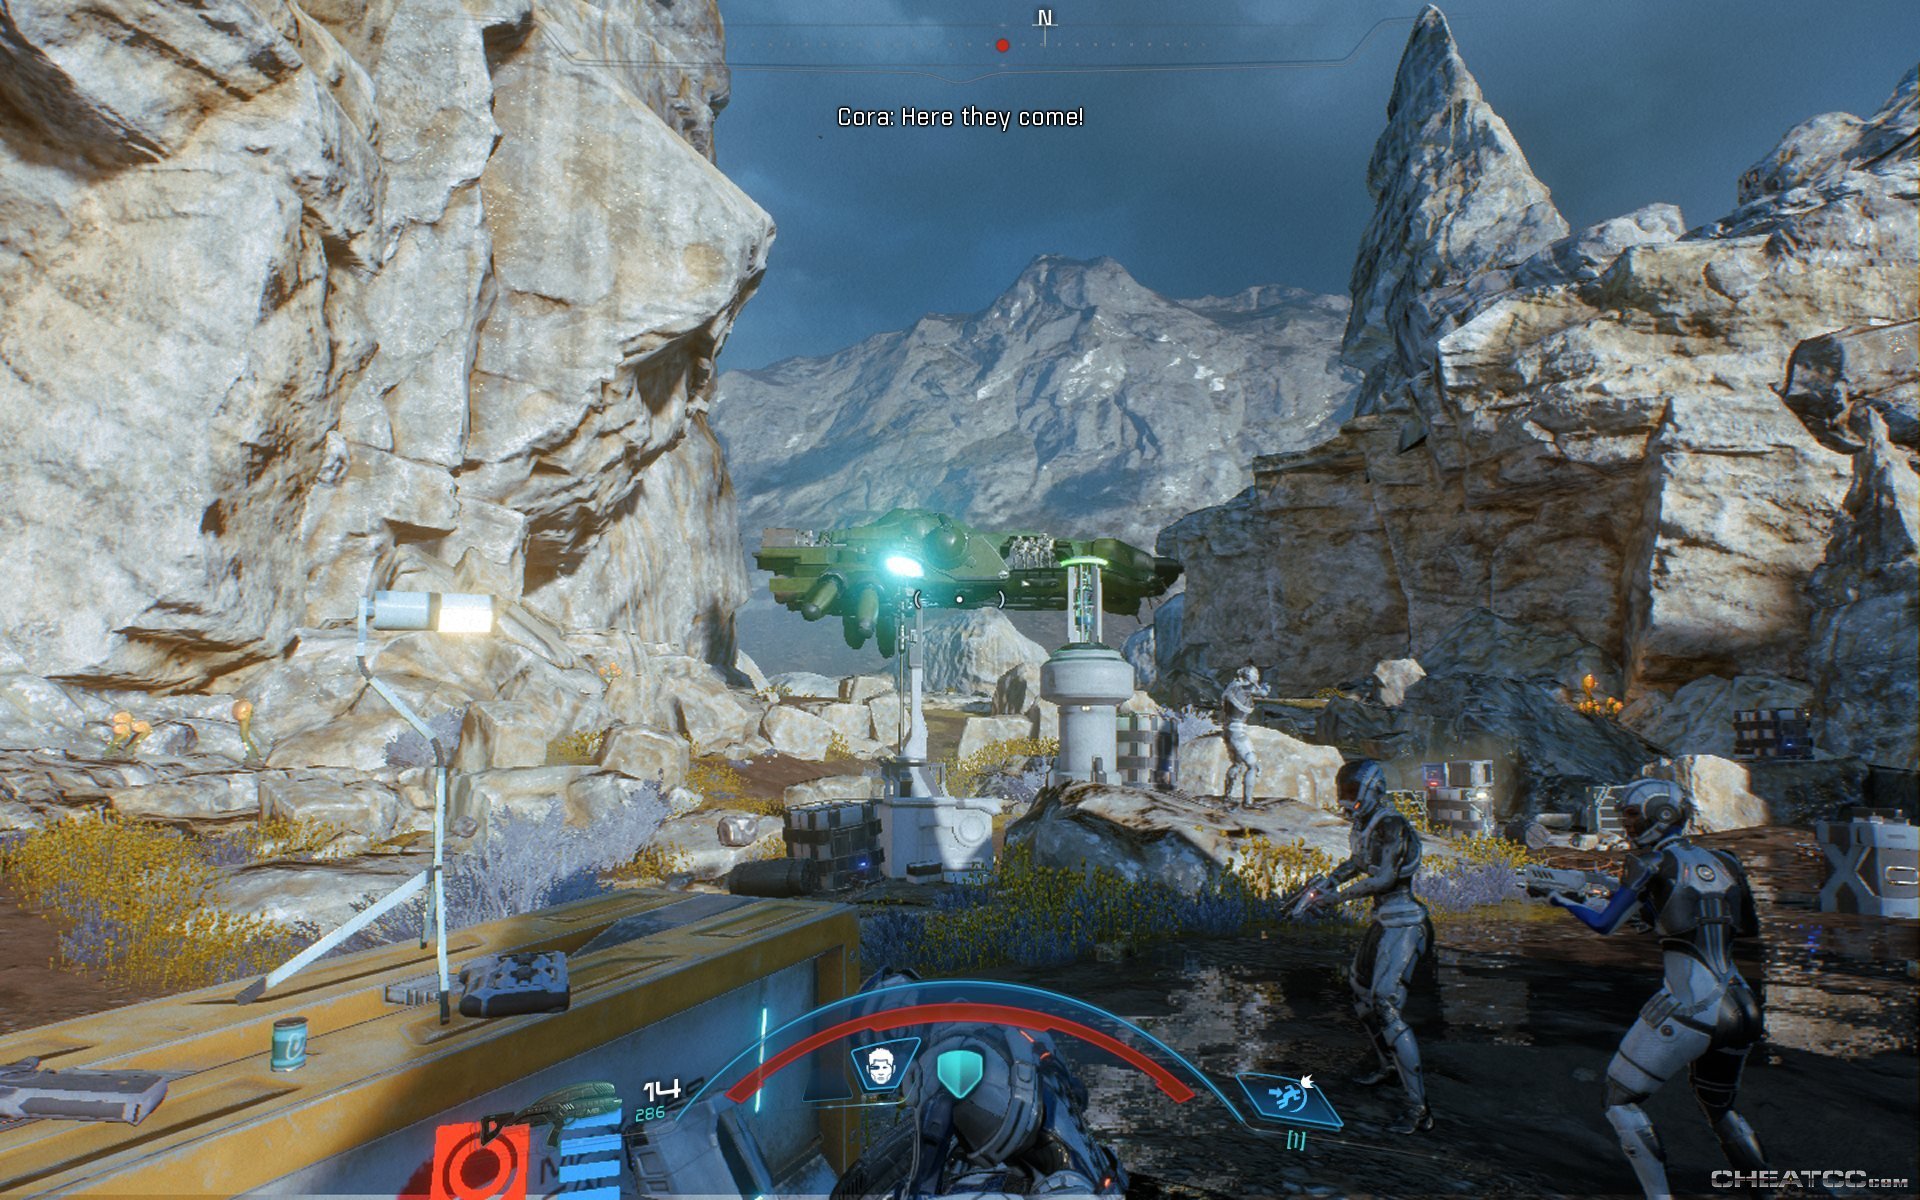
Shoot, blast, and knife your way through them. The extremely uneven terrain makes the scrapper's Charge a pleasure to use, and will rarely leave you in an undefended position. Just be careful using it against Heavy warriors- those shields can take a lot of punching.
There's plenty of ammo near the shuttle if you need it, as well as a weapons cache.
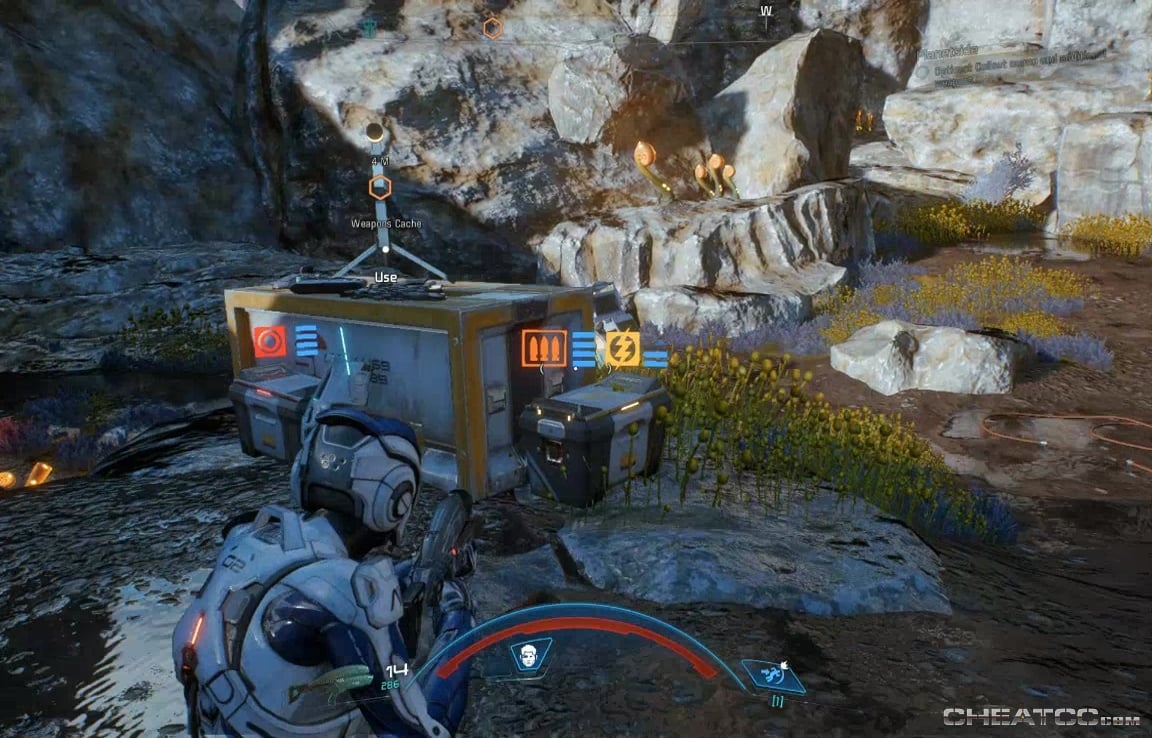
Use this gear and your class abilities to kill your way to an all clear.
![]()
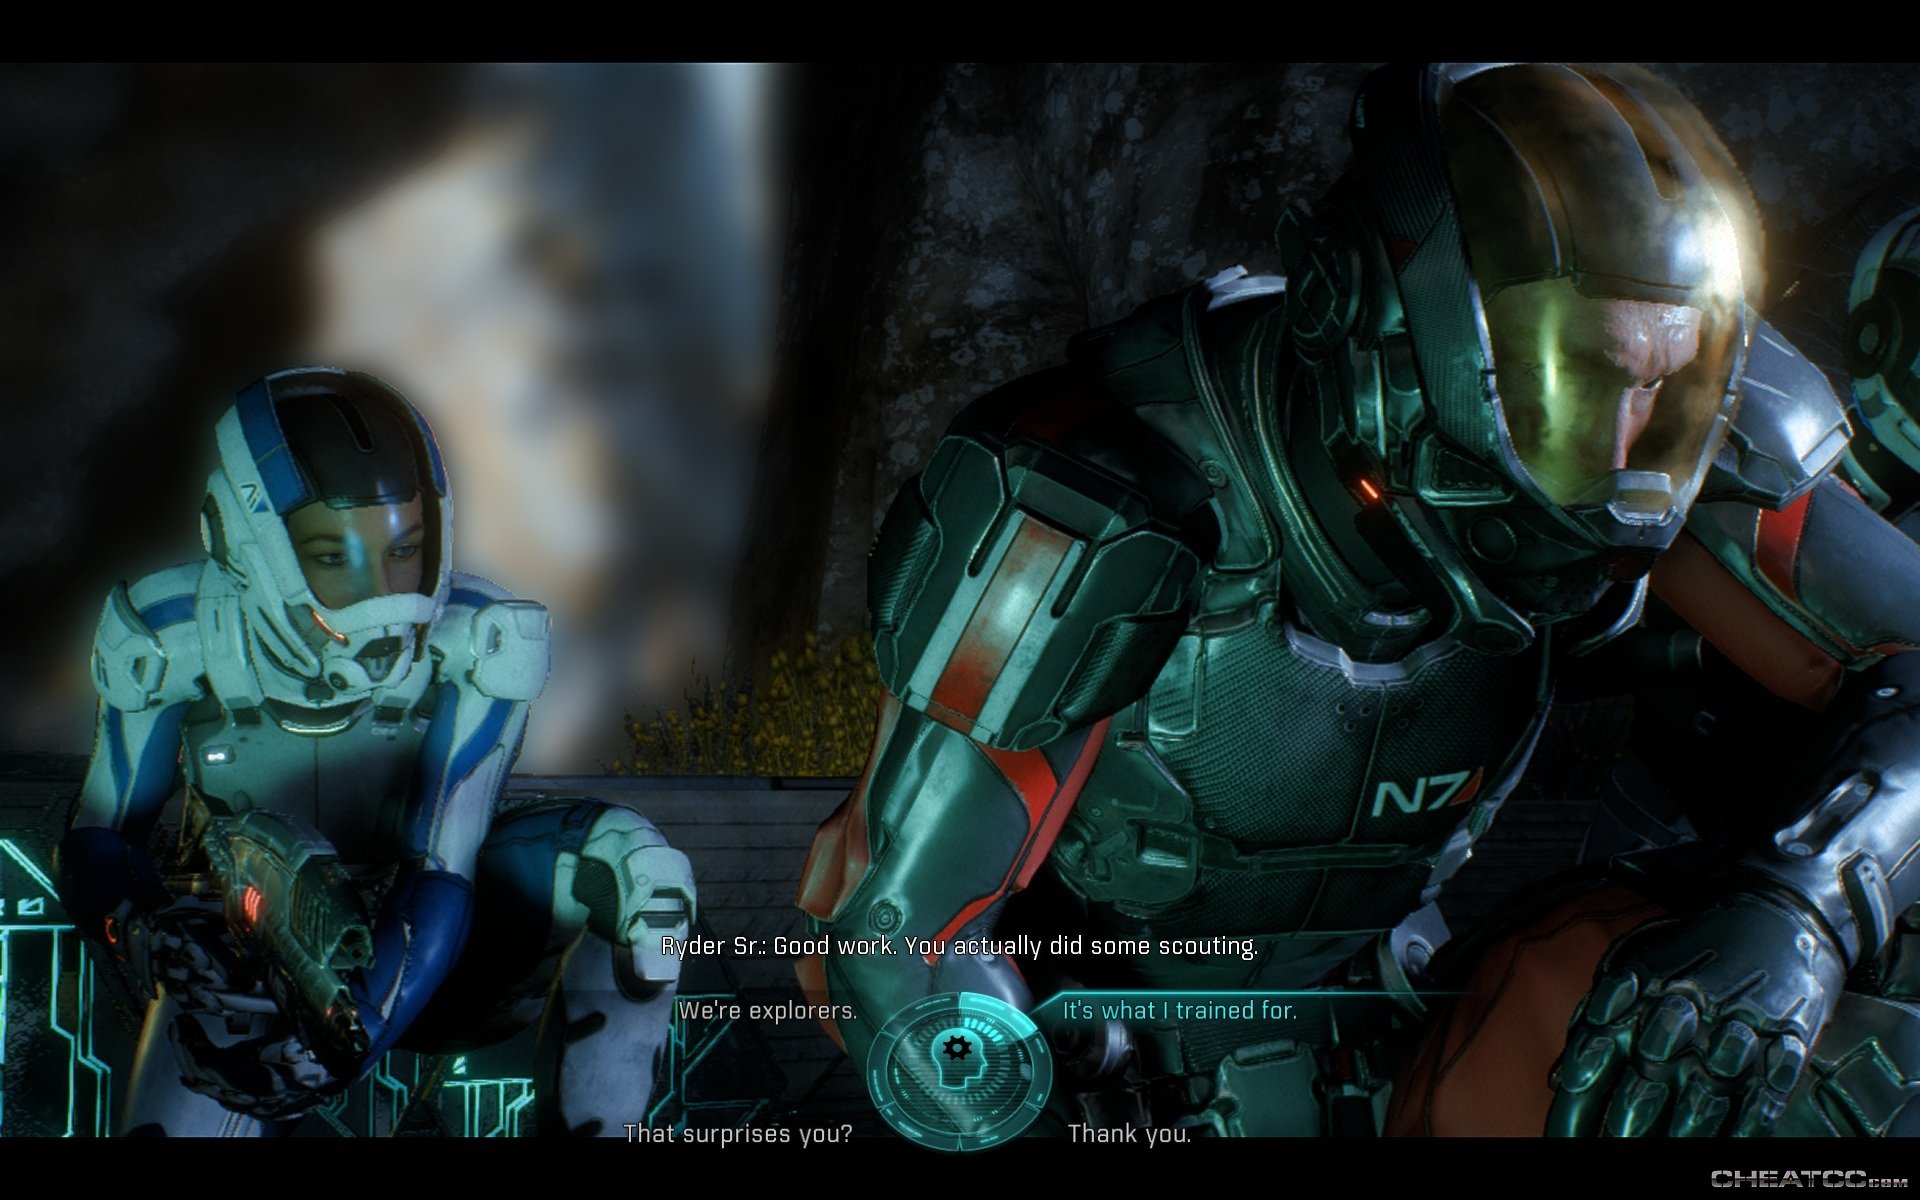
Let the scene play, loot any containers you haven't yet, then follow the objective to Ryder Sr- he's at that base with the patrol. The door is now open, and he's waiting for you. He's also tickled pink if you tell him about scouting the alien base. If you found the preserved pocket ecosystem you can work that into the convo too.
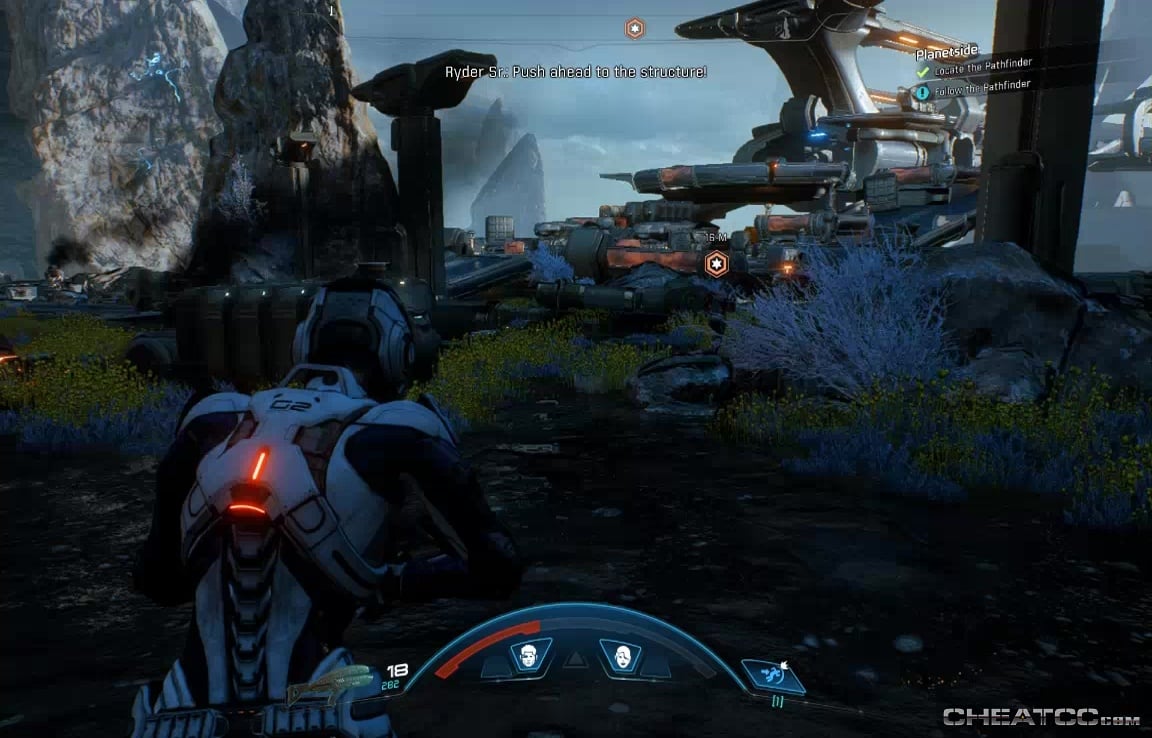
But leaving such family moments aside, it's time to assault the tower.
This isn't really a hard fight, but there are a lot of angles, so just be mindful of enemies that may be above you, or shooting from an alcove behind you. As always, the vanguard Charge is an easy way to close the distance with non-proximal fighters.
If you do find yourself in trouble, just hang back. Truth is that Ryder Sr. could probably clear this place on is own- and he pretty much will if you let him. Follow him up the levels, but do poke around the rooms here for some minor loot.
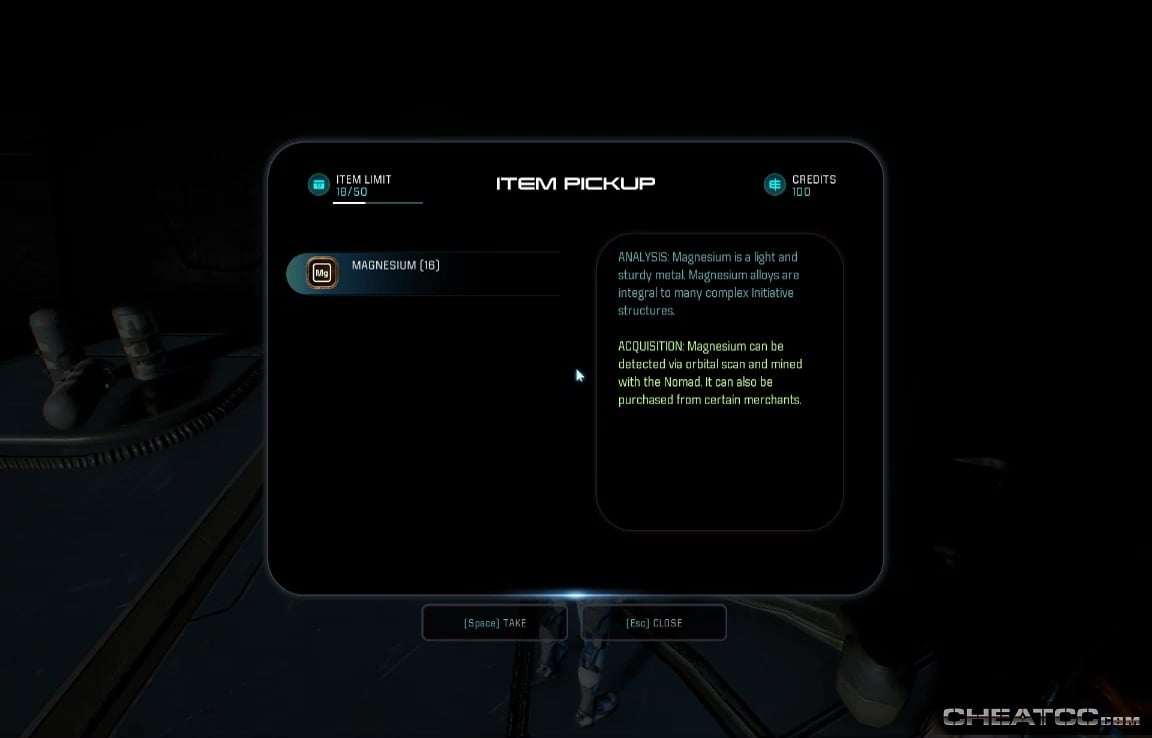
The best of it seems to be on the top level, included some mineral resources, which we haven't seen before.
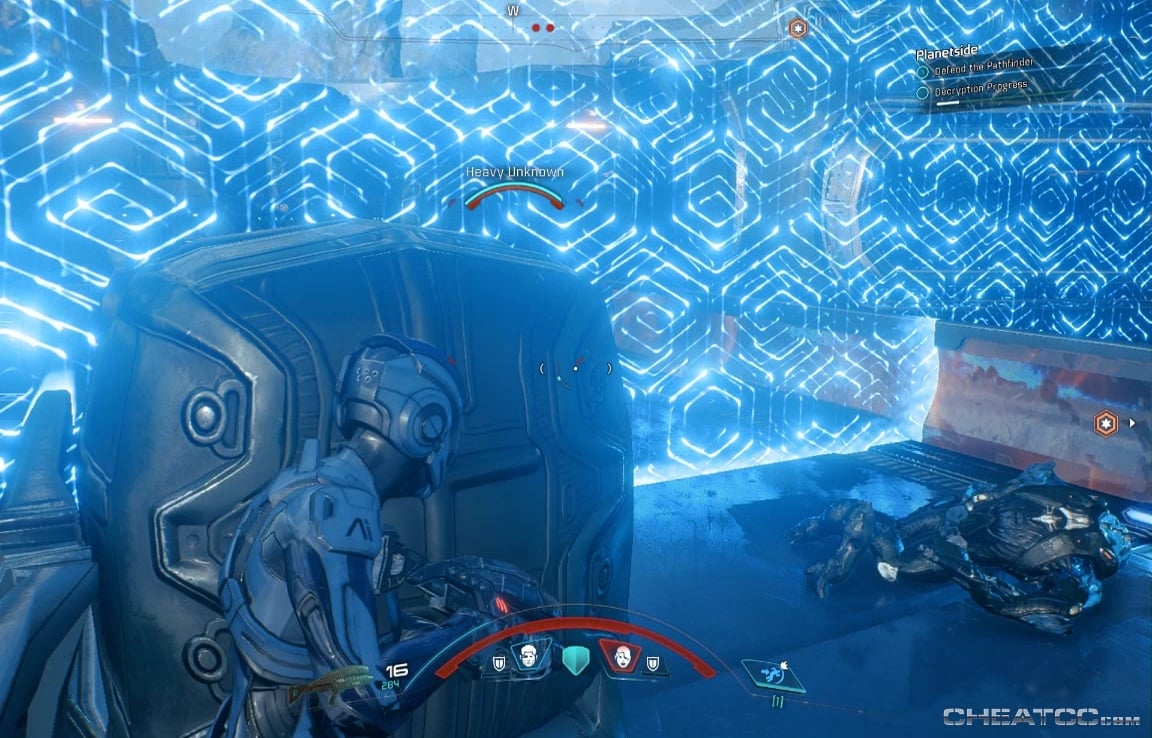
Rendevous with the gang up top to trigger a siege sequence. You'll also learn to direct squadmates (though it's not clear why Cora is taking orders from you). Put them in the indicated areas to begin the sequence.

You'll be attacked from two sides, but your squaddies are reasonably competent. As always, the biotic charge can get you from one end of the field to the other very quickly. Just don't go beyond the glowing white barriers- they aren't force fields but the mark the designated area of the encounter. Stray outside and the game snaps you back.
Defeat the oncoming enemies, then assist your dad at the door to trigger a cutscene sequence.
It goes on for a bit, making you wonder about how good the Initiative helmet really was, and the limitations of biotic forcefields, tech constructs, and omnigel. In anycase, you'll wake back aboard ship, and eventually dock with the Nexus.
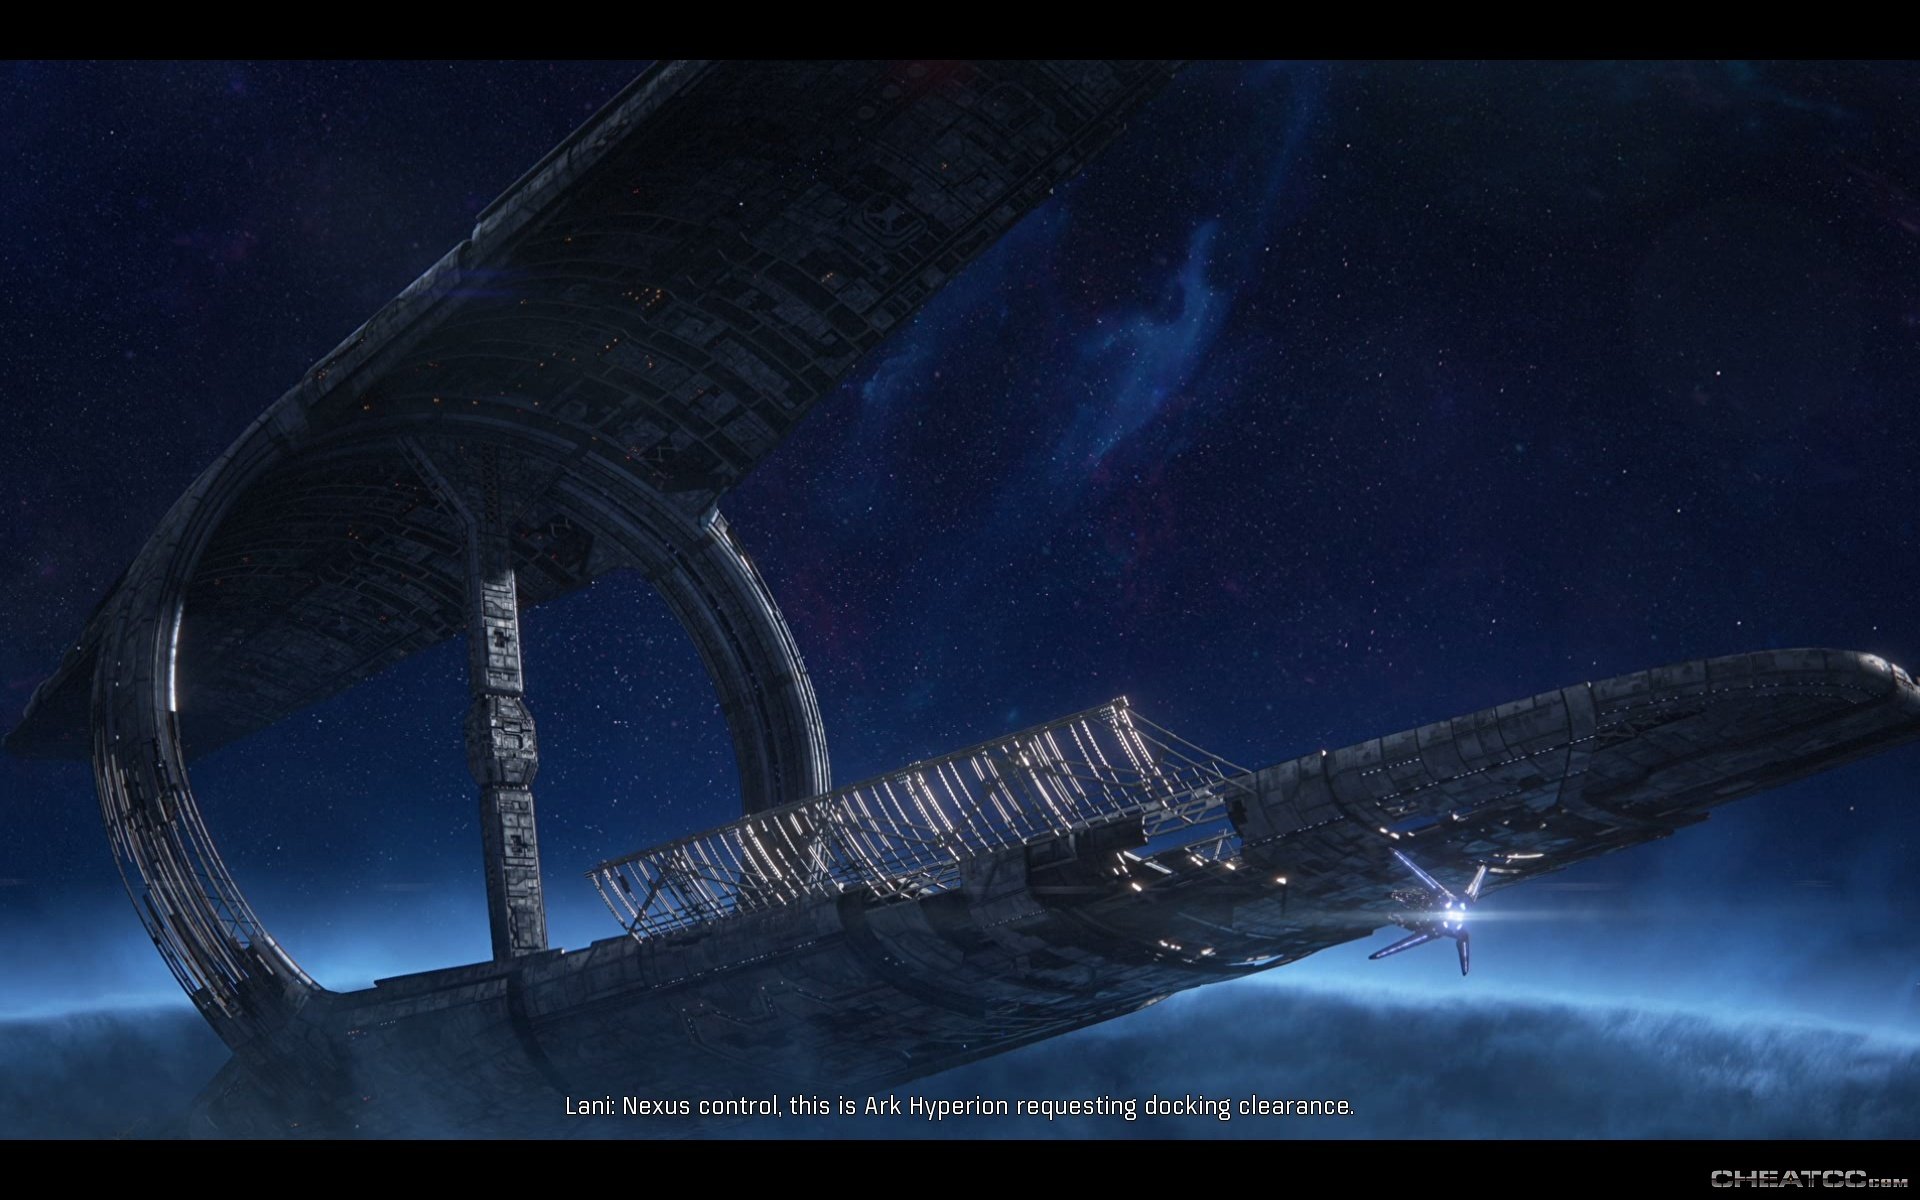
Follow your objective marker to the tram, though there are containers you can search along the way.
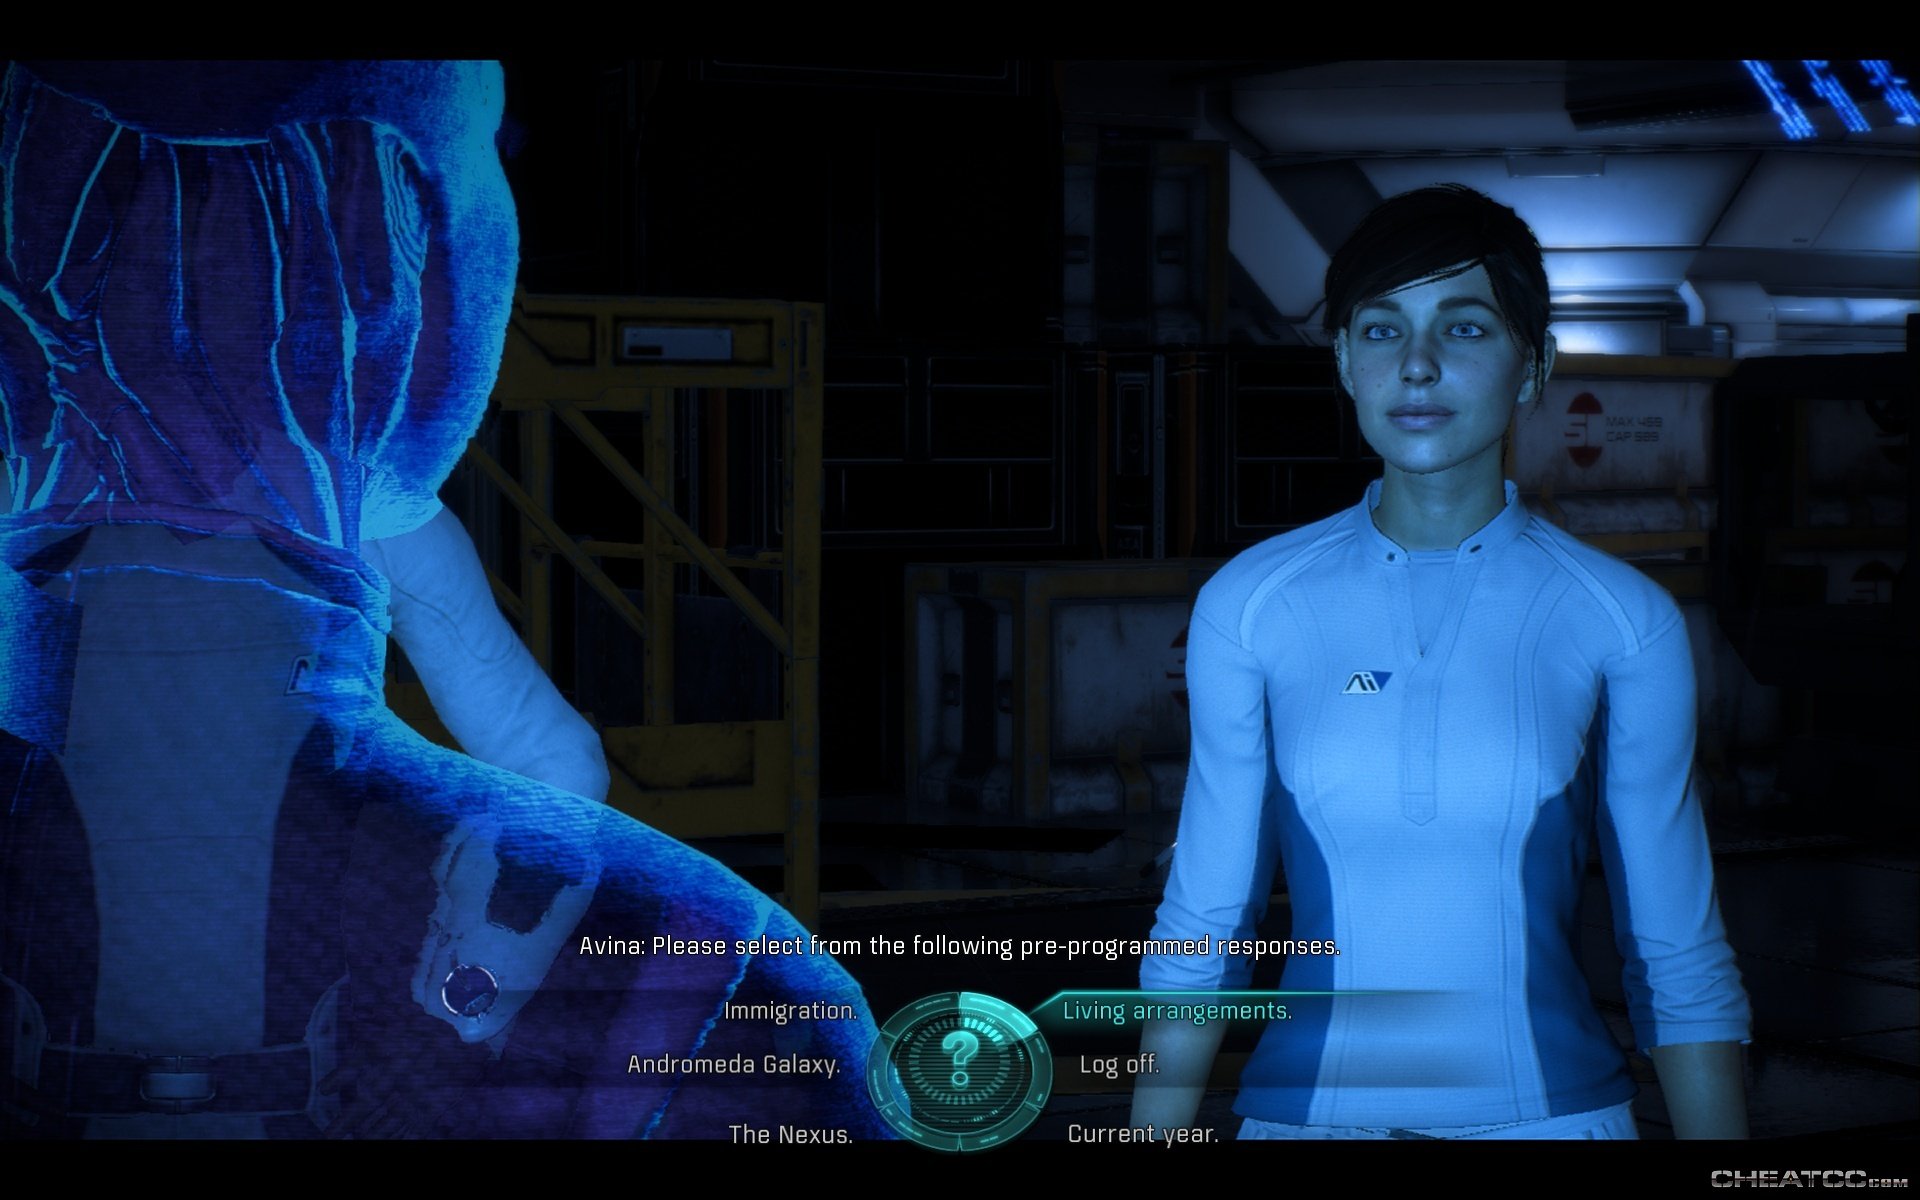
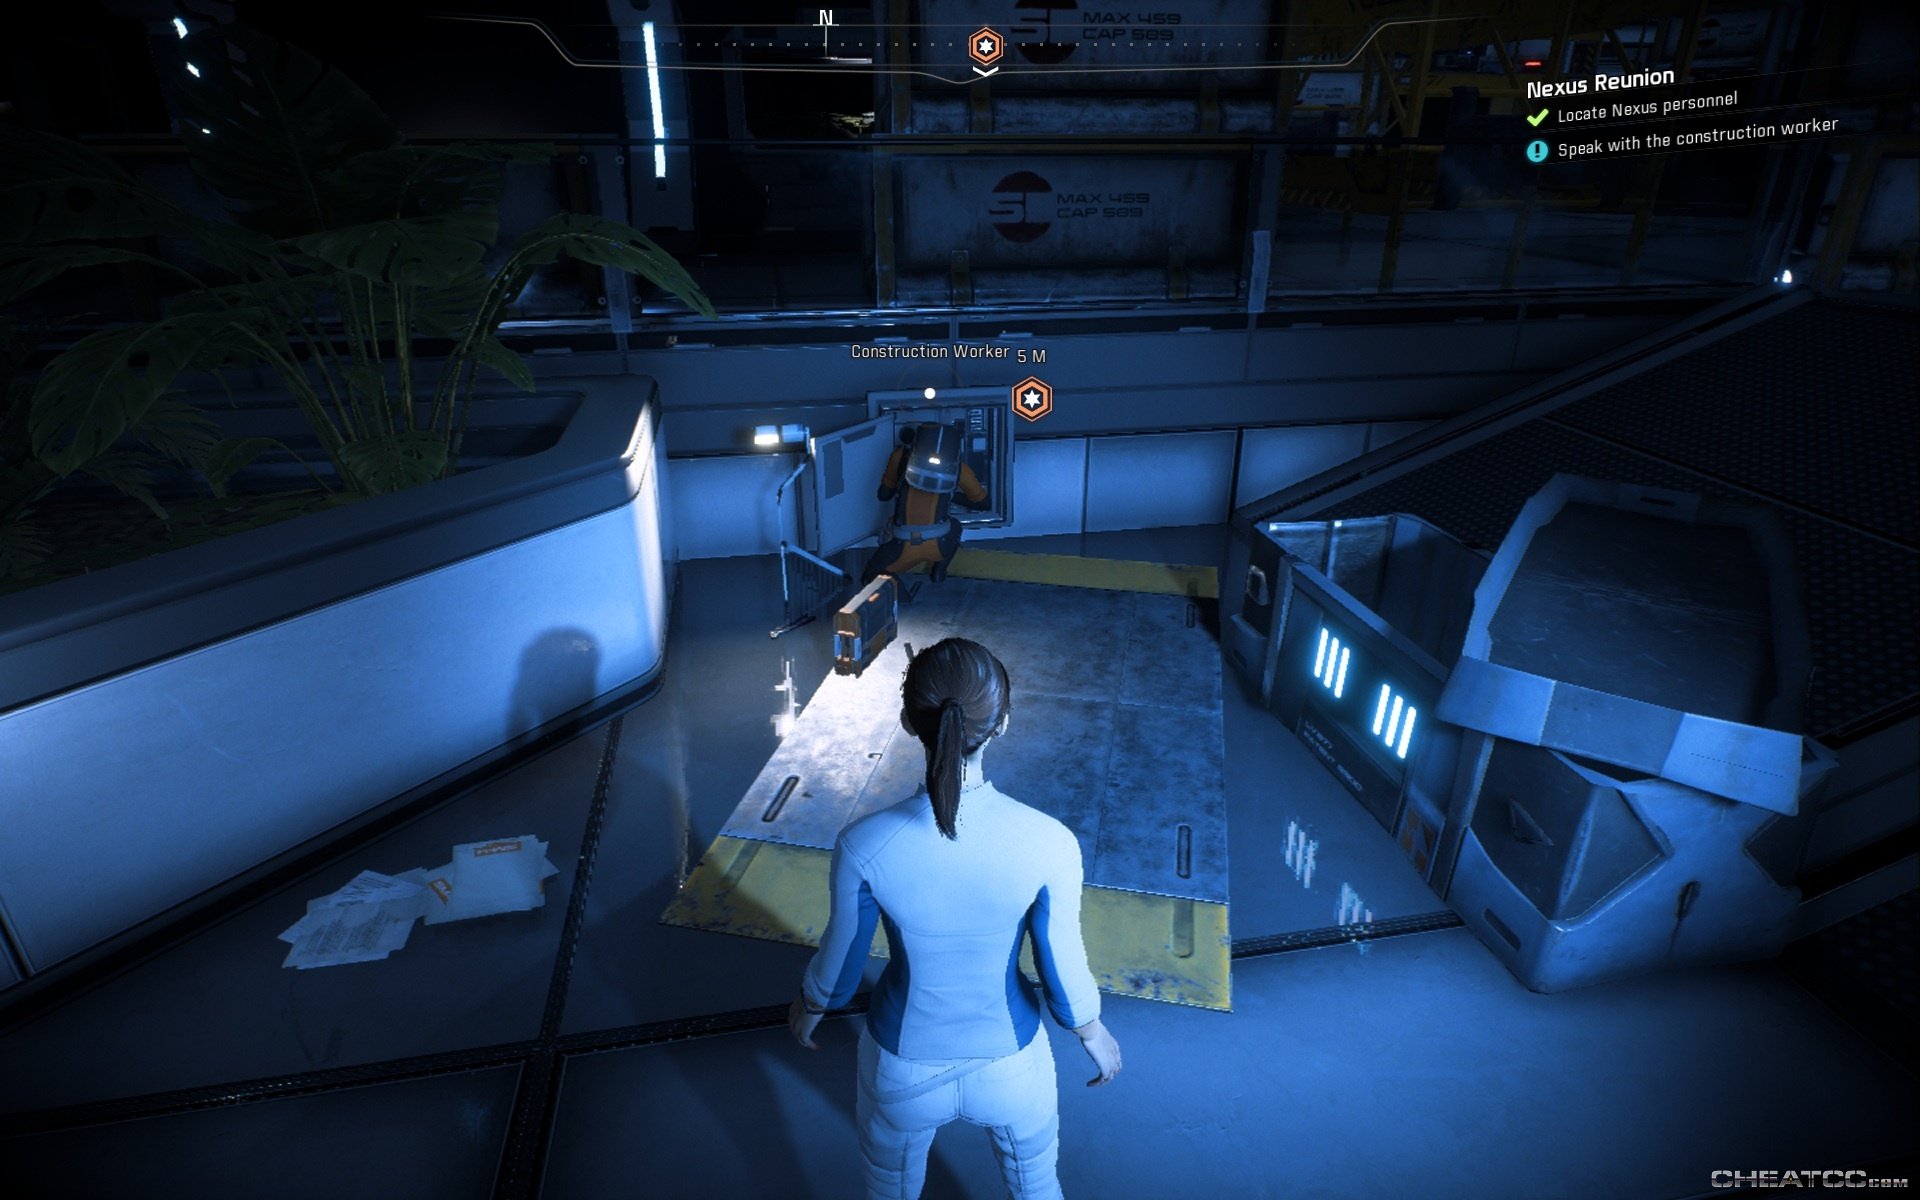
Onboard the Nexus, things are not quite as expected. There is an Avina you can interrogate, but little to be learned.
Talk to the construction worker a little further on to begin a more informative series of cutscenes and dialogues.
When that's all done, you'll have met the local leadership, and have free run of the Nexus.