
Guide to the Kett
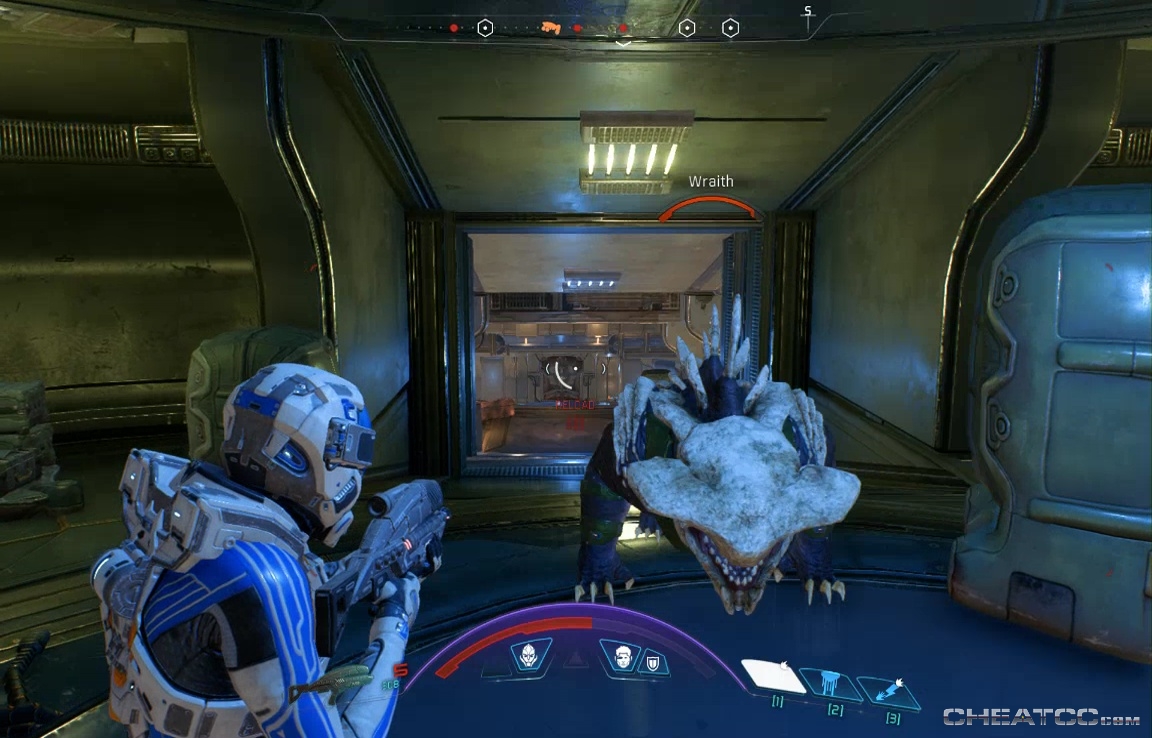
Wraith: Bony shark-dogs with cloaking capabilities, Wraiths are aren't as fragile as Creepers or Shemrys, but they seldom present a threat on their own. Their real tactical value to the enemy is flushing you out of cover when you're distracted by something else, so try to be aware of their tell-tale cloaking shimmer, and spend a few bullets early to keep them from being trouble later on.
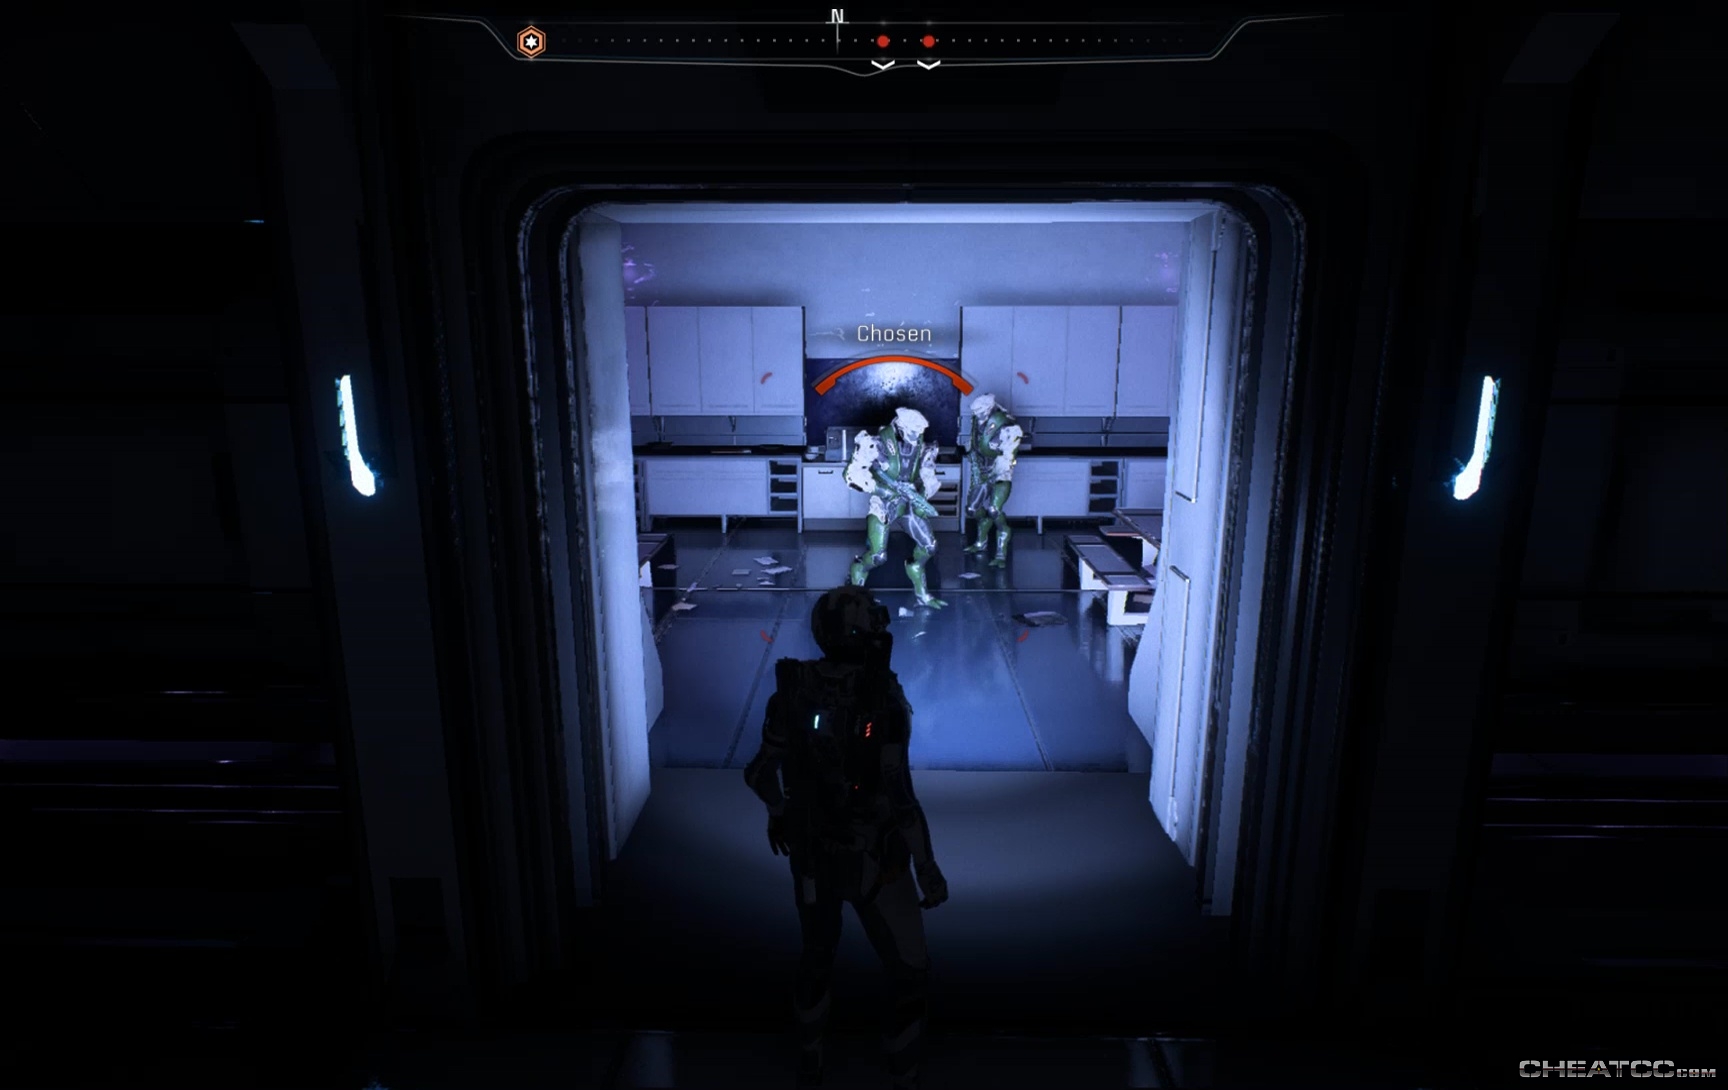
Chosen: The base-level cannon fodder of the Heleus Cluster. These shieldless, armorless minions are easy targets, but don't dismiss their offensive capability. If you let yourself get surrounded, you'll find that even their low-level assault rifle fire becomes deadly in high concentrations. Still, they lack the range and aim of their Raider or Roekaar counterparts.
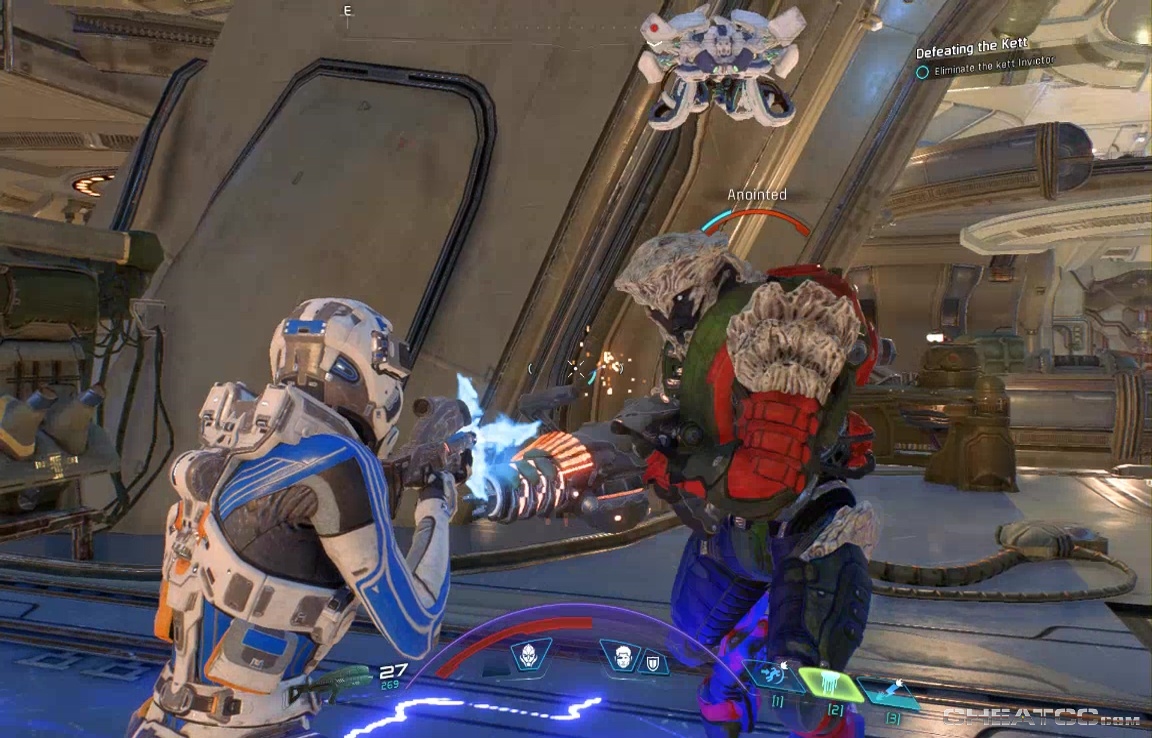
Anointed: Heavy ground troops, you'll usually find these kett backing up larger groups of Chosen. Their rapid-fire plasma cannons take a moment to spin up, and you should use the time to either neutralize them or find cover, because a sustained barrage will chew through shields in no time flat.
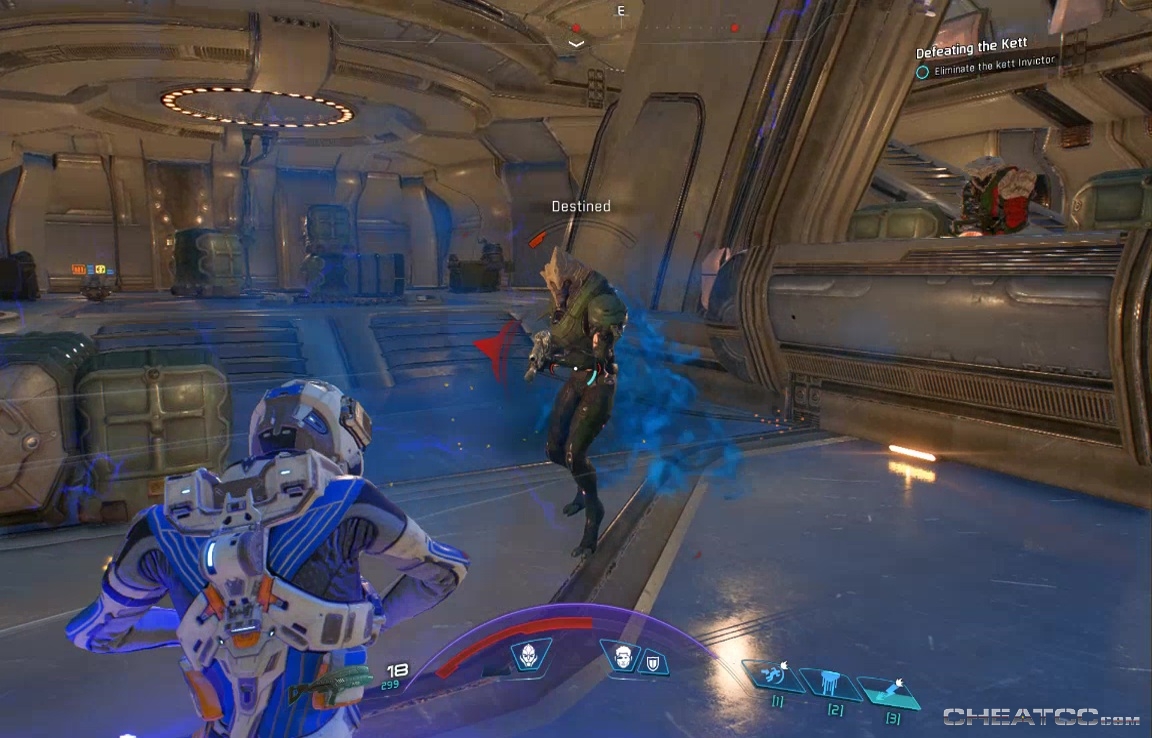
Destined: Kett field commanders, these spindly demons use a smokescreen power to hide both themselves and nearby enemies. This power seems unhelpful at first, as cloaked enemies can still be targeted as normal (eg by a biotic charge). In later levels, however, you might suddenly find two invisible Anointed emptying plasma clips into your spine unexpectedly. Best practice is to take out Destined before they have a chance to use their ability. The Destined's own weapon is a shotgun, which lacks the shield-eating ability of other ground troops, but is surprisingly damaging at medium and even long range. They supplement this weapon with the occasional grenade
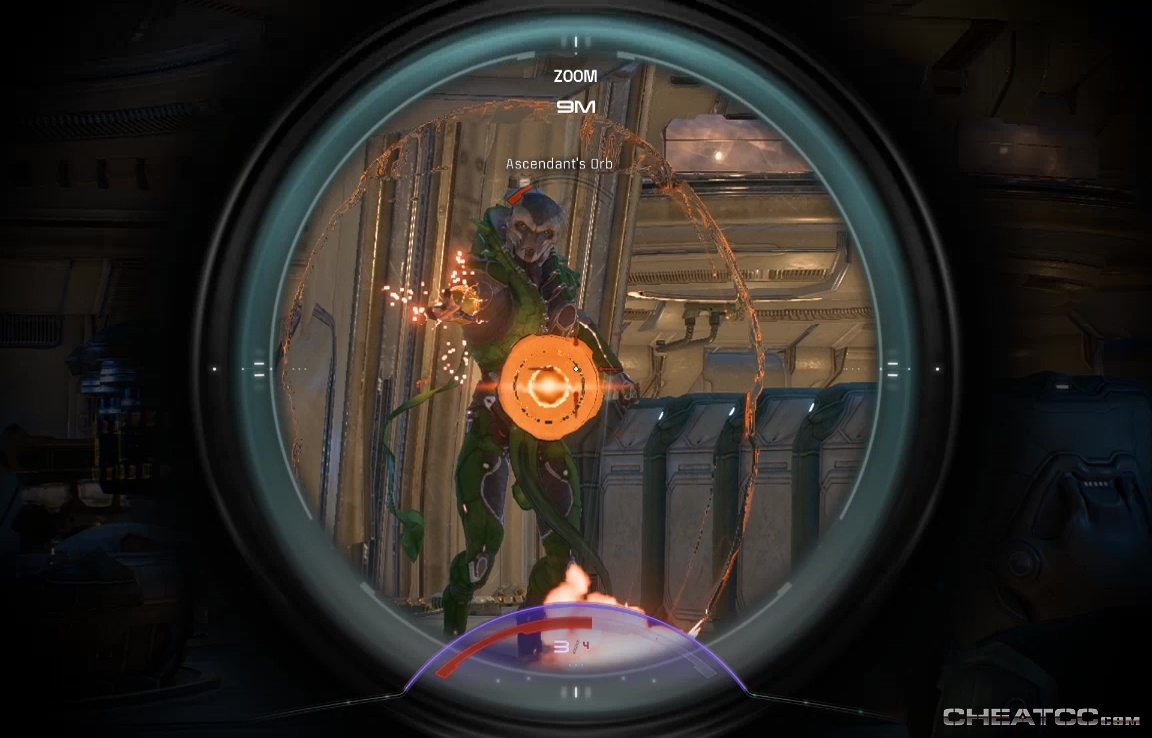
Ascendant: Until the very late game, these powerful kett are encountered only as mission bosses. Their defining feature is the Ascendant's Orb which continually orbits them. While it is intact, the Ascendant cannot be harmed, so the kill strategy to whittle down the Orb with precision fire (rifles or even heavy pistols). When the Orb dies, there are few seconds when the Ascendant is vulnerable. Pour on as much damage as you can with headshots, combos, and special attacks before the Orb regenerates, then repeat. Ascendants can instakill at melee range, so don't get close unless it's stunned, and do watch out for its globe-of-reaving style attack that can pass through cover and completely drain your shields. Without or without the Orb, Ascendants also have limited teleportation abilities, so watch out for sudden advances or retreats.
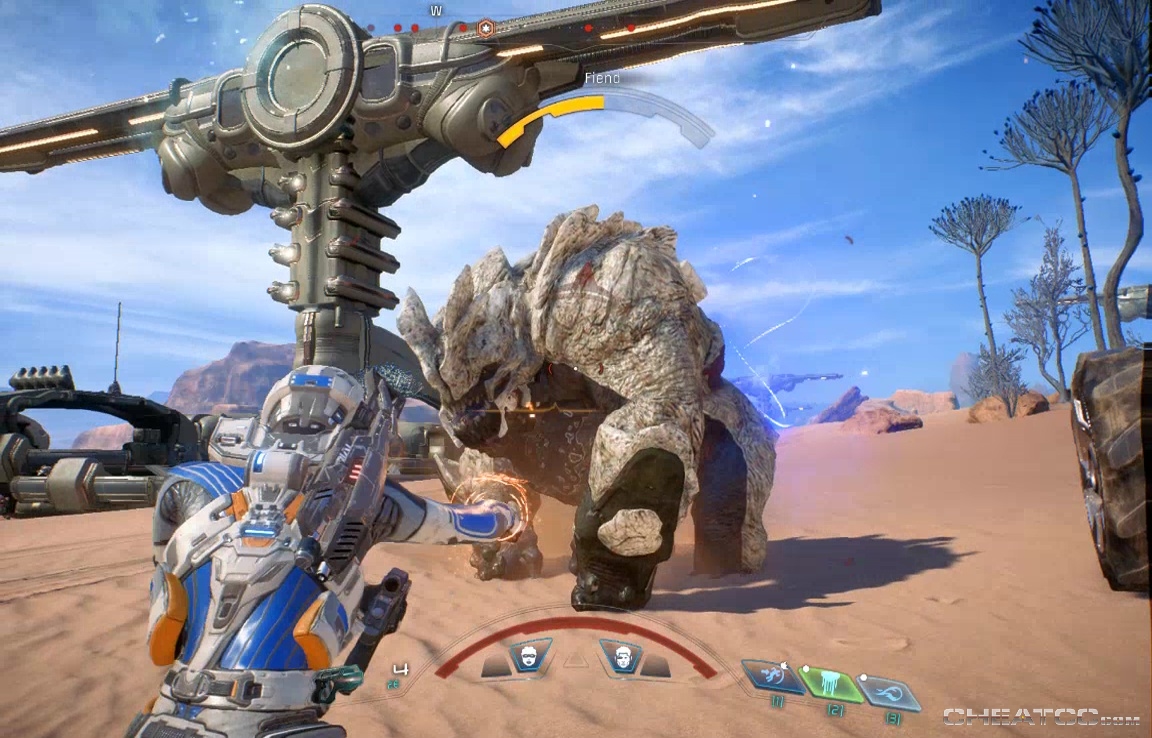
Fiends: One of the toughest, if not strictly the most dangerous foes in the game. Fiends can take enormous amounts of damage, can instakill at melee range, and spit poison at medium long range. The last attack is their weakest, so most Fiend fights involve a lot of running, jumping, and kiting-or-cloaking while firing back at the gigantic pursuer. Weapons crafted with the Aerial Performance Optimizer are ideal, as as are any weapons or attacks that deal fire damage. In a pinch, you can 'sacrifice' teammates by positioning them between you and the Fiend- it's instakill will still work on them, but they can be revived afterward- you can't.