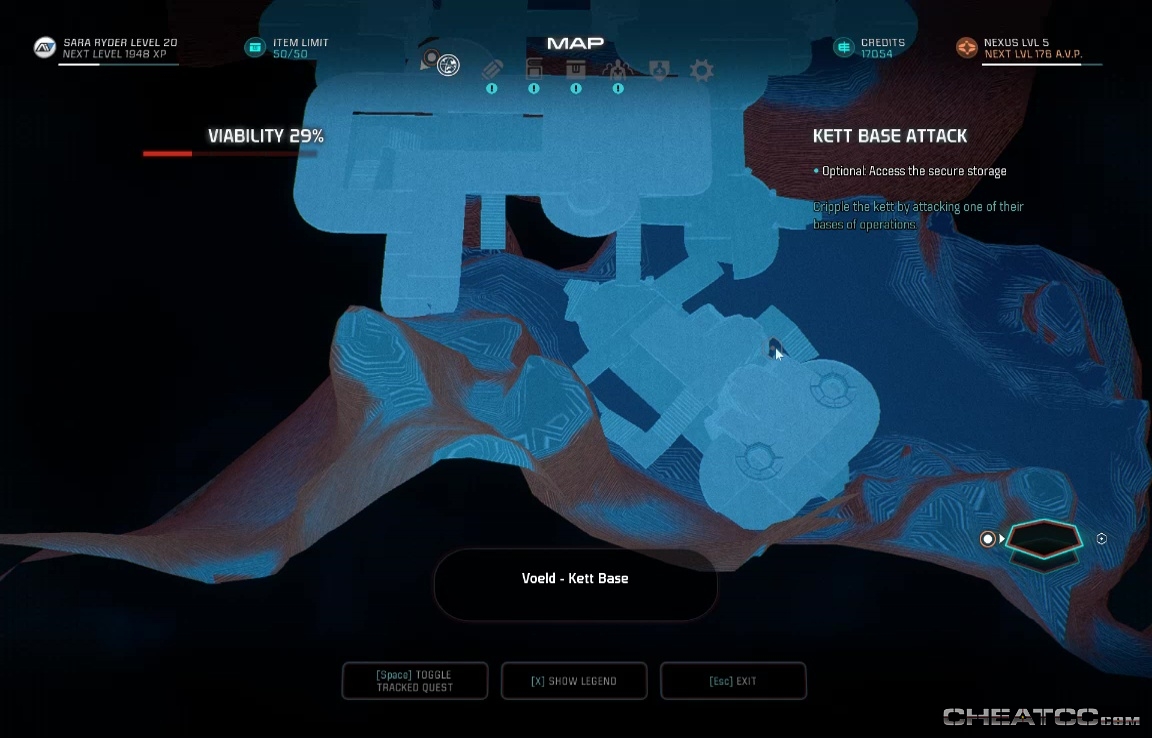
Remove the Heart
Locations: Voeld
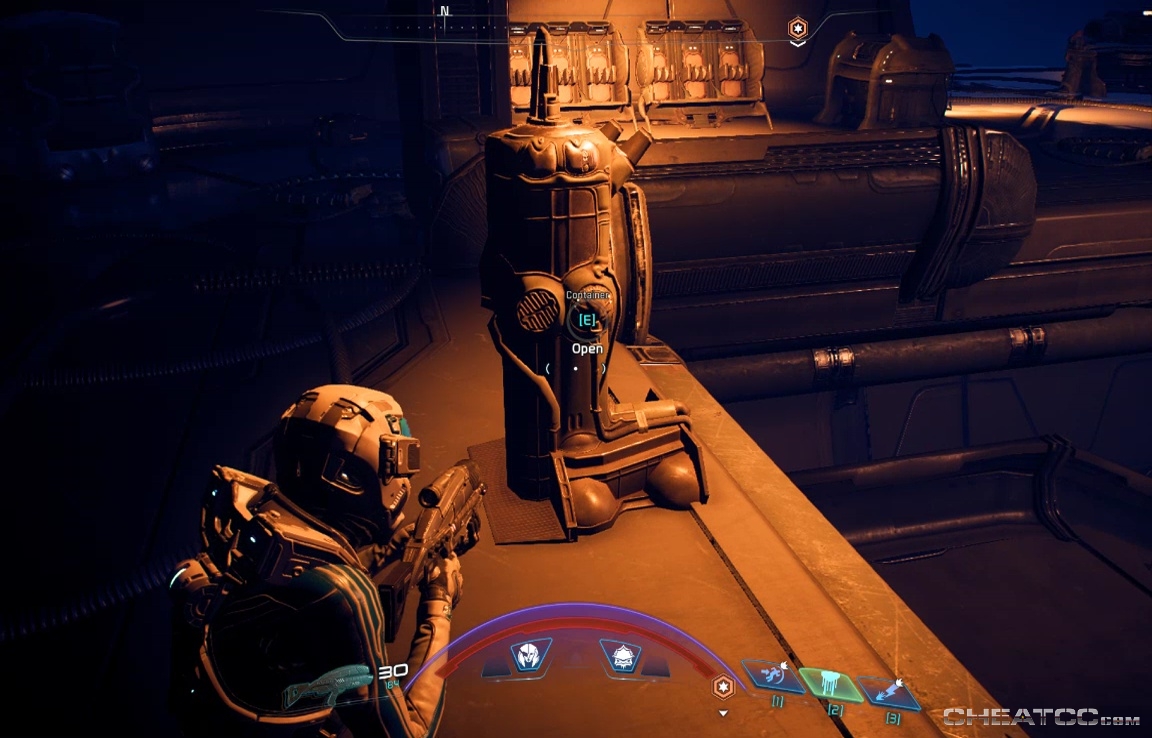
NOTE: There is a ton of loot on this mission. Clear out your inventory as much as possible beforehand, making a special effort to sell off mods (armor and weapons can at least be broken down for crafting components while in the field- mods cannot).
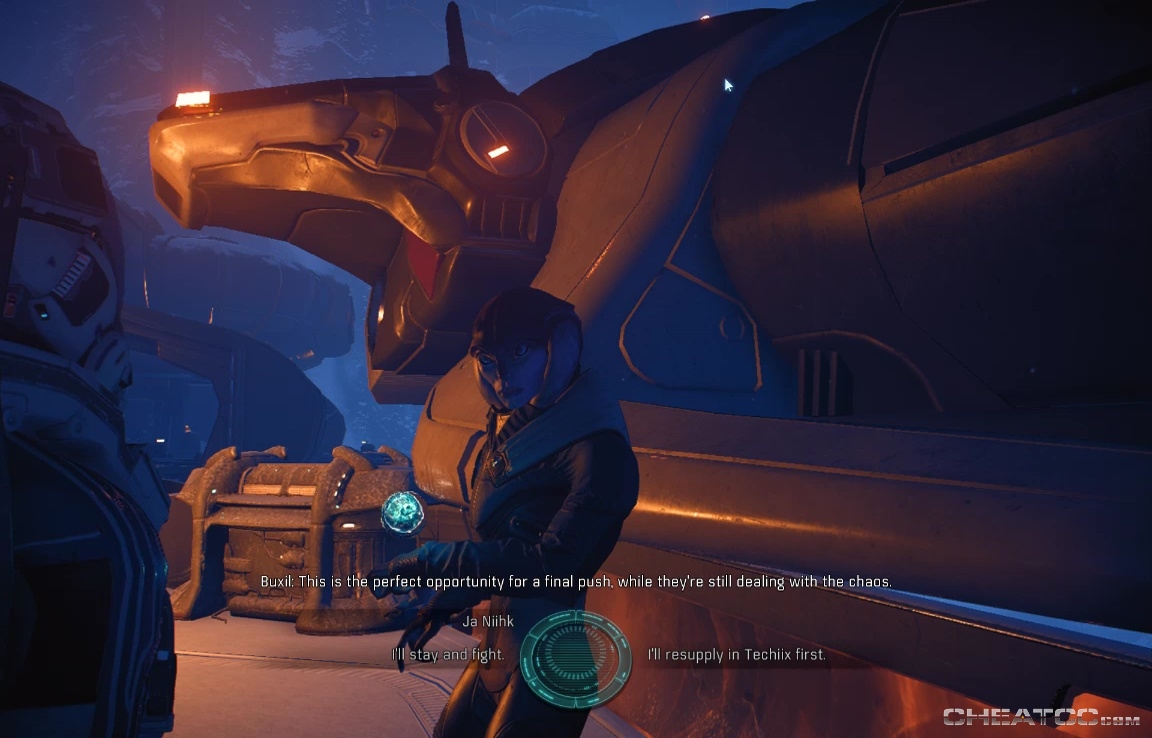
This mission launches when you speak to Buxil about the data stolen by Nijil's team. She determines that there's a way to strike the main kett base, but it has to be fast and it has to be you.
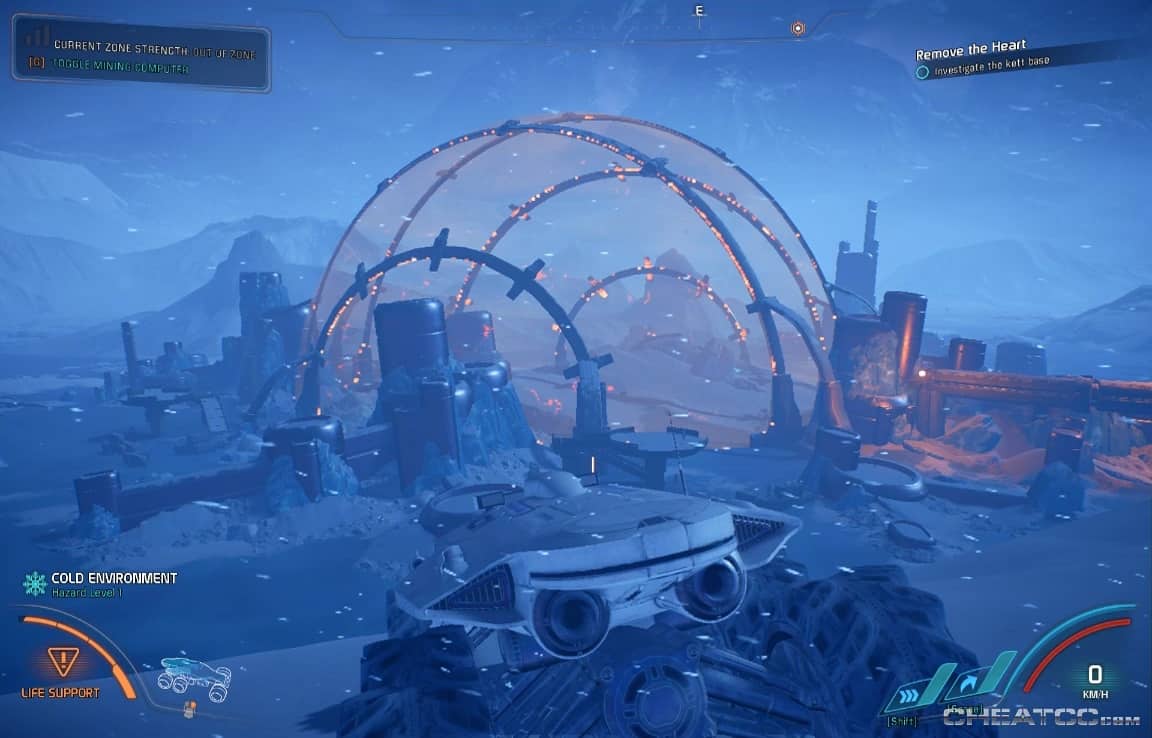
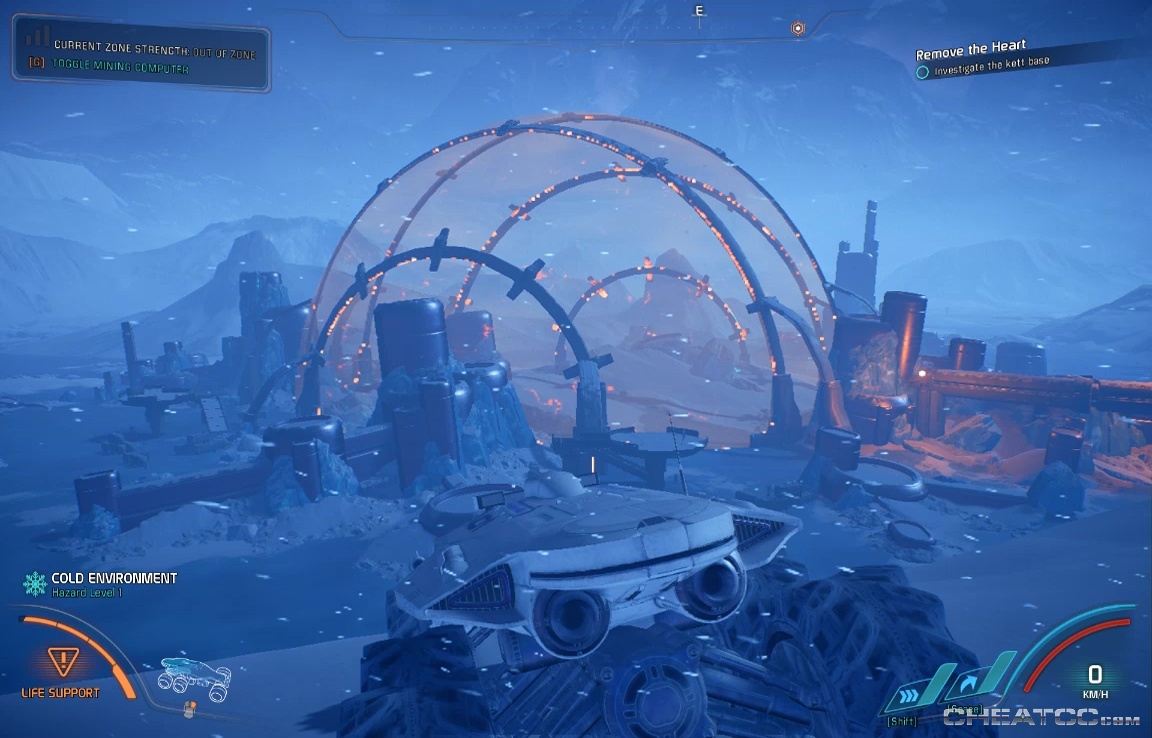
The first, optional objective is to observe the shield. This is as easy as driving out to see it.
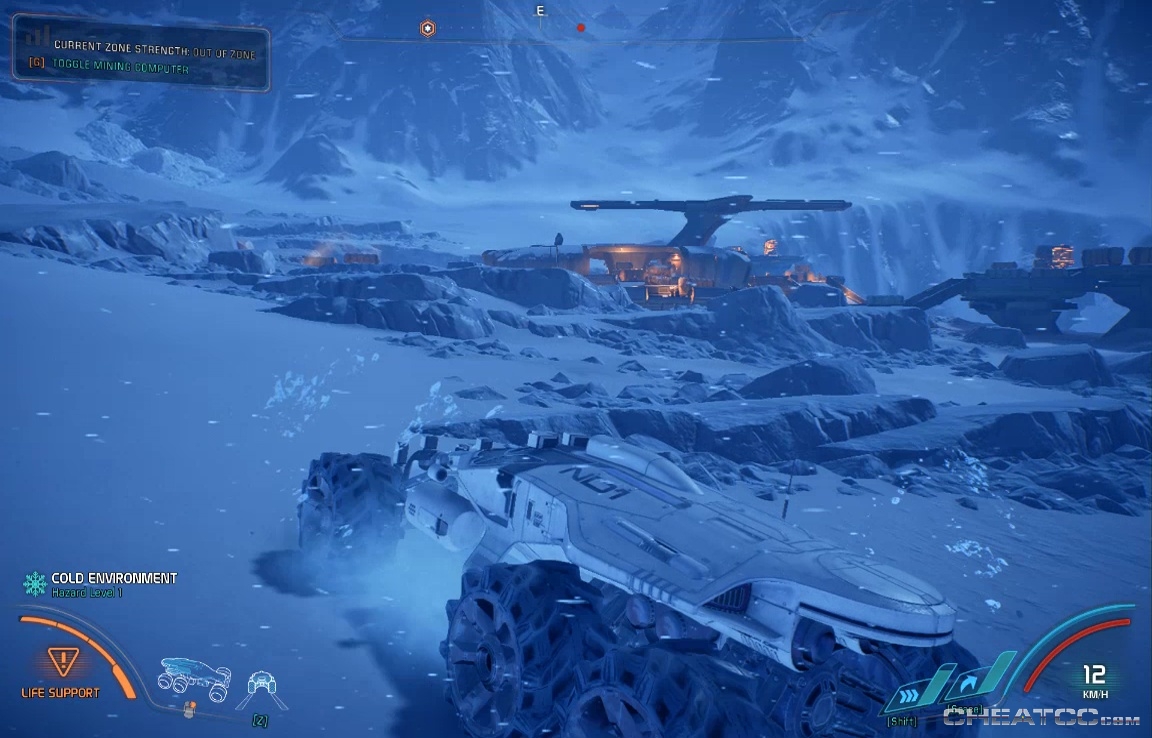
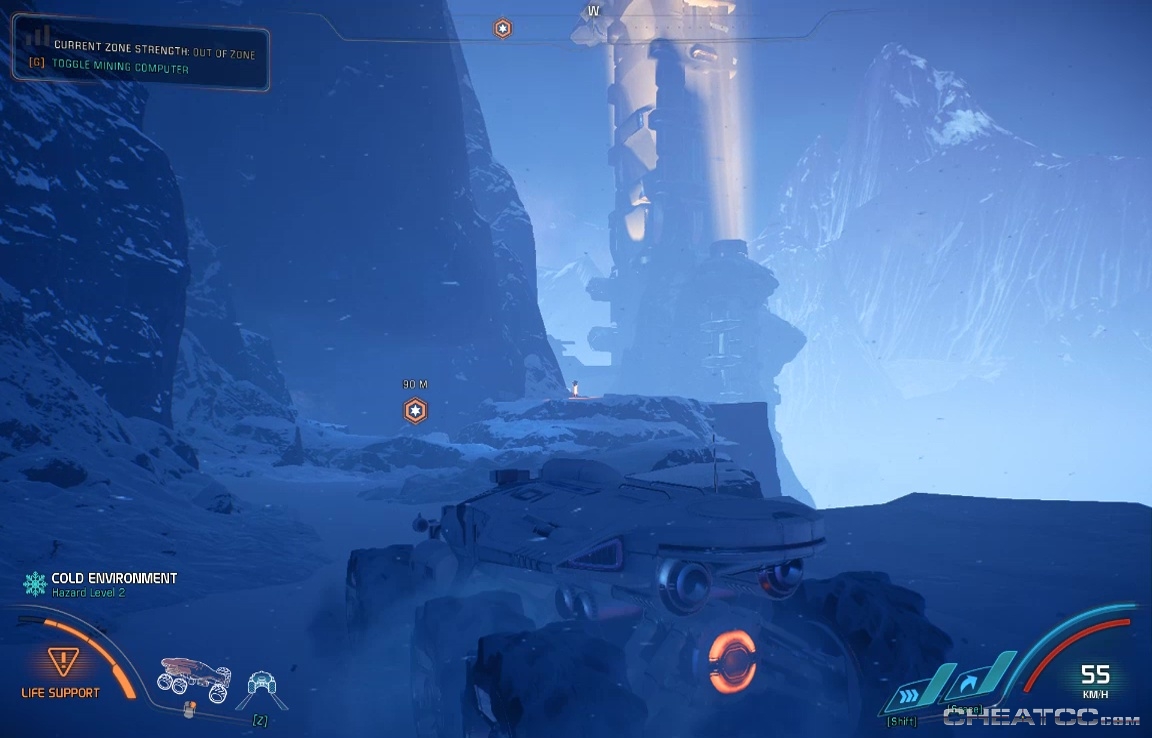
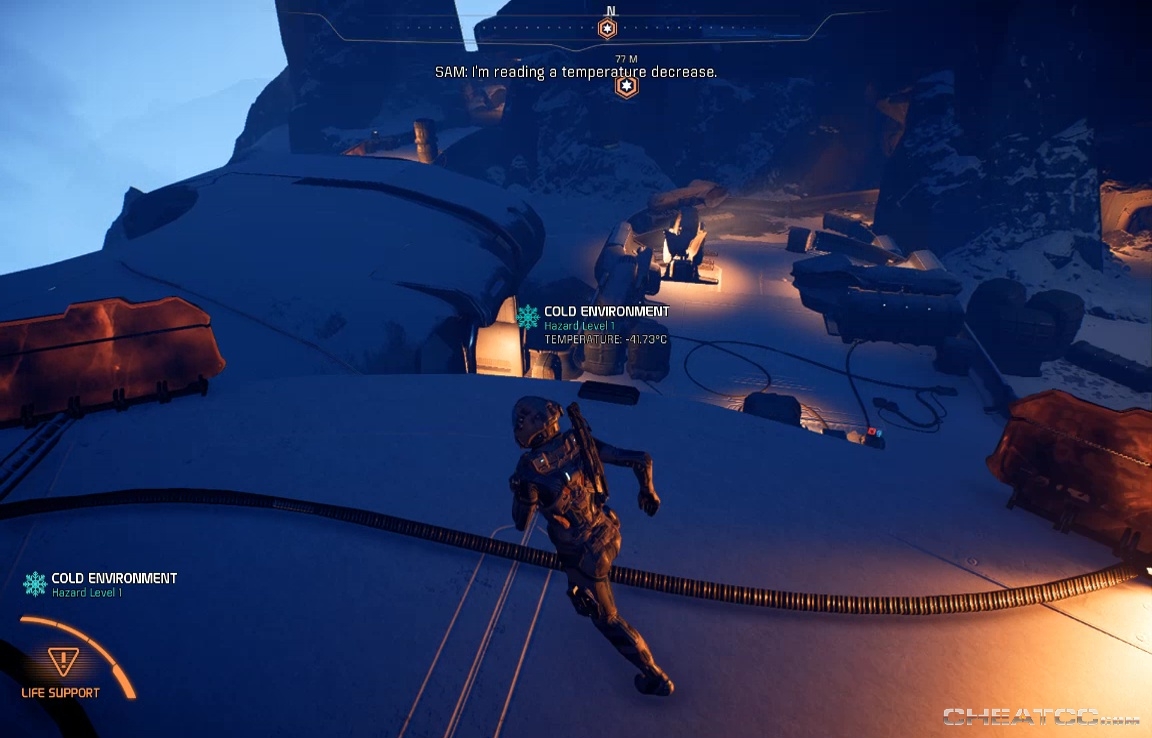
The next step, investigating the kett camp, is somewhat harder. It's a long drive around the base of the mountain to reach the site, with many kett outposts and raider camps along the way. Evade or engage as you wish, but I do recommend hitting this one, on the cliff's edge before an uphill climb.
It's no tougher or easier than any of the other outposts, but at this one, all the prisoner cages are stuffed with loot.
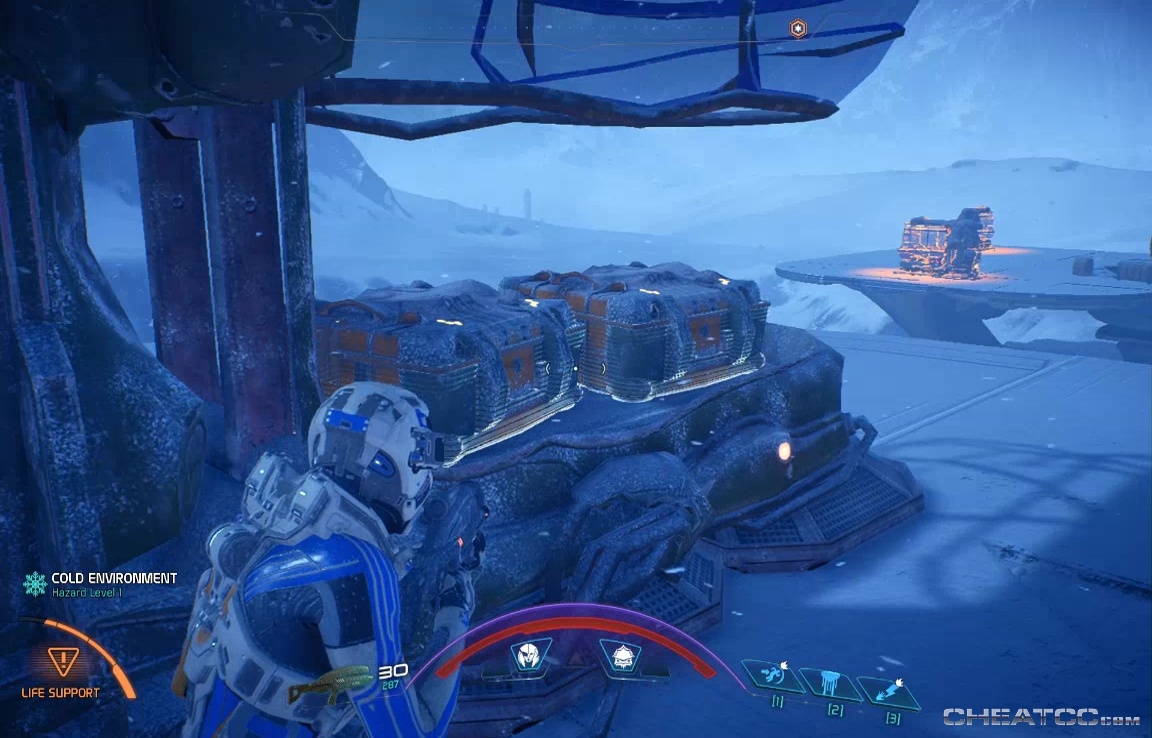
Clear the place, then continue after your marker (if you want to hit the station at the top of the ridge, you need to drive around it to get access- or biotic charge your way up to a guard). Regardless, your actual objective will take you along a cliffside path to a cave within sight of the main tower.
The mouth of the tunnel has a few enemies, but they're pretty scattered- if you don't charge ahead too much you can take them in ones and twos.
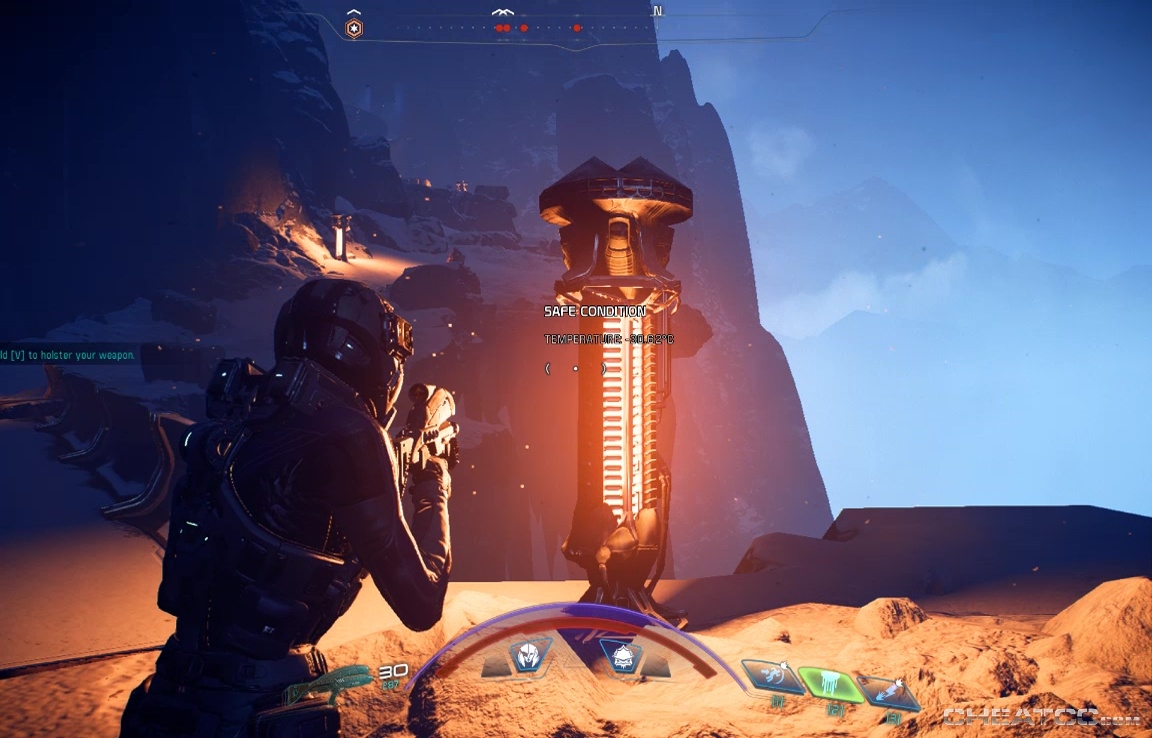
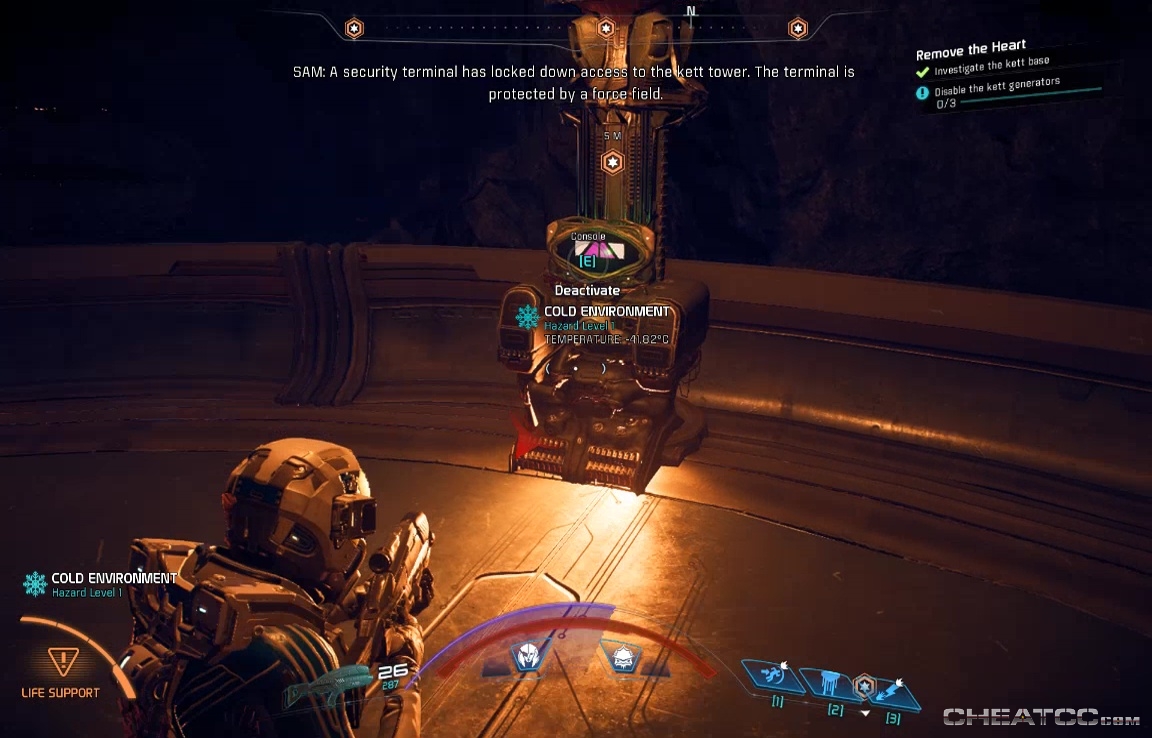
Do watch out for Wraiths and Destineds- the constant cover means you might not spot them before they cloak. Farther on you'll reach the shield that Buxil mentioned.
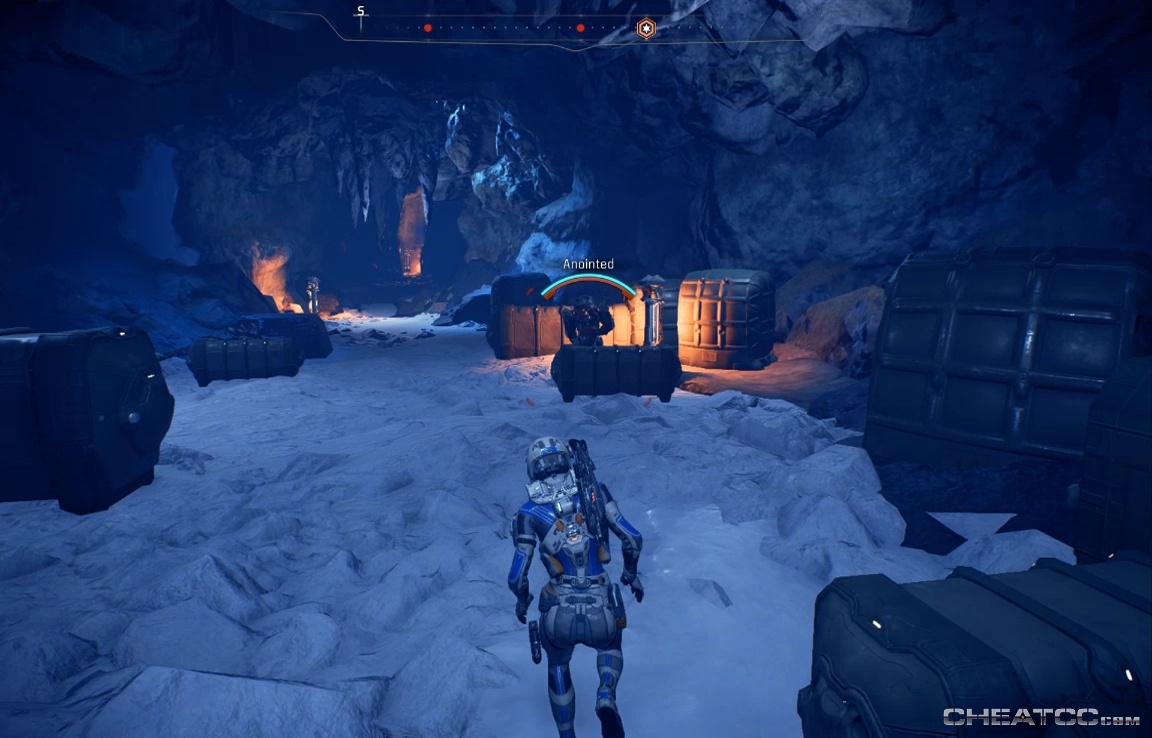
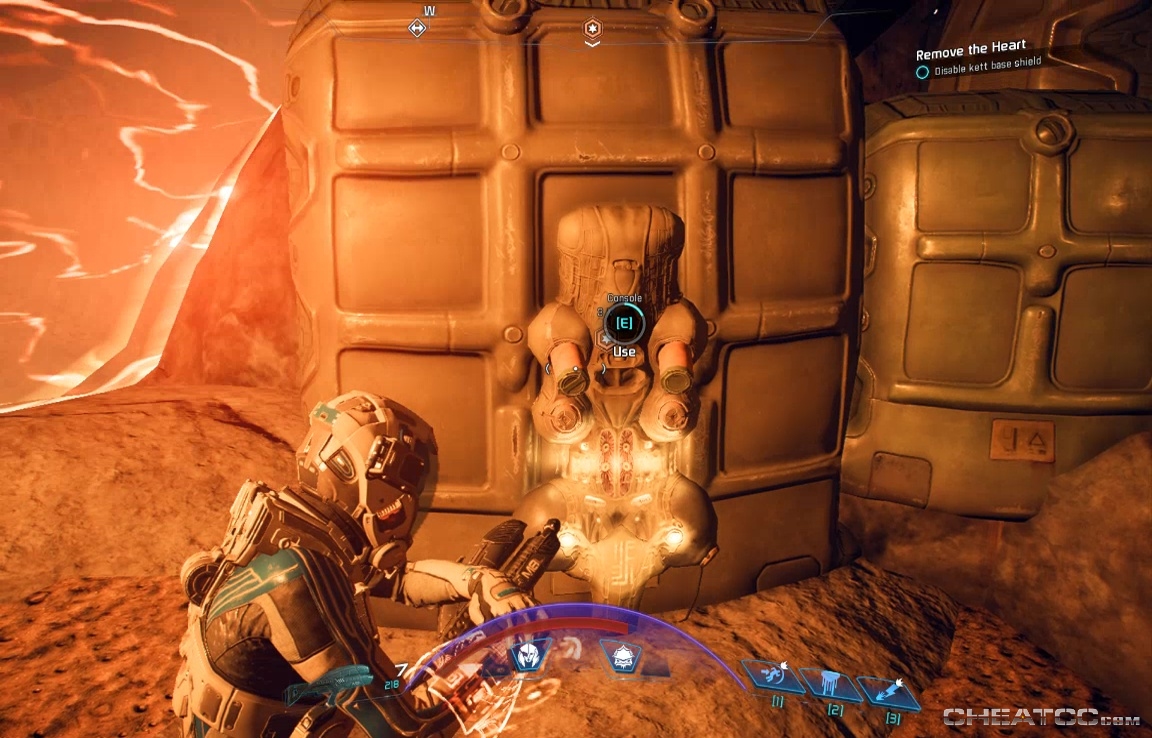
There's half a dozen Kett dug in here, but they're not exactly tactical geniuses. Dig them right back out, then receive a call from Buxil with the shield code. Grab the iridium in the cavelet to the right, if you want, then enter the code in the console.
More tunnel ahead, but all the enemies are clustered in the back.
Take them out. There's one more clutch of slightly higher-level enemies in the tunnel before you get back to open air again.
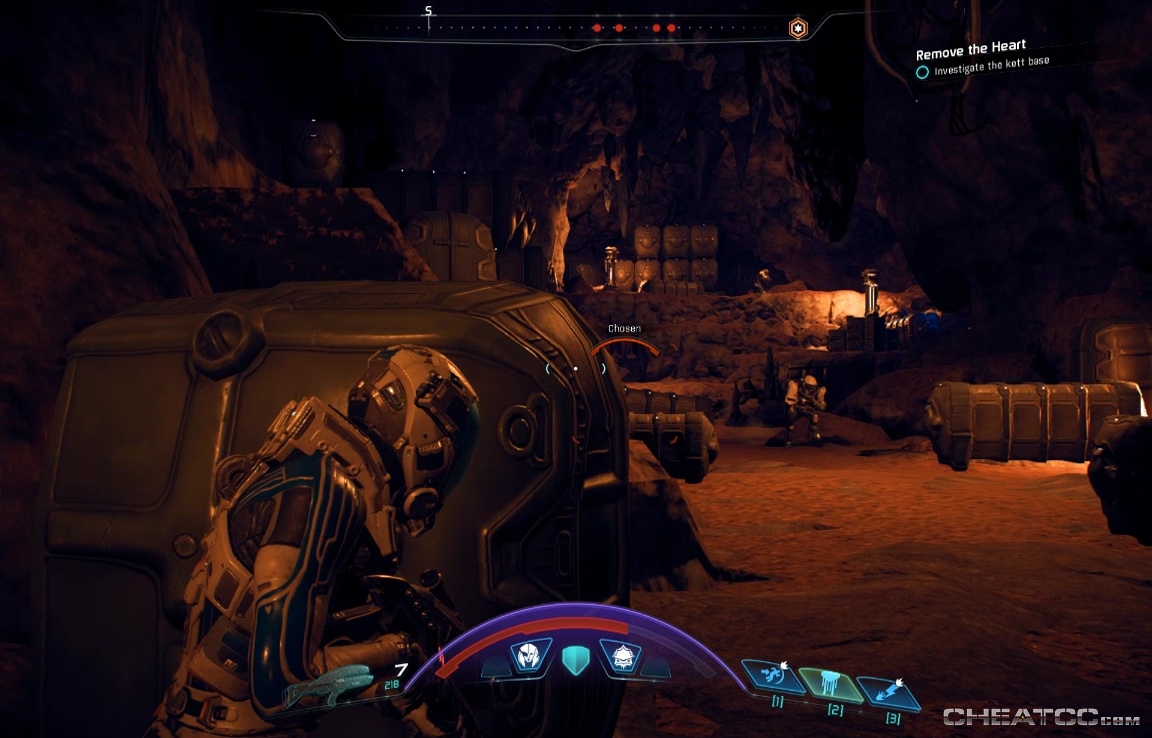
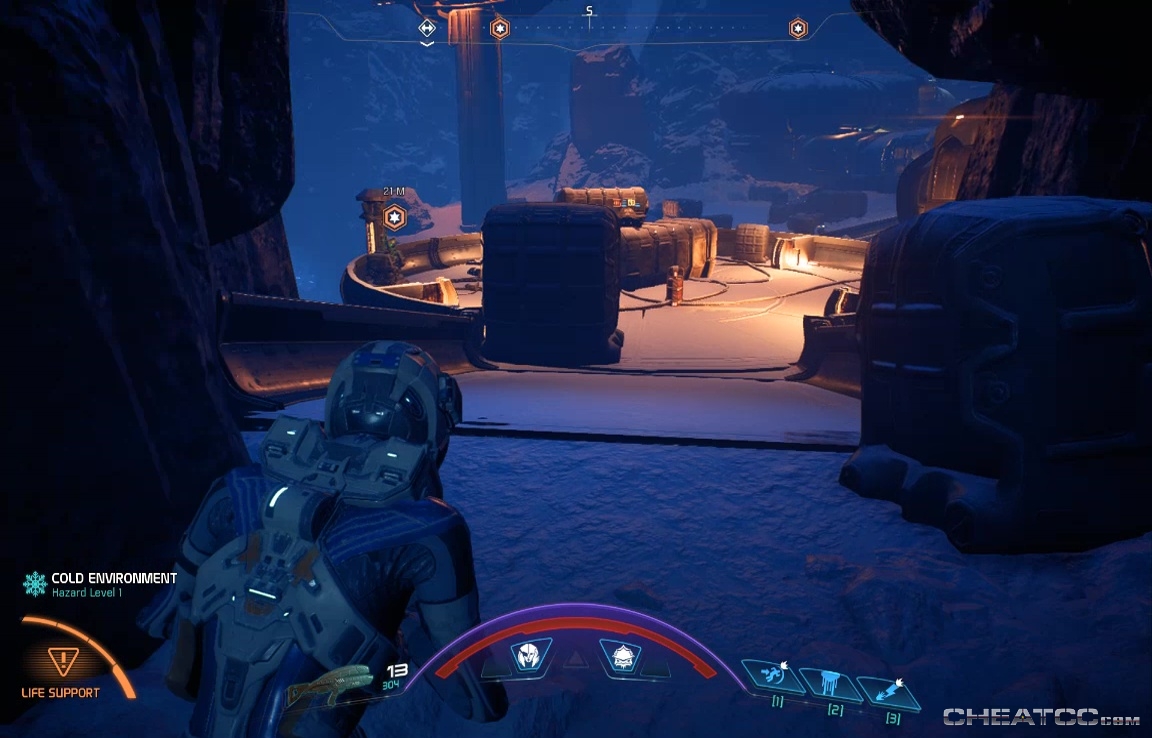
Watch out for Wraiths on the approach. As you enter the complex proper, do not head for the main building as instructed (it's a dead end for the moment). Instead aim for the low building to the north.
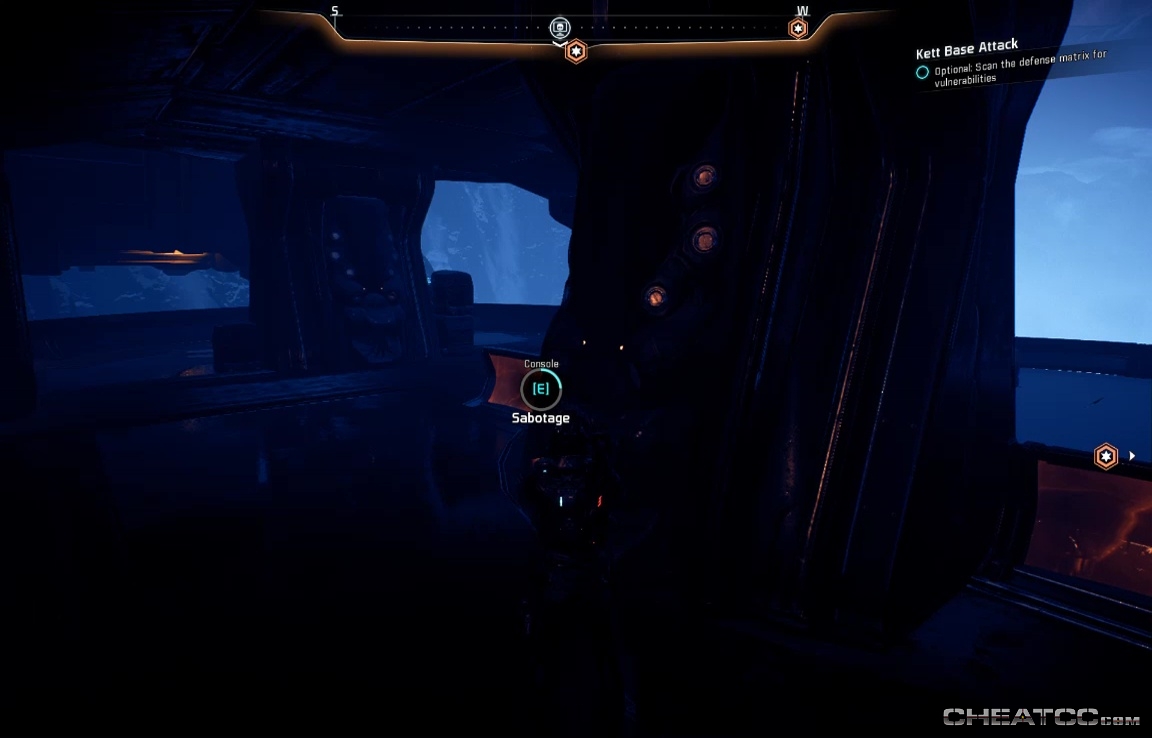
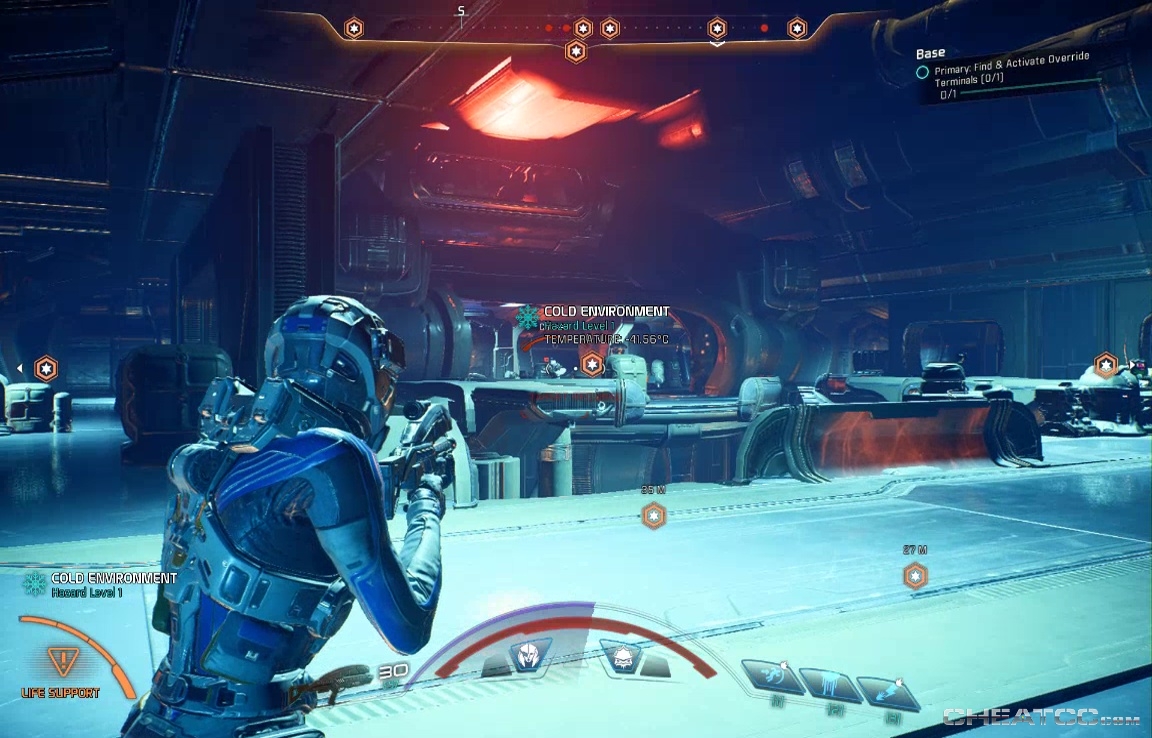
Now is about the time that enemies will start appearing. While there are a lot of them, each wave of opposition is finite, so you can either fight as you go, or hole up and take them all out before proceeding. Either way, your focus here is on the console.
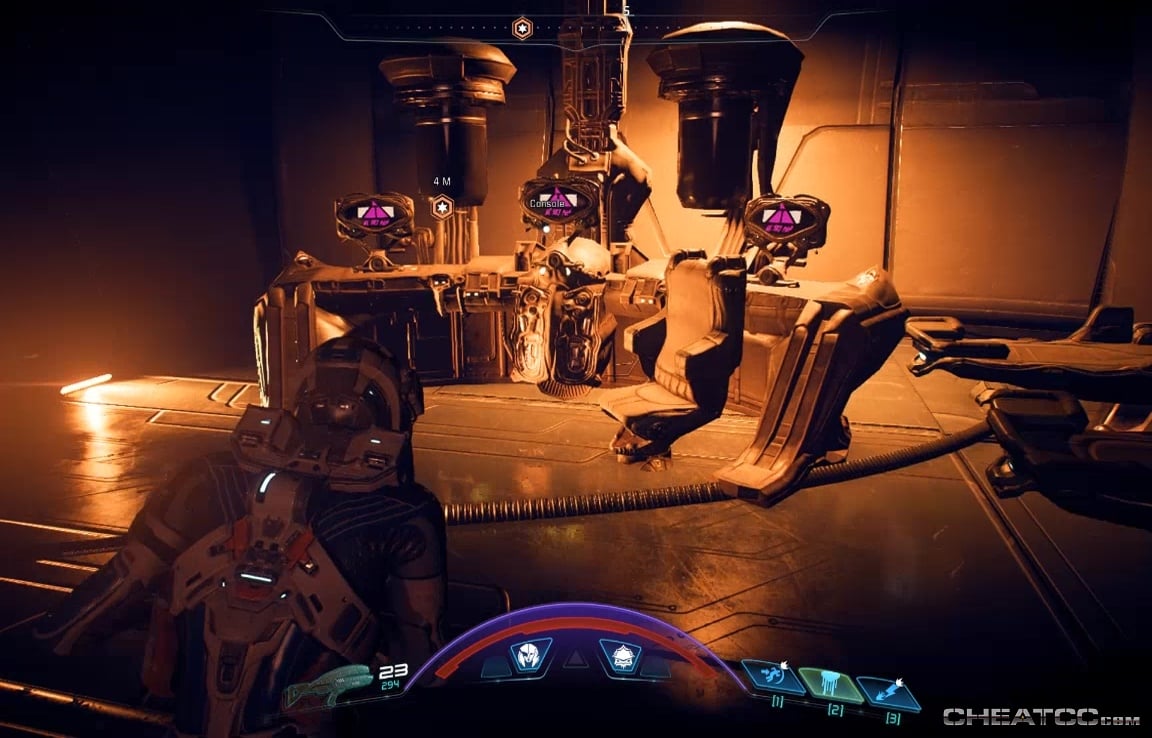
There are three of these protecting the terminal you really need to access. This is the first, the other two show up as objectives on your radar (though order of deactivation doesn't matter).
The closest other terminal is through a tunnel, on a platform south.
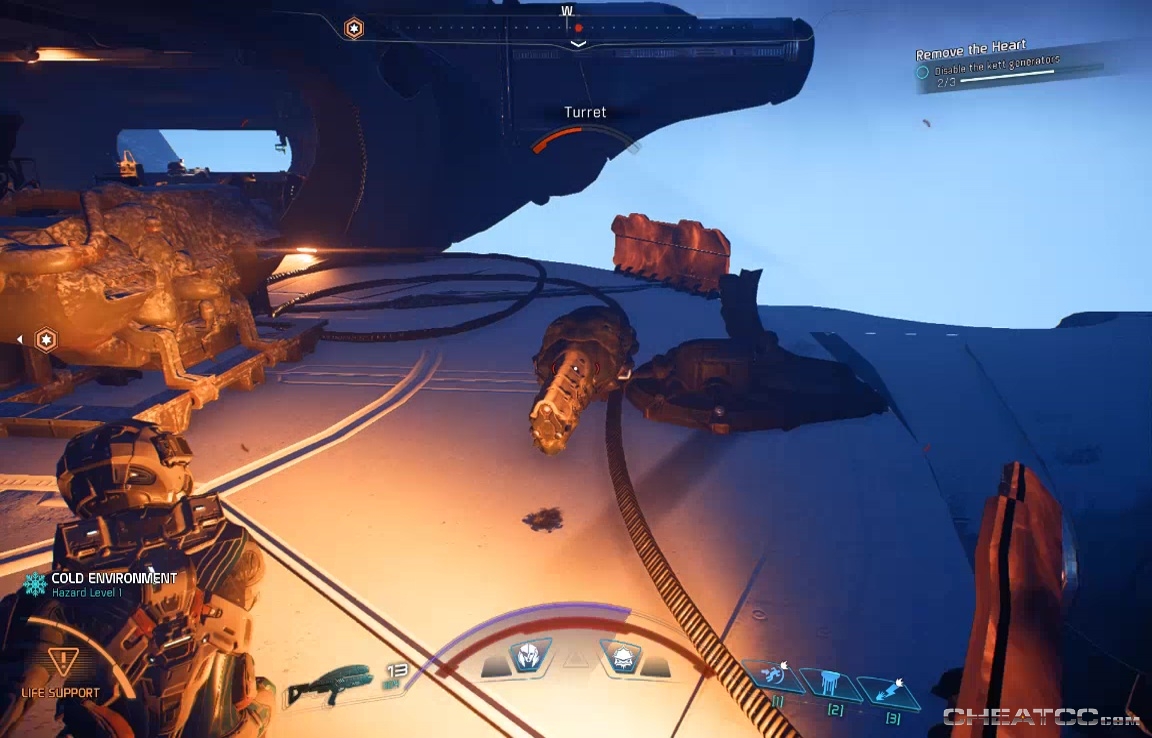
The last is near the heart of the complex. You're going to have to deal with some turrets here- just remember to keep an eye on their health bars- even when they're knocked down and seemingly broken, they can still move and fire as long as they have some health left.
Kett reinforcements will arrive as you enter the main building. As ever, if you're having trouble clearing them out quickly enough, fall back and pick them off as they follow you into ambush. When they're sufficiently dead, find the third console downstairs, then the main console upstairs.
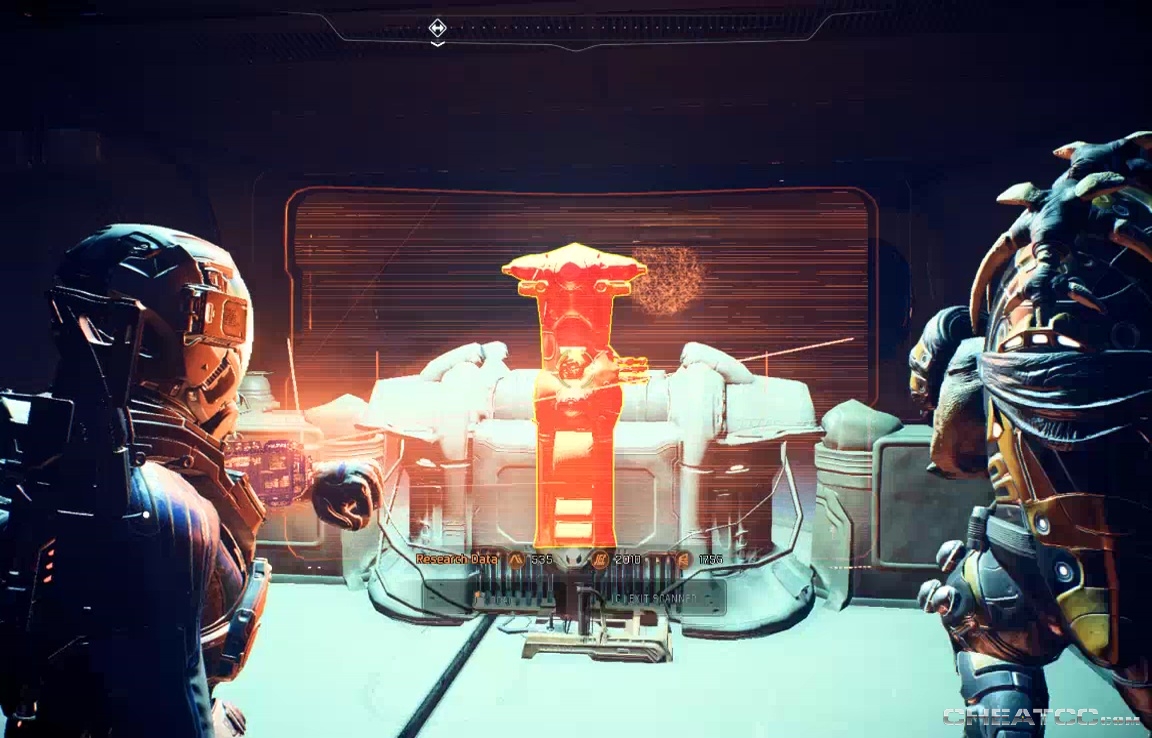
Sabotage it to lift the lockdown, then throroughly scan and loot everything inside. There's a ton of stuff here- just keep in mind that containers don't always look like containers.
When your pockets are full, drop down to the low building on the western edge of the complex.
Fight off the guards inside, then scan and sabotage three of the critical subsystem nodes (big bulbous, caterpillary things built into the pillars).
With these down, the Kett warehouse defenses are disabled, and an optional objective marker will appear on your radar, on the high building to the south.
Loot the place to your heart's content, but don't forget to scan for data too.
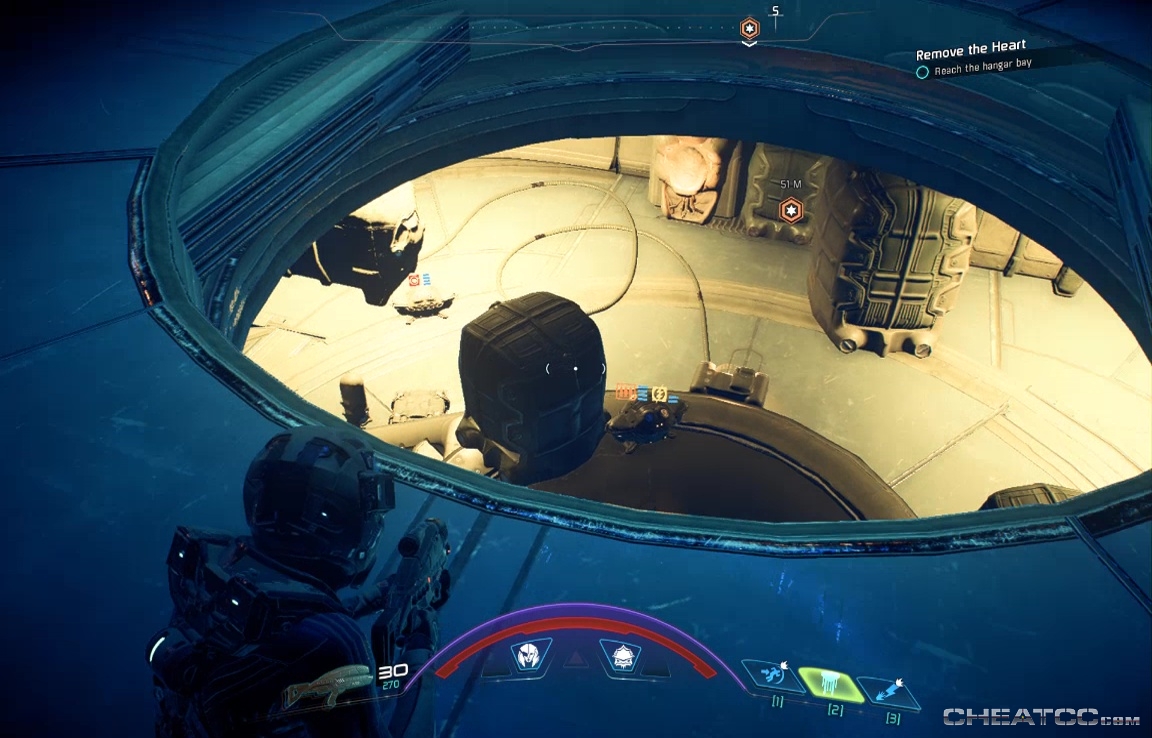
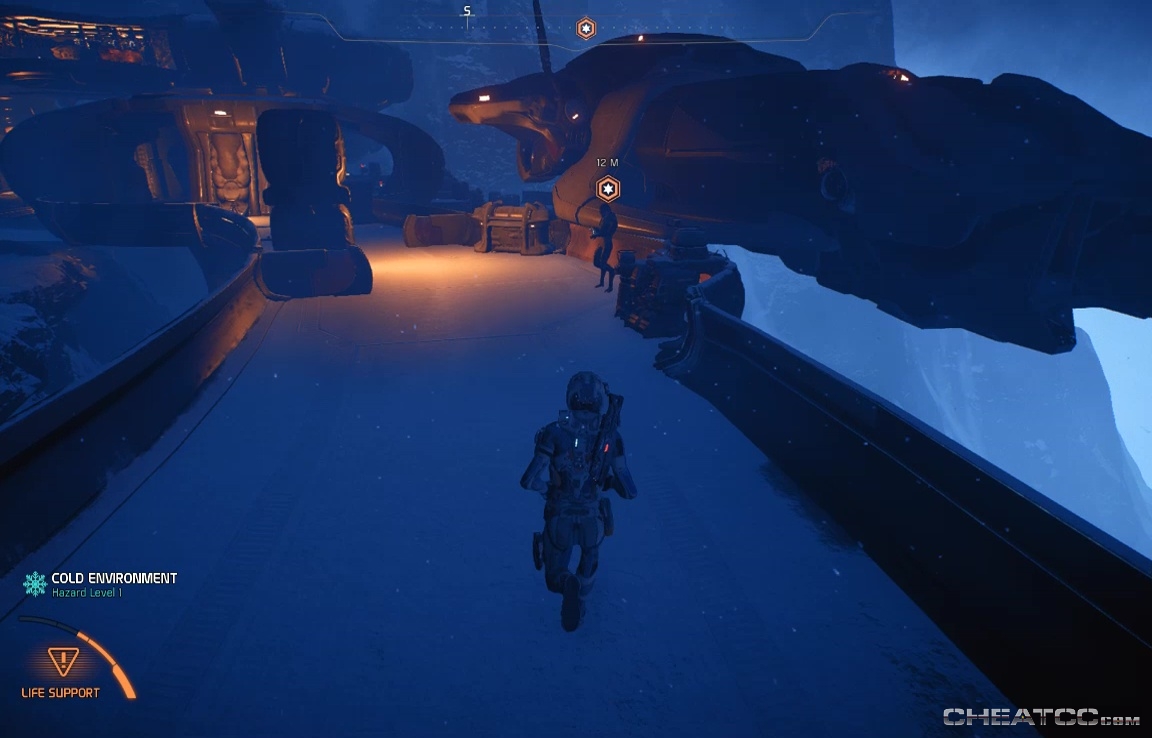
When you can't carry any more, follow your main objective marker to a drop-down into the hangar area.
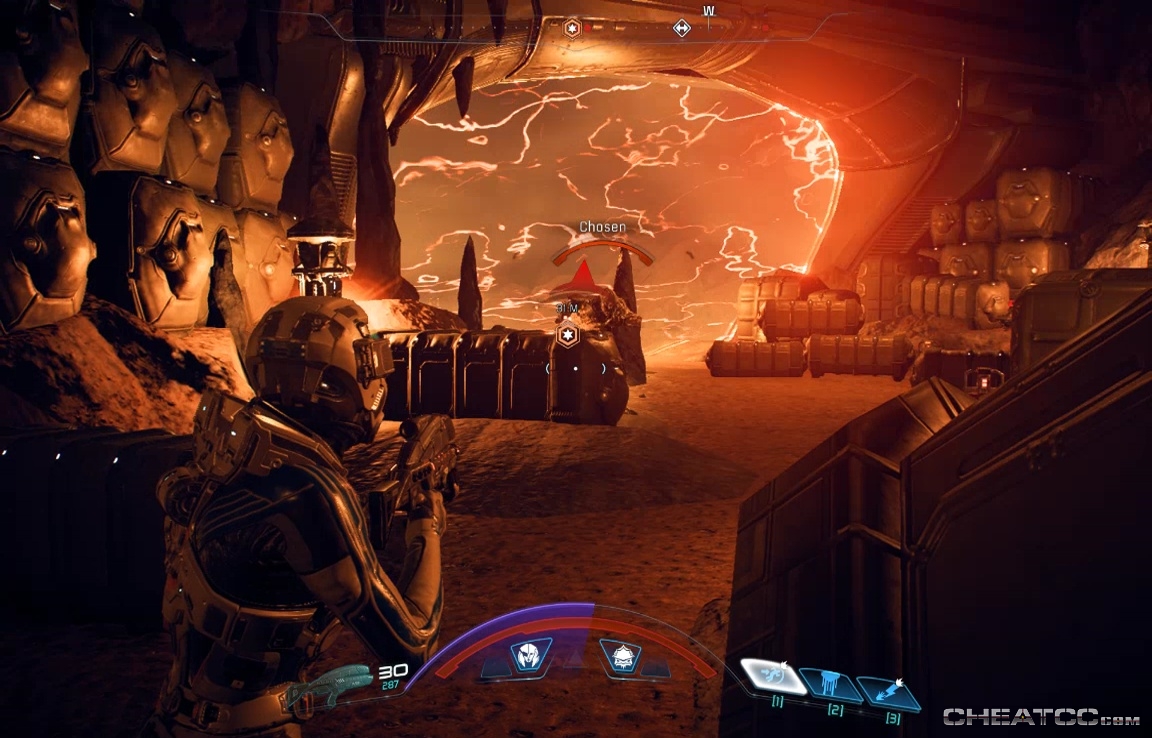
Ammo up, then clear out some Chosen at the bottom of the ramp.
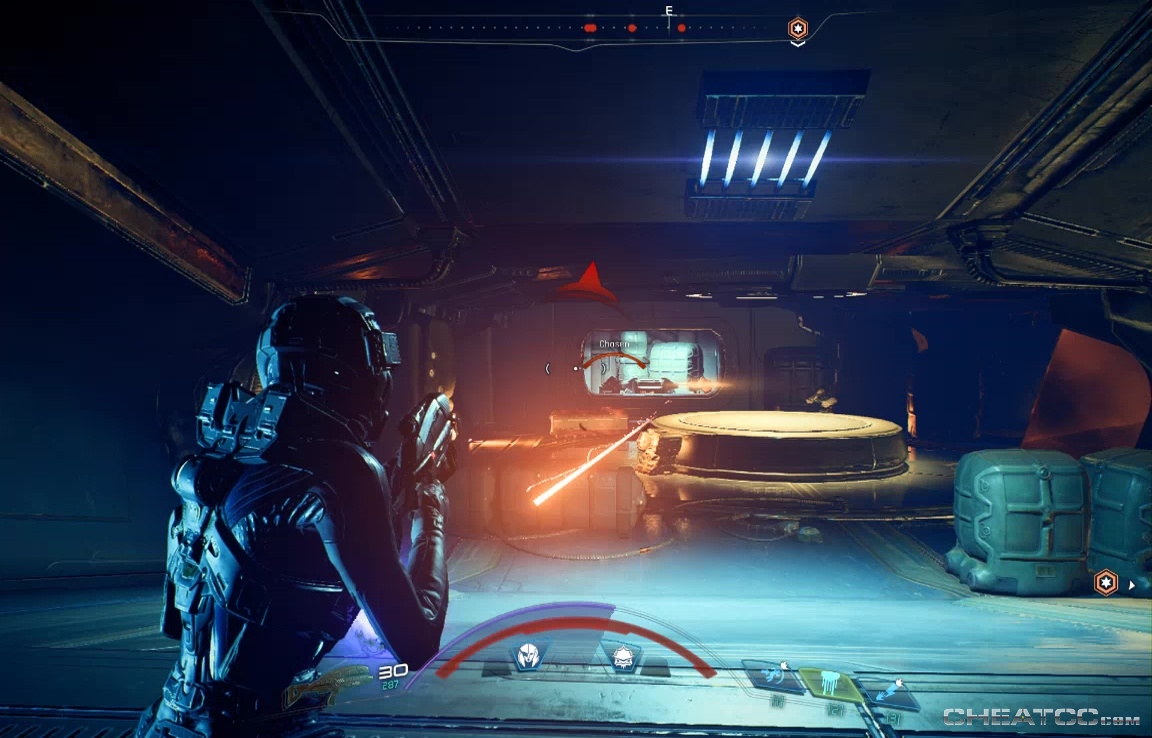
There'll be another ramp and a few more Kett, then it's smooth sailing until you open the door into the hangar bay itself.
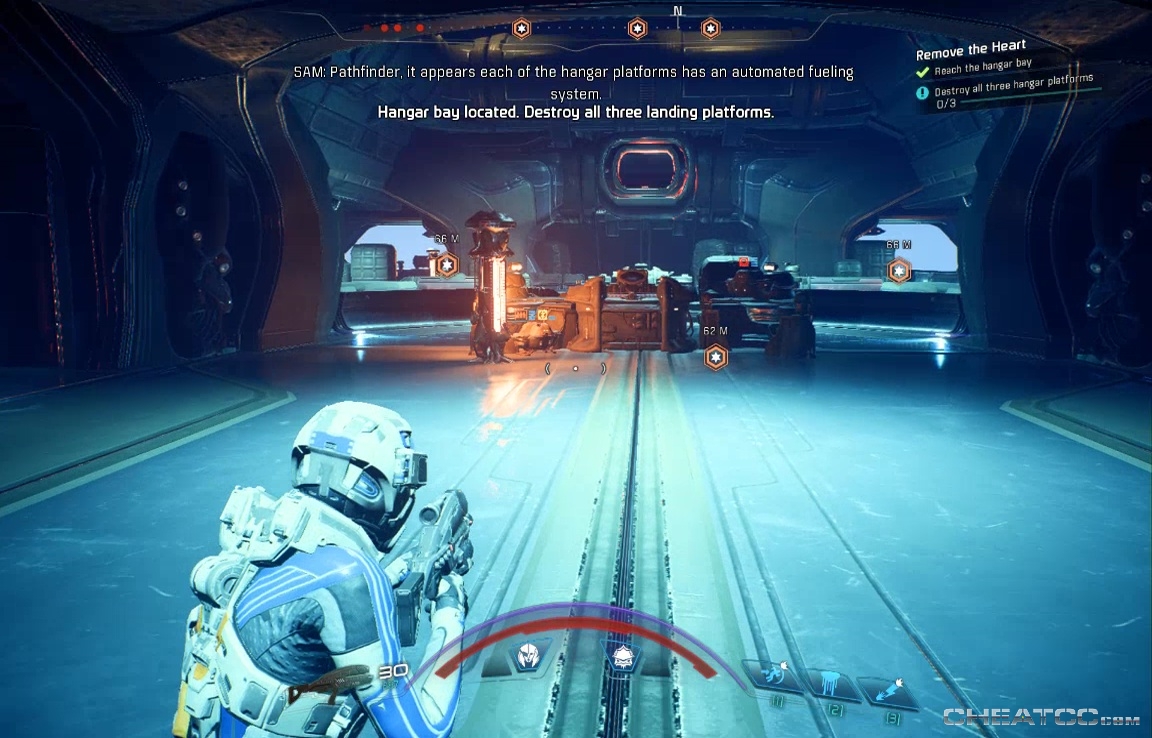
Your initial objective is to take out the landing pads, but as soon as you try you'll discover you need to activate some terminals as well, and your radar will swim with objective markers while enemies pour in.
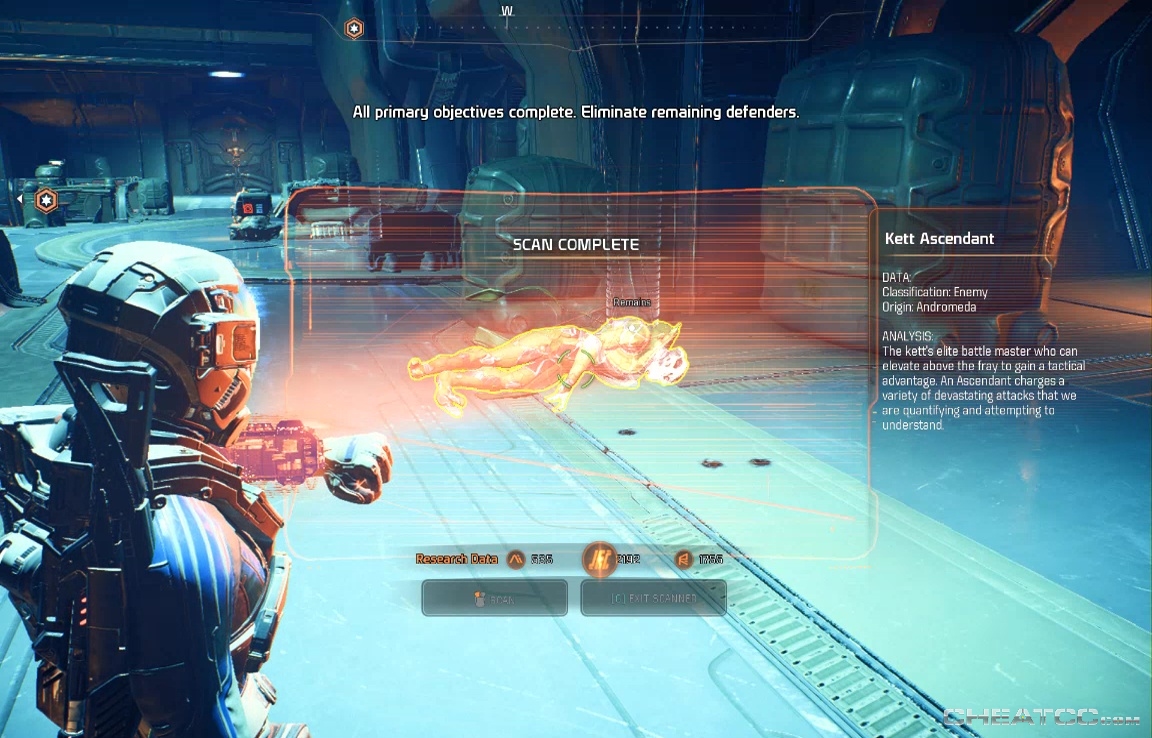
This is basically a free-for-all, so fight any way you like. If the resistance is too heavy, the landing pads themselves are surprisingly defensible. Once you've ticked all the boxes on your objectives homework, a final wave of Kett will surface, led by the base commander, an Ascendant titled the Prefect.
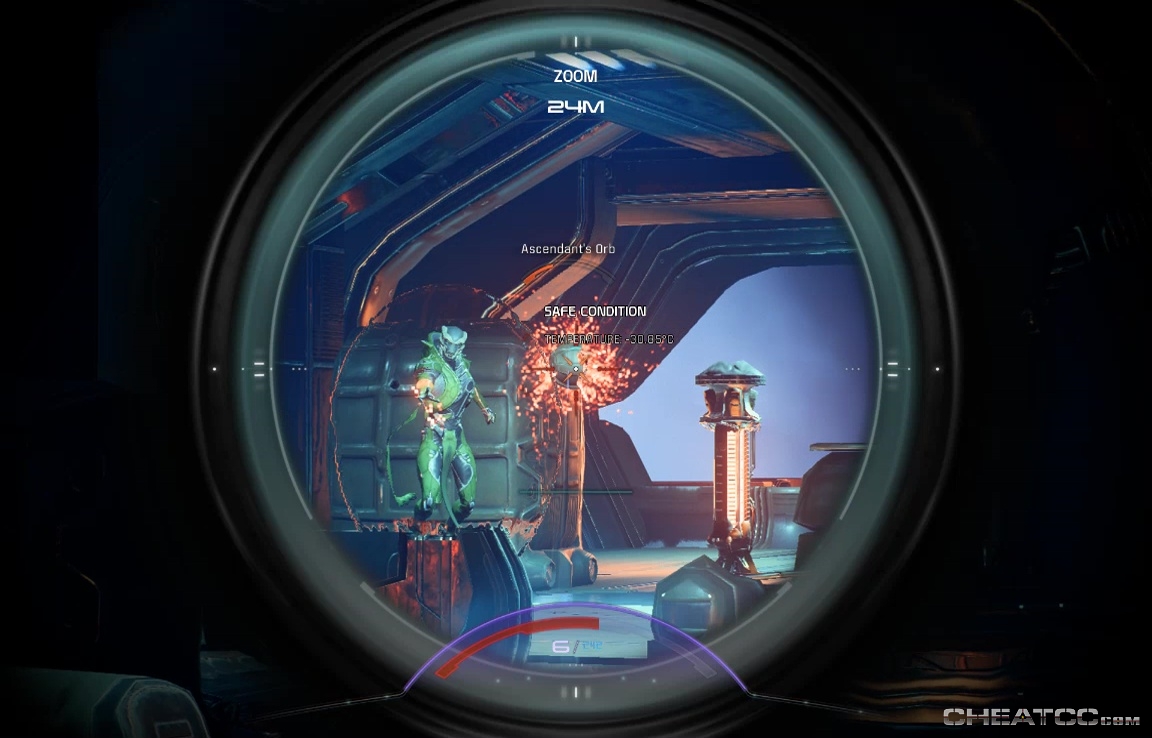
Like all Ascendants, the key is to take out his magical rotating orb first, which will briefly drop his shields and allow you to attack. The orb regenerates after a few seconds, so be ready to exploit these shield gaps to the maximum. Also beware of his close range attacks, which can instakill you, and some explosive attacks that can penetrate cover. Still, for all that he's relatively slow and can't account for three enemies at once. Try to keep your team spread around him, and eventually he'll go down.
Take the elevator up, disable the console, and help yourself to the last big loot cache of the mission. Your objective marker says to head back to Buxil, but luckily she's landed on the balcony just outside the hangar area drop-down (just follow your marker).
You'll have the choice to stay here at the complex or have Buxil give you a lift to Techiix, but either way finishing this conversation finishes the mission, and activates Uncovering the Past.