Dorado
Escort
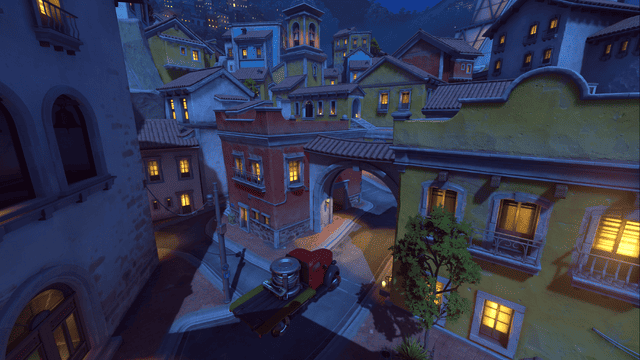
Rife with back alleys and bird's nests, this map is a sniper's dream and a properly acquainted long range combatant and make great use of the Mexican locale, a location hosting a festival in honor of the end of the Omnic Crisis

When defending the payload, you'll want to take advantage of two high points situated near the spawn point. The first of which is directly in front of the Payload, and offers a perfect view of the Payload and the direction in which it will be traveling at the onset of the onslaught. The second is out of the starting archway, down that first street and up the building. Posting up here with a Hanzo or Widowmaker can be incredibly effective for eliminating oncoming forces. As the attackers, post up at the top of the starting building to eliminate prying enemies from the first sniping area mentioned above and take cover with close range enemies bellow, using the payload and walls as cover while eliminating the opposition as the pour through. As for the second sniper point, take advantage of the various side streets to flank the enemy, especially if you are primarily close-range. As the payload travels towards the first checkpoint, it will pass under archways and through tight corners, so be certain to have a couple of close range Heroes on your side to flank the enemy.

When the payload reaches the first checkpoint, you will have two flanks located directly in front of and to the sides of the entrance. Use these to your advantage, as the higher ground on the left can be immensely helpful, and the pathway on the right can help you circumvent the enemy. There is also a platform at the very top of the building to the left, and this can be used to provide sustained fire towards the attacking team. Great for forcing the opposition to scramble. Towards the end of this path, just before the next checkpoint, there is a zone that will be the basis for the majority of the skirmishes. There are two paths surrounding this zone that can be used to your advantage to navigate around the enemy safely.

The third area has a U-Shaped path that the payload must follow and the nature of the map undoubtedly favors those who use the elevated path that surrounds the main objective area. While an attacking team is escorting the payload, they will be prime targets for sustained fire and can be flanked by a walkway to the left of the starting point. Using Bastion or a Torbjörn here can be devastating to attackers. The Attacking team should also take advantage of these flanks, and should make extensive use of the high ground at the center of the path. There is also a low area that extends along the length of this portion of the map that is situated to the right of the starting area, in the building you use to get to the high ground at the center of the path. This covered hallway can provide cover, and allow you to flank the enemy with ease.
Hopefully, this will bring you closer to success and to unlocking more of those delicious loot boxes. For more on Escort, head over to our Escort Wiki Page!