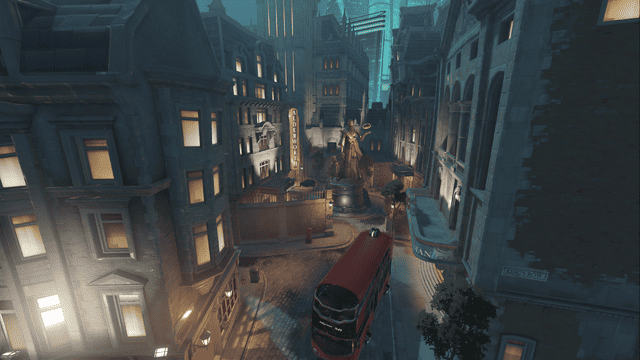
King's Row
Hybrid
King's Row current state of perpetual gloom is the result of the ongoing conflict between the Omnics and the Humans. The Omnics, subjugated and forced to build the city, now live under it. But the tide of war sings loud from bellow, and the Omnics won't stand for being held down much longer. Nor will they stand for you rowdy Overwatch players shooting about while they are trying to sleep!
Hybrid maps offer a different affair than other maps in the game, as you'll be not be playing one specific game mode associated with it, but instead you'll start the game in assault mode before it transitions into an escort match. Because of this, the maps offer a significant array of experimentation so I'll be providing tips on how to conquer while playing this map.

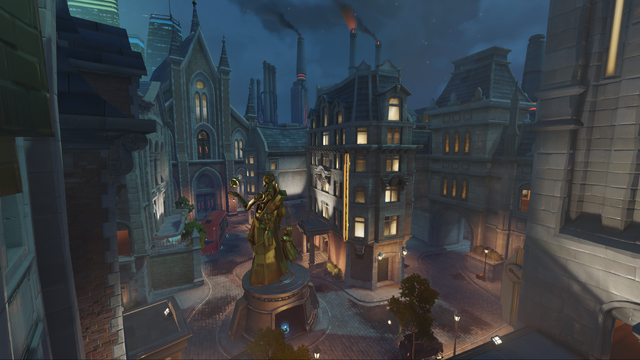
When moving towards the first objective as the attackers, it's recommended that your team consist of A Reinhardt and Mercy combo, as the oncoming fire will be deflected by his shield while the rest of the team push forward towards safety. It's also paramount that the attacking team use Genji and Tracer as their remarkable traversal abilities are incredibly useful when attempting to outmaneuver the defense.
While defending the first point, it's best to avoid setting up major defenses at the first chokepoint, and instead, fall back to where your flanks are more protected and you can take advantage of higher ground. It's also a great bet to use a Soldier: 76 and McCree on to take advantage of their high DPS, and eliminate enemies caught in the choke point.
Symmetra is also exceptionally useful, as she can place her turrets in the lobby of the hotel and help cut off flanking foes.

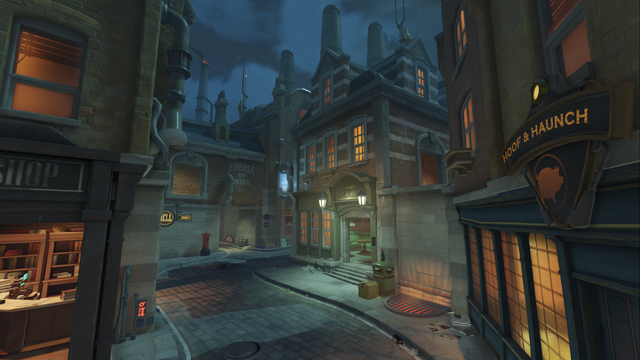
The streets phase force a more mobile strategy to ward off the enemy regardless of objective. It's a very tight space, and splash damage can be devastating when implemented correctly. You will also want to stay mobile, as this section of the escort will be far more like a mobile skirmish than an established strategy.

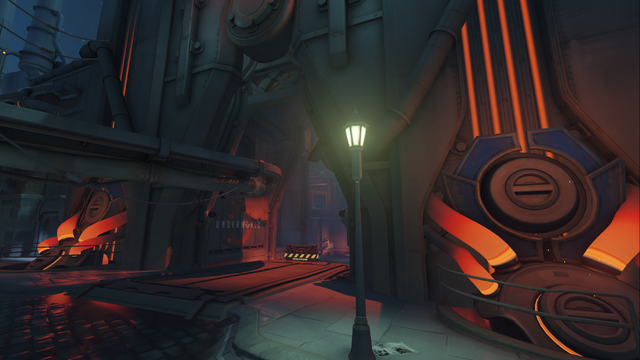

For the final section of the map, most defense teams will rush to meet the opposition at the first zone, and as an attacker, you should take advantage of this. Use the advantage you have with the higher ground to eliminate the defensive enemies. As the defense moves back, be sure to have a Reinhardt on your side to defend from their attack at the choke point just before the objective. This can be an absolute murder zone if you're not careful. Pair Reinhardt with a Junkrat or Pharah to dismantle the defense holding down that higher position.
For the defending team, the best section for defense is the point just before the final objective. setting up a proper defense here means utilizing a Bastion and some Turrets from both Torbjörn and Symmetra. You can't be flanked here, so focus your fire on the attacking team and hold them in place.
For more on either of the game modes featured on this map, head over to our Objectives Wiki page!