
Lijiang Tower
Control
A cityscape to rival Metropolis, with Lijiang Tower overlooking all, this is the pinnacle of modern human invention and innovation. Also, a great place to explode while trying to take over a point.
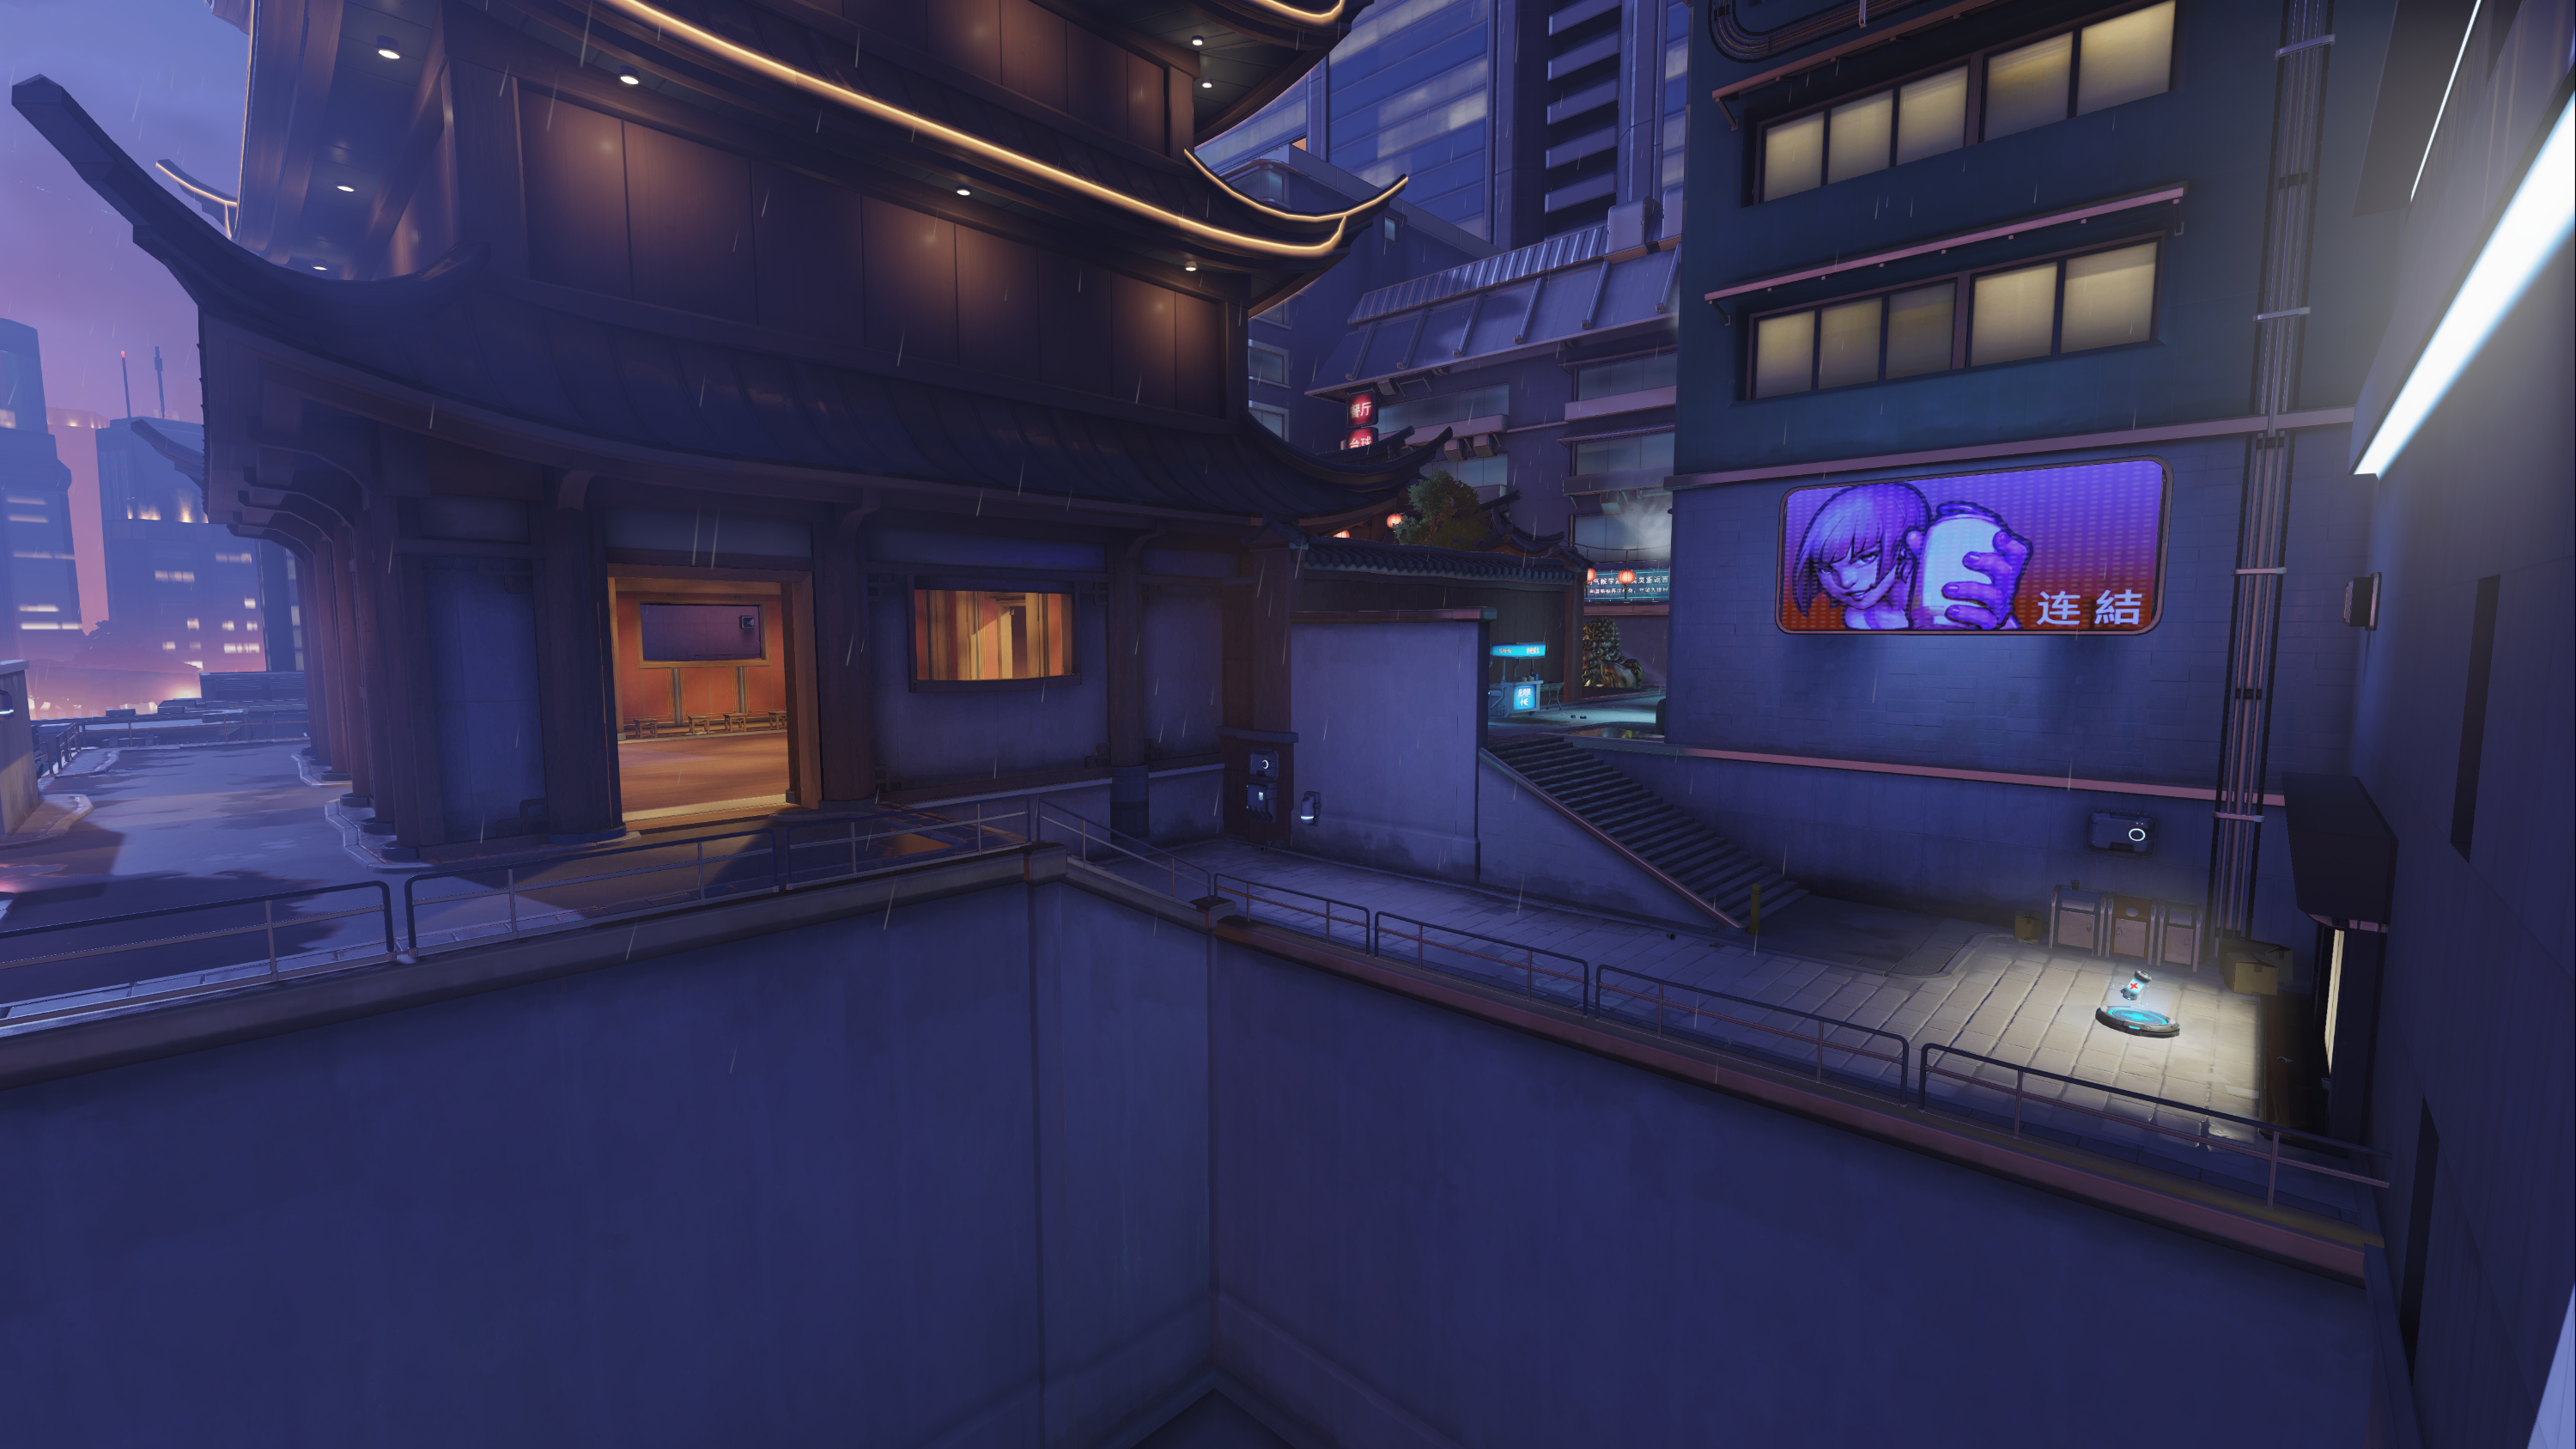
The first area of the map is The Garden, and can be approached either by entering the building or by using the bridge. The bridge is where the bulk of the enemies will funnel through, given its faster access, and thus it will provide a significant portion of the skirmishes. Zarya and D.Va are devastating here, and should be covering the two entrances for the point. Directly across from the capture point itself is a small building which usually is taken over by a sniper of some sort. Unfortunately, this area is easy to flank, as it too has multiple entrances, and instead should be used by a Torbjörn Turret or Bastion Sentry to eliminate enemies on the approach, or as a hiding spot for Roadhog to be utilized when the opposing team begins their attack from the main flank. It's also important to have a support hero with you, a position that should move depending on the needs of the team. If a full-on assault to take over a point is in order, choose Lucio for the squad-wide health boost. If you're defending the point, Mercy is your hero, as she can boost the damage output of whoever is currently defending against the most significant push.
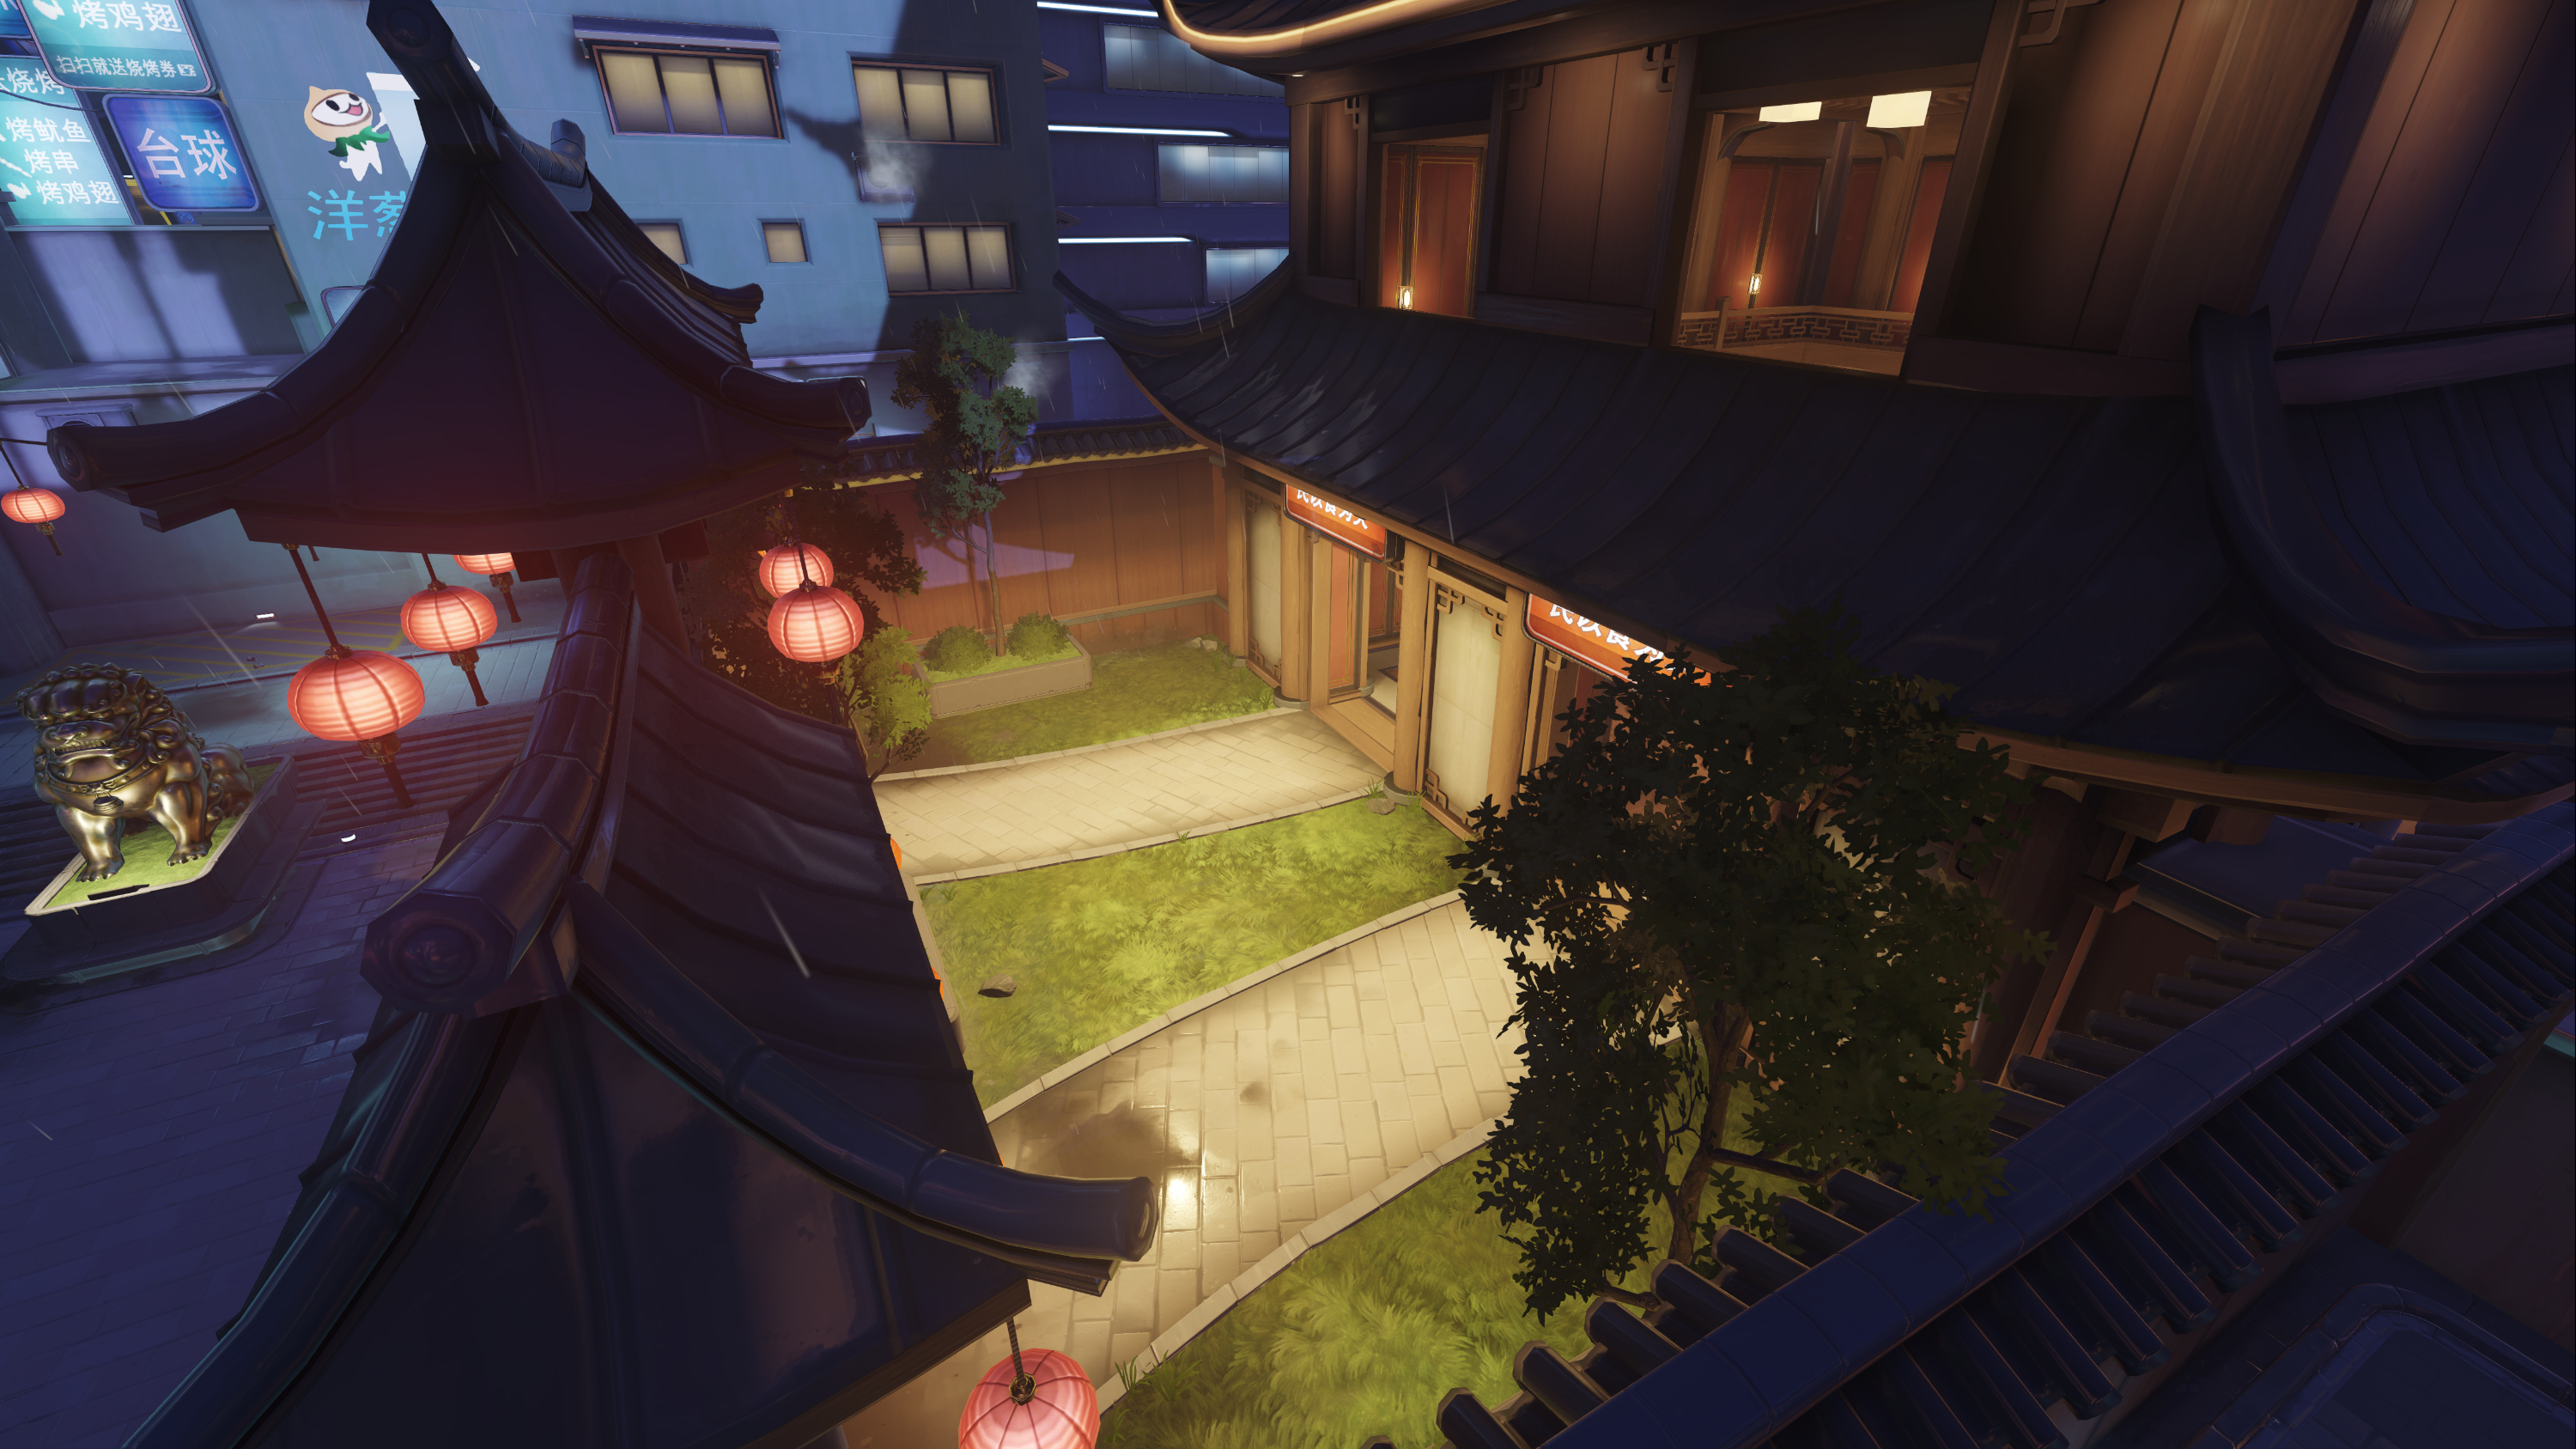
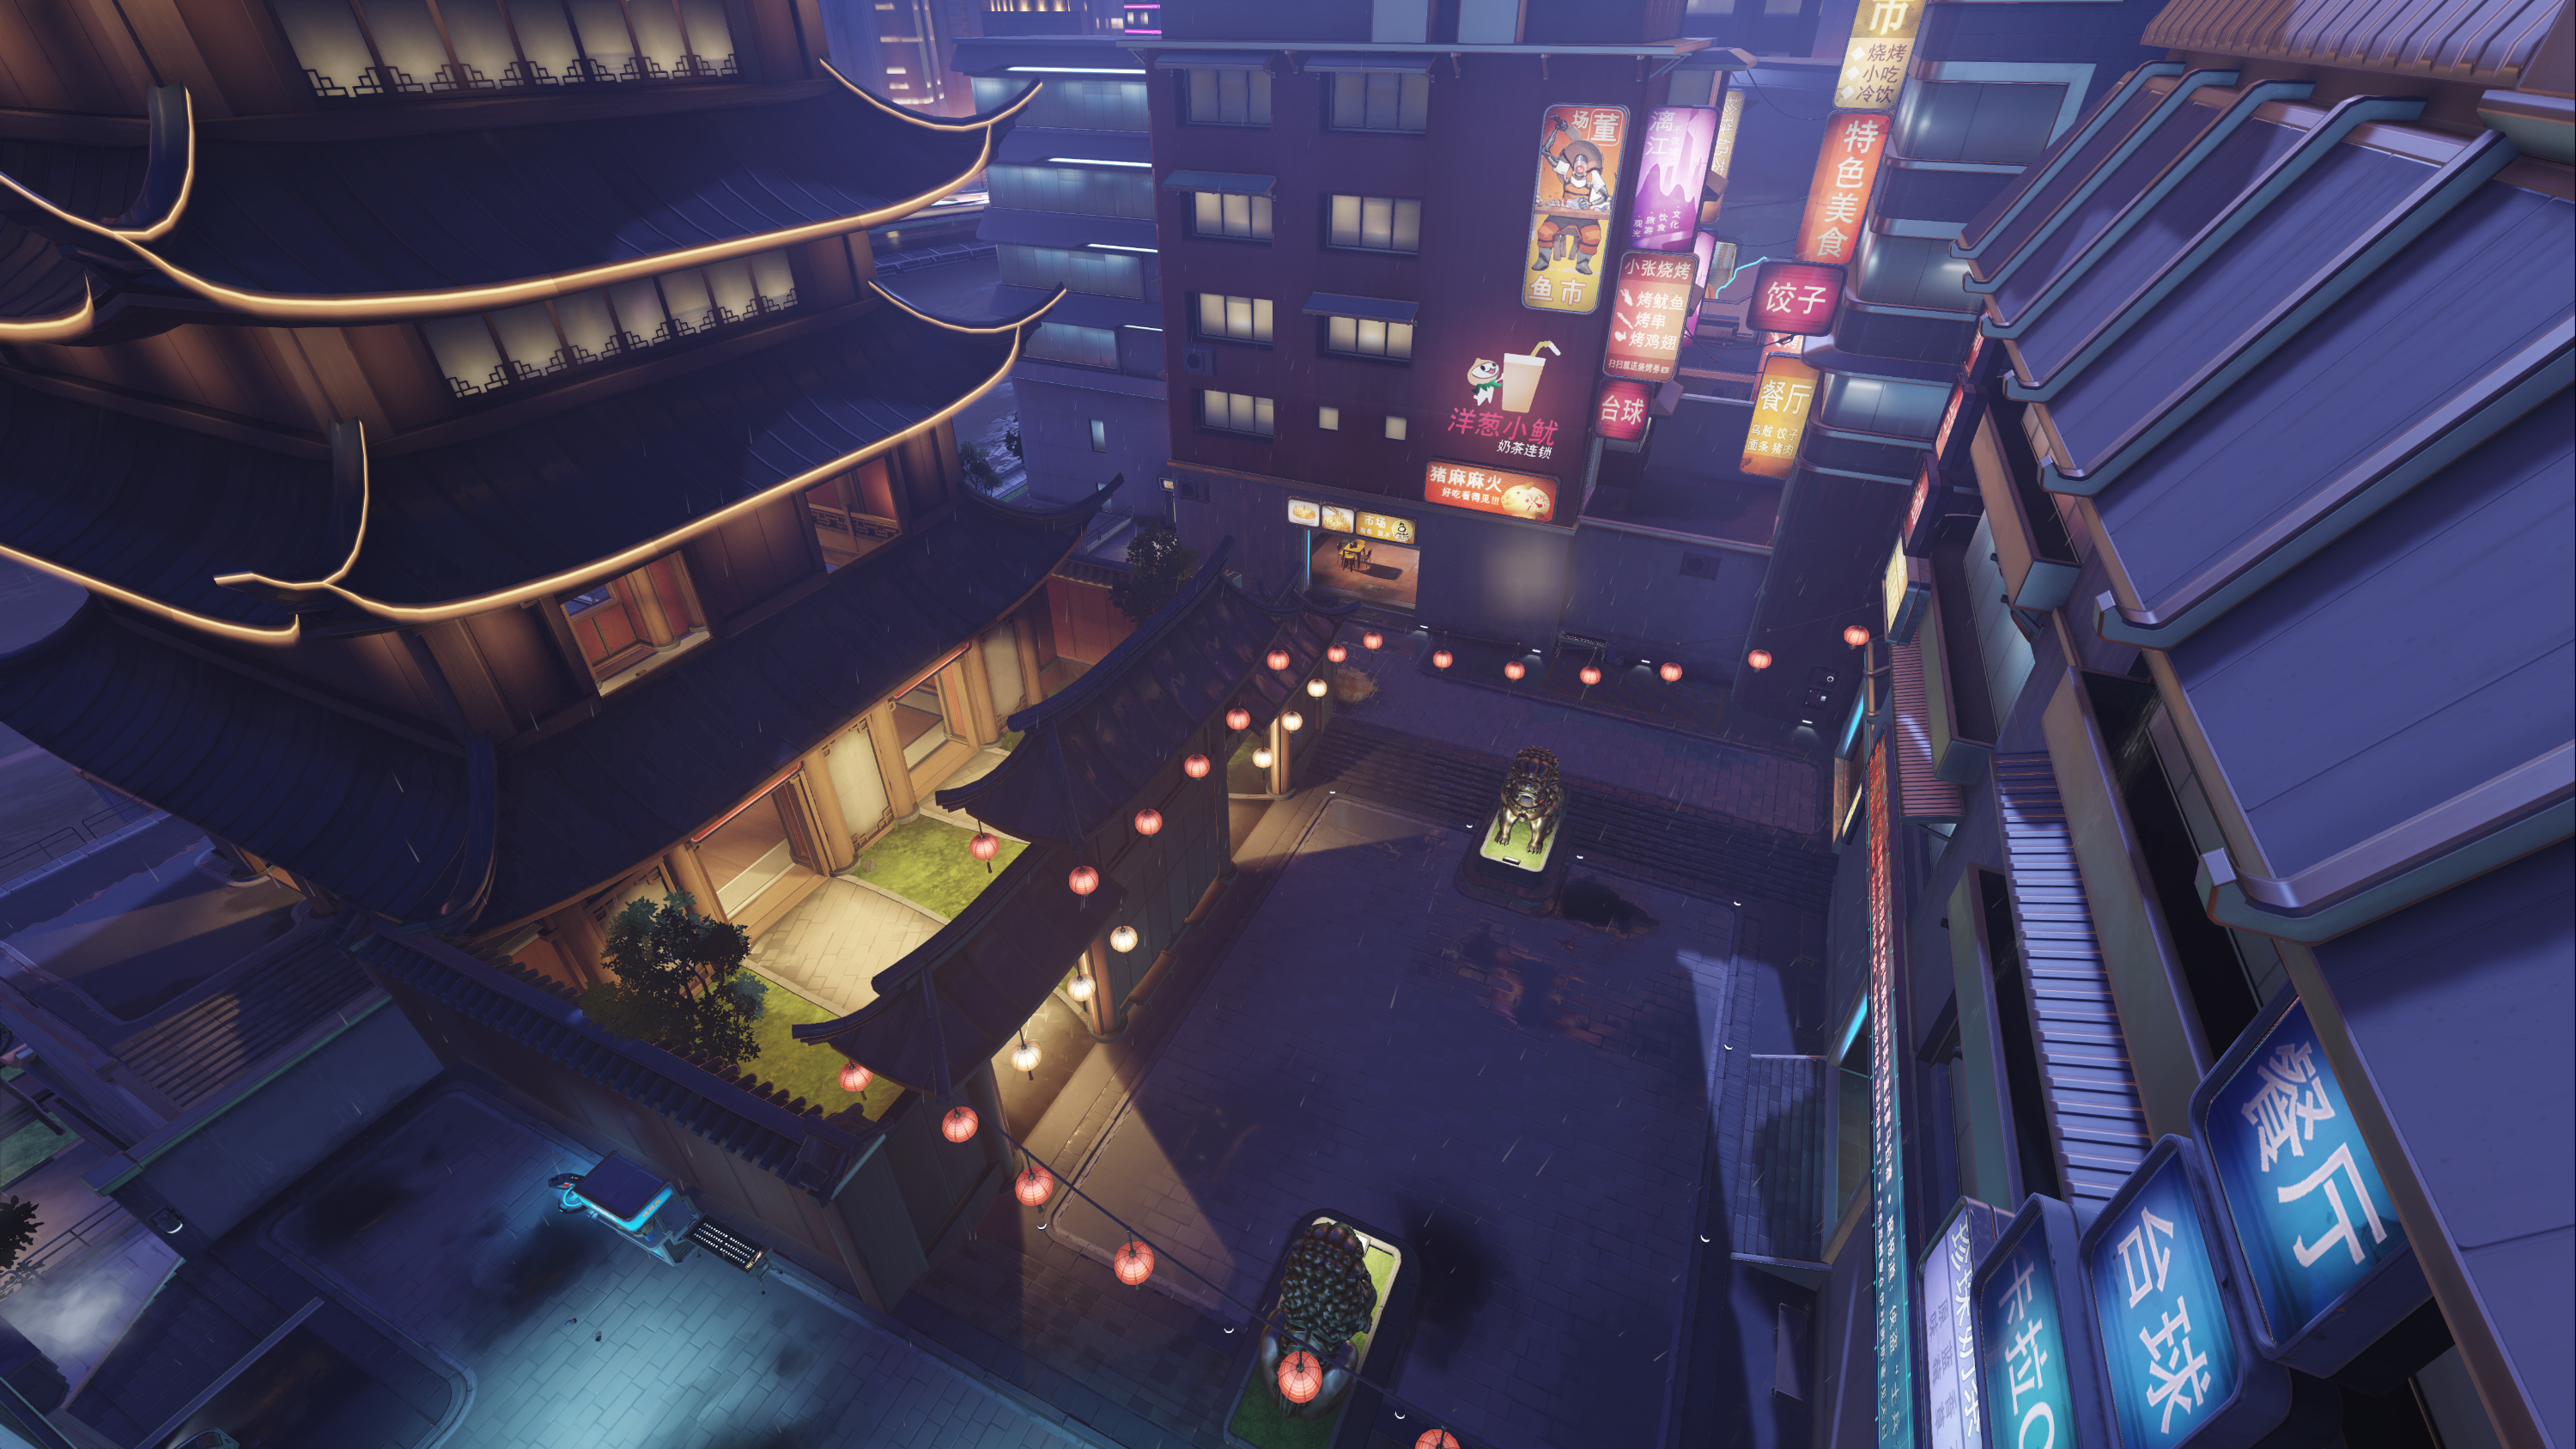
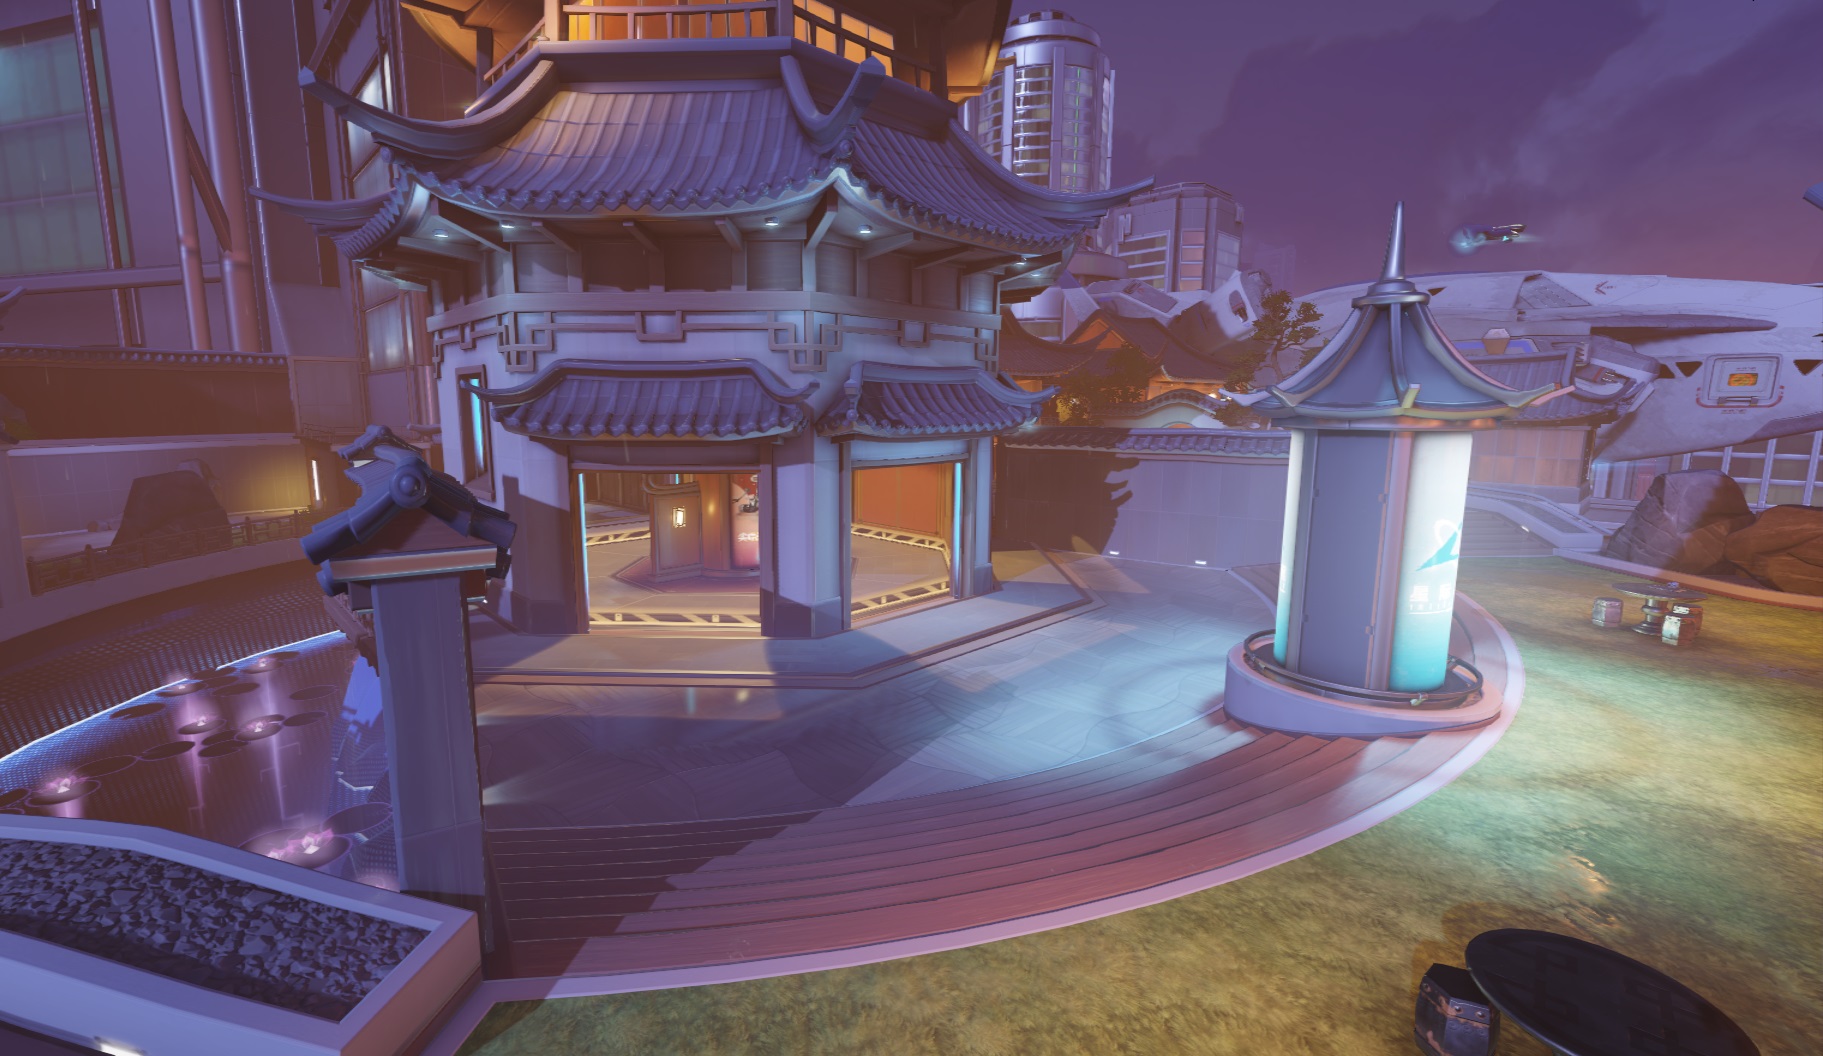
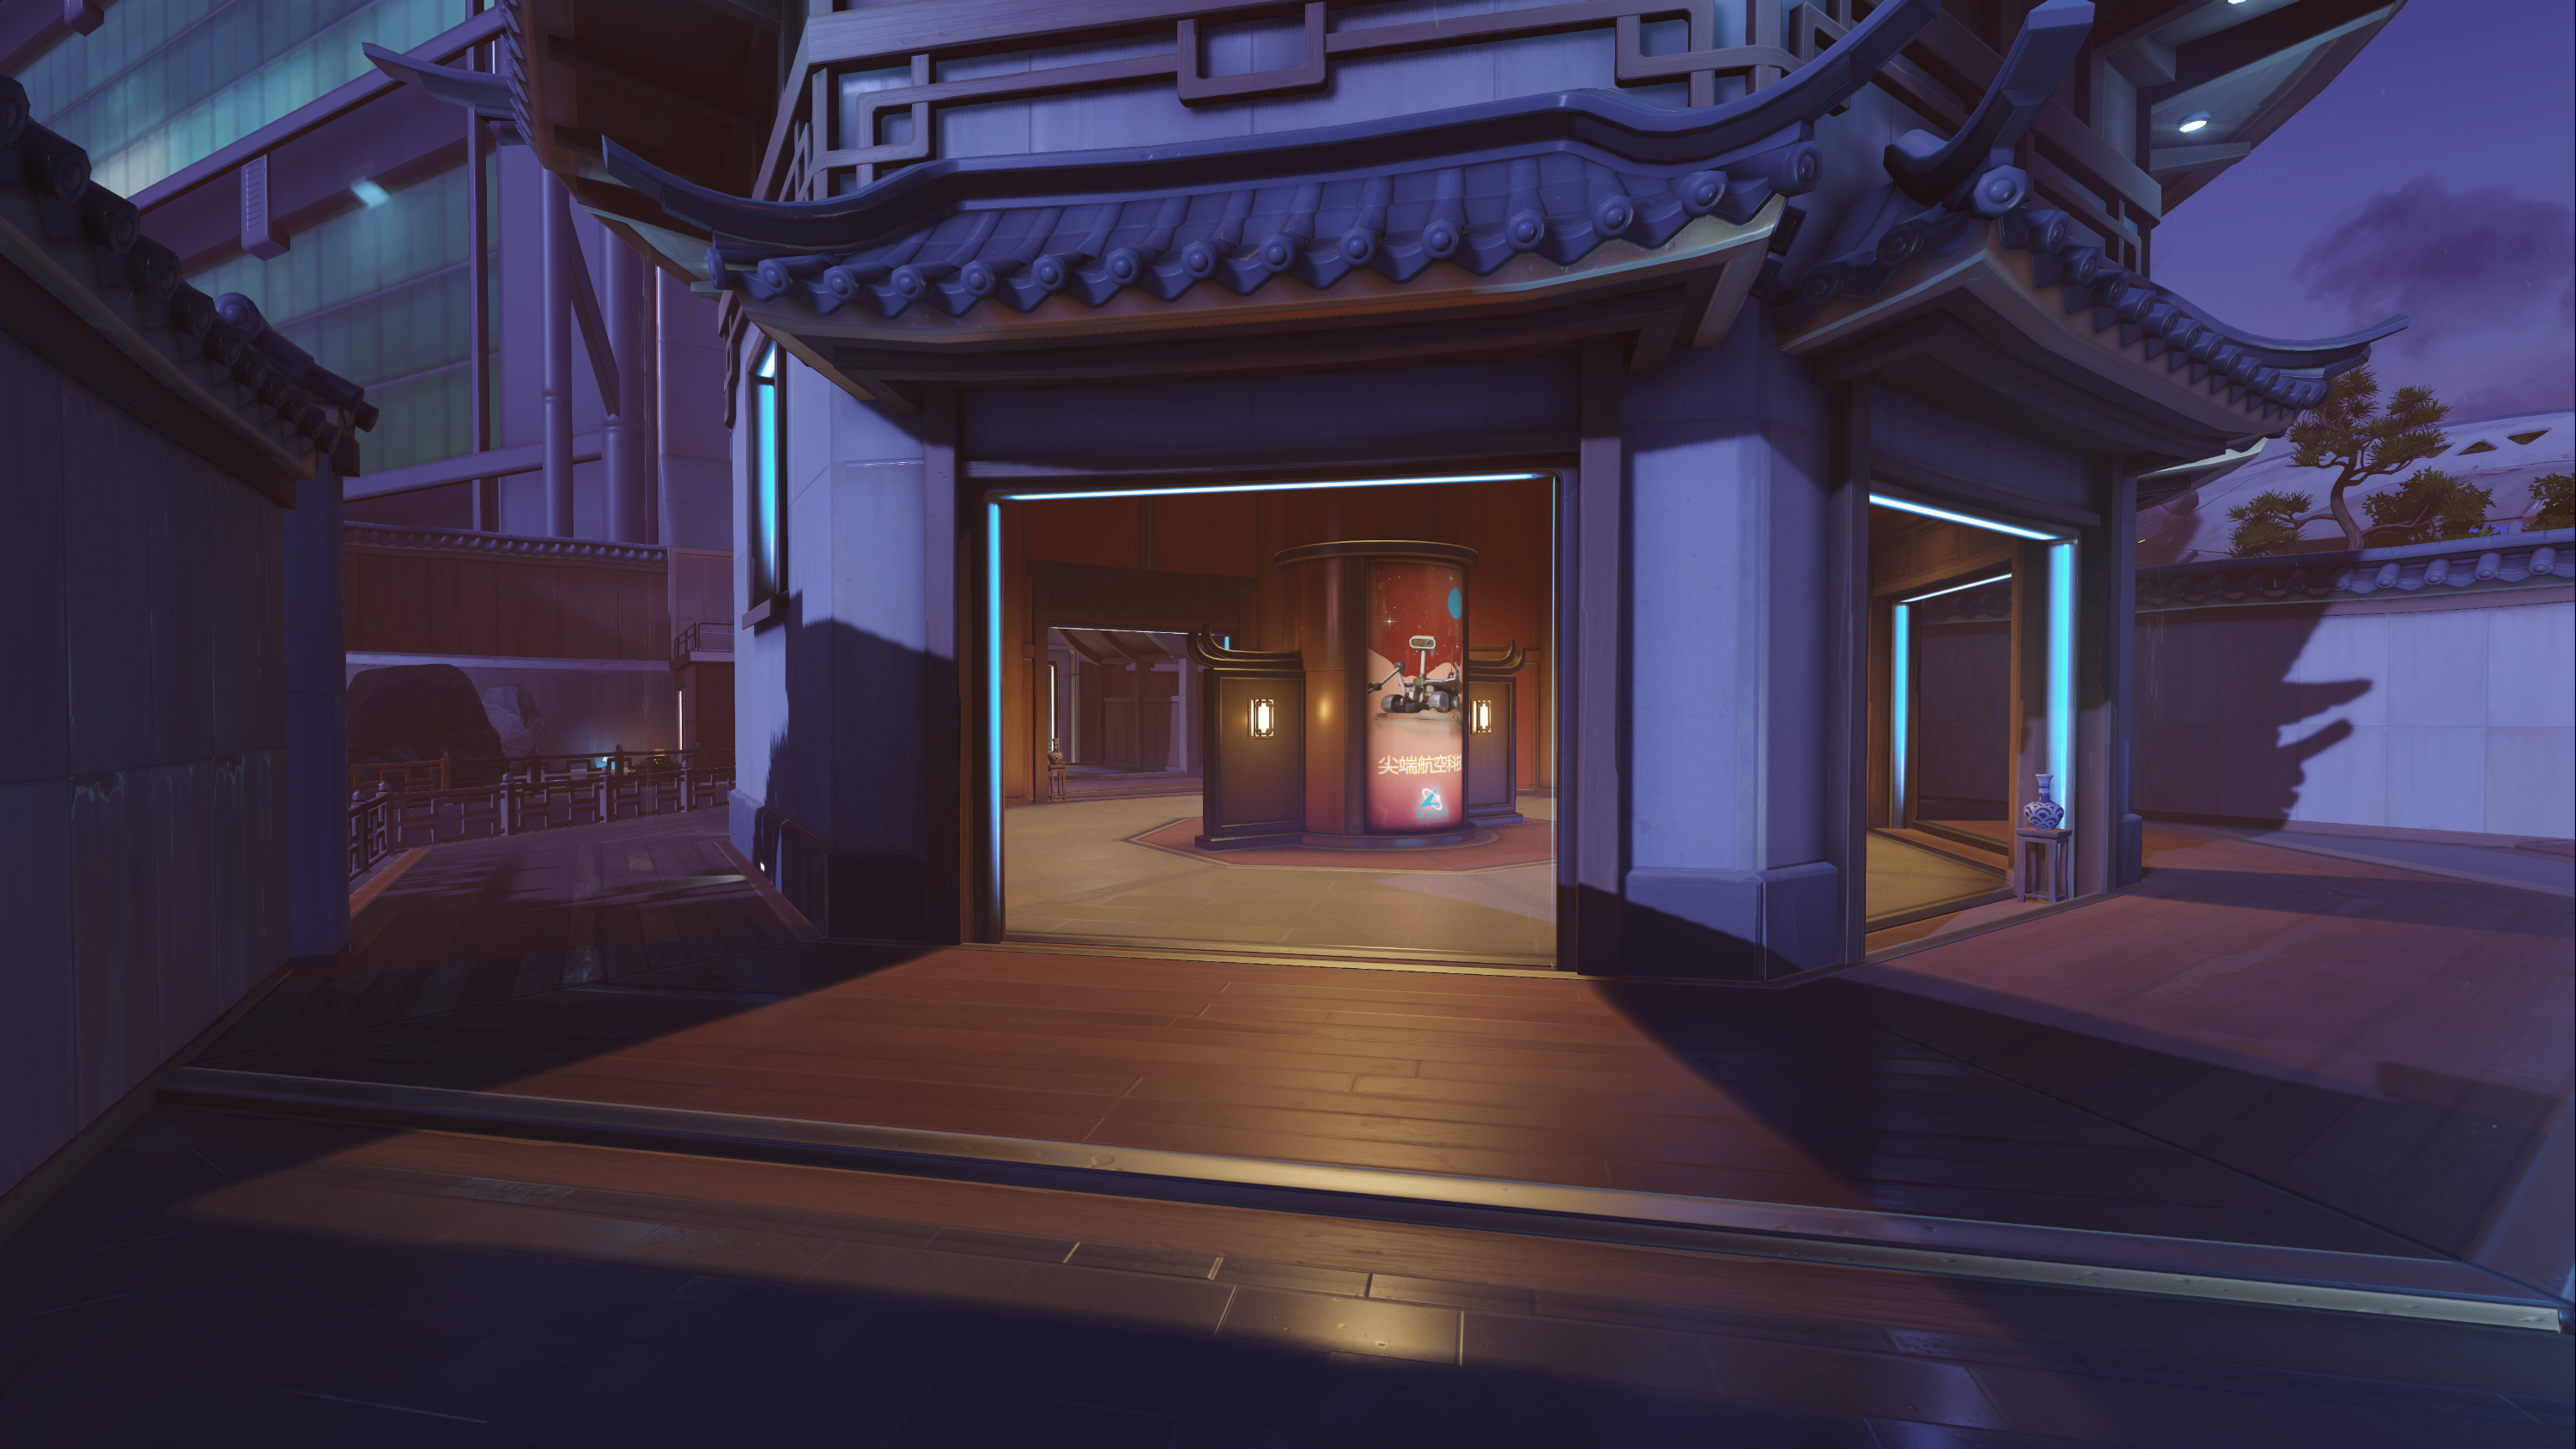
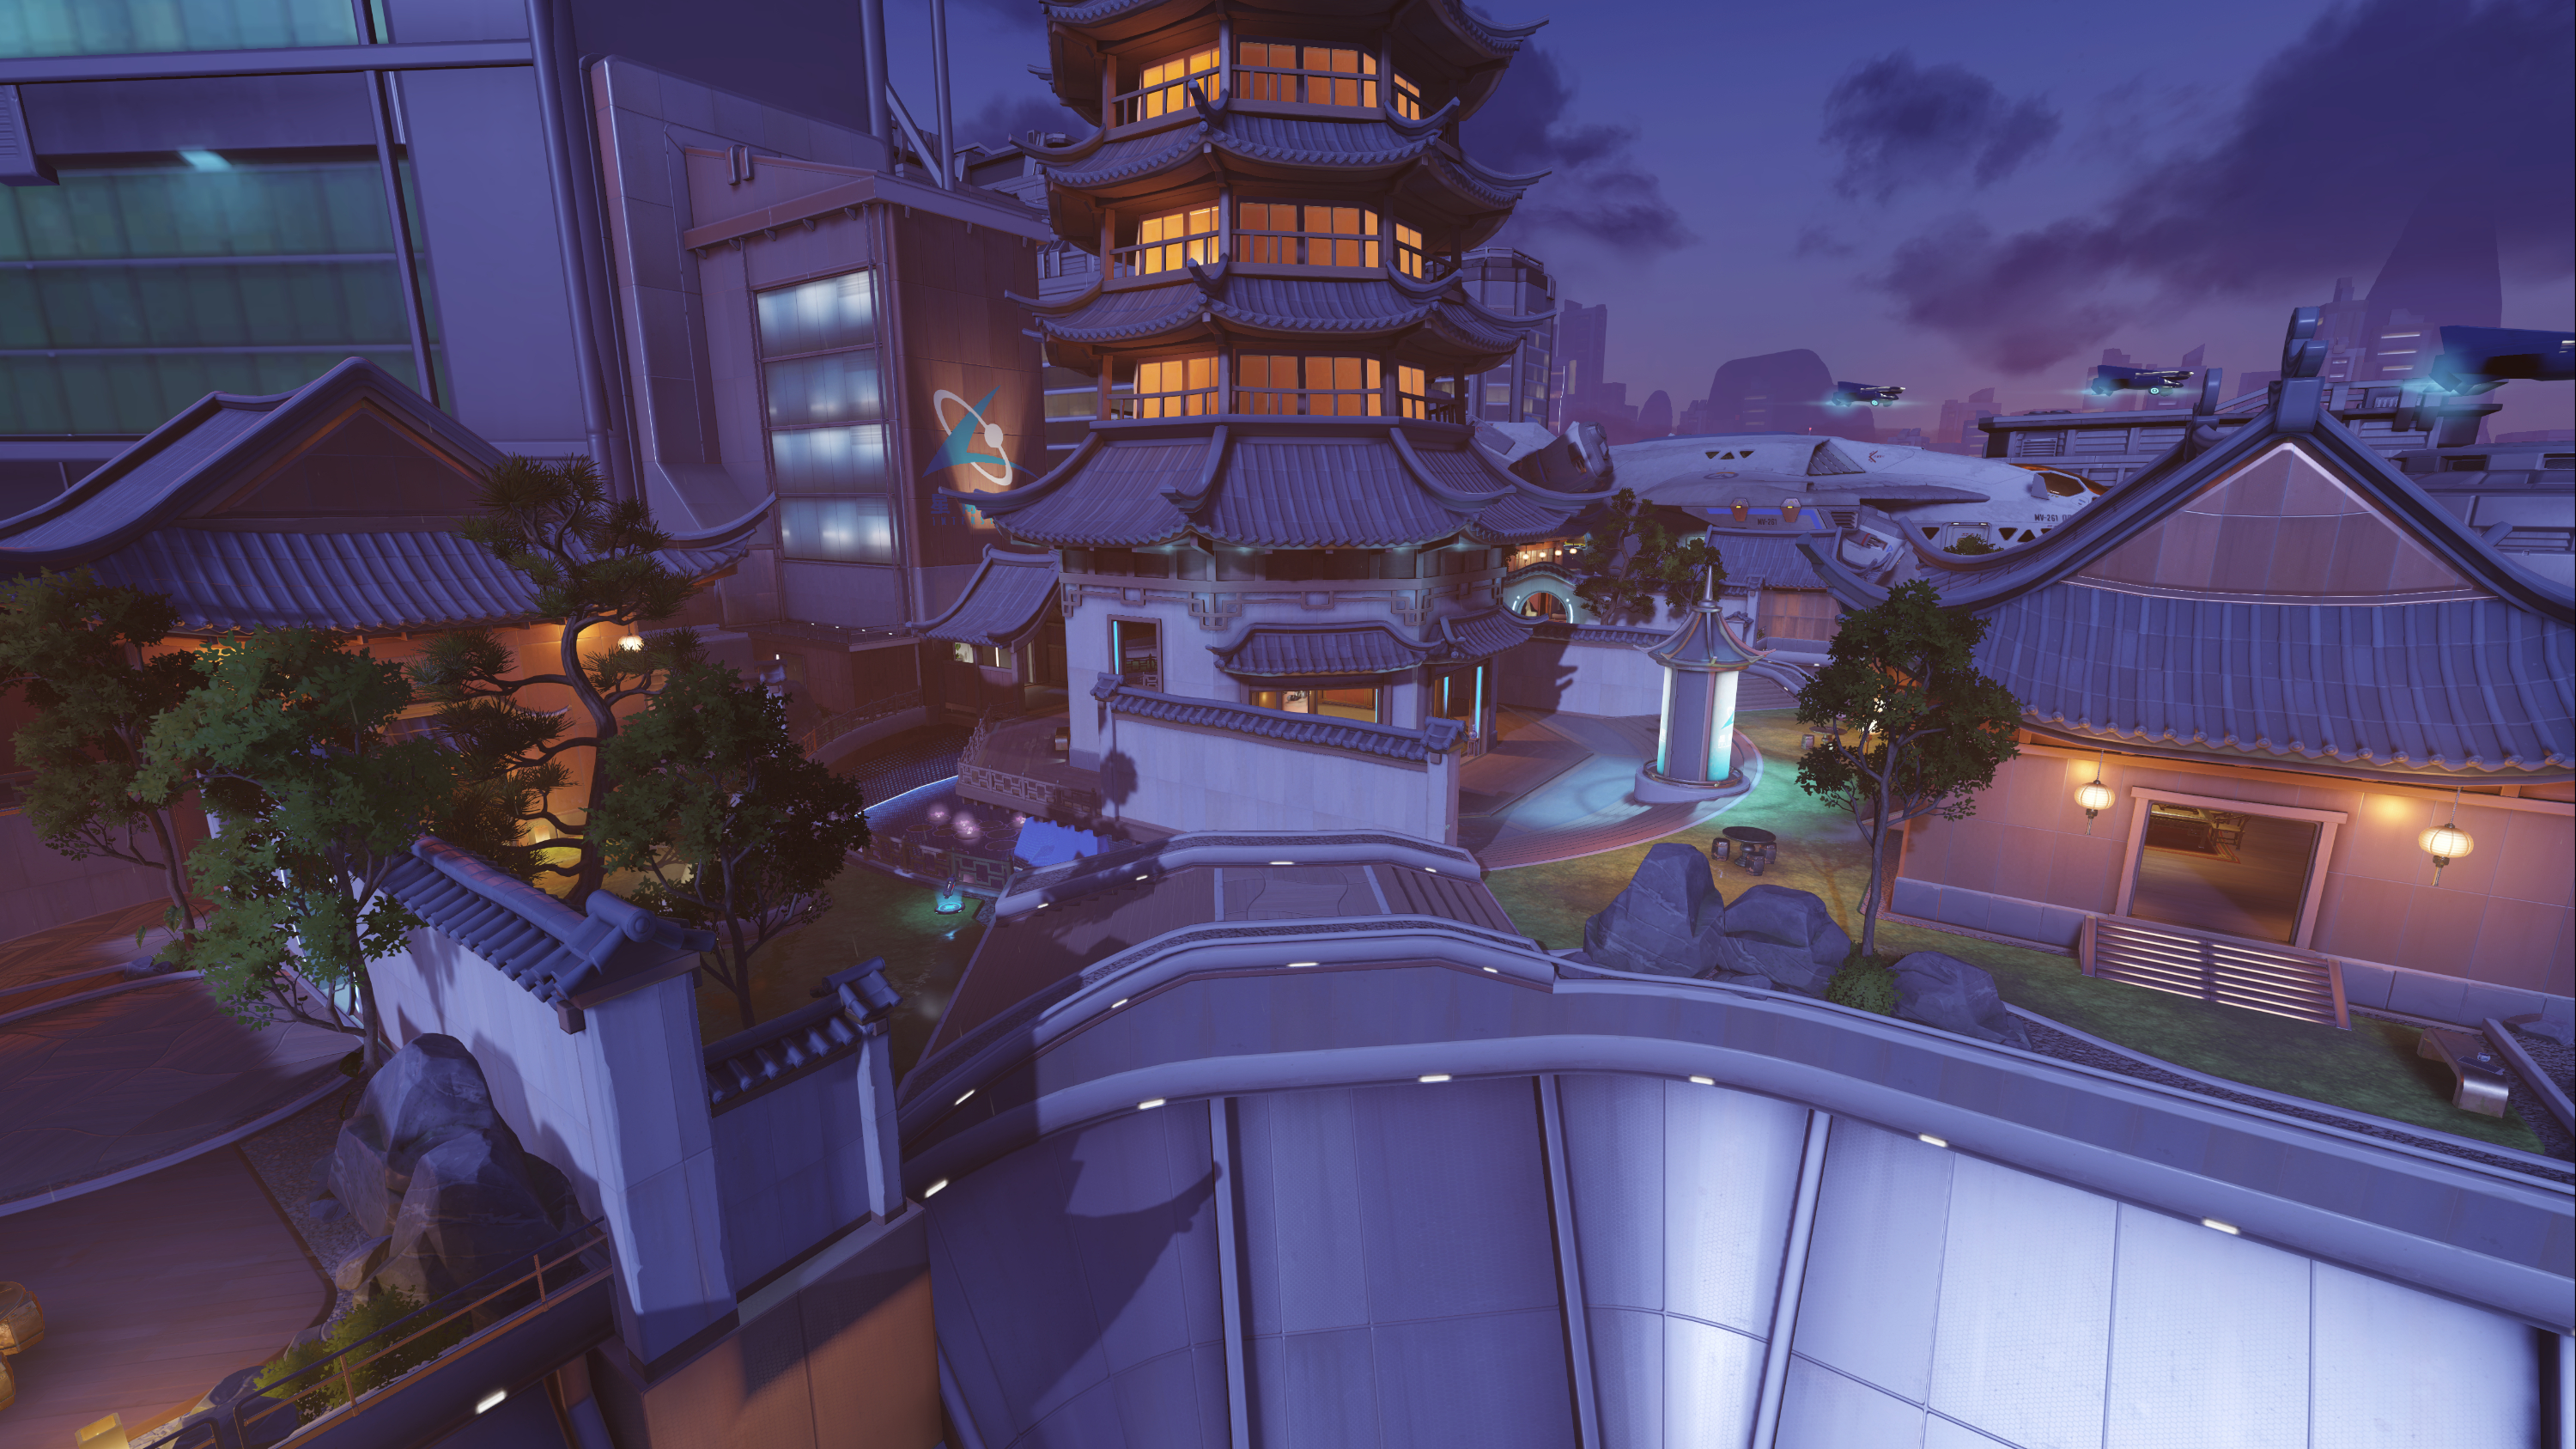
The Night Market makes use of an enclosed pagoda with 4 entrances. The main choke point at the front that can be reached by traversing a large courtyard is where the majority of foot traffic will be occurring, but this also leaves you entirely open to sniper fire. Speaking of snipers, there are ledges that line the entrances to this area from both spawn points, as well as the back are for the agility inclined Hanzo and Widowmaker. These can be used to decent effect, as they have a clear view of the main path, as well as both the left and right flanks primarily used by the two teams separately. Unfortunately, this area is quite exposed and offers no clear view of the back portion of the pagoda, or the back porch section where the majority of the firefights will play out. The entrances to the sides of the Temple, each one will likely only be utilized by the team on the corresponding side, as well as a back entrance that offers a quick demise for those caught too close to the ledge, but are integral for circumventing the snipers watching the front, as well as the team currently locking down the objective. Pharah, Junkrat, and McCree are massively powerful for defending this back area, while Bastion and Reinhardt should have a clear view of the objective from the inside.
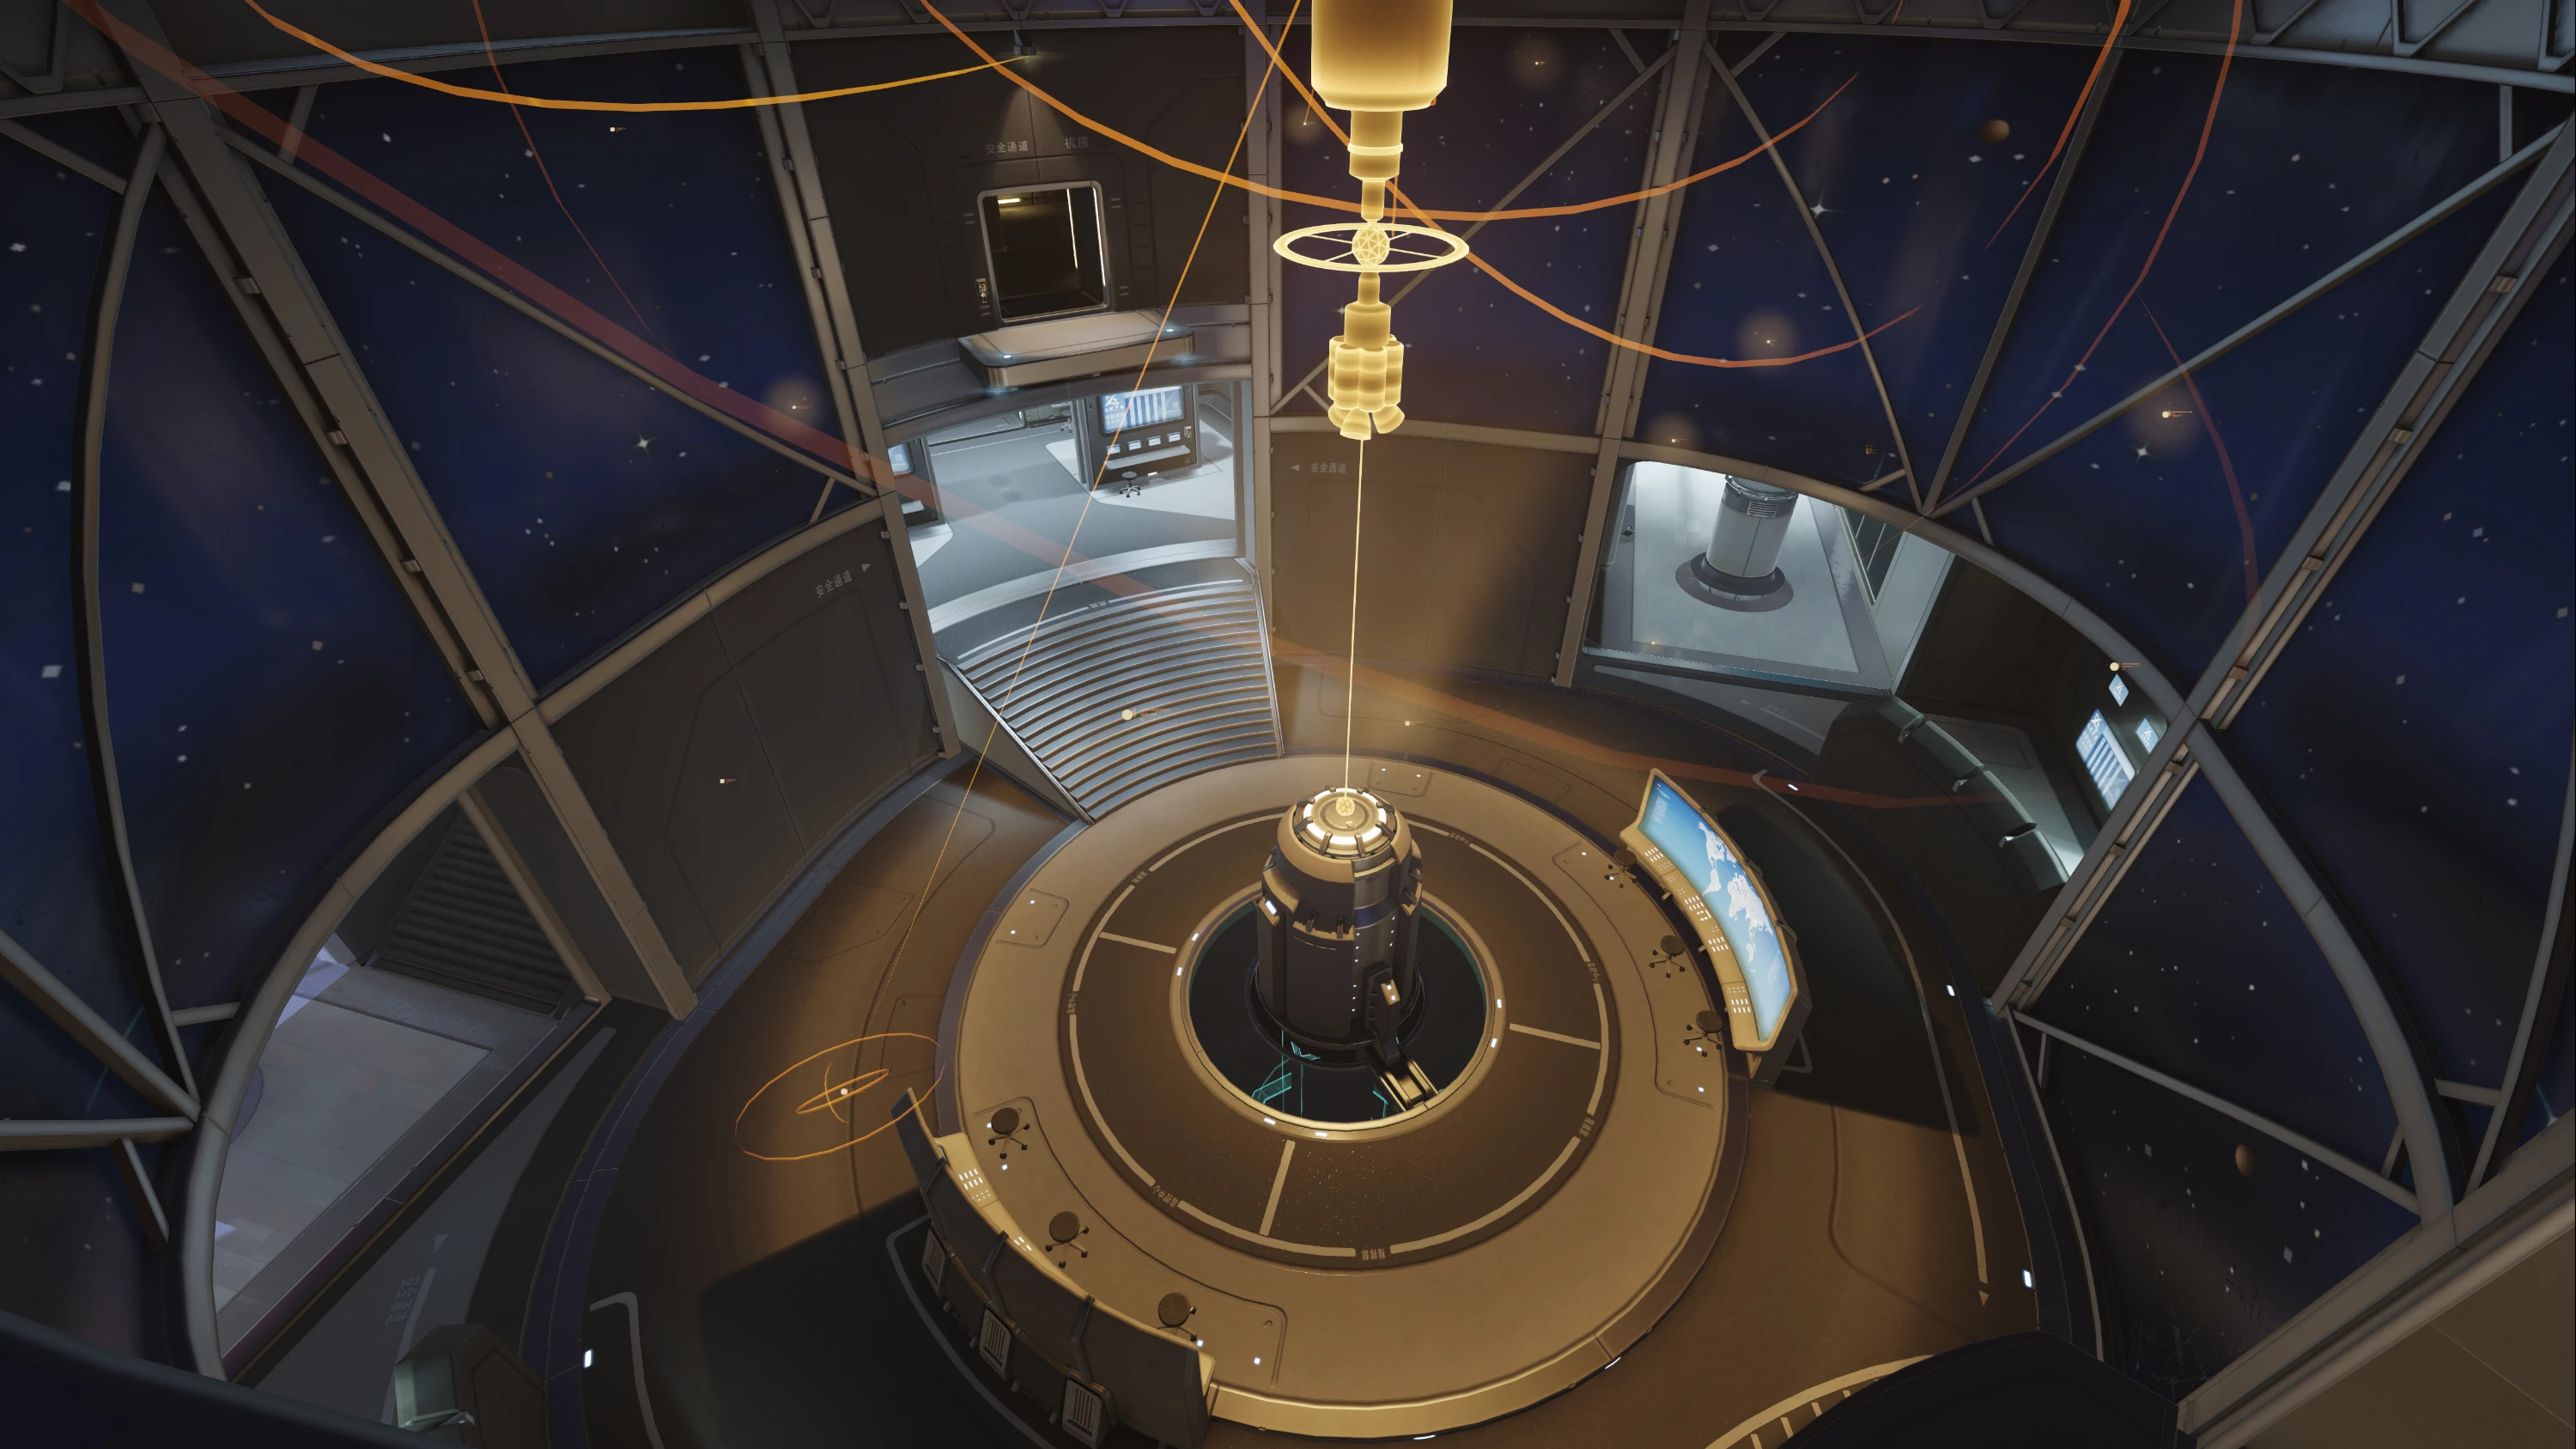
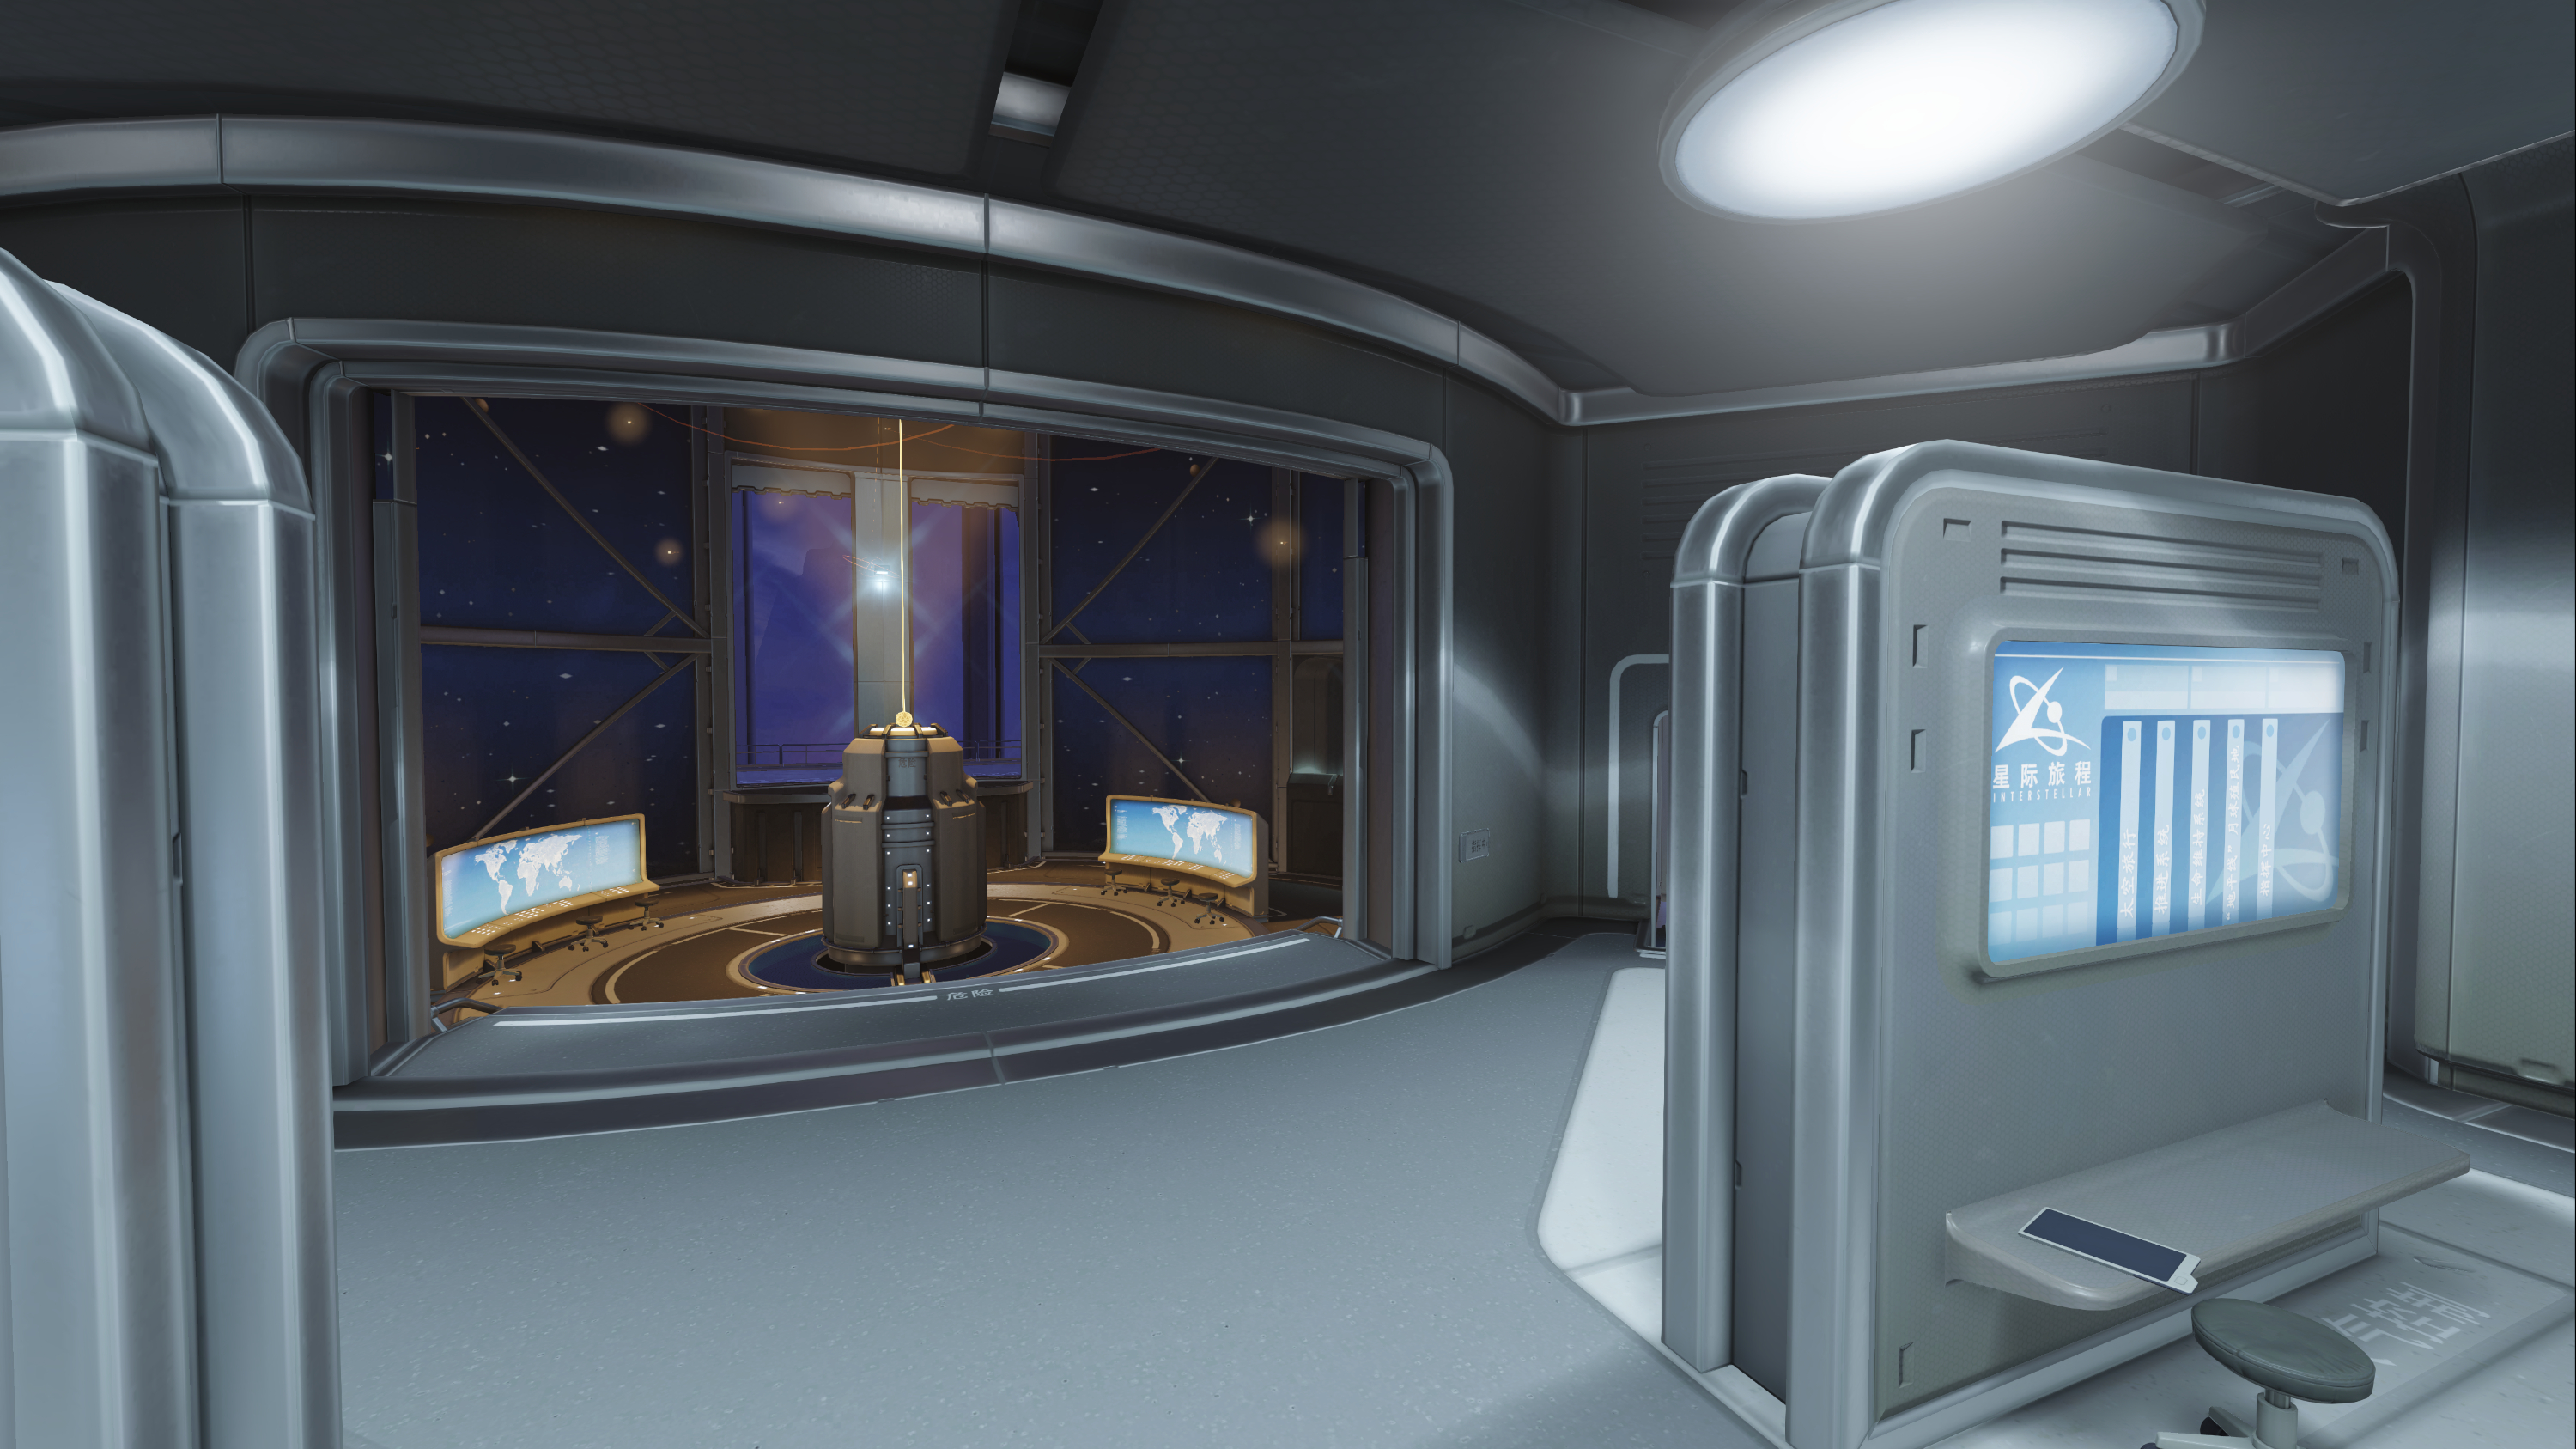
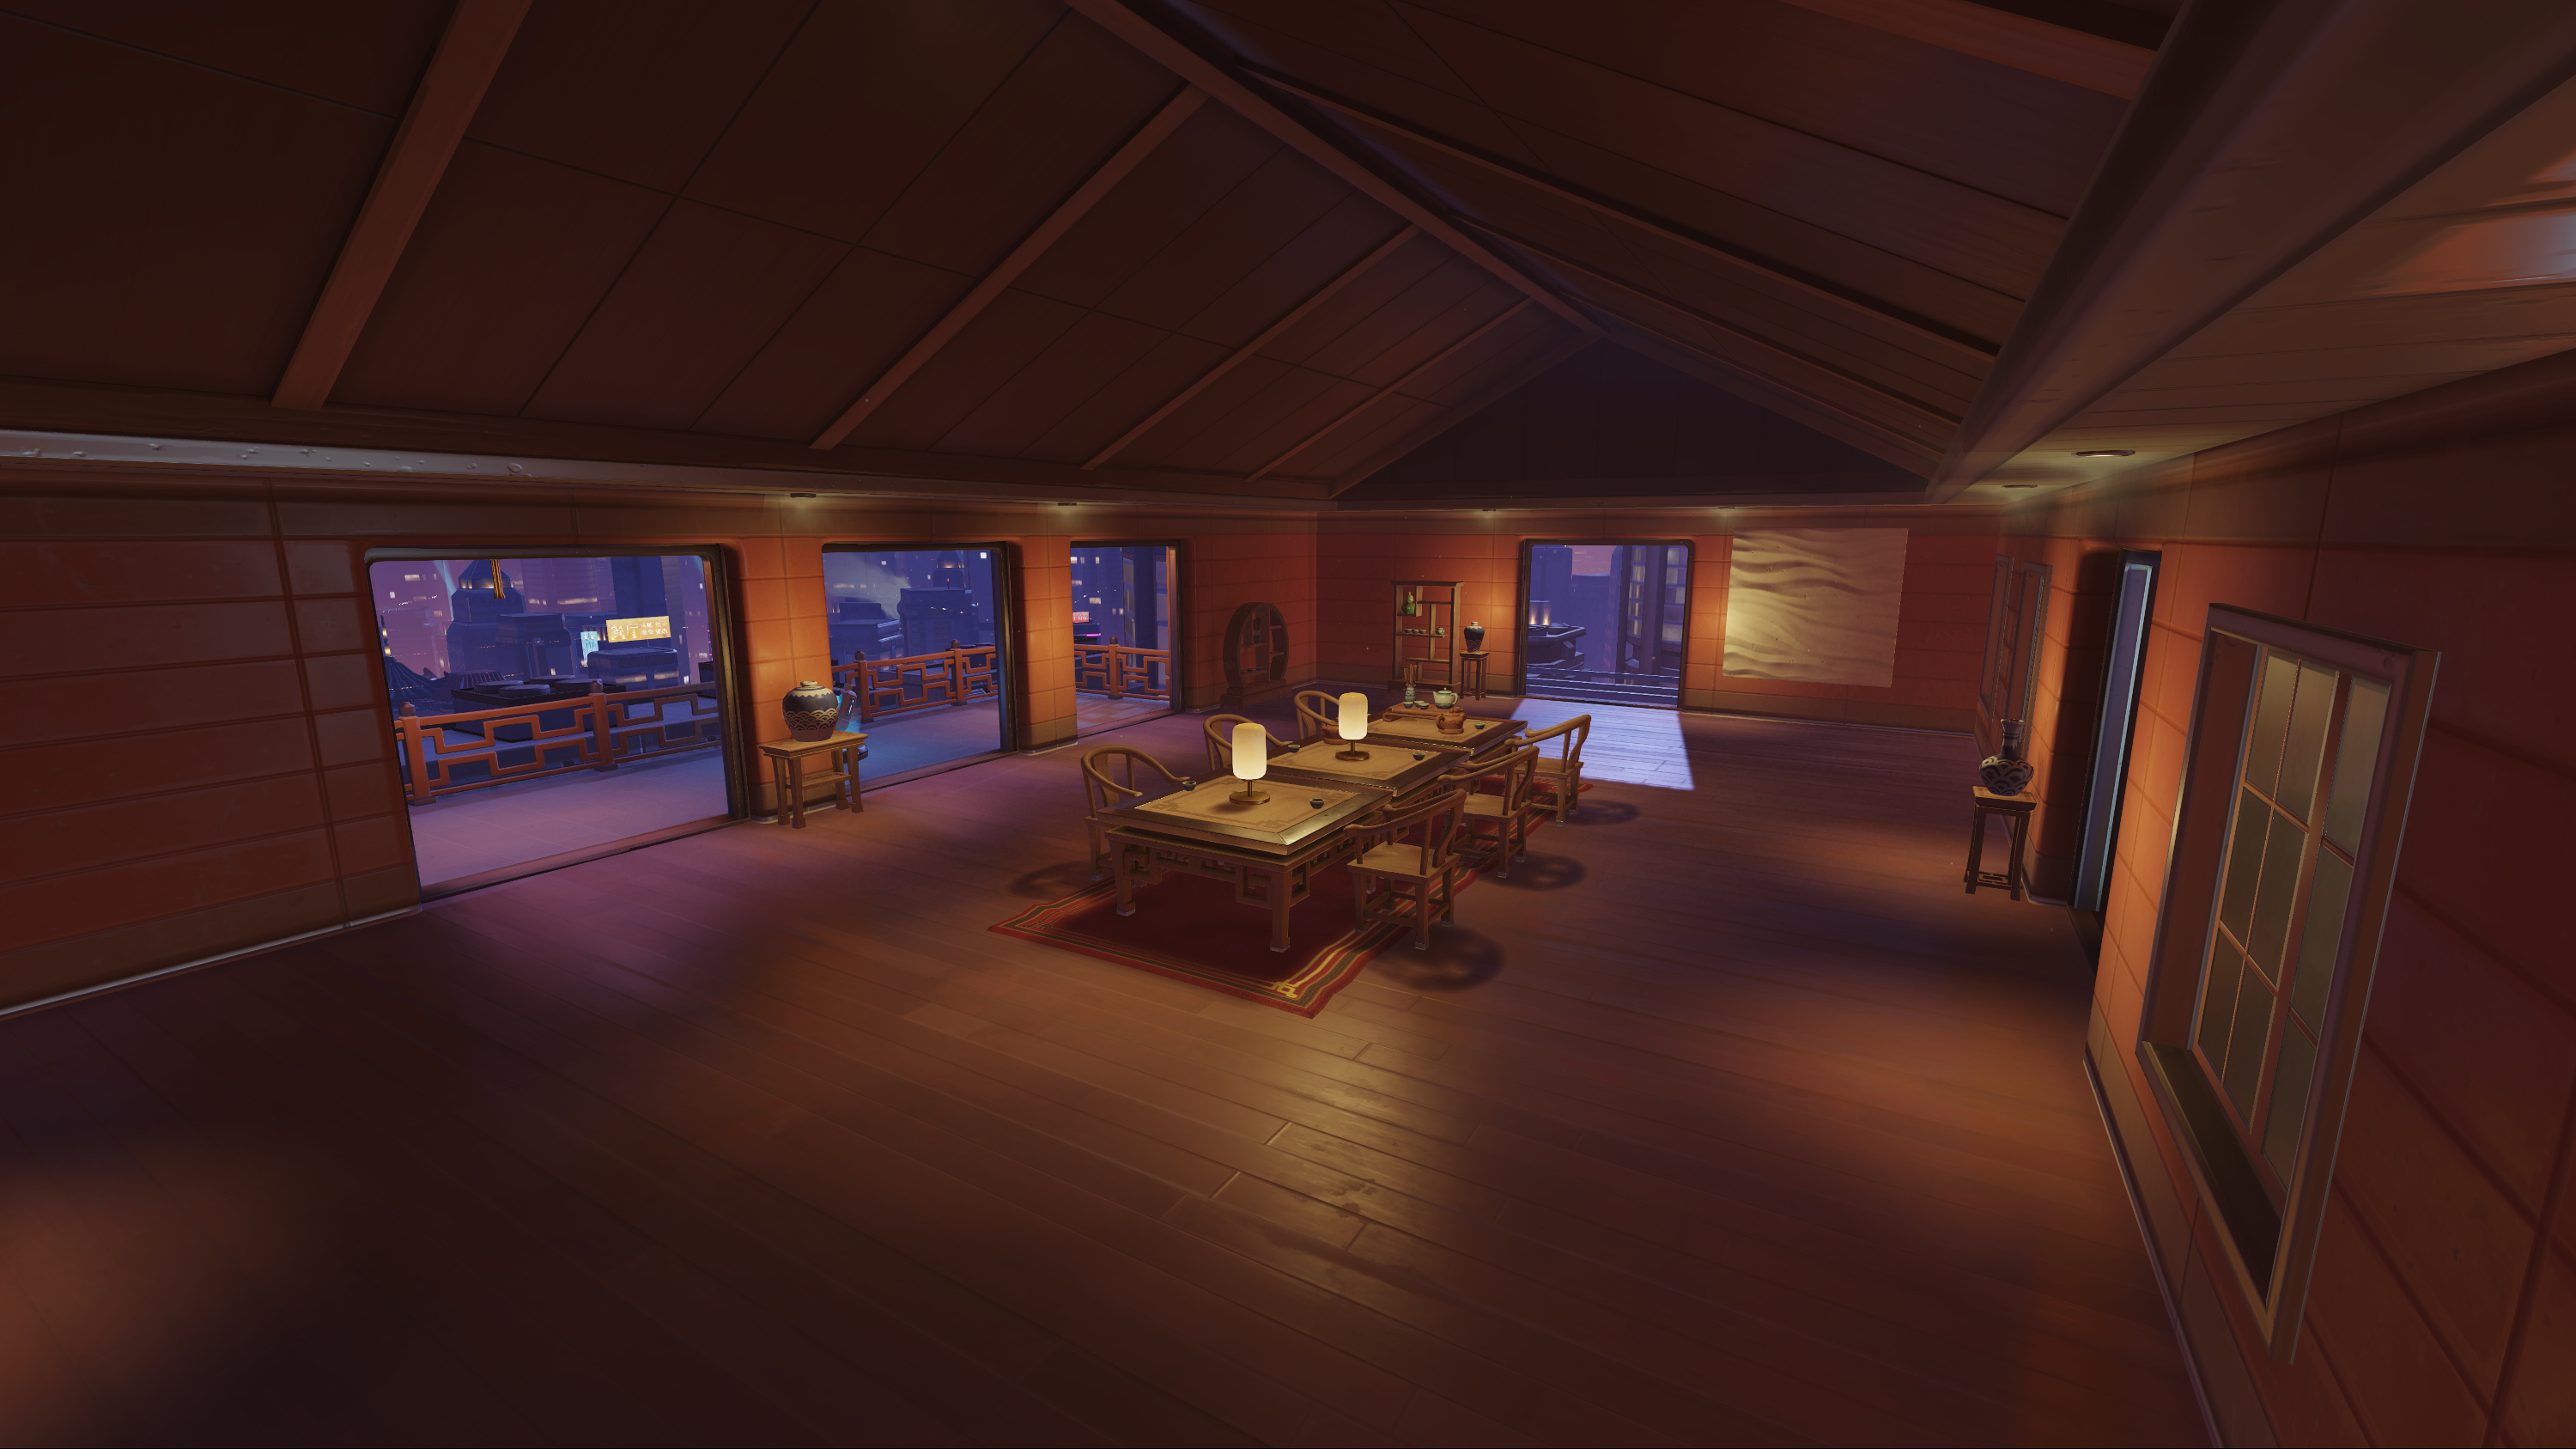
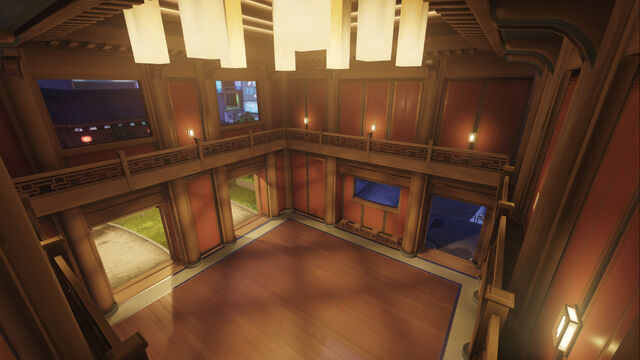
Finally, we'll be heading to the Tower, which offers three avenues through which you may reach the objective. The first is a long hallway, which is best to protect with a Bastion sentry or some Turrets and Traps. The second path is a raised platform which can be a particularly devastating point for Turrets or Hanzo. Finally, you can make your way up to a position above the objective, a balcony that offers a great view of the control point. Putting a Bastion or Widowmaker here can be absolutely devastating, though you can be easily snuck up on while you're engaging the enemy. As always place traps to guard the path nearest you (if applicable) and watch your back, it's easy to be eliminated here with the multiple flanking opportunities. The ground game itself is one of close combat and constant skirmishes. Tracer, Reaper, Winston, and Roadhog are all great picks for this point, as the incredibly close nature of the final point forces you to face the opposition nose to nose. Mercy is going to have trouble here, so instead use Lucio's health boost to bolster the team while you attack or defend the point, and make sure you never stop never stopping. That's a movie reference, not a typo.
For more help with Control, head over to the Control section of the Wiki!