Numbani
Hybrid
Established at the end of the Omnic Crisis, Numbani is a home for both Omnics and Humans to live together in Peace. A bastion for harmony, and pillar of hope at the end of a brutal war. Today it will be your battlefield, where you spill the blood of those with an ideology that differs from your own.

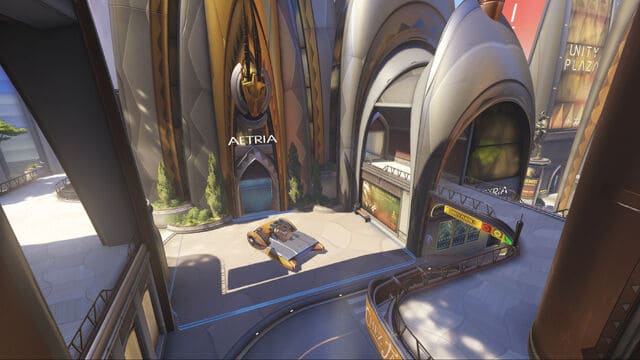
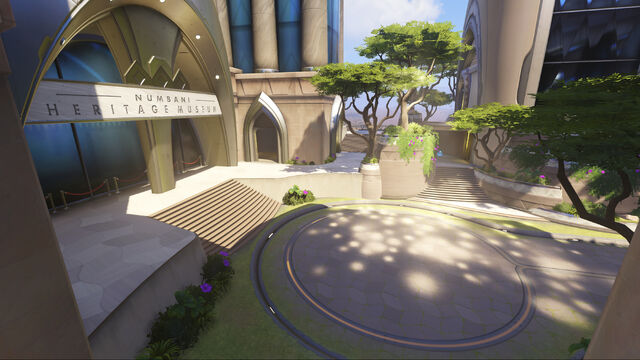
When playing defensively at the first section of the map, instinct may have you trudging forward to cut off the attackers before they can establish themselves at the actual payload. This is a mistake, as their spawn point is closer, and when you meet your end, you'll have to trudge all the way back to the defensive position at the payload. Instead, remain at the payload and utilize the building directly in front of the payload with Torbjörn's turret or Bastions Sentry form. The scaffolding directly to the right of the payload is also quite useful, as it provides a vantage point for the streets, the hallway that the attackers can use to flank, and a second flanking position; a back alley that leads up to that vantage point.
If you're attacking and the defensive team has stationed themselves further up from the payload, you can easily take them out using the various buildings to get around them and eliminate them or move past them. Once you reach the position where the payload will actually be, it's best to take the back route described above that leads to the higher level area, and to a point just behind the payload. This will help you to eliminate any snipers or Bastions on the top level, or deal with whatever is in the building opposite the payload, all while flanking the majority of the defensive team. Taking the main path can lead to a quick elimination as this is where the majority of the opposition's fire will be focused. You can also use the upper level of the building directly in front of the payload if you have a hero with a traversal ability.
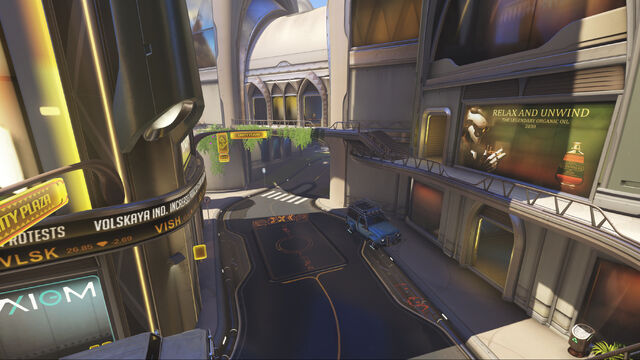
The second area strongly favors the attacking side, and the defensive measures will be far more difficult to implement. Using a mix of long range to cover the streets, and short range to patrol the buildings is vital. If you are on the defensive side and are beaten back, you may have an opportunity to defend just before the checkpoint, but given it has a ton of entrances and flanking opportunities, any defense you set up will be a quick target for elimination. Using Symmetra Turrets on the pathway will help to slow the opposition to a crawl, especially if there's a unified assault on the attackers, but it'll be incredibly difficult to hold them off here.
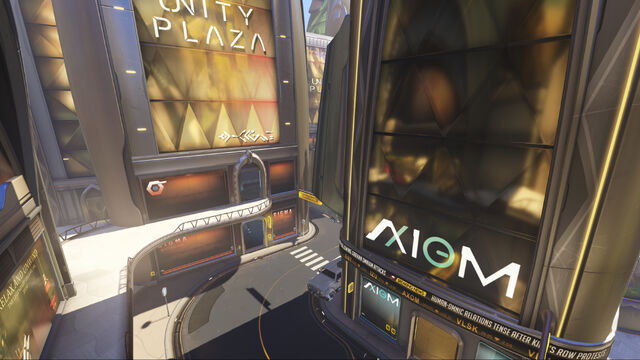
The attackers will be much better off here, and with the aid of a Reinhardt at the front and some Soldier:76 or McCree's you can push through to the next checkpoint with ease. You must cover your flank here, and use it to your advantage, as the defense team's strategy will likely culminate in a final defense just before the checkpoint, where they will have easy access to higher ground and a clear view of a final chokepoint. There's also a path to the left of the street that can be utilized by every Hero, and literally places the attacking team completely behind the defense. Use this to circumvent the defense if you're facing a unified assault.

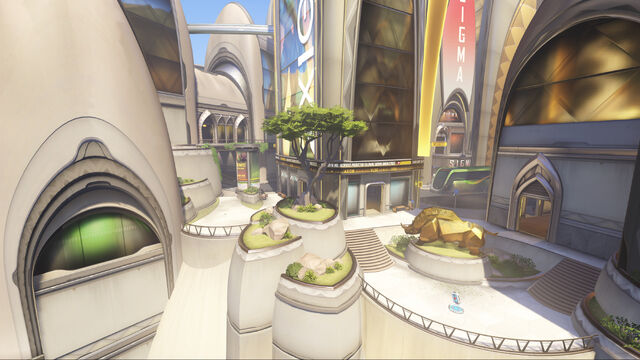
The narrow choke point situated directly after the second checkpoint is incredibly when a unified defense team coordinates appropriately. It's a pathway that must be traversed by the payload and members of the opposing team, so the focus of your fire should be there. There are also two flanking points directly around it, to the right and left, which if not properly watched can lead to a dismantling of your defenses. Junkrat is great here, as his steel trap can stall enemies hoping to take the right flank, and his grenades can hold off multiple enemies in the tightly packed tunnel. When your defense is broken through, there is a second checkpoint that offers an equally devastating advantage for the defenders, with a building to the left of the payload that can be filled with traps or high DPS close range skirmishers. The only major flank you will have to deal with from this point until the final objective point, is the flank that exists to the left of the payload that can allow the opposing team to circumvent the defense and begin attacking from behind. Cover this point with traps and a keep an eye on it, or the attackers can easily take out multiple members of your squad.
If you're attacking this section and can't get past the defense watching the tunnel, you can use an agility inclined hero like Genji, Hanzo, Pharah, or Widowmaker to reach a room the right of the tunnel, above the bulk of the fighting. You can then drop down behind the defensive lines and begin eliminating them while allowing the rest of your team to push the payload forward. Once you've pushed through here, and forced the defense to fall back, you can use the path to the left of the payloads main trajectory to bypass the bulk of the defensive team. You'll still need a couple heroes focusing their attention on pushing the payload forward, but by separating from the pack, and using a close-range dominator like D.Va, you can begin to denudate the defenses final prospect for staving off the assault's deliverance.
For more on any of the other maps, game modes, or Heroes, check out the rest of the Overwatch Wiki!