EPISODE 1 – Penal Colony (Part 1)
Mission Medals List:
- Gold: Knocked down an enemy 5 times by blinding them with the light, then hitting them with a physical attack
- Gold: Defeated 8 enemies with the rotating blades
- Silver: Stunned 10 enemies with Moira's light
- Silver: Defeated 8 enemies with sub-weapons
- Silver: Defeated 3 enemies using the stealth attack
- Silver: Defeated 8 enemies with a headshot
- Bronze: Found 3 treasures
- Bronze: Killed 10 giant whip spiders
- Bronze: Opened 3 military boxes
- Bronze: Found 6 hidden items with Moira
Collectible count:
Tower emblems: 4/8
Kafka drawings: 6
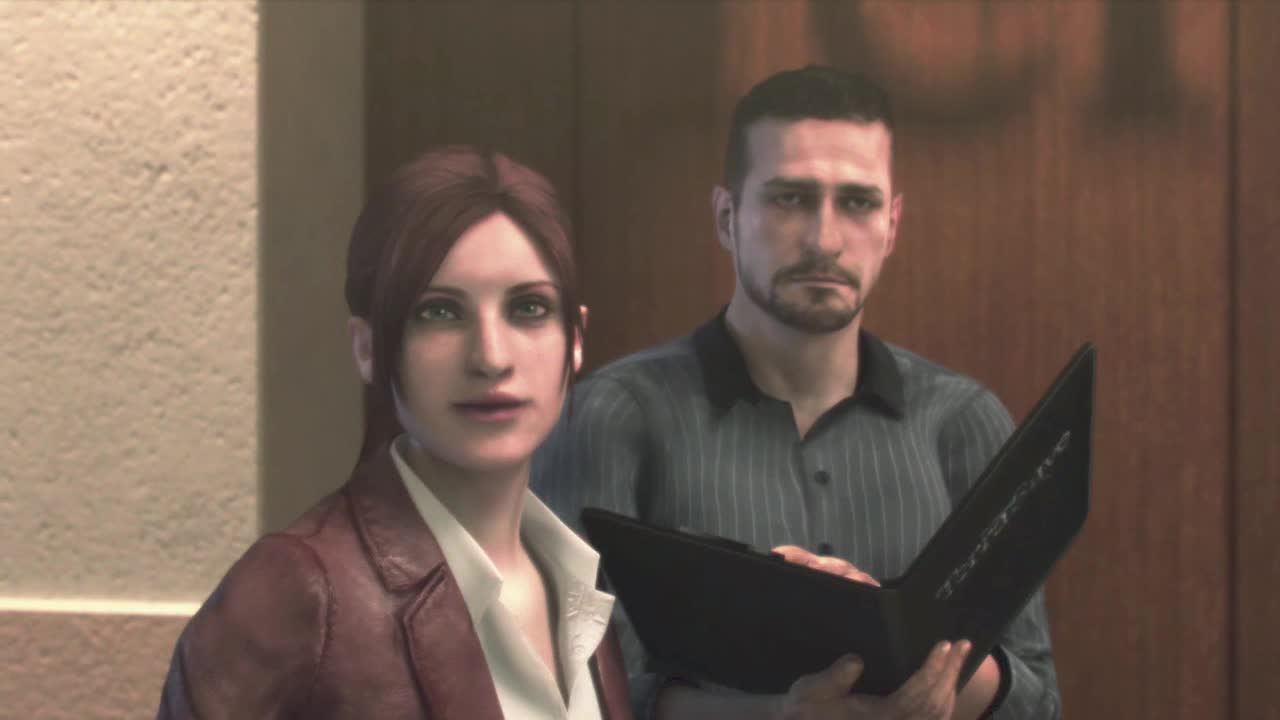
And so we begin. Watch the fairly long intro cinematic. It's actually a pretty impressive and well executed story setup as far a past Resident Evil plots are concerned. Claire will meet Moira, Barry's daughter at the party before things go very wrong, very fast. Seems like Terra Save pissed off the wrong group of heavily armed whack-jobs. When Claire comes to, you'll gain control and your first tutorial message will appear, showing you how to move with the Left Stick and adjust the camera with the Right Stick.
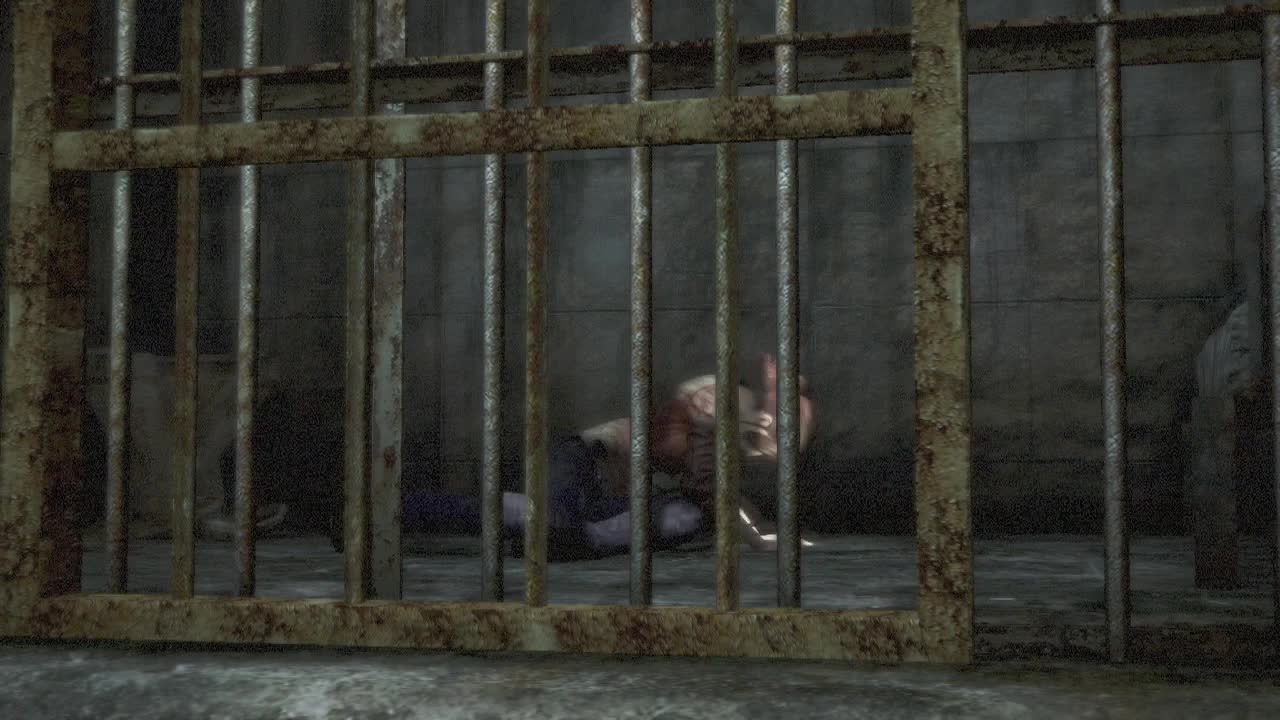
Use your superhuman movement powers to exit the cell and walk down the prison block corridor. A little further on, past a few barrels you'll hear Moira call out. Keep following the tracks in the middle of the floor and you'll gain the ability to run (LS + A – XBOX, LS + X – Playstation) before reuniting with Moira. Interact with the bars in front of her (A – XBOX, X – Playstation) to trigger a quick scene resulting in her release.
After she's free, resume your trek down the corridor until you approach a metal door bathed in red light. Interact with it to proceed through into a room full of dangling corpses (ah, guess the Resident Evil decorators have been around again). Walk upwards along the narrow metal walkway until you come across a large gap in the path. Interact with the gap to have Claire and Moira jump across and then use the ladder on the far side.
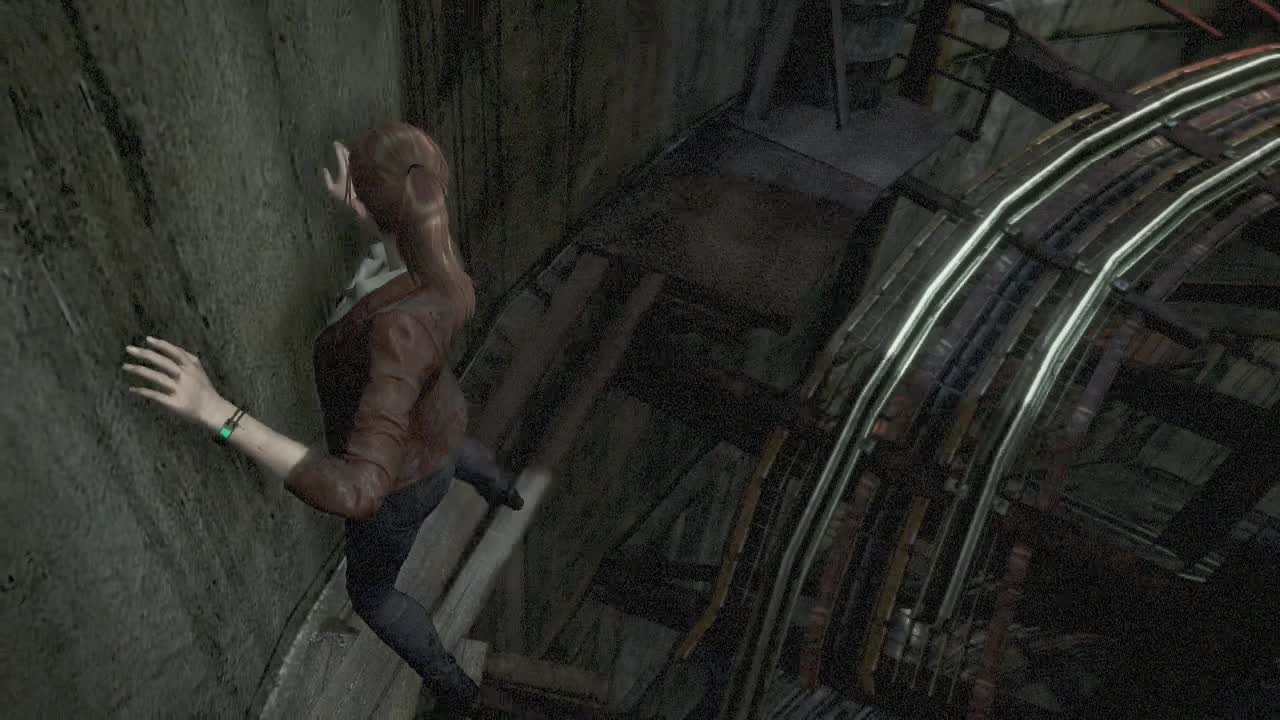
At the top, you'll find an even narrower section of metal walkway made of wooden planks that Claire and Moira will have to edge across slowly. Seriously, those things must be hardwood to support that weight. Drop down off the ledge onto the walkway below and turn left into the tunnel lit by red light. Ascend the sloped path to the left and then turn right into the blood spattered hallway. A blood caked doorway on the left here leads to a grisly operating theater with a large glass observation window on one of the walls. We'll be back here shortly, so take note of it.
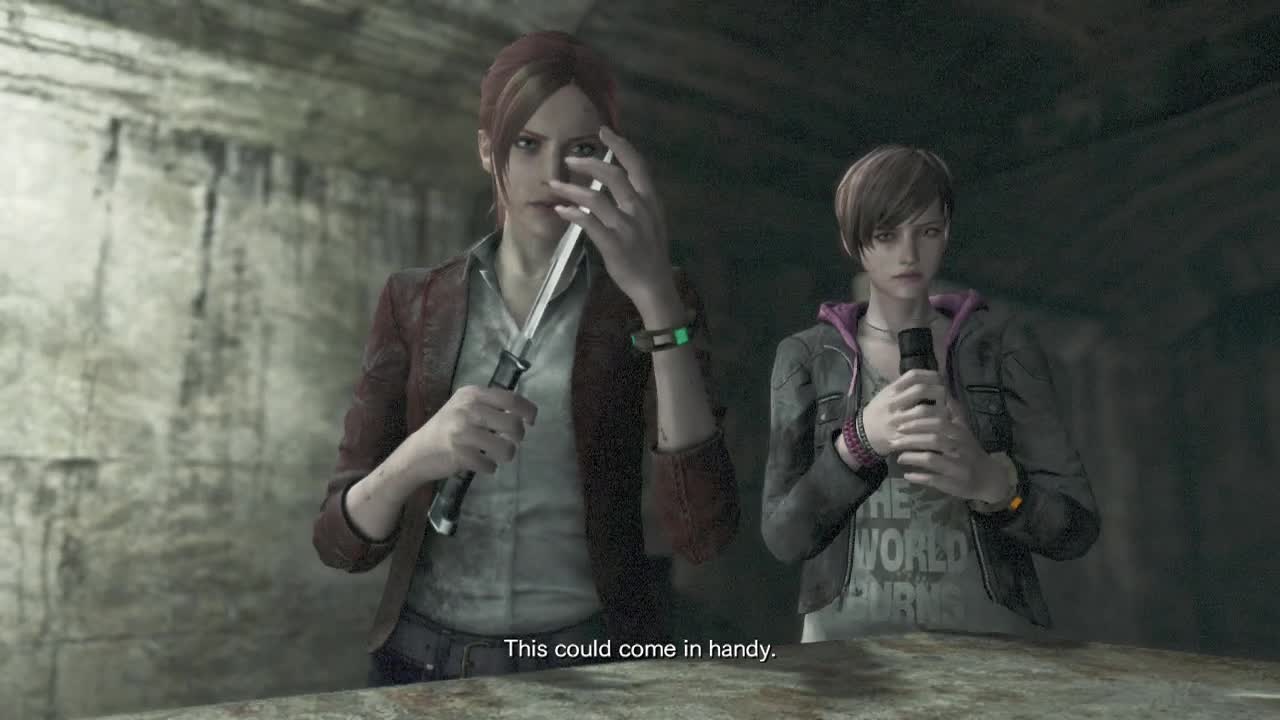
Move along the hallway from the operating theater and check the first alcove on the left which holds a brightly lit table and on top of it, the knife. This is your first weapon of the game. What it lacks in power, it makes up for by always being available (knives don't need to be reloaded thankfully). Until you find a gun, you'll be limited to this weapon. But keep in mind once you do find one that ammo conservation is very important (especially in this episode) and you should be able to take down weak lone enemies relatively easily using dodge and slashes to save bullets if you wish. Pick it up with (X – XBOX, Square – Playstation), Moira will pick up the flashlight as well, and return to the operating theater.
Inside, approach the observation window and use the knife (RT for melee attack) to smash the glass and then jump over the small wall. You can read the note on a shelf to the left here ("Rules for monitoring test subjects") if you like, it isn't a collectible but the notes do give a bit of an inkling as to what's going on. Open the drawer in the desk on the right for Handgun Ammo (5). Leave the room via the metal door and walk down another bloody corridor before taking the next door to the left.
This leads to a long corridor with flickering lights stretching away in front of you. Down it a little way you'll find a bent metal set of shelves. Interact with it to allow Moira through and then follow her yourself using crouch (press LS). In front of you when you straighten up is yet another set of metal shelves. Approach it and push the LS forward next to it to slide it along the corridor.
As you begin pushing the shelf forward, you'll be attacked by the first enemy of the game, an Afflicted. This one you'll need to swipe at wildly with the knife, but normally they can be taken down with a couple of head-shots from the pistol (not upgraded) or in melee if they are alone. These are the most common enemies you may want to consider conserving ammo on if they are alone. Slash away like a madman until the afflicted retreats.
You are guaranteed to take damage from this, but at the moment there's nothing you can do about it. Finish pushing the shelf and round the corner into a new room to see an afflicted chasing after a fleeing woman. Follow after both of them by leaving the room and turning right. Open the metal lockers here to find a hidden Green Herb. You should see against the right wall of this hallway a Green Herb on the ground. Pick it up. The game will flash up the button for your inventory (Claire and Moira both have separate inventories, so you will need to manage who holds what). Don't waste the herb on healing yourself at this point as Claire can take a couple more hits at least before she needs to be healed.
Round the next corner and walk through the open metal door ahead. The game will advise you to use the herb here by holding RB, but don't waste it as I mentioned before. Circle around the shelves and follow the blood smeared trail to blockage that requires you to crouch under it. Straighten up and keep following the trail of blood through another doorway and you'll find a mostly lowered roller door. Interact with it to have Claire and Moira pull it open and scramble inside.
As you near the first corner, the woman who was being chased earlier will stumble across your path. After the quick bit of dialogue, examine the door on the right. This is the way out, but it requires a key (of course). Make note of it though, as we'll be returning here later. For now, take the other path out of the room to find a set of metal stairs leading down. As you descend, you'll spot a hanging body on the left and a locked metal door (indicated by the red light next to it). As the door is locked, you may have noticed the keys hanging from the belt of the hanging body.
As Claire reaches for the keys, the body is inevitably released and we're gonna have to go get it. The person watching Claire and Moira mercifully opens the locked door, allowing them both deeper into the complex. Open the unlocked door and you'll be in new hallway lined with green doors on the right wall. Follow the hall and take a left at the far end and another left when it ends again. Open the double doors here to walk into another operating room. Weave your way through the curtains and tables, opening the desks in the room to find a Ruby (250 BP), Sapphire (500 BP) and then leave via another door at the back.
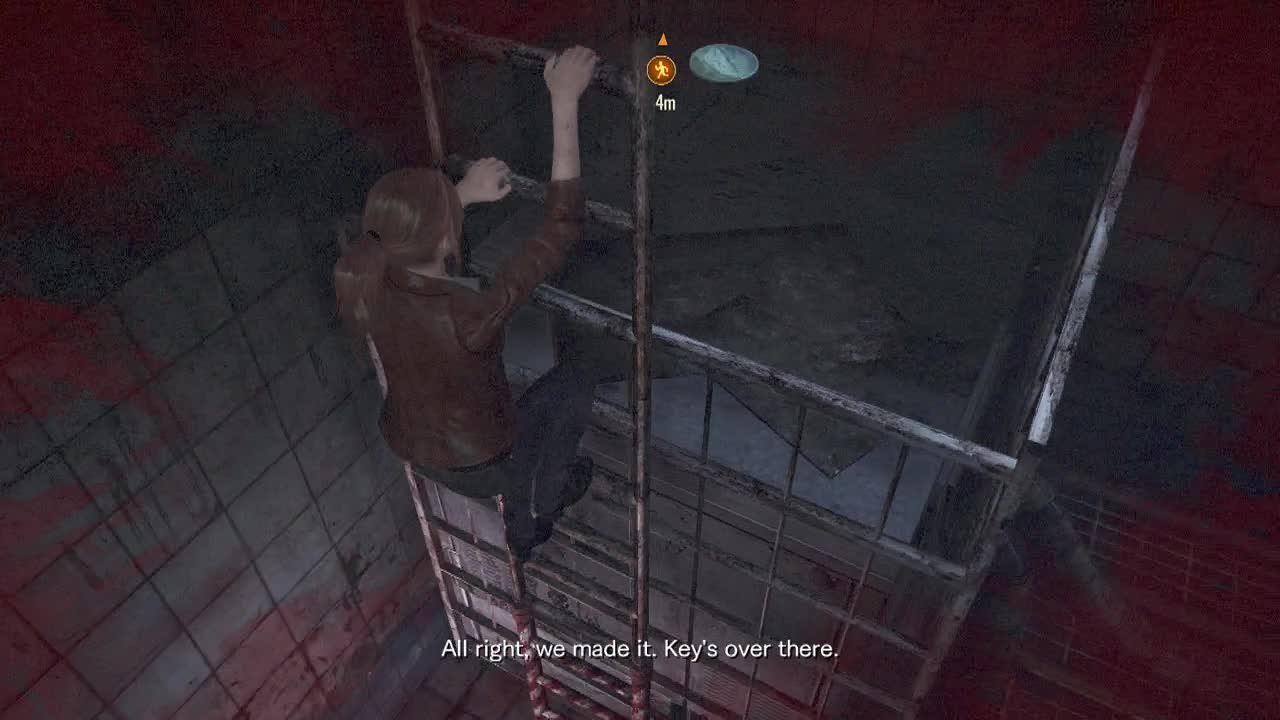
Pass the washing up sinks and walk out the door to find yourself back in the room where the hanging body dropped, only lower down. Descend the ladder here to reach the ground floor (er… lowest floor. Who knows if this is actually ground level).
Tower Emblem (1): As you descend the ladder, you'll see the tower medal directly in front of you. Unfortunately you don't have a ranged weapon or line of sight on it at this point. You'll need to remember to shoot it from the upper area where the body was hanging when you return that way later. Look for the reminder when we get to that point.
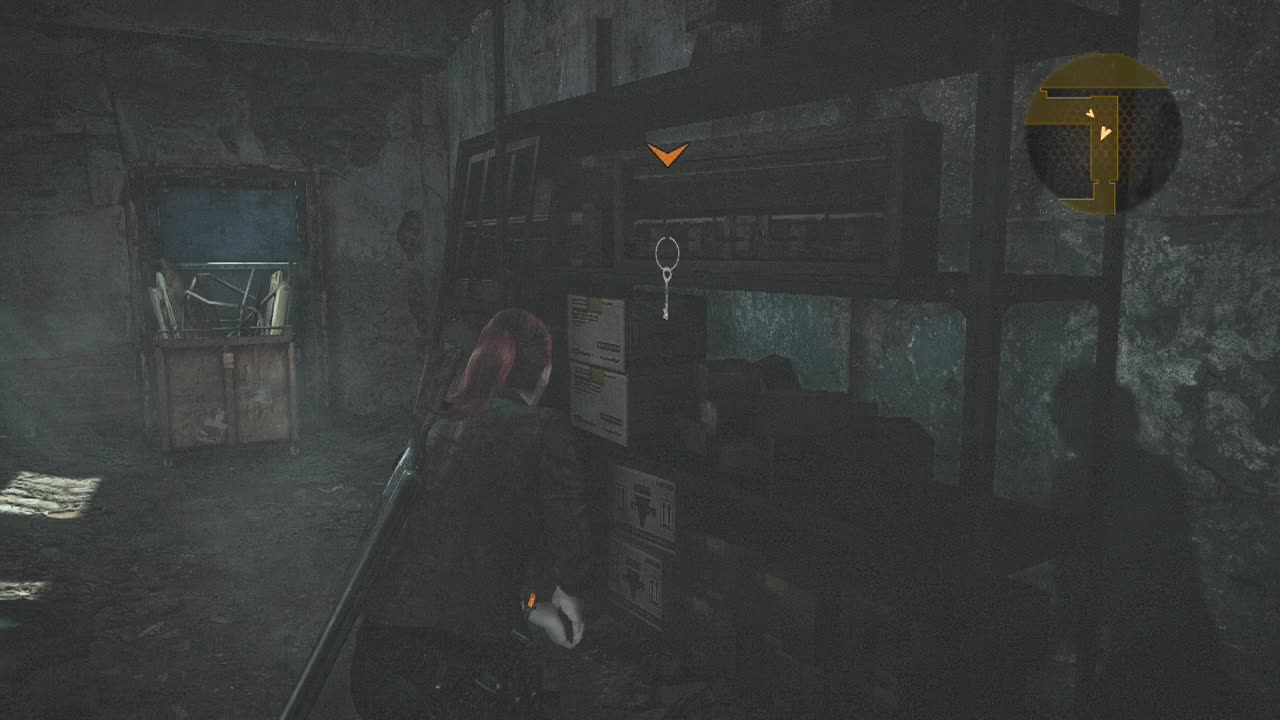
At the bottom of the ladder, look for the fallen body and inspect it for the key. Unfortunately the key is A.W.O.L but there is a handgun on the body to nab. The handgun is your basic low damage but accurate firearm. Good against weaker enemies such as afflicted, but of little use against more powerful foes. Before looking for the key, note the two locked doors in the room, as they will shortly pose a major problem. You'll need to swap to Moira here to spot the dangling key. It is directly over the fallen body you just got the handgun from, stuck on one of the tanks overhead. Shine your torch on the central one to have Moira call it out to Claire.
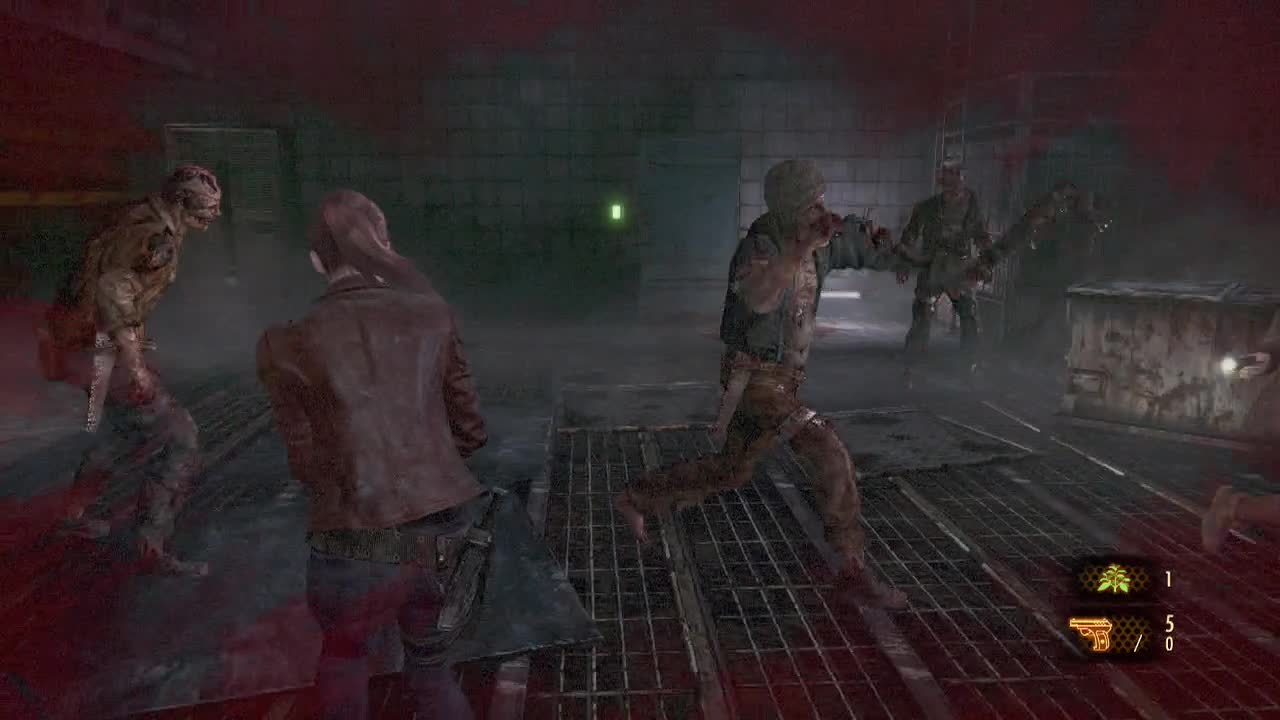
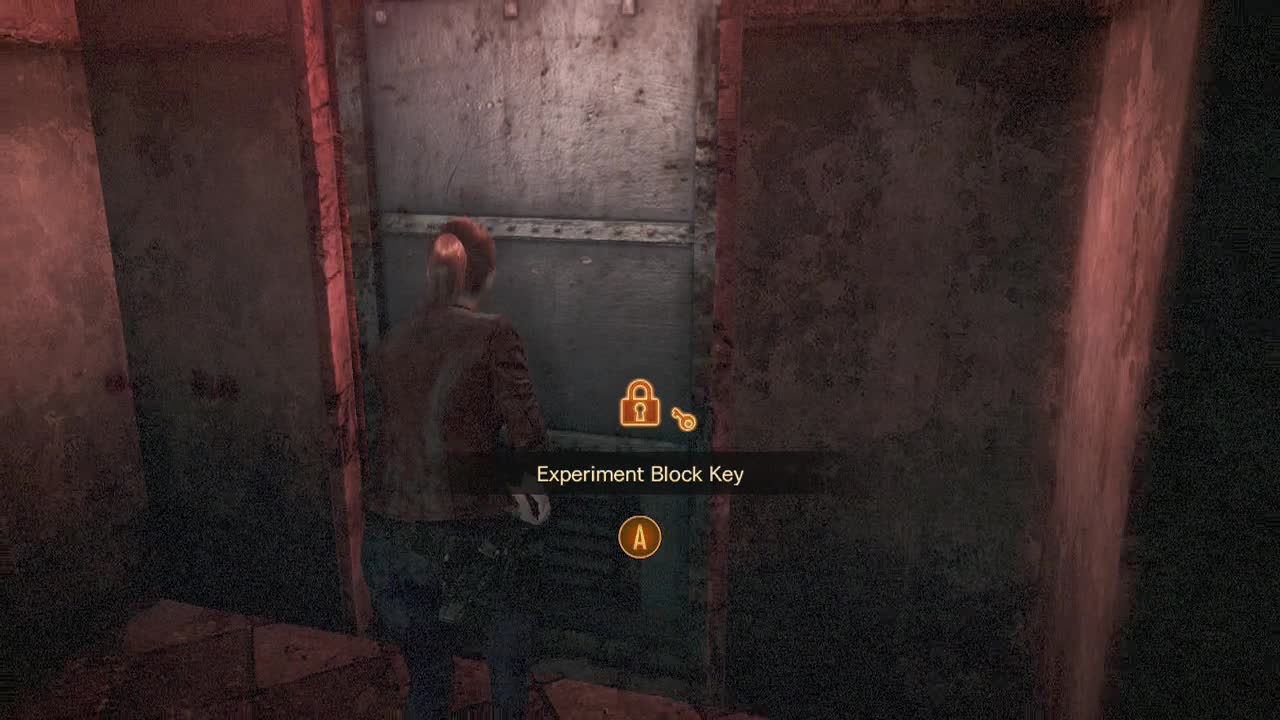
Swap back to Claire and take careful aim at the key before firing. Once you hit it, the Experiment Block Key will drop down for you to retrieve. As soon as you pick up the key, the doors I pointed out just prior will unlock and slam open, spilling out afflicted into the room if you approach them, or automatically after a few seconds. Note: you can retreat up the ladder immediately to avoid wasting resources, but there are some items in the rooms that can make the fight worth your time.
Kafka Drawing (1): Inside the room next to the ladder. If you are on a repeat playthrough, you will need to approach this door for it to burst open.
A total of four afflicted (who start to use their jump ability at this point) will show up and engage you here. The room to the left of the fallen body holds Handgun Ammo (15). While the other room here holds Handgun Ammo (15) as well.
Either way, when you ascend the ladder they will stop following you/ all be dead. Enter the door here to re-enter the operating room. After a few steps inside, another afflicted will smash down a curtain and attack. Go for head-shots to minimize your ammo consumption (two head-shots should do the trick), or battle him in melee if you are skilled enough. You can swap to Moira to blind him with the flashlight and then swap to Claire to slash him with the knife. Repeat until the afflicted is dead. After killing him, the game will helpfully decide to display how to evade (a little earlier would have been expedient dearie). To evade, press LS in the direction you want to dodge and press (B – XBOX, Circle – Playstation) at the same time.
Exit via the other operating room door and immediately enter the door to the right (it was opened by the afflicted you just killed). Inside on a ledge you'll find a Green Herb and Handgun Ammo (15). Leave the room and return to the hallway and begin working your way around the square room you were just in. As you approach the next corner, an afflicted will barrel out of a door in front of you. Back up and use whichever method you prefer to bring him down.
Another afflicted will emerge from one of the green doors around the corner during or after your fight, so make sure to keep an eye out to avoid his strikes when he shows up. A third afflicted will leap out of one of the green room doors in the hall when you move forward again. If you dodge/ move out of the way of the attack, he should remain spreadeagled on the ground for you to cut him up with melee attacks. A fourth afflicted will emerge from the next green door room when the leaping afflicted lands, so watch out for back attacks while you attack the third one.
Once the rooms are finally clear, loot them for a Green Herb before leaving through the metal door at the end of the hall. This will bring you back out to the metal catwalk overlooking the room where you found the key. *Note: you can shoot the tower medal from here, now that you have the gun. You can also shoot the afflicted who ambushed you earlier if you want to kill them and loot the room you may have missed earlier. When you're ready, continue up the metal stairs and use the key to open the locked door here that we passed a while back.
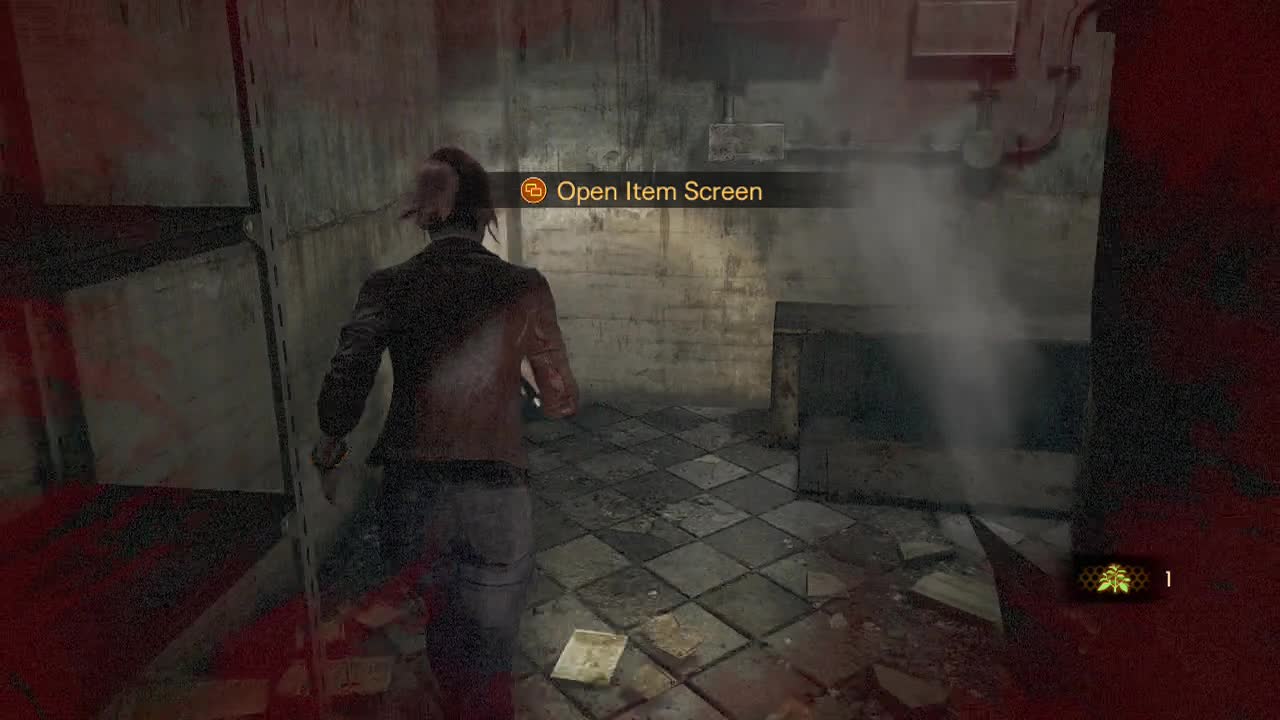
Just around the next bend, you'll stumble across a body with a Shotgun M147S lying beside it. The shotgun is a powerful weapon, but does the best damage at almost point blank range. Save this weapon for the tougher enemies in this episode as the scarce ammunition makes it necessary if you want to survive. You can now use the D-pad to swap between active weapons at any time. At the next doorway a crate will be blocking your path. Take note of these crates as they often hold items. Use a melee swipe to break it and collect the item inside. Another pair of smashable crates should be standing in the corner of the room here as well.
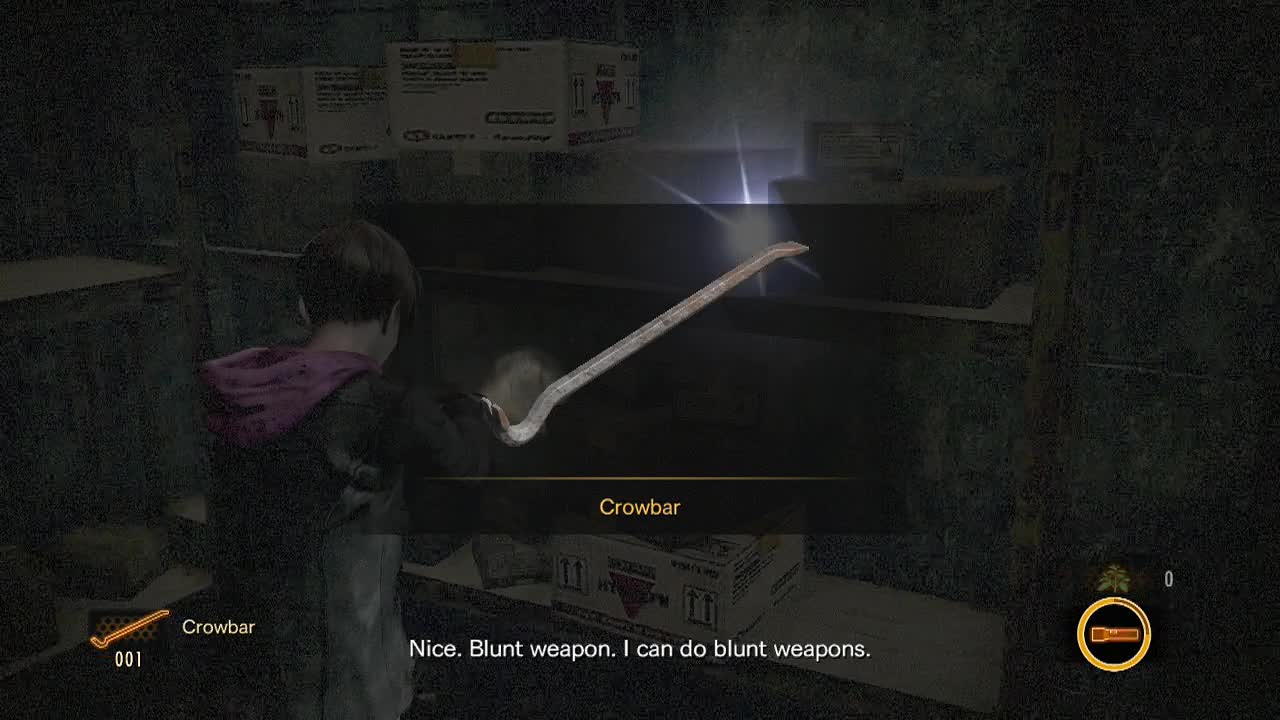
This is where the game finally points out Moira's ability to detect hidden objects when she shines her flashlight over them (you don't need to be actively controlling her to spot the glimmer). Take control of Moira and start examining the glimmers in the room. When you find one, hold down LT to reveal the item. You should be able to find Handgun Ammo (2), Topaz (100 BP), and a Crowbar. Moira will take the crowbar as her weapon, allowing you to use her for follow up attacks, stuns or even use her in melee fights. She can also pry boards off barred doorways with it, similar to the one blocking your way out of the room.
Kafka drawing (2): On the wall of this room is the drawing. Shine the flashlight on it to find it and then focus the beam to collect it.
After Moira opens the door, open it up to see a little girl dash away down the corridor (you know what they say about little girls in horror games/ movies/ stories). Follow her down the corridor and in the small lit room with the roller-door, look on the ground with Moira to investigate a couple of glimmers that turn out to be Handgun Ammo (13). There's a breakable crate to smash here as well. After you have everything, open the roller door.
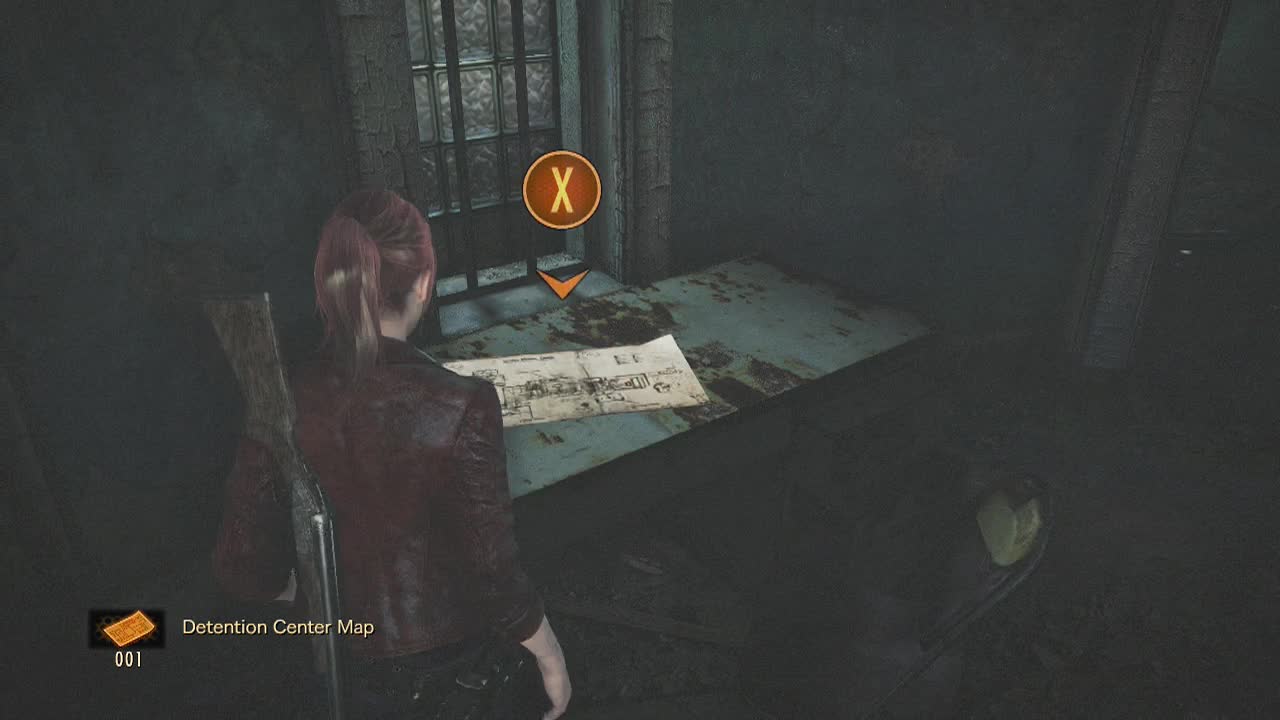
Climb the staircase leading upward directly in front of you to emerge into the main holding cell area. Check the unlocked (green light) cell behind you for a crate to smash. Travel past the cells to the open door straight ahead (ignore the stairs leading up for now). Have a look on the left desk for a note on "Improving Security Measures." On the other desk, grab the Detention Center Map so you can see the area layout. Examine the box with golden kogs (yes, that's how they spell it, don't blame me) in it to find a slot for a missing kog (wow, originality at it's finest here, folks).
Tower Emblem (2): Examine the middle of the ceiling above you to find it.
Walk through the doorway to the South (use your brand spanking new map to tell where to go) and examine the pile of wooden debris here to find a glimmering Sapphire (500 BP) amongst it. Open the blue metal door and take the first left in the hall beyond to find a book "Excerpt from Kafka's In The Penal Colony" on a chair. Take the other direction in the hall now to find a crate to smash at the end and another door to go through.
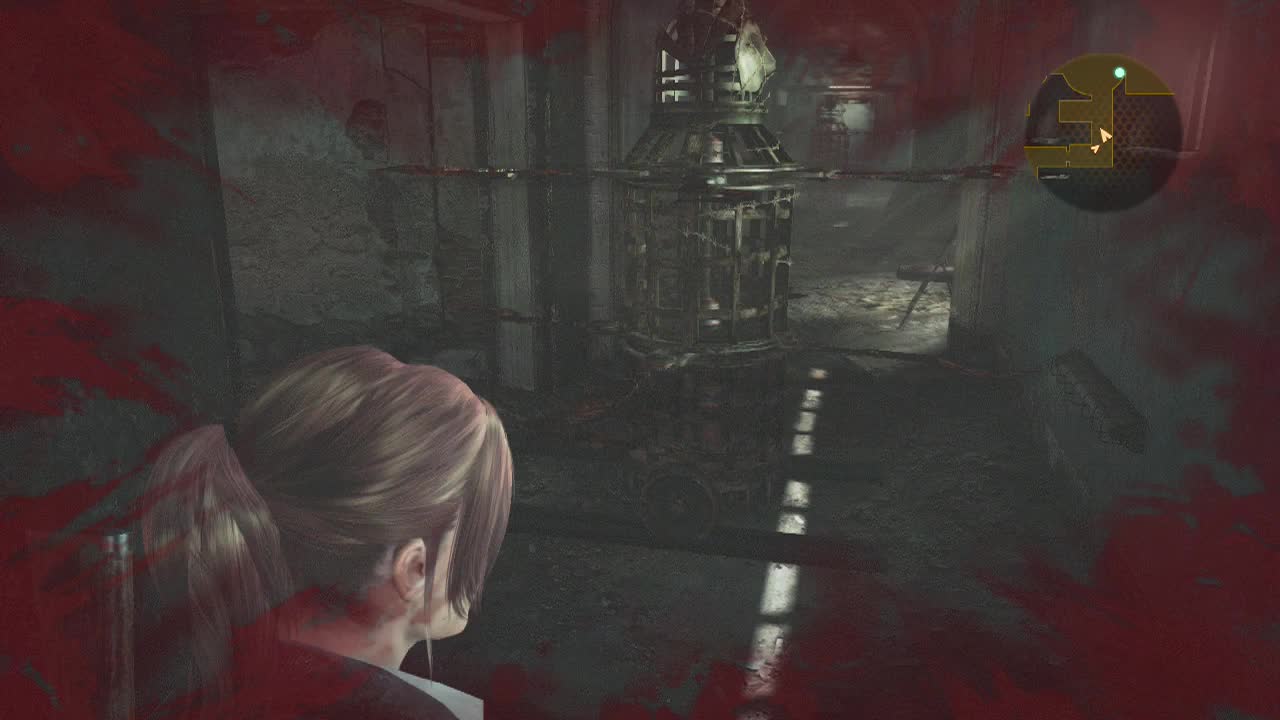
Inside you'll find a torture device with the missing kog trapped inside. Unfortunately there is no power, so we'll have to come back for it later. Shine Moira's flashlight in the corner of the room for a Topaz (100 BP). Leave through the open door to find your first workbench and Parts Box – Damage Lv.1 (on a shelf to the left) of the game. Workbenches can be used to upgrade your weaponry by applying weapon mods you find to them. There's also a Tourniquet on the shelf near the door you came through to grab as well. Tourniquets staunch bleeding wounds (which deal damage over time), that are inflicted by heavy strikes from enemies.
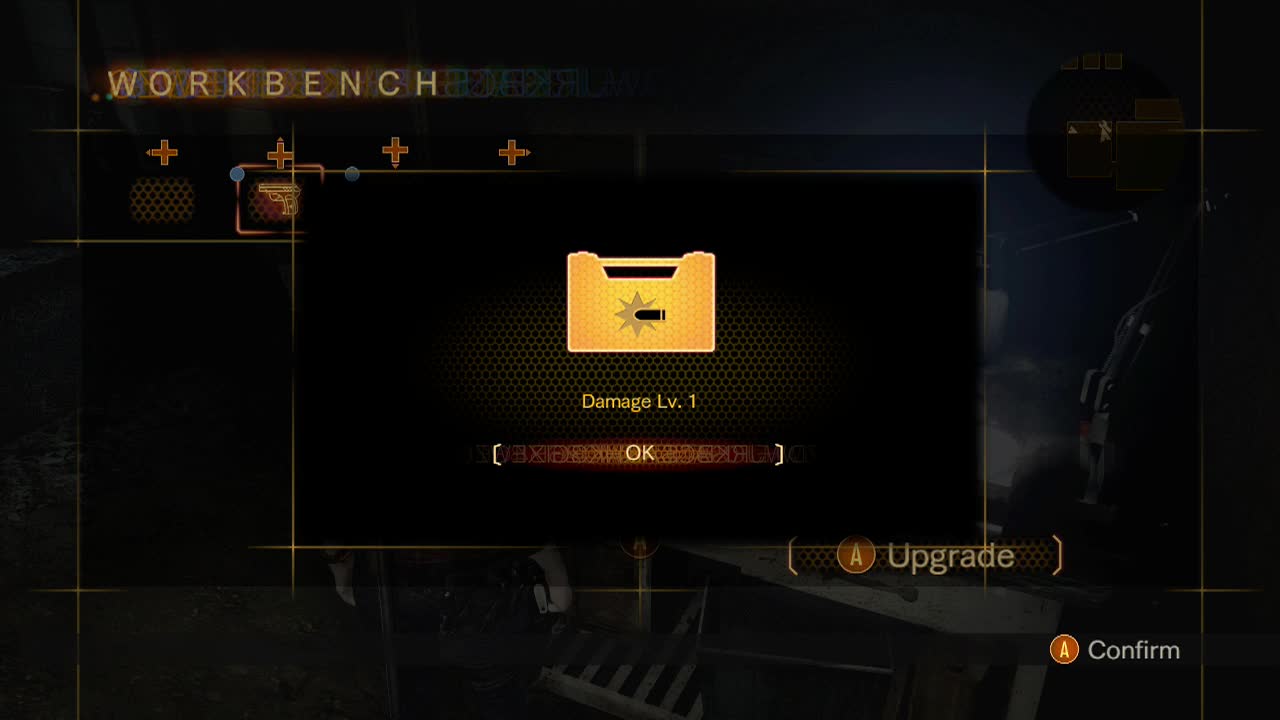
Use the workbench to apply the weapon upgrade to whichever gun you like then return to the room with the torture device. Claire should mention something about giving Moira a boost, which is your cue to get close to the broken ladder in the corner and interact with it. Claire will lift Moira onto the upper level, and you will take control of her. Examine the chest just inside the doorway to be introduced to the lock pick mini-game. Use the RS to find the area on the grid that is orange and pull and release the trigger to find the lock pick area. It may take a few tries but the mechanic is pretty simple. Inside you'll find a Handgun Ammo Case.
Take a left, ignoring the first blue door and approach the clutter next to the second blue door. Shine Moira's flashlight on the ground here to find a Ruby (250 BP). Unlock the blue door here to allow Claire access to the upper area.
Tower Emblem (3): From the ledge where you boosted Moira up to with Claire, look above the torture device to see it sitting on top of a metal tub.
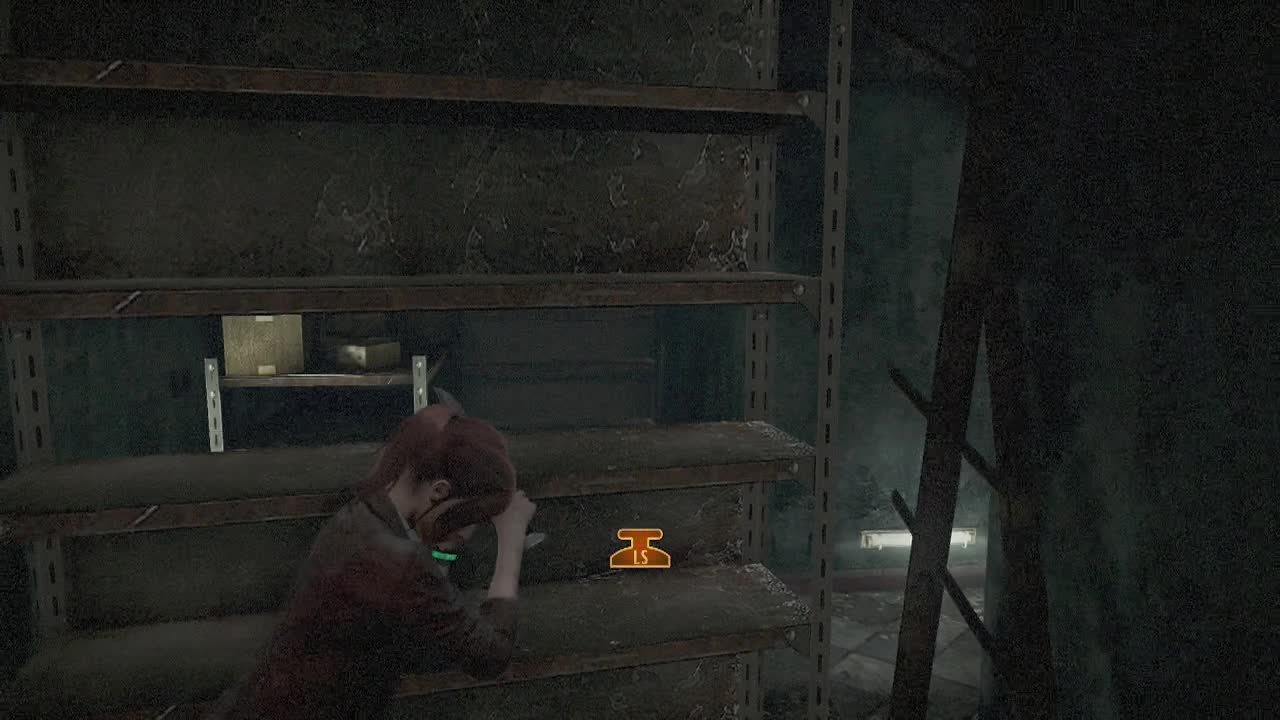
Open the blue door we passed up a few seconds ago and enter the dark corridor. Shine Moira's light underneath the shelves here to find a Ruby (250 BP). The door on the right leads to the control room, but we won't be using it with these two characters. Instead, keep moving towards the blue door ahead. This leads to another dark hallway, before you turn right and move down it, look for a crate to smash in the left corner.
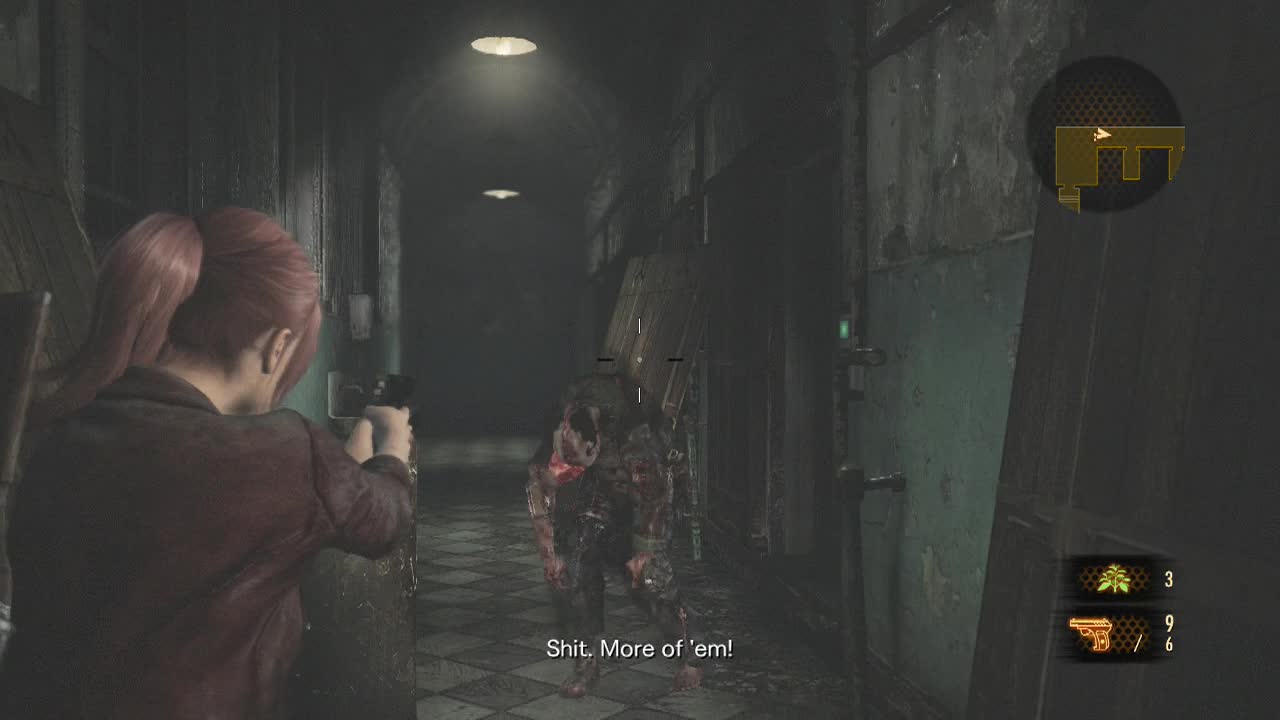
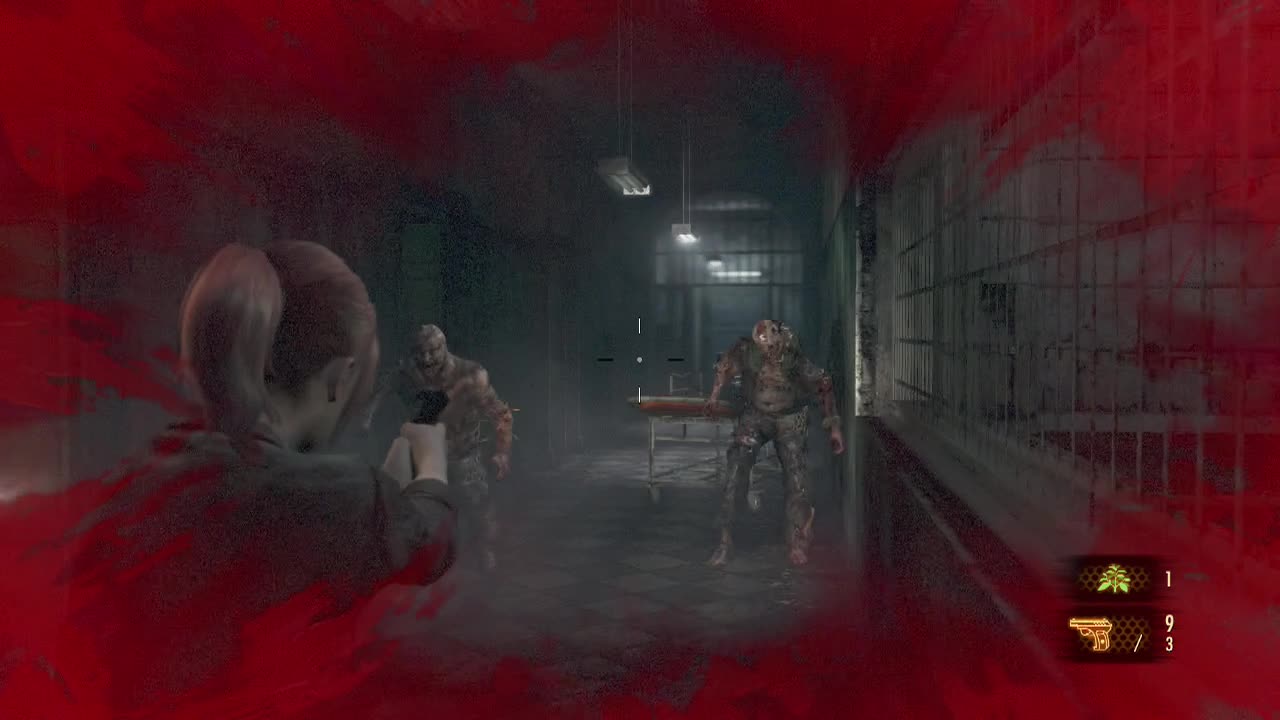
Prepare your weaponry before walking down the hall as an afflicted with a bulging growth will stagger out of the first door on the right. Shoot him in the growth if you can to kill him instantly or deal with him in melee now that you have Moira backing you up with her crowbar and flashlight. The second door on the right has a hidden Sapphire (500 BP) you can find with the flashlight and the third room holds a "Prisoner's note" to read. When you're done, open the metal door nearby to leave the hall. As you enter the next room another afflicted with a growth and a regular afflicted will emerge from a room on the right. Back up and fill their skulls with lead.
A Tourniquet is sitting on a cupboard next to the door the afflicted came in by. As you near the hall here, another afflicted will smash through the window and attack. Once he's dealt with, return to the room the two afflicted came out of and read "Caution for experiment handling," you'll definitely want to read this one as it makes things clearer in later story missions. You can also look at the shelves with the flashlight to find a Ruby (250 BP). Walk down the hall where the glass smashing afflicted entered and use the flashlight on the ground behind the locker for a Ruby (250 BP) and another Ruby (250 BP) next to it.
Look on the central shelf in the next room for "Excerpt from Kafka's the trial." Another lock pick chest is sitting in the corner of this room, so crack it open to get at the Parts Box – Firing Rate Lv.1 inside. An Exploding Bottle, your first sub item will be sitting in the corner for you to find as well. Think of it as a grenade that explodes on impact. Great for damaging powerful enemies or clearing clusters of weaker enemies. Search the room with the flashlight to find a Topaz (100 BP).
Kafka Drawing (3): On the wall next to the doorway leading out of this room.
Open the other door in the room and descend the stairs at the far end making sure all your weapons including the shotgun are all loaded and ready.
Sneak up behind all three enemies here for back-stabs (RT when the prompt appears). The big one is an iron head. These guys are nasty in normal combat, having large attack areas by swinging their giant clubs and having tons of health (requiring six close proximity basic shotgun blasts to kill). A single stealth kill will save you a lot of ammo here. If you do alert them, you'll need to fight them the old fashioned way. Once the room is clear, open the door to the room to the South (the Northern one requires a rusty key). On a shelf here you'll find an Exploding Bottle and in the next hallway hanging from a shelf is the Rusty Key.
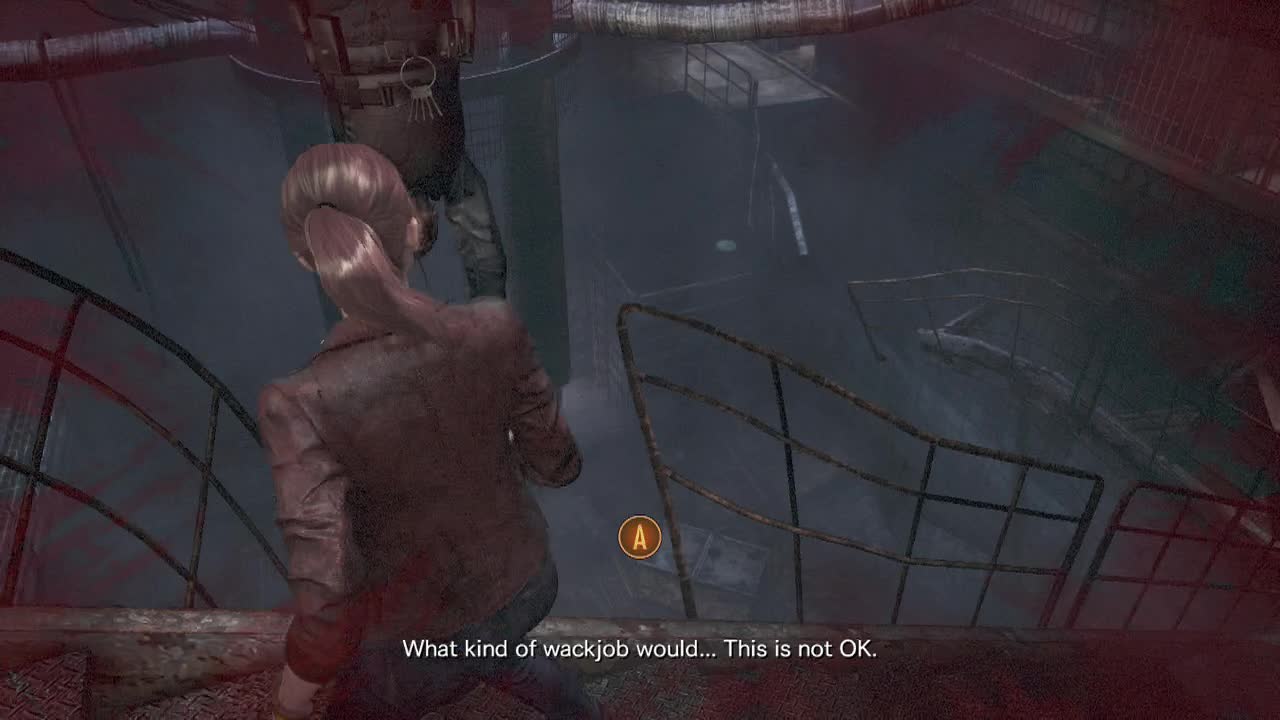
The door at the end of the hall has a crate that can be pushed out of the way to clear the way to the main cell block area. Push it out of the way, then return to the previous room with the three enemies you just stealth killed. Open the door to the North with the rusty key. This will open up into a room overlooking a trash compactor. Drop down into the trash pit and kill some spiders (if you want the mission medal, you'll have to kill a few). Approach the North-West corner of the pit and give Moira a boost up to the ledge above. You'll once again take control of Moira, Walk into the next room and pull the large switch on the terminal. This will restart the power in the level, including the whirling blade machines and the trash compactor you left Claire in.
Immediately head back the way you came in. As you reach the corner, an afflicted will barge through the door in front of you. Shine your flashlight in his eyes and swing away with your crowbar when he is stunned to put him down.
Kafka drawing (4): In the room the afflicted came out of.

Examine the room the afflicted came out of with the flashlight for a Topaz (100 BP). As you walk through the door back into the compactor room, you'll swap to Claire. Look at the approaching compactor teeth to find a spot without them that you can climb up onto. Once you are on top of the teeth, you're safe. Climb out of the compactor pit and veteran players should get ready to groan at the old reference Claire makes. Exit back into the previous room to find three whirling death traps. You need to pass by two of them to reach the door to the room with the rusty key and the shortcut back to the main cell block. Pull out your shotgun as you step inside, as an iron head will fall from the ceiling and attack.
Don't forget about the blade just through the shortcut door. An iron head and afflicted with a growth will attack when you enter the room past the first blade. Pick off the afflicted and then pull out your shotgun to deal with the iron head (or try and lure them into the blades if you wish). From the main cell block, retrace your steps to the torture device room (south through the blue door and then go through the next blue door. Activate the device and grab the Gear Kog. Remember to upgrade at the workbench before returning to the main cell block by the way you came, being careful of the newly spawned afflicted hiding around the corner near the spinning blade.
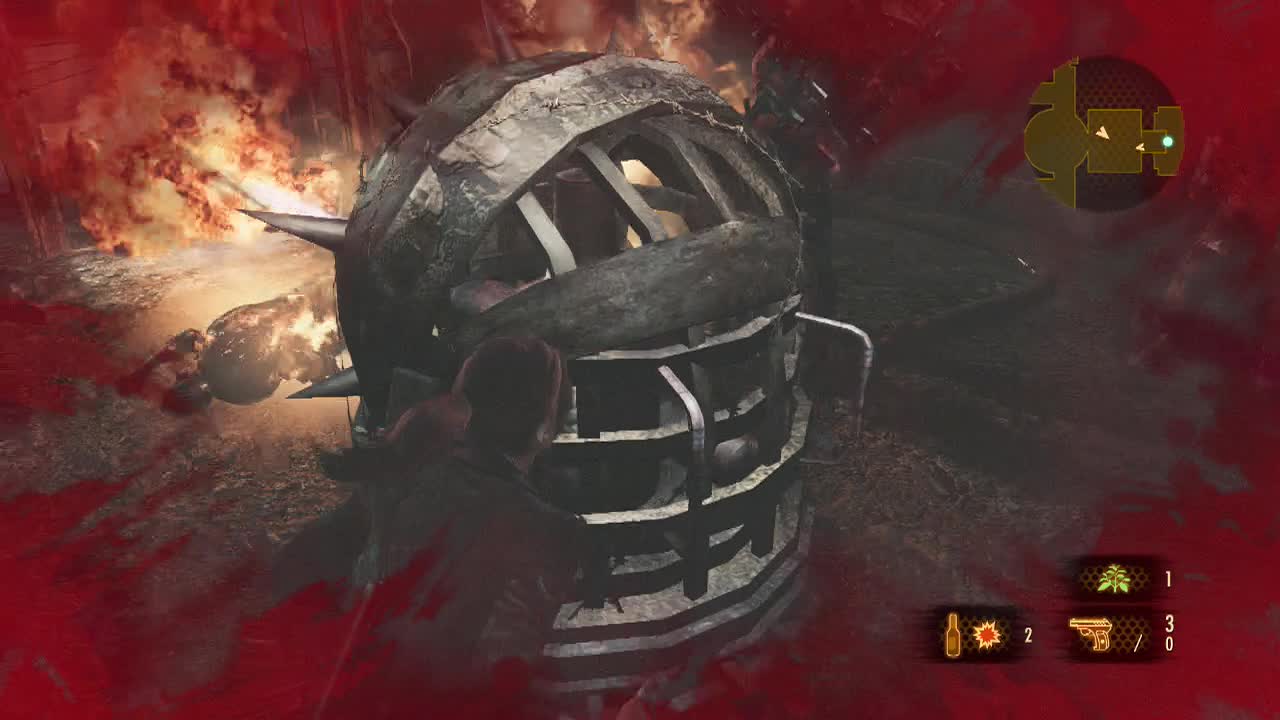
Place the gear kog amongst the other kogs and prepare for all hell to break loose. When the door opens, a swarm of afflicted and iron heads will emerge from their cells and attack. Sprint through the now open door and interact with the head that shoots fire. To start the fire, you need to twist the valve on the right wall. You can turn the head to face the doorway which blocks it, or keep moving it around to burn any enemies that get into the room. Once the enemies are dead or barred from entering, grab the Green Herb off the floor. You can examine the open cells after the fight for Handgun Ammo (5). Swap to Moira and break down the boards on the door to get it open, then leave through the roller-door.
Kafka Drawing (5): Look above the archway directly ahead of you after regaining control of Claire and Moira outside the prison facility.
Claire and Moira will finally emerge outside into the open air once more. Follow the linear path from here, picking up the Green Herb at the base of a tree. When you get to the broken bridge, look left to see a set of closed doors with a lock pick chest beside them, inside is a Parts Box – Reload Speed Lv.1.
Tower Emblem (4): Check the left side of the bridge when facing it and look under the timber walkway to see it stuck to the side of a beam.
Back at the bridge, you'll have to jump across as Claire to get Moira across.
Kafka Drawing (6): On a panel on the side of the bridge, check the right side when facing it from this end.
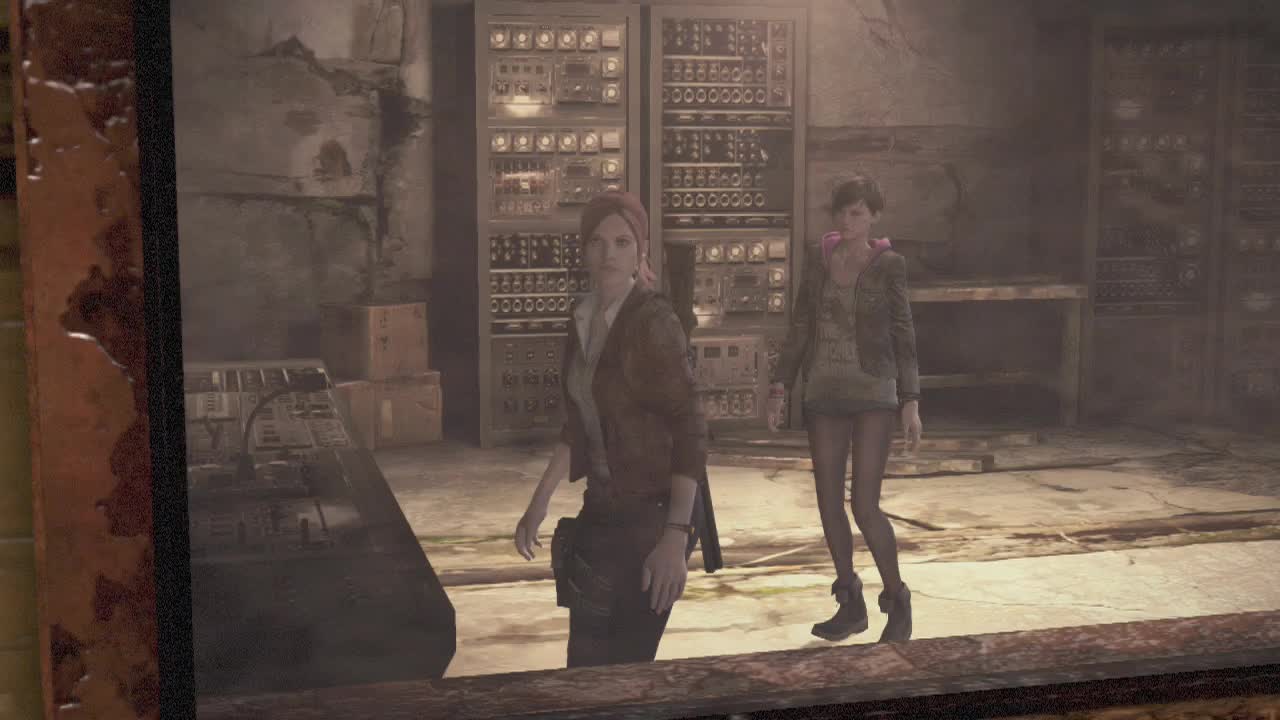
Open the door on the building in front of you, smash the crate inside and examine the console bank. After this, the opening mission finally ends and we move onto part 2 of episode one.