
EPISODE 4 – Metamorphosis (Part 1)
Mission Medal List:
- Gold: Cleared the episode with a 100% accuracy rate
- Gold: Defeated 1 Glasp with a knife
- Silver: Opened 2 military boxes
- Silver: Cleared the episode with no retries
- Silver: Defeated 3 Glasps
- Silver: Escaped the monument with more than 15 seconds to spare
- Bronze: Killed 5 indigenous animals
- Bronze: Found 4 treasures
- Bronze: Found all of the tower emblems
- Bronze: Cleared the episode within 20 minutes
Collectible Count:
Tower Emblems: 3/10
Kafka Drawings: 6
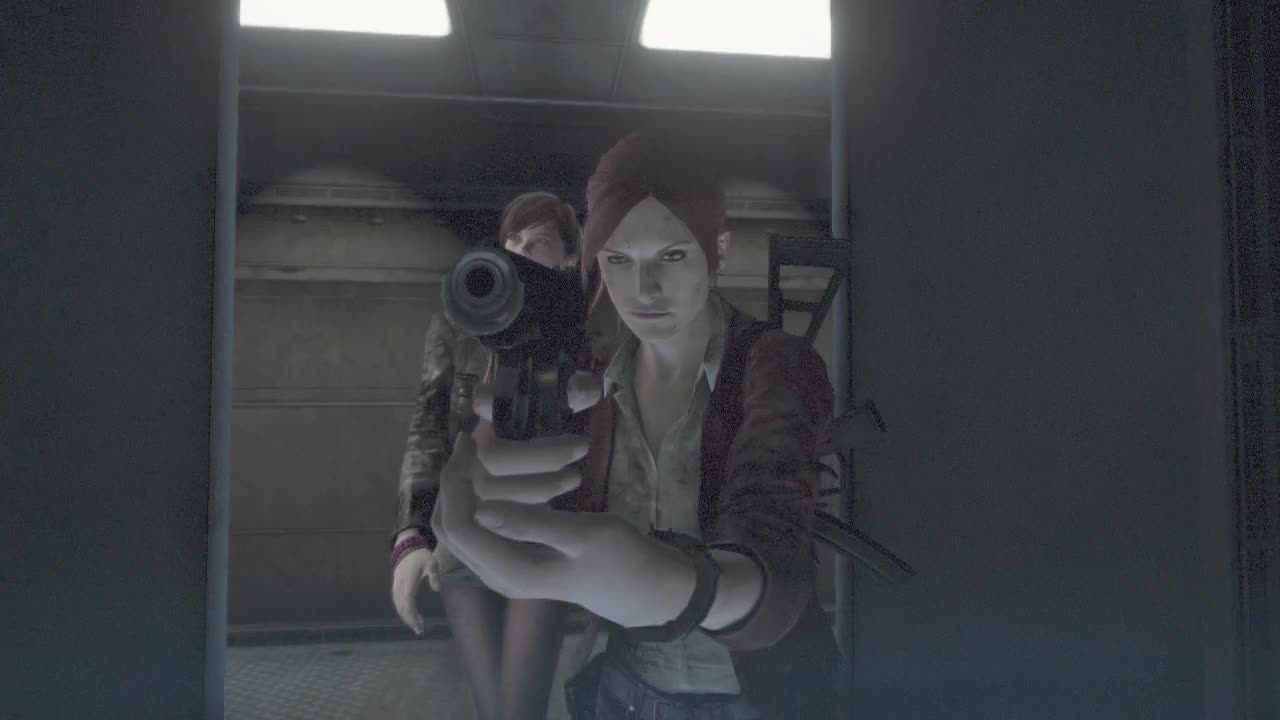
You'll begin this episode stepping out of the elevator you ended up in at the end of episode 3 (part 1). You've finally reached the upper levels of the tower (yay!). You'll regain control of Claire and Moira on a metal walkway outside of the elevator. Follow the walkway to the door at the end.
Kafka Drawing (1): While standing in front of the doorway, look up at the underside of the walkway above to see it.
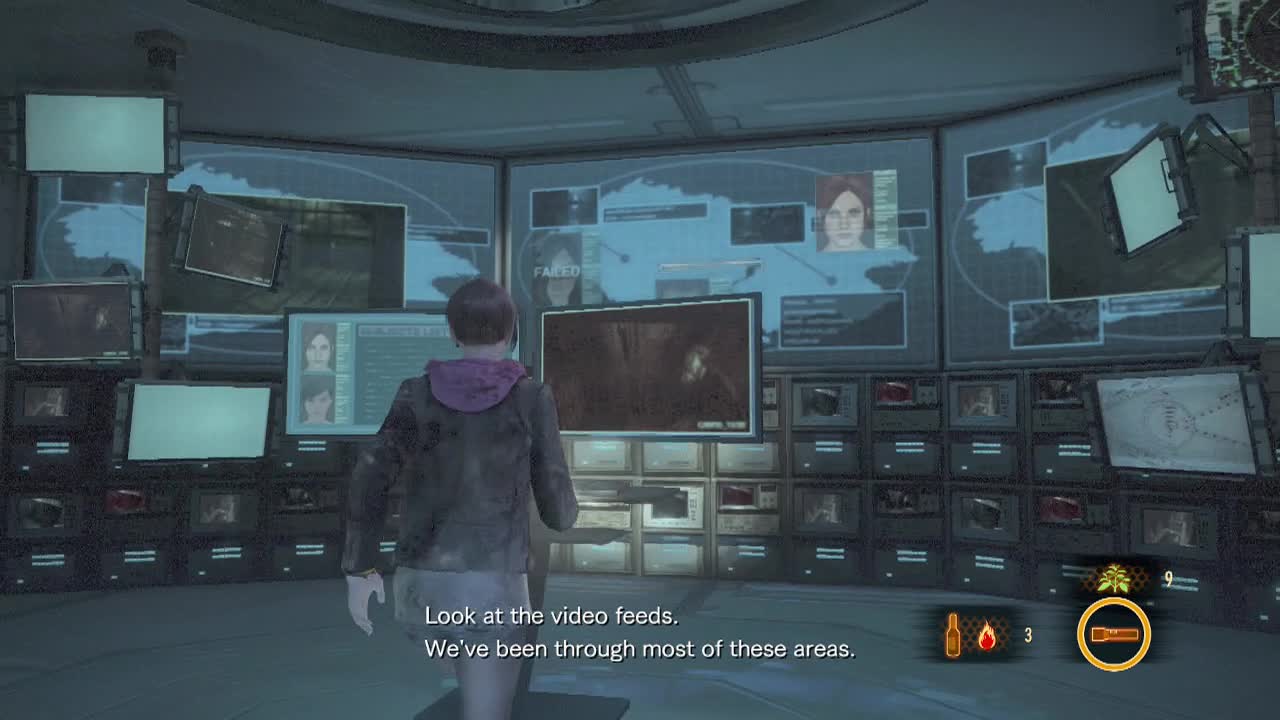
Step inside to find a massive surveillance room stocked to the gills with linked servers. Approach the monitors at the back of the room for a quick chat between Claire and Moira. The switch in the corner of the room apparently swaps a water gate somewhere else (at the start of Barry and Natalia's section). Note: You must flip the switch once to open the path to the first insect larvae collectible in their section.
Enter the next room from the server room to find a staircase winding upwards. Before ascending, check behind it to find a Sapphire (500 BP) on the ground. At the top of the stairs, enter the door to step inside Alex Wesker's living quarters (she's doing it tough). There are a few documents to read in here: "Notes On The Transfer Procedure, Neil's Report and Thoughts On Kafka." Check the chair next to the bed for a Ruby (250 BP). Smash the vases on the cabinets for some goodies.
Kafka Drawing (2): Inside one of the paintings on the wall.
After you've got everything, smash the pink aquarium next to the door leading out of the room, then push the aquarium aside to reveal a switch. Pushing the switch will lower the walkway in the next room allowing you to continue on.
Kafka Drawing (3): Look on the ground where the aquarium originally was.
In the large circular room, make your way upwards on the walkway to reach a door that will lead you to the heart of the area where Alex Wesker is waiting.
Tower Emblem (1): On top of one of the terminals to your right in Wesker's Laboratory.
After the scene, you'll be tasked with making your escape. Exit the laboratory and start making your way back to the elevator where you started this episode. There's no timer during this part so you can take your time (unless you are going for the less than 20 minutes medal). When you reach the walkway leading to the elevator, a huge cooling tube will drop down, smashing into it. Well, when life closes a door… Step onto the downed cooling tube and make your way down to the walkway below.
Native Animal (1): A rat will be shuffling along the walkway towards you. Sneak close and slash it with Claire's knife.
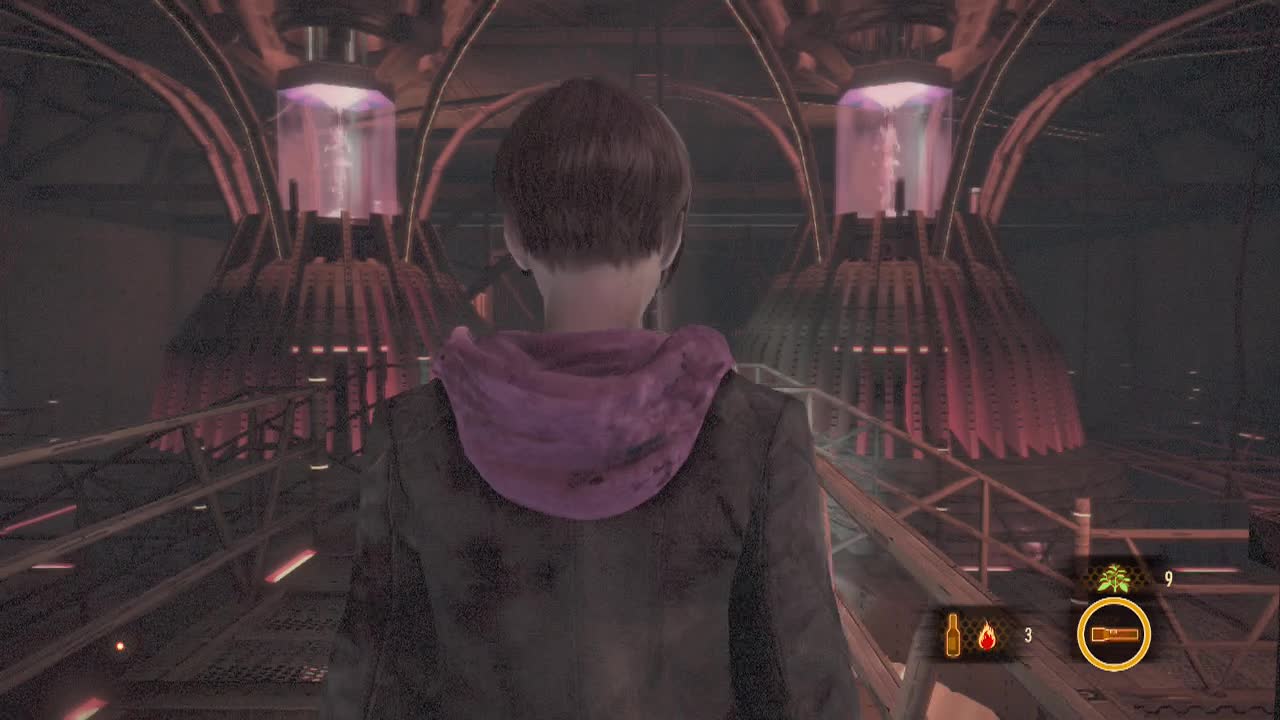
Follow the walkway around the room, ignoring the falling pipes and tubes until you reach a door that takes you into a room with two large generators buzzing away inside.
Native Animal (2): A rat will be sitting next to the workbench ahead. Shoot it from a distance to kill it (if you get too close it will run away).
Head left at the path split in front of you to find a crate to obliterate and a workbench for any last minute fiddling you may need to do with Claire's weaponry (this is the last workbench of Claire and Moira's campaign, so make sure you are good to go).
Kafka Drawing (4): On the opposite wall of the room from the workbench.
Once you're done, head back and take the other way this time. You'll find a metal gate at the back of the room with two padlocks holding it shut.
Native Animal (3): Before opening the gate, look behind it to see a stationary rat you can shoot.
Smash them off with melee attacks to open it up. Just beyond the gate in the corner is a military chest for Moira with a Magnum Ammo Case inside.
Descend the nearby ladder to reach a lower level of the generator room. At the bottom of the ladder check the corner of the walkway behind you to find a hidden Ruby (250 BP). Stroll down the walkway (just because the place is about to self destruct, there's no need to panic) breaking a crate ahead. Now's the time to panic. The game is about to throw two glasps at you for the first time in Claire and Moira's episodes. Cheap isn't it? Unlike Natalia, Moira cannot detect the glasps, even by shining her flashlight on them. The best strategies to detect the glasps are to use the broken wooden boxes on the ground as an early warning system (the glasps will move them when they pass over them). You can also just stand at the end of a long straight stretch of walkway and wait until your screen looks like you've had a bad acid trip before opening fire.
After both glasps are down, smash the crate to the right before heading for the back of the area where a ladder will take you down to the lowest level of the generator room. Another two glasps will be waiting for you at the back of this floor, so advance carefully and use the tactics described above to bring them down safely. After that, head for the door at the rear of the area to suddenly emerge into the outside world once again.
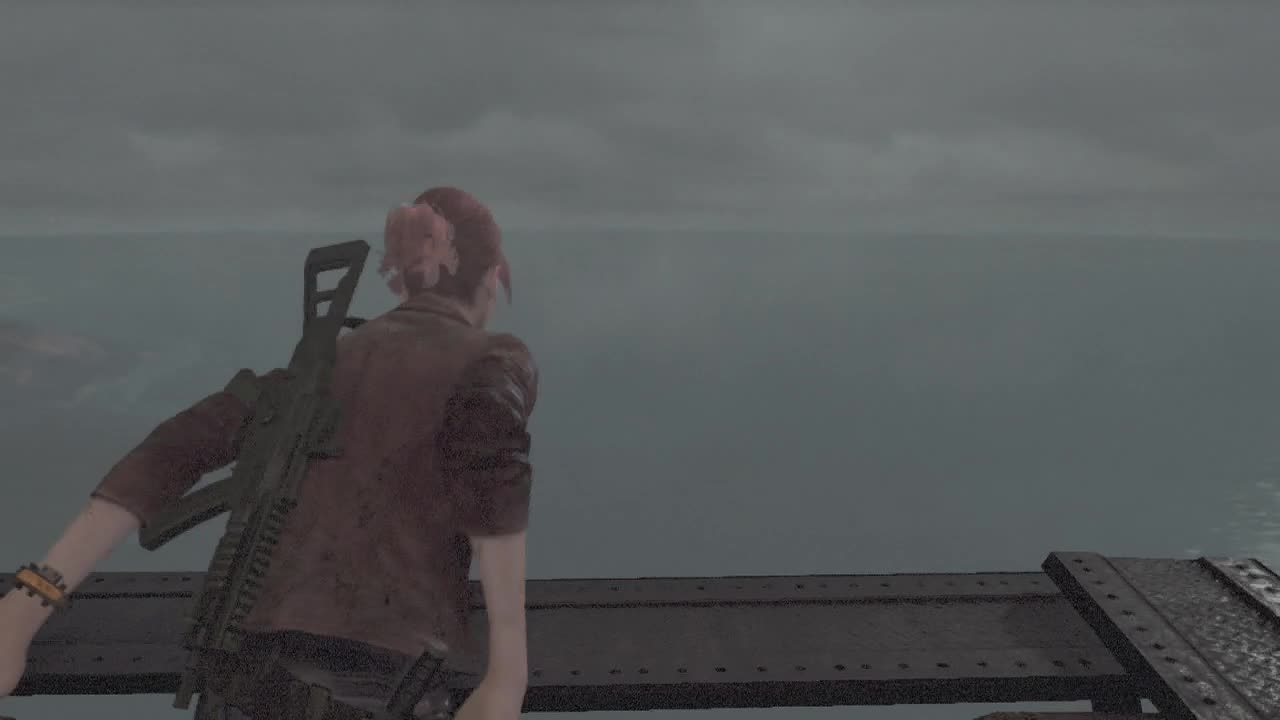
Native Animal (4): Don't move upon regaining control outside. A crow will be sitting on a ledge to your right for you to blast with your guns.
Native Animal (5): Don't move upon regaining control outside. A crow will be sitting on a the military box on a lower ledge to your right for you to blast with your guns.
Kafka Drawing (5): Check the wall immediately to your right after getting outside.
And now the timer starts. You have just over five minutes to escape the monument before it self destructs.
Tower Emblem (2): On the underside of the first ledge you drop off. Look back up at it to shoot the emblem.
Immediately after you regain control, start dropping down the nearby ledges, until you reach a narrow ledge you have to balance carefully across. On the other side of this, look for a ledge below with a military crate on it. You cannot drop here, as doing so will fling you off the side of the monument. Instead you have to carefully dodge towards the ledge to drop down onto it. Open the military box to obtain a Diamond (2000 BP). Wow, haven't seen one of those before in this game. Drop down off the ledge with the military box and keep moving as the clock is ticking.
Follow the concrete walkway down some stairs and drop down another ledge. At the next ledge, look down to see a Ruby (250 BP) on it to grab before continuing downwards. In the larger area you land in below, you'll need to move a wire crate from a corner to a pile of boxes against a wire fence at the other end, allowing you to climb onto them and then jump over the fence. There's also a crate in this area to break as you collect the wire crate. Once you're over the fence start making your way across the narrow ledges where you need to hug the wall.
Jump across the gap and drop down another couple of levels to spot a set of i-beams (girders, whatever you want to call them), forming a line ahead. To make use of this, you'll need to get Claire to boost Moira onto the large box nearby. Take control of Moira and drop down behind the fence. Here you can use your crowbar to lower two metal platforms, allowing Claire to cross the gap safely. Remain in control of Claire on the other side and push the furthest metal bin full of rubbish (nearest the door), towards or away from the door. Swap back to Moira and push the left metal bin straight ahead to rejoin Claire. Open the metal door to return to the inside area of the monument.
Open the roller door here to arrive on another metal walkway (such varied decor in this place). You should have at least two minutes on the timer at this point to navigate the rest of the path without running out of time. Vandalize the crate in front of you, before ducking under the walkway that falls down from above. Keep moving, walking across fallen debris and following the linear path.
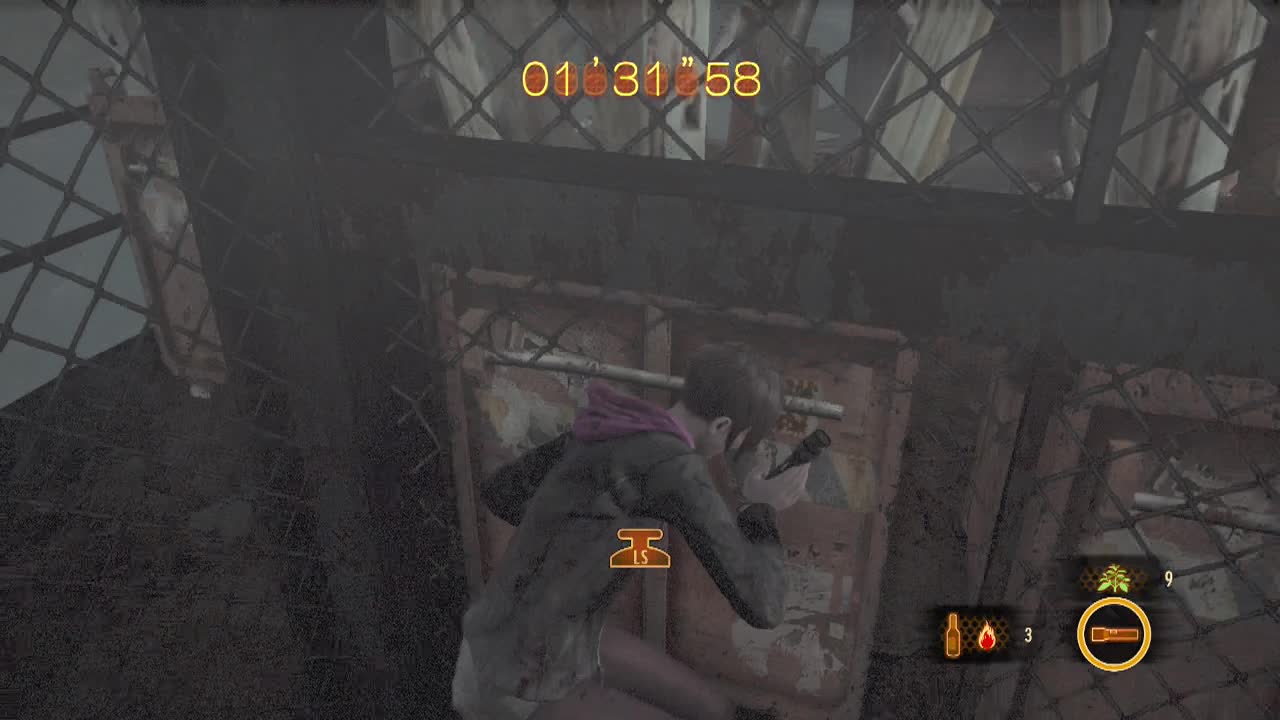
Kafka Drawing (6): Immediately after crossing a fallen piece debris with a yellow and black striped ladder lying on it that acts as a bridge, look left to the wall nearby to find it.
Keep moving until you reach a point where you have to climb down a ladder.
Tower Emblem (3): At the bottom of the ladder, look over the side, down on the central pillar below is the emblem.
A little ahead along the walkway is a glasp waiting to grab you as you sprint, so slow down and start firing ahead of you when the screen starts going wobbly.
Another glasp will be waiting after you jump across to a corrugated pipe a few seconds later. Repeat the same process as before, and stay as Claire after you kill it, ducking under some fallen poles to reach a jump point. After jumping down, a scene will trigger. Once the scene ends, you'll need to head for the hole in the wall behind you. When you pass through, this section is over. That was the shortest section of the game. Don't worry, Barry and Natalia's still takes a solid hour or two.