EPISODE 4 – Metamorphosis (Part 2)
Mission Medal List:
- Gold: Defeated 10 revenant by only hitting their weak spots
- Gold: Defeat Alex in the mine sub-level without taking damage (spoiler, highlight to reveal)
- Silver: Hit enemies with Natalia's brick 15 times
- Silver: Defeated 5 enemies with a follow-up attack
- Silver: Defeated 10 enemies with sub-weapons
- Silver: Defeated 5 enemies using the stealth attack
- Bronze: Defeated 10 enemies with the knife
- Bronze: Opened 3 gimmick boxes
- Bronze: Found 10 hidden items with Natalia
- Bronze: Cleared the level by moving the crane no more than 3 times
Collectible Count:
Tower Emblems: 7/10
Insect Larvae: 6
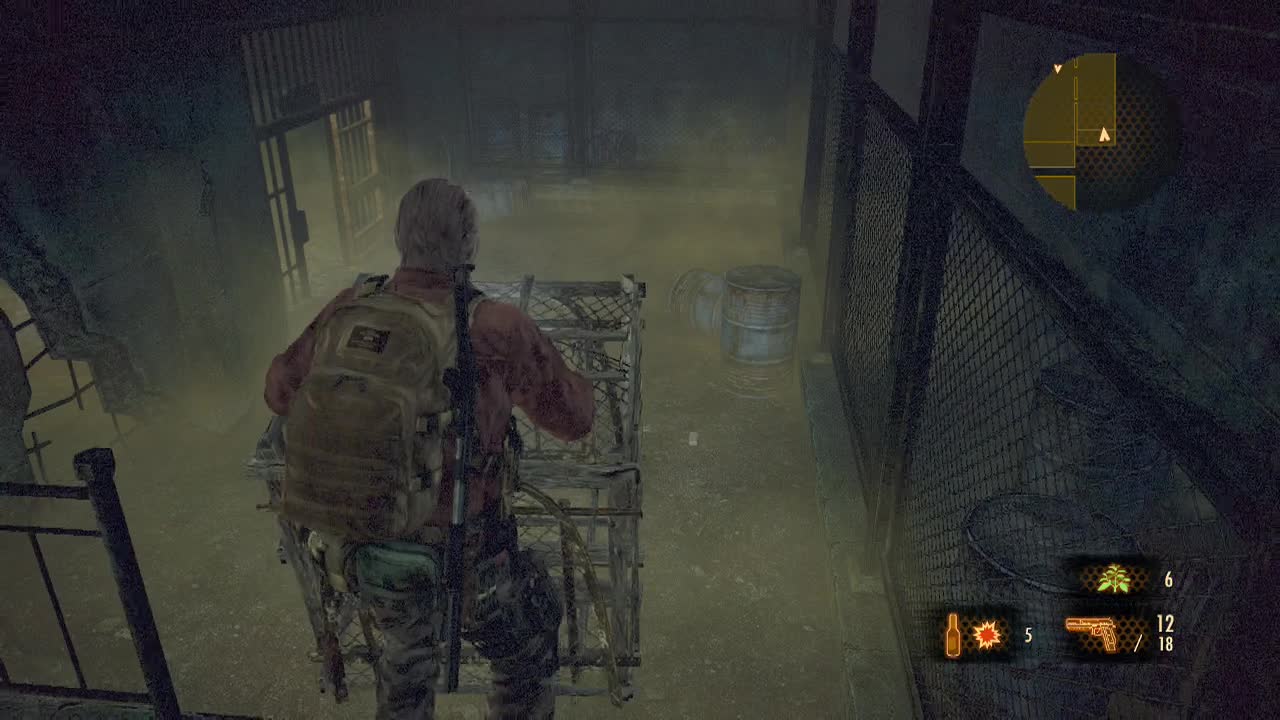
After the opening scenes where Barry and Claire finally meet up, you'll be back in control of Barry and Natalia on the island once more. Follow the path a little way until you reach a damaged fence with a hole in it. Look for a nearby shipping container to the right with a padlock holding it shut. Slash the padlock off with Barry's knife to watch the door swing open to reveal Gunpowder, Handgun Ammo (15) and a workbench. Make any changes to Barry's arsenal, exit the shipping crate and climb the stairs to cross the large sluice gate to the other side. As Natalia, you'll see two rotten standing stationary behind a blue shipping crate on this side of the waterway. Sneak around the container (on the side closest to the bridge you just crossed) and stealth kill the two outside it.
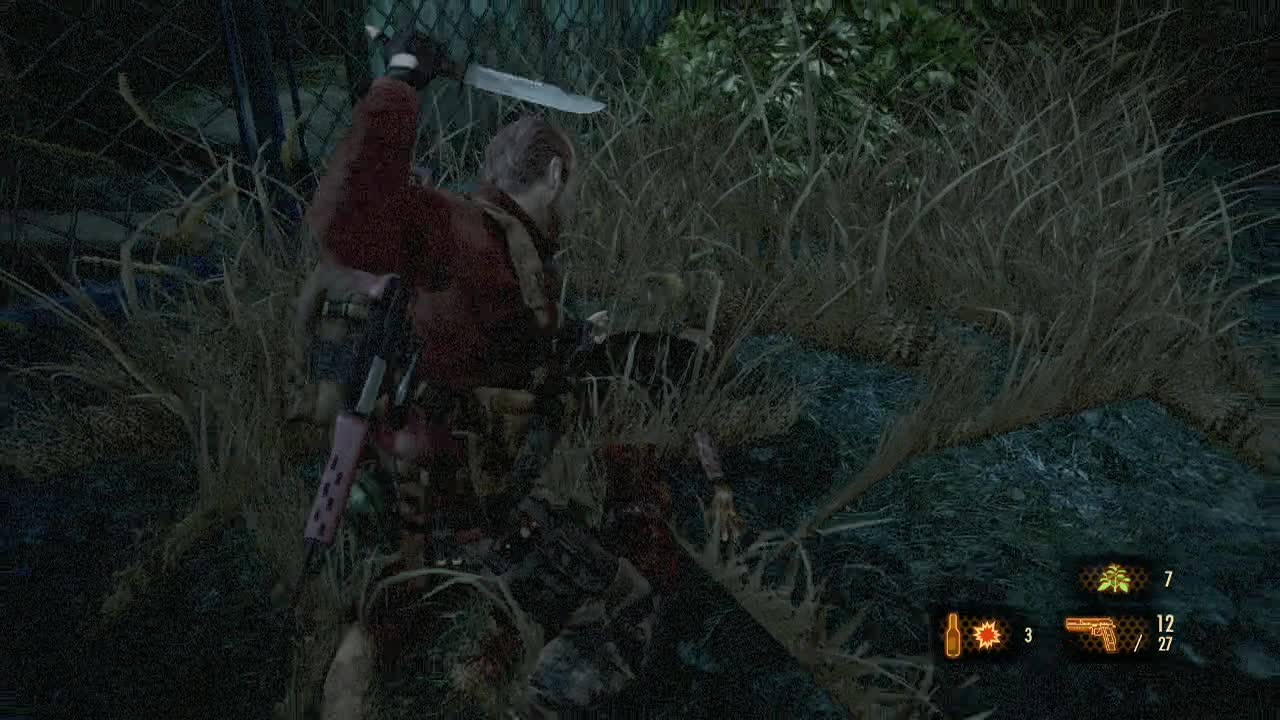
The final rotten is inside the padlocked shipping crate next to where you stabbed the second rotten. Slash off the padlock and be careful approaching the rotten hiding behind the timber, as it will instantly lunge as soon as you get close. Once it is taken care of, pick up the Cloth off the wooden box. Descend the ladder into the waterway below, swiping away with your knife at each rotten body to make sure they are dead (if they aren't, make them so). Clear out the whole waterway area (some whip spiders will show up and attack when you get to the far end). Climb up the ladder in the corner next to a metal barred fence at the end of the waterway. At the top you'll find a small platform with two crates to break apart.
Tower Emblem (1): From this position, look for the spotlight on a metal post, then look beside it to spot the medel on another post.
Insect Larvae (1): Throw a brick up from the waterway and look for the larvae on the pipes behind where the crates were. Chuck the brick at it to destroy it. Note: This only appears if you flipped the switch once in the previous Claire and Moira section.
Backtrack to the waterway and take the ladder at the other end.
If you didn't flip the switch in the previous Claire and Moira part of this episode, you will be able to access a different waterway (next to the shipping container with the rotten and cloth inside). Descend the ladder through the hole in the wire fence into the waterway, dealing with the rotten lying on the ground.
Insect Larvae (2): In the dry waterway, through the metal bars at the end. Note: This only appears if you didn't flip the switch in the previous Claire and Moira section.
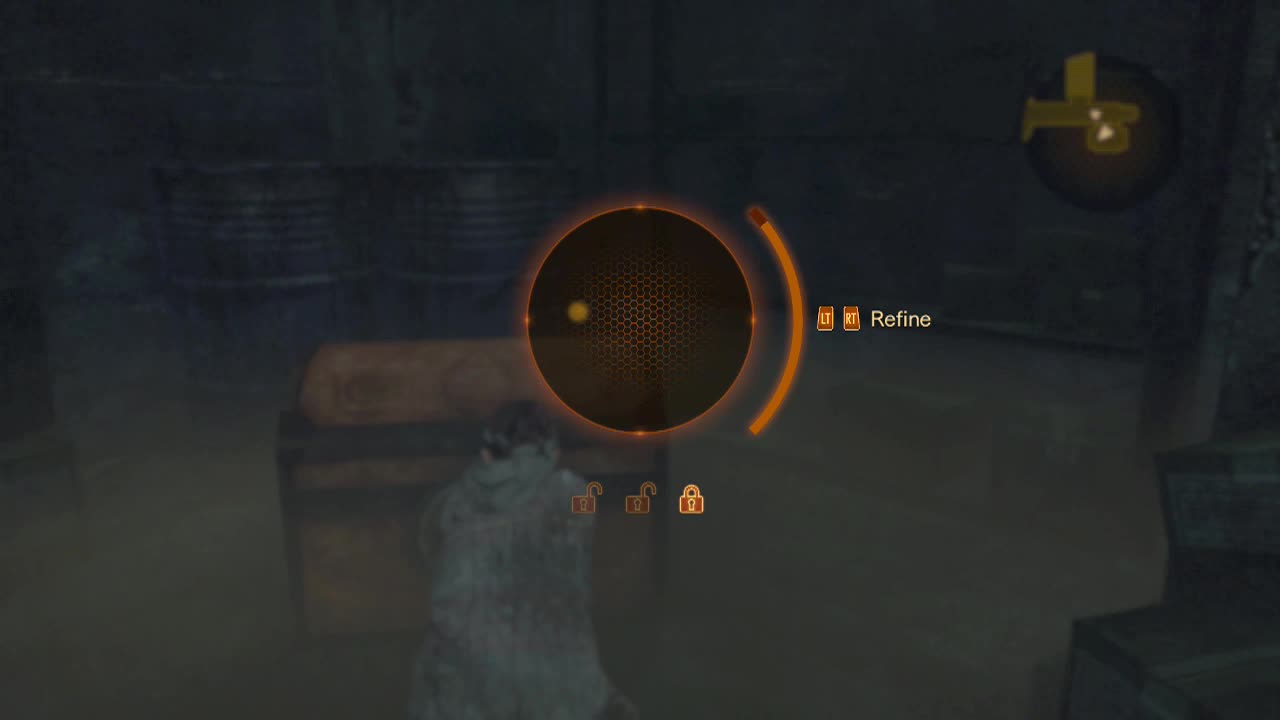
Climb up onto the ledge (with yellow and black paint on it) opposite the ladder and enter the shipping container here with Barry, slashing the two rotten inside to ensure they are dead. At the back, you'll find a Red Herb and crate to destroy. Back out of the container and break the other nearby crate before entering the shipping container with no door. At the rear of it, crawl through the hole with Natalia. On the other side you'll find another shipping container beyond with a gimmick box inside. If you don't have a brick, backtrack to the dry waterway and throw one up. You'll need at least one to break the padlock of the shipping crate and kill the two rotten inside. Open the gimmick box to obtain Parts Box – Lv.1 Piercing.
Main walkthrough continues from here:
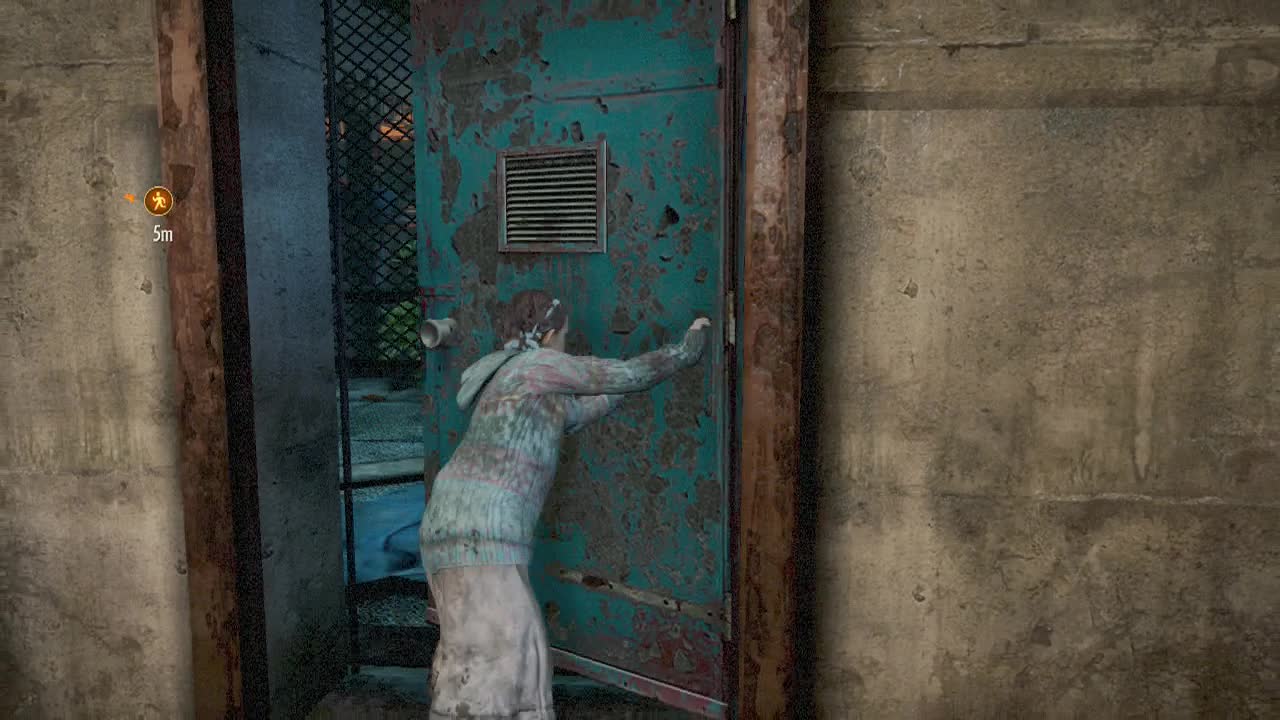
At the top, climb onto the beam crossing the waterway below and make your way to the other side. On the other end, check the ground beside the fenced platform above for hidden Assault Rifle Ammo (8). Climb the nearby stairs to find an Empty Bottle on the ground. Open the blue metal door to enter an office area and swap to Natalia to see the enemies ahead. Change to Barry when you know where they are (one lying stationary, one standing still around the corner and another in the small room next to you). Cicle round the back of the rotten lying down and quickly finish him with the knife before sneaking up behind the standing rotten for a stealth kill.
Pick up the Alcohol off the metal shelf in the corner. You'll see a broken vent leading into the small room for Natalia to crawl through. Be warned that the rotten inside will trigger when you enter, so you'll need to bring a brick or immediately retreat and shoot it's feet through the hole as Barry. The drama is worth it though, as inside is some Gunpowder on a shelf, Assault Rifle Ammo (30) in a drawer and a gimmick box with Parts Box – Lv.2 Anti Recoil within. Before leaving the small room, swap back to Barry and leave via the door in the other room. You'll step out onto a landing at the back of the building. Turn right to see the door through the fence, shut with a padlock. Shoot it off and swap back to Natalia to access the fenced off area out the back. Out here, you'll find an Empty Bottle and a crate to demolish (you may need to shoot it through the fence) and hidden Topaz (100 BP) by looking next to the green metal drums behind the fence before returning to Barry.
Now that both characters are on the landing, jump down off it to the level below and then clatter downwards some more. Natalia will be briefly fascinated by the huuuuuuge crane above her, as you move along the trench. When you reach the ladder, turn around and check the alcove in the corner for a couple of crate lurking there. Ascend the long ladder to get to the upper reaches of the crane. At the top of the ladder, you'll find multiple switches on each side that control the crane. These move the platform from side to side or move it along the length of the crane. Before pulling any switches, you can read the sign for "Crane Operations Report 1." From this point on, I'm going to refer to the starting side of the crane as side 'a' and the other as side 'b.' Walk to the far end of side 'a' (that you can reach anyway) to find a crate to destroy.
Have a character step onto the platform, and make the other pull the lever at point number 1 (use the signs next to the switches to tell). Pull the switch again to send them across the gap. On side b, bring the other character across so they are both on side b. Climb up the ladder here and use the bridge holding the platform up to cross over to the other side to pick up an Exploding Bottle, you can also shoot a Ruby (250 BP) off the sign behind it if you want to backtrack to side a to pick it up. Make your way back down to the lower level, cross over to side a and pull switch 3 to get over to the crate sitting all on its lonesome. Check on the ground next to the post here for hidden Handgun Ammo (5).
Tower emblem (2): look at the concrete post through the hole in the floor to see the tower emblem on the side of one.
When you're ready to move onwards, return to side b and pull switch 2. Climb the ladder to the upper level to cross over to the upper level of side a where a ladder awaits. Kick it down to enable quick access to the upper level. Now have a character on the lower side of a (have one climb down if both are on the upper level) pull switch 3 to move the crane again. On the upper level, cross over to side b and descend the ladder here with both characters. Swap to Natalia and examine the ground behind the sign to find a hidden Ruby (250 BP). Now that both characters are on the lower level of side b, pull switch 5 to move the platform and place Barry onto it. Send it over to the other side (you won't be able to get off as Barry yet). Then change back to Natalia and pull switch 4, changing back to Barry immediately afterwards. Step off the platform as it moves past the otherwise inaccessible area on side a. Here you'll find a body holding a TAP194 (shotgun). Make sure to pick it up (even if you want to swap it out later). You can also read "The Sluice Operator's Last Words." Cross back when you are done.
When you want to move onwards, pull switch 4 on side a and have a character (preferably Natalia) climb to the upper level and stand on the bridge holding up the platform. Stay on this while Barry approaches switch 5. When he does, multiple spiders will crawl out of the end of side b. Quickly destroy them with your knife before pulling switch 5. This will send Natalia to the end of the crane path. Get off the bridge and lower the ladder down for Barry to leave behind the crane. You'll have two staircases in front of you here. Check the corner of the right on for hidden Shotgun Ammo (2). Take the left staircase afterwards, swapping to Natalia to see the enemies ahead and then back to Barry. As you move past the glass windows, a rotten will smash through them. Quickly slash away at it while it is still recovering to kill it safely.
Two more rotten will begin moving around nearby. Either bring them down with the knife or pick them off with headshots. Before moving into the building, check the stairs to find a crate to remove. Enter the building and check amongst the crates on the shelf next to the roller door to find hidden Shotgun Ammo (2). Open the roller door and move along the corridor beyond. Through the doors at the other end, you'll emerge into the ground level of a big mining facility.
The destroyed hut on the right after entering this area holds a couple of blue metal drums, look at the base of them to find a hidden Topaz (100 BP). Bypass the stairs beyond to find an Empty Bottle on the ground and slightly further for a crate sitting underneath the stairs.
Insect Larvae (3): Underneath the stairs on a wall, next to the crate you just destroyed.
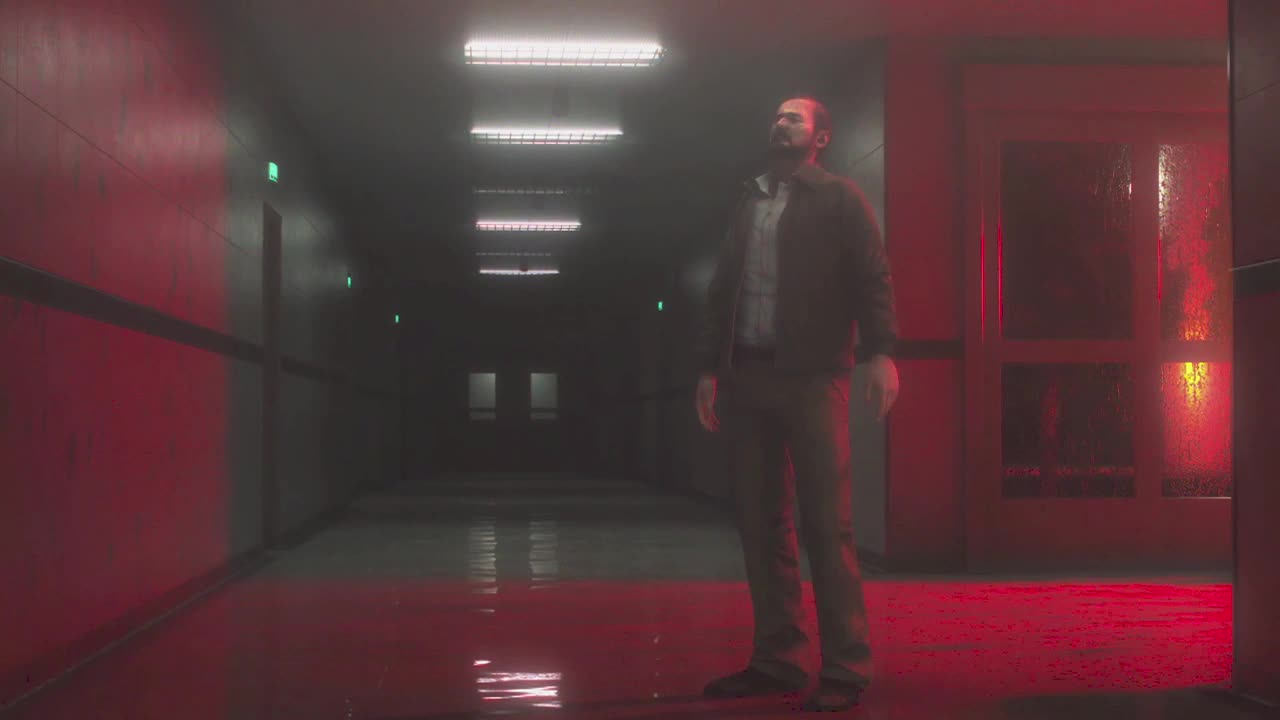
Climb the stairs you just passed up to reach a red door at the top. Inside, despite the red light there are no enemies. Look under the desk with Natalia to find hidden Gunpowder. On a shelf next to this is some Smoke Powder to pick up and behind the next shelf a crate to smash. Leave the room and keep moving up the stairs when you're done.
At the next level up the stairs after the red metal door room, you'll find a jump point that allows you to reach the rails in front of you. Jump across and pass up the first platform on the left side for now. Check inside the mine cart here for a hidden Ruby (250 BP).
Tower Emblem (3): On the side of a mine cart at the end of the rails.
Jump across to the platform when you're ready to disintegrate the crate sitting there. Kick down the ladder next to you and climb down. At the bottom, you'll be standing next to the fence surrounding the elevator. Walk inside the elevator and press the button to descend into the mining site.
You'll have a lovely conversation as you trundle down into the bowels of the Earth. When the elevator's doors open, take the hallway, stopping to open the red metal door on the left. Here you'll find a hidden Topaz (100 BP) in a broken locker, a Mines Map (finally), Rifle Ammo (3) on a shelf and a "Poisonous Gas Warning" which is worth reading so you know what's coming. Leave the room and contiune around the corner in the hallway. Check the ground next to the metal doors at the end to see hidden Assault Rifle Ammo (8). Open the double doors afterward to walk further into the hallway with a slope leading down to green mist (the toxic gas the poisonous gas warning was about).
Snatch the Handgun Ammo (15) off the table to your right before descending into the dangerous gas. As a heads up before entering this section, as you remain in the gas, colour drains from the screen. Then a the edges of the screen turn black and start swallowing up the screen. If the whole screen turns black, the gas will kill you. So pay attention to your visuals to determine when to retreat to fresh air. Take the path directly ahead when the tunnel splits to grab some Assault Rifle Ammo (24) from the ground at the end. Backtrack and take the other path that you just passed to climb up a slope out of the swirling miasma.
Examine the rubble on the floor of the next room for a Topaz (100 BP), before moving on. You'll walk down into the gas again, but this time, you'll see enemies with Natalia's vision. The first group as you head South along the tunnel don't pose any threat. When the tunnel splits (going West or South), take the South path first to find a Topaz (100 BP) at the feet of a corpse. Backtrack to get your breath back, then take the West path in the tunnel. This will lead you to a rectangular room with multiple rotten lurking in the tunnel to the North. If you have an exploding bottle, with a well placed throw, you can get the 'Fish In A Barrel' achievement here.
Rush past the rotten you just killed and run to the end of the North tunnel to find a dead end with a switch and Assault Rifle Ammo (10) on a shelf. Check the floor between the two blue drums for a hidden Ruby (250 BP). Pulling the switch here unlocks the tunnel to the South back in the rectangular room you just came from. Head back there and pass through the now open gate. Five or six rotten will be waiting just beyond it. Quickly put them down with an explosive bottle (or firebomb as they will shuffle through the flames). Speed is the most important factor, as you don't want to get bogged down fighting the rotten and dying from the gas.
Pass by where the rotten were to find some stairs a short distance along the corridor. Pass through the door at the top and round the corner to trigger a quick scene. Take a right at the dead end before the workbench platform to find Assault Rifle Ammo (24) and at the other dead end is a crate to wreck. There is a workbench on the central platform, with some Disinfectant on the ground next to it. You have two objectives at this point: Find the lift activation key and turn on the extraction system. Both of these have to be done before you can descend any deeper into the mine.
To start with, take the path to the South from the workbench platform and climb the ladder. Each direction on this upper catwalk leads to one of the area objectives. Take the door to the South first to find yourself in a short hallway with several revenants and a slinger in the room ahead. Drop down and stealth kill the patrolling revenant or shoot it's weak spot after locating it with Natalia. You can deal with the slinger with a well aimed shot from a powerful weapon (rifle or magnum) or a well placed explosive bottle. Climb up onto the platform where the slinger was to fire down onto the recumbent revenant.
As you will likely notice, there is a set of stairs in the corner. Unfortunately they are too high up to reach. Looks like we need to find a wire crate to climb up there. On the East side of the room you'll see a mine cart next to the metal bars. As Barry, drop down into the gas and push the cart along it's track to reveal a hole for Natalia to crawl through. Memorize the weak point location of the revenant near the North door lying down in this room before you enter. Stay in stealth as you pass through the hole and immediately turn North and unlock the metal gate to open it. When you do, a revenant in here will trigger and begin chasing you. Swap back to Barry and aim at the weak point location you memorized before to bring it down fast.
Drop down into the gas again and enter the now-open area behind the bars with Barry. A final revenant will be lying on the floor here, so do what you gotta do to clear the way. On a barrel in this room you can pick up a Parts Box – Lv.3 Firing Rate. Climb up onto the raised platform in here to find a pair of crates to atomize and the wire crate you need. Pick it up, drop it to the level below and manhandle it over to the base of the stairs in the South side of the room.
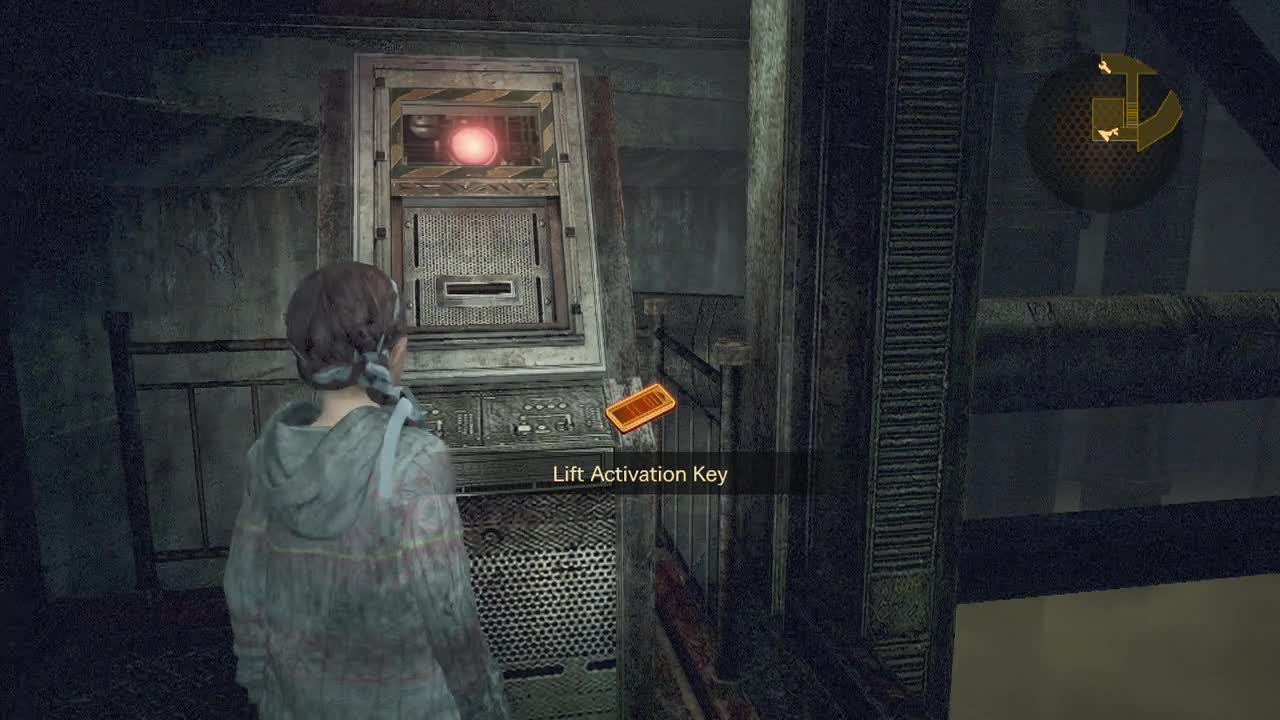
Once you've placed the wire crate, clamber up onto the stairs and enter the room at the top. Inside check the shelf to find an Odorous Chemical, Rifle Ammo (2) on a desk and the Lift Activation Key that you need.. You can read "Mine Worker's Diary Part 1" on the desk if you like. Check the bottom of the boxes near the door to find a hidden Cloth. Backtrack through the gas to the platform room once you're done. Take the door to the North this time and follow the hallway to emerge onto a balcony overlooking a circular gas filled room.
Take the time to line up a head-shot on the rotten lying down on the raised platform in the center of the room to make sure you've got a safe point to catch your breath. You can also use this spot to pick off a couple of the rotten below. Climb down the ladder and take on any remaining rotten in the circular room. If you get on the central wooden platform in the room, you can crouch down and slash the rotten below with your knife if you want to conserve ammo. Once the rotten are cleared out, smash the crate on the central platform.
Firstly, investigate the small room along the South-West wall of the room for an Empty Bottle and "Mine Worker's Diary Part 2." After that, head for the tunnel to the East and start pushing the mine cart along the rails. Keep pushing it all the way to the end (retreating to the wooden platform or up the stairs when you need to catch your breath). Walk up the stairs you opened up to find a crate to break. Head into the small room at the end of the East tunnel to stumble on a gimmick box for Natalia with a Parts Box – Lv.3 Capacity inside. Backtrack to the wooden platform in the circular room after collecting everything.
Next, it's time to explore the North Tunnel. Follow the linear path, dealing with the lone rotten along the way. At the end, take control of Natalia and examine the floor to find hidden Shotgun Ammo (2). And that's it for the North tunnel. Retreat back to the central platform to gasp some gas free air before entering the West tunnel. You'll immeditately hit a path split. Take the North split first to find Magnum Ammo (2) on the ground. Backtrack and take the other path this time.
Insect Larvae (4): Behind the mine cart in the tunnel. Make sure you don't push it too far forward or you won't be able to get past it to aim easily (move it forward around 3 times max).
Finish pushing the mine cart out of your way. Take control of Natalia briefly to spot a revenant nearby. Take it down quickly via weakpoint gunplay surgery and then go back for air if you haven't already.
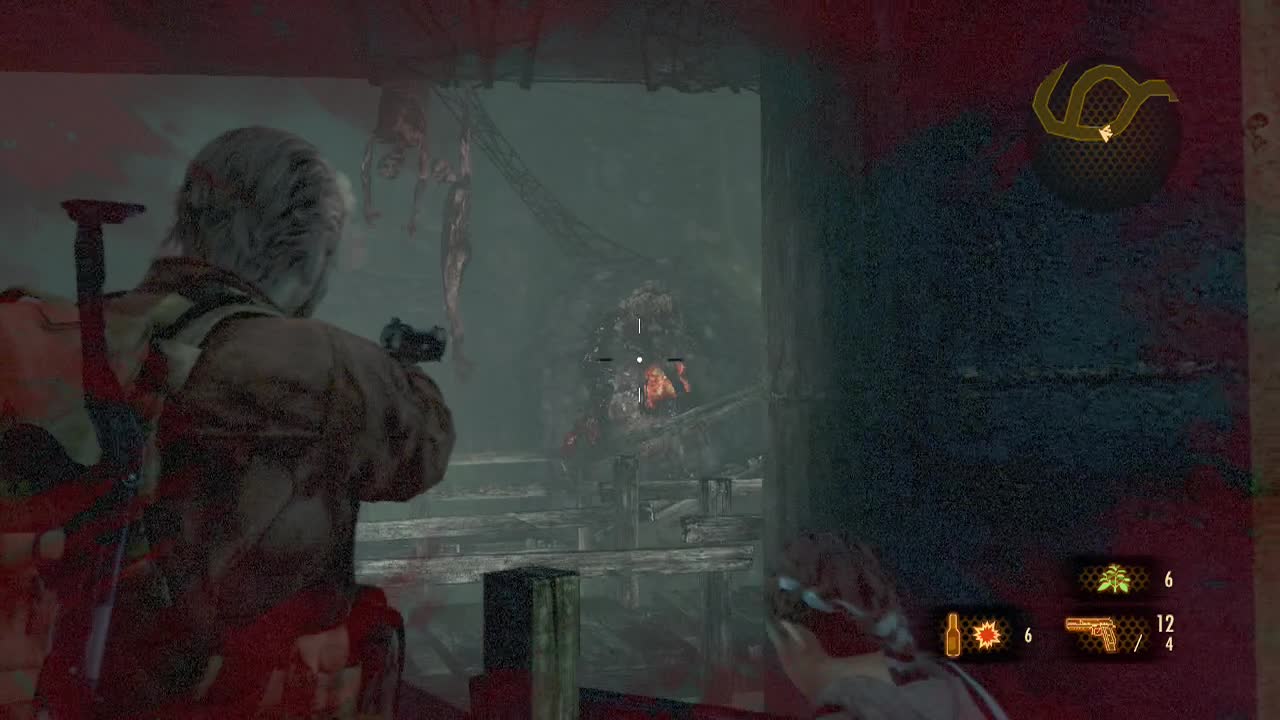
Immediately after the revenant is yet another path split. Turn North first to find a wooden platform rising slightly above the gas at the end. On it you can obtain the 2005M (magnum) that is sitting there. Take a few breaths and then backtrack to the previous path split. The South path leads to a set of stairs rising up out of the gas. On this higher level, look on the shelves for Assault Rifle Ammo (24). Prepare your weapons for a decent fight and make sure you have a firebomb available if you possibly can. You'll be engaging a dhurlga and multiple slingers in the next room so make sure you are prepared to deal with that.
When you enter the next room, you'll be on a rickety wooden walkway. Start walking forward and the dhurlga will jump down onto the walkway to join you. Remember to throw your firebomb straight away when you can to burn away the protective tentacles. Start moving away, taking your shots at the dhurlga's stomach weak point when you can. Use the concrete pillar in the middle of this circular walkway to block the shots of the slinger who spawn in a few seconds later. Depending on your skill at gunplay, you may be able to take out the slinger on the left before the dhurlga even gets close to you.
Take out the second slinger on the right when you can and finish dealing with the dhurlga. Once all the enemies are gone, continue to the end of the wooden walkway to find a crate to demolish, a Red Herb and the extraction system activation switch to unlock the gate to the South tunnel back at the circular room. Flick it and begin making your way all the way back. A revenant will show up in the circular room with the wooden platform at the start of the West tunnel, so make sure to keep an eye open for it.
Once the revenant is gone, approach the South tunnel to open the metal gate. Throw an explosive bottle if you have one as you round the corner as five rotten will be cluttering the corridor there. Otherwise you can retreat back to the wooden platform and slash away at them or shoot them. Once you get past the rotten swarm, make your way up the stairs to finally reach the extraction system switch. Pull the switch and kick down the ladder nearby. After climbing down, you'll find yourself back in the workbench platform room. Drop off your parts at the workbench and walk over to the lift control panel to insert the lift activation key. Step onto the lift next to the control panel and pull the switch to descend into the deepest depths of the mine.
Tower Emblem (4): Look at the vertical pillars leading upwards to find it on the side of one.
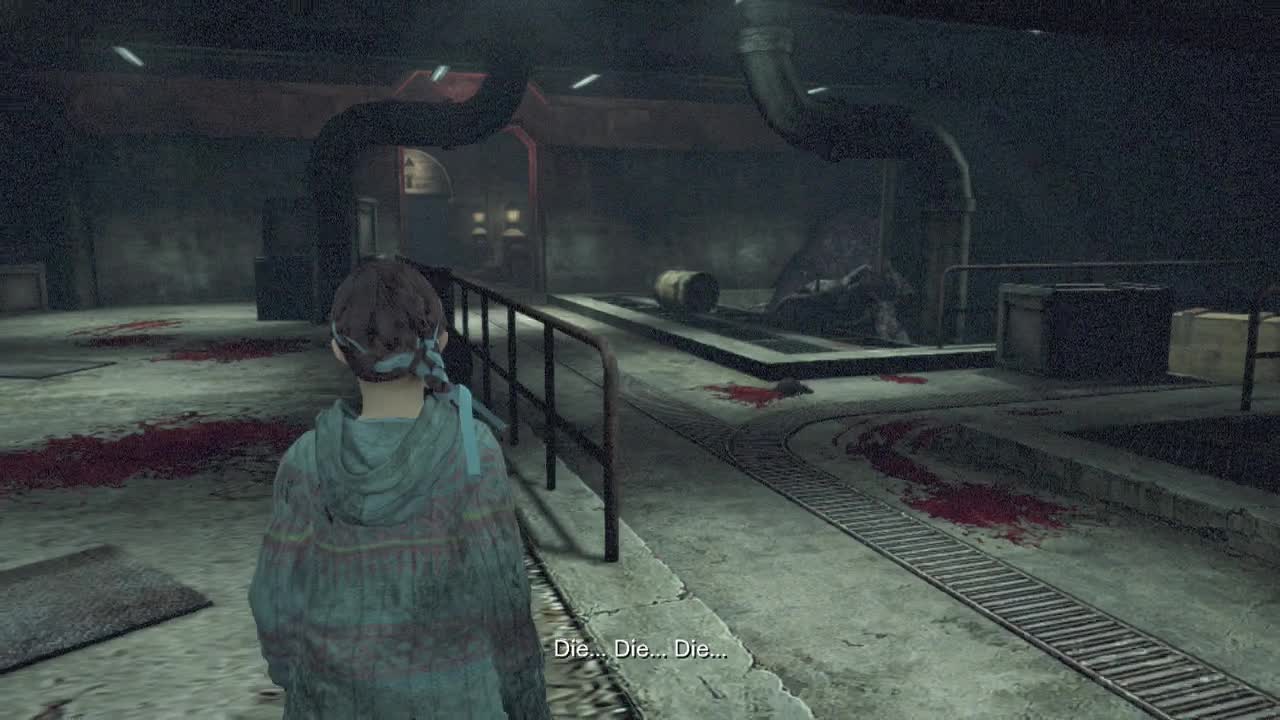
Follow the only path out of the circular room at the bottom of the shaft and take control of Natalia to trigger the touch panel in front of the giant metal door. A quick scene will trigger as you enter the door with you regaining control on the other side. Descend the slope in front of you, listening to the ominous words of Alex Wesker. Open up the metal door at the bottom.
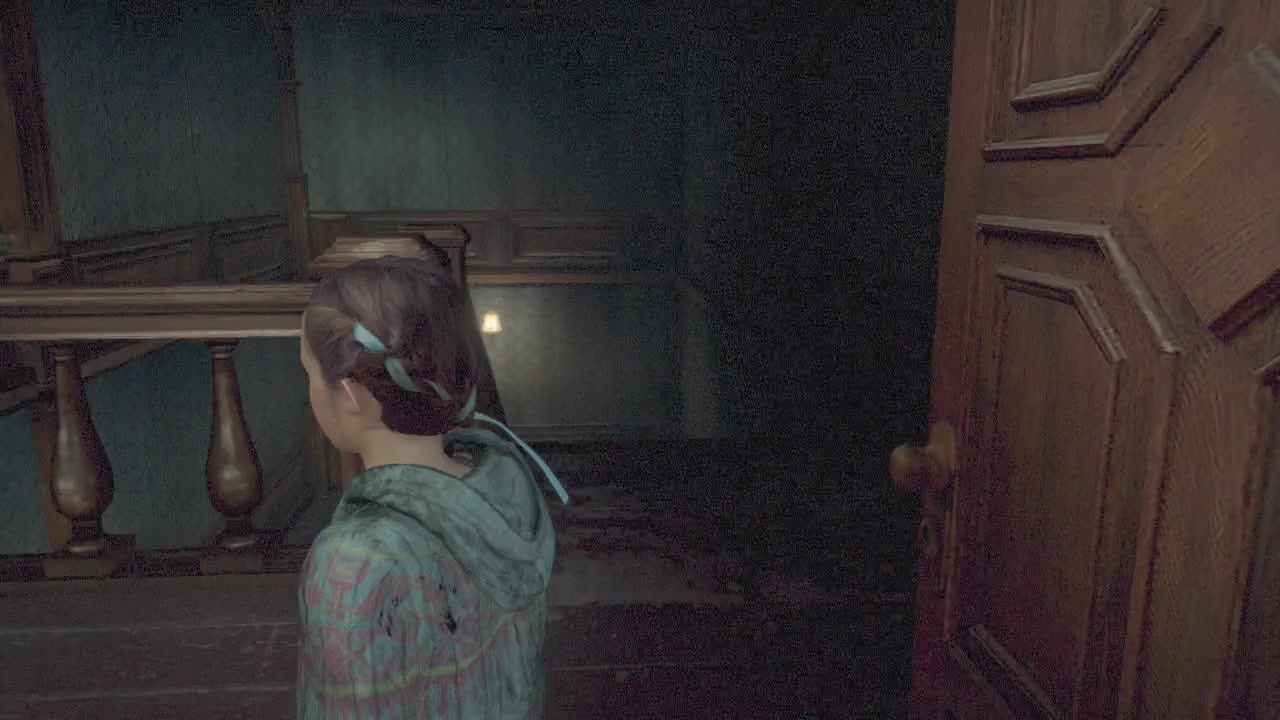
Smash the crate to the right before entering the blue door on the left. Inside the small room you'll find a "Specimen Transfer Log" to read. Leave the small room and cross the small bridge at the back of the room to enter an ornate doorway on the other side. Ok, that's definitely reminiscent of previous Resident Evil titles. We nearly got through a whole game without a mansion getting involved. Enter the first door on the right to find some Handgun Ammo (5) on a box and a door requiring the emblem key (which we will obtain later). Leave the small side room and continue down the tiled hallway. Pick up the Tourniquet off the table at the end.
Take the right hallway first. You'll see a revenant walking around in a room at the end if you control Natalia. Time your approach carefully and make your way in for the stealth kill. On a coffee table in the middle of the room is the "Research Facility Chief's Journal 1" to have a look at if you like. Grab the Magnum Ammo (1) off the cabinet. You'll also encounter an emblem door here that you can't pass through yet. Backtrack to the entry hallway and examine the body in the hallway to the left to find a hidden Topaz (100 BP). Look around as Natalia to spot a revenant patrolling the left hallway (entering the toilet). When it moves into the toilet, sneak up behind it for a stealth kill. You'll also find some Alcohol in the there.
Keep moving down the hallway once you're finished in the loo to spot another revenant waiting in the room at the end. This one doesn't seem to move, so you'll have to take it on directly. Just make sure to remember where it's weak point is before you do. On one of the shelves in this room you can find hidden Shotgun Ammo (2) and a hidden Ruby (250 BP) between some books on the floor. Exit this room through the other door and move down the next hallway, bypassing the emblem door and moving through the door at the end.
Tromp down the stairs and circle round behind them when you reach the bottom to find an Odorous Chemical on a wooden box.
Tower Emblem (5): Check between the boxes directly under the stairs to find it.
Take the hallway here and enter the wooden door on the left to find another set of toilets. You'll find an Empty Bottle and Cloth inside though, so I guess it's worth it. Return to the hall and enter the large doors at the end of the hallway. You'll walk into a room full of revenants in tubes. Awesome. I will say that you can take the time to kill all the revenants now if you want as all but one or two will attack you at later points, making your time later less stressful.
Insect Larvae (5): At the top of the rear-left revenant tube. Either kill the revenant beforehand or take careful aim.
Pick up the Smoke Powder off the shelf to your right. Check on the ground behind the second tube on the left for a hidden Ruby (250 BP).
Leave via the door on the right side of the room. Pass by or kill the revenant in the tube, look in the corner with Natalia to find hidden Handgun Ammo (3) and enter the large better lit room beyond. Next to you on the left is an Empty Bottle to pick up. Check the corner ahead for hidden Handgun Ammo (5). On one of the consoles nearby, you'll discover the Underground Research Facility Map, with a "Report On The Uroborus Virus" next to it. Use the stairs on the far side of the room and look at the ground behind them to find a hidden Ruby (250 BP). A "Researcher's Journal" will be sitting on a box nearby. There's a workbench against the wall if you need to use it. When you're done, enter the red metal door.
In the next room, you'll find stairs leading up. Look behind them to see a body against the wall with the Security Card Lv.1 at it's feet. This will allow you to open some of the yellow security doors in the complex. You can ascend the stairs to find a "Specimen Disposal Log" on a box partway up for a hint on where the emblem key is located. At the top of the stairs is a crate to destroy. Head back down the stairs and make your way back to the room with heaps of revenants in tubes. When you get close to the room, a glasp will appear in the corner of it. Make sure you swap to Natalia to check it's location before engaging it. Also, be careful to avoid hitting the tubes holding the revenants or else they will join the fight as well.
After the battle is over take the left path out of this room and descend the stairs, passing through the blue door at the bottom. You'll enter a tiled room with a row of lockers against the left wall. Open the last locker to find Handgun Ammo (3). You'll see a yellow door here,but we'll be passing through it shortly, so ignore it and carefully approach the other door in sneak mode. Two revenants will be in the next room (one moving around, the other lying on the floor). You can stealth kill the moving one, but you will have to engage the second in regular battle. Once they are both down, swap to Natalia and open the gimmick box in the center of the room to find a Magnum Ammo Case within. Check the edges of the room for a hidden Topaz (100 BP) before returning to the previous room and open the yellow door with your security card.
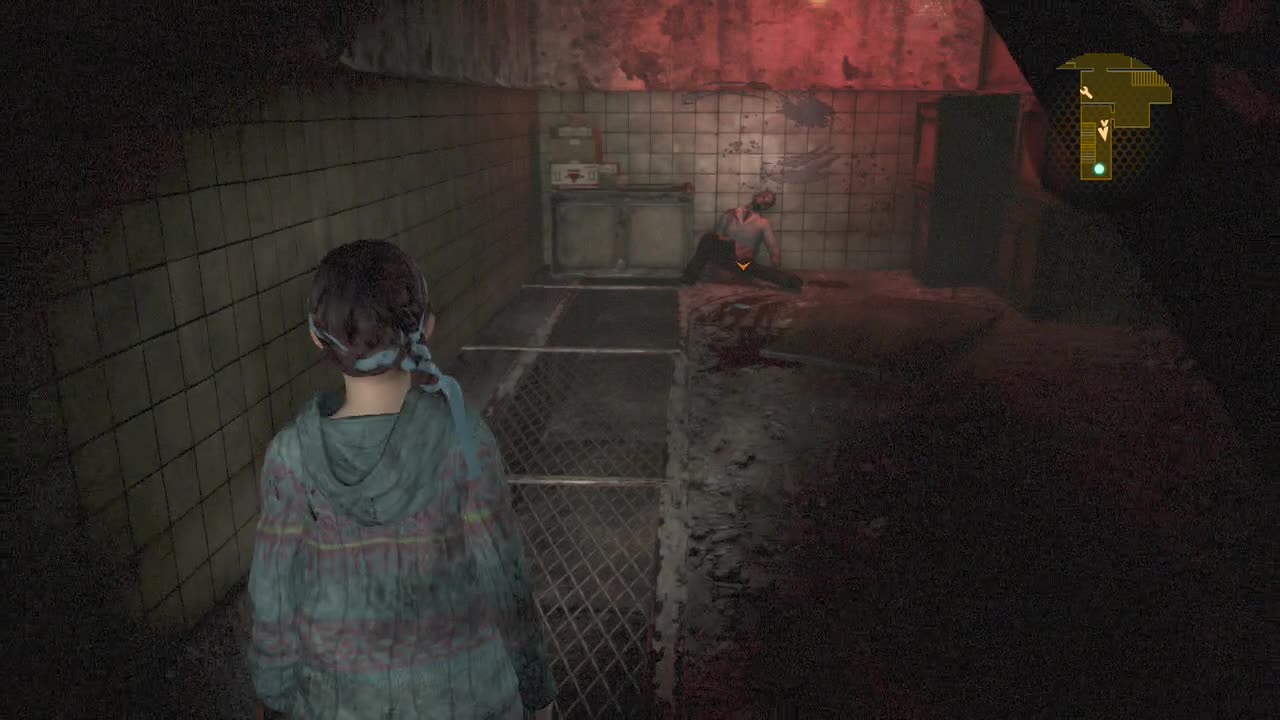
Look in the first room to the North for some Alcohol. The second one has a "Researcher's Memo" inside to read. Be careful opening the green door to the South as there are two revenants in the room beyond. Pick up the Smoke Powder from the sink before engaging the revenant behind the curtain. You're now in the morgue, where the emblem key was rumoured to be. The third freezer on the West wall holds the second revenant (which will flop out and then attack when you open it). The freezer it was in does hold Assault Rifle Ammo (10) inside, so decide if it's worth it before opening it. The right freezer on the South wall holds the Emblem Key, allowing you to access multiple doors in the facility.
You'll need to backtrack to the multiple tubed revenant room once again. And as expected, another glasp will be waiting amongst them. Take care of it in the same way as before, The emblem key will allow you to open a couple of doors up in the mansion area above the research complex, so leave through the doors to the South and climb the stairs at the end of the hall. At the top of the stairs, you'll find an emblem door on the right side of the hallway. Open it up to pick up Rifle Ammo (4), Tourniquet and a Rare Parts Box – Lv.1 Charge Shot. You can also find hidden Shotgun Ammo on the floor next to the table.
The next room along the hallway has a revenant inside, be careful approaching it for a stealth attack however as it may do an instant 180 and grapple you. Leave the room through the other door and follow the hallway to the North, turning down the entry hall as you go. Partway down the entry hall, you'll find a small room with an emblem door inside. Opening this will give you a shortcut back down to the research complex (it's the stairs where we found the first security card at the bottom of). Return to the previous hallway (not the entry one) and continue North to the dining room. Open the emblem door at the back of the room. Read the "Research Facility Chief's Journal 2" on the desk if you like. There's also a gimmick box behind the desk with a Rare Parts Box – Lv.1 Burst inside. There is hidden Shotgun Ammo (2) in the cabinet opposite and a vase to smash for a Ruby (250 BP).
Open the research chief's office door to find Handgun Ammo (4), Assault Rifle Ammo (10) and Security Card Lv.2. You'll now have access to the whole complex, so leave the room and start making your way back to the revenant tube room on the lower level (you can use the stairs we just unlocked or the long way back that we originally came up from). As you try and leave the dining room, a revenant will burst out through some glass. Back up and take it to pieces. Once you reach the tube room, at least one of the tubes will shatter (possibly all three) and the revenant/s within will rush at you. Once they are all eating floor, take the East exit out of the room. Take out the revenant in the tube and move into the area beyond.
Wind through the next room and drop off your parts box at the workbench at the bottom of the stairs. Open the yellow door next to you with your new security card to enter the research labs. Grab the Alcohol off the floor in front of you and the pair of Empty Bottles next to it (make it into a firebomb, as it will be handy in the next big fight). Pick up the three Disinfectants on the boxes next to the hole in the wire. When you have everything, crawl through the hole and along the pipes. Make sure you are ready for a large fight here before dropping down (multiple waves of enemies). Drop down and start looting the large room, breaking the blue crates scattered around the room for ammo and goodies.
Tower Emblem (6): Underneath the metal container to the right of where the firebomb with the arrow is, look through the grille below it to see the emblem down there.
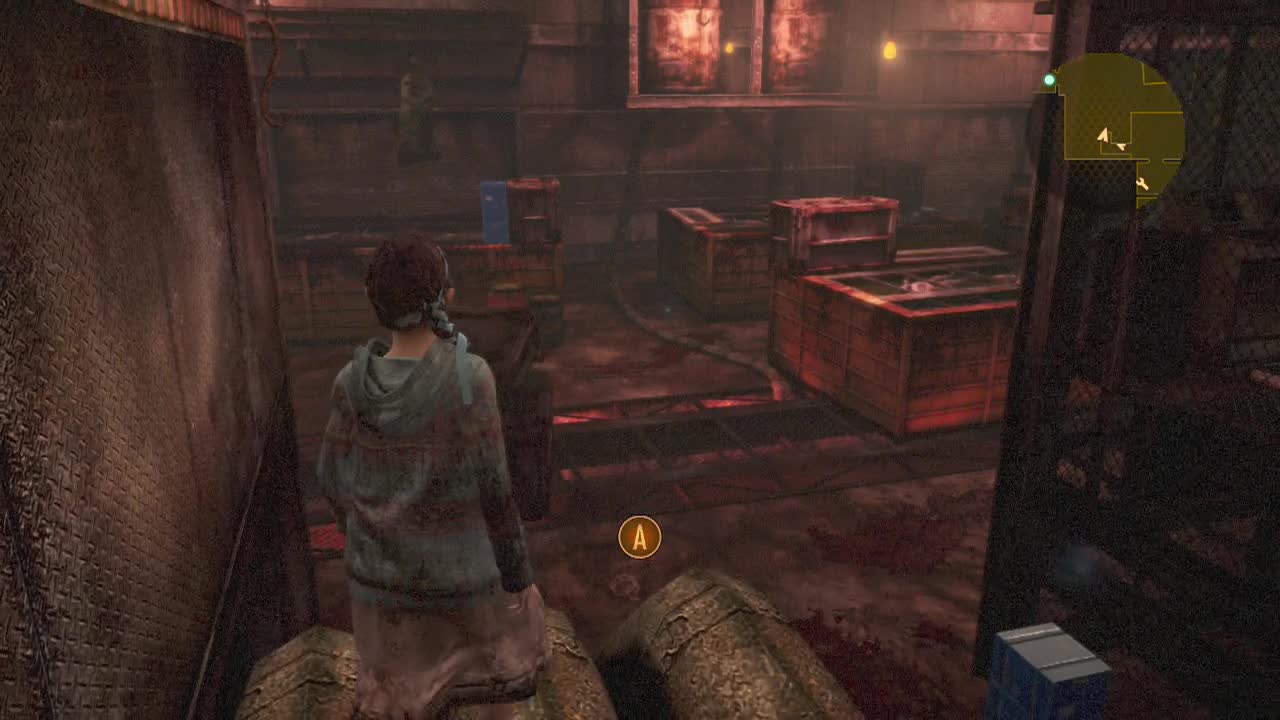
Examine the drums next to the door with the control panel beside it to find a hidden Sapphire (500 BP). Check between the metal bars on the other side of the room for hidden Assault Rifle Ammo (8). Look amongst the red boxes opposite the door with the control panel to find a hidden Topaz (100 BP). You can find a Firebomb, Assault Rifle Ammo (24), Green Herb, two Tourniquets and an Empty Bottle. Once you've got everything and are prepped with sub weapons (firebombs especially), pull the switch next to the door to trigger the ambush. The first wave will consist of a slinger appearing at the opposite end of the room and the three revenants in the tubes breaking loose. Throw down your firebomb in front of the lead revenant to hit all three (they will move over the flames to attack) and take cover to avoid being hit by the slinger.
Pop in and out of cover to pick off the slinger to trigger the next wave. Three revenants will jump down from above and a glasp will appear in the corner of the room (don't do what I did and run directly into it). Throw down another firebomb if the revenants cluster together and open fire with whatever you have. Keep moving away from the visual distortion whenever it appears until the revenants are all destroyed. Then you can take the time to deal with the glasp. Time for the next and final (thankfully) wave. Another slinger will show up on the upper level, a revenant beside it. And a dhurlga. Yep, joy unimaginable. There is also another glasp at the opposite end of the room, so make sure to avoid running into it. Throw another firebomb if you have one, or a couple of explosive bottles to destroy the tentacles protecting the dhurlga before opening fire.
Once you've managed to kill everything in sight… and not in sight. The door will finally unlock and you can open it up to get out of this room and descend even further down in the elevator. Annnd were back in creepytown. Move down the hallway lit by the dull light of burning dolls and red candles. Break the crate against the left wall and follow the tunnel around the corner. Grab the Green Herb in front of the debris strewn across the path. The totem opposite holds a hidden Topaz (100 BP). Crawl under the obstruction to meet up with someone from Natalia's past. Examine the document in front of it for the "Hatred Of Natalia" document. Turn right and break the barrel and crate there, checking the iron frame behind it for a hidden Topaz (100 BP).
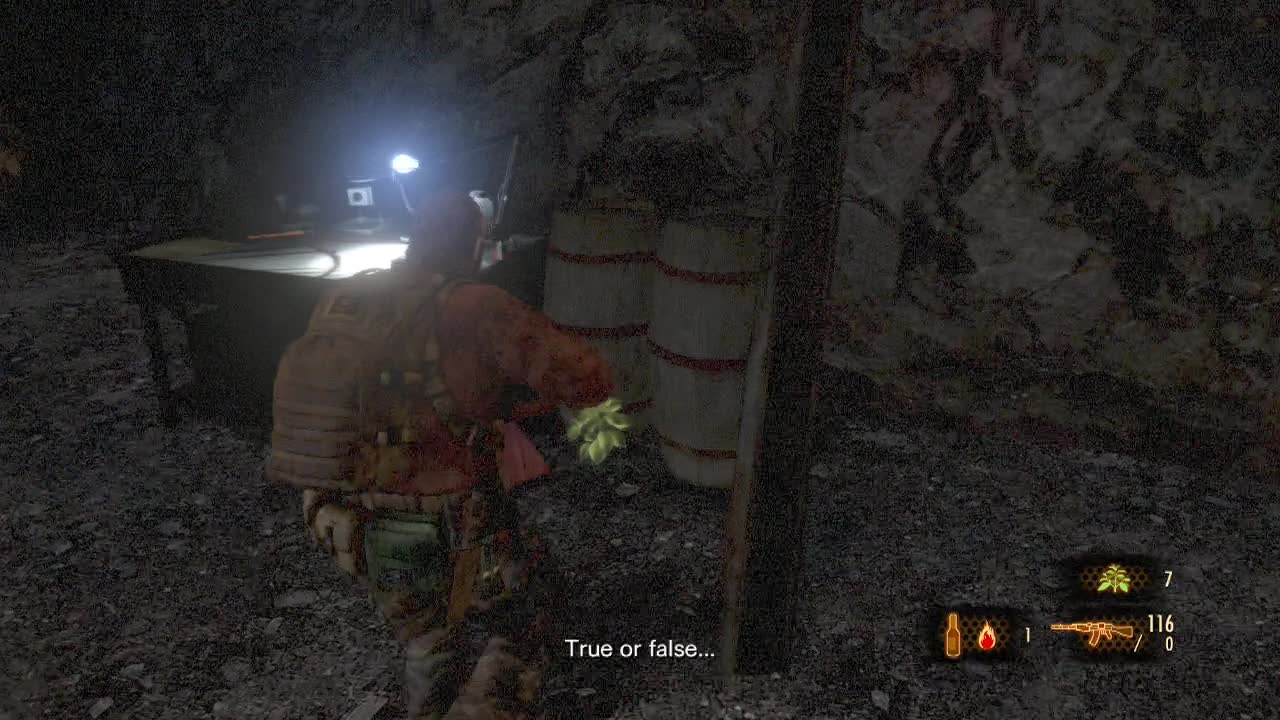
Turn around to find a workbench, Green Herb and more barrels to break.
Insect Larvae (6): Opposite the workbench, examine the bottom of the hanging metal cage to find it.
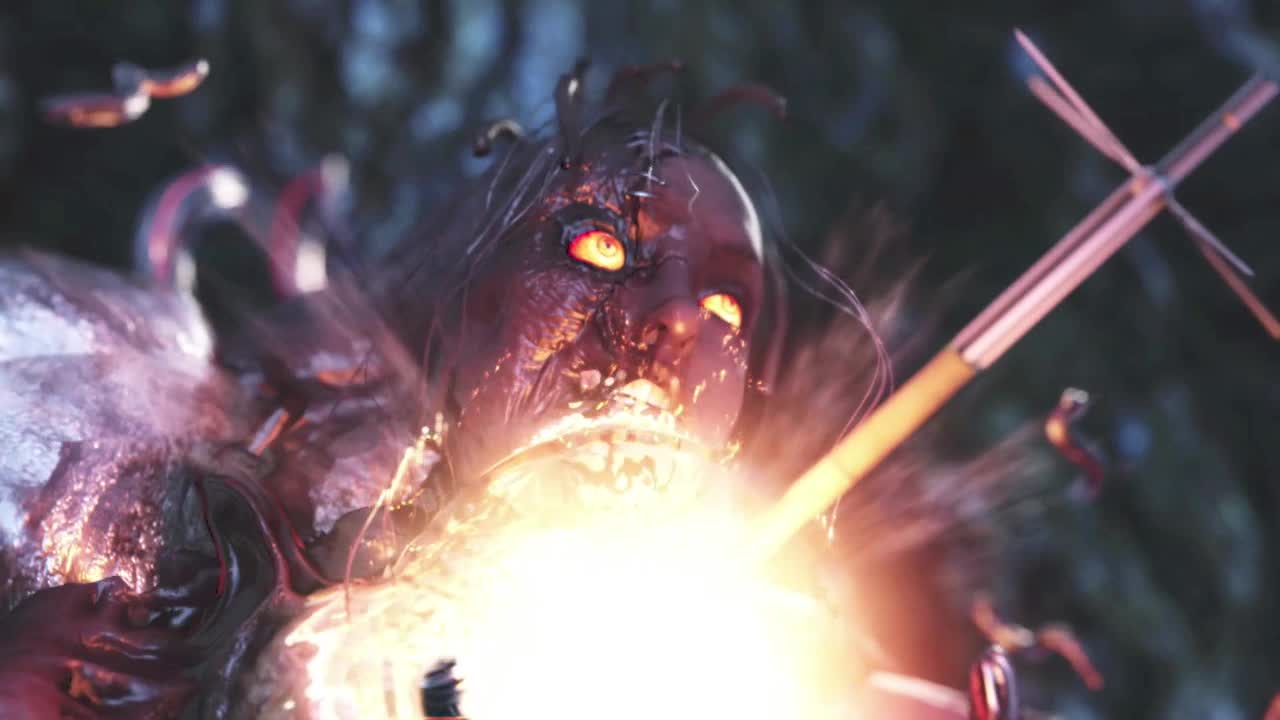
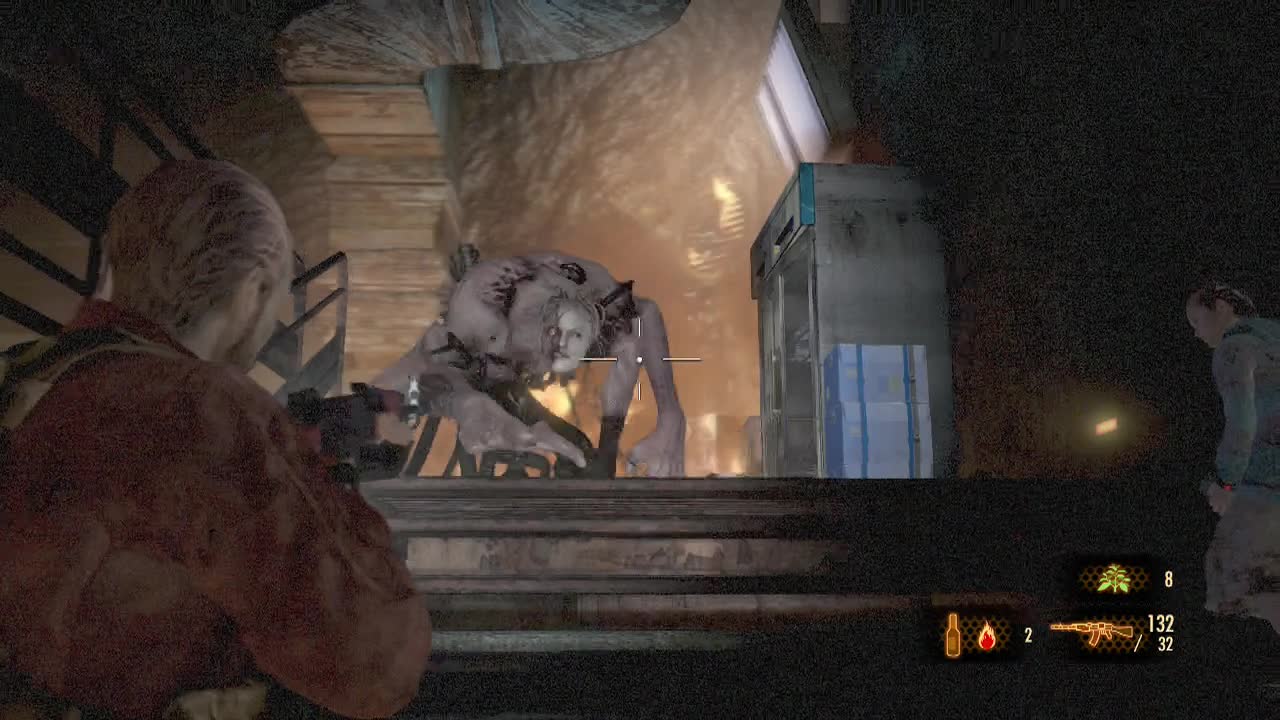
You're about to walk into the final boss fight of the game, so make sure you're as prepared as possible. Make as many sub weapons as you can (firebombs, explosive bottles for preference). Combine your red herbs and green herbs so you have a decent supply of green herbs. Make sure you've got the best parts attached to your weapons (focus on your heavier weapons, especially the assault rifle). When you're ready to go, ascend the ramp and pass through the door at the top to start off a scene with the final boss, Alex Wesker.
When the boss battle begins, take the time to start moving around the room searching for ammo as there is a lot of it about. Alex is fairly laid back at this point, as long as you keep moving. She will fire smoke orbs (which act as killer gas similar to the mines if you stay in it) and attack with melee swipes if she gets close to you. Her weak point is the obvious glowing point on her chest, but accessing it is difficult as she only rears up if you deal enough damage or when she climbs onto the vents above. You can kill her by just pouring ammo into her (she actually isn't that strong health-wise).
Once you are stocked up on ammo, go on the attack, throwing your sub weapons and firing at her with your assault rifle. Move back or retreat whenever she gets too close (staying in close range to use the shotgun is risky as her melee swipes deal significant damage). Whenever she rears up swap to your magnum or stay on your assault rifle and focus on the weak point. If she climbs into the vents, keep an eye on her and move around, picking up more ammo if you can. She will leap down, but takes a few seconds to move again. As long as she doesn't land on you, this attack isn't much of a threat. Don't bother saving any ammo or weapons here as after this battle is over, the game ends. So use everything you have to bring her down.
After taking enough damage, Alex will eventually fall and the final scene of the story will play. Congratulations, you've just completed Resident Evil: Revelations 2's story. Try out Raid Mode or the extra episodes for additional content.
Good Ending:
If you shot Neil in Episode 3 (part 1) as Moira in the final cut-scene, you will gain access to the good ending (otherwise the game ends with the Alex and Natalia bad ending).
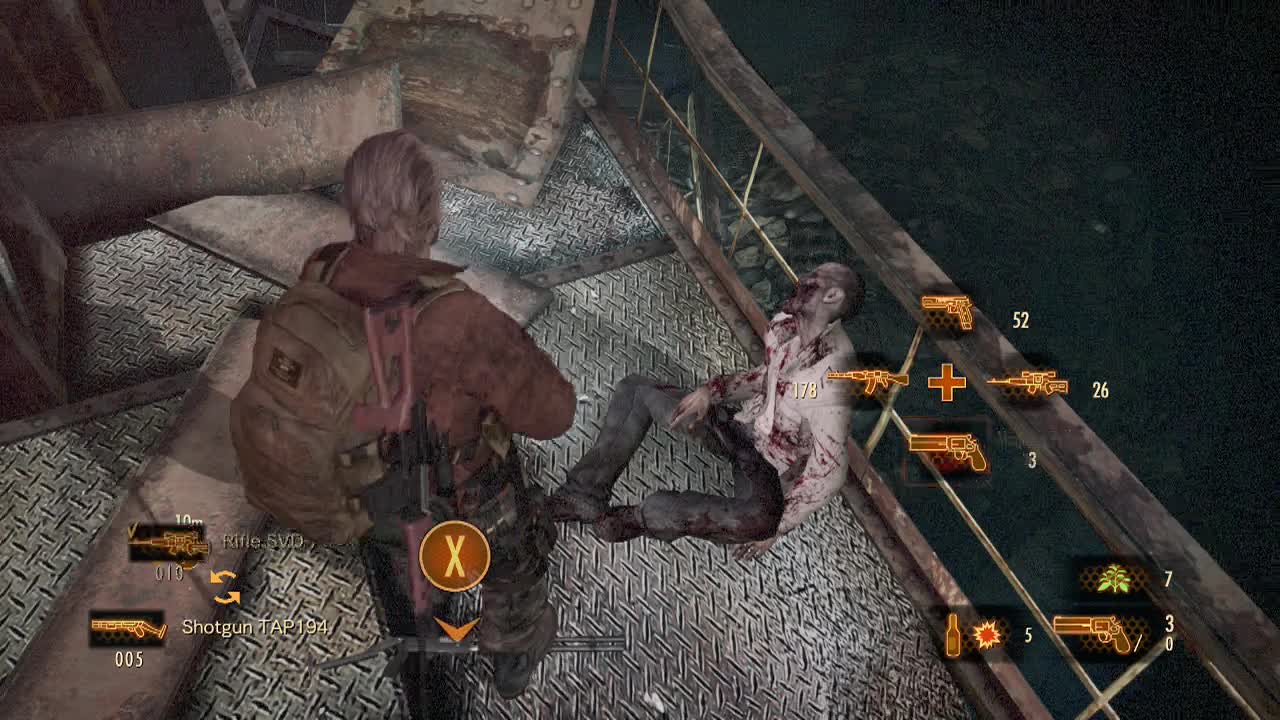
The objective of this section is to pour as much damage as possible onto the onrushing Mutant Alex with whichever character you are controlling at the time (Claire or Barry).
Tower Emblem (7): Immediately when you gain control of Claire with the sniper rifle, look to the cliff-top, above where Barry is being chased to spot it on the side of a rock.
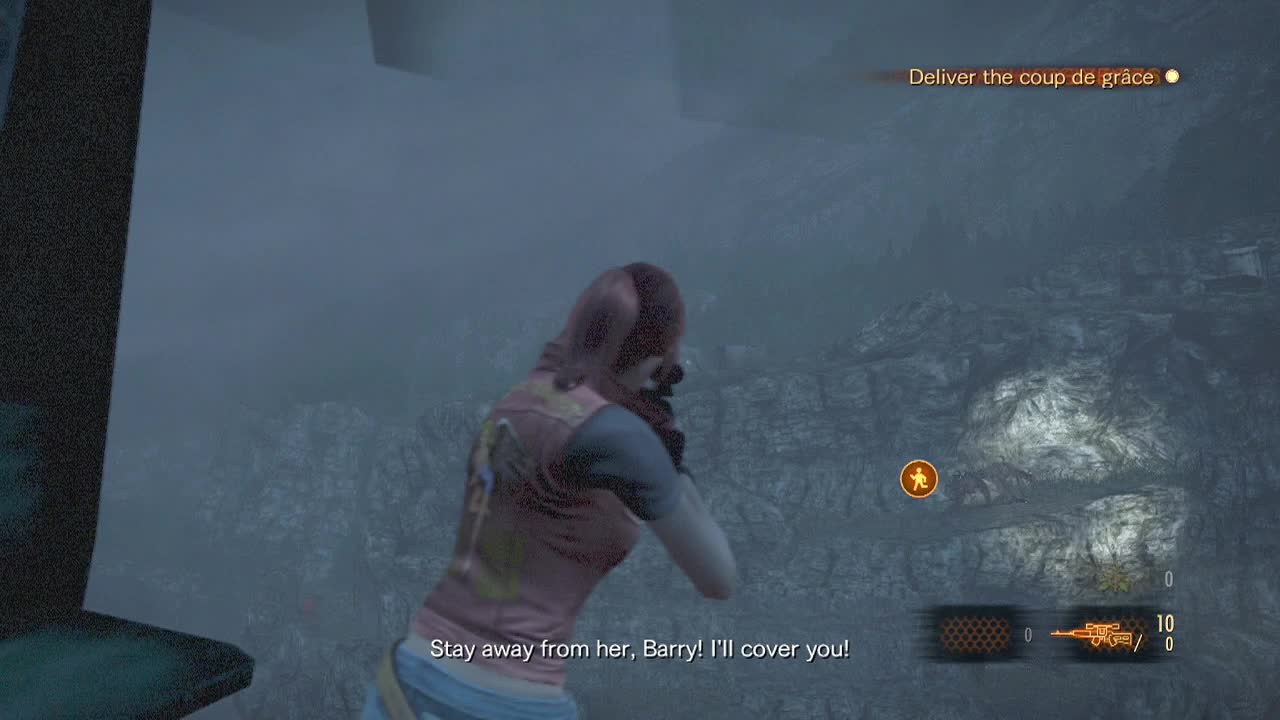
Claire is the easier of the two to be in control of, as she isn't in danger. You have infinite sniper ammo in this sequence, so blast away at Alex (don't forget to use the sniper rifle's zoom – push in RS to make long distance shots easier). Make sure to detonate the red barrels when she is near them and to aim at the weak point on her chest when she rears up from taking damage.
When it swaps you to Barry, you can fight or flee. Using firebombs and the explosive containers and barrels in the cave, along with your python, you can deal significant damage to Alex. Keep in mind though that each time you leave the cave (when you flee or are forced to leave), that exit will be blocked off by tentacle puddles (like the ones in the boss battle against mutant Neil). On easier difficulties, you can simply flee and use Claire to deal all the damage.
After Alex has taken enough damage, Claire will pull out the RPG launcher (why wasn't she using that to start with?). Fire RPG rounds down onto mutant Alex to deal the finishing blow, triggering the final cutscenes for the good ending. Well done.