RAID MODE (General Advice)
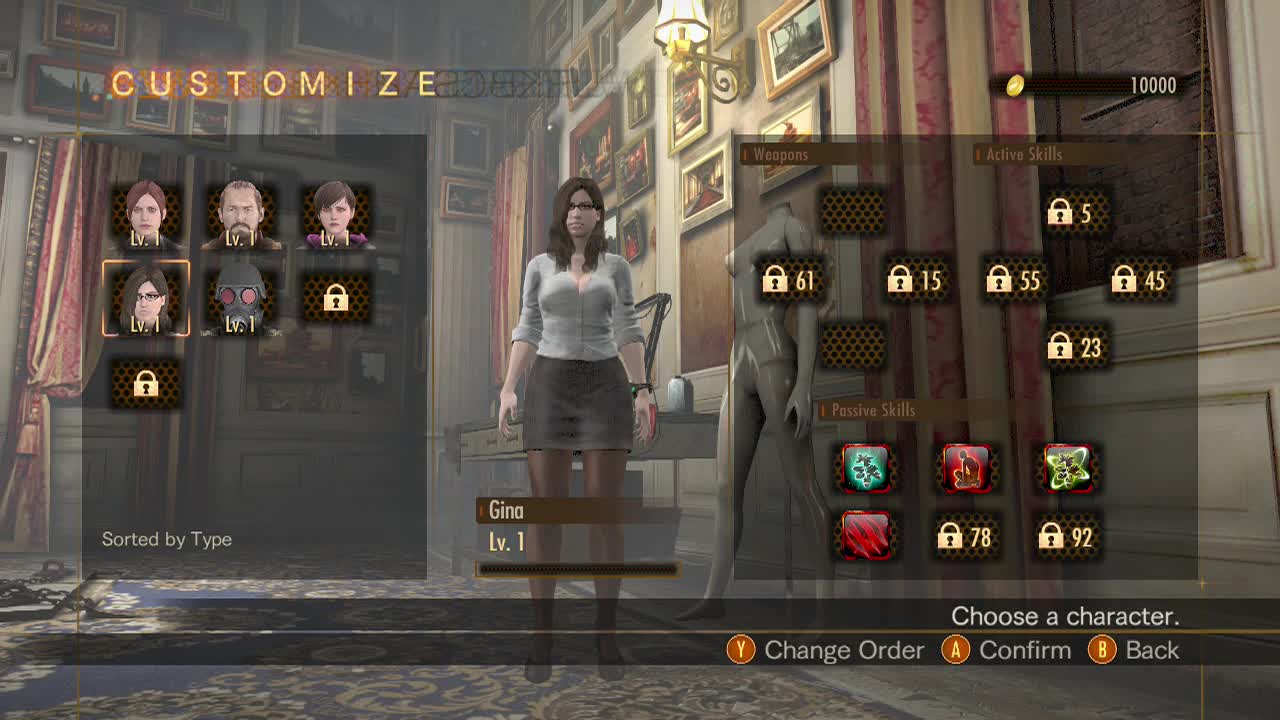
Raid mode is likely one of the most fun parts of Resident Evil: Revelations 2 and the biggest draw for returning after playing through the story for the first time (unless you're a completionist). Raid mode essentially boils down to short, snacky missions that you can complete solo, or with a local or online player (both having been added recently – PC local play and online support). As you complete these mission, the character you use gains experience, gaining levels which provide you with SP you can spend to buy and upgrade new skills for that character.
You will also find parts and new weapons in chests scattered through the levels. These are essential to improving your arsenal and come in an ascending order of rarity. Black = common, Yellow = uncommon, Green = Rare, Blue = very rare, Red = extremely rare (there may be higher, but that's all I've personally seen and can verify). Below are some tips for making life easier and improving your lot in this compelling mode.
Starting out (lv 1 – 20)
- Daily missions: These are two randomly generated missions that appear every day. It alway includes one mission for any character, and another for a specific character. Why are these important? Because they reward you with massive amounts of XP upon completion. The any character mission also rewards a lot of gold, so it's a good way of getting your starting resources up quickly. They are also automatically tailored to your maximum level. Only level 1? So is the level. No worries. Completing one of these will likely give you in the range of 2-4 levels, even up to the lv.70 range. Another nice feature is the levels are random, meaning you might experience levels you haven't reached yet. This gives you a bit of extra prep knowledge for when you play that level in the future.
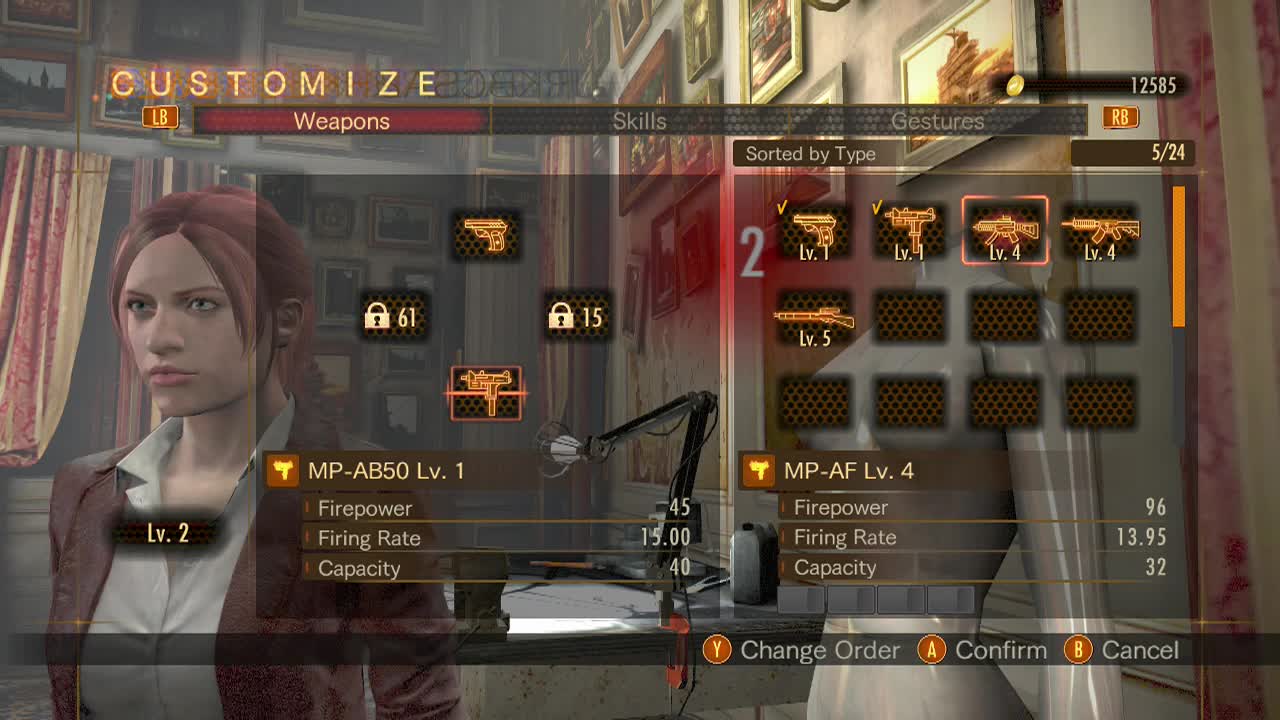
- Gun slots: Early on in the game, your main opponent (besides the enemies) will be running out of ammo due to limited weaponry. Characters will have a preset number of weapon slots available and will unlock others at predetermined levels. About half the characters unlock three slots within the first ten levels. For your first character, make sure you pick one that has three slots open by this point to allow you to use a variety of weapons, and hold more ammo on your person. The ammo crates may be a little less useful, but if you can hold another fifty shotgun shells, who cares?
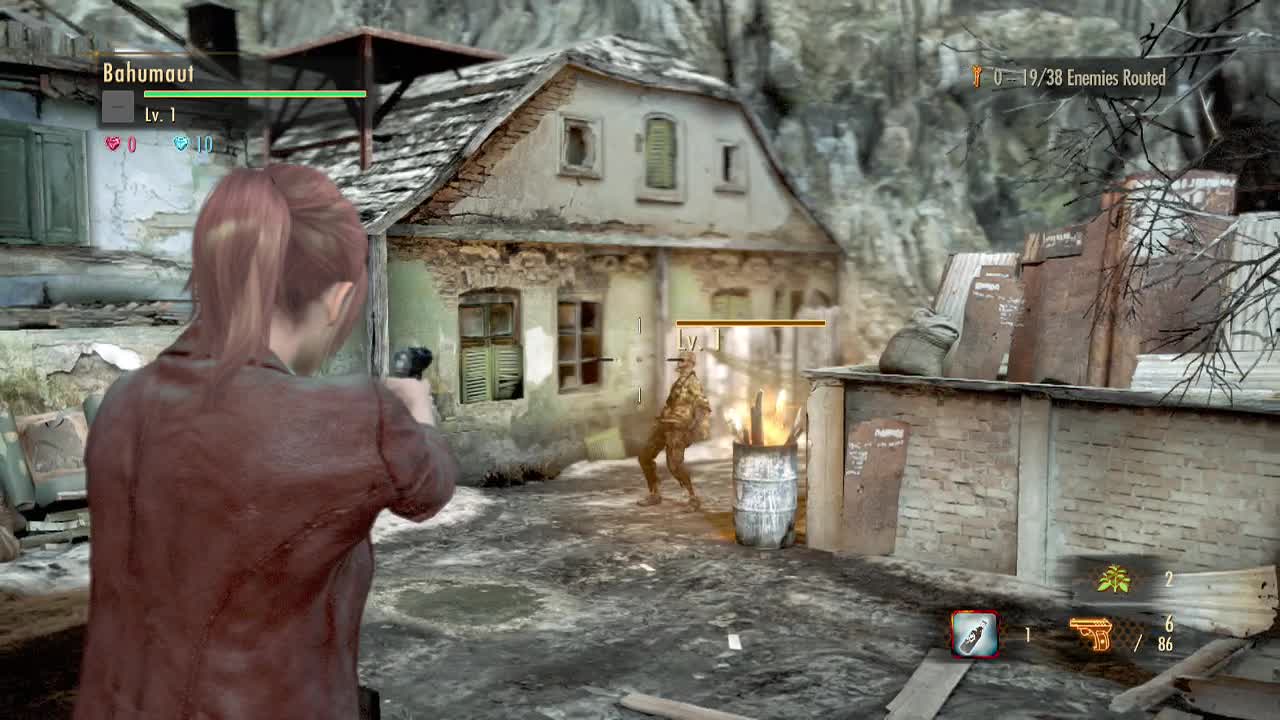
- Getting weapons: At the start of the game, you'll actually get gold fairly quickly (later in the game, you'll want to hoard every cent due to lv.100 weapon upgrade costs), but at the early point, don't be afraid to buy a good gun that you like from the shop. It's level will be the same as your highest character's level, and guns don't cost too much. If it allows you to fight through levels successfully and easier, it's worth the 50,000 gold. They will become less useful as you progress, but you can buy a replacement every 5 or 10 levels to keep them up to scratch. For example, once I had the top sniper rifle available, I would buy a replacement every 10 levels, moving my upgrade parts forward onto it each time. This allowed me to keep my damage output high (due to guns only performing up to their level).
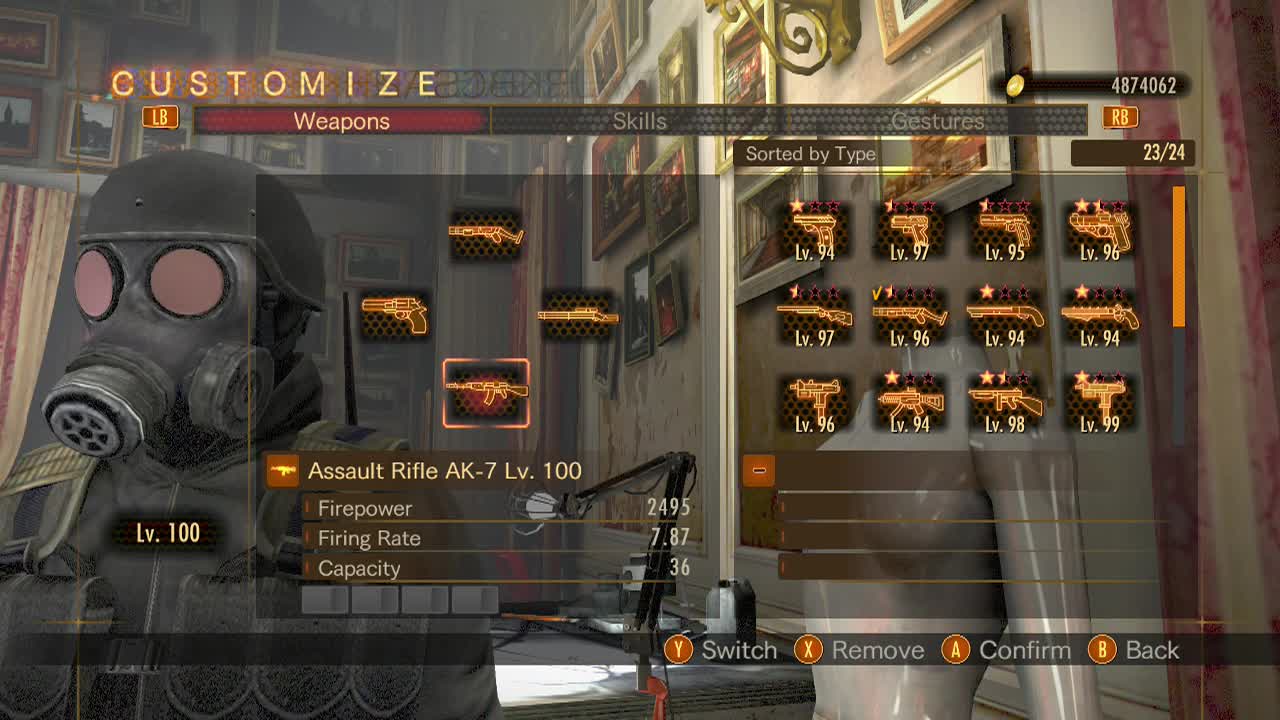
- Gun scaling: This is an essential point as you start to move towards mid-game. Guns stats will be adjusted automatically to match your level (ie: playing at level 1 will give you a gun with lv.1 stats). However, a gun cannot be set to a higher level than its own (ie: a level 55 gun cannot be adjusted to level 90). It's stats will cap at 55, even though you are set as a level 90 character. This means you should constantly be upgrading your arsenal. Buying or collecting new higher level guns to keep your damage at peak level. Even if you find rare guns with awesome tag skills (passives), if you are ten levels higher than them, they are basically garbage. So concentrate on levels over other things with regards to guns until you reach code red (Very Very Hard) difficulty.
Mid-game (lv 20 – 60)
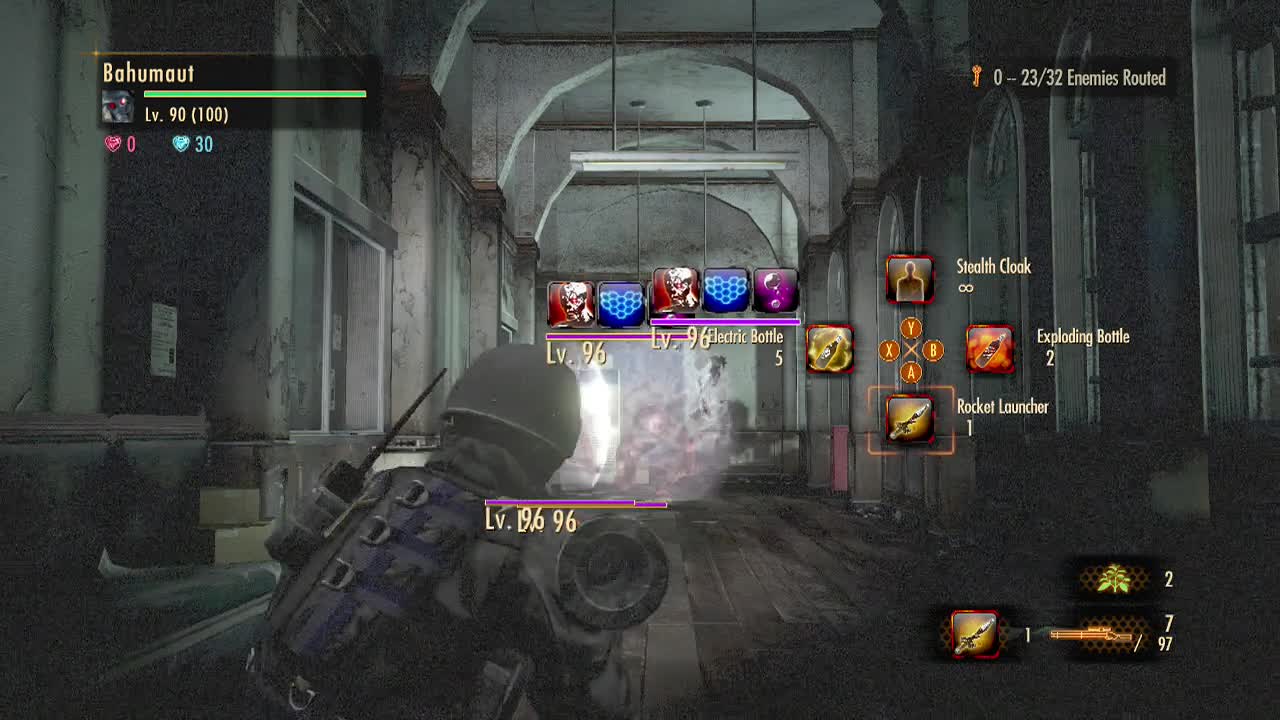
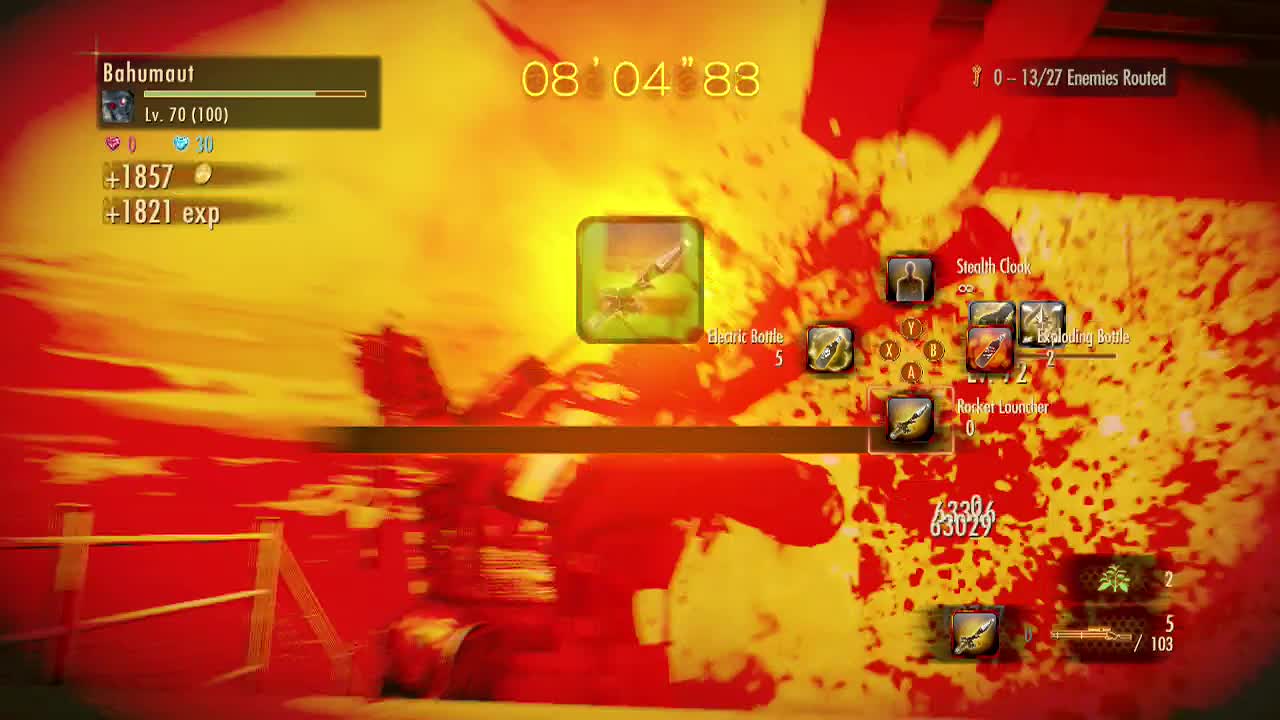
- Sub-weapons: Sub-weapons become much more important as you progress through the difficulties for dealing with multi-skill enemies. Enemies with elemental skills or barriers especially. Lob an explosive bottle behind a barrier enemy to knock them to the ground, allowing you to pump them full of shotgun shells with ease. About to be hit by flaming enemies? Drop an ice bottle at your feet to freeze every enemy around you and follow it up with a round of magnum fire at point blank range while they are motionless. Electric bottles also fall into this category but they become far more useful in the endgame, so I'll expand on them in that section. Decoy bottles are very useful from this point onwards as they attract all nearby enemies for a whole ten seconds, giving you time to breathe.
- Skill inheritance and planning: Around this point, your character's skills should be around the halfway point or more. Skills have a maximum level, and once maxed they can be 'inherited' (made available to everyone else). This is extremely important for unique skills or high value skills (such as Chris/ Barry's rocket launcher skill or Hunk's stealth. Inheritance allows you to create extremely powerful skill sets on any character and customize your character's abilities however you wish. Keep in mind that SP is actually infinite as you will continue to gain it after reaching lv 100, so there isn't really any limit to skill upgrades and transfer. By this point you should be focusing on you base skills and inheriting any other skills you need.
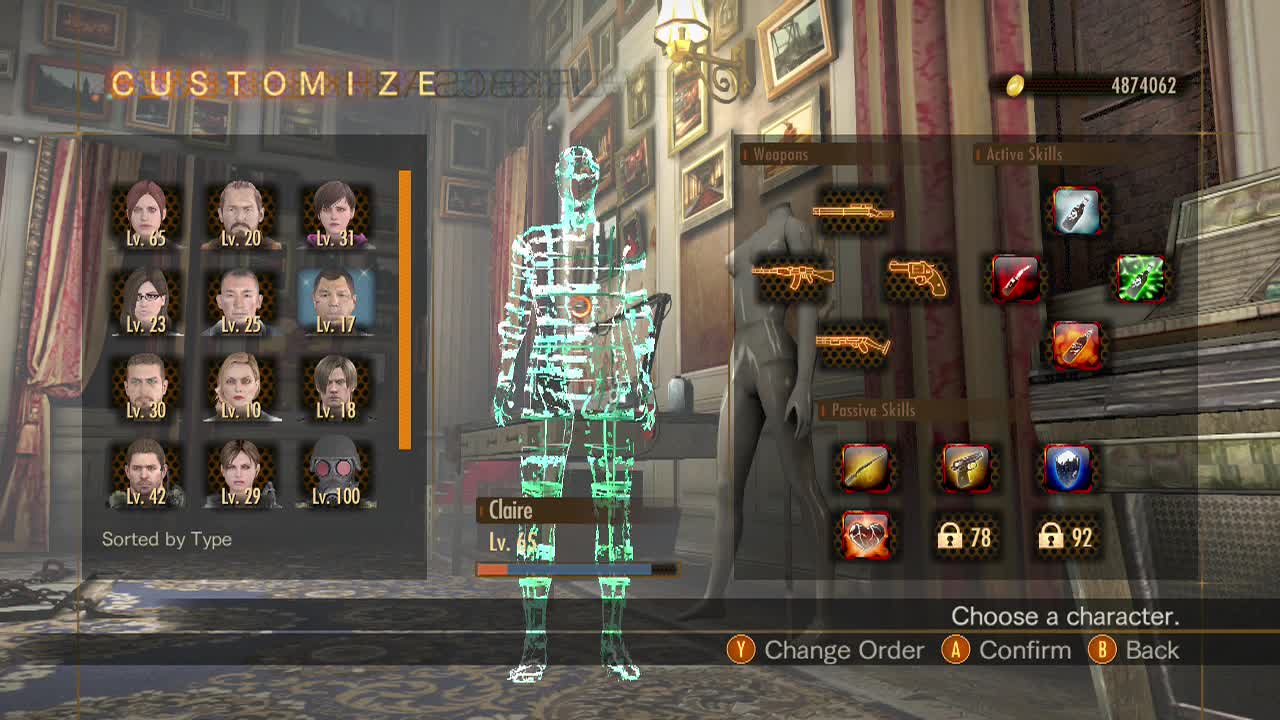
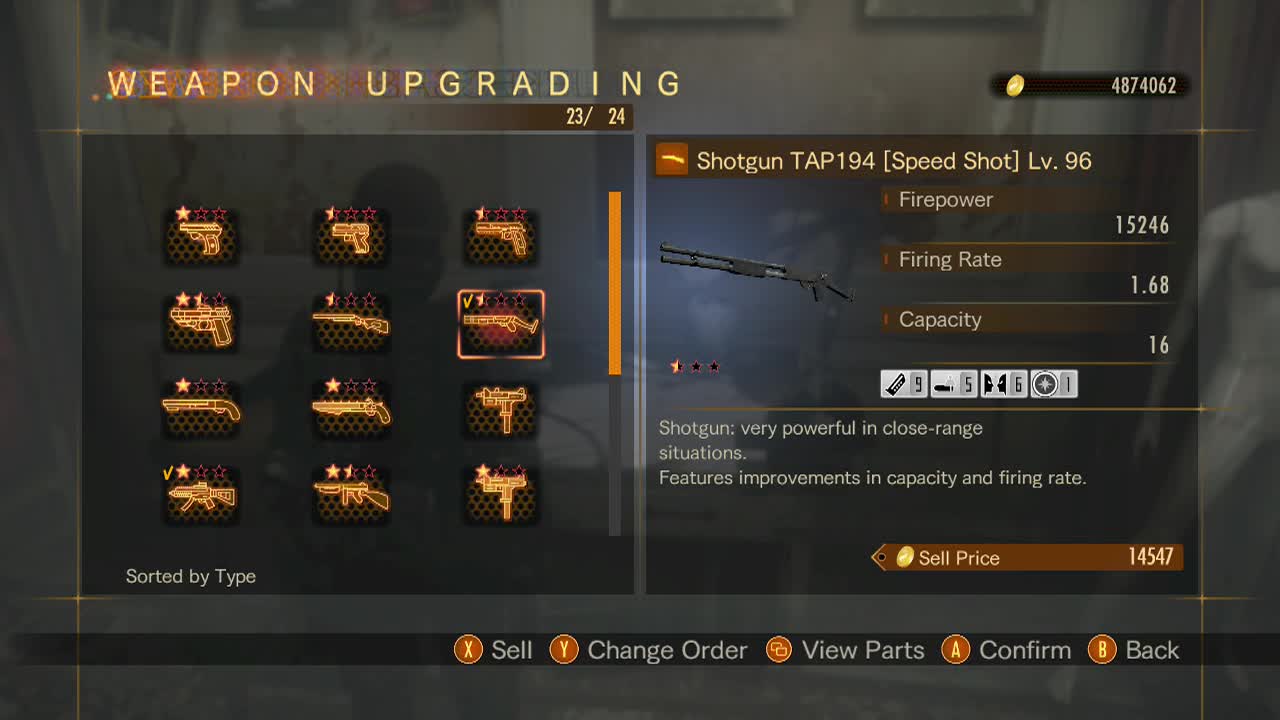
- Part combining: You should have amassed a decent amount of parts by now. Parts can be combined using the toolbox once you have unlocked it (by completing a certain number of gauntlets – sets of levels). The first level of the toolbox unlocks after you complete gauntlets I and II on normal difficulty. Make sure to buy it from the store once it is unlocked to activate it. This will unlock level 1-3 parts combining. Each few completed gauntlets, you will unlock another upgrade for your toolbox, increasing the level of parts you can combine. After you reach around level 5 parts, you will want to start equipping them to weapons and moving them forward onto new weapons as you find/ buy better ones by destroying the weapon they are equipped to.
- Leveling up a single character: Racing a single character is actually a really good idea. Why? Because you will be able to find rarer weapons, buy higher level guns and obtain level 100 weapons from rare drops. This means you don't have to waste money and parts on small weapon increments and will allow you to just keep your best guns on at all times instead of constantly changing them as you get better ones. You can also put your maxed out parts on the level 100 weapons as you are unlikely to find better often. If you find a good level 100 weapon, you can pretty much equip it on each character and forget about it (such as a sniper rifle/ shotgun or magnum).
End-game (lv 61 – 100)
- Code Red: Once you reach level 85, you will want to complete gauntlet omega (a single level where you fight mutant Alex and multiple other enemies at the same time). If you can defeat her, you will unlock the highest difficulty in the game: Code Red (very, very hard mode). These gauntlets base level setting is lv 90, so they are extremely difficult to complete. The good news is that rarer items are available in the missions (weapons can be found from lv 90+), higher level parts can be found, experience rewards are higher and there are four item chests in every level instead of three. So you are better off grinding the starting levels of Code Red gauntlet I than Very Hard gauntlet VIII.
- Electric bottles: Now is the point in the game where electric bottles really come into their own. Their damage is negligible and they don't knock enemies down. So why use them? Because them amplify damage. They initially increase damage dealt to 130%, but when at max you deal 150% damage and can throw up to 12 bottles. The damage amplifier effect doesn't stack, but by this point you should have some high damage skills/ weapons to take advantage of the effect. An example of a nasty combination is electric bottle + rocket launcher or explosive bottle. Come up with your own combinations take down powerful enemies with ease.
- Completing your build: By now you should have multiple inherited useful skills and be nearing completion of your most powerful skills. Keep grinding those dailys and code red missions for the exp and better weapons. Every time you level once you reach 100, you'll get 10 SP to spend, so with dedication, you should finish off your awesome endgame build and can start training new characters or continue to perfect your endgame character.

Skill combos
Here's a quick list of a few skills that combine well for decent builds:
- Electric bottle/ Explosive Bottle/ Decoy bottle + Grenade master + Land mines + Stuck on you –> Max out the effectiveness of your grenades. Electric bottle also combines well with high damage skills such as rocket launcher and weapons.
- Samurai sword + Melee master + Savour the moment + Powering up –> Max out your melee damage and physical attacks. Samurai sword has unexpectedly long reach. You will also move faster (savour the moment) and be able to deal massive damage with your charged attacks.
- Sniper rifle + Crouch power + Scavenger/ Sniper rifle mastery + Stealth cloak –> Pick off the enemies and relocate yourself with stealth cloak, a very effective ranged setup. Combine with smokescreen or decoy bottles or a coop player with taunt to deal with enemy aggro.
- Evade cancel + Auto evade + weapon with executioner mod for reducing cooldown + Can't catch me –> Allows you to evade more effectively and the passive auto evade can be a lifesaver for situations you can't see coming (ie: sploders exploding next to you, elemental enemies exploding too close etc). Combine it with a magnum or other close range one shot kill weapons to take advantage of the skills.
- Health up + Armour up + Shield + Shotgun/ Magnum with life steal part equipped –> Lets you get in close and personal with your attacks while having a massive health pool to fall back on. Passive regen (natural) and life steal from your weapon allow you to keep your health topped up.