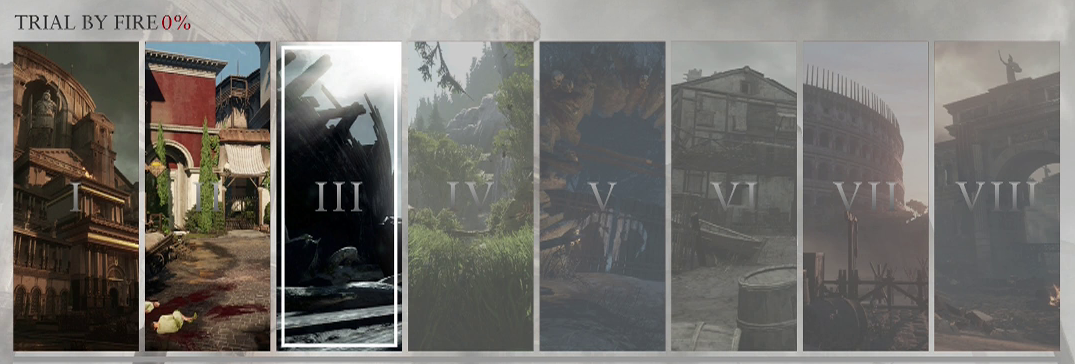
Collectibles in this level: 14
Objective: Reach the shore
Continue along the linear shore until an eye icon interrupts you. Look at the chain tower and then grab the [Scroll 04/27] off the corpse to the left.
CHECKPOINT
Objective: Assist your fellow Romans
After the next clamber point there will be a [Vista 06/21] directly to your left. Drop down into the hold of the ship (use the hole in the deck) and turn around to find [Chronicle 07/42]. After dropping down you will be told how to perform a heavy attack (X and Y together). This can be useful against shielded enemies who you conveniently run into seconds later. A group of six enemies (two with shields) will be attacking you fellow legionaries. Use your new heavy attack combined with what you already know to make short work of the attacking forces. Grab the [Scroll 05/27] from the corpse afterwards.
CHECKPOINT
A very important ability will be explained here. Marius has the dexterity to dodge arrows by pressing B. Sure all soldiers can do that obviously. Not that I'm complaining though. The slightly more believable second option is to deflect the arrows with your shield by pressing A. Use your newly found dodging and deflecting powers to move forward. Whenever the arrow icon fills use the dodge or deflect to protect yourself. Once you get close enough the archers will engage you in combat. There are only three of them and they are normal enemies in all other respects so go to town on them.
Now might also be a good time to consider upgrading the executions you use the most as each level you increase gives improved effects such as even more XP gain or health replenished.
CHECKPOINT
You will see below you some barbarians looting while others are still engaged in combat. Grab the pila (as they are in short supply at the moment) and then engage the small force of barbarians. Two will have shields but otherwise they do little to impress. There is a [Chronicle 08/42] in a small alcove to the left near where you dropped into this area. Once you are done, hop over the beam to advance.
CHECKPOINT
You will come across a small gathering of allies so take cover near them and grab the pila nearby. When you are ready jump the spar and close the ground as quickly as possible to make the archers put their bows away. This group of six are all just regular barbarians so slice your way to victory. After the melee you can find a [Chronicle 09/42] close to the flames near the stairs.

CHECKPOINT
Objective: Kill the archers
Jump up the ledge and move towards the banner, dodging or deflecting arrows when necessary. Press A at the banner for your fellow soldiers to move into position behind you in a defensive formation (known as the turtle). Form up by pressing A and move forwards in the lull between volleys. Turtle up when the enemy archers fire and you will eventually cause the archers to flee due to your proximity. After they run away you and your squad will rush into the tower.
CHECKPOINT
Objective: Secure the upper floor
Marius will spot several enemy bands making a beeline for the tower. Head to the upper floor as fast as you can, deflecting arrows when needed. There is a [Vista 07/21] to grab here which needs to be obtained before you complete this objective or it will be missed. Several archers, shield bearers and even a helmeted enemy can be found here. Use the pila to take out the archers with your quick throw and then concentrate on the remaining enemies. The heavy attacking enemy is probably the biggest annoyance so deal with him quickly as soon as he appears, then go back to chopping away at the shielded foes. Interspersed among these are regular enemies but they are probably barely worth mention in terms of difficulty. A second heavy attacking enemy will appear later so keep on your toes. After enough pila quick kills of archers and other foes meet their maker the counterweight will drop.
CHECKPOINT
Objective: Regroup your men and retake the beach
Now Marius will be leading the charge but be warned: the red circles on the ground represent incoming giant flaming boulders. So steer clear of them. There will be several shield wielding enemies and a lot of regular ones to deal with so remember to keep an eye on your health and swap to the regeneration execution if needed. There is also a [Chronicle 10/42] next to a burning ship on the right side of the area,
CHECKPOINT
Objective: Take the barricade
Once the beach is clear, head for the banner where the archers are firing. You may need to dodge or deflect a couple of times before you reach it. This defensive sequence is slightly different to last time as you can get the legionaries to throw their pila at the enemy. The archers also don't fire all at once constantly here so you will have to watch for the flaming arrow heads to work out when to duck and cover. Any time you can't see flaming arrow heads charge your throw until arrow markers appear over the archers heads and release. Provided your formation doesn't lose all it's health in this sequence you will succeed.
Fortunately your allies health will be restored during sections. After jumping up onto the barricade there is a [Vista 08/21] to your left. Drop down and turn right to find [Chronicle 11/42]. Grab some pila if you aren't at full capacity and join the defensive line. You have to be fast here by using the aimed (not quick) pila throw. If your men take too much punishment, their morale will plummet and the line will break. Once the archers arrive you will see the command to fire volley by holding LB. Do this as soon as you can to stop the enemy turning you to Swiss cheese.
CHECKPOINT
Objective: Stop the barbarian counterattack
After the initial push is successful you can choose where to place your supporting archers before the counterattack hits by interacting with the banner. Read the description of the benefit of each before deciding. I found that suppressing the towers made life a whole lot easier but choose whichever works for you. Six or so barbarians will jump the nearby debris and attack your forward line and you. Without the enemy arrow fire this is a simple fight and can be completed quickly. If you didn't suppress the towers you will have to constantly dodge arrows and the red circles on the ground as well as fighting off enemy barbarians in melee.
CHECKPOINT

Objective: Get to the forward catapult tower
Head down the path the barbarians arrived from, grab the [Chronicle 12/42] to the far right after jumping the small barrier and you will be presented with another choice. Flank the barbarians to the right or use the Scorpio against them. I found flanking quick and effective but on higher difficulties you may want to use the Scorpio and shoot the flaming pot next to the cluster of enemies. Grab the [Scroll 06/27] off the corpse in the center of the area. A straggler or two may still be in the area so don't relax your guard.
CHECKPOINT
You will spot another group of archers on a ledge ahead. Rush at them, deflecting or dodging to move your forces up and they will retreat while swapping weapons. You and your allies should make short work of them. Look to the raised drawbridge and notice you can target the pulley system holding it up. Do so to bring it down and make your way inside. Run past the wall arches where arrows fly through to rejoin your men.
CHECKPOINT
A [Scroll 07/27] can be found as you make your way forward. Time to ambush some archers (vengeance is sweet). Jump over the debris and sprint at the bowmen, killing them off as quickly as you can before they have time to organize. There is also a [Vista 09/21] to grab here once the final body hits the floor.
CHECKPOINT
Objective: Order troops to man the forward catapult
Objective: Protect the catapult: Kill the archers
Hop on the Scorpio and put a serious crimp in the enemy bowman population.
Objective: Protect the catapult: Kill the barbarians
This sequence can be pretty chaotic so let me explain what is happening. A catapult is firing on the area you are fighting in, use dodge to evade it. Partway through this sequence you will gain control of archers, use LB to fire at enemies around you. You will also be fighting shield , helmeted and regular barbarians in this small area so you need to be alert to when to avoid incoming fire and attacks. Play defensively, use your volley when it appears and avoid those catapult strikes to survive this section.

CHECKPOINT
Objective: Defeat the barbarian leader
The barbarian leader has (as you'd expect) heavy attacks so keep an eye out for the red glow. Aside from that he is exactly the same as any other shield wielding enemy. Kill off the regular enemies first and then concentrate on the shielded ones. Once all the flunkies are dead you can focus purely on the leader. When you are engaging him one on one he will rarely if ever use his heavy attack so just treat him exactly like a regular shielded barbarian and he should go down very quickly.
Objective: Order troops to fire on the catapult tower
Hold down LB to complete the level.
