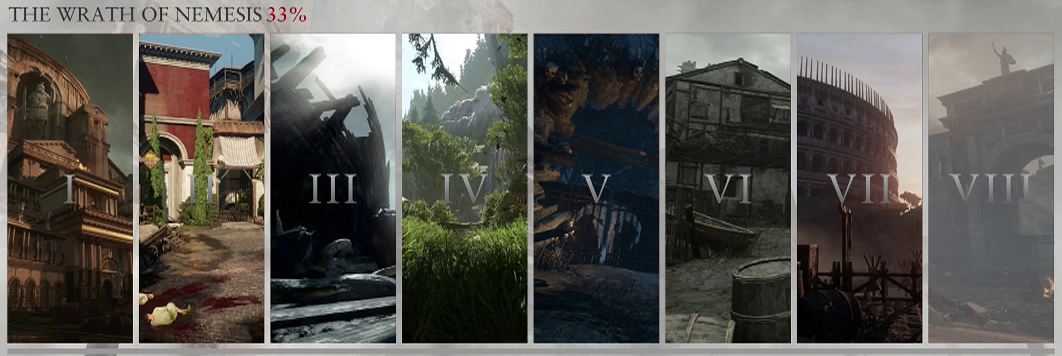
Collectibles in this level: 14
Objective: Make your way to your family villa
Head past the groups of refugees and when you get into the open turn left again to find [Scroll 20/27]. Follow the linear path until you can drop down a ledge. In front of you should be a [Chronicle 31/42]. Climb back up and up again to continue onwards. After another fetid alley you will stumble upon three Praetorians. The shielded guys are more annoying versions of the shield bearers. They have the heavy charge attack and will constantly keep their shields up unless you shield bash. The regular Praetorians will act just like regular barbarians but with the amount of shield bearers here it can be difficult to remember to deflect and not dodge their attacks. There should be three plus two reinforcements total.
Jump up the ledge nearby covered with purple graffiti and head up the stairs to the big doorway. Keep pushing through entrances and fill up at the bundle of pila along the way until you find a door to kick down.

CHECKPOINT
In this courtyard are two shield bearing and two regular Praetorians to deal with. Concentrate on the unshielded foes first to thin the numbers quickly. Climb up the ledges and ladder once they are grounded. In the corner of this area there are two pine trees with an empty pot between them. You can jump over the empty pot to find [Chronicle 32/42]. At the top on your left is a Scorpio and to the right is a rack of pila. A whole mess of archers are waiting in the garden below so hop on the Scorpio and perforate their plans. A set of two regular Praetorians will descend on you when you reach the garden and two shield bearing ones after that. Once you are done head for the marker and smash through another door. In this small garden, turn right straigh away to find [Chronicle 33/42].
CHECKPOINT
Follow the linear trail until you spot Praetorians throwing corpses over a wall. On the ground where the bodies are is a [Scroll 21/27] to grab. A [Vista 16/21] will be leaning up against a rock nearby as well. Keep moving up the trail until you see a big door on the right with an iron gate on the opposite side. Just behind the iron gate is a [Scroll 22/27]. Head through the large doorway until a cut scene takes over.
CHECKPOINT
Objective: Win the favour of the crowd with executions
The first wave of enemies are all the regular type without heavy attacks so this should be quite easy to deal with. You will need to perform executions as much as possible to win the favour of the crowd so perform them as early as you can to avoid accidentally killing them normally.
CHECKPOINT
Objective: Execute the champion of Batavia
The champion will be supported by two regular gladiators (same as all regular enemies). Pick them off before starting work on the champion. The champion acts exactly the same as a shielded Praetorian so just keep an eye out for the heavy charge and you should be fine.
CHECKPOINT
Objective: Execute the killers of Carthage
These two fight just like the upgraded dual blade from the end of act four (three and four hit attack chains, the fourth hit being heavy). Concentrate on one at a time and remember to dodge the fourth attack. Heavy attacks and shield bashes are the way to go here when dealing damage.

CHECKPOINT
Objective: Meet Basilus
As the floor descends you will see the door to Basilus's chambers appear. On the opposite side is a [Vista 17/21] to quickly grab before the cut scene.
Objective: Go into the arena
Head through the room and restock on pila if you need to. A [Vista 18/21] will be hiding in a back corner. There is also a [Chronicle 34/42] down a small hidey hole before ascending the stairs. Stride up the stairs and into the light of the arena. Don't race down with the other gladiators, instead look to the top of the boat to your left to find [Vista 19/27].
Objective: Clear the breach of enemies
The water below holds a mass of differing enemies, one of the most annoying however is the large barbarian as he will constantly target only you. You may still want to clear out the regular barbarians first to make it easier to concentrate on him. A shield bearer with heavy charges will also make a nuisance of himself here. Once they are all bubbling in the water, head to the rear of the ship to grab [Scroll 23/27].
CHECKPOINT
Objective: Burn down the barricade
Hop on the Scorpio and light up the target.
Objective: Capture the fortress
Objective: Clear out the fortress
A large barbarian, heavy charge shield bearer and two regular barbarians will be waiting at the top. Clear out the smaller enemies first then deal with the large barbarian again.
CHECKPOINT
Objective: Light the victory brazier
Before lighting the brazier, head over the small barrier next to one of the torches. Here you will find a [Chronicle 35/42].
Objective: Find your way to the aqueduct
Objective: Take out the archers
Before dropping down, head forward and slightly to the right, behind the small garden plot to find a [Chronicle 36/42]. Hop down the left side when the path splits, when you come within range of the archers, run up and take cover behind the crate with the rack of pila next to it. Prime the pila and move left and right out of cover until the aiming reticle appears to take out the archers without taking damage. Drop down and Commodus will mock you. Don't be distracted however as a trap will spring up as you travel through the arch. Block the trap and you will come across a small tower with two pots of burning oil next to it. Kick one over and you should only have to fight two regular barbarians.
Objective: Go to the forest clearing
CHECKPOINT
Objective: Defend the forest clearing
Once you reach the clearing the waves will begin. The first consists of a large barbarian, heavy charge shield bearer and three regular barbarians. This is nearly the same setup as every battle so far in the level so practice should make perfect. The second wave only consists of two helmeted barbarians, be aggressive and they will fall quickly. The third wave comprises of two shield bearers, two regular enemies and a dual blade. Thin the weak first and then concentrate on the strong once again.

Objective: Take down the aqueduct
Kick over the flaming pot.
CHECKPOINT
Objective: Defeat Commodus in combat
Phase 1: During the first phase of this fight Commodus acts very much like a heavy charge shield bearer. Use the normal techniques against this type of foe until he gets down to about twenty five percent health. Once he reaches this point he may start spamming a shield bash – heavy attack combo. Use either a perfectly timed deflect or heavy attack to break the sequence and finish this phase.
CHECKPOINT
Phase 2: The second phase consists of fighting many enemies all dressed like Commodus (but the real one is in there too). Kill off all the lookalikes first as you cannot actually kill Commodus in this phase no matter how much damage you do. They will have the same attack pattern as the normal Commodus except he will perform the shield bash heavy attack combo if you hit him so just avoid the real one for now. After all the clones are dead you will enter the third phase.
Phase 3: He will be exactly the same as the first phase except he can do the shield bash heavy attack combo at any time. Your best friend here is perfectly timed deflects but is still no easy task. If you haven't already make sure your HP bar is fully upgraded as this fight can be grueling.
CHECKPOINT
The fourth phase will have two A button quick time events and then a shortened version of the previous phase. Get through his cheap combo once more to finally bring an end to Commodus.

