BESTIARY/ ENEMIES
*Note: The recommended weapons will only include those found in the main story, any additional bought weapons can be checked for damage by looking at their star ratings on the menu screen.
OD
Elemental weakness: Fire
Regular OD
Regular OD act as the cannon fodder of the game, they will sprint at the player on sight and try to swing at them with melee attacks. A good method to help prevent this is to equip the personal space amp. This bounces a melee enemy away once every three seconds (dealing damage in the process).
Recommended weapons:
- Flaming compensator (one shot kills)
- AK-FU
- TNTeddy (clusters)
- High fidelity (clusters)
- Most other weapons will also work, due to their low health
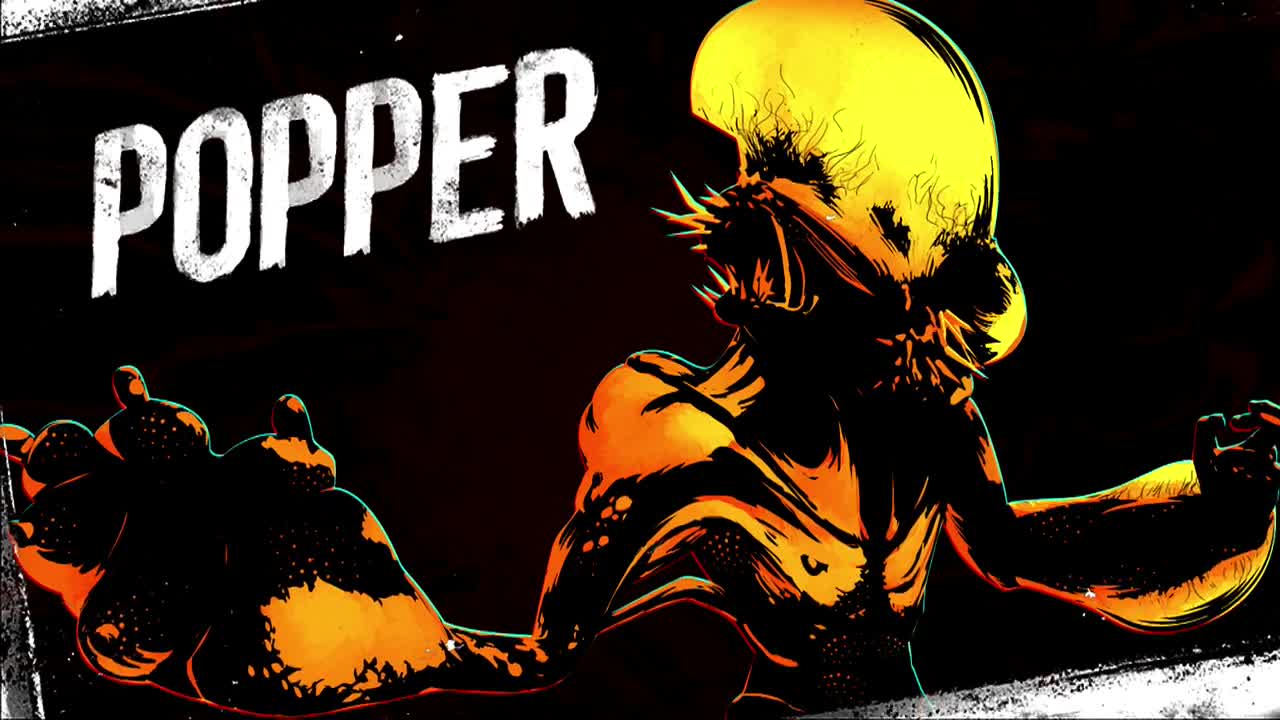
Poppers:
Poppers are fast moving, self-destructing enemies which can make life difficult if you cannot avoid them. A single powerful round will generally suffice to make them explode. They can also be batted away with a well timed melee attack, exploding harmlessly away from you.
Recommended weapons:
- Flaming compensator
- Dirty harry
- Melee
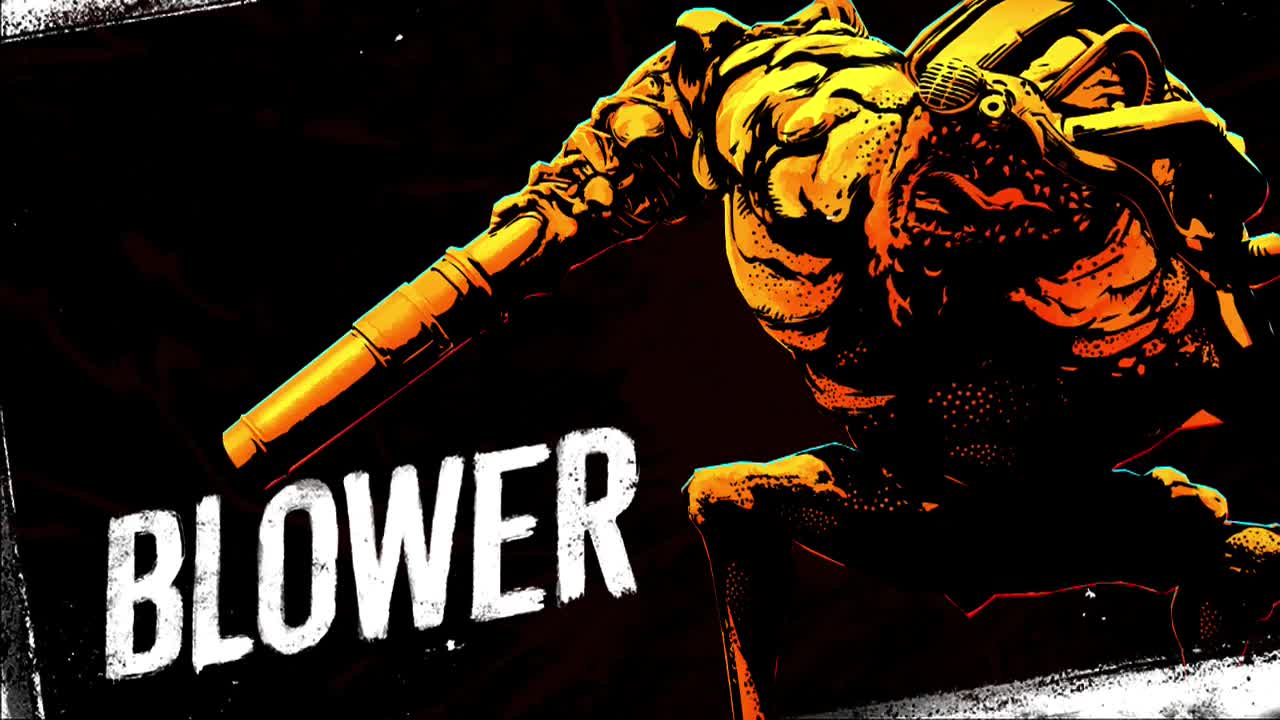
Blowers
Blowers are the ranged specialists of the OD and can fire surprisingly accurately over long distances (as you'll find during a certain boat mission). While fragile in the health department, their shots deal quite high damage. Their aiming position is shown by three red circles appearing on the ground, shortly followed by streams of green acid. The best approach generally is to be aggressive against these guys. Hunt them down quickly to avoid being sniped constantly.
Recommended weapons:
- Flaming compensator (one shot kills)
- AK-FU
- High fidelity
Gunkers
Gunkers are ice based enemies (or frozen sludge, one or the other) which can blast nearby enemies with their ice breath or attach frozen ice mines to nearby objects and rails, making traversal more difficult. These projectiles are marked with a red circle before landing. You cannot undergrind below these frozen ice mines either. Touching them will deal damage to you and knock you off a rail if you are on one. Due to their ice breath, it is hard to approach a gunker for melee strikes, so use a weapon instead. They have pretty low health and can be taken down with the right weapon quite quickly. They also explode on death (it doesn't deal damage).
Recommended weapons:
- Flaming compensator (one shot kills)
- Dirty harry

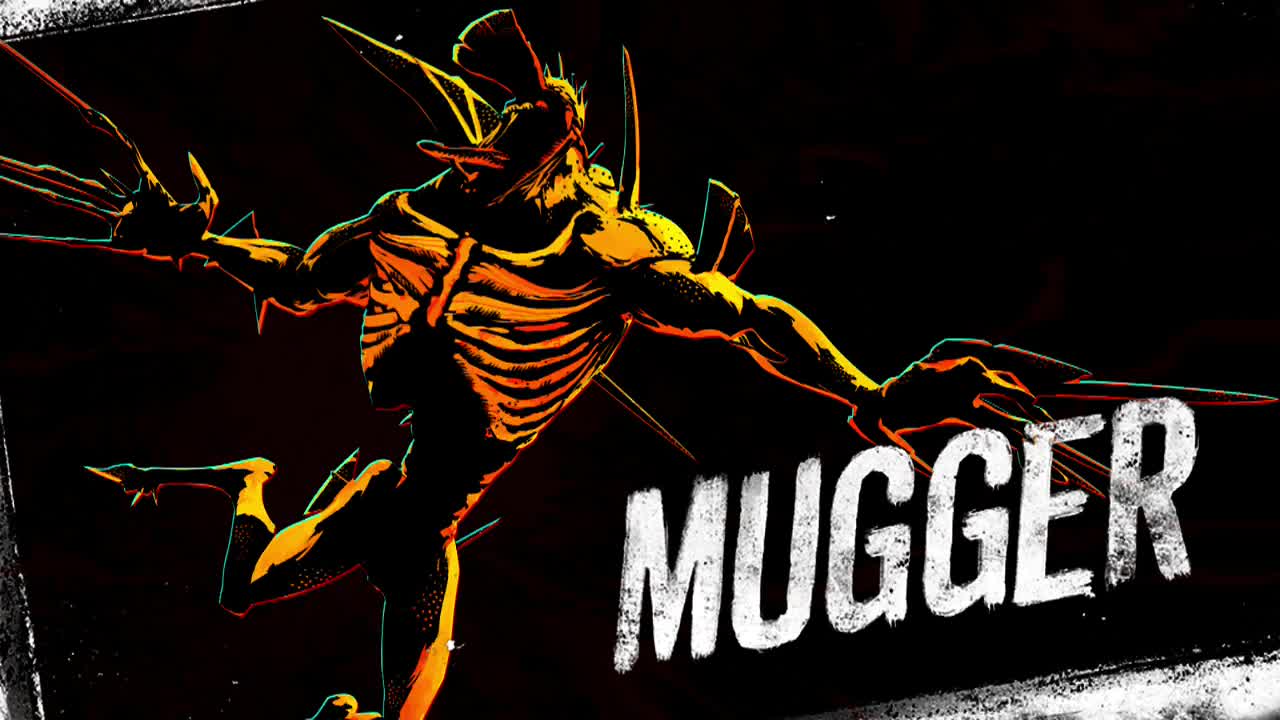
Muggers
Muggers are fast moving and highly damaging melee opponents. They can leap from building to building and generate a large red circle with a red cross through it before they leap at a player. They are also difficult to kill without right weapons. The main worry with muggers is they will sometimes stop leaping and just relentlessly engage you in melee, dealing quite high damage if they connect. Lure them into jumping near you and use the correct weaponry to deal with them as quickly as possible.
Recommended weapons:
- Flaming compensator (three or four close range shots)
- Dirty harry (four or five shots)
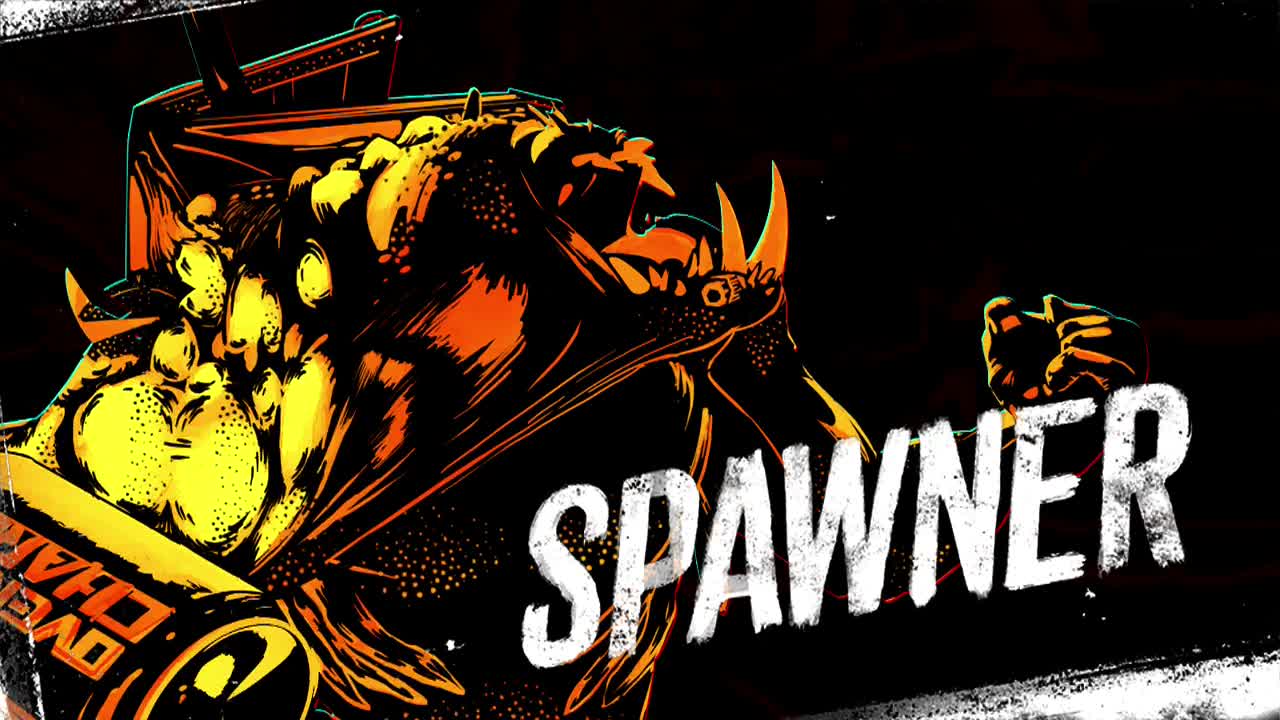
Spawners
Spawners are big hulking brutes with high health (although not as high as herkers). They have a decent range charge attack that deals fair damage and can produce regular OD from the dumpster on their back. When you see a spawner, try and keep your distance (except in certain circumstances) to avoid the charge and fill it full of lead.
Recommended weapons:
- Flaming compensator (use this initially in a fight to deal chip damage)
- Dirty harry (use this to deal the bulk of the damage)
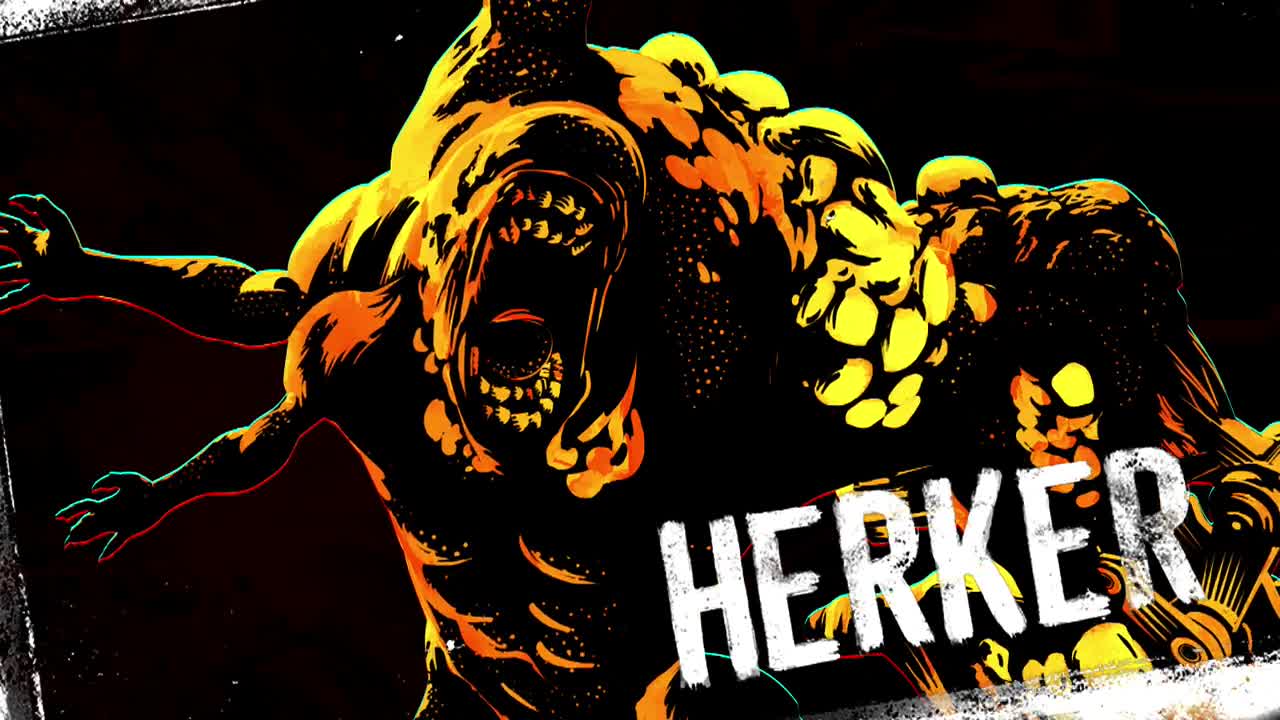
Herkers
Herkers are also big hulking brutes with very high health. They have a decent range charge attack that deals fair damage and can throw aimed projectiles (boulders) at the player. These can be surprisingly accurate and can hit you even when grinding. When you see a spawner, try and keep your distance (except in certain circumstances) to avoid the charge and fill it full of lead (just like the spawner).
Recommended weapons:
- Flaming compensator (use this initially in a fight to deal chip damage)
- Dirty harry (use this to deal the bulk of the damage)
Scabs
Elemental weakness: Fire
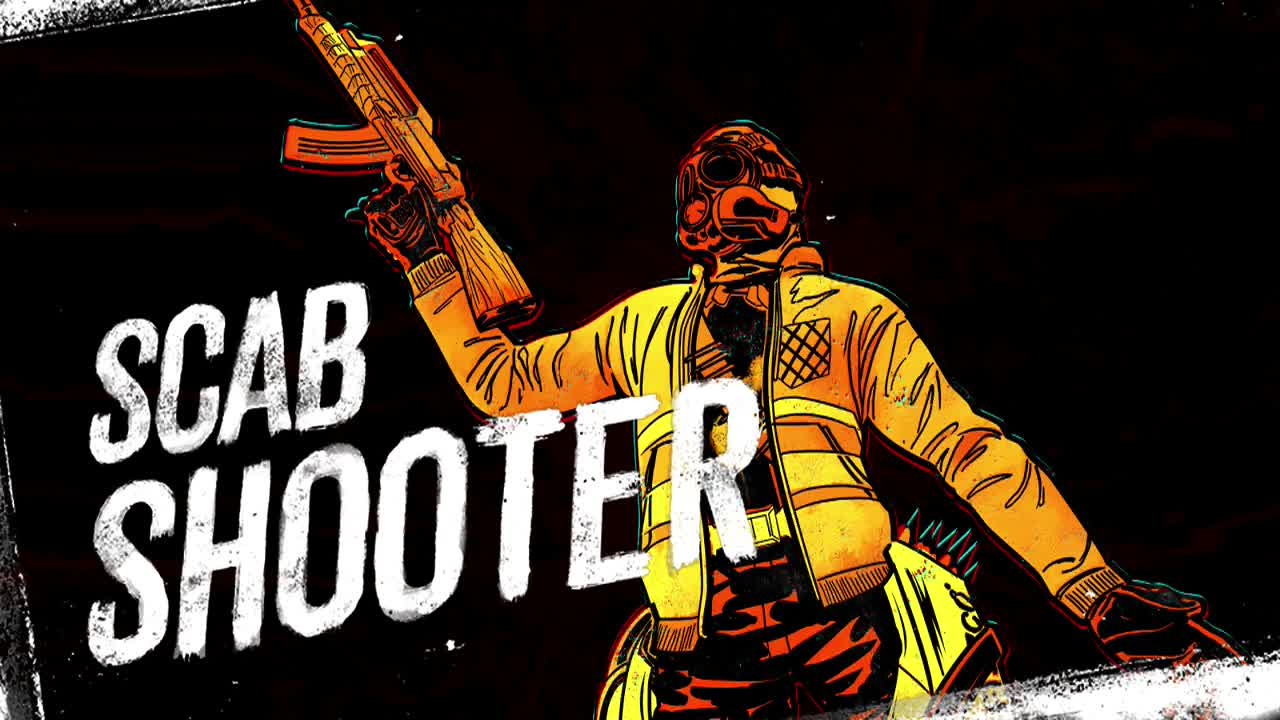
Scab shooter
Scab shooters are quite common and are very accurate. They act more as chip damage though unless in sufficient numbers to take chunks off your health bar at a time. Moving is essential (some will still hit you, but not as many). They are relatively fragile, falling to around three melee strikes if you can reach them. Try and keep some cover between you when advancing though, as they will whittle down your health quite fast.
Recommended weapons:
- Flaming compensator (close range)
- AK-FU (medium to long range)
- TNTeddy (for clusters)
- Dirty harry (if you have no ammo for the above)
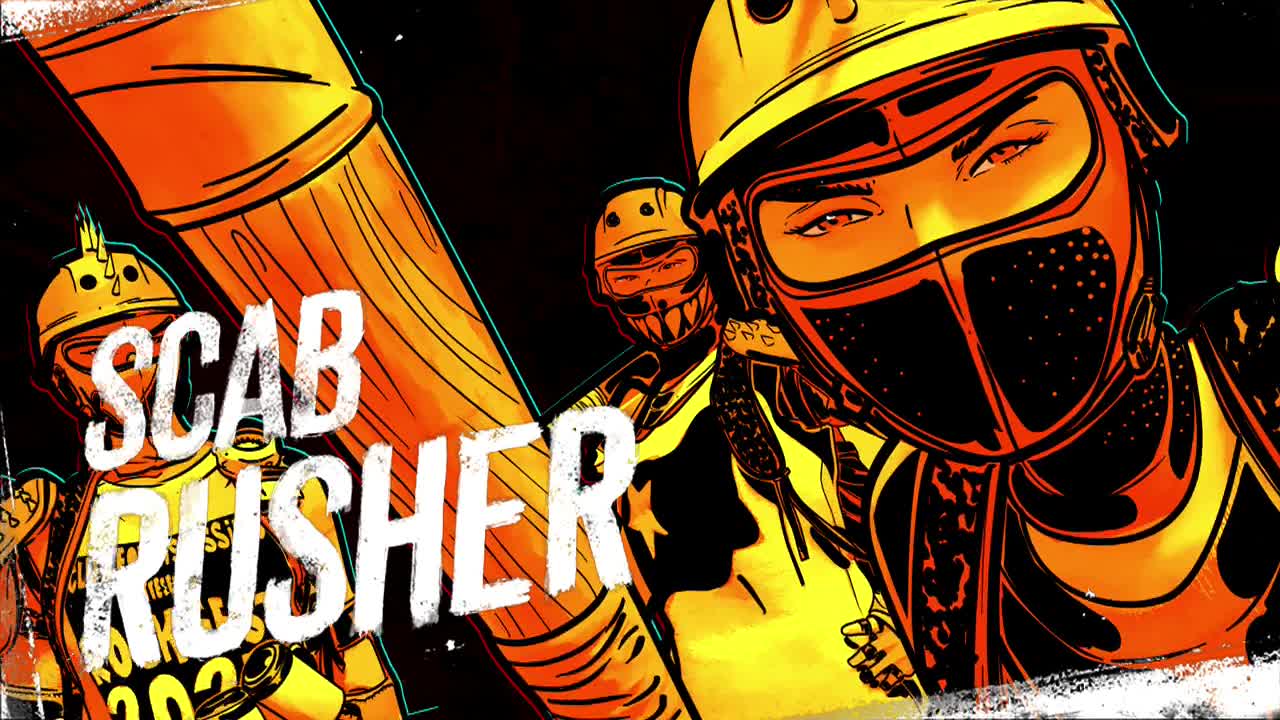
Scab rusher
Scab rushers are melee only enemies, who quickly move around and will try to smack you with their bats. This is a double edged sword for them. No, I mean literally use a double edged sword. Melee works great on them if you can get the timing right. When there are a group of them, you may want to use weaponry instead. They are quite fragile, so they die pretty fast.
Recommended weapons:
- Melee (for ones and twos)
- Flaming compensator (for groups)
- AK-FU (for killing at range)
- TNTeddy (for clusters)
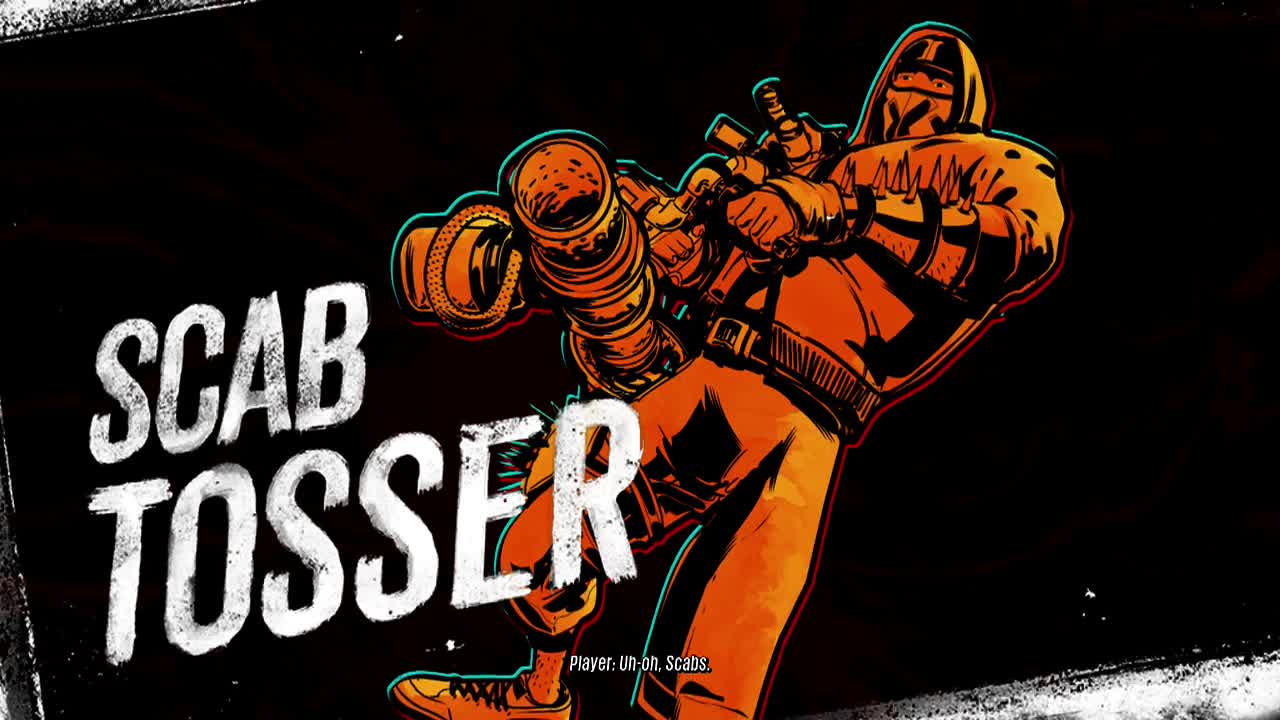
Scab tosser
Scab tossers fire timed proximity mines onto the field (and rails) in the area. They can also attach the mines to you (press X to dodge and remove them) which will detonate after a set time. They have a bit more health than regular scabs and should be taken down with weapons (they have a knock-back melee attack).
Recommended weapons:
- Flaming compensator
- Dirty harry
- AK-FU
- TNTeddy
Fizzco
Elemental weakness: Lightning
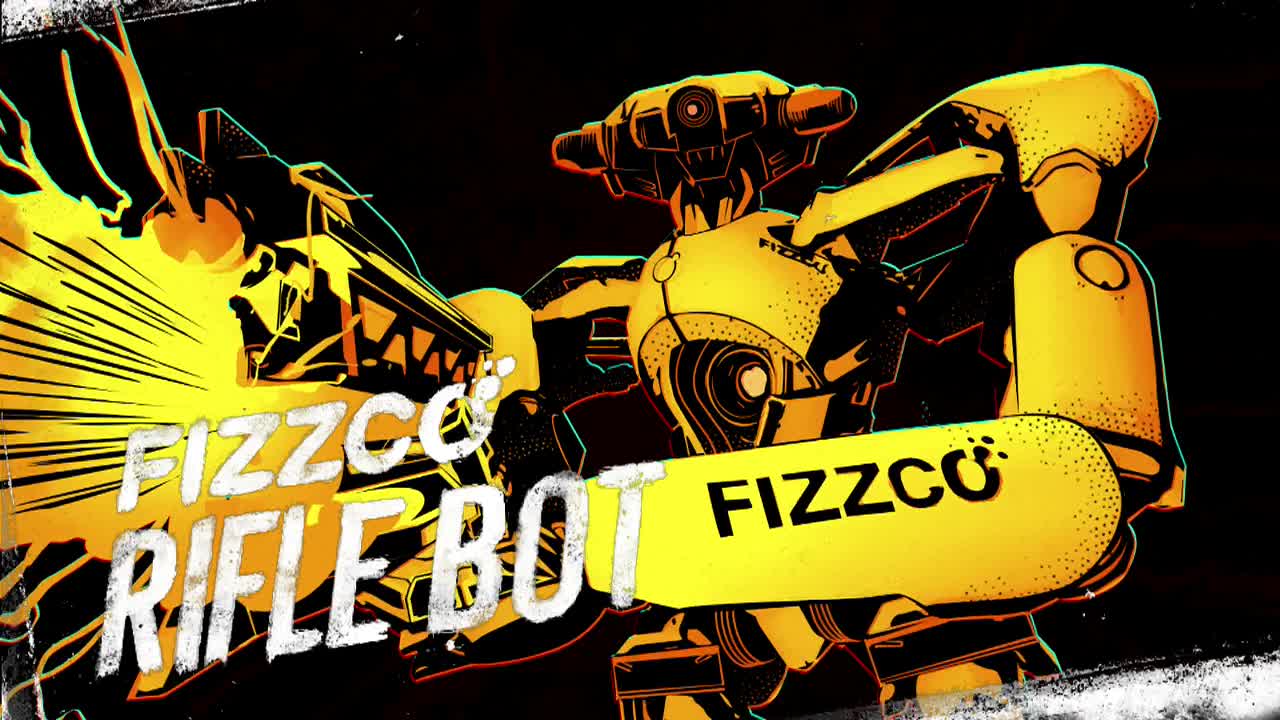
Fizzco rifle bot
These enemies are similar to scab shooters, except they deal more damage per shot. They are quite accurate, to the point where they can blast you while you grind or undergrind along rails. They deal quite high damage and are quite sturdy unless you use the right type of weapons. They take around four or more melee strikes to bring down, so try and avoid that. Amp enhanced smashes work quite well on them on the other hand.
Recommended weapons:
- Murderang (this should be used first in every bot encounter until you are out of ammo)
- AK-FU
- Dirty harry
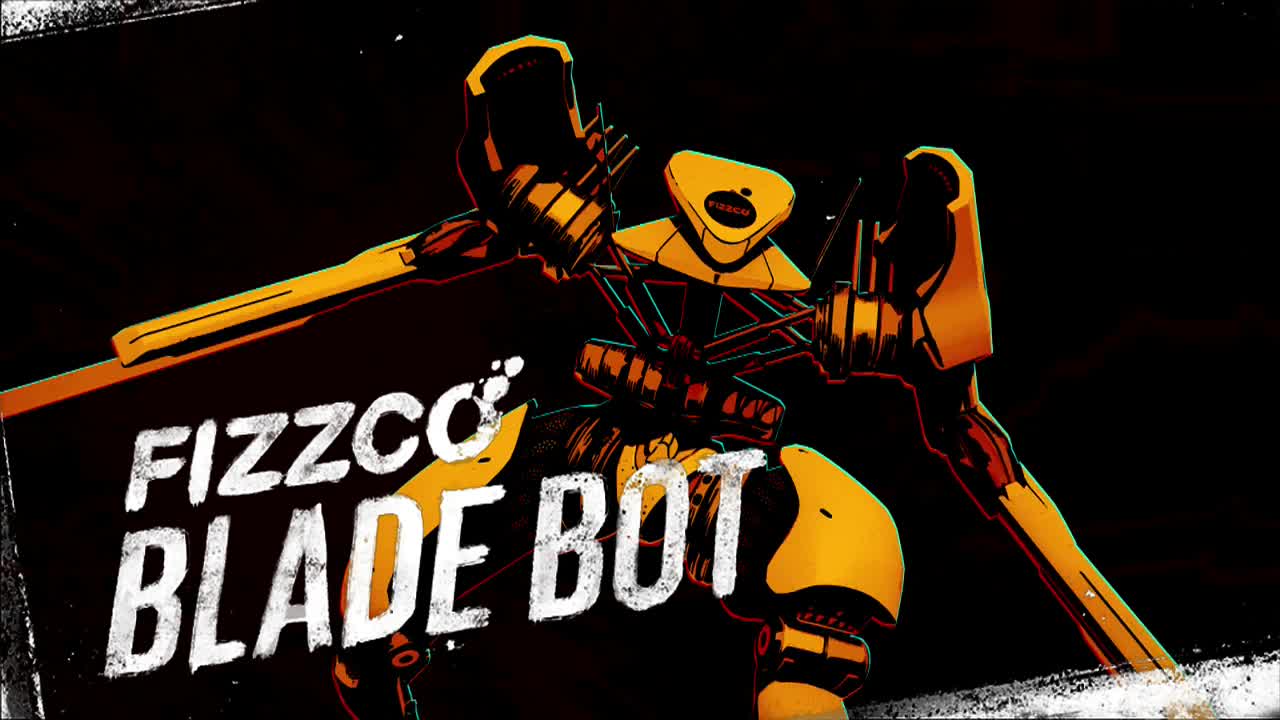
Fizzco blade bot
Fizzco blade bots are fast moving machines that deal medium damage when they strike. They are more annoying than a threat in most cases and act as a distraction while rifle bots blast you to pieces. Keep moving to avoid their swipes and unload when you can.
Recommended weapons:
- Murderang (chews through their health and chains to nearby enemies)
- AK-FU
- Dirty harry
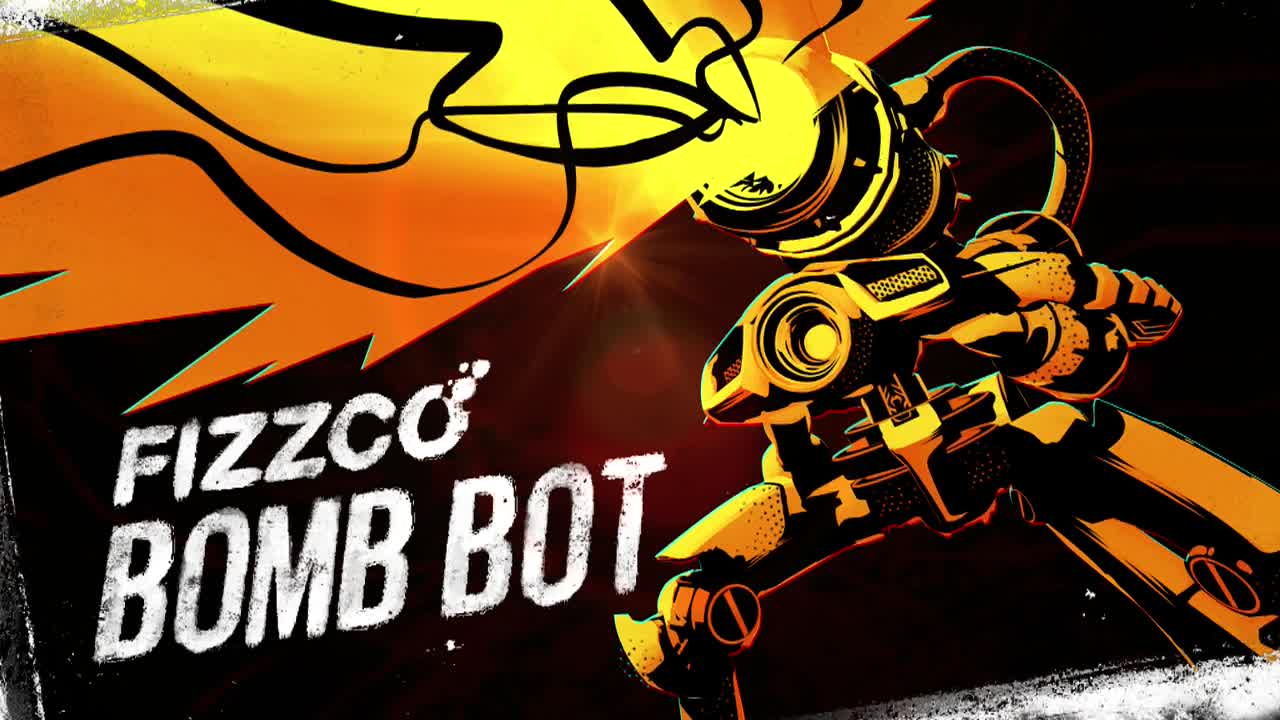
Fizzco bomb bot
Bomb bots are quite annoying to deal with. They have more health than the regular bots, fire off pulsing mines of pain and can fire a massive laser at you. Yeah, not a bad arsenal. The aimed laser is probably the most annoying thing as it can deal nasty damage. Sidestep it as it moves towards you to avoid it and resume shooting. The pulse mines only really are a worry if you stand inside their field of effect, so simply move or avoid the red rings in the first place.
Recommended weapons:
- Murderang
- Dirty harry
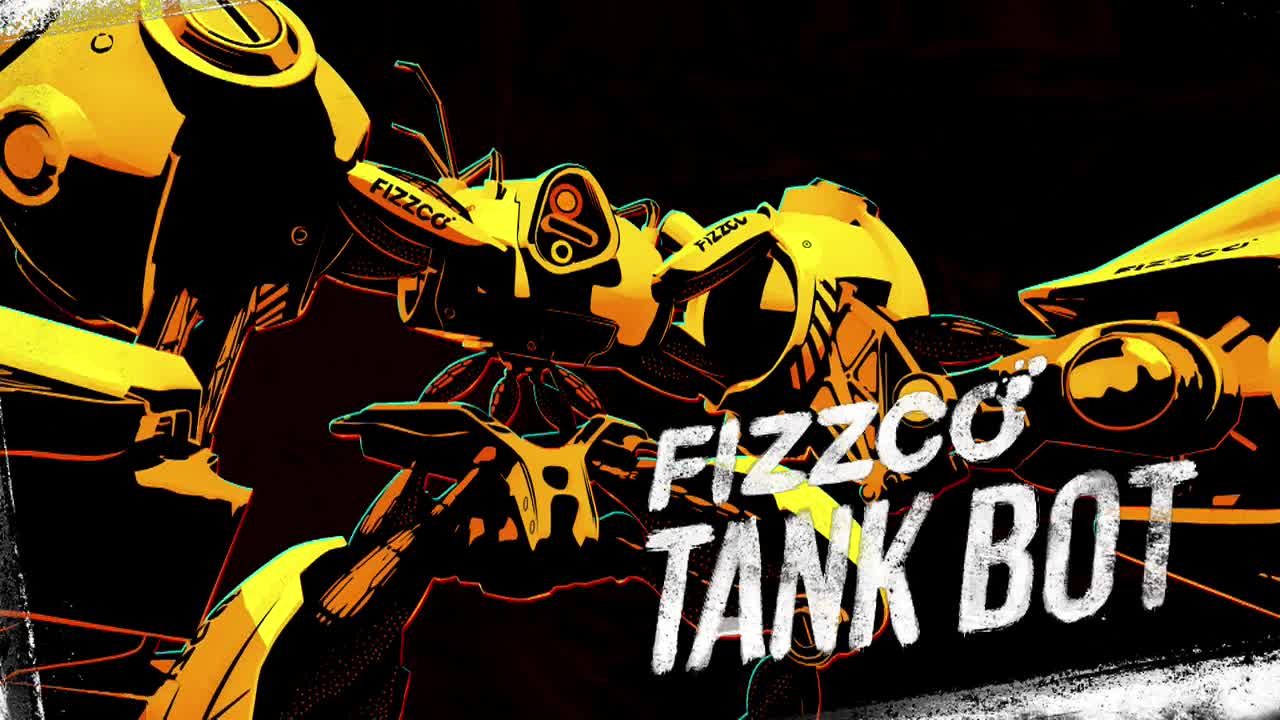
Fizzco tank bot
The big mama of the Fizzco forces. These act like a hellish spawn of a herker and a bomb bot. They fire grids of projectiles and deal heavy damage with their melee attacks. Hopefully you have some electricity based amps to deal extra damage against these enemies. They also have a heap of health, so you'll need to be unloading your most powerful weapons as soon as they appear.
Recommended weapons:
- Murderang
- Dirty harry