STORY MISSION 12 – Midnight Brew
Rewards: Seismic Smash, Burn, Baby, Personal Space
Collect Fizzie balloons
If you haven't been collecting the collectible items as you go, you are going to need to collect some now. To make life easier, buy the collectible maps from Jack if you haven't already and go looking for those balloons. It shouldn't take long as there are 150 scattered around the city.
Return to Floyd at the Brewery with all the ingredients
Fast travel back to the Brewery and talk to Floyd.
Go to the front of the base
This will be your introduction to traps. These handy objects can be placed with RB (press to show trap location and release to place) and swapped between (hold RB and press direction on the D-Pad to swap). Traps are incredibly handy and will save your bacon on the amp defense missions.
Place a hack n' slay trap
Head over to the marker and place down a hack n' slay trap. These deal damage to any enemy who walks into their radius and pair very nicely with the fling board trap. The fling board trap can hurl enemies into damaging AoE traps (such as the hack n' slash) for nasty damage.
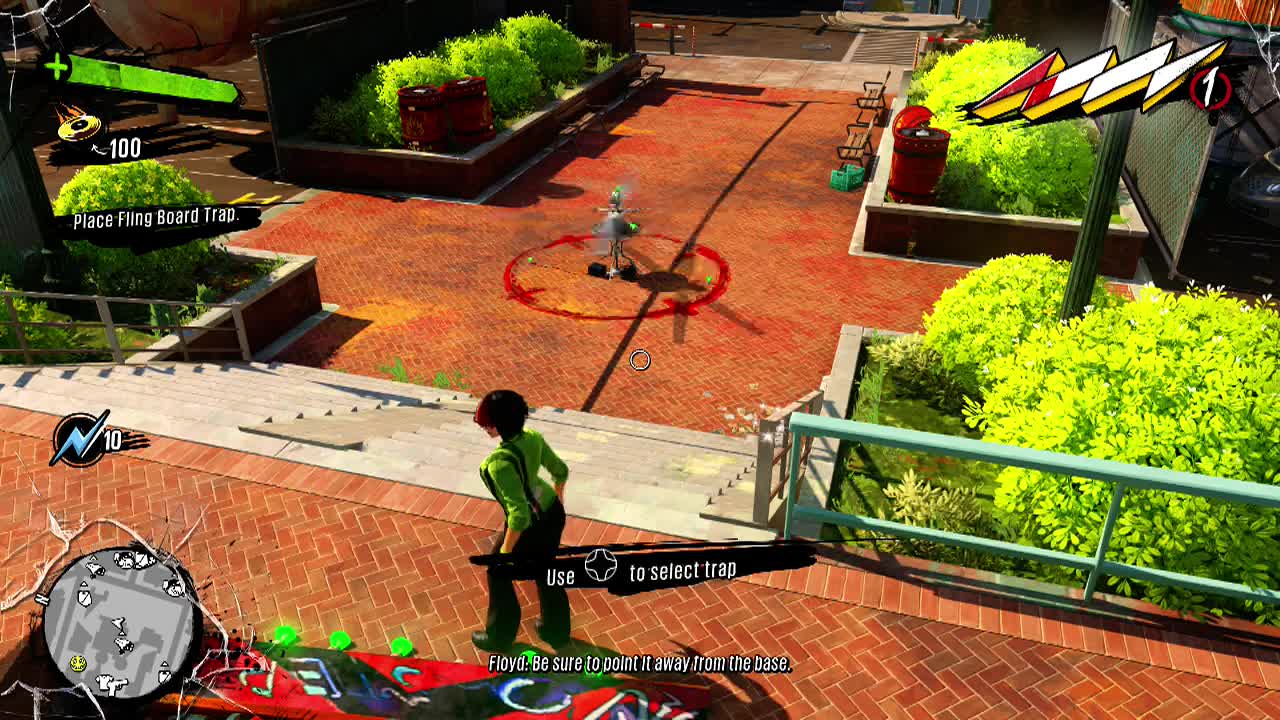
Place fling board trap
You can also just use them to delay the enemy advance or get them away from your amp vats. Place a fling board trap so it's arc lands in the hack n' slash AoE.
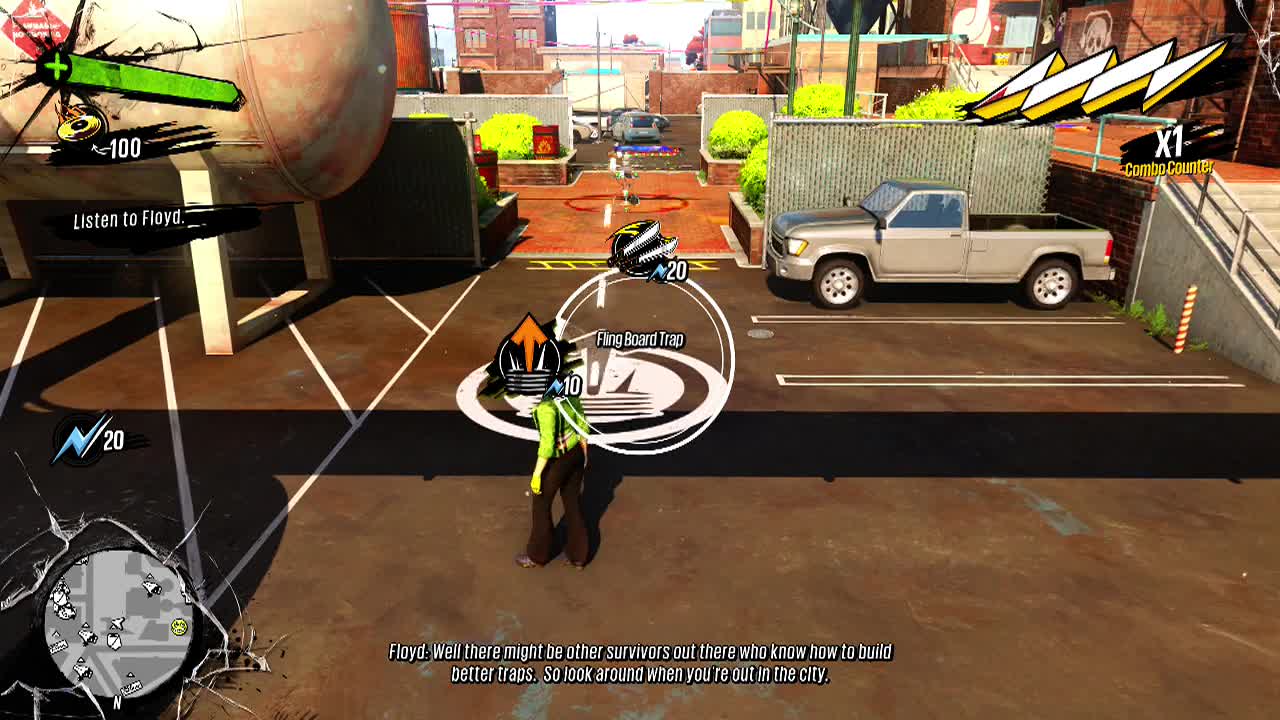
Listen to Floyd
Listen to Floyd explain what I just mentioned and a few more things.
Setup traps and turn the valve
Place some more traps around the area (you can remove placed traps if you wish to regain power). A way of making life easy during these early vat defense missions is to place as many hack n' slash traps as possible directly around the vat. This destroys any OD who reach the vat and leaves you free to focus on the rest of the enemy horde. Other tactics include flinging enemies away from barricades into hack n' slash traps and using multiple fling boards to bounce enemies back out of the base. Once you are done, head for the valve to initiate the attack.
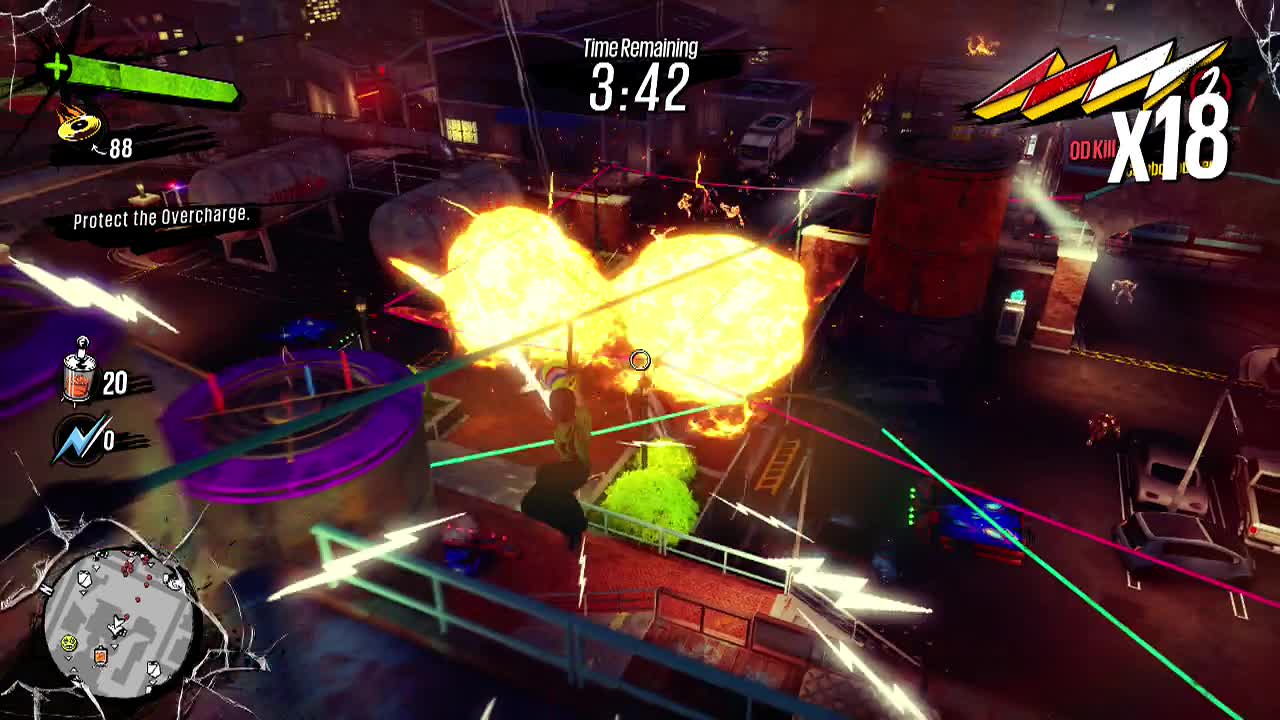
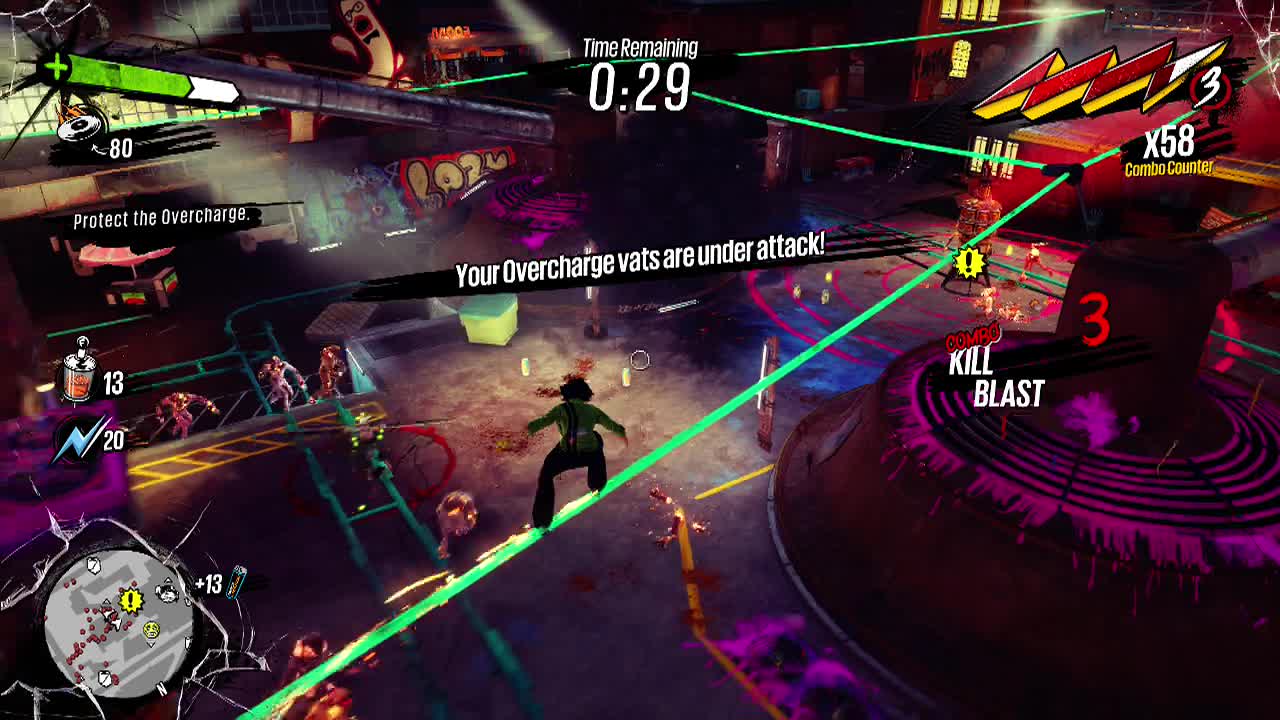
Protect the Overcharge
Use the usual grinding, bouncing and style generating moves to build up your amp abilities and lay into the waves on onrushing enemies. The high fidelity weapon and TNTeddy works well against mobs of weak OD. Swap to the flaming compensator or dirty harry to deal with the stronger OD when they start arriving. Hopefully your traps will weaken or kill a decent chunk of them while you deal with the rest.
Partway through the fight you will be given more power and a brief interval to place more traps. Quickly chuck down whatever you like before the second wave hits. When it does, a new enemy will be amongst it. The Gunker. Gunkers place frozen spikes of goo on rails and bounce objects which will damage you and knock you away if you touch them. They are relatively weak (similar to the blowers) and can be taken down fast with the flaming compensator or dirty harry.
Keep defending the vat and slaughter your way through the masses until the timer expires and the battle ends.
Get the amps from the amp chamber
Walk over to the marked chamber and grab your rewards. The Personal Space amp is particularly useful in avoiding chip damage from enemies and will prove useful for most players (especially those who use melee or get close to the action).