CHAPTER 07 – The Keeper
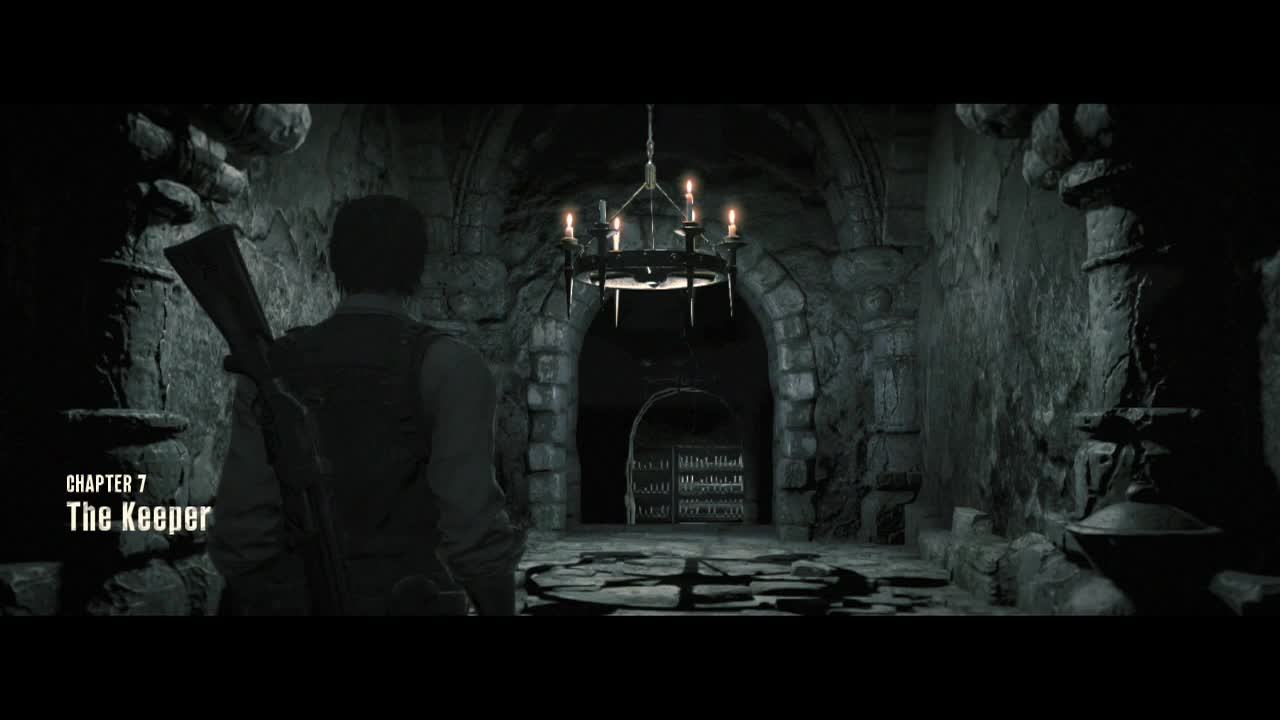
The chapter begins with you inside the church you entered in the previous chapter (congruity, argh. What is this madness?). Take note of the following point for this level before we begin. You are going to want to conserve the following: Freeze bolts (including trap parts to make more) and sniper rifle bullets. You'll thank me later.
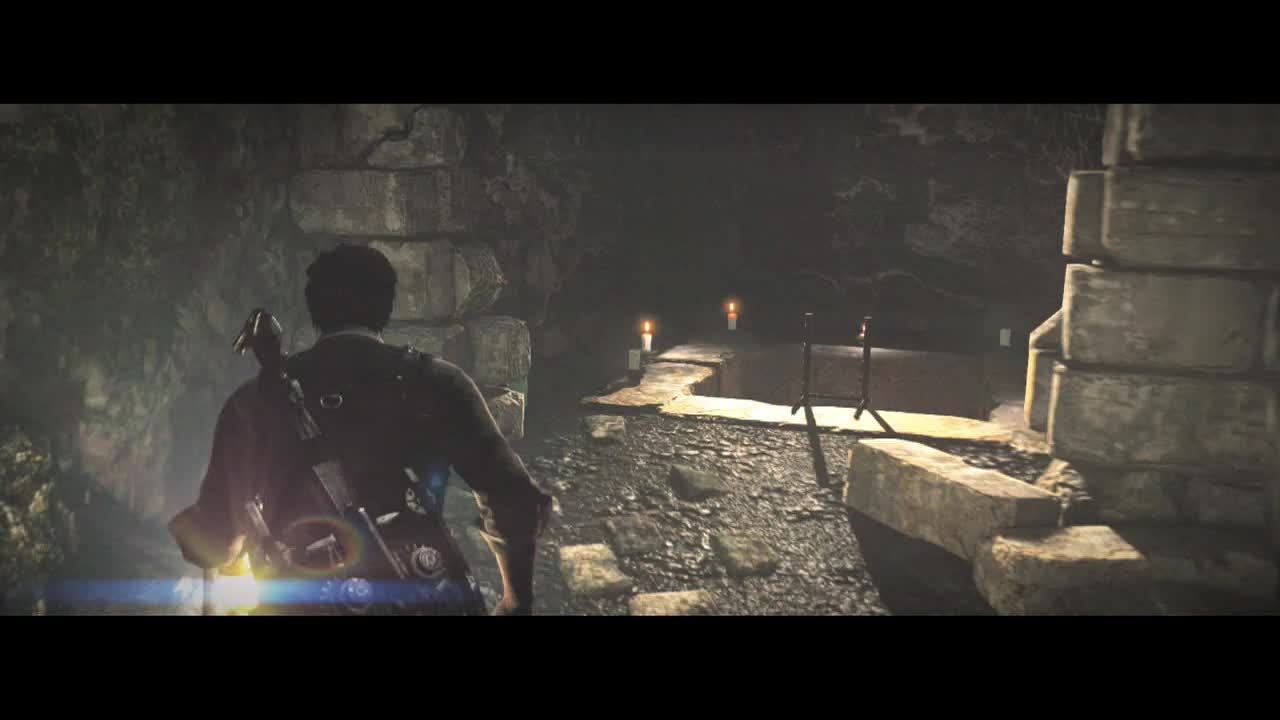
When you gain control, head to the left to find a pew against the wall with Matches (5) on it. There are some Shotgun Shells (2) on the floor in the central aisle area on a pew. Ignore Joseph's dialogue as you search and don't approach him when he sits down until you are ready to leave. There is Map Fragment 13 to pick up off the lectern and Goo Jar (500) at the base of it. Now you've got everything, you can go over and talk to Joseph.
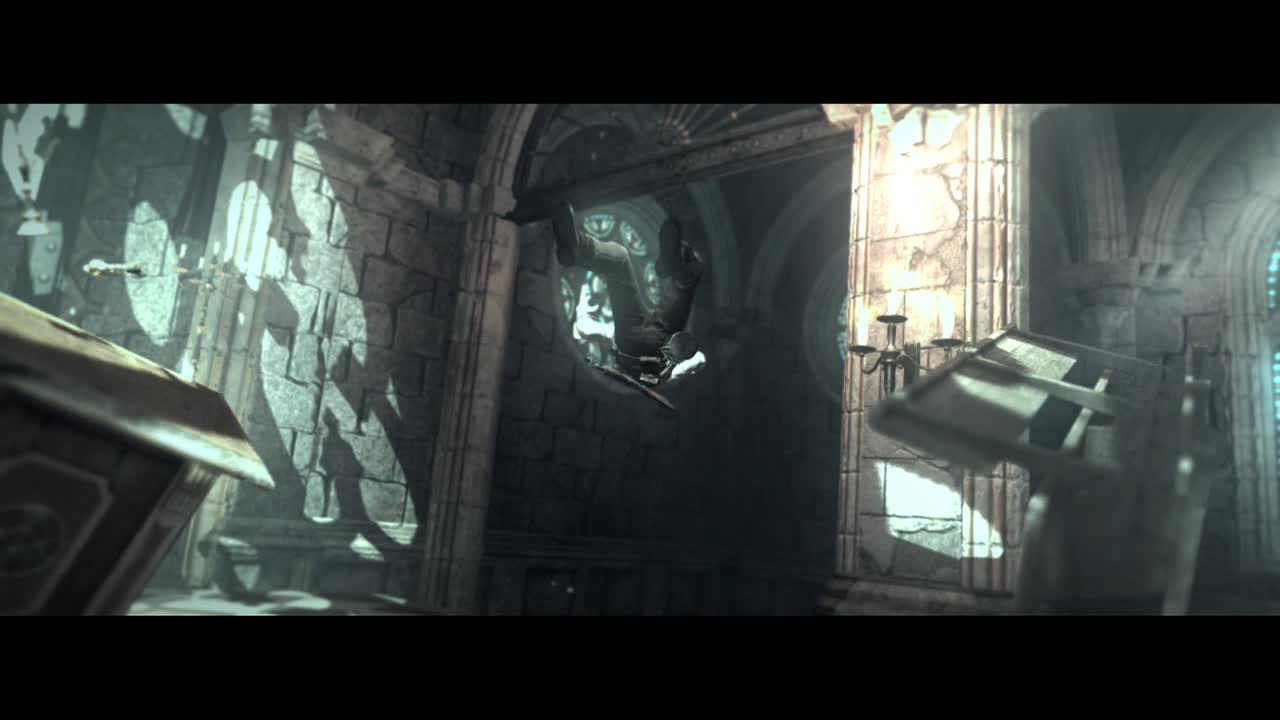
After the cut scene ends, you'll wake up in the catacombs under the church (I seriously loved that perspective wall bounce. That was awesome). Make a note that crates have been replaced with large urns in this area, so smash away when you see them for items. Speaking of, there's one right next to you when you regain control. Make sure to turn on your lantern here as a lot of the rooms are very dark. Head down the short steps and look to the right to find a Goo Jar (300) amongst some broken masonry.
CHECKPOINT
Enter the next (larger) room and at the base of the stairs, turn right for some more urns to smash. To the left of the stairs is another urn to break. Circle around the large stone coffin for another urn. Continue around the edge of the room, smashing the two urns near the stairs to the raised platform. Walk up the stairs onto it to pick up the Trap Parts (2).
Head back down the stairs the way you climbed up and look at the table nearby (taking the unexplored path) to find a Goo Jar (500). Be careful as on a pillar nearby is a grenade trap. Disable it and grab the Handgun Bullets (3) on the table beside it. Three more urns await smashing in the corner of this room and a final two are opposite the base of the stairs leading upwards.
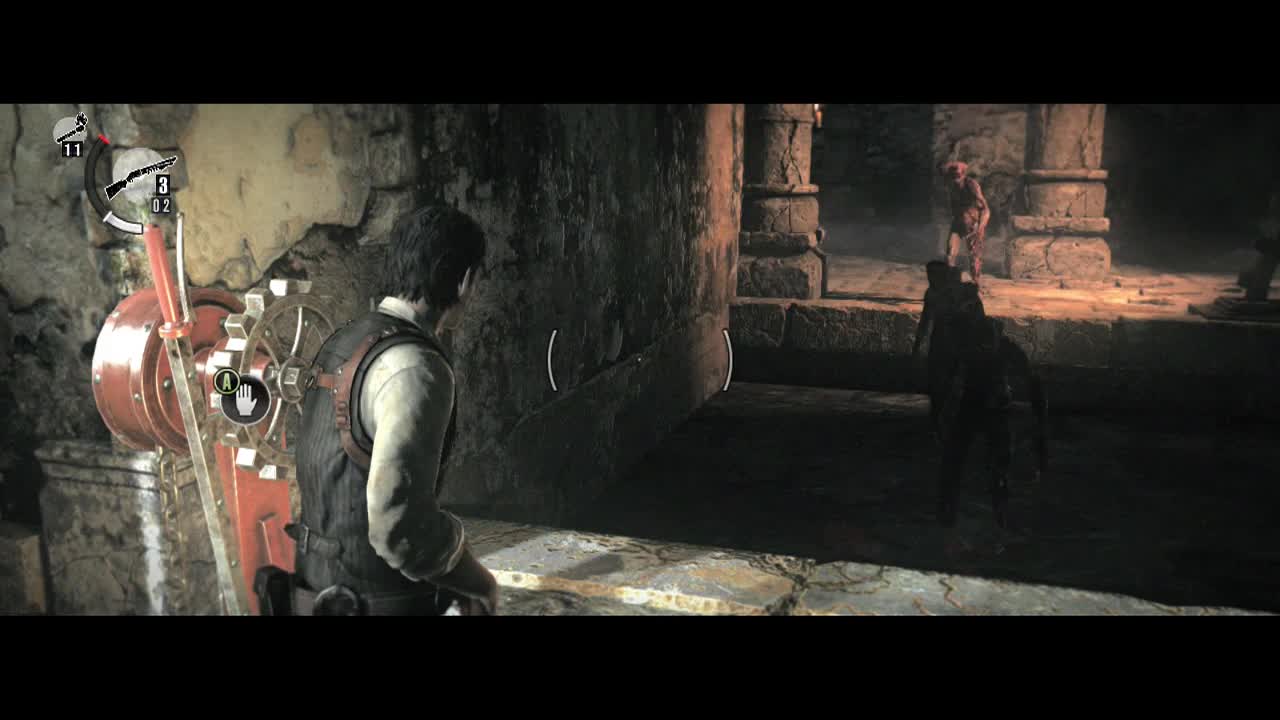
Ready your weaponry and ascend the stairs (a haunted will be at the end of the hallway, with another regular and fat haunted in the side room to the left). You have plenty of room to back up, so use your pistol to bring them down. Once they are dealt with, enter the side room to the left to find urns to smash, a Goo Jar (1000) in a stone coffin and Sniper Bullets (2) sitting on a regular wooden coffin. There are some more urns hidden in the darkness of the corner here as well. When you are done, exit the side room and head up the hallway.
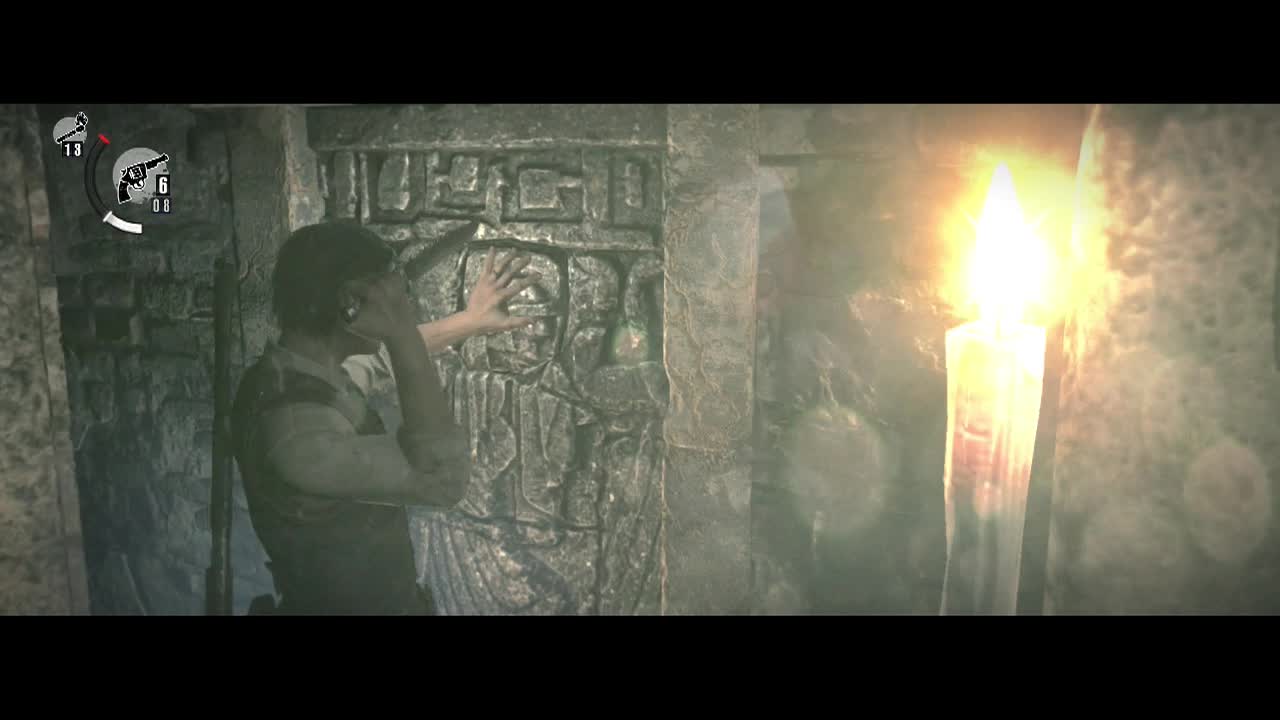
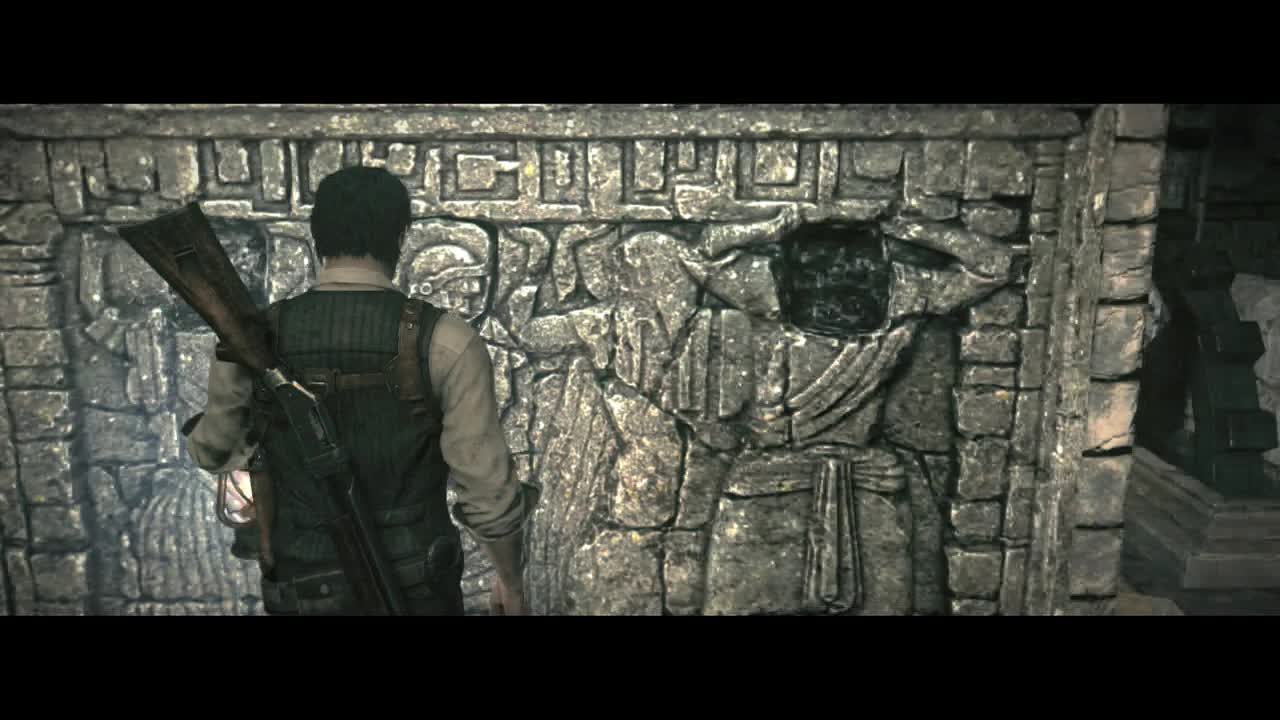
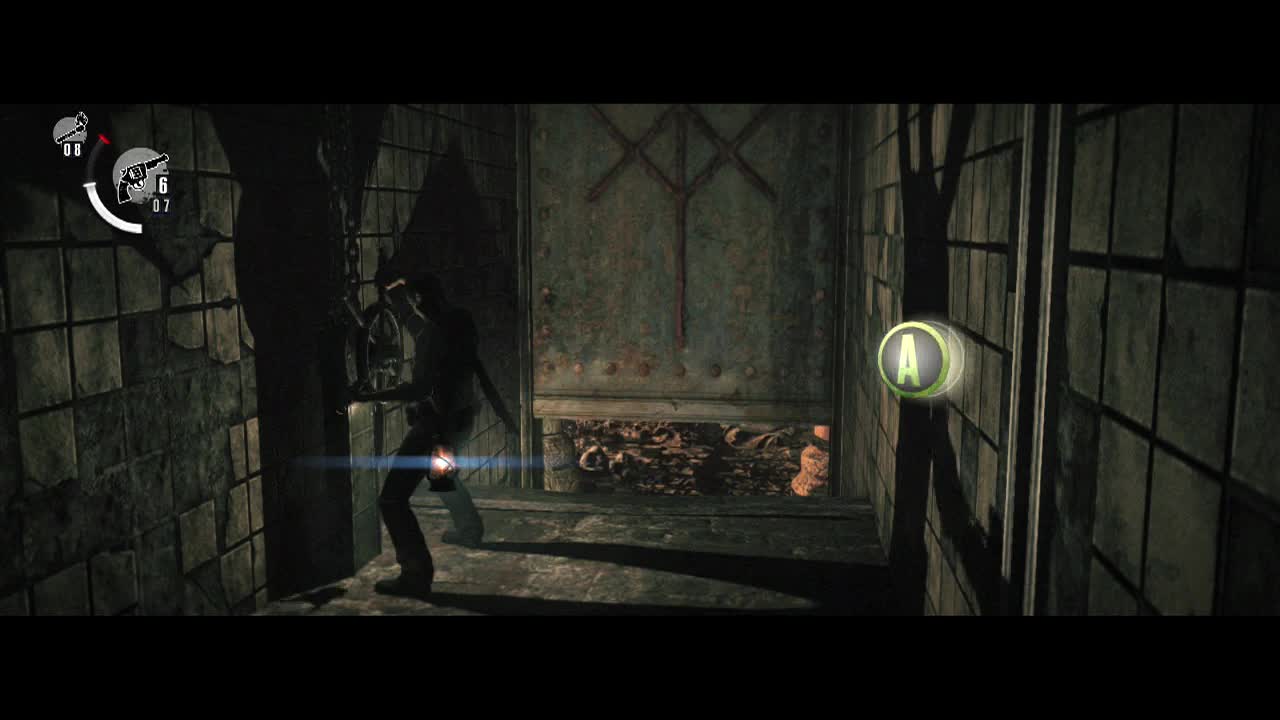
Turn right at the end of the hall (ignoring the sculpted stone door to the left for now) and enter the room there. Inside, grab the Handgun Bullets (7) off the table and then smash the four urns in the room. Once that is done, head out of the room and over to the carved stone door. Examine it to find a piece of stone in the center has been used as a kind of key… made of stone (ah, keystones. It's been so long).
Watch Sebastian remove it with surgical precision and you will obtain the Old Lithograph #1. There are three of these to be found in this chapter. After you remove it, the door it was used on will open. The room beyond holds several goodies. Trap Parts (2) can be found on a table to the left, a Catacomb Note is on a table to the right next to a Goo Jar (800), and on the center table is a safe that can be unlocked for a (locker) Key. When you are done looting, leave through the other doorway.
CHECKPOINT
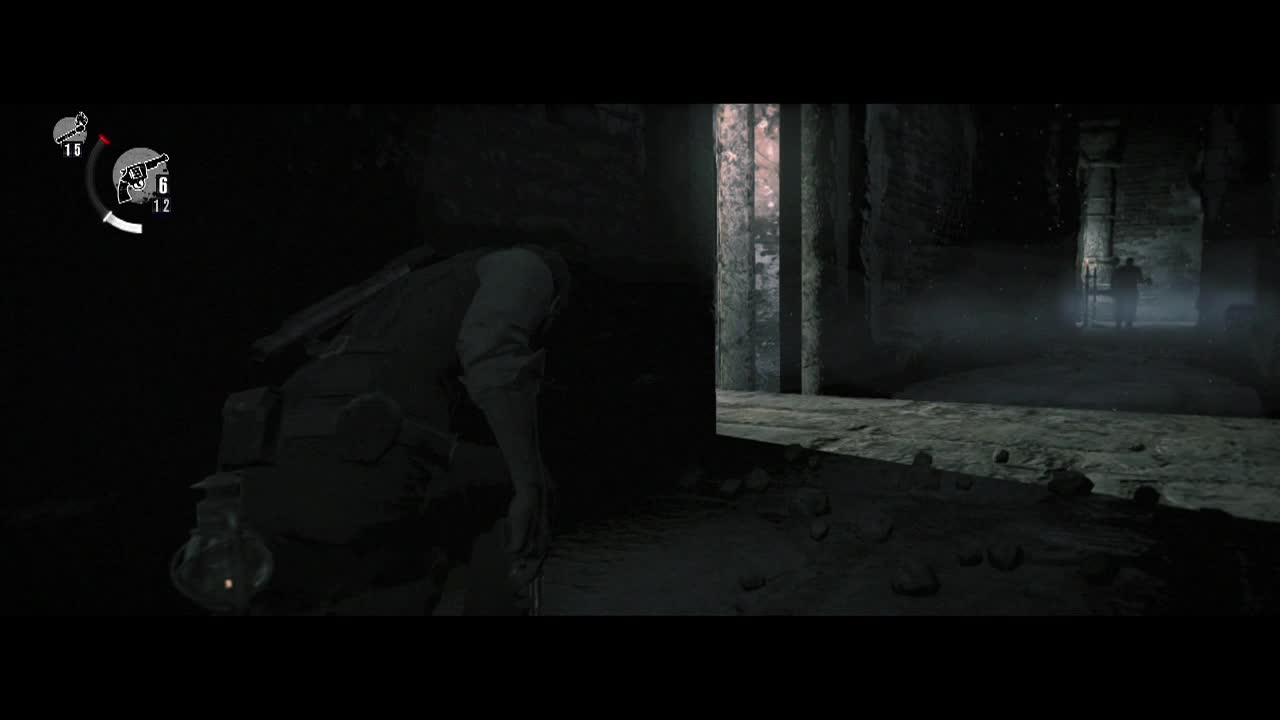
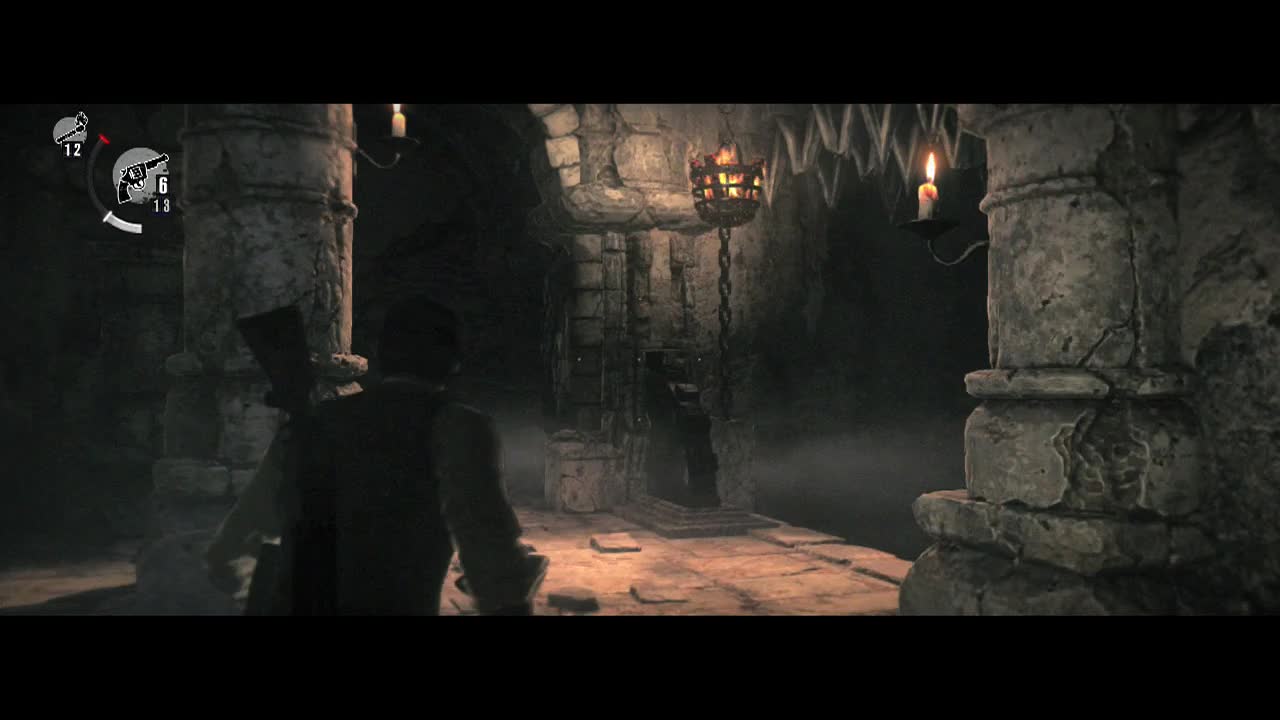
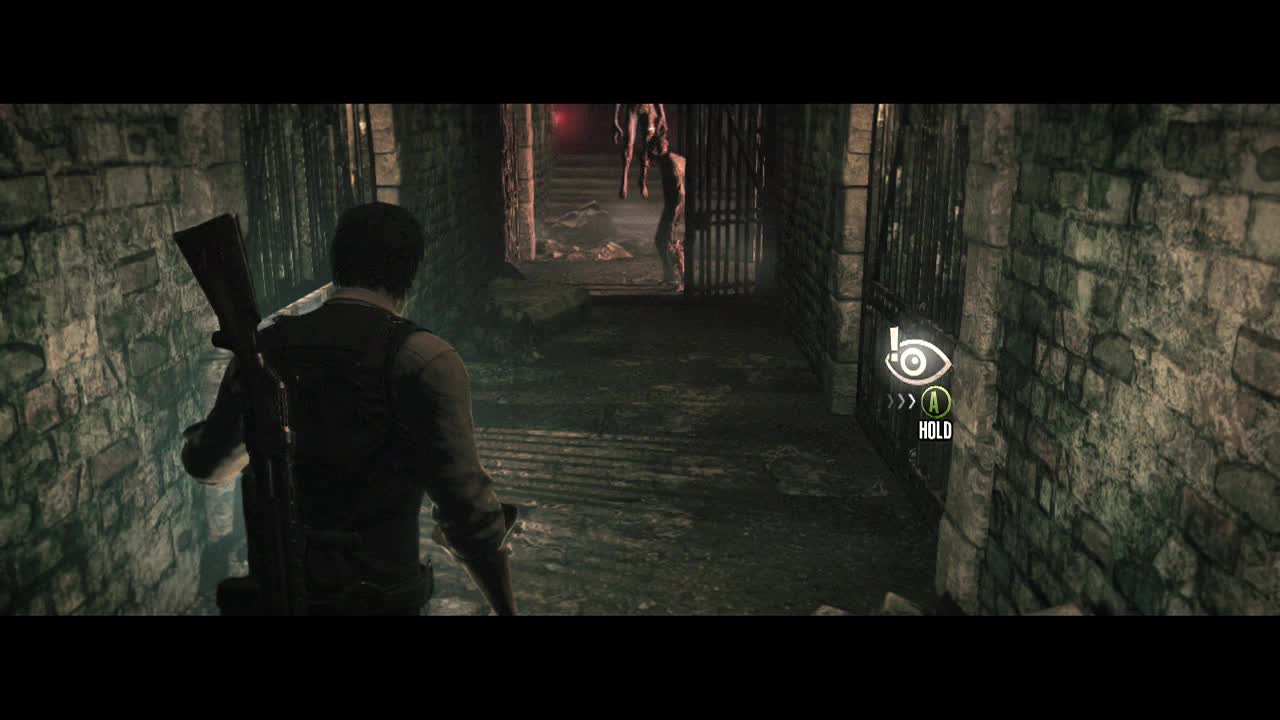
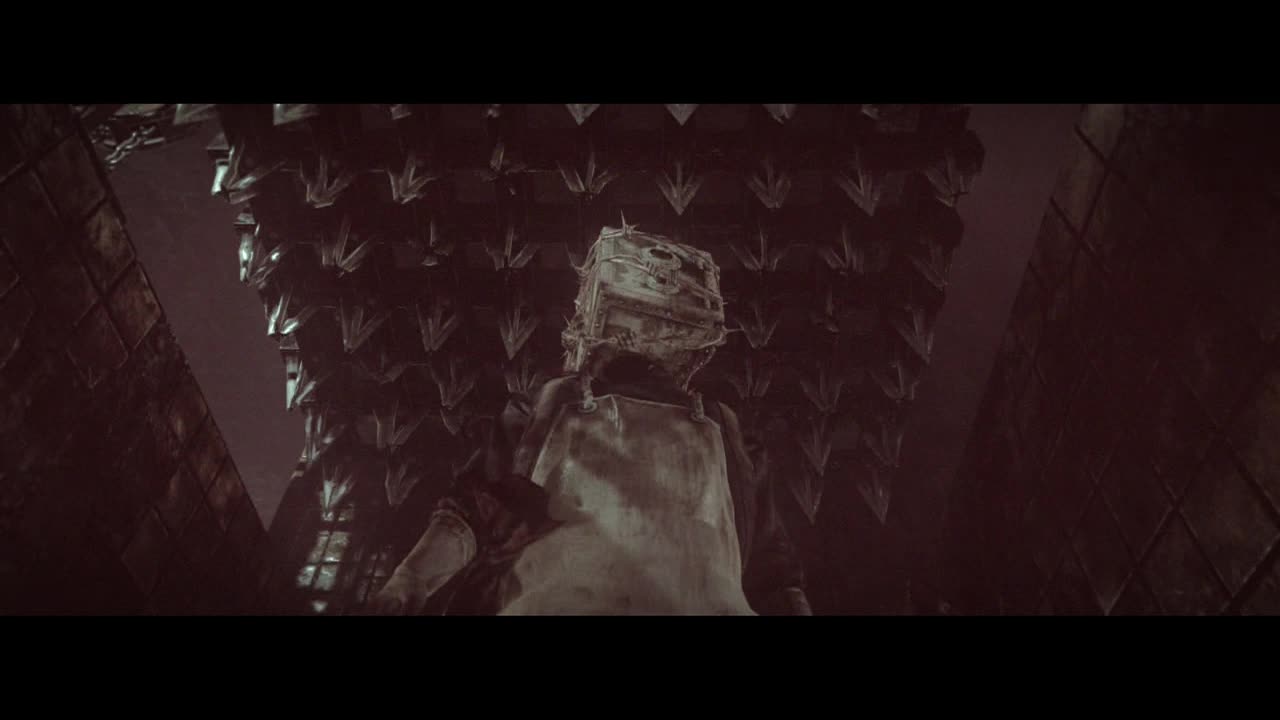
Follow the linear passage and descend the stairs to enter to find a metal gate at the bottom and urns nearby. As you near the bottom, you'll get a glimpse of the Keeper. When you are done breaking, smash the padlock and pass through the metal gate.
Directly ahead as you enter (where the Keeper was) is a stone carving with three slots in it. Guess where the lithographs go. Yup. Put the first one in to open up the passages to the left and right. Before going out of the room, look in the right corner for a Goo Jar (300) and the door to a mirror room. Inside you will find a Birth Announcement and the usual mirror. You can grab a Newspaper Article: Catacombs Found and on the notice board opposite a Missing Person Poster: Chris Taylor. Upgrade, locker and save before returning.
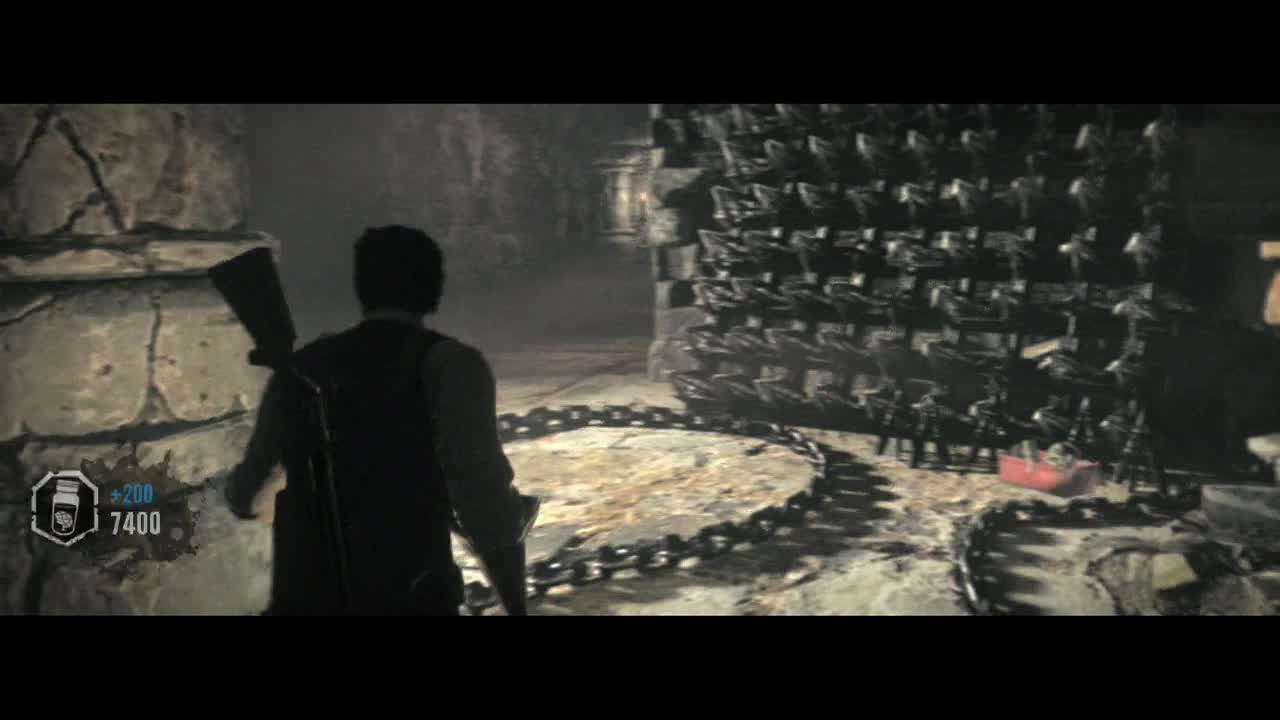
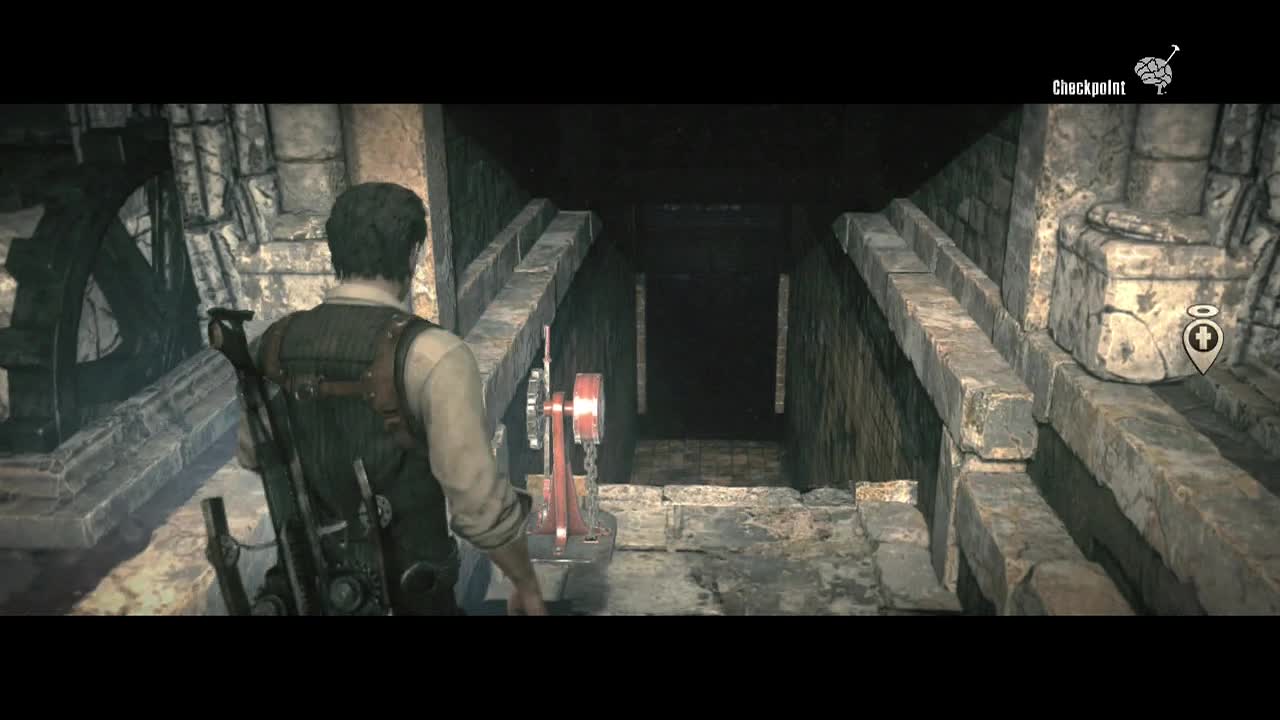
From here you can take either path, but I will describe the path closest to the mirror room first (to the left when you emerge from the mirror room). Descend the stairway and follow the hall to the left. In the room at the end are urns to the left and a Goo Jar (500). The lever here controls a spike trap (look up near the ceiling to see the teeth). This is to show you a new trap type you can make use of in this section. Turn to the right and grab the Trap Parts (3) from the base of the large spike plate.
On a nearby bench is an Audio Log that gives us some insight into how the Keeper came into existence. Before exiting the room, pull the trap lever to slam the plate down and walk onto it. This turns it into a lift, at the top of which you can find a Statue sitting on a stone next to one of the trap chains.
When you are ready, leave via the other door and turn to the right as the hall does. Ahead is what looks like some burning timbers with two valves partway up the wall. Be careful as you move down the hallway as there is a trip wire trap stretched across it. If you drop into the room, you'll find you are too short to reach the valves.
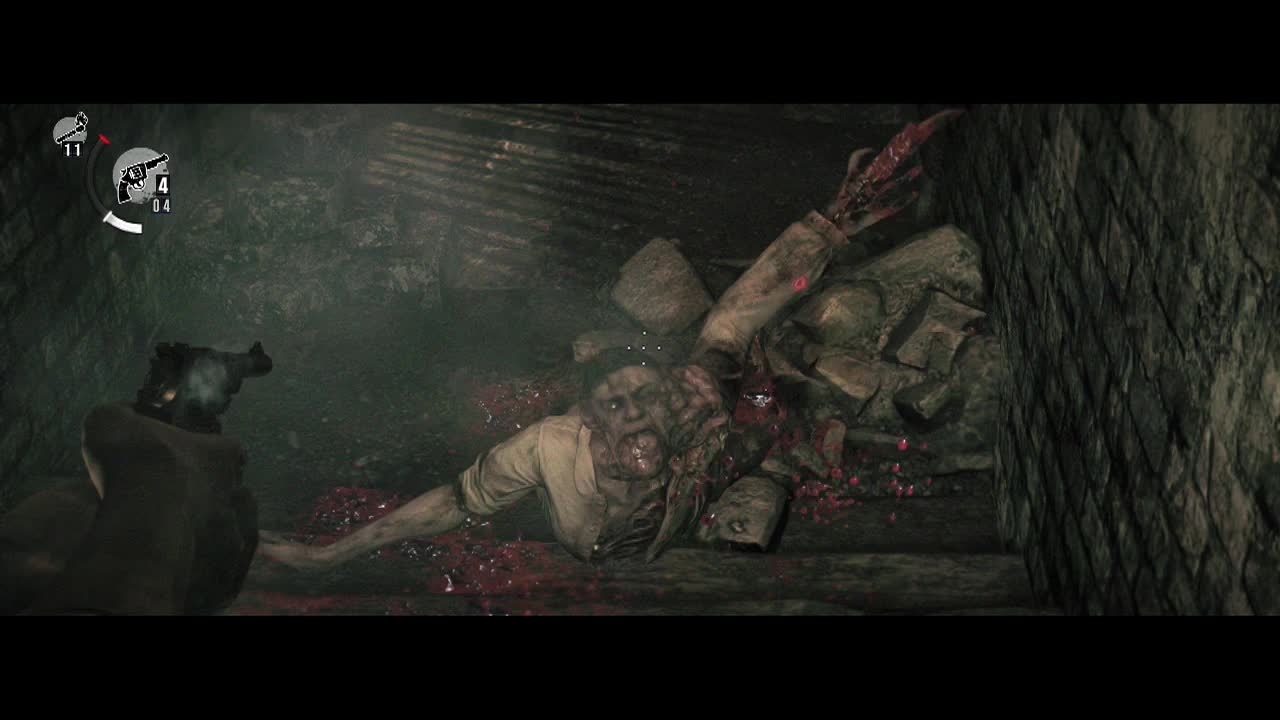
Instead, climb up out of the room and use your pistol to activate them. Be warned that the roof of this small room is a spike plate which will smash down when both valves are activated. You are also about to encounter a new type of enemy. A double headed haunted (alterego) that vomits green acid and does significant grapple damage.
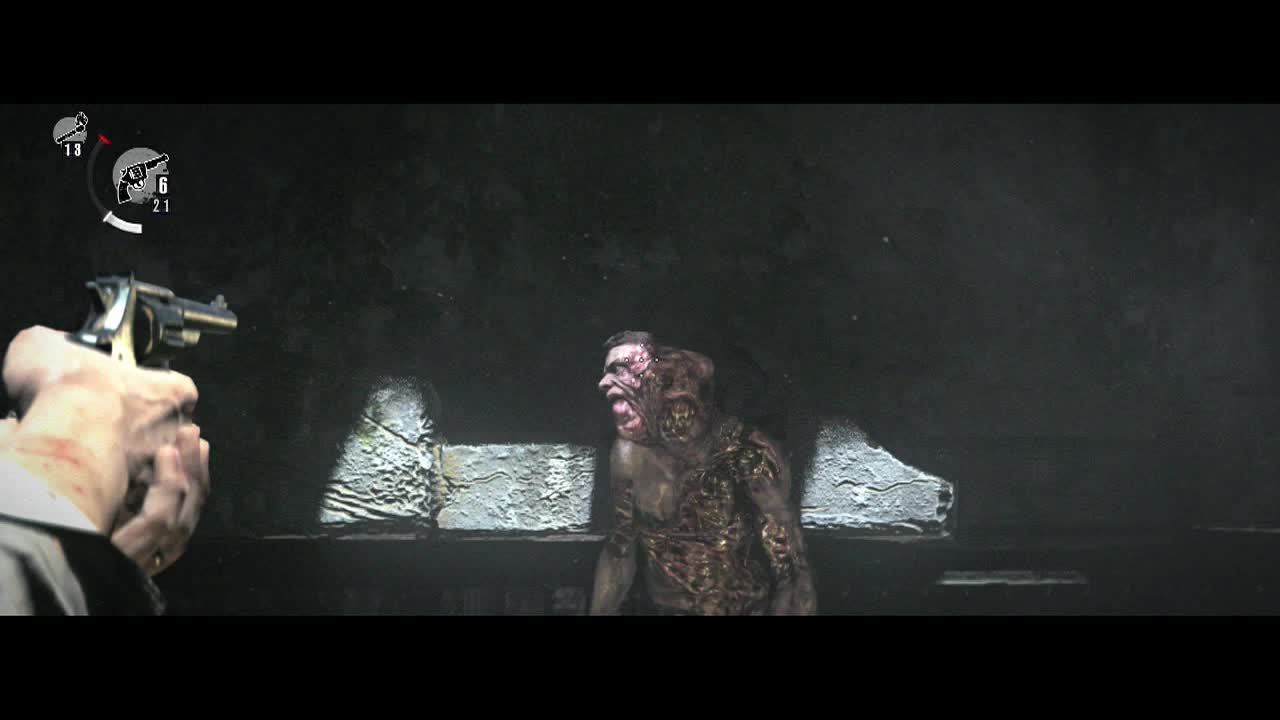
Using a pistol is very impractical (as blowing off the vomiting head has no effect and the second head takes around four head-shots). Instead, use the same strategy as you would with fat haunted. Shoot them in the leg with a shotgun blast (two with these enemies) and then light them up straight away.
When you are prepared for this enemy, flip the valves and ready your shotgun. The dual head haunted will drop from above and smack into the floor before getting up and attacking. Use the aforementioned strategy and you will be fine. When the "lift" stops, head into the new corridor to continue.
CHECKPOINT
Smash the urn to your left as you enter the room and look to the right across the gap. Another of those two headed haunted is hanging from a rope next to the lever. Look up to spot the spike plate above the gap. Ah, well we now know what not to do. In actual fact you can sprint across, but you' want to grab some items instead. Shatter the other two urns on this side of the gap and then crawl into the crawlspace to the left of the gap.
In here you'll find a Goo Jar (300) and as you exit, a trip wire trap to disarm. Walk over to the strung up enemy to have him drop to the floor (you can't burn him while he is up in the air, so don't waste the match). Ignore the shudder from the tripped spike trap and quickly kill the double headed haunted off.
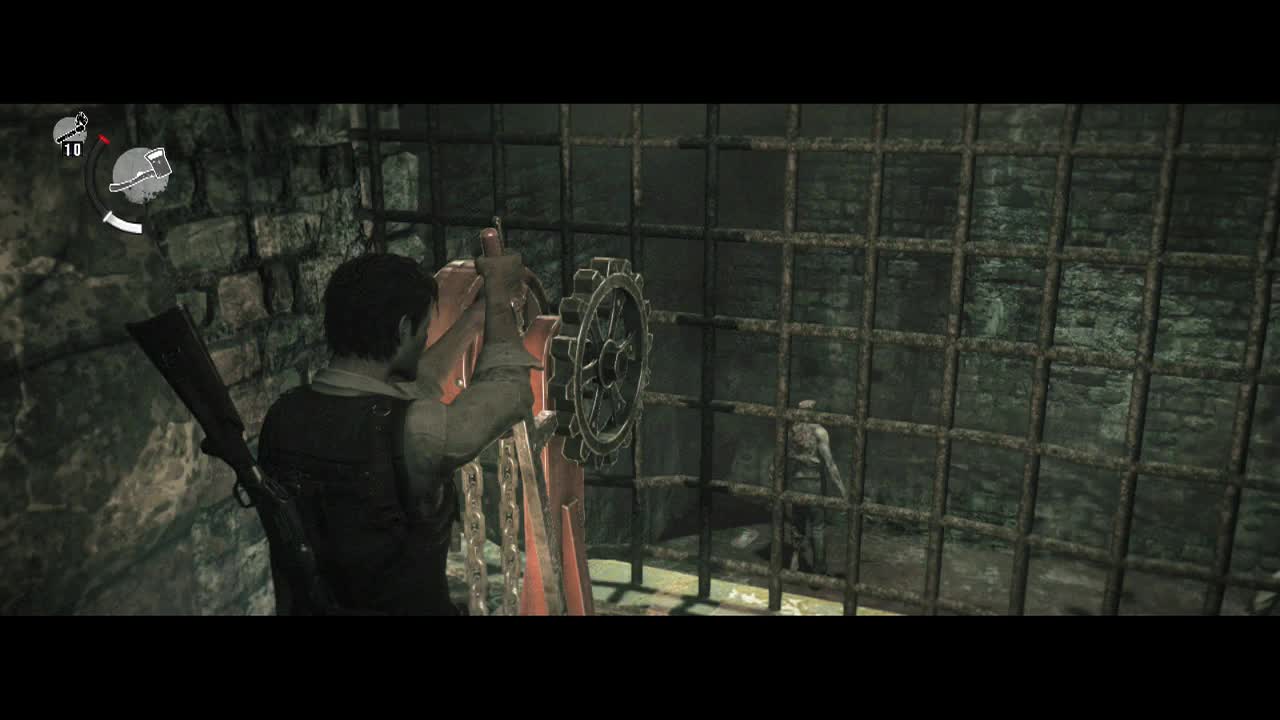
Now, there are two ways of dealing with the next encounter. The first relies on skill and timing. You lure the group of enemies that spawns into the spike trap pit and onto the far side of the room, then circle around through the crawlspace (or just rush back through them) to trigger the spike trap lever, killing the group of five two headed enemies at once. The other method is to use your resources to kill them as you would normally (possibly killing off the stragglers with the spike trap, as they are easier to manage than five at once).
Make your choice on method and then approach the large wheel next to the door. As soon as you start turning it, press B to release it as five two headed enemies will enter the room through a side door. Use your selected strategy to deal with them. Once they are dead, enter the door they came in through to find Shotgun Shells (2) and a path leading down to poisonous gases. Keep this location in mind however, as you will need to return here after completing the other path. Return to the earlier room and use the wheel to open the door without incident.
Now, a word of warning. Ahead is a small drop into a room, two double headed haunted will activate when you enter and another will drop in from above shortly. Quick players can sprint into the room and jump up to the lever to the right to bring down the spike trap above on all of them. Slower players will need to deal with them the old fashioned way, wasting resources. You can ride the spike trap up here. At the top is a Light Bolt (1), Goo Jar ( ), Grenade (1) and a box containing a Key.
Ascend the stairs past the lever and remove Old Lithograph #2 out of the carved stone door. When you do, the door opens to reveal another entry point to the central room with the lithograph slots.
CHECKPOINT
Head over to it and place the new lithograph inside. The mirror room is still there if you want to use it. When you are ready for the next challenge, take the passageway on the opposite side of the room to the mirror room.
Descend the stairs to see purple gas spewing from an open valve. This gas is toxic and will deplete your oxygen level (displayed when the oxygen level where you are is dropping as a meter in the top right of the screen). Instead of walking straight through, turn the wheel next to it to close the valve and shut off the gas.
Open the wooden door behind it and you will enter a short hallway that leads to several cells. A two headed haunted is hanging from the middle of the hall, another is in the open first cell on the right and yet another is in the locked first cell on the left. The second one also triggers a spike trap when he falls (in front of his position), so back up towards the entrance when he falls. The first two will need to be dealt with on the move. Just be careful, use the regular strategy and they shouldn't pose much threat.
The one locked in the cell is blocking your access to Handgun Bullets (5), so make the choice if this is worth it before releasing him. The first cell on the right has Matches (4) at the back. The second cell on the left contains a hatchet embedded in a table. Ignore the second cell on the right for now, we'll be coming back shortly.
A grenade trap will be stuck to the wall just past where the hanging two headed haunted was, so approach it in stealth and disable it before climbing the stairs. As soon as you reach the top of the stairs, turn right and pull the lever there. This will drop a spike plate on the two double headed haunted in the cell below. Now we can return to the cell we just passed up and loot it. Inside is a Goo Jar (500), Sniper Bullets (3), Trap Parts (2) and a Syringe (1) plus anything dropped by the deceased enemies.
Return to where the lever was and look at the cell next to it. Inside is a chair with a grenade trap strapped to the back of it and a Grenade (1) on the floor next to it. Disarm the grenade and grab the other grenade off the floor.
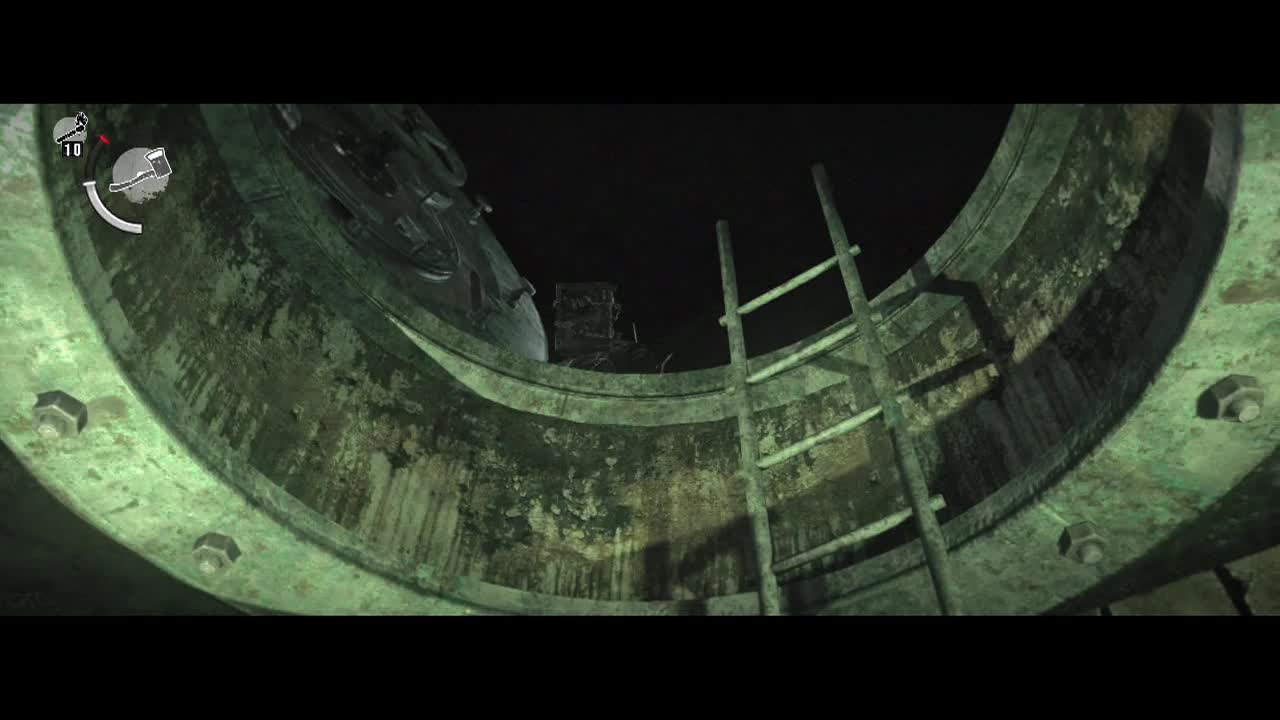
Leave the cell and turn right to find a hatch and ladder leading down. Make sure your shotgun is reloaded before descending (did you notice the lockbox next to the manhole?). As soon as you hit the bottom of the ladder, the Keeper will appear and seal the hatch. After he does, a nearby valve will burst open, meaning you only have limited time to shut off the gas. Run forward and turn off the wheel directly in front of you.
After clearing that plume, another wheel will be behind it. But don't rush forward yet, walk forwards and a two headed haunted will appear from the tunnel to the right in front of you. Slam him with two shells in the legs and burn the bugger. Believe me, you don't want to die to this guy like I did, as you are seconds away from a checkpoint. After that, head for the wheel and close the valve. Now the air is clear, we can loot the place in safety.

Back next to where you entered are Junk Parts (3) on a table. Past the second valve are Handgun Bullets ( ) on the railing next to the ladder. Descend the ladder and hug the right wall to pick up Goo Jars (2x 300). Remember, you'll need to pick these jars up again each time you die before the next checkpoint.
CHECKPOINT
Reload the shotgun and have it ready as you carefully head towards the grenade trap in the hallway ahead. Players with good aim can shoot the grenade trap as three two headed haunted round the corner, weakening them significantly. Finish them off the usual way. If you didn't detonate the grenade trap, disarm it.
The corridor leads to a passage gated off at both ends. To the left as you enter is a grenade trap. Dismantle it and nab the Goo Jar (500) beside it. At the other end of this passage is a wheel that will close off the passage and open up a new one. Whirl it round to open the new path.
At the first corner is a trip wire trap (sneak close to the left hand side for the disarm icon to appear). Before walking to the end of the corridor, I'll tell you how to save a large chunk of resources ahead. Three crawling two headed haunted can be found just past where the pipe running across the floor is at the end of the corridor. You can actually run past all of them and spin a wheel at the end of the hall to ignore them completely. Or deal with them normally, the choice is yours.
There is a Goo Jar (500) to the right past the floor pipe as well (you can sprint over and grab it before running past the enemies). Either way, get to the end of the corridor and spin the wheel to close it off. Head through the now open passage, up the stairs and ascend the ladder. Directly ahead at the top is a Harpoon Bolt (1) sticking up from a body on a slab. Grab it and turn right to go up the stairs.
At the top, you'll find the third carved door and the (final) Old Lithograph #3. The carved door will open up to the central chamber once more.
CHECKPOINT
Head over to the mirror room and do any upgrading and locker pilfering you need to do. This is the time to go back to the first area (on the side with the save point) where the toxic gas blocked our path (in the room where you faced off against five two headed haunted and likely splatted them with a spike trap). Enter the side room and descend the now gas-clear stairs.
There are a couple of grenade traps and trip wire traps spread along the corridors here, so be careful as you progress. At the end of the corridor is a pile with the statue sitting amongst it and below the statue are multiple Goo Jars ( ).
Once you are done, return and place the final lithograph in the stonework to clear the way to your showdown with the Keeper.
CHECKPOINT
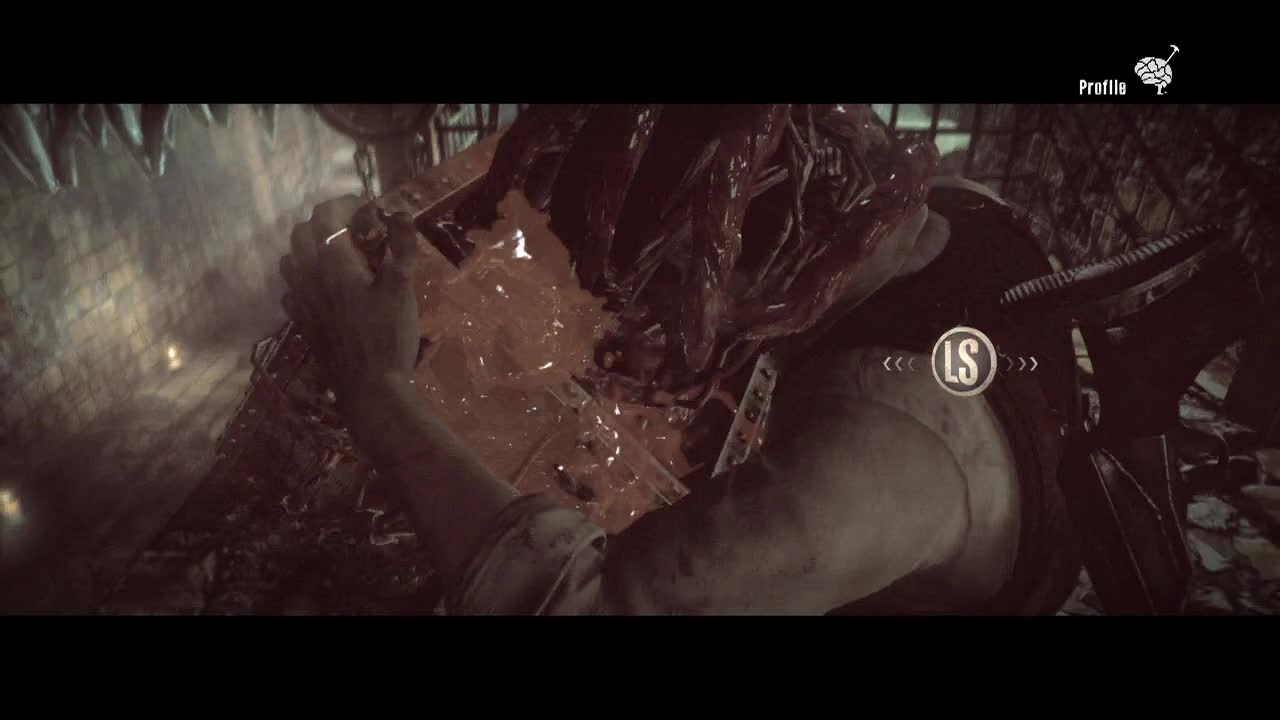
Step down the newly revealed stairs and watch as the metal door opens itself (never a good sign). The metal door will slide open to reveal a corridor full of strange circular plates on the floor. As you near the first one, the Keeper will appear at the far end of the corridor. Sebastian will graciously step backward onto one of the pads to show us that they are in fact barbed wire traps, designed to hold you in place. While not inherently damaging, the movement prevention will often lead to your death.
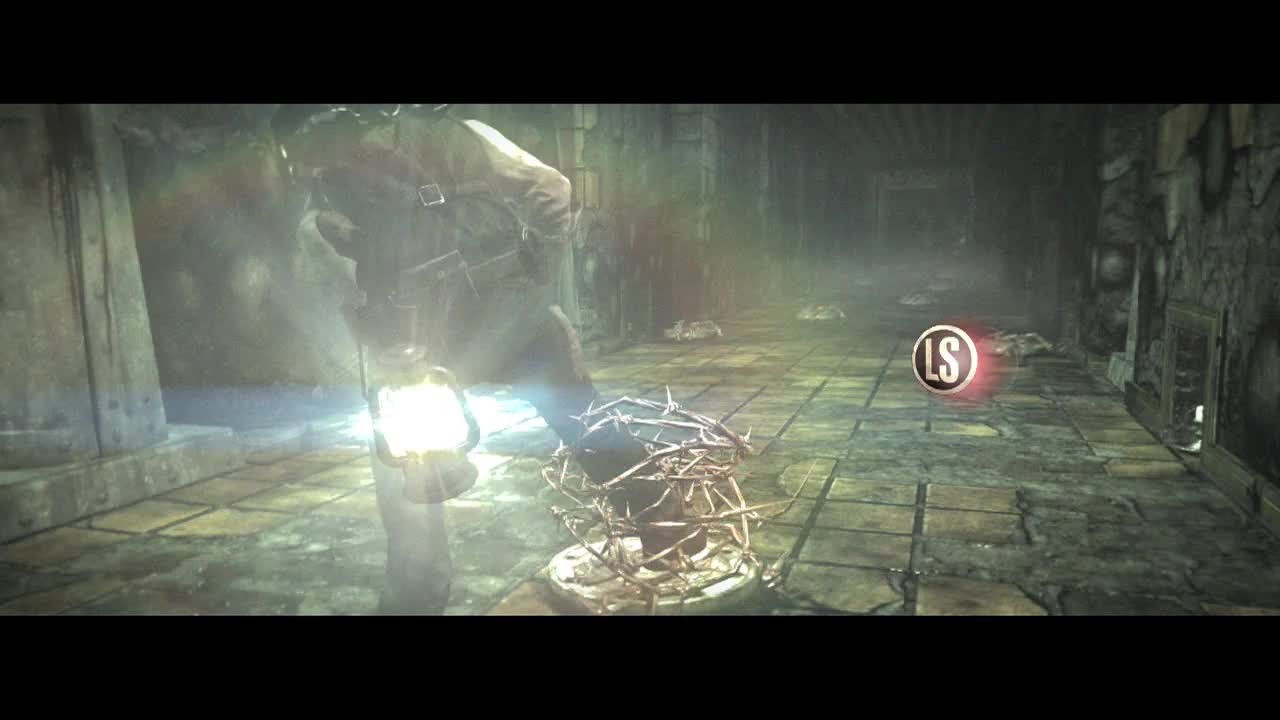
Shake the LS back and forth to escape the trap and take a few steps backward to avoid the spike plates smashing down. When you are ready, approach the first line of traps. When you do, the camera perspective will change and instead face Sebastian. Walk as fast as you can through the trap lines (sprinting only if the spike plates are getting too close. Sprinting will often result in a nasty accident). One mistake here is fatal.
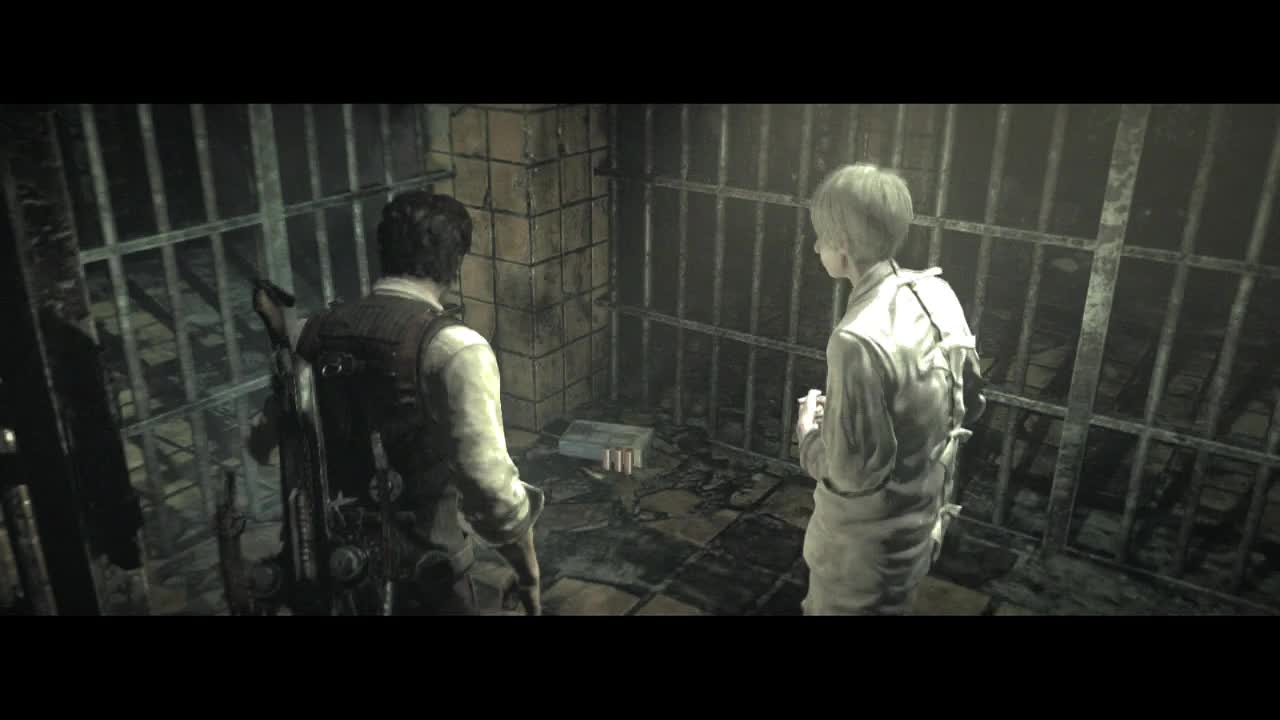
After you emerge from the corridor of death, you will find Leslie locked up in a cell in the center of the room. Smash open the padlock and grab the lone Shotgun Shell (1) from inside the cell. When you have steeled your nerve, turn the wheel next to Leslie.
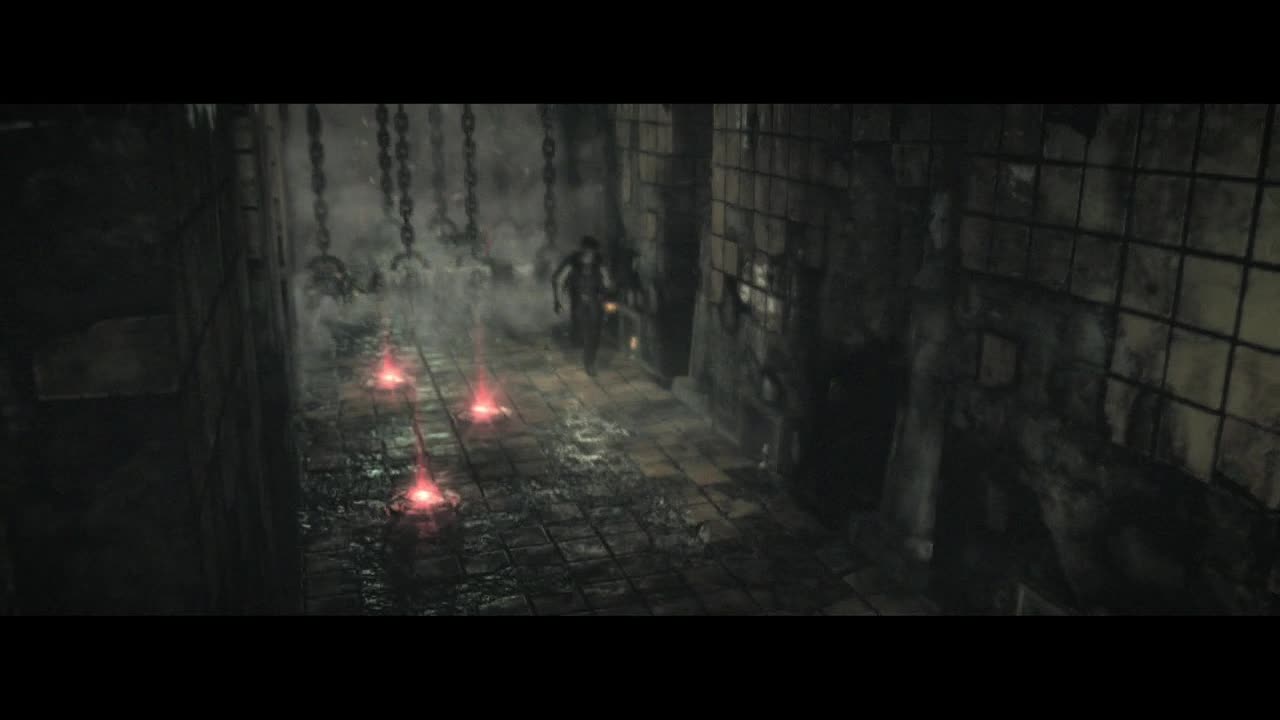
OK, before we begin the real battle, let me explain what is actually going to need to happen for you to win. The area will fill with poison gas slowly the whole time you fight the Keeper. He will continually chase you the whole time. Only disappearing for around ten to fifteen seconds if you deal sufficient damage. The actual goal of this battle is to clear the poison gas and use the revealed exit to escape him.
CHECKPOINT
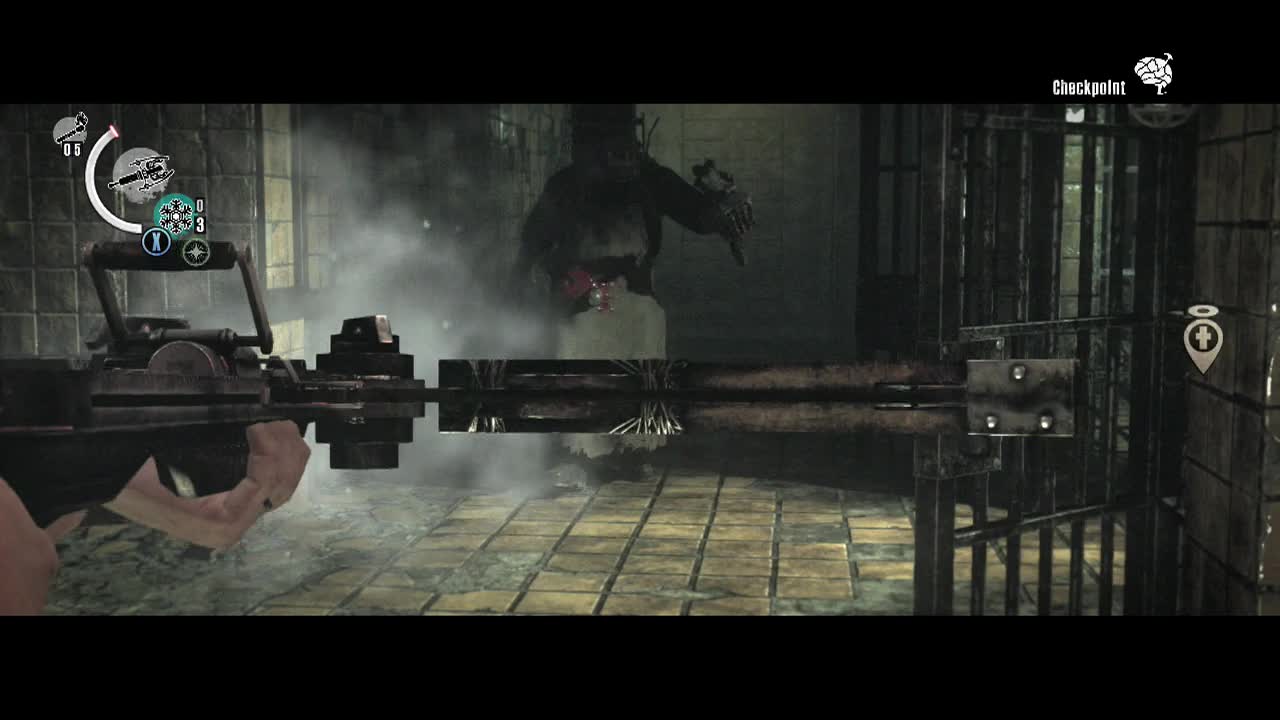
After the scene is over, you will be facing off against the Keeper. This is where that stockpiled sniper ammo and freeze bolts pays off. A single freeze bolt followed by a sniper round or two will kill the Keeper temporarily. Why is this useful? It gives you time to turn the wheels in this area to close the valves coughing out poison gas.
Killing the Keeper for the first time opens the metal door behind him, releasing toxic gas into the area. Run straight ahead (noting the wheel on the workbench here as we will need it later) and turn right. A little further along you will find a circular tunnel blocked by a wall of gas with a wheel to turn nearby. As you approach it, the Keeper will probably rise up again near you. Repeat the previous strategy to bring him down and turn the wheel.

The blocked tunnel will clear, sprint through the now open hatch to close it behind you. Turn around from the hatch and take the first right and immediately turn right again to find the wheel in this room. As you turn it, the Keeper will kill himself, so he can revive in the room you are standing in.
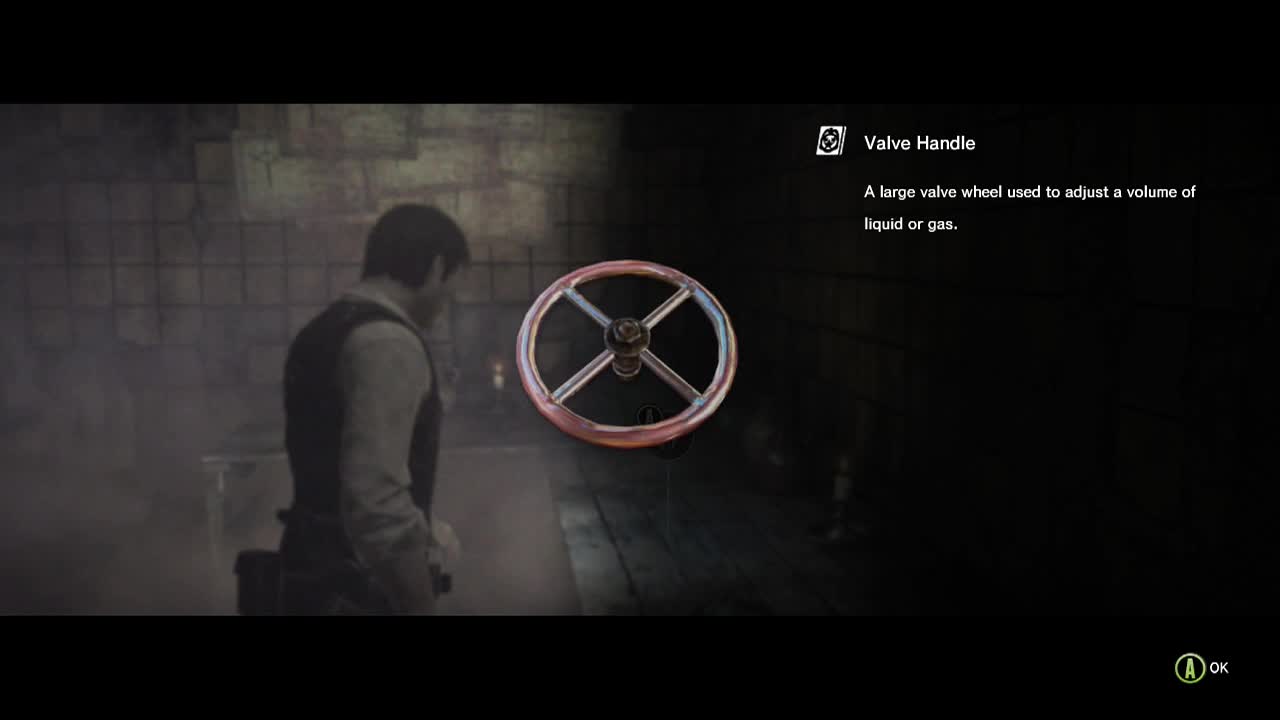
Bring him down again and backtrack to the first room to find a newly opened path (to the left as you enter the first room). When you walk inside a scene occur. After the scene we need to find a wheel handle. Huh, where have we seen one of those? Retreat back to the workbench in the hall between the other two rooms and grab the wheel.
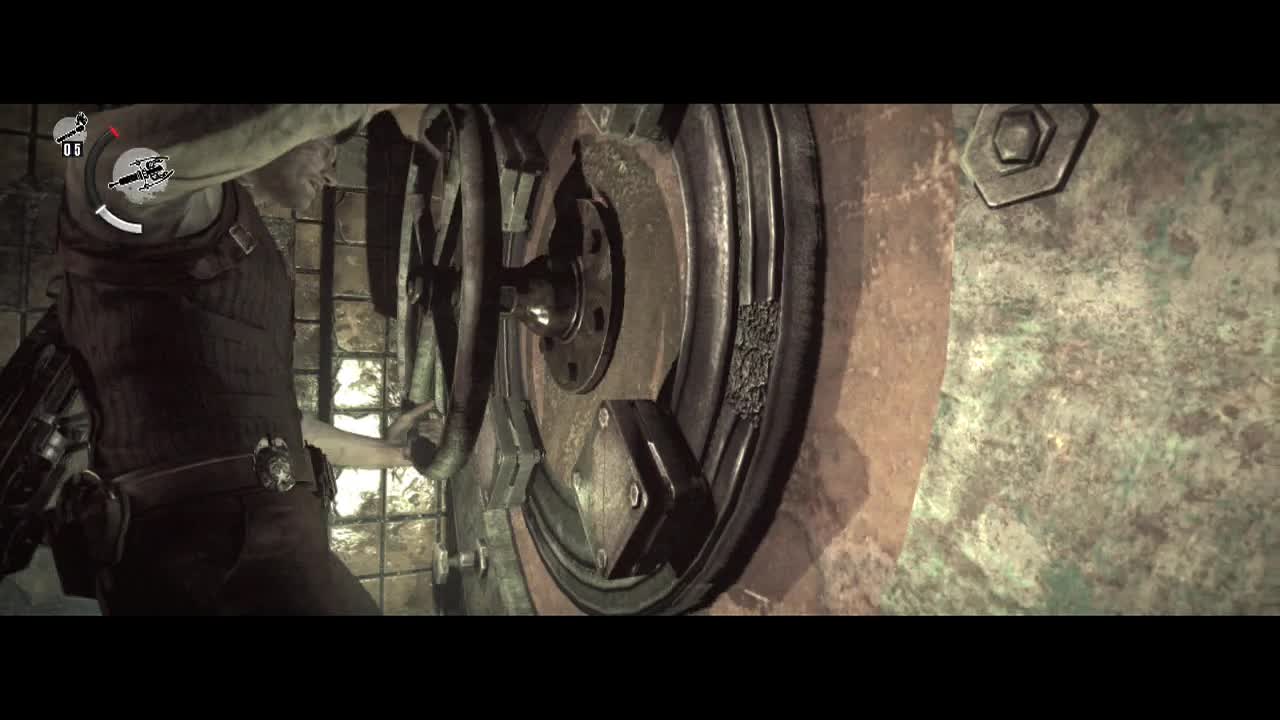
The Keeper will now begin dropping barbed wire traps on the ground between area (visible by a red glowing light through the gas on the floor). You need to get back to the room to the right of the workbench with the handle. A new path will be open in the wall to the right. Just watch out for the barbed wire traps on the ground guarding the hole you need to place the wheel in.
You will probably want to use your last shots here (if you are running low, remember you can use crossbow bolts – harpoon bolts work fine) to bring down the Keeper so you can slot in the wheel and turn it without fear. Items will now be visible in some of the other rooms, but it isn't worth the risk.

The gas will dissipate and visibility will return to normal. Unfortunately the Keeper will still be on your tail. You need to find the now accessible exit hatch. This is just to your left from the wheel you just turned. Descend the stairs, round the corner and slam the hatch shut behind you.
CHECKPOINT
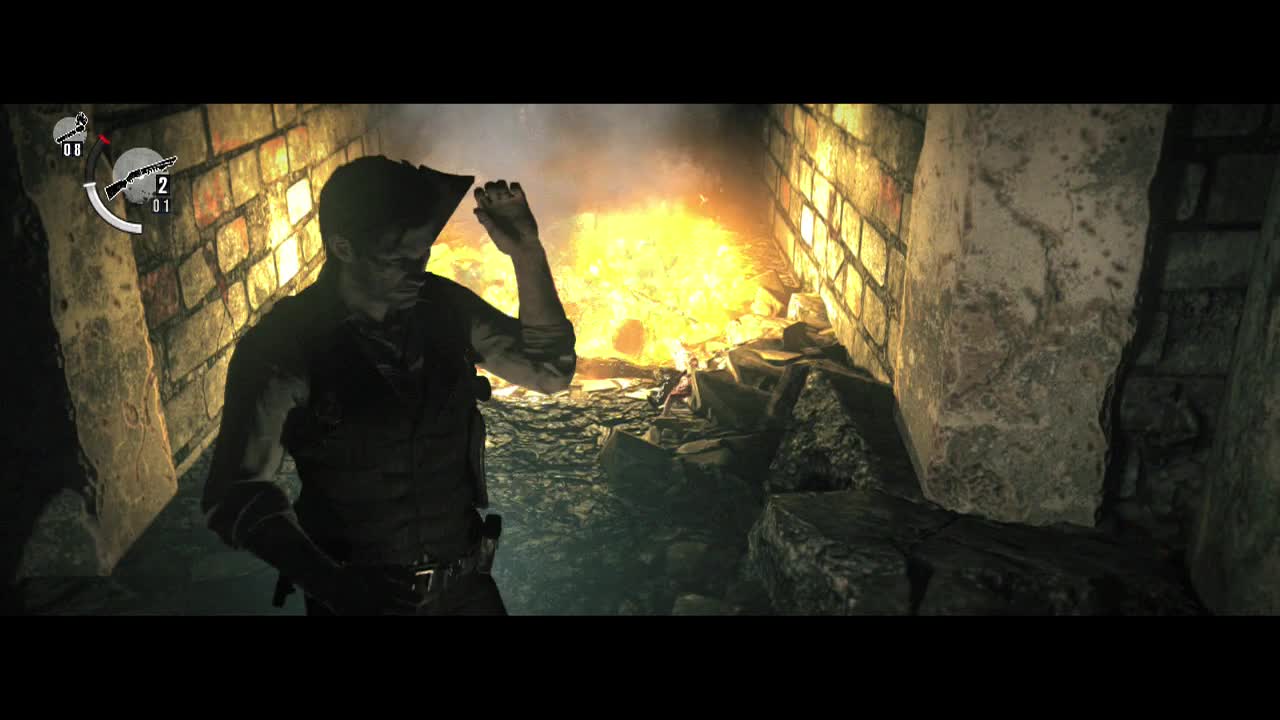
Travel to the end of the hall and ascend the ladder there. At the top, you will need to complete a QTE by shaking the LS left and right. After that, watch the satisfying scene and breathe a sigh of relief. Once you are done, head for the crumbling hole in the wall ahead. This leads to a path split. Take a right to find the path Leslie traveled and at the iron gate at the end is a Goo Jar (800). Return to the split and take the other path this time.
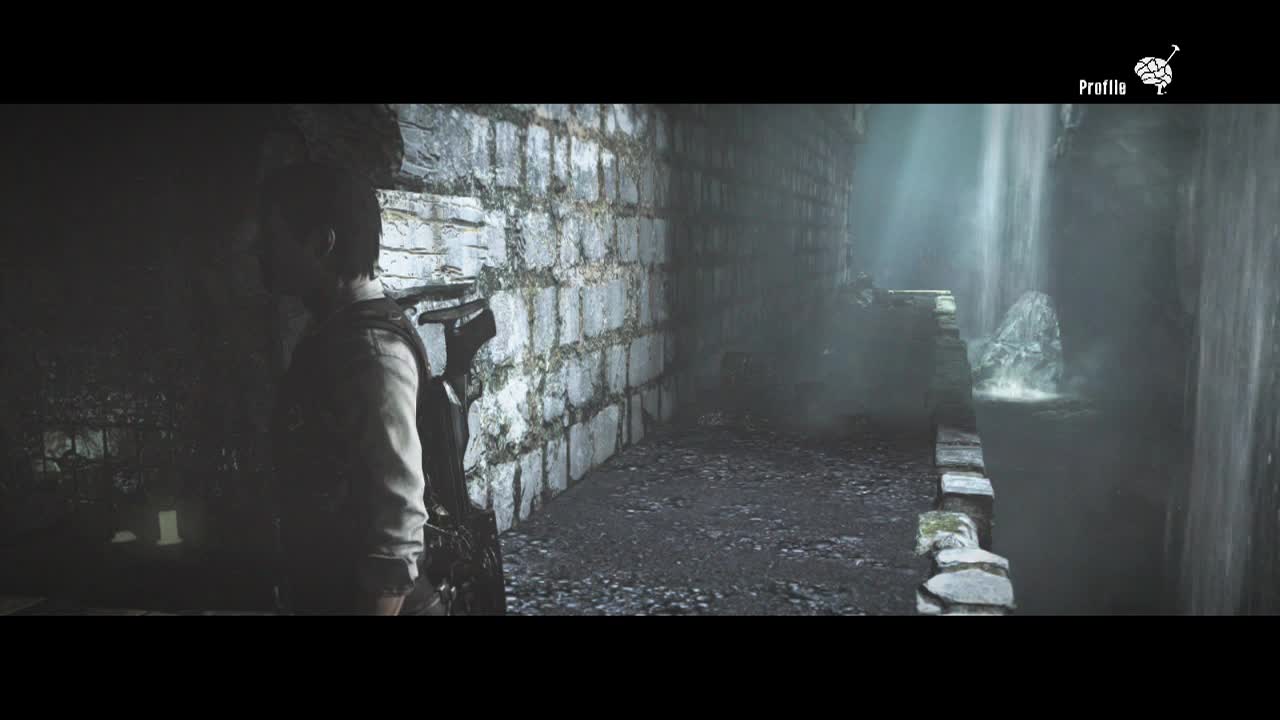
When the path turns left near the waterfall (look at the corner of the path to spot a Goo Jar (500). Follow the cave until you see a ladder. To the left of it is a Goo Jar (500). Descend the ladder and the chapter will conclude.