
Level portal location (hub access): Octan Tower – From the portal room, head through the giant jaw like doors and take a left to the level marker.
When you start things off, the two have cunningly disguised themselves in foil as robots. Shuffle down the aisle between the robot treadmill and production line until you reach the large open area at the back of the room.
_________________________________________________________
Minikit 01/05 – Hacking (Benny)
All the way to the right from where you start is a hack point. This will open the door to the Minkit.

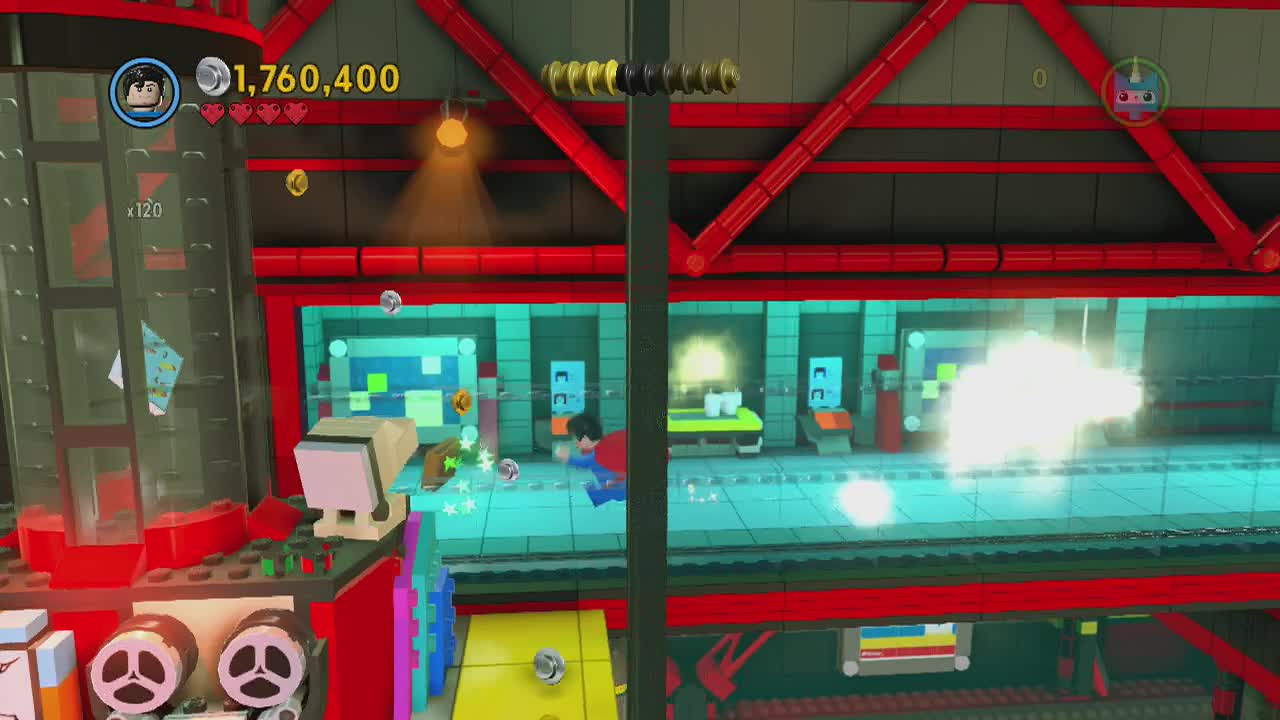
Minikit 02/05 – Flight (Superman)
Above the horizontal line of workers queued, a Minikit is floating in the air. Fly up and get it.

_________________________________________________________
Trundle towards the master build spot, but don't use it yet as we need to get the pieces first. Smash the consoles nearby to the right (not in your living room, obviously) to get the parts to a photo booth. Swap to Wyldstyle and build it up. Shove a character inside and after a few shots, a photo I.D will drop out the front of the machine. Pick it up and take it over to the I.D scanner to the right. This will activate the conveyor belt at the back and belt in two more pieces for the master build spot. Combine all three into a massive home cinema playing Where's My Pants. This distracts the robots on the left conveyor belt, giving you access to the lift for the upper level.
Take the lift to the upper floor and use Emmet's drill to destroy the cracked panel. This gives the first instruction page it's freedom but also means the robots nearby are free to start the smack down. Show them what smack down really means and switch back to Wyldstyle. Build the car and control panel set out of the debris and smash open the nearby door (after getting the first instruction page). Head into the now open rear room and prepare to be rushed by more robot workers.
After they are dismantled, push the block with the acrobatics pole sticking out of it to the other end of the window, It should lock in place and a jump spot should appear on the left side. Swing across and open the door for Emmet.
_________________________________________________________
Minikit 03/05 – Heat (Superman)
On the upper floor, on the right, there is a gold door. Use a heat ray character to cut it down and enter to grab the Minikit.
_________________________________________________________
Take control of Emmet and drill the panel on the central platform. This time you don't need to duke it out with robots to keep it. After that, build a wall-run panel out of the wreckage and, as Wyldstyle, sprint across the gap. To get Emmet across, use the master build spot to create a ladder. Once Emmet has caught up, take control of him and drill the cracked panel once more.
This gives you the third instruction page but enters you into another robot sparring match. Smash the goons and drop down to the now active construction panel. After the sub woofer build sequence the other robots will become suspicious of your robocidal tendencies. Deal with the first wave and then use the master build spot to create a sound system for a dance floor shakedown.
_________________________________________________________
Pants – None
Complete the dance routine with at least nine Awesomes to claim the Pants. If you fail, you can retry the dance by pressing B (prompt will appear) at the front of the dance floor. PANTS!

_________________________________________________________
Once the dance moves have cleared the air, take control of Emmet and head to the far right side of the room to find a now accessible cracked panel to the next area.
When you regain control of your characters (after watching Batman make a fool of himself) guards will be heading your way. Deal with the guards and then swap to Batman and wreck the micro manager that also tries to laser both your characters. Once the immediate area is free of enemies, use the grapple point nearby to pull the face-plate off the connector cable. This reveals a cracked panel for Emmet to drill to pieces. The goal of this area is do repeat this three more times in each corner of the room.
_________________________________________________________
Minikit 04/05 – Flight (Superman)
In the middle of the room, suspended over the bottomless pit, is a floating Minikit.

Minikit 05/05 – Hacking (Benny)
All the way to the right from the starting point is a hack point. This will allow you to control a Micro manager for a very limited amount of time. Destroy the objects in the room, and pick up the Minikit. Boom.

_________________________________________________________
The electrified bridge to the rear of the area isn't much use to our duo so the only way to advance is to the right. This means you have to make it past the audio sensor and traveling electric panel. If you stand on the red (moving) electric panel while crossing it will electrify you and knock you down to the lower area. The objective here is to jump over the red panel while you are not in front of the sensor, then move past the sensor before the electric panel comes back around again.
Once you master this and make it to the other side, deal with the enemies and knock the nearby box down for the other character to quickly rejoin you. As Batman, pull the cover off the next cable and have Emmet drill it through once again. This will move the gantry, halting the electrified right side. Now that you can cross to the rear area, do so. A micro manager will attempt to stop you but Batman and you should both be pros now at taking them down.
Another cable to snap is sitting there so grapple and smash it. A more sophisticated audio sensor lurks back here so you are going to need to be precise with your timing. The way to succeed here is to time your crossing so you can jump over the red panel as it reaches the middle, between the two audio sensors. If you can pull this off, the final cable will be waiting there to be snapped and the huge gantry will drop down level with the entrance to the Kragle's walkway. Head along it to the Kragle to trigger a cut-scene.
In the new area, it's time to rumble as your first task is to free the rest of your friends. Use Batman's baterang or Vitruvius's staff to release everyone and finish off the first wave of guards. Once everyone is free (except Metalbeard) silver lego robots will begin production and chase you around. We need Metalbeard's cannon to deal with them, but we need a laser, but we need a… Alright, first take control of Wyldstyle and head for the robot production pod on the right.
On the side of it is a climbable wall that you can reach, then two poles that actually pulls down the whole row of trapped heroes. It doesn't descend all the way however, so take Emmet across to the right wall and find the repair point that fixes it and brings it down to ground level. Benny can now climb up and use the terminal. Take control of the robot once you are successful and laser the gold pillar underneath Metalbeard's platform. This will drop him down and release him.
Start shooting up the silver bots until the counter runs out and Metal Beard is stunned. The giant micro manager will be your next opponent. To begin to damage it, attach Vitruvius's staff into the arm socket of the micro manager. Then swap to Wyldstyle and swing on it. This will wrench off it's arms, freeing the captives it is holding. It will extend a golden claw but thankfully you still have your silver robot. Melt down the golden blocks and then swap to Batman to grapple the new point on it's front. This will pull it off it's feet and Emmet can now drill apart the robo brain of the manager. And with that, the level ends.
_________________________________________________________
The Special – 100,000 studs
Obtain the above amount of studs to complete The Special and receive a gold brick.
_________________________________________________________