STORY 30 – Final Preparations
Recommended Level: N/A (not shown)
Note: You can trigger the subquests in any order. Once all of them are completed, the story will move on.
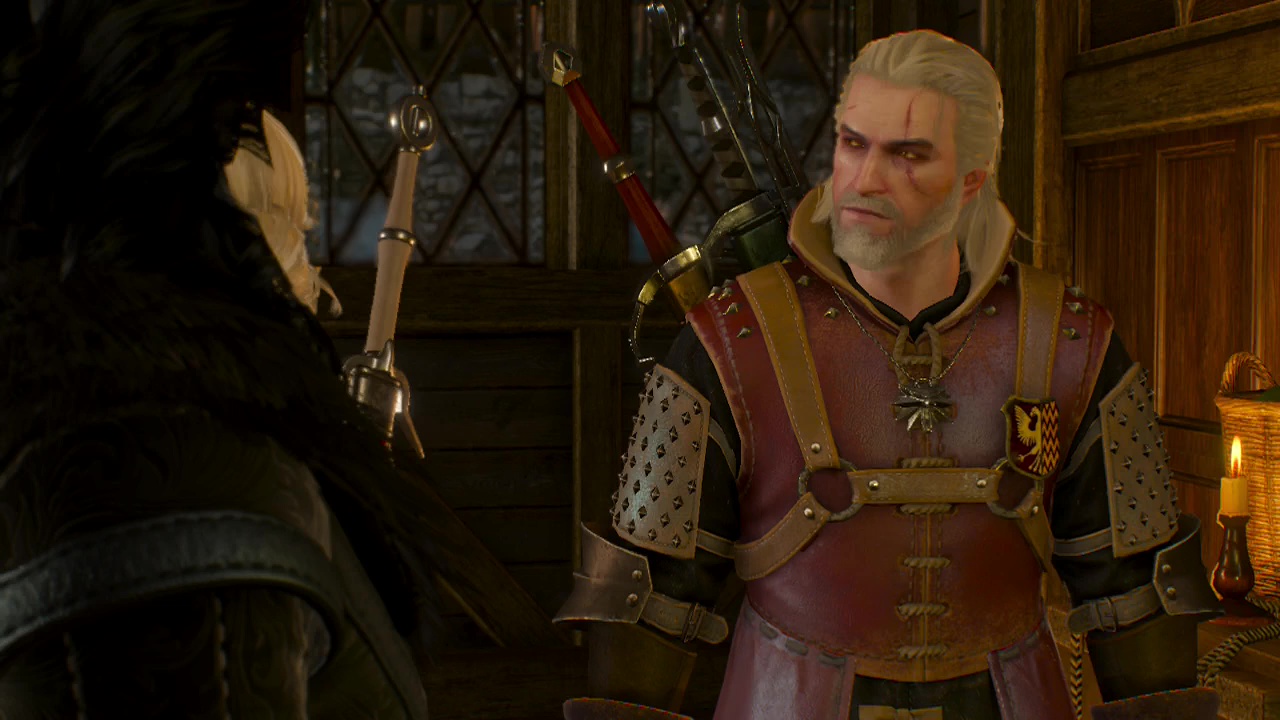
Objective: Talk to Avallac'h
After returning from Bald Mountain, speak to the elven sage at the top floor of Dandelion's establishment. Turns out Avallac'h has thought up a way to remove another one of the wild hunt's leaders from the equation.
SUBQUEST: Through Time and Space
Recommended Level: 26
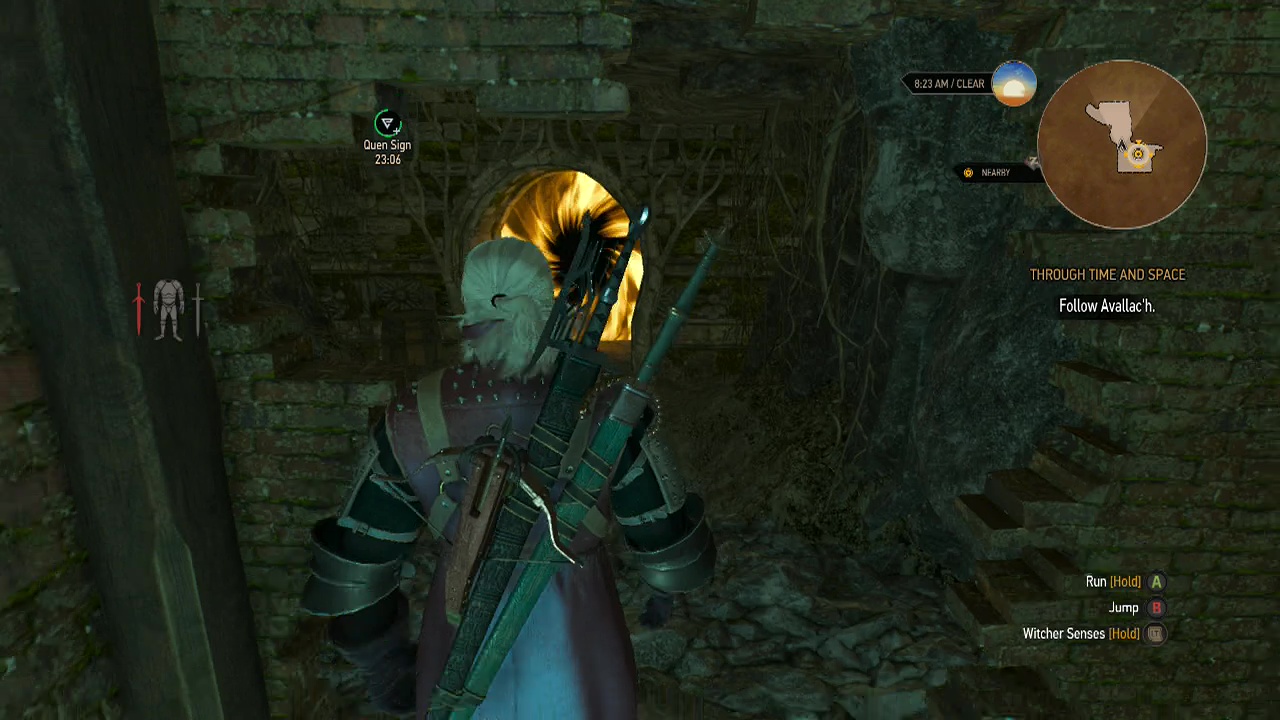
Objective: Follow Avallac'h
Players with a good memory will recognize the house Avallac'h leads you to as the home of the godling you encountered in story quest 10 – Novigrad Dreaming. Enter the house and descend into the basement through the trapdoor like you did earlier in the game. You may have spotted the weakened wall when you visited here the first time. Either way, blast it down with the aard sign to reveal the swirling portal behind it.
Note: As Avallac'h says, there will be no returning until you have finished this subquest. So make sure you are fully stocked up on healing items and potions (as you will likely need them due to unstoppable environmental damage).
Geralt: "I hate portals." Believe me, you will too by the end of this.
Objective: Find the next passage
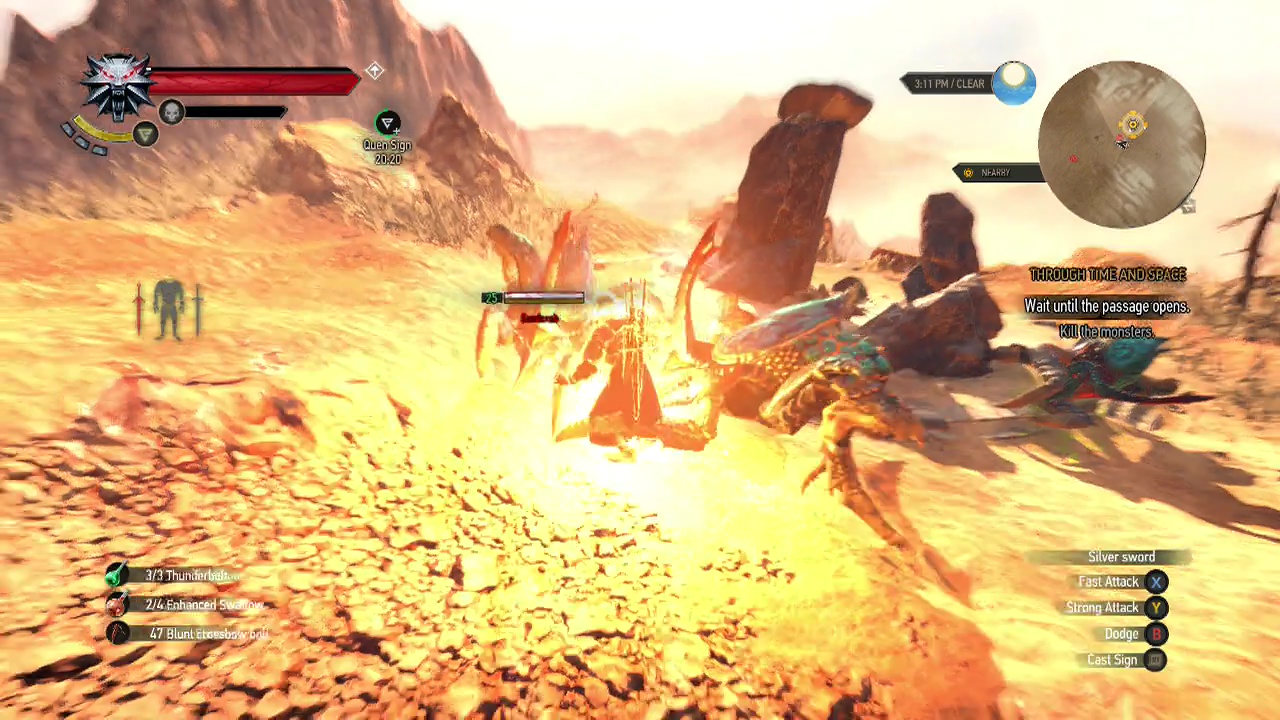
After passing through the vortex, you'll arrive in spartan desolate world (think Monument Valley in the U.S.A or the starting areas in Final Fantasy XII). Walk down the slope with Avallac'h, asking questions about this new world. It's a fairly long walk (you can't run except to catch up to Avallac'h if you lag behind), but you'll get there.
Objective: Wait until the passage opens
When you get close to the portal, the ground will begin to shake.
Objective: Kill the monsters
A few seconds later, the sandcrabs will emerge from the dust nearby and begin attacking. They are fairly easy to deal with but you will need to kill at least nine or ten of them before the portal opens.
Objective: Travel to the next world
When it does, ignore the remaining crabs and make a run for it. Entering the orange rotating energy.
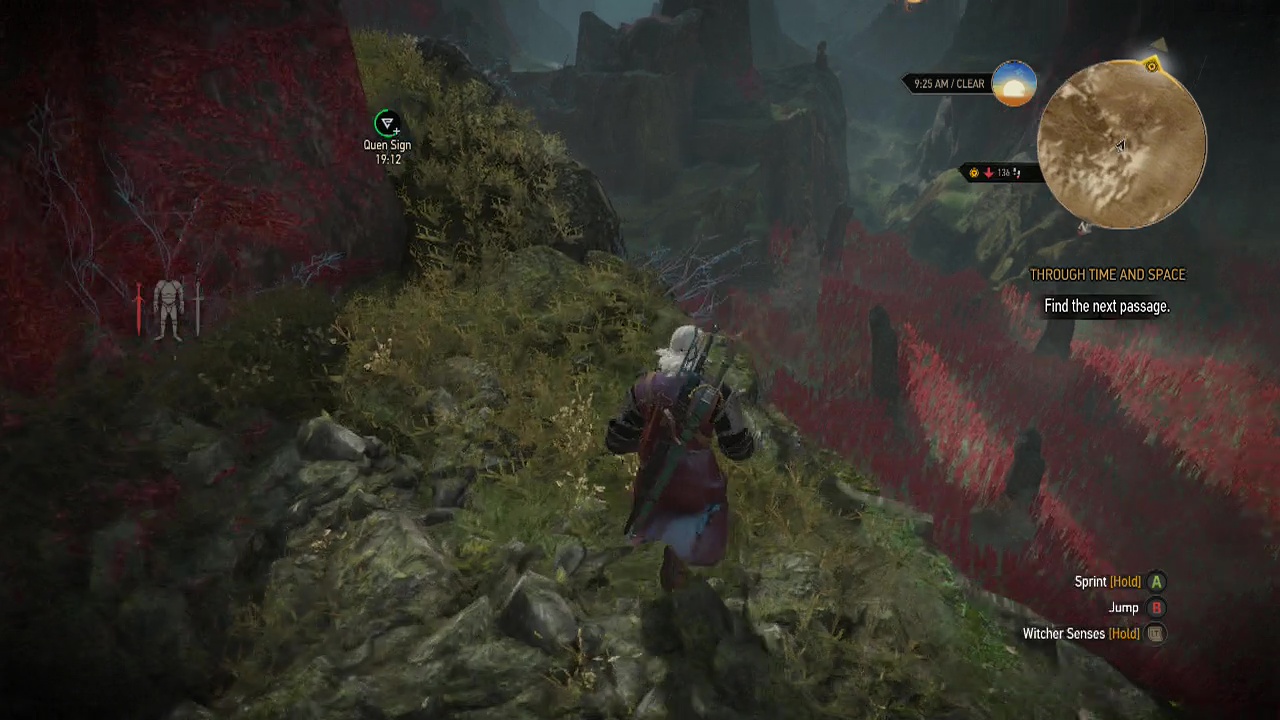
Objective: Find the next passage
In this world, you'll be surrounded by stones covered in a red moss, with Avallac'h missing (of course). Work your way down the ledge to trigger a scene showing the next portal. Be forewarned: the dense red grass generates vapours that that force Geralt to hold his breath, so make sure to sprint through it as fast as you can to prevent asphyxiation/ death from lack of breath. Circle around and climb up the other side of the ledge to find your first patch of red grass.
Bolt through the grass and climb up the ledge to the open area just beyond. Wait there for a few seconds to refill your lungs before moving on. Repeat the same process on the next patch of red grass. Clambering up the ledge to safety on the other side. Using this method, you can work your way down the cliff face. Just be aware that some areas of the red grass don't produce vapours (like the large open area surrounding the portal below). So don't assume that red grass is always equal to death, or else you'll never reach the portal. Pass through once you get there.
In the next world, you'll be deep underwater. Ignore everything else and immediately begin swimming as fast as you can to the next portal ahead of you to avoid drowning. Yeah, this isn't the time for screwing around. Enter the portal to move on.
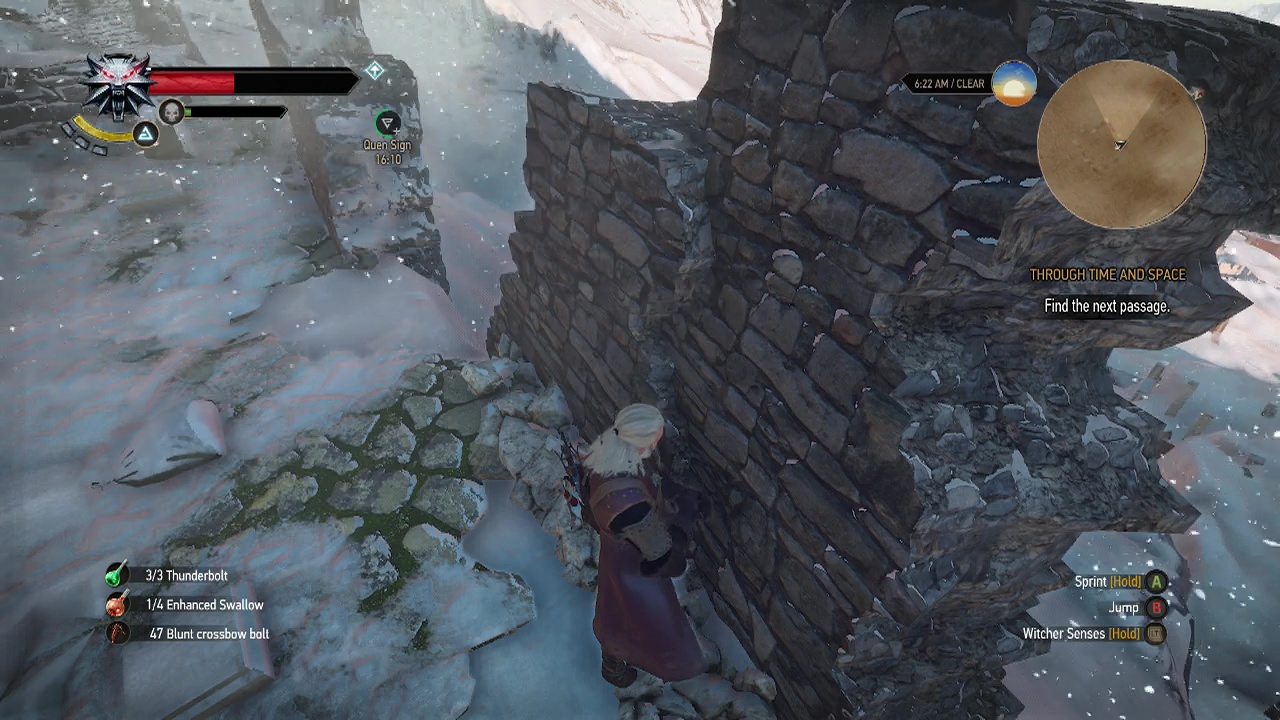
You'll come out this time in a cave encrusted with ice. Work your way along the frozen passage until you reach a wall of ice blocking your path.

Note: This is the most dangerous area of this subquest. The air outside acts in a similar fashion to the ice damage caused by the wild hunt's spell (damage over time when exposed to the cold). The damage is rapid and quite severe. So think before moving out into the cold.
The idea of this area is to run between safe areas. Safe areas are building interiors and behind walls that block the freezing winds. Make sure you know where you are running to and don't just run out hoping to find cover. Your swallow potions and recovery items will help here, but won't be able to counteract the damage you will take directly. You'll need to use them in a place safe from the wind to gradually regenerate some health.
One of the key things here is the presence of fires. If you find anything you can ignite (old camp fires, braziers etc), do so. This is because it generates a healing AoE around it, allowing you to recover before the next sprint through the snow. So take advantage of them wherever possible.
When you are ready, smash through the ice blockade with aard or a weapon and sprint directly ahead to find a small outcrop of rock with some loot bundles. From here, run forward and right slightly down the slope (follow the trail of footprints in the snow) to reach another rock to hide behind. Look to the right from this location to spot some half buried stairs and a stone wall you can move to. From this position, keep moving in the same direction, but when you reach the end of the wall, turn and hide behind it for your next stopping point.
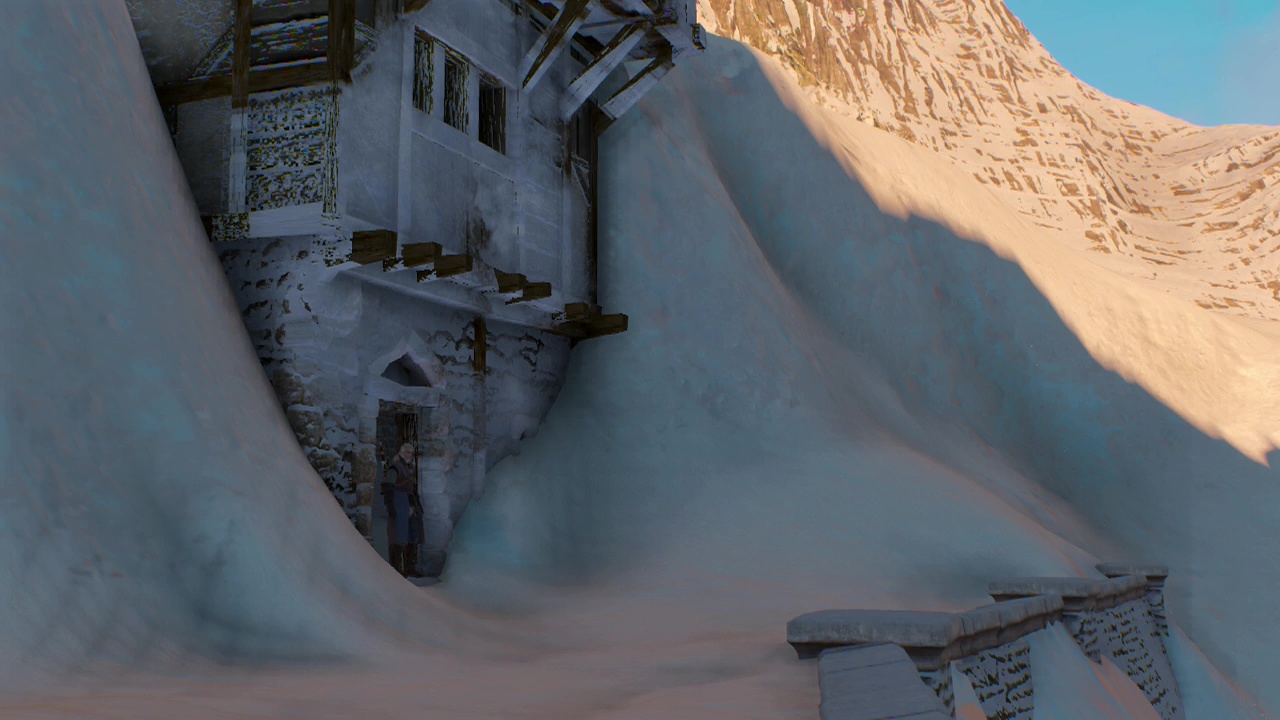
Run out from the wall to the North to find another stone wall to hide behind. This wall should overlook a slope leading down to the village below. This is where you'll need to run for it. Heal up as much as you can. Before moving, look down the slope to spot the closest building (should be ahead to the left). You will need to reach the front of it to trigger a scene which places you inside it safely. Sprint down the slope towards the building and run along it's right side to hopefully trigger the scene before you freeze.
Note: There may be other less dangerous ways of doing this, but this was the method I found.
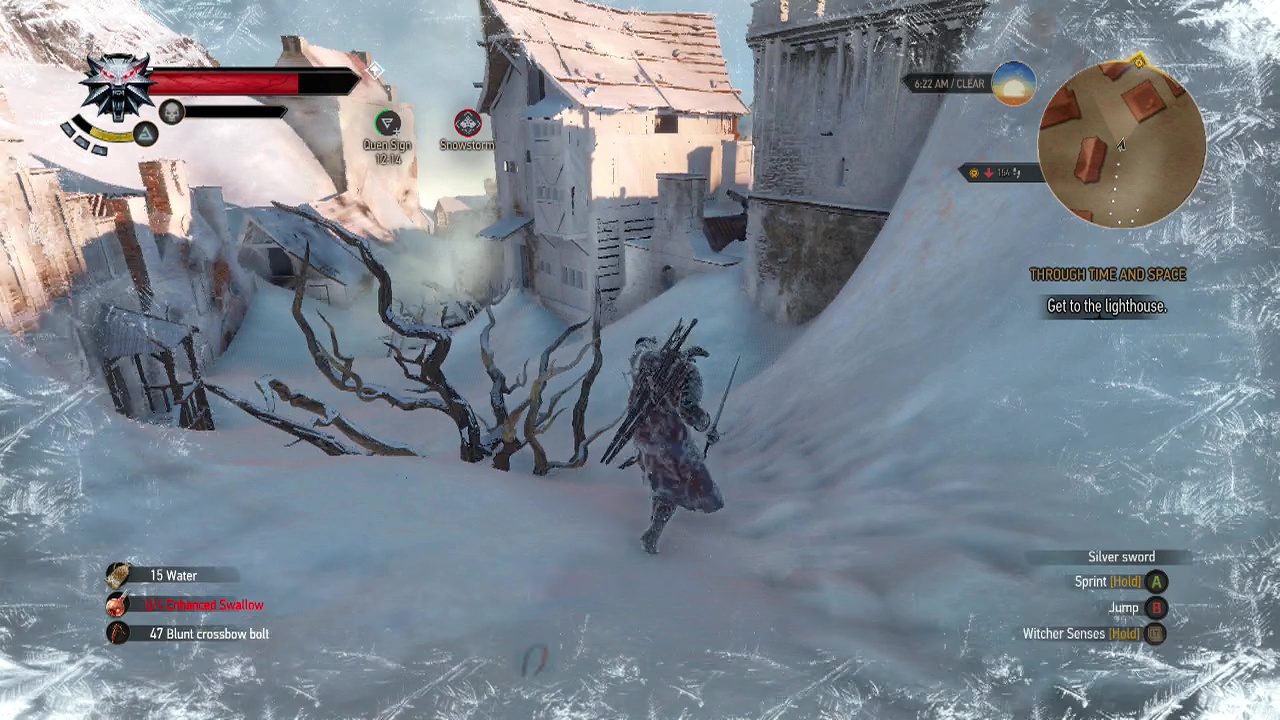
Objective: Get to the lighthouse
Use this chance to recover your health (use healing items and try to conserve a swallow potion or two for emergencies). When you are ready, leave the building and turn right, running along the top of the wall until you can take cover behind the roof of a building. Look left from here to see a slope leading down to the open door of another house. This is your next destination. Sprint down the slope and run through the open door.
On the lower level of this place, you'll find the remains of a bonfire (amongst the other remains). Kindle it (yeah, Dark Souls reference) to regenerate your health quickly. The downside of doing this is that two hounds of the hunt will appear and attack you. However, if you stay in the healing area of the fire, they should pose little threat. Use your sword and the igni sign to make short work of them. From this place of safety, you will need to run down the street (follow the footprint path). The houses here will block some of the snowstorm damage, so you should be able to make it a set of stairs at the far end with about half your health remaining.
Follow the stairs up and through a couple of doorways until you find a hole in the brick wall to the left. From here you'll see multiple braziers down the hill below you. Charge through the hole and run down to them to heal up. Shortly after reaching them, you will be attacked by more hounds of the hunt. Stay within the healing area and repeat the usual tactics to get rid of them. It is funny when one of the hounds gets stuck in the snowstorm and dies (you'll see the final one frozen by the storm in the video).
After you are back at full health, look around for the nearby lighthouse and sprint through the door at it's base to reunite with Avallac'h.
Objective: Travel to the next world
After the scene plays out, accompany Avallac'h into the portal to finally reach your destination.
Objective: Follow Avallac'h
Trail after Avallac'h through the stone halls and out into the gardens to meet Ge'els.
Objective: Talk to Ge'els
Walk over to him to trigger a long series of scenes, in which you convince Ge'els to stay out of the upcoming fight and return to your world.

End Subquest
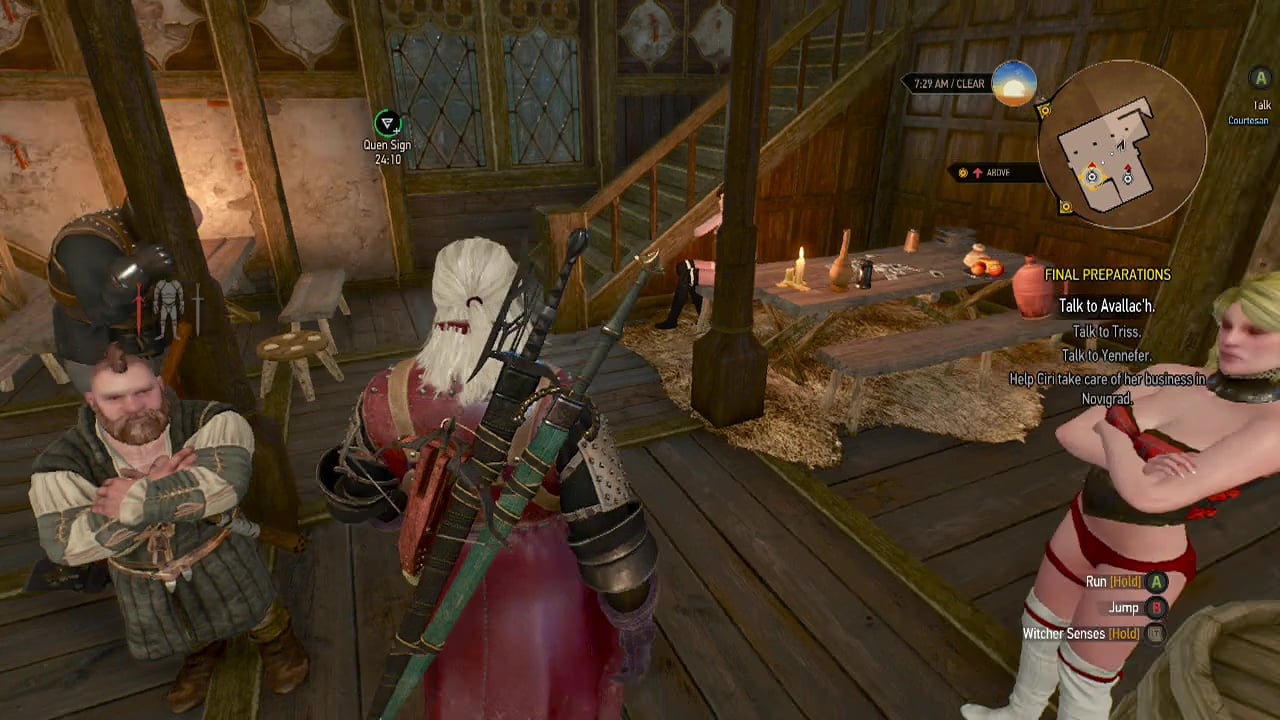
Objective: Help Ciri take care of her business in Novigrad
Talk to Ciri to trigger a subquest.
SUBQUEST: Payback
Recommended Level: 28
Objective: Go with Ciri to see Whoreson Junior
Note: The following description details if you killed Whoreson Junior in story quest 12 – Get Junior
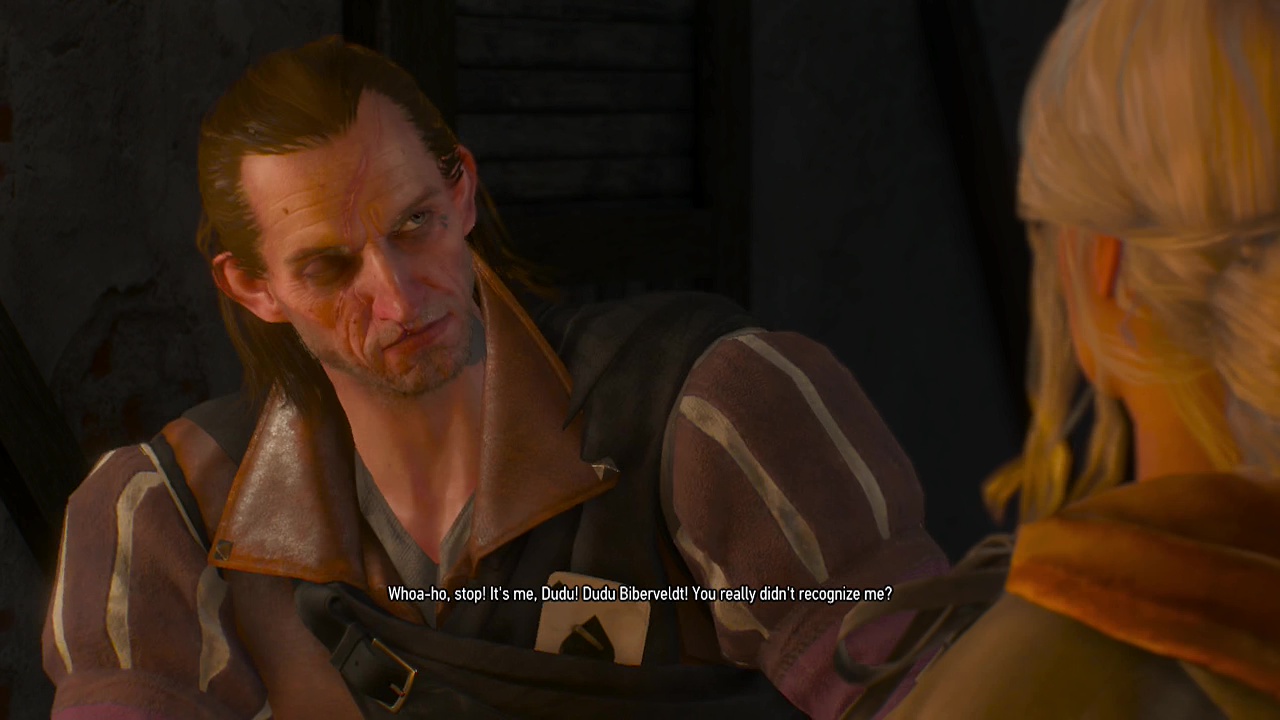
Looks like we didn't kill the bastard hard enough. Amble along behind Ciri as she leads you through Novigrad until you encounter a couple of Whoreson's men. Wow, witty reparte from these guys. Use the axii sign to get past or force your way through to get inside. Looks like they're still cleaning up the casino after Geralt's last visit (or not). Climb the stairs up to the top floor to find Whoreson. Or not, looks like we found out where Dudu ended up after his stint as head witch hunter. Have a chat with Dudu about what he's been doing as Whoreson and leave when you're ready.
Note: If you don't kill Whoreson Junior in story quest 12 – Get Junior, you will encounter him as a beggar on the street.
Objective: Follow Ciri
Ciri will want to visit one of the serving girls at the Golden Sturgeon next. Trail after Ciri through the streets of the city until you reach the tavern. When you arrive, you'll find her being threatened by a group of men. I loved Geralt's second dialogue choice here: Or I'll throw you out. Just the world weariness in his voice. "Let's get this over with."
When the battle starts, these guys don't really stand a chance. They're caught between Geralt and Ciri in the equivalent of a blender. Use counterattacks and the quen sign to quickly put them out of your misery. After the battle, Ciri will express her gratitude and you'll be on the move again.
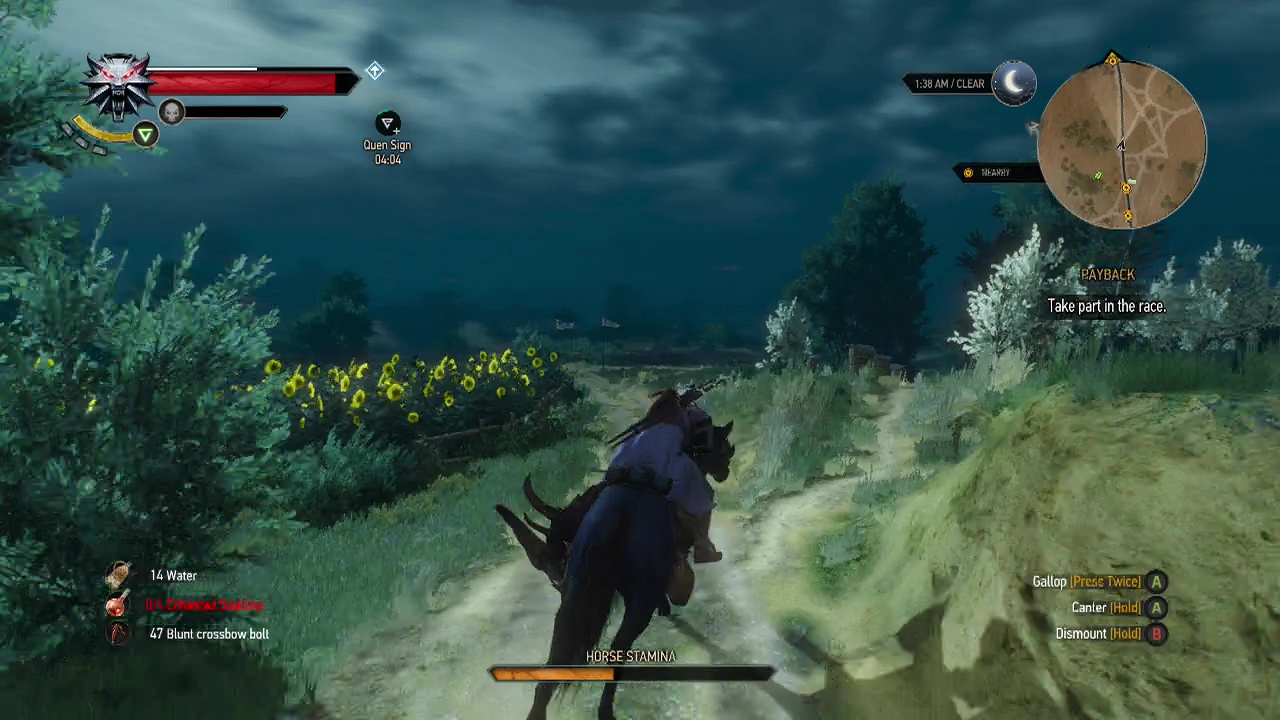
Your destination this time will be a traveling group of non-humans on the outskirts of the city. Stay awhile and listen. During the conversation, you'll be challenged to a race. At this point in the game, you should have a decent saddle, so winning shouldn't be difficult. I had about a fifth of my horse's stamina remaining at the end of the course.
Objective: Meet Ciri and Aegar near the Novigrad stables
Later, the conversation will turn to the group's lack of horses. After agreeing to help out, you'll find yourself just outside the stables.
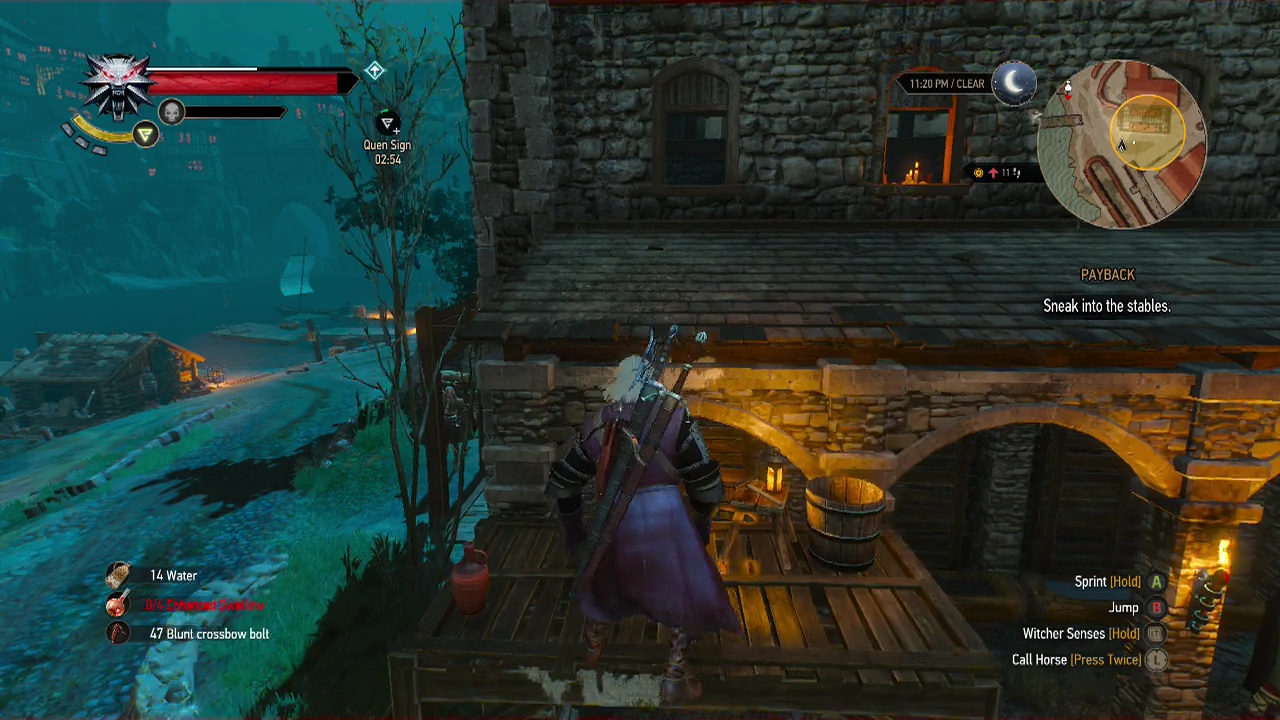
Objective: Sneak into the stables
Walk over to the area marked on the mini-map and you'll spot some scaffolding on the left. Climb up onto the roof and enter the door to walk into the upper level of the stables.
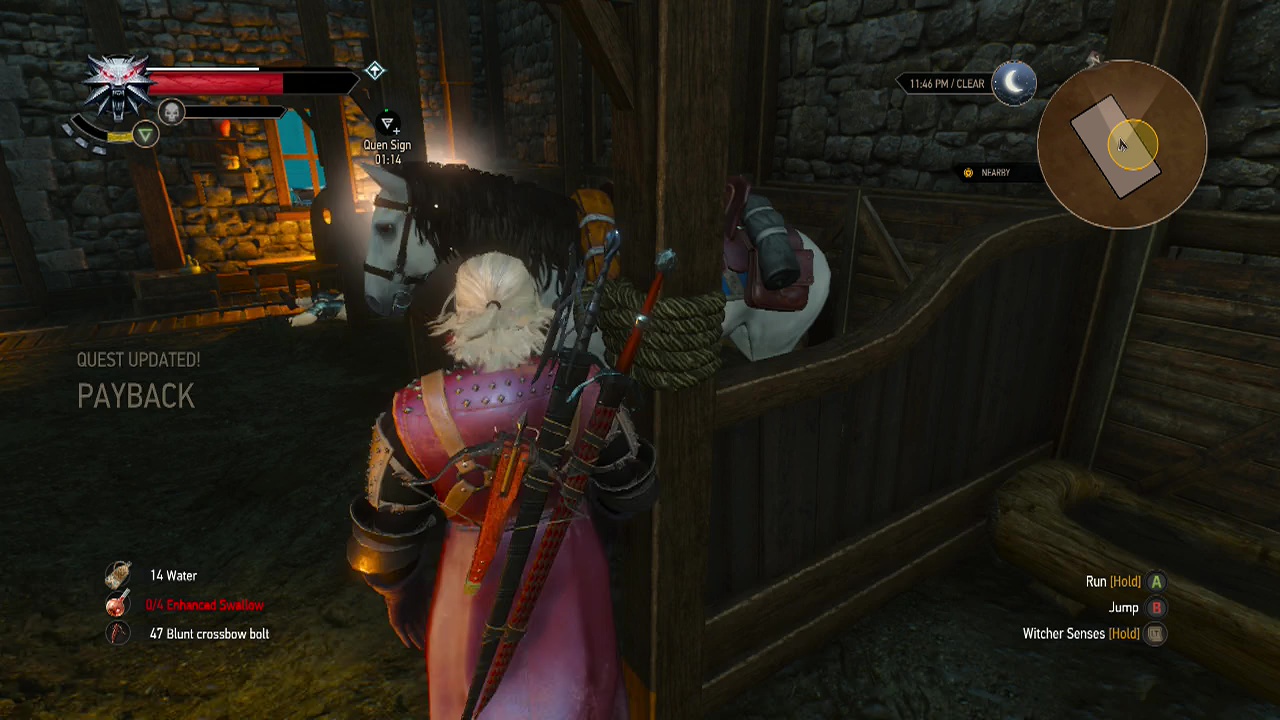
Objective: Find a way to open the stable doors from the inside using your witcher senses
See, if I was a real jerk, I'd set fire to the hay up here with the igni sign and get the stable guard to open the door when he flees from the fire. Unfortunately the developers didn't cover all the being a dick options, so you'll need to take the stable key from the table near the sleeping guard and unlock the door. If he does wake up, you'll need to best him in a manly battle of fisticuffs. However, you can cheat and use signs during this if you are having issues. Unlock the door when you are done.
Objective: Calm the horses with the axii sign (3)
You know what to do. Calm those horses. Imagine the neighbours: "Shut those damn horses up, we're trying to sleep in here." After that, watch the escape scene play out.
End Subquest
Objective: Talk to Triss
Meet up with Triss at Dandelion's establishment to trigger another subquest.
Note: You'll see Keira's ending play out here – If you let her keep the documents from the tower or convinced her to give them to you.
SUBQUEST: Blindingly Obvious
Recommended Level: 28
Objective: Go to the bathhouse with Triss
Well, well (raises eyebrows). That's an interesting sounding objective. Anyway, follow Triss through the streets to Djikstra's establishment to trigger a scene.

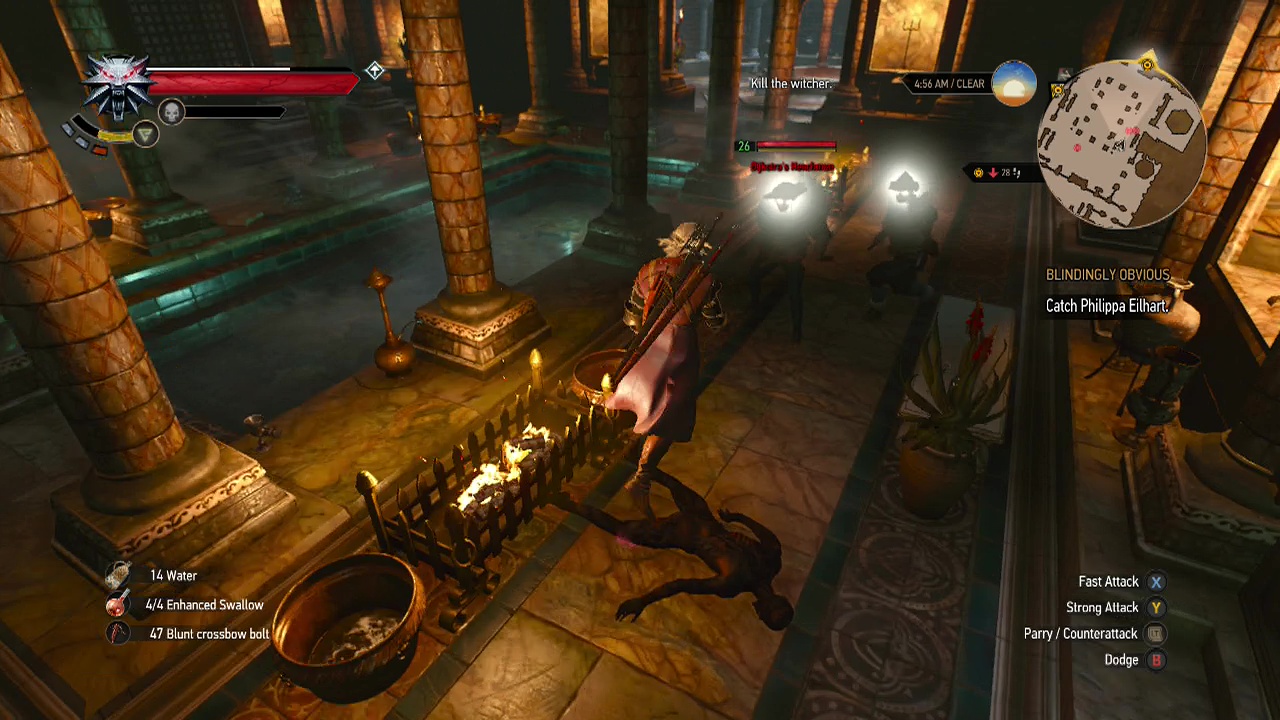
Objective: Catch Philippa Eilhart
After you've seen her smash up the place and take control of the guards, you'll regain control of Geralt. Pass through the changing room door to enter the main hall of the bathhouse and take on the possessed guards. The quen sign and counterattacks will be your quickest way through, or special attacks if you have unlocked them in the character section. Run to the back of the area to find the stairs leading down to the vault area you investigated in story quest 13 – Count Reuven's treasure.
Climb down the ladder to find more guards waiting to engage you in battle. During the fight, you will hear Philippa taking control of Bart the troll further along the passage. After the fight, round the corner to talk to Bart. Geralt, being a smooth operator will convince the troll to let him past. Looks like they hired an exterminator to get rid of that lethal mould that was here earlier in the story, eh? Plotholes fellas. Run past the troll and wind your way through the tunnels until you encounter a cornered Philippa.
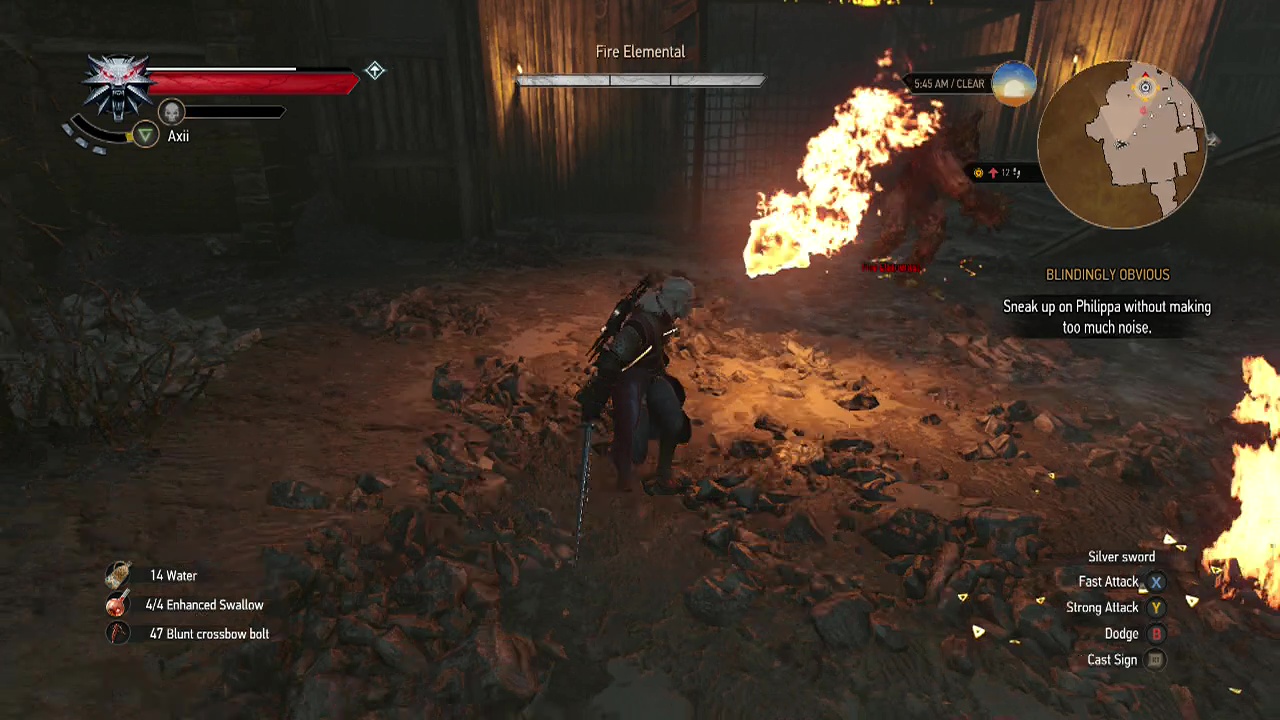
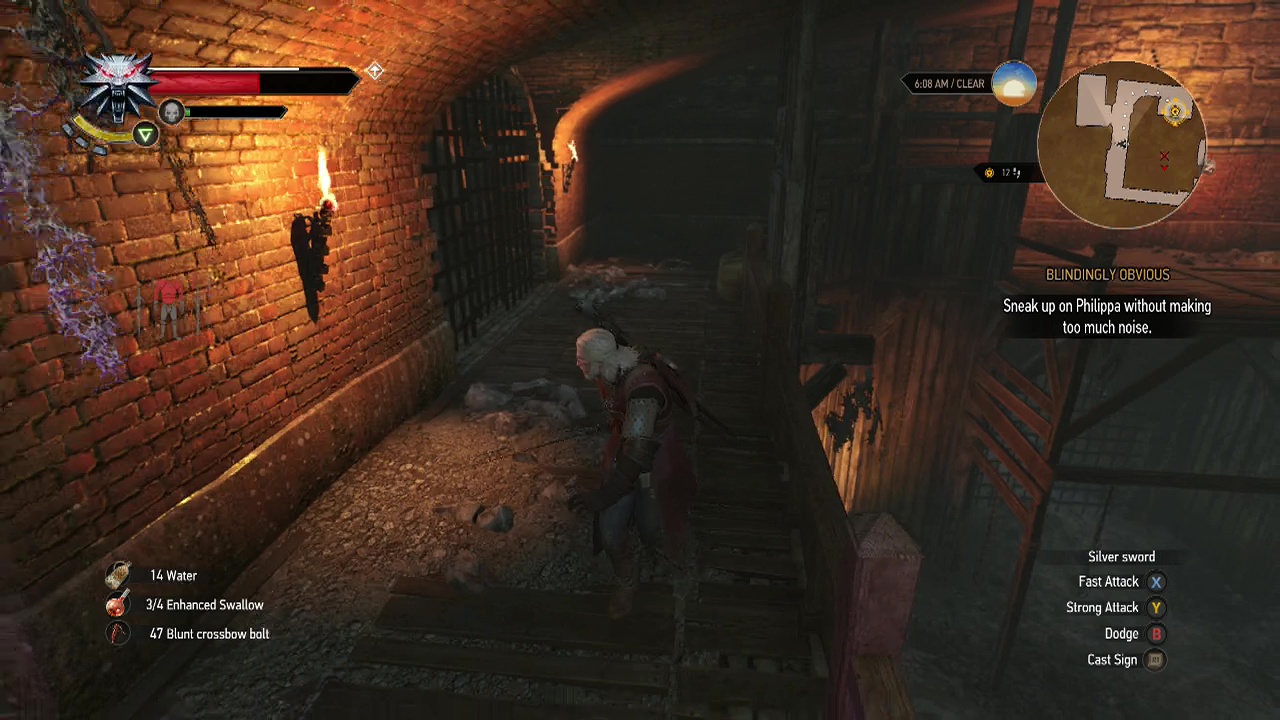
Objective: Sneak up on Philippa without making too much noise
Seriously? We're supposed to be quiet while a fire elemental is on our ass? Ugh, I basically ignored the objective until I dealt with the fire elemental, then went all stealthy. The problem with attacking the fire elemental is that it will inflict burning on Geralt (as it spreads embers on the ground), dealing nasty damage over time.
This effect can be blocked with the quen sign, but depending on your stamina regeneration you may not be able to cast it often enough to be useful. Fire elementals are vulnerable to dimeritium bombs (which you should have left over from Kaer Morhen if you haven't used them all), northern wind bombs to counteract the fire. Elementa oil and the aard sign can also work well in battle.
During the fight, you can use the axii sign to slow down the elemental which gives you more time to regain stamina for your next attack. I suggest using axii and then following it up with a string of heavy attacks for nice damage while the elemental is staggered. As soon as you regain your stamina afterwards, cast quen to douse the flames you've picked up during the attack. The elemental will use attacks typical of the elementa enemy type, with fast swipes at close range and the occasional AoE foot stomp when you play hard to get.
Once the elemental is out of the way, Philippa will begin throwing AoE spells at the locations where she hears a loud noise. You can either sprint up the stairs, jumping across the gap and then run along the walkway above to reach her. Or you can try to move slowly and stealthily towards her (not easy when you have to jump across a hole in the staircase). Either way, once you reach her you will have completed the objective. You'll have a chat with Djikstra on the way out, explaining the benefits of letting you take Philippa with you, finishing off this subquest.
End Subquest
Objective: Talk to Yennefer
Find Yennefer to, you guessed it, begin another subquest. Yay!
SUBQUEST: The Great Escape
Recommended Level: 28
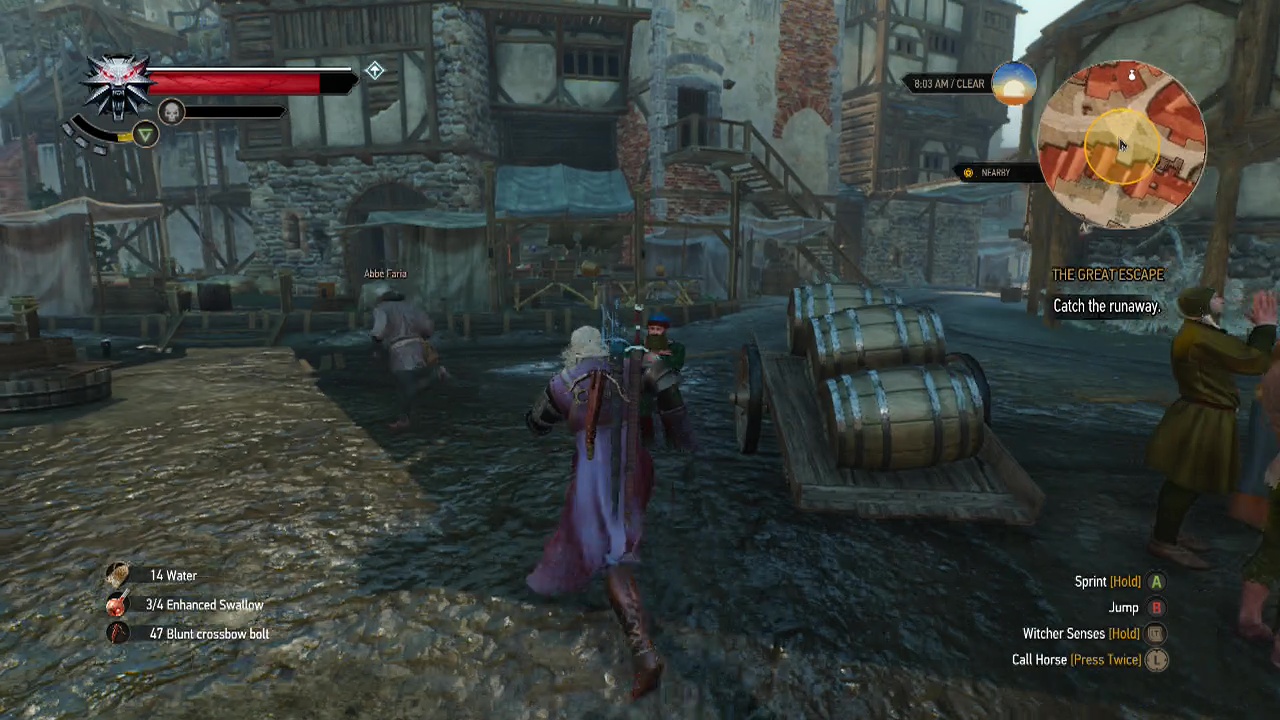
Objective: Catch the runaway
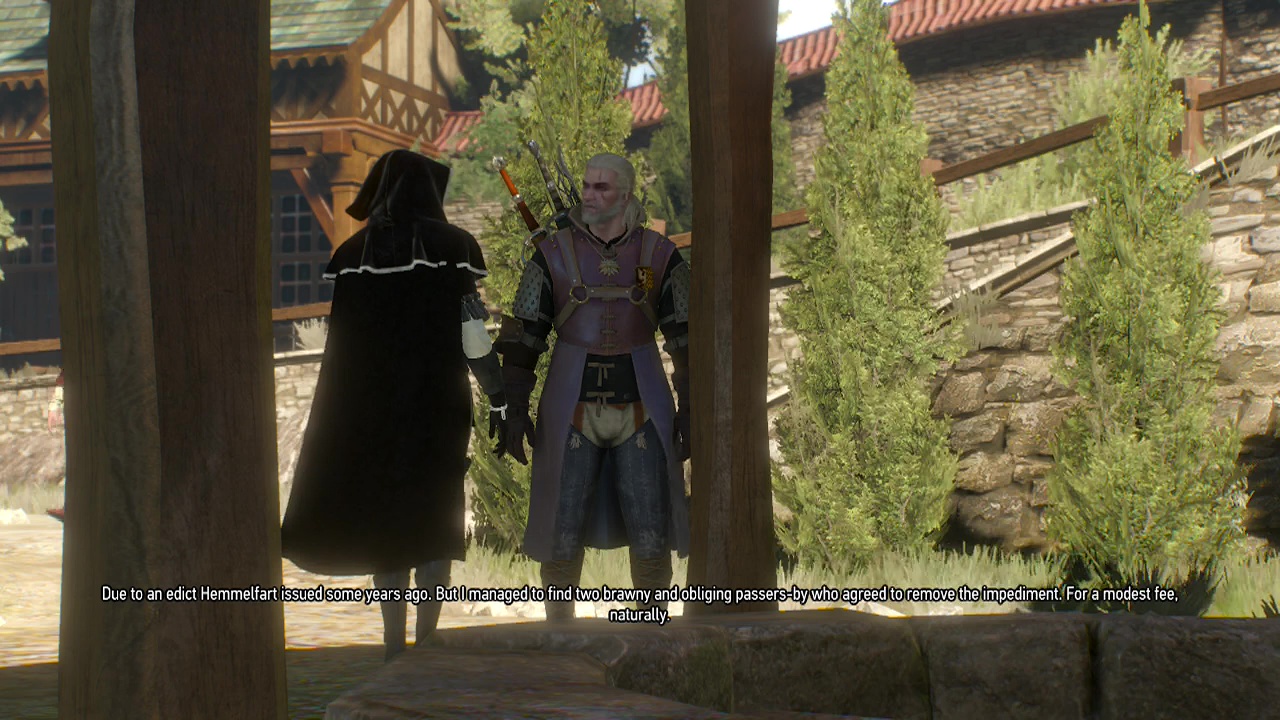
After watching the man bolt out the door, race after him out of the building. Keep hot on his heels and you should catch up to him at the base of a ladder nearby. Punch him to trigger his capture.
Objective: Meet Yennefer at the bridge to Oxenfurt
Optional Objective: Ask Zoltan for help
You can head to Zoltan's place to ask him to give you a hand (this reduces the number of guards you will have to deal with at the prison). You will need to remember to get Yennefer to signal Zoltan, otherwise he won't show up. Afterwards, head to a fast-travel sign and teleport to Oxenfurt to meet Yennefer.
Objective: Enter the prison through the well
Trail behind Yennefer through the town until you reach the well. Aaaand more sewers/ sunken ruins people. Haven't seen sewers since…. the last subquest as it happens. Anyhow, jump into the murky waters below.
Objective: Search the ruins
Swim your way to the edge of the pool to reach dry land once again. Turning right into the next room (where the trail leads on the mini-map) will run you into a lone grave hag. Dispatch her with quick strikes and the igni/ quen sign. There are some bones you can examine nearby with your witcher senses, but the the key object here is slot for a lever on the South wall of the room. To use it, you'll need to locate the missing lever.
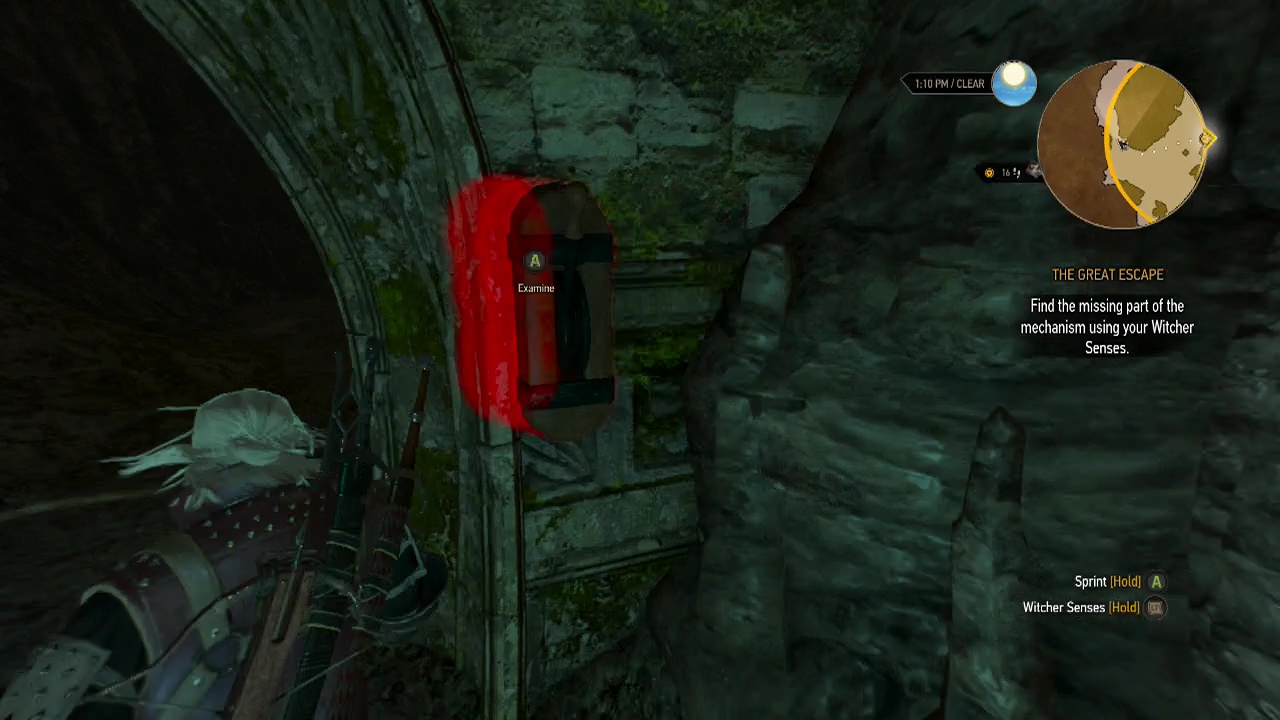
Objective: Find the missing part of the mechanism using your witcher senses
A new trail will appear on the mini-map for you to take. You can follow it, or take the North path out of the room and swim through the submerged corridor to reach the search area. There are a few chests of loot in the area, so take the time to grab it while you are here. You will find what you are looking for next a doorway on the North edge of the search area.
Objective: Repair the mechanism and open the doors
Take the lever from the mechanism next to the open door and return to the broken one.
Objective: Enter the sewers
This will open the path to the sewers for you. Straight ahead, you'll find a brittle brick wall you can use the aard sign to break through, sending you smack bang into a group of three ghouls led by a necrophage. They are weak to necrophage oil if you have it. Otherwise use light attacks and the quen sign to bring them down. Remember to roll away from the necrophage when it begins to swell as it will explode, dealing AoE damage.
Objective: Find the sorceress Margarita
Once you've fought off the undead, walk along the tunnel they came from and turn the corner to the right to find a body beneath a hole in the wall. This hole will lead you up into the lowest level of the prison. Quickly dispatch the two witch hunters with your blade (counterattacks or special attacks). On a table in the corner of the room, you'll find a glowing set of key you can grab, as well as a chest with some loot in it in the corner.
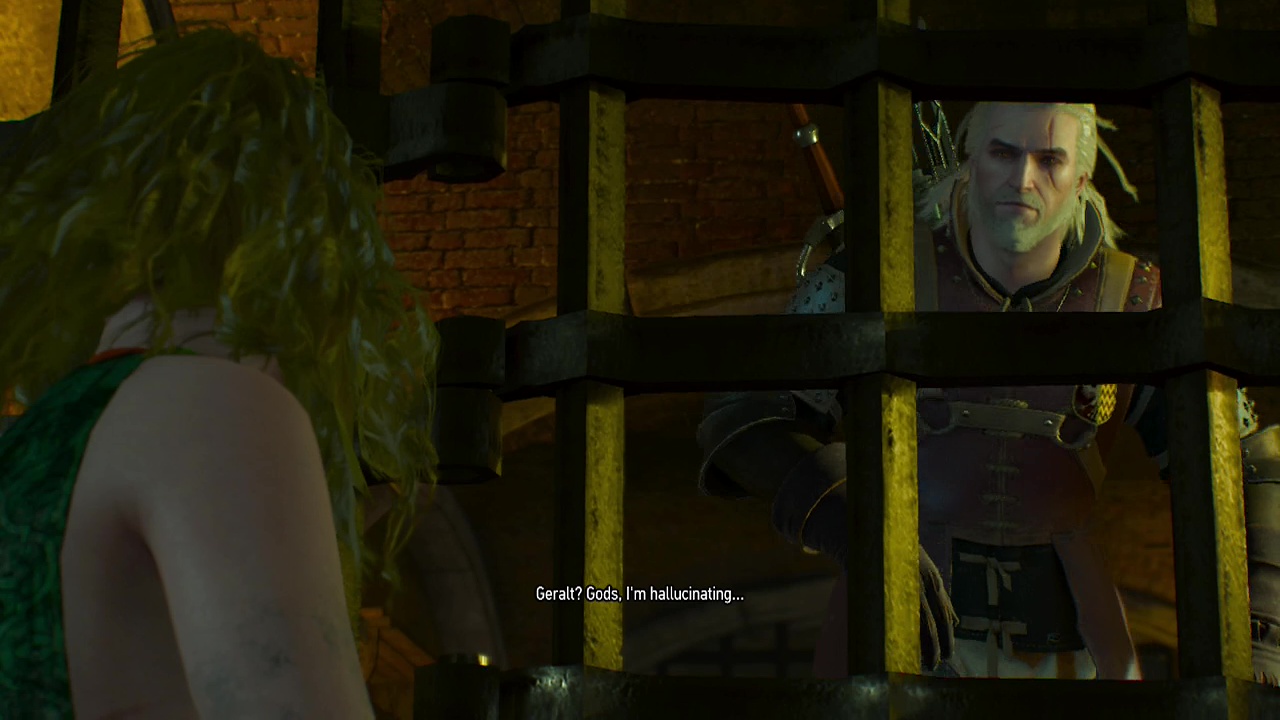
Climb up the stairs to the next floor and let the witch hunter massacre begin. There are many enemies to deal with here, but they shouldn't pose you much of a problem. Especially if you are good at timing your counterattacks. Use the quen and igni signs if you are having trouble. After killing the hunters on this floor, a scene will trigger showing you finding Margarita.
Objective: Get the key
And the witch hunter slaying continues because you need to find a key to Margarita's cell. Keep heading up, killing witch hunters, across the yard and into the warden's office.
Objective: Search the commander's body and find the key to the cell door
Take the key from the corpse.
Objective: Open the cell
Return to Margarita's cell to release her.
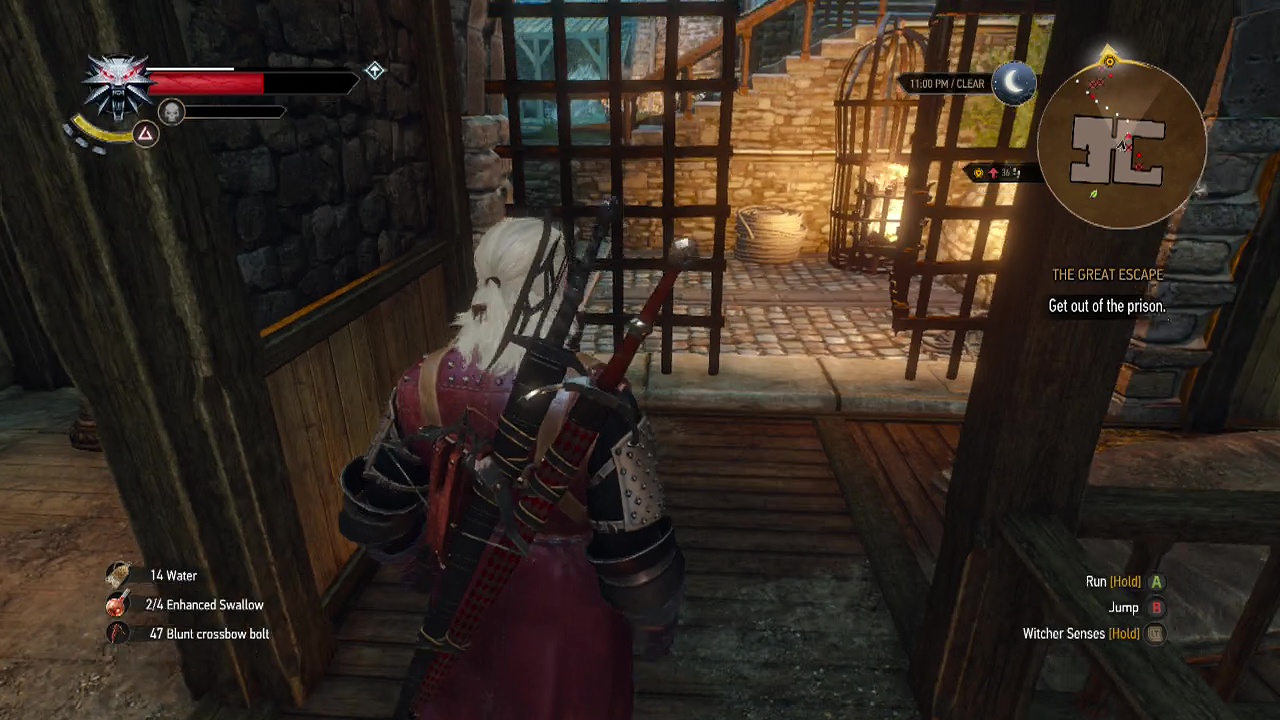
Objective: Get out of the prison
Well, everyone should be dead by now, so simply stroll up through the dead to the yard area. Yup, move along, nothing to see here (innocent whistling). The trail should lead you to a hole in the wall of the prison you can drop out of to the street below.
Objective: Meet Yennefer and the lodge of sorceresses at Dandelion's inn
Back to Novigrad we go. Walk up to where the rest of the sorceresses are waiting. A scene will trigger with Ciri getting annoyed again and more plotting by the ladies. All in all, another day in the life of a sorceress. Subquest is over.
End Subquest
Once all the subquests are done, this story quest will end.