This will unlock after Limp Nudle, or at least did for us.
Hubs and Authorities
Head to the Hackerspace to start the mission and set the ball rolling
M$ Dollar Block
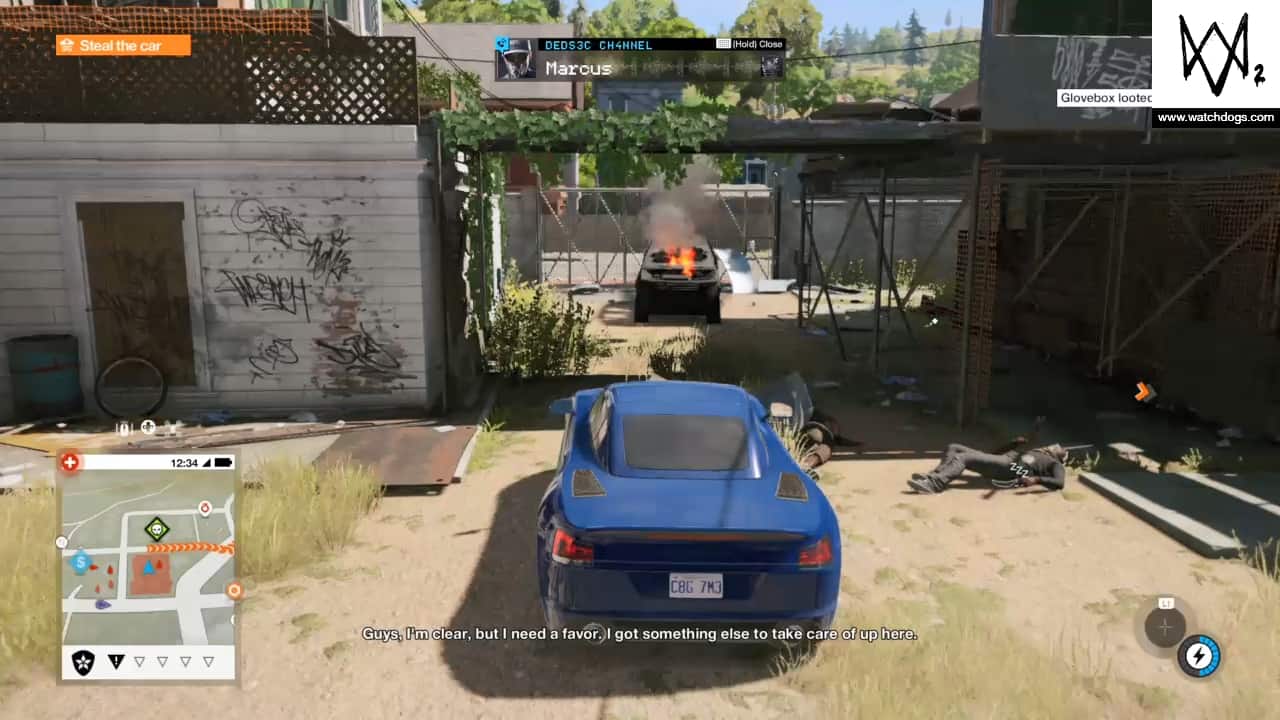
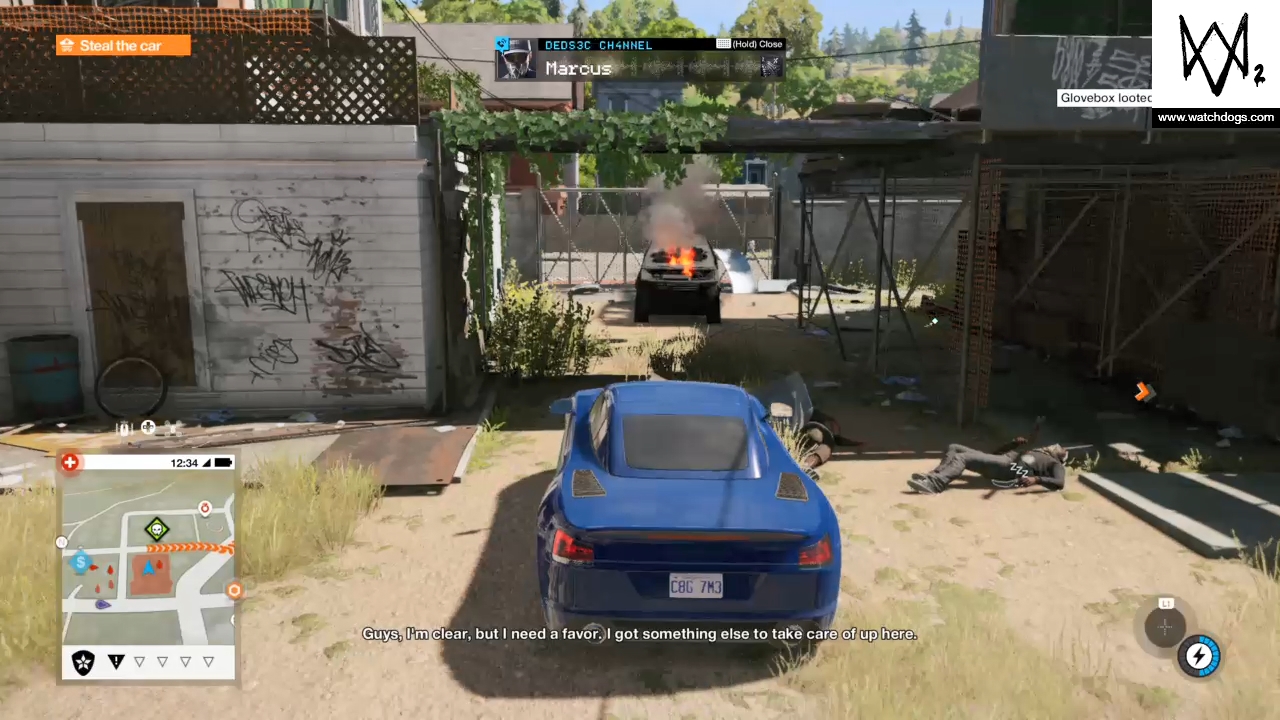
Head for your waypoint and speak to the contact. Once you’re back in control, follow your marker and hack the ctOS box. The goal here is to set traps and steal the car. If you have the electro shock and explosive deployables, this is a walk in the park. Drop explosives where the enemy cars will be and electro shocks where groups of enemies will be. Hide in the garage that overlooks the scene and wait until everyone’s in position, then detonate everything. When it’s over, take out anyone who’s left and steal the car. It’s worth making sure that you destroy the enemy cars to prevent pursuit.
Head for the waypoint and drop the car off to complete this section.
OPD PCA
Follow your marker and talk to Miranda to start the cutscene.
Talking Smack
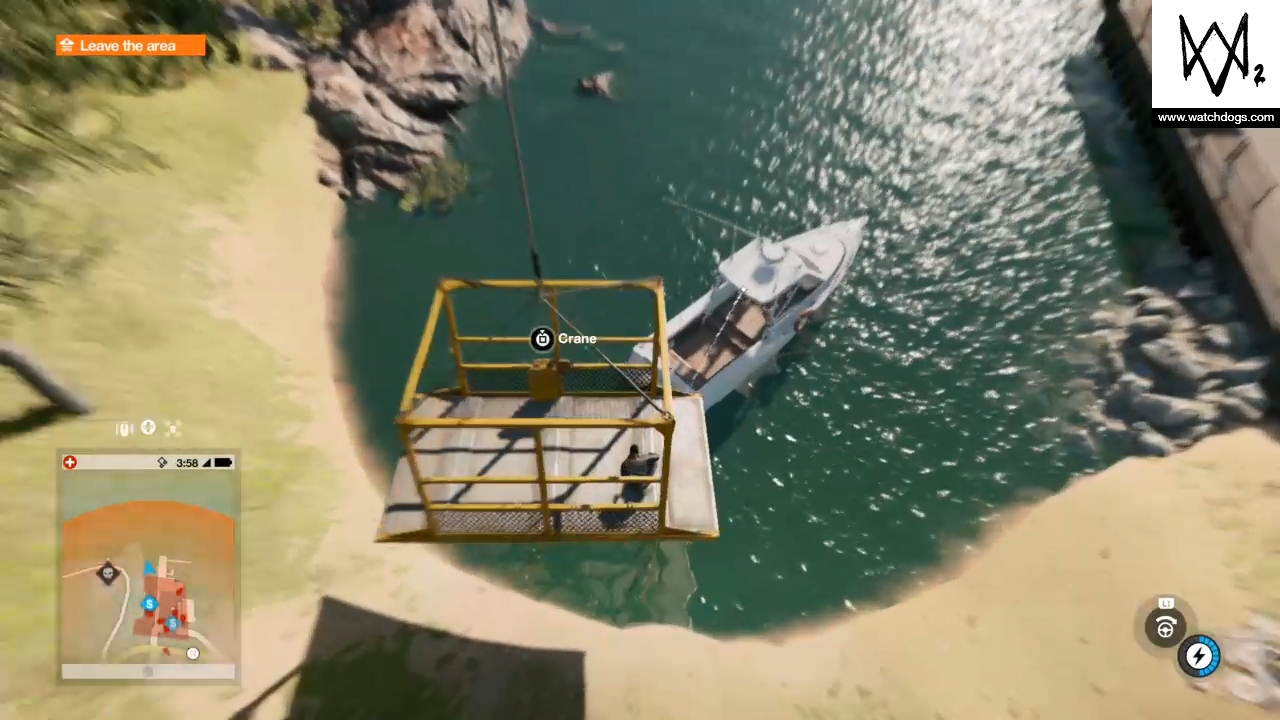
Same formula as before, head to the junction box, hack it and then get ready to set some traps. The best thing to do here is to control the crane, and hoist yourself up above the area so you’re safe but can still see everything. Take control of the two forklifts to plant them beside where two of the vehicles will be:
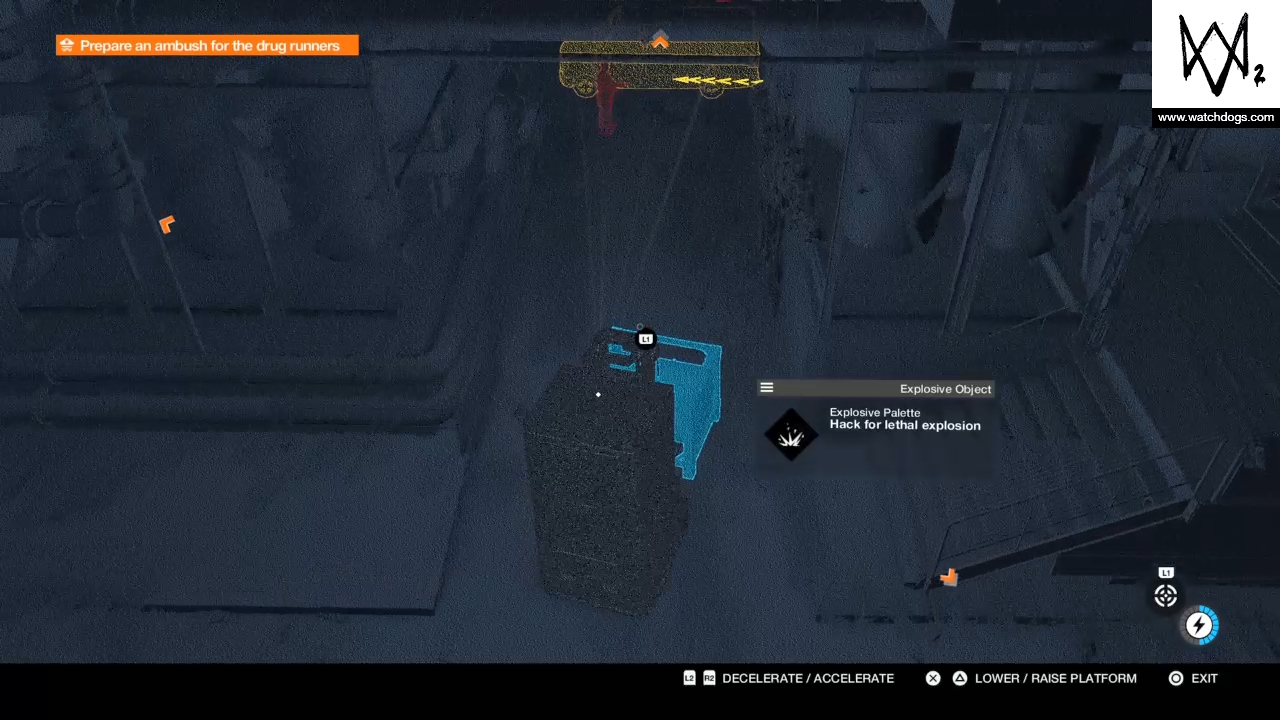
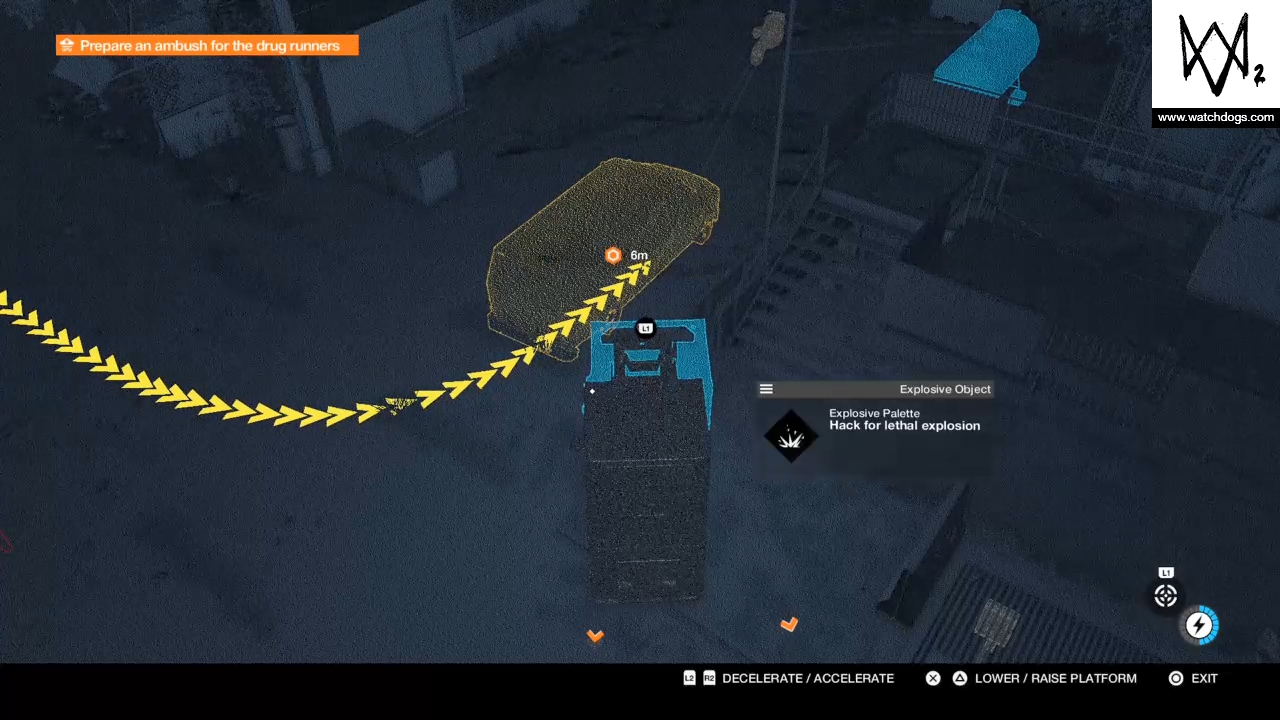
Lastly, drop the bollards beside the vehicle closest to you and move the forklift truck to have a straight shot towards it.

Set things in motion, wait until everything is where it’s meant to be, then detonate the two explosive pallets then ram the final van into the ocean with the forklift. To escape the area, simply lower the crane down to the boat that’s waiting at the nearby beach and make your escape.
EMTezcas
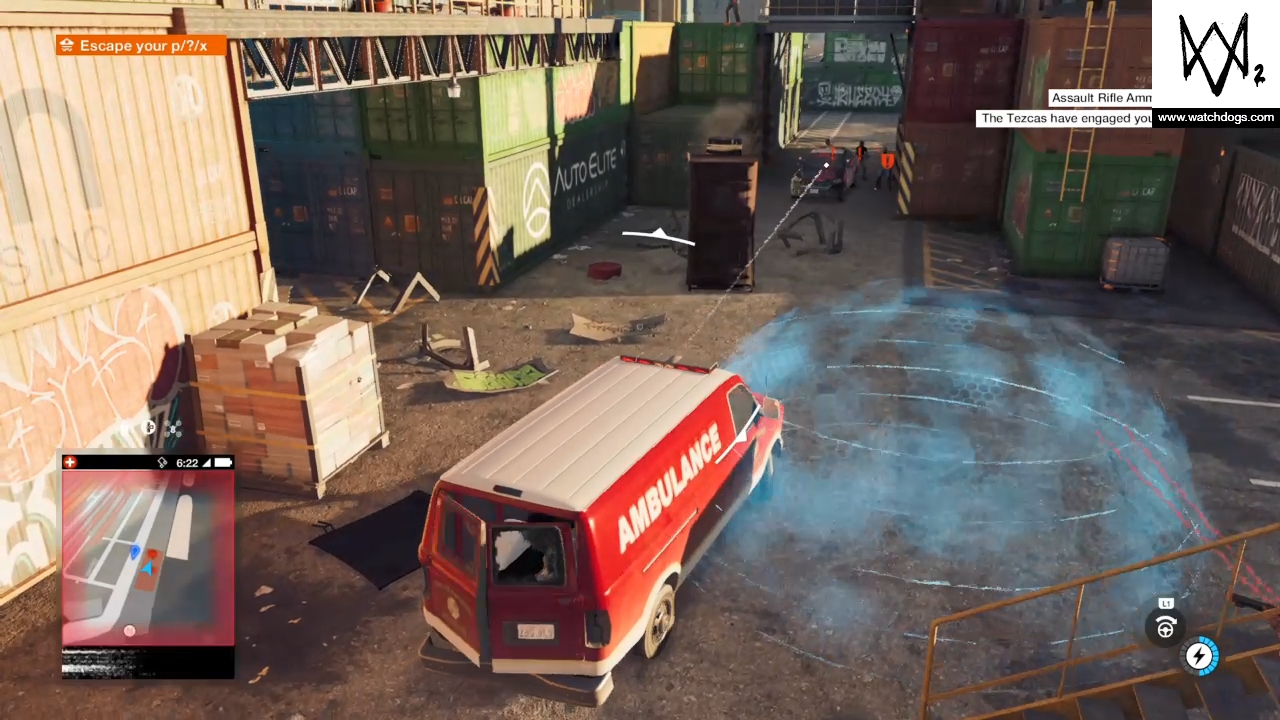
Follow your waypoint to the docks, hack the ctOS box and once again it’s time to set up some traps. There will be more enemies this time, but you don’t need to take all of them out, just enough that you can get to the ambulance without dying. Move the two forklifts with the explosive pallets beside where the cars will turn up, and drop electro shockers where the enemies are going to crowd up. Hide yourself nearby and wait. Once they get there, either use the quadcopter or cameras to keep an eye on things, and when you’re ready, detonate everything (try not to destroy the ambulance). Nab the ambulance and make your escape and drop it off at the FBI building to complete the section.
Jailbird Blues
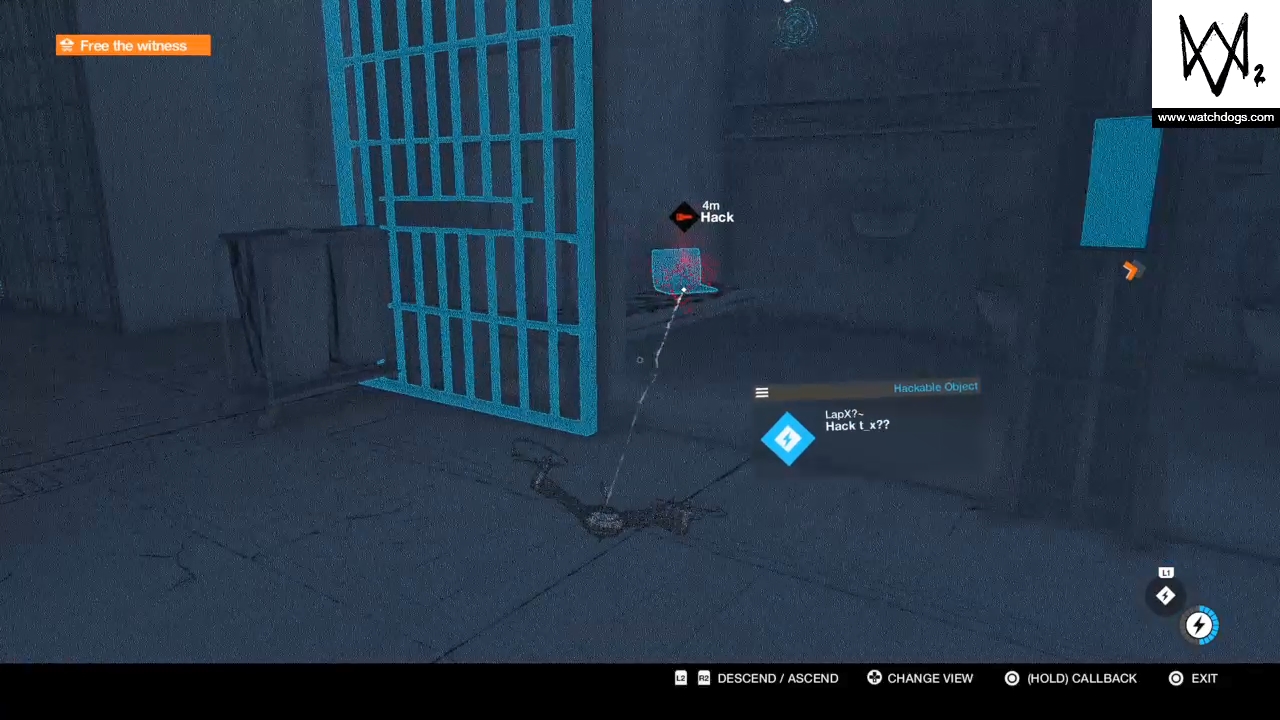
Get yourself to Alcatraz, head up to the roof either through the building itself or up the side using the window cleaning lift. Before you initiate the next section by hacking the box, it’s worth taking a moment to send your quadcopter in to grab the key data which is through a vent in one of the cells.
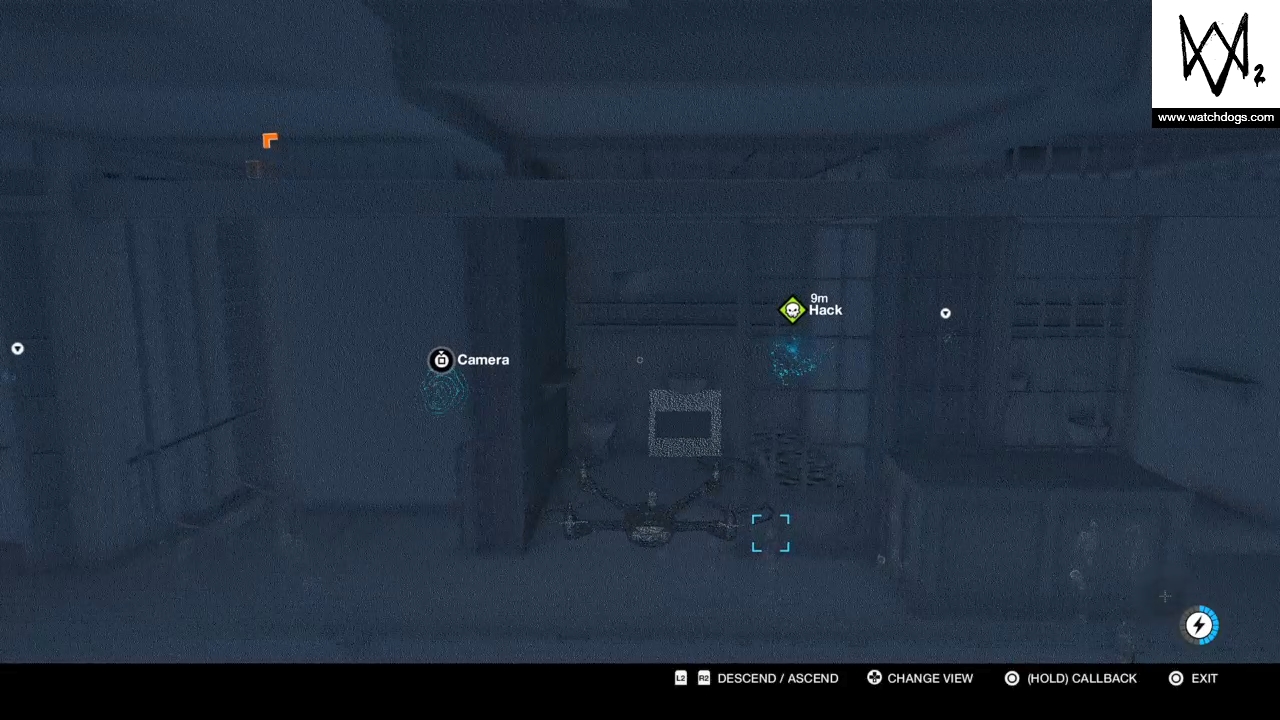
When you’ve got it, hack the box to start things going.
Recall it, then head around the back of the cells and down the stairs.
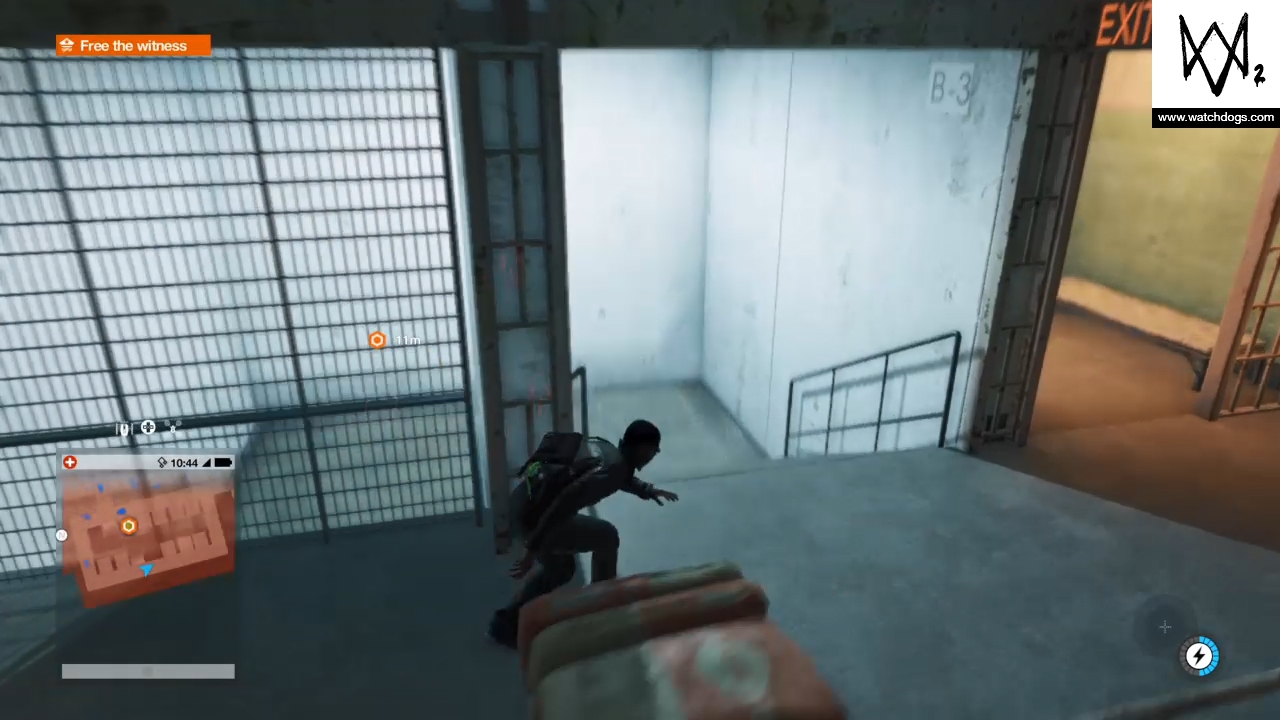
Now there are too many guards to sneak by, so by far the best method is a one-two combo hit of distraction then stun/shoot. Distracting them with a call will make them stand still, making them an easy shot. Take out every guard who’s in your way and then set the prisoner free. Luckily, you don’t need to escort him, so as soon as he’s away, just head back the way you came, back onto the roof, down the cleaning lift and into one of the many boats moored at the docks to make your escape. Make sure to keep your eyes open though, as cops will spawn in on the docks as you near them, so either avoid or take them out.
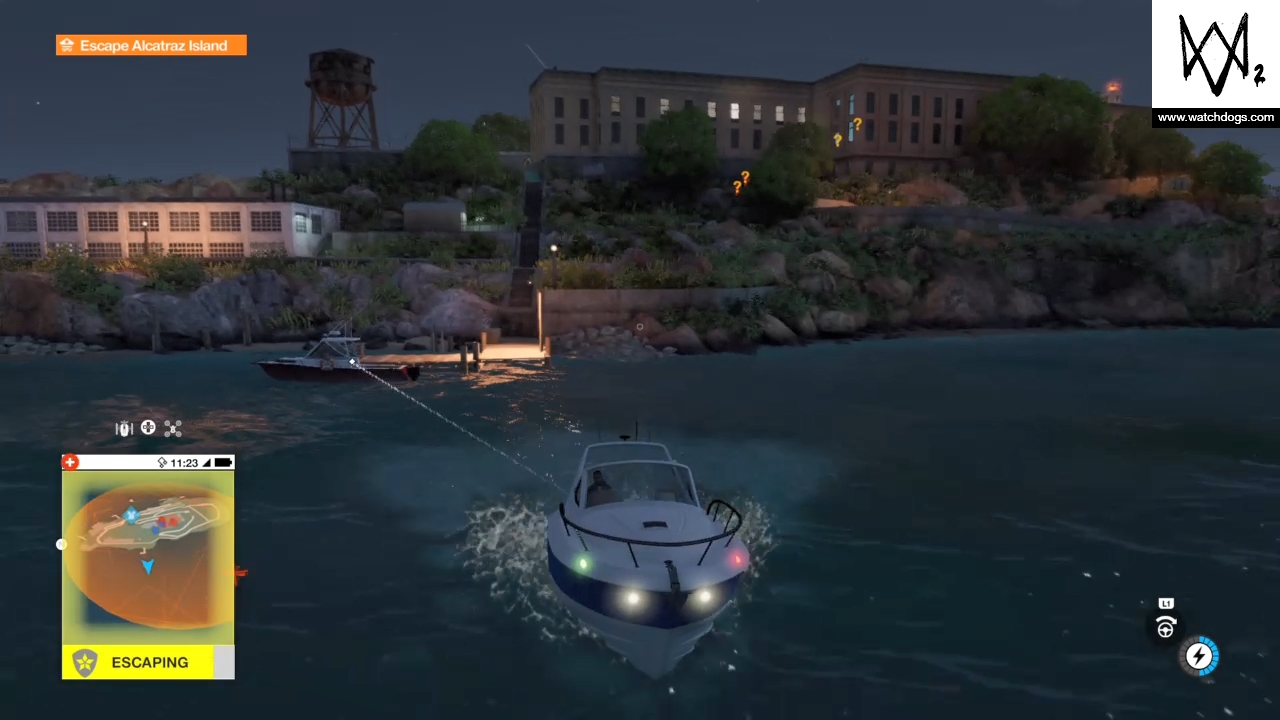
Once you’ve escape that’s mission complete and a fat wad of followers for you.